
How to Save a Sourdough Starter without Feeding
Do you need to go on an extended trip or plan to move cross country or just want to take a break from feeding your sourdough starter? You have options! First, you can store your sourdough starter without feeding it in the refrigerator for a good 5 – 10 days. However, what if you need to store your homemade yeast longer than that? We recommend drying it out. Then you can save the sourdough starter in small containers or bags! It’s really easy to do. Let’s go through the process.
Step-By-Step Instructions
First, you want to feed your starter and make sure it is bubbling away and alive before you proceed. You don’t want to go to all this trouble only to find out the starter wasn’t alive to begin with after all.
Step 1: Dry the Starter
You will need a piece of clean parchment, wax paper or a silicone mat about 9 x 12 (23x33cm) inches in size. Spoon out a few tablespoons or so (around 35-50g) of starter in a thin layer.
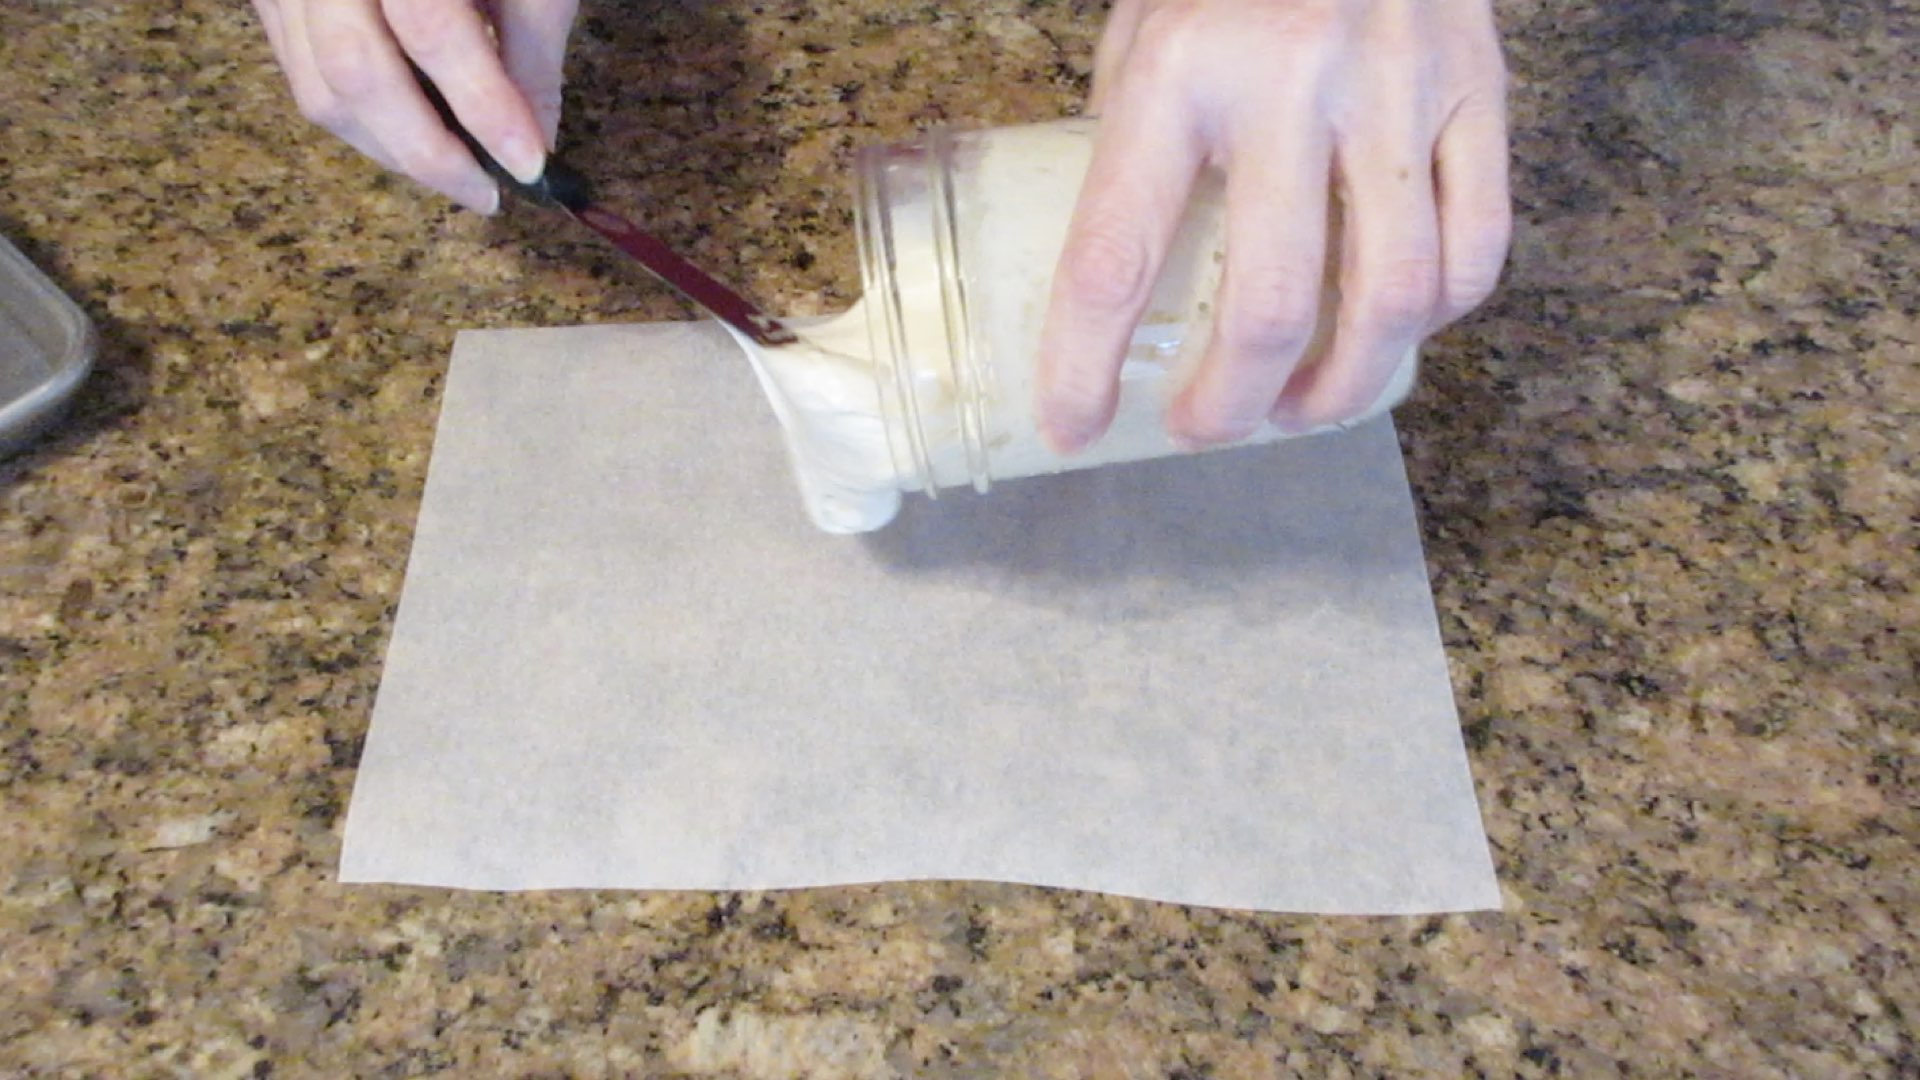
The thinner you make it, the quicker the mixture will dry. So take your time.
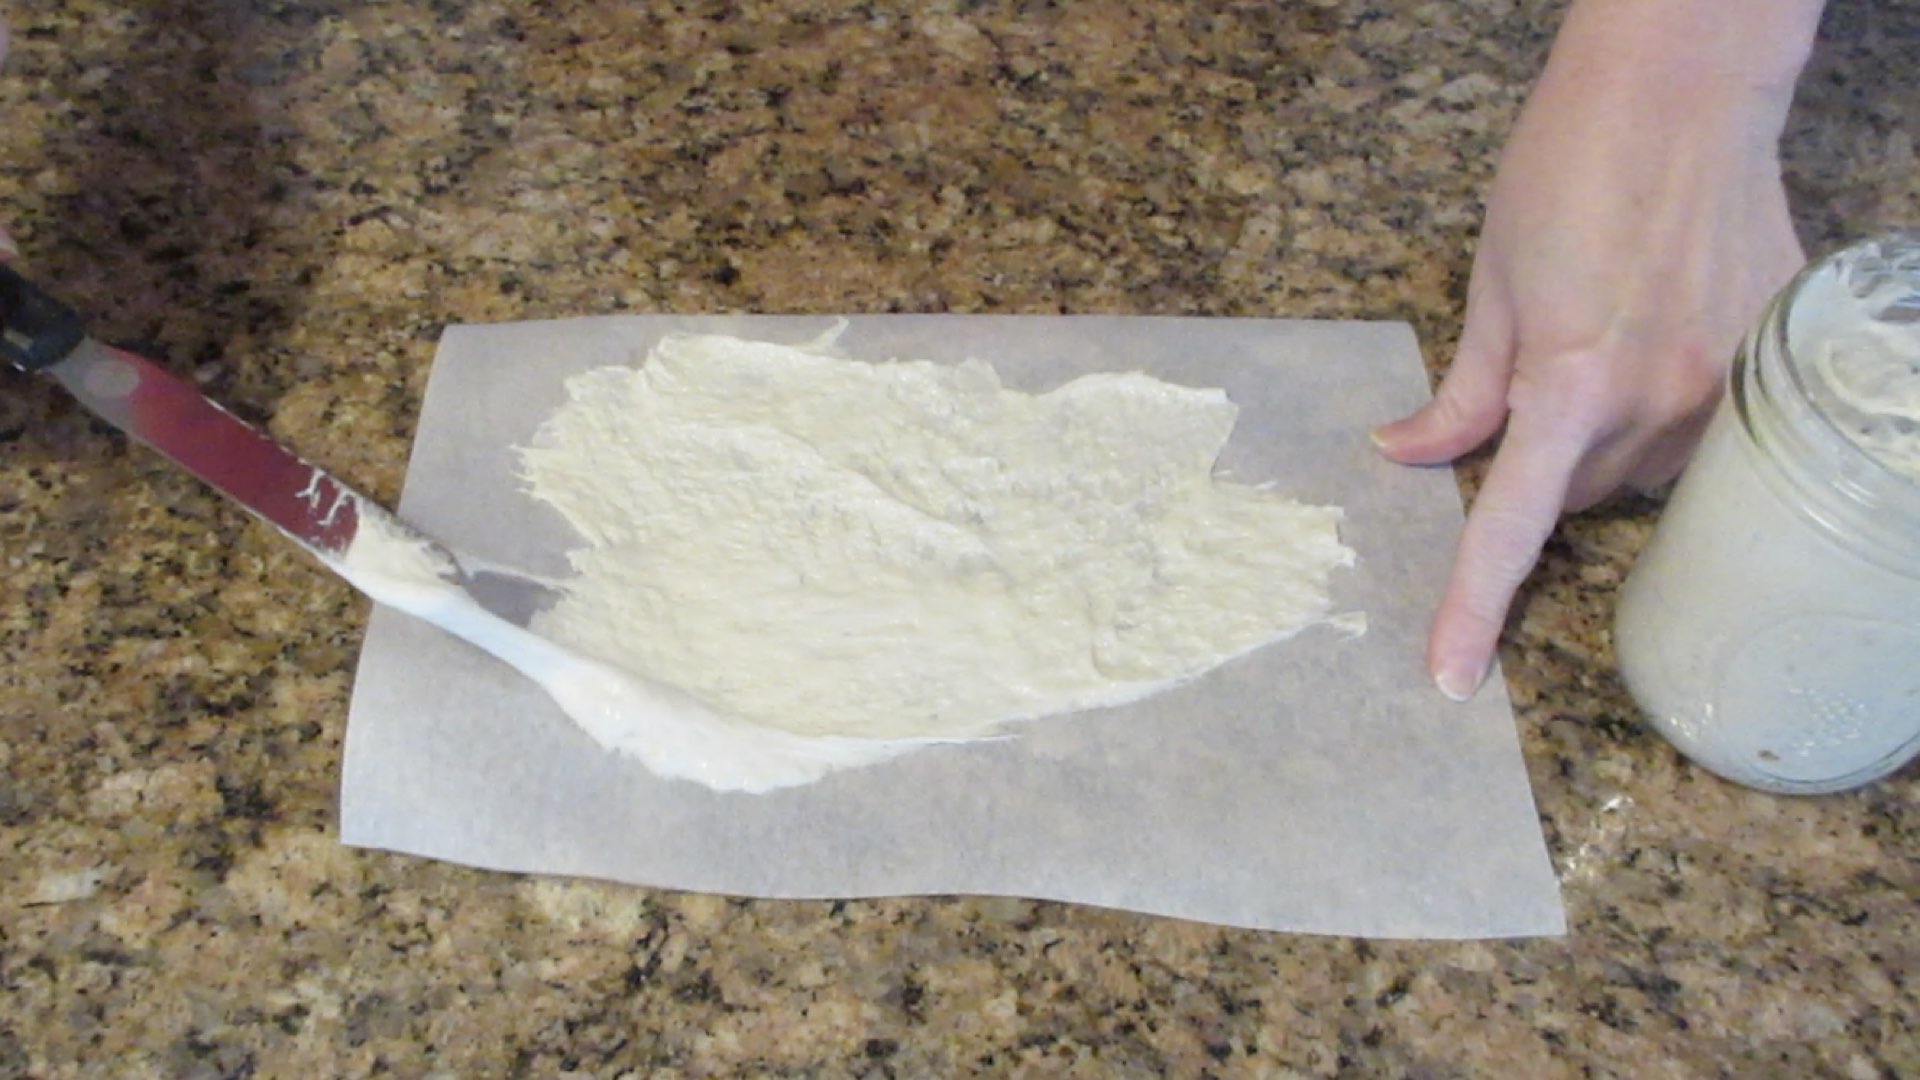
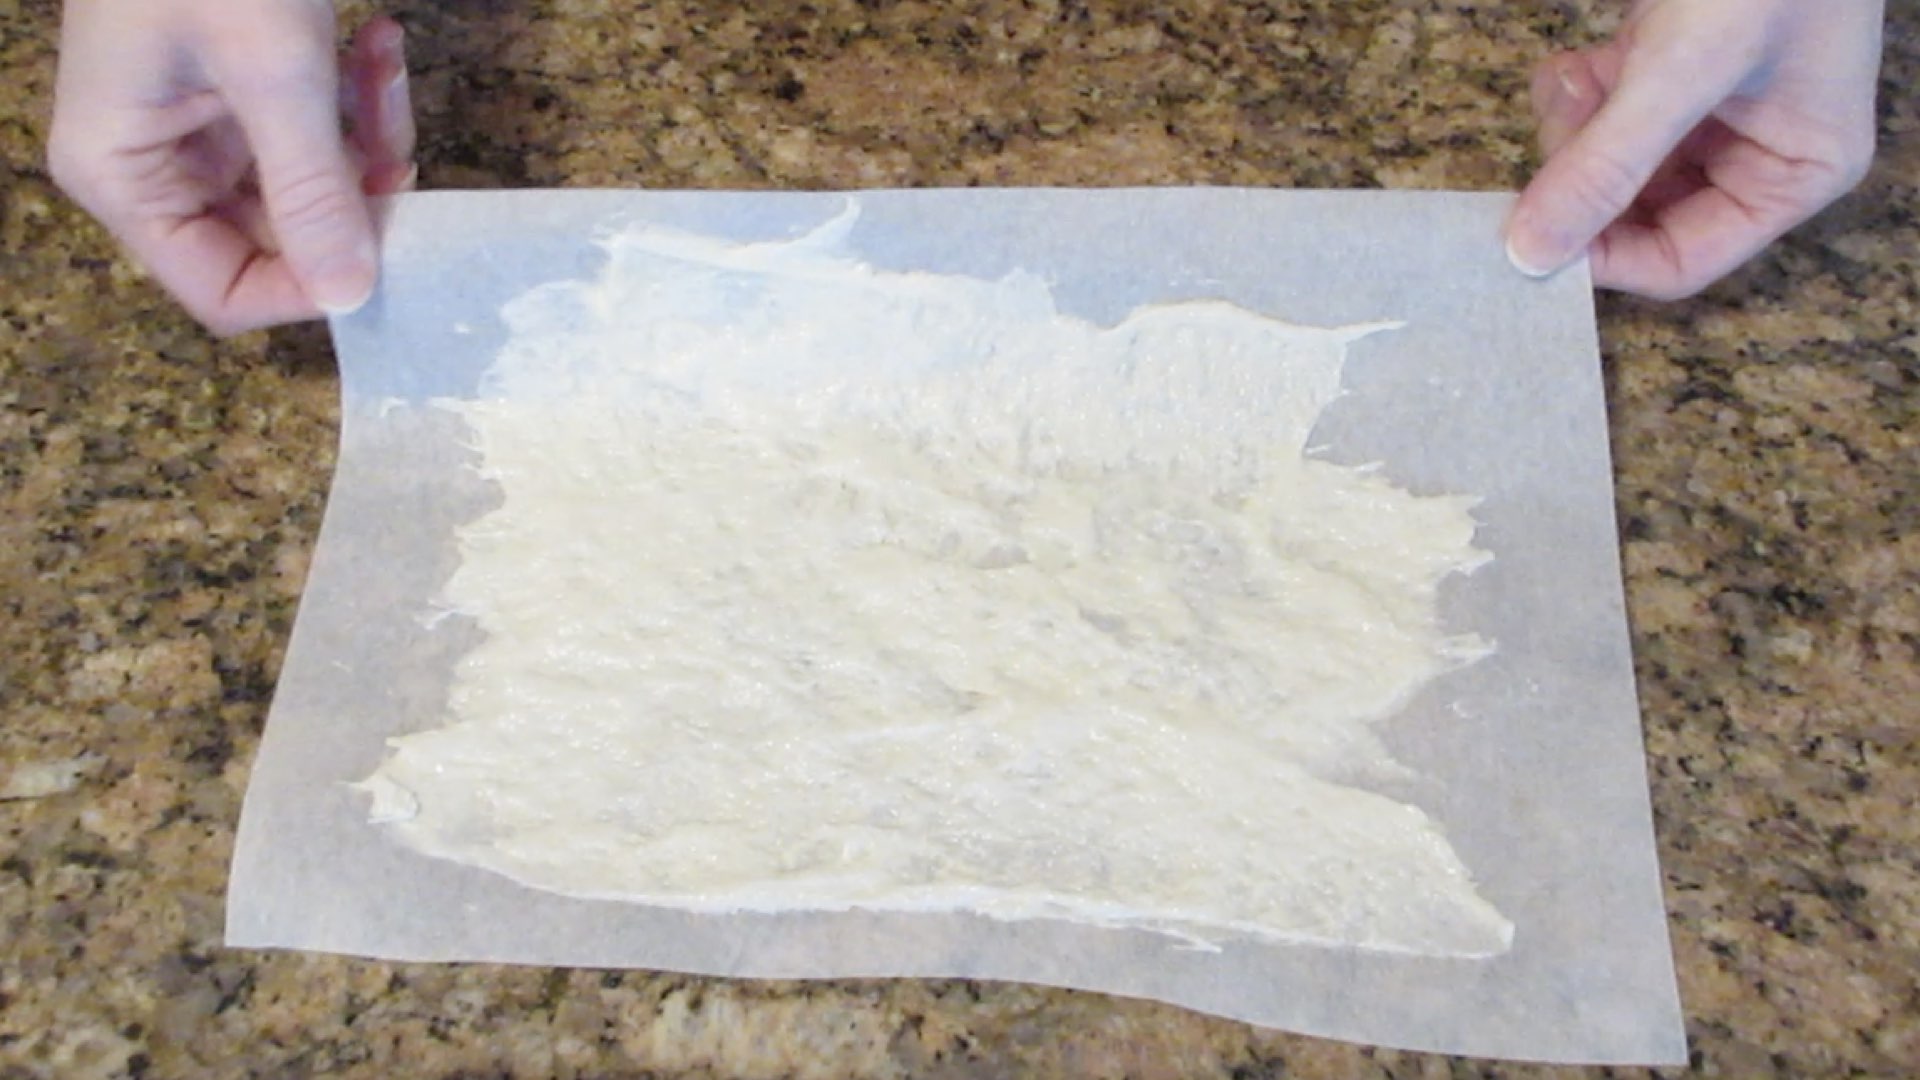
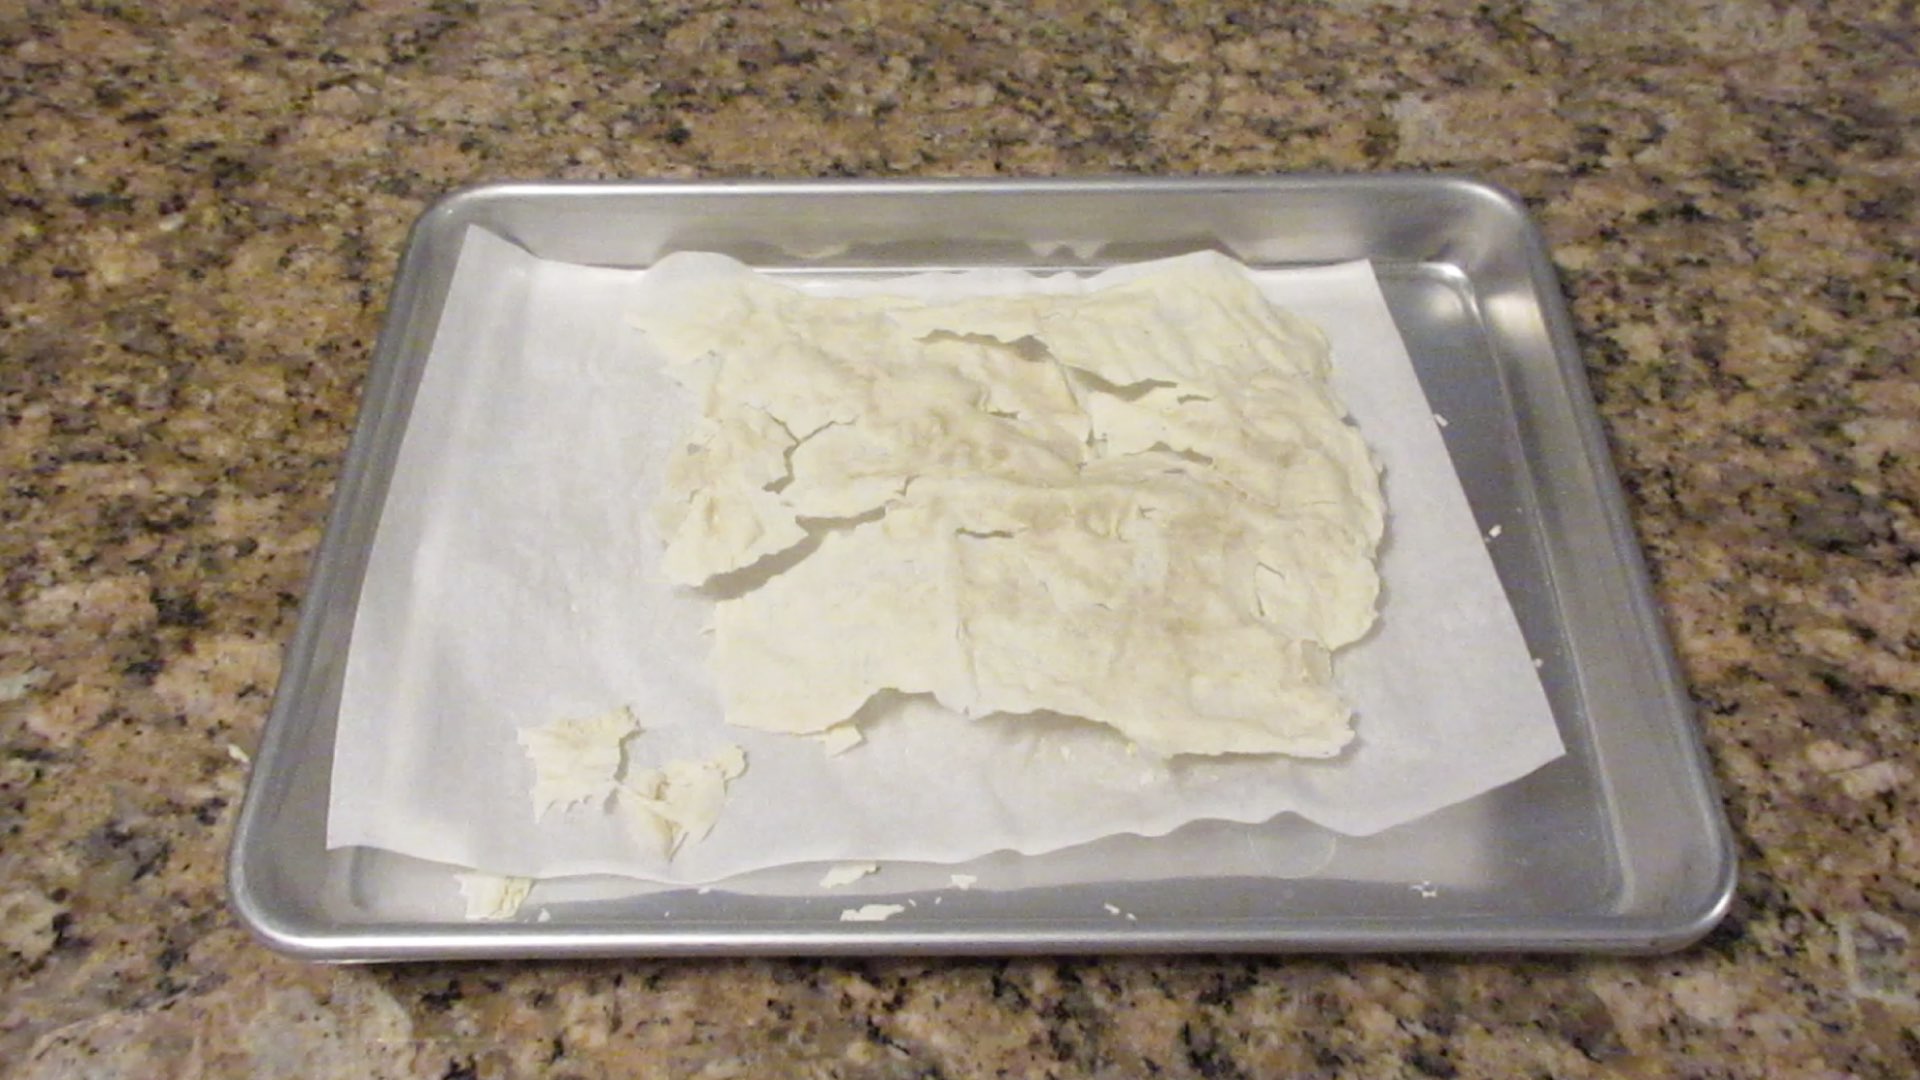
You should end up with a thin layer like this. Now you want to store this on a cutting board or a baking sheet away from all pets and children. You do not want anyone eating the yeast as it can be dangerous, especially for pets. Wait until it dries. This can take up to 3 days depending on the humidity of your room.
Step 2: Break up the Starter and Store
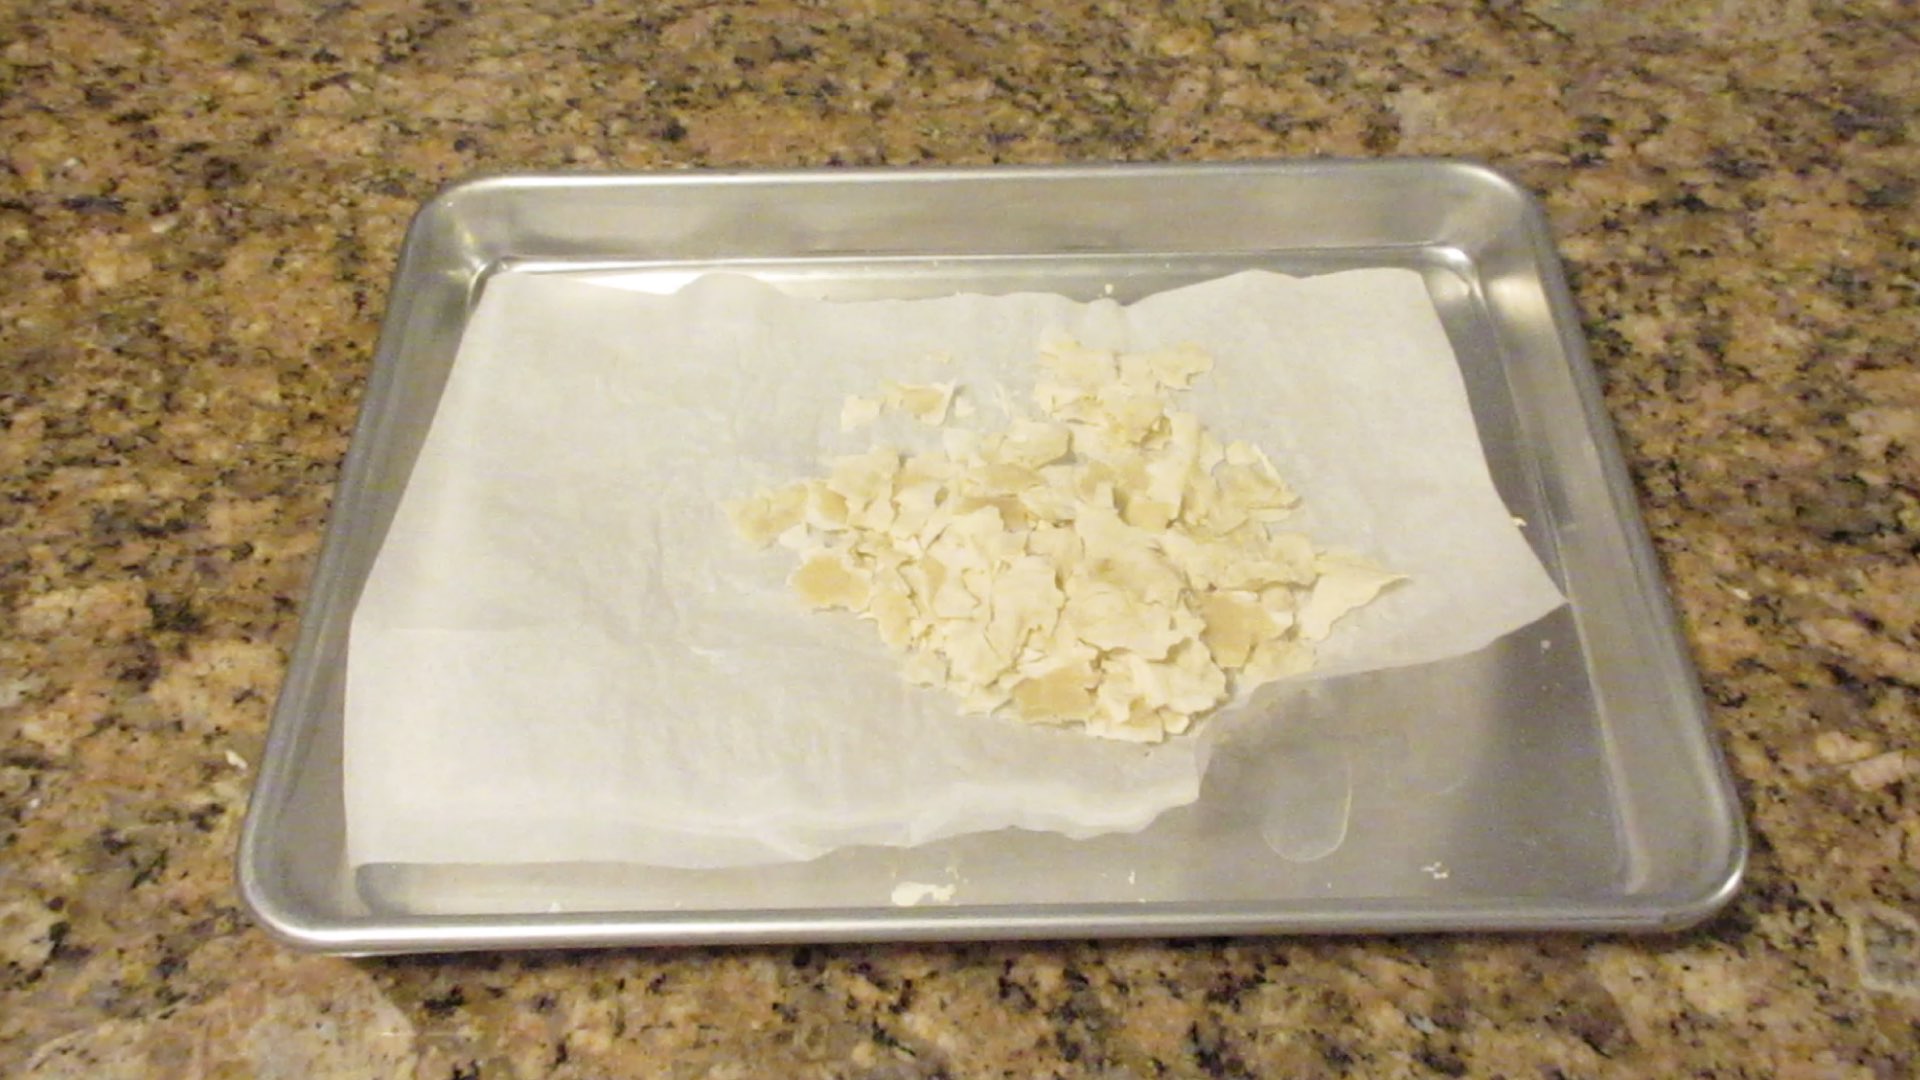
Once the yeast has dried, remove it from the parchment paper. It should start to break apart easily with your hands. If any parts feels wet or bends without snapping, it isn’t fully dry. Wait until it is brittle.
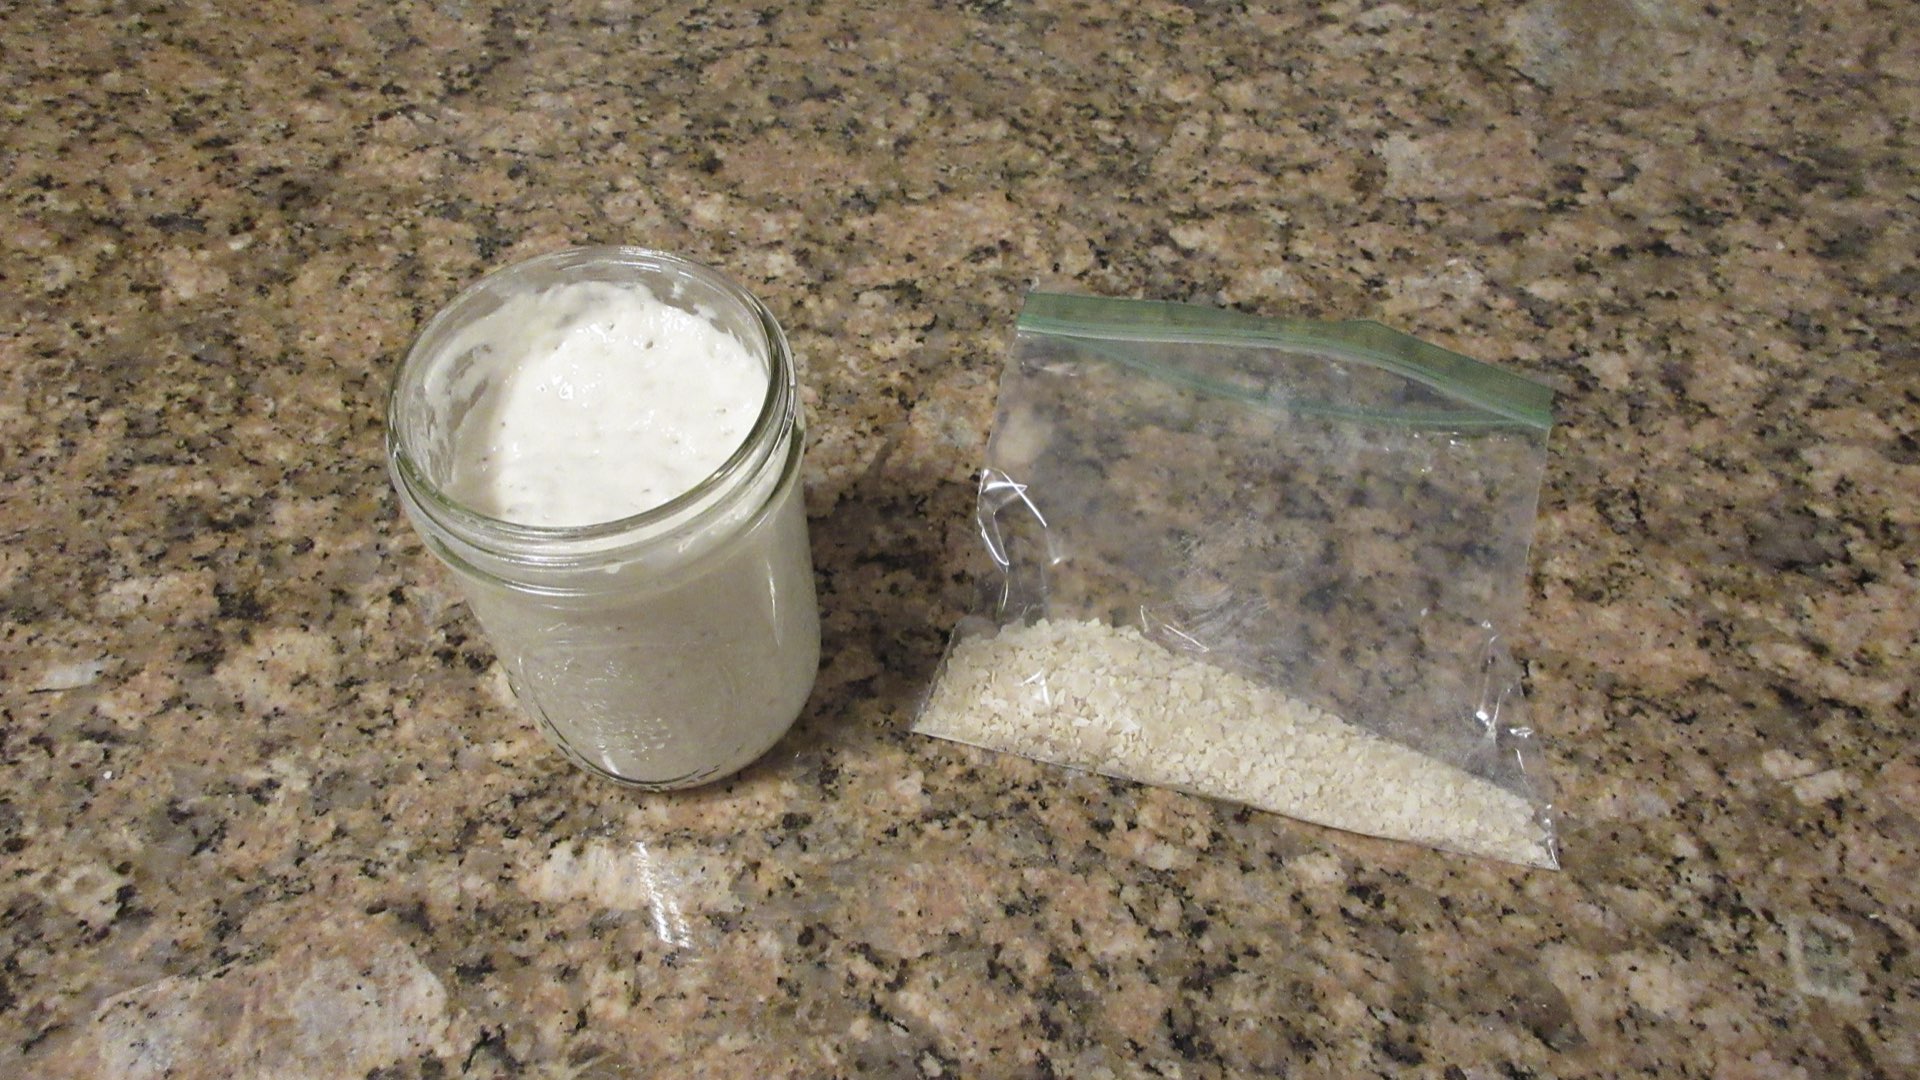
Now just break it up with your hands. You can also place it in a baggie and break it up by tapping it with a rolling pin. For an even finer texture, pulse it in a blender or food processor. Store it in an airtight container or bag in a cool dry place. The freezer or the back of a pantry works well. It will last up to a year depending on how it is stored. In a cool pantry, up to 3 months or so. In the freezer, up to a year. Perhaps longer. We tested a batch we found that was 13 months old and it came back to life!
Step 3: Restoring your Sourdough Starter
Now that you are ready to use your starter again, add a generous tablespoon full to a cup of water. It is right around 3 grams. Add water and dissolve.
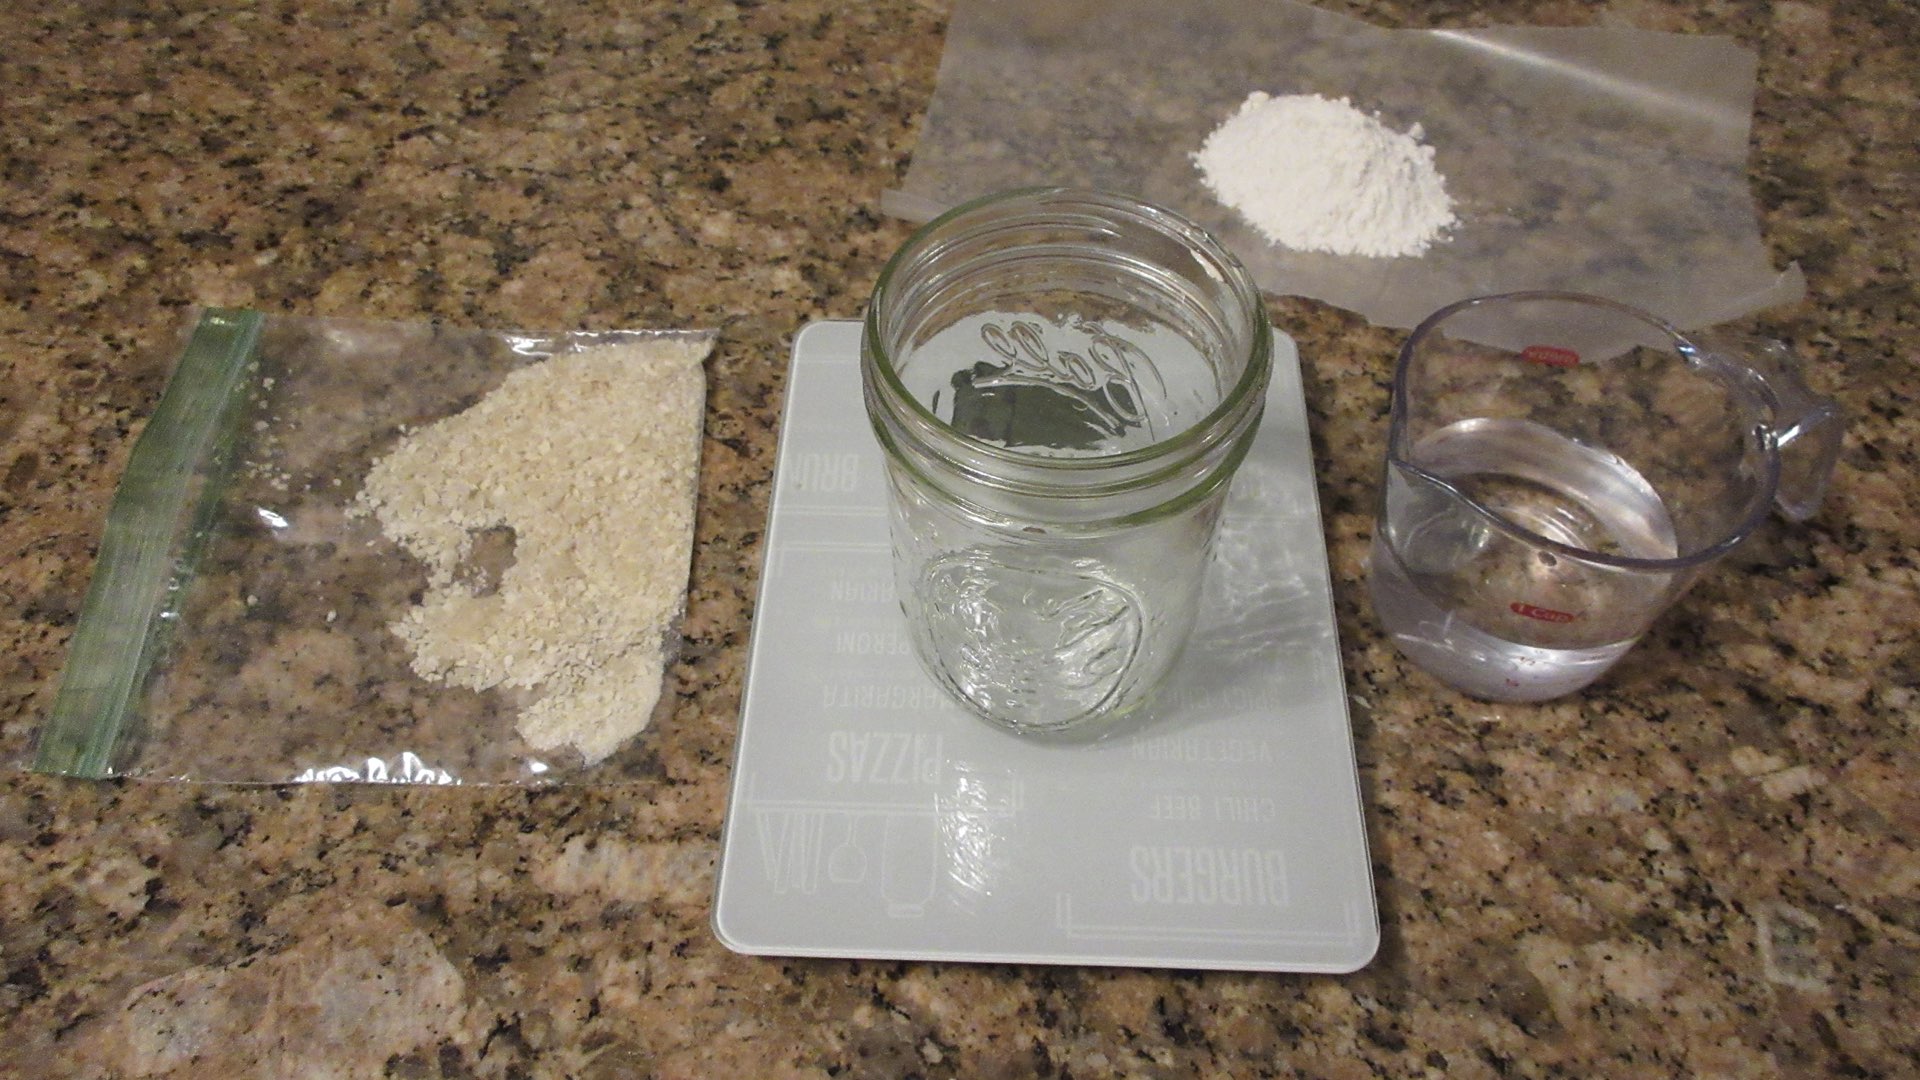
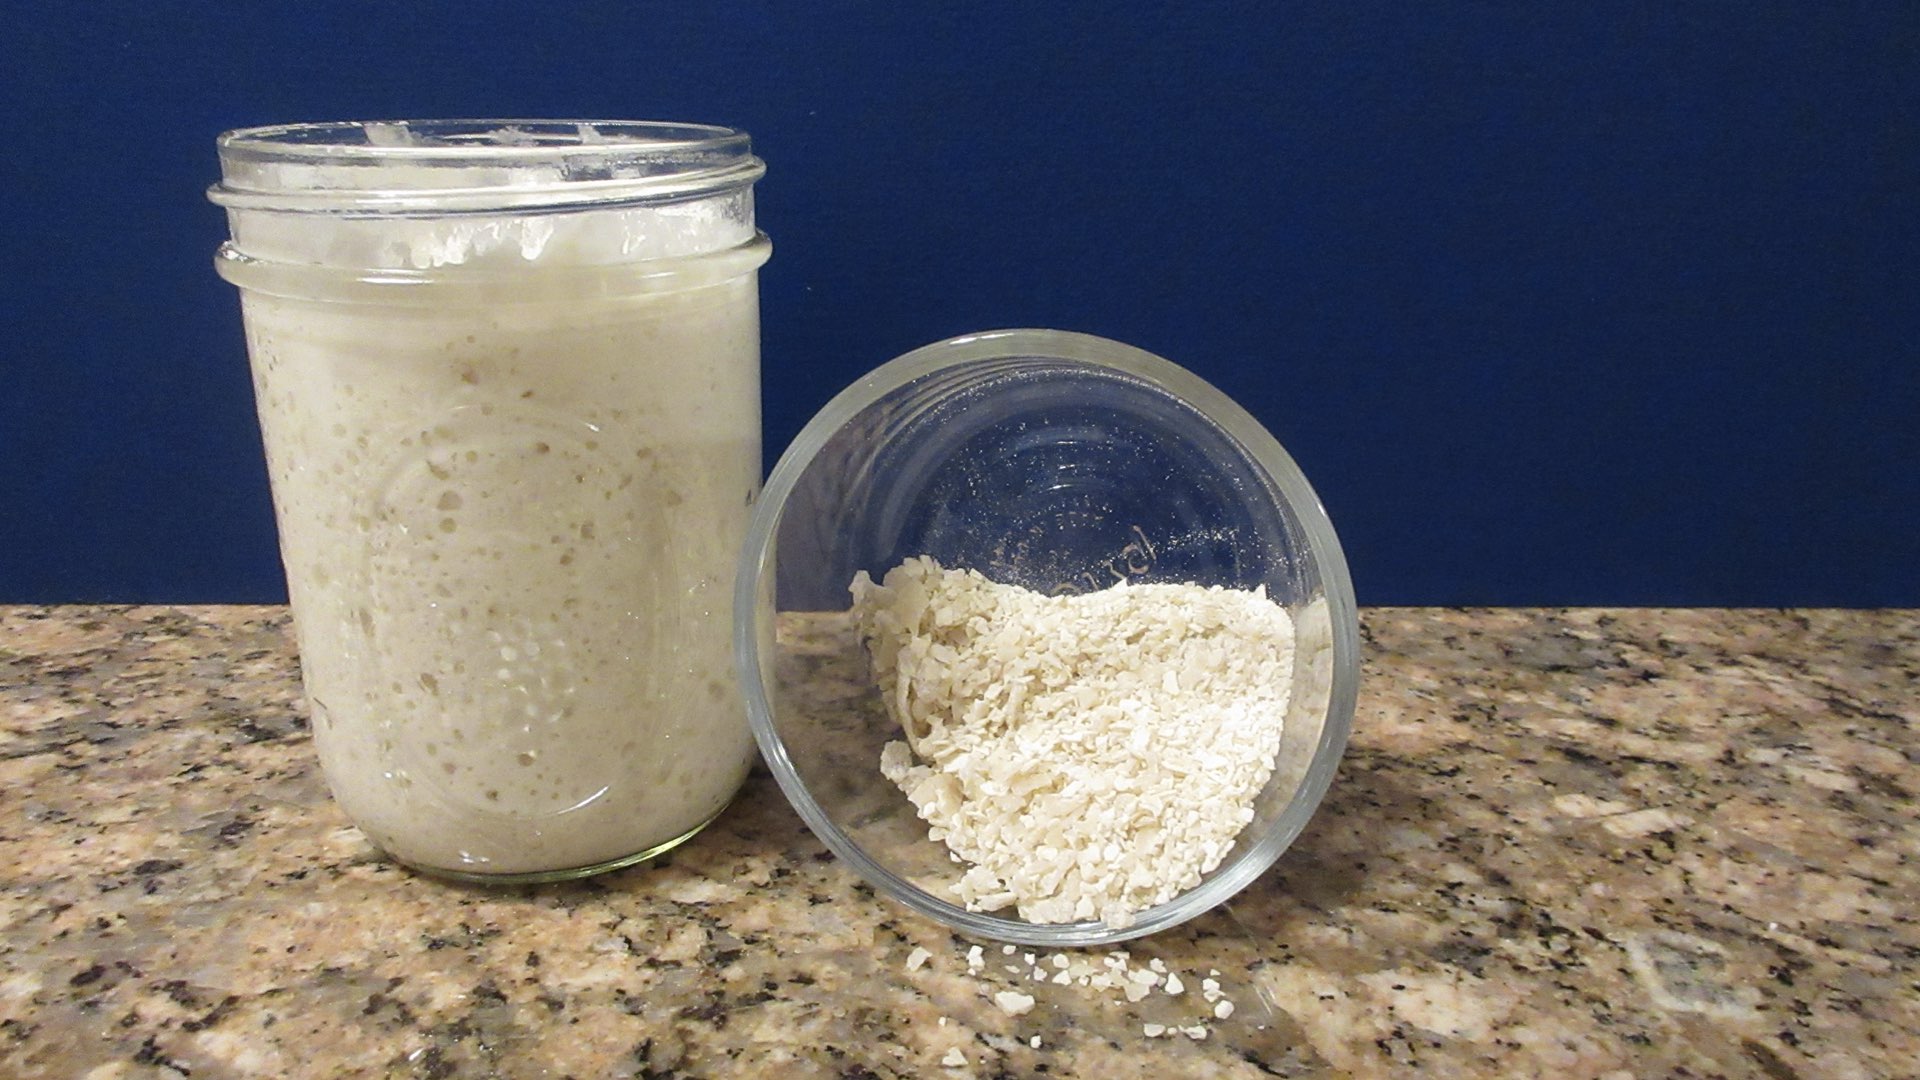
Now add equal amounts of flour. We added 1/3 cup of flour and just under 1/4 cup of water (50 grams each) to the jar. When you begin to see bubbles, feed another helping. This can take up to three days for the starter to get active again. Once it is actively creating bubbles, It is now ready to use!

Sourdough Storage Tips
- Make sure the starter has fully dried out prior to storage. Failure to do so can make it mold or mildew. It should change to a much lighter color and be brittle when handled.
- You can grind the flakes into a very fine powder which will make it even more compact and easier to dissolve in water.
- If possible, store in a freezer or a cool dry place for the longest life.
- If wanting to store longer than 3 months, we recommend you rehydrate, feed and dry out the new active starter.
- Want to make your own sourdough starter with less flour? Check out this recipe!
0 Comments