
A Little about Peanut Lovers Granola Bars
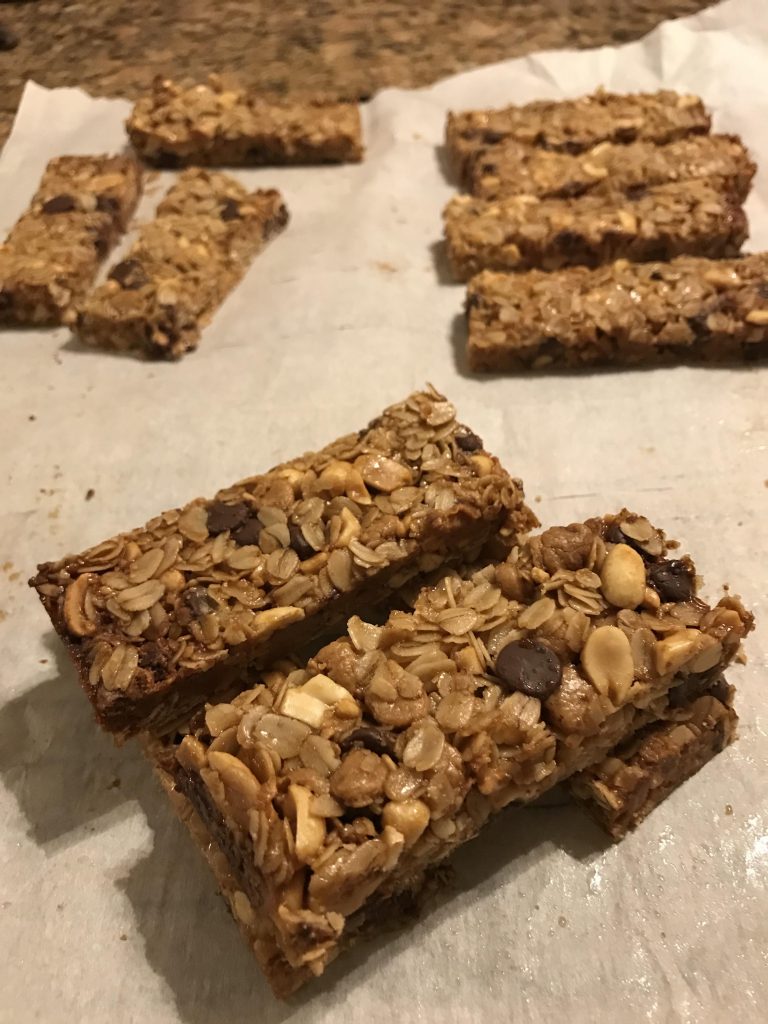
Peanut lovers granola bar is fast, easy to make and delicious. Crammed full of peanuts, peanut butter chips and a bit of chocolate, this is sure to please! By using honey instead of corn syrup, they are much healthier for you as well as superbly tasty!
If you can’t tell by all my recent recipes on granola starting with this one, this has become my latest obsession. They are super easy to prepare, bake in less than 30 minutes.
Granola can be nutritious, spicy, peppery, or just obnoxiously sweet. This is the obnoxiously sweet version and is slightly better than buying a candy bar. And I do mean slightly. But that is what makes it so good and incredible for those that love peanuts.
Step-By-Step Instructions
Let’s do a pictorial step-by-step on how to make these granola bars. It’s a simple recipe and you’ll be making them in no time!
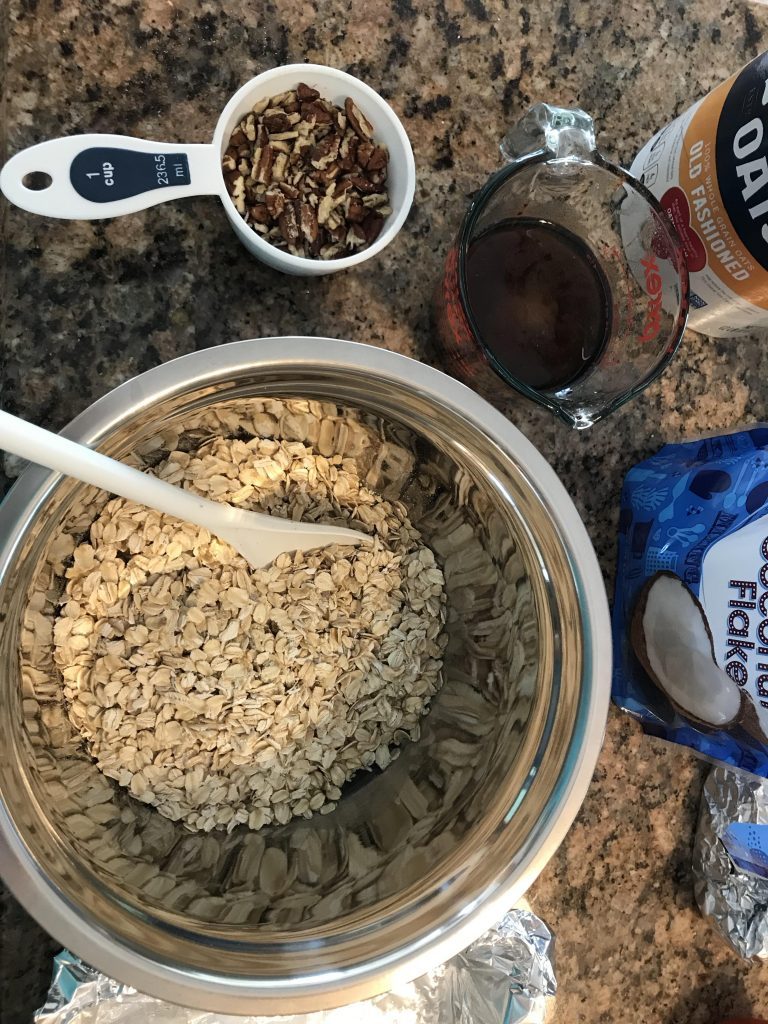
Step 1: Gather your ingredients
When making any recipe, it’s always easier if you gather all the ingredients you’ll need ahead of time. This will ensure you have them all on hand as well as avoiding forgetting a key ingredient while mixing. Every forget the sugar in a cake recipe? This simple step will make sure you don’t do that again!
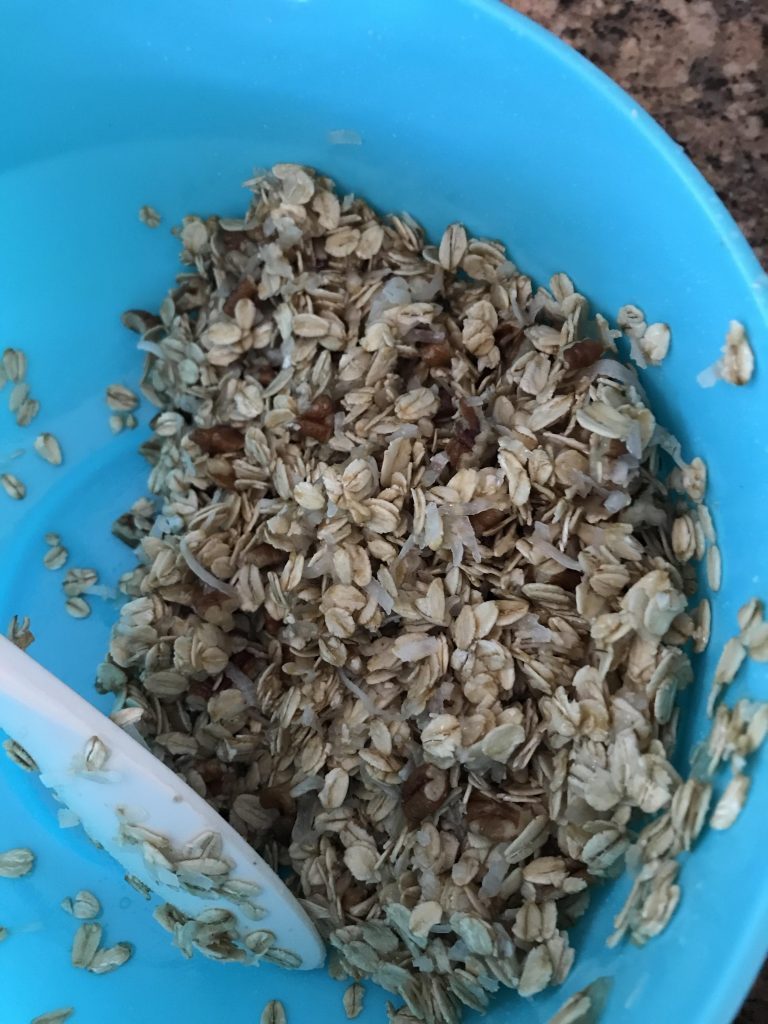
Step 2: Use the One-Bowl Method
In a large bowl, mix together all the dry ingredients and then add the honey and oil. Stir until well coated. Easy, huh?
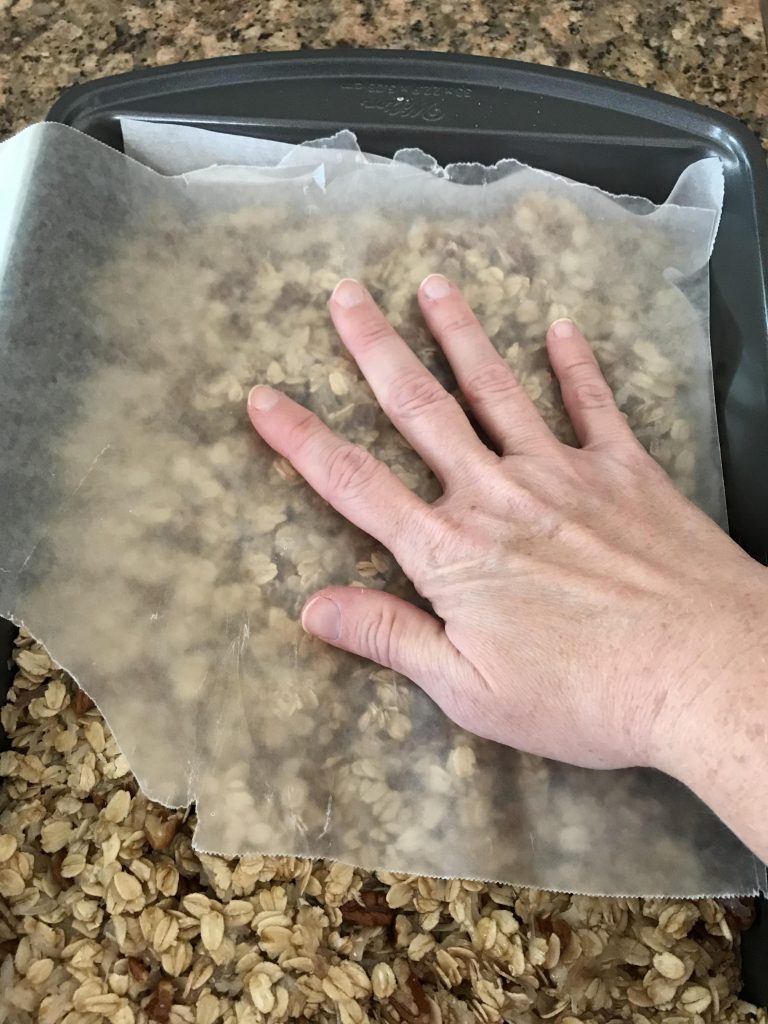
Step 3: Prep your Pan and Press
In a baking dish, you’ll want to line it with parchment paper or aluminum foil coated with butter, oil or non-stick cooking spray. Next, you will pour the granola mixture into the pan and spread it out in an even layer. Using the back of a spoon, wax paper or parchment sprayed with non-stick cooking spray or coated with oil, press the mixture down firmly and evenly.
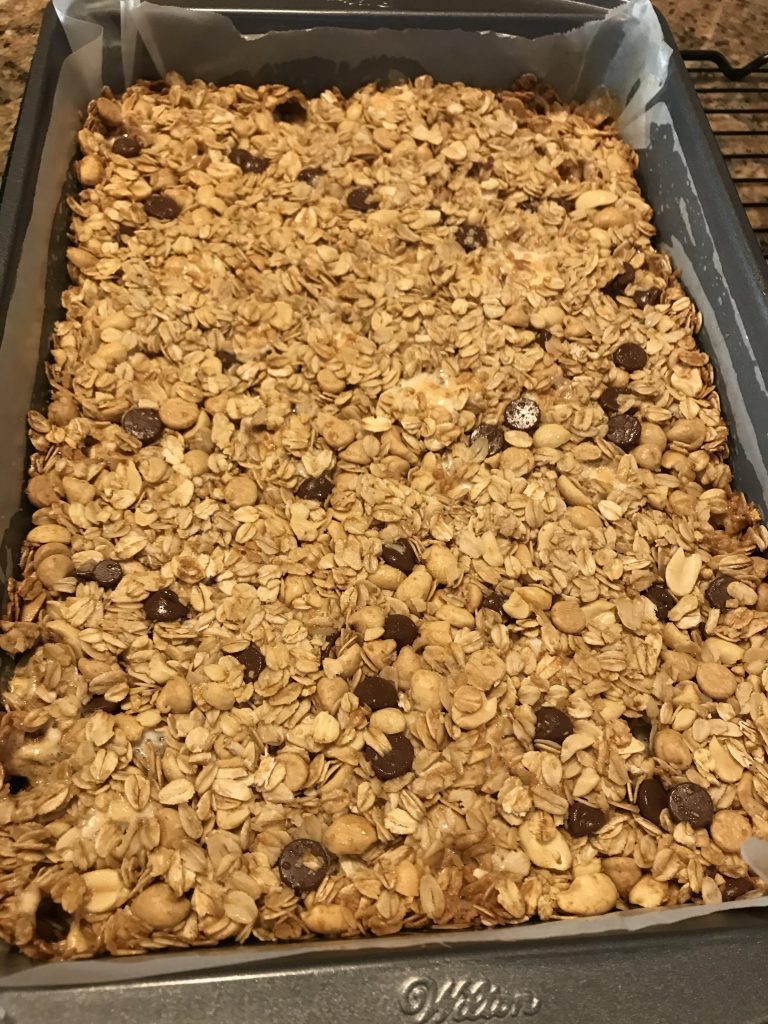
Step 4: Bake
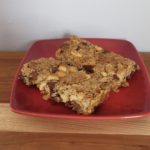
Make sure to press really firmly. Failure to do so will cause the bars to crumble apart when cutting.
And whatever you do, don’t use wax paper to line the pan as you see here. This ended up being a disaster. I decided to leave it in the photo to teach this lesson. The wax paper will stick to the granola and bake on. It’s a mess. You can try to salvage it by reheating it like I did here but it still didn’t taste great after as it had a waxy aftertaste to it. So stick with aluminum or parchment. Bake until golden brown and let cool in the pan.
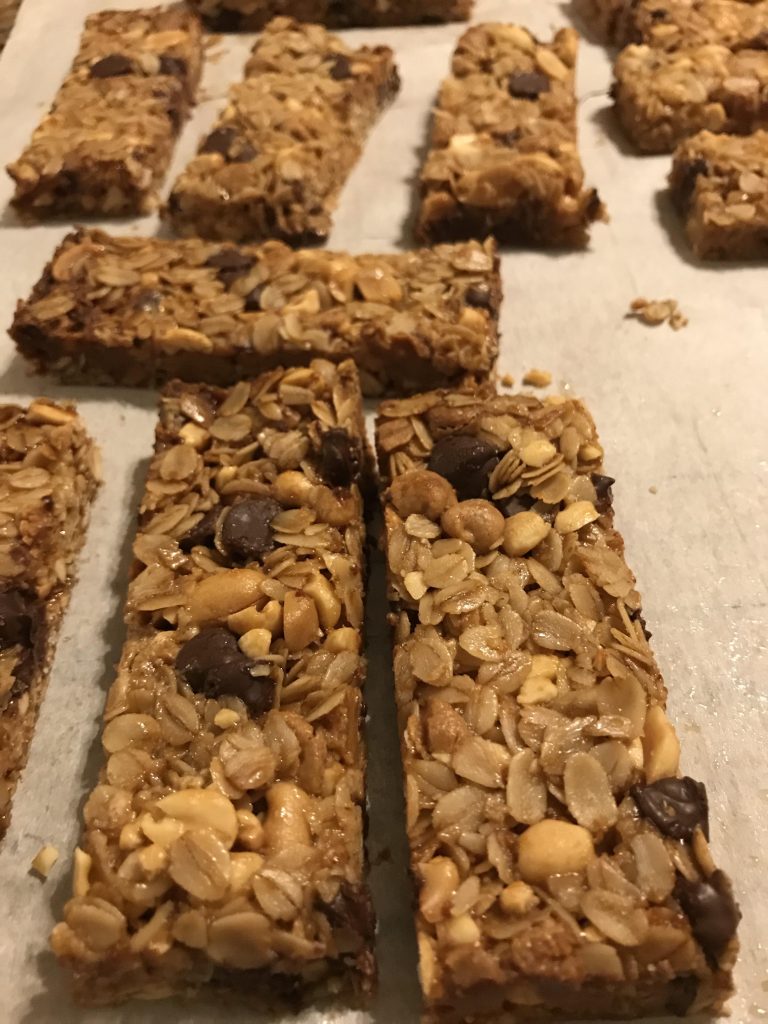
Step 5: Cut the Bars
Using a serrated knife is best for cutting granola. You will have less crumbs and they will hold their shape better.
Substitutions
Here are some common substitutions for the recipe.
- Melted coconut butter, margarine or butter can be used in place of the cooking oil in equal amounts.
- Peanut butter can be substituted for the oil. Use equal amounts and melt it before mixing.
- Peanut butter chips are not necessary. You can use chocolate chips or omit them.
- Corn syrup can be used instead of honey.
Storage
These granola bars can be stored for quite a long time in an airtight container. They do soften as they age, so be such to cover them quickly. They can last up to two weeks before they go stale, but are best eaten in the first 5 days or so. Most of the time, they don’t last that long.
Need help making the peanut lovers granola bar recipe? Check out this video for more help. Once you learn how to make granola, you’ll never go back to the store bought ones. Instead, you’ll be too busy creating your own combination. Happy baking!
Peanut Lovers Granola Bars
Ingredients
- 3 cups (240g) oats
- 1 cup (113g) chopped peanuts
- ½ cup (168g) honey
- ½ cup (113g) chocolate chips
- ½ cup (113g) peanut butter chips
- ¼ cup (60mL) oil
- ½ tsp (2.5g) salt
Instructions
- Preheat oven to 350F (180C.)
- Line a 9×13 (23×33 cm) pan with parchment paper or aluminum foil and coat with non-stick spray or with oil.
- In a large bowl, stir together all the dry ingredients.
- Toss the dry mixture with the oil and honey until well coated.
- Press into the pan with the back of an oiled spoon or with a sheet of waxed paper.
- Bake 20 – 25 minutes. The longer you bake them, the crunchier the bars will be when they cool.
- Cool in pan, remove and place block on cutting board. Cut into into 24 slices. Stores up to 3 weeks in an air tight container. You can also freeze up to 6 months.
0 Comments