
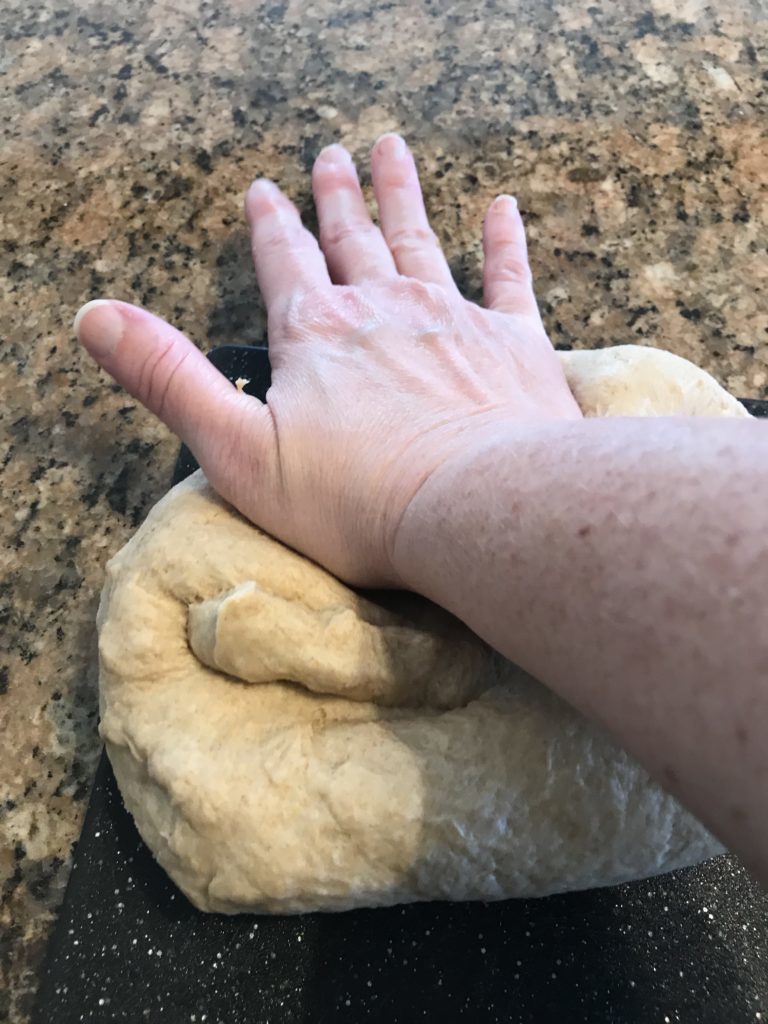
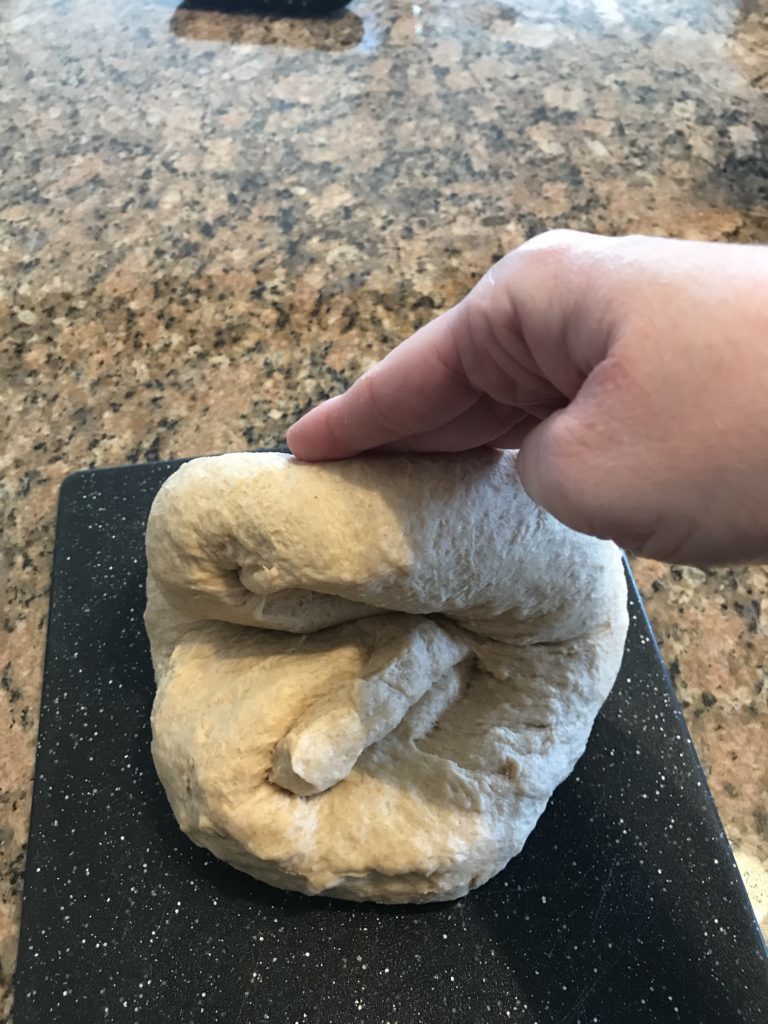
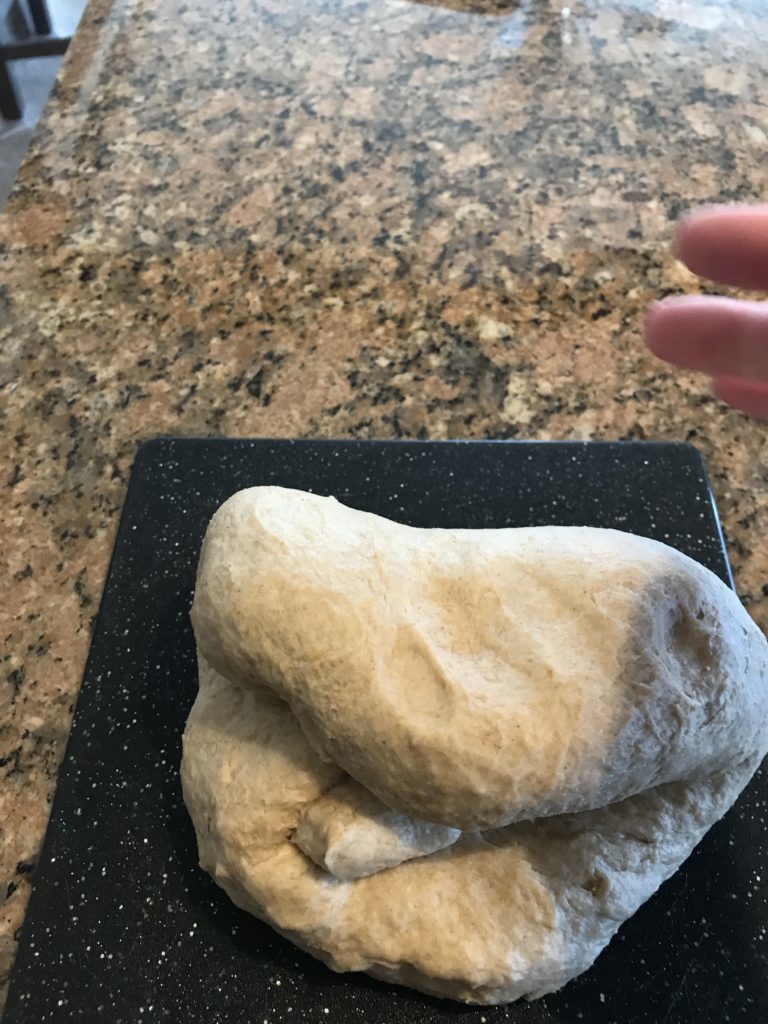
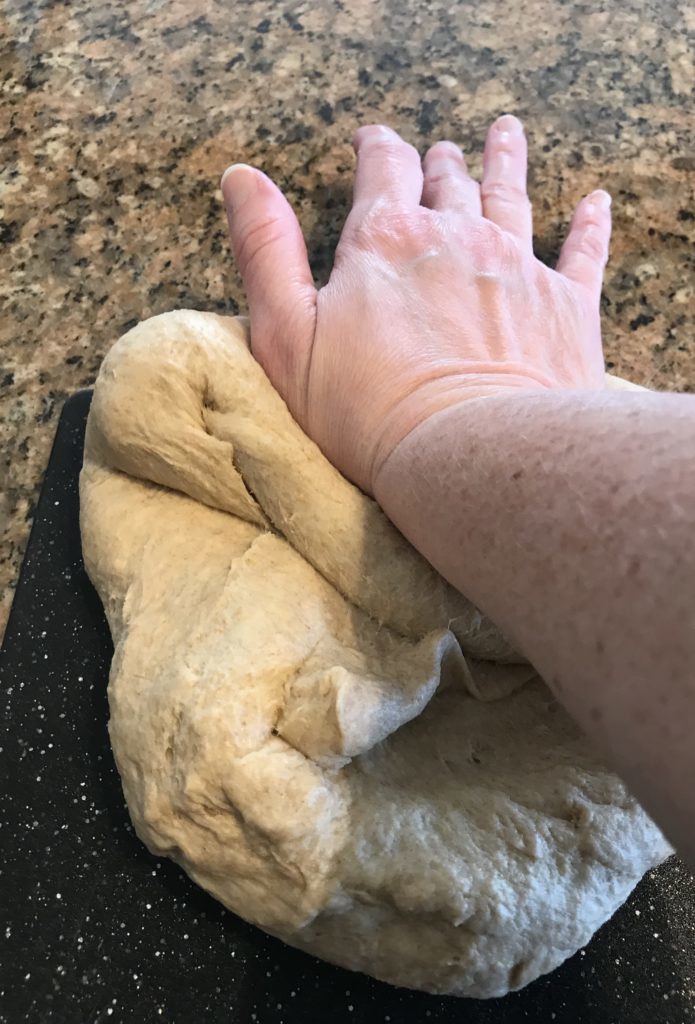
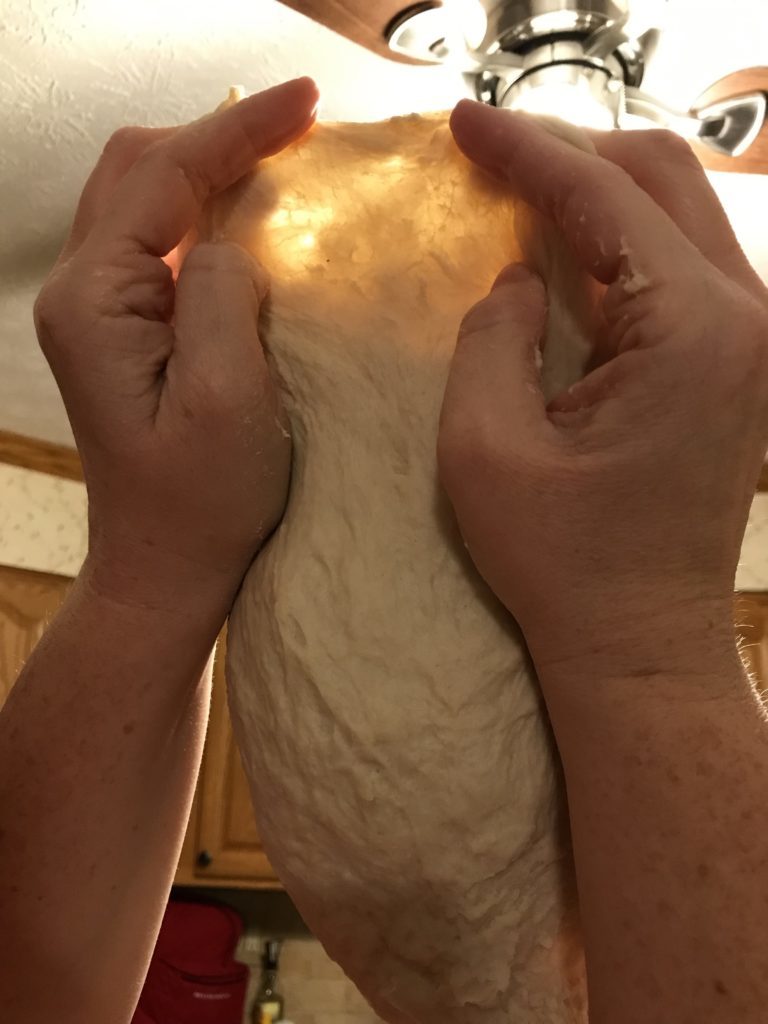
We will be making lots of bread recipes on this site, so learning kneading dough by hand will be an essential skill if you don’t own a stand mixer. Whether you think you can’t do it, have physical limitations or are a beginner, don’t despair. It’s much easier than it looks.
Especially when you find out that I have mobility problems with my right arm and hands yet easily knead dough by hand all the time. The trick is learning you cannot knead like you see on many videos and books out there.
Instead, you have to adapt. Gluten will form whether you man handle the dough or are gentle. Some recipes you only need a quick stir and time does the work for you. Otherwise, learning gentle, steady movements will be key in kneading dough by hand for those with physical limitations. This light exercising of the joints will in turn, help keep the pain away!
I’ll also include a few basic recipes at the end so you can practice. This kneading method is for most recipes you’ll encounter like a loaf of bread, bagels or pretzels. Do you want to sharpen your skills now that you learned this easy method of kneading? When you get comfortable, try learning how to knead sticky dough. With these two simple methods, you’re now ready to take on the world of baking bread. Now that you’ve learned how easy it is kneading dough by hand, what’s the first thing you will bake?


If you need some more help, try out this brief video that goes through various techniques. It will take you through the basics of kneading dough. Bonus: you’ll get to see some imperfect loaves of bread so you’ll feel better about your shaping skills.
Here a few simple recipes to get started baking bread. I like to use the first recipe for a couple pizzas and bake it at 425F (220C) for 20 minutes. The second recipe is a simple sandwich bread that is great for grilled cheese or a club sandwich.
Ingredients
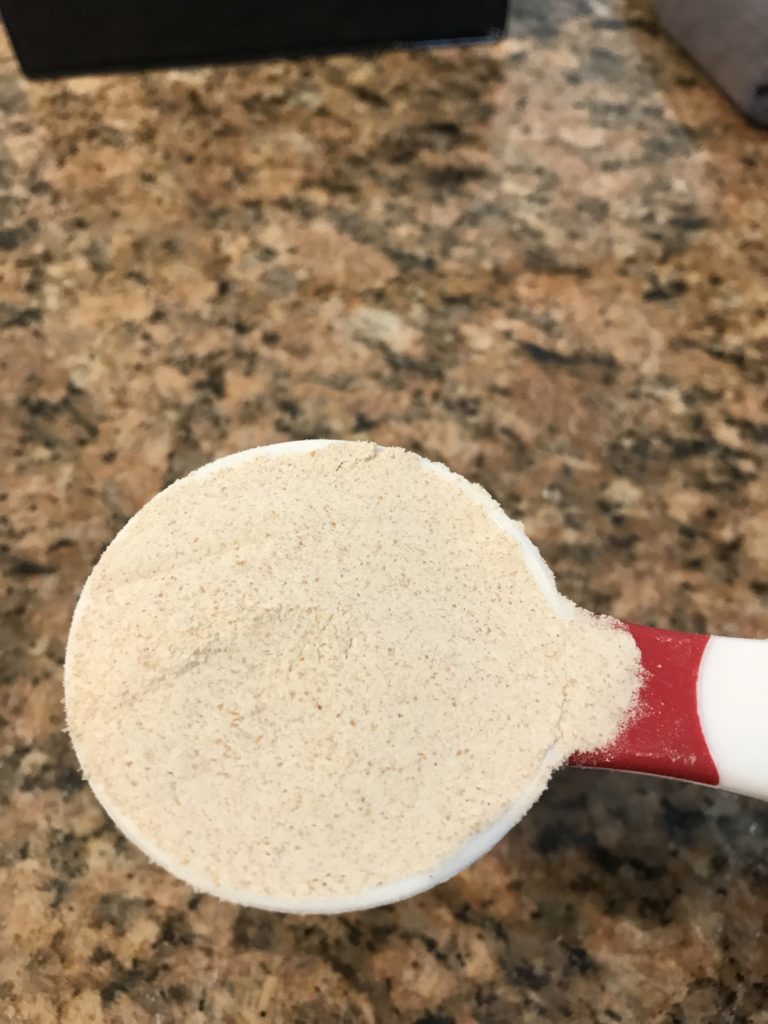
- 3 ⅓ cups (500g) flour
- 1 ¼ cups (300mL) water
- 2 tsp (7g) yeast
- 1 tsp (5g) salt
Instructions
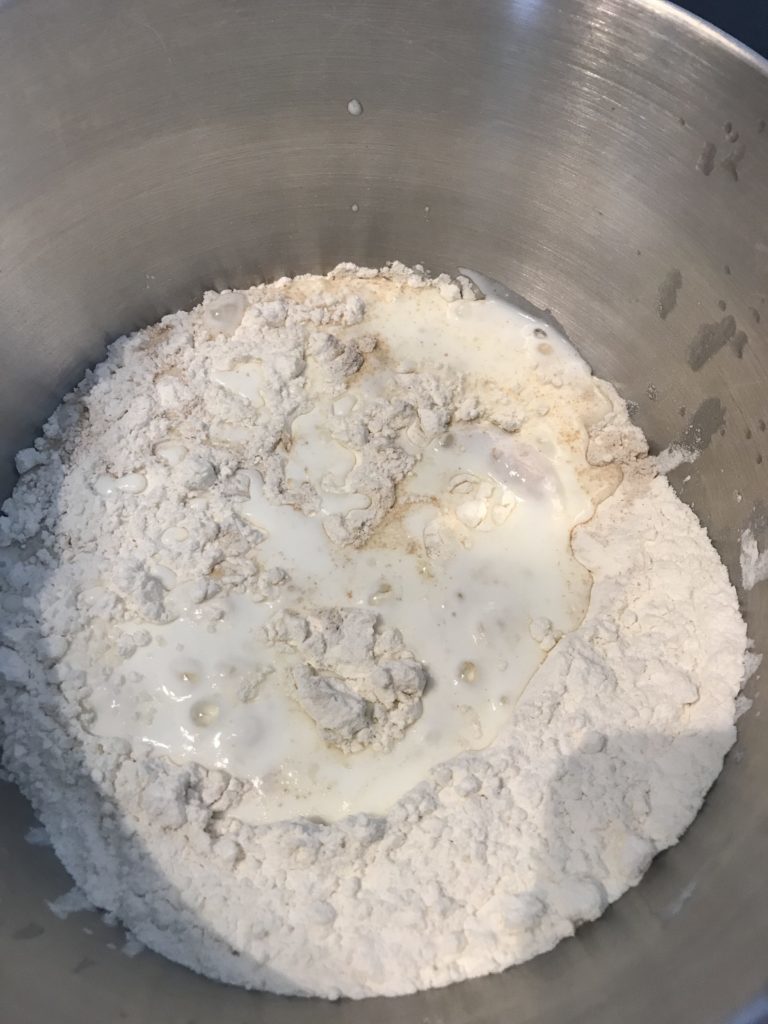
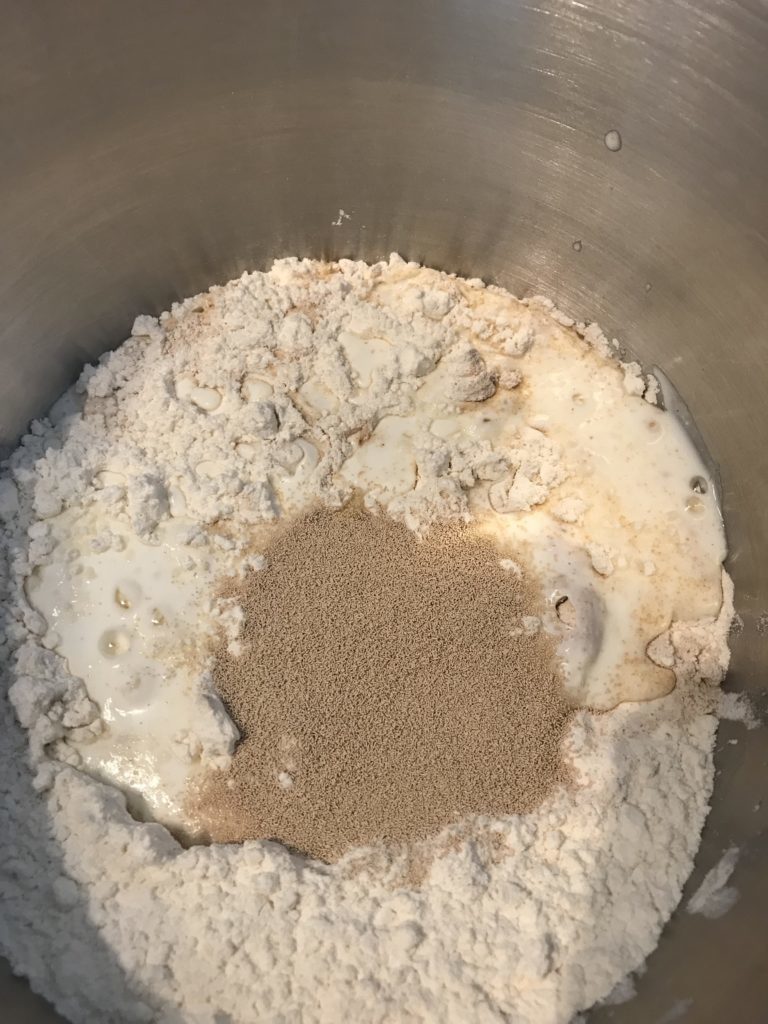
- In a large bowl, stir salt into flour. Set aside.
- Measure water and add yeast. Stir slightly and let sit to hydrate yeast, approximately 5 minutes.
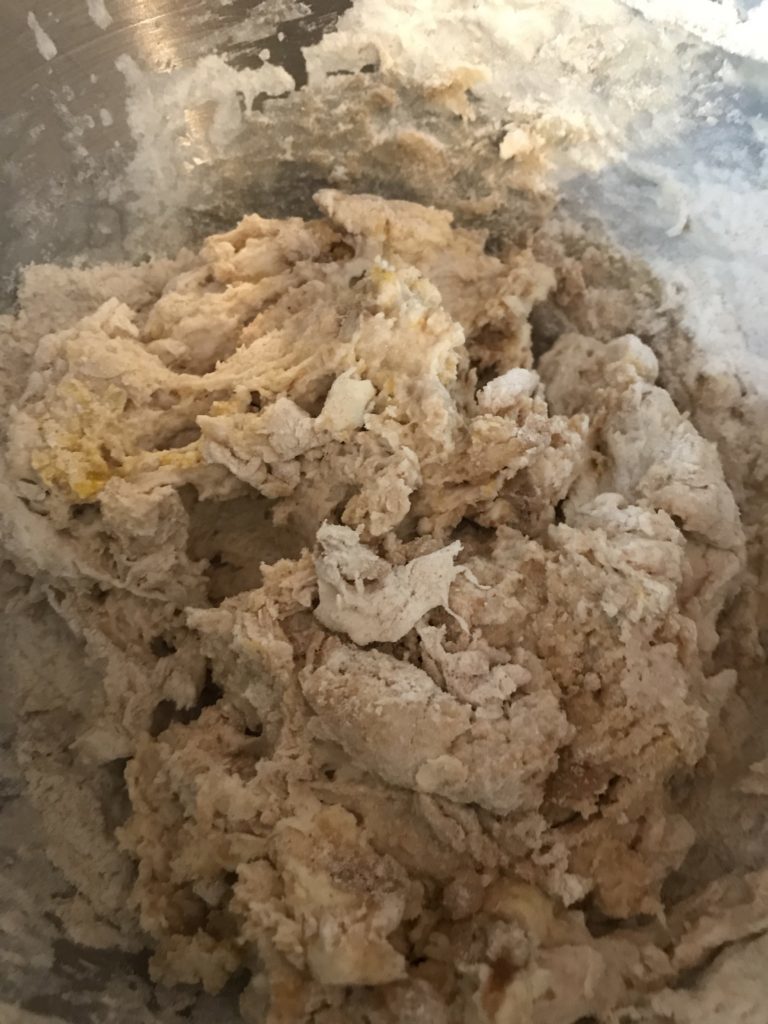
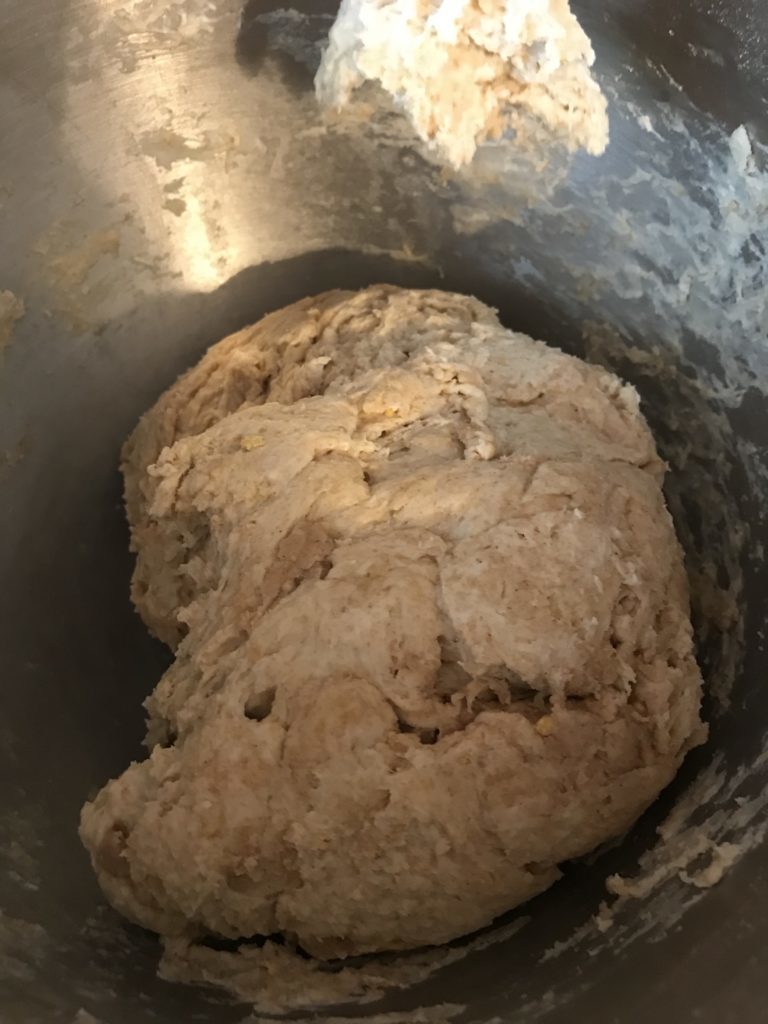
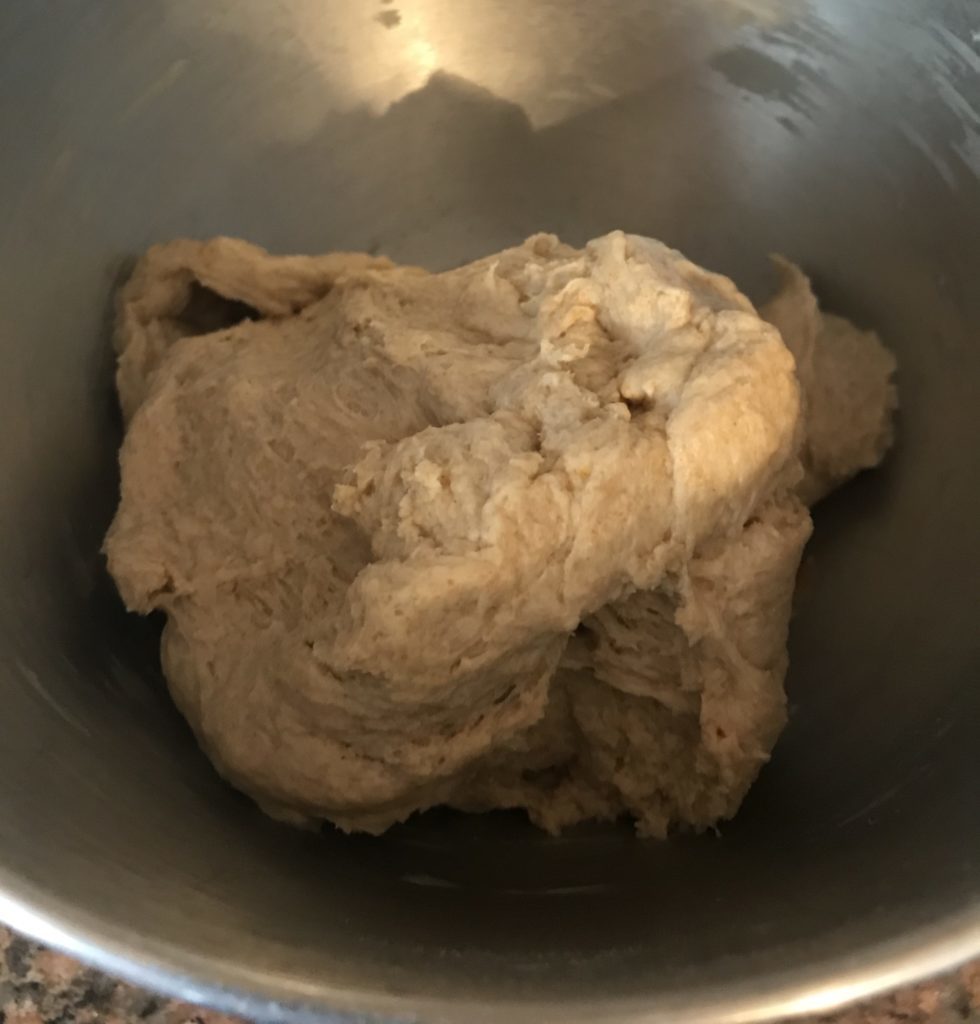
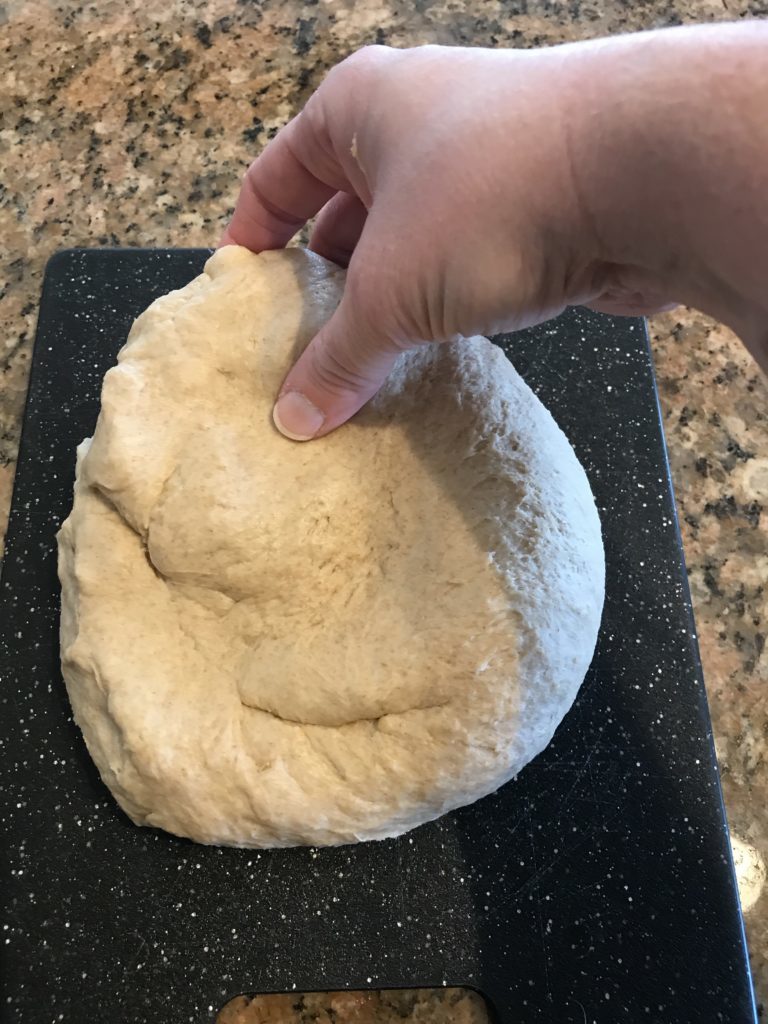
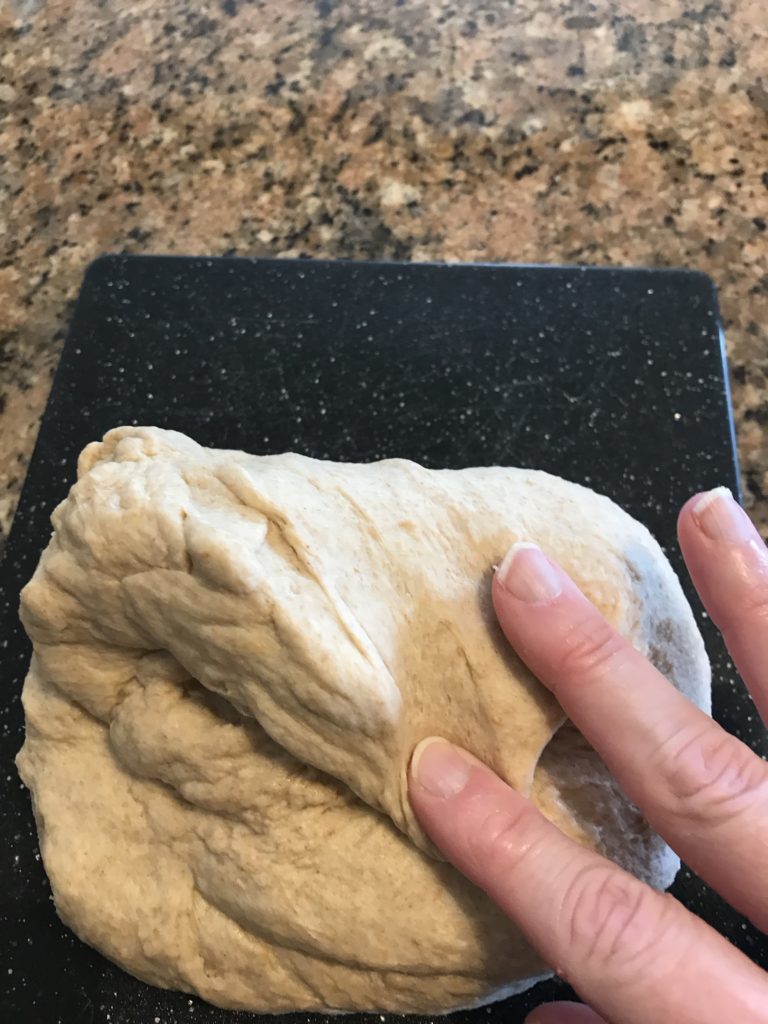
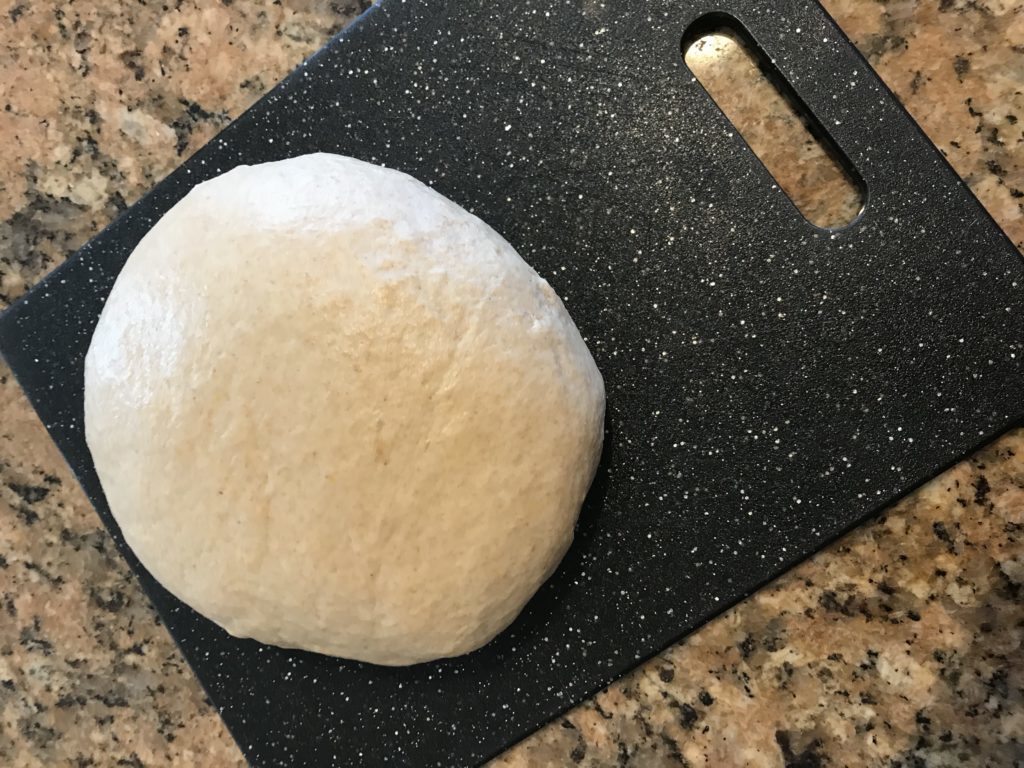
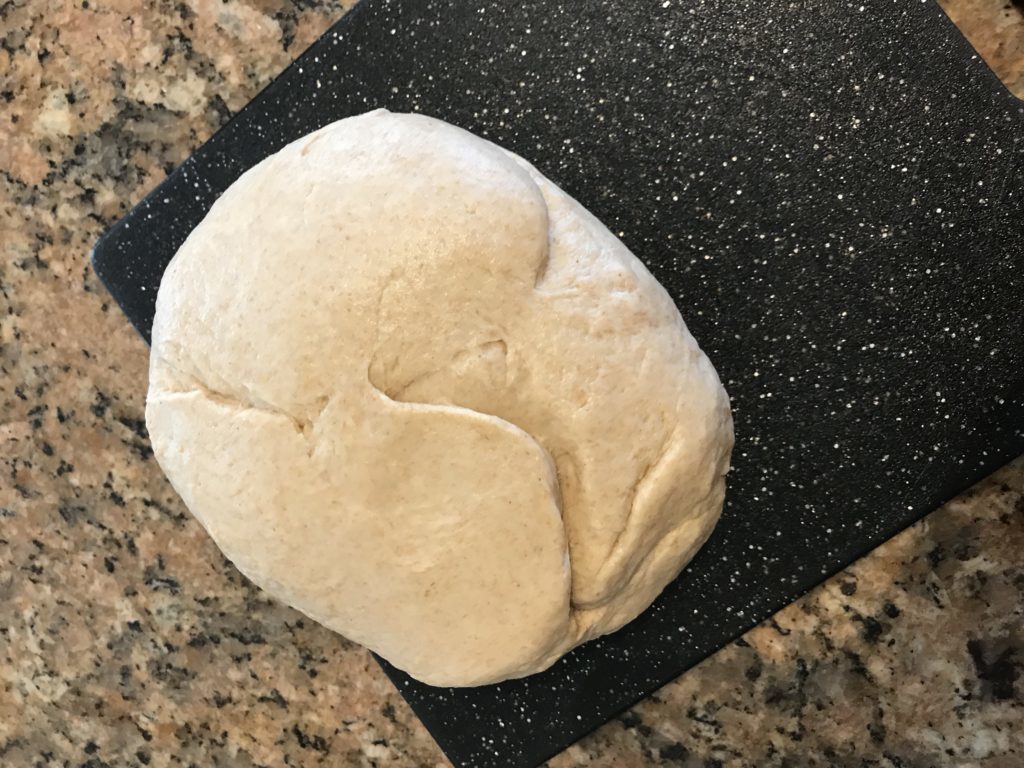
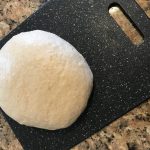
- Add yeast and water to flour and stir until just combined. Turn out onto a clean work surface. Knead about 10 minutes until dough no longer sticks to your hand and when stretched, you can see light through the dough without it breaking.
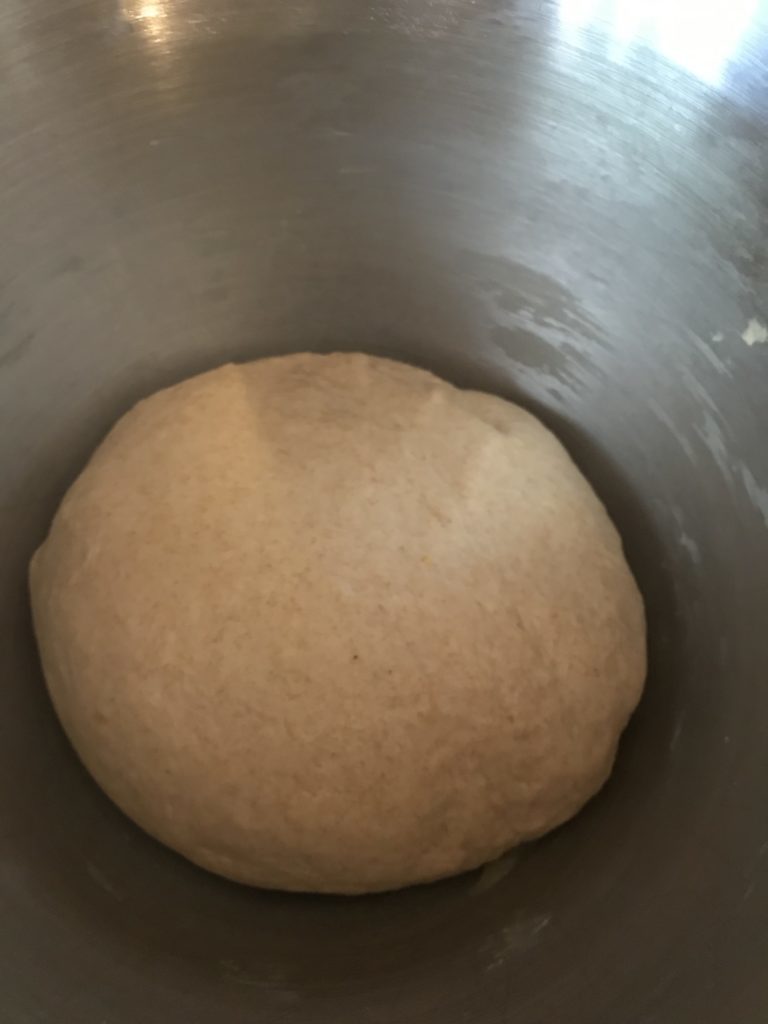
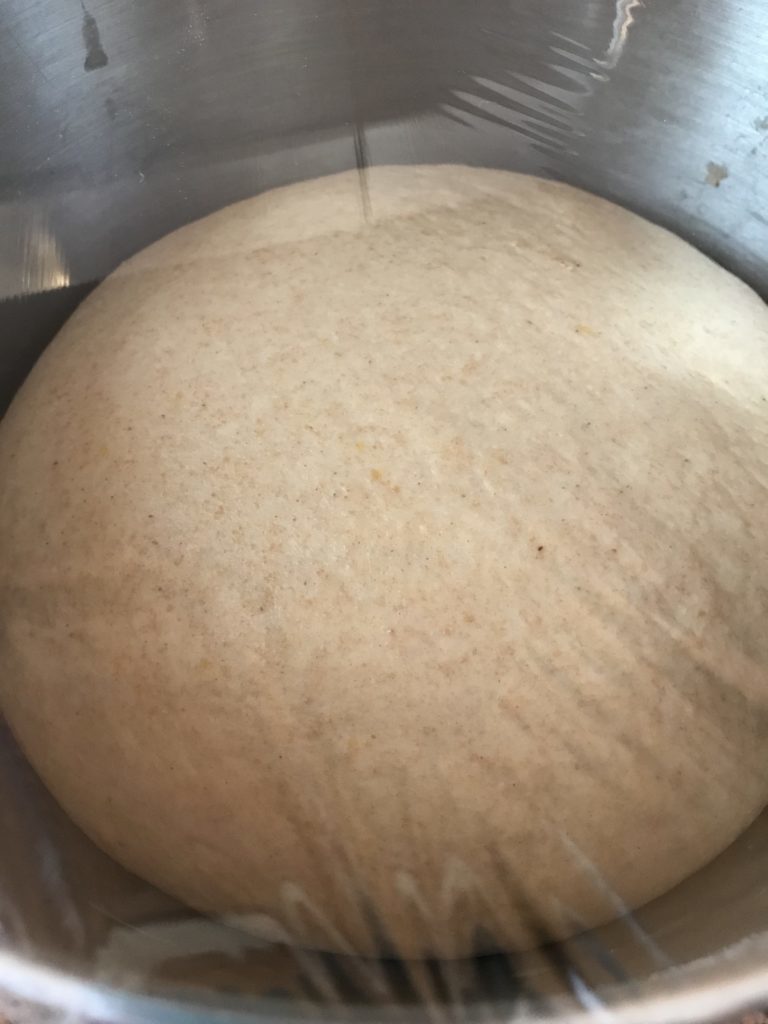
- Lightly grease a bowl and place dough inside. Cover. Let rest for 60-90 minutes or until double in size. It is ready when you press into the dough and it leaves a slight indentation without bouncing back.
Hi! Thanks for this simple guide! I’m new to baking, but I’m learning I like to bake! 🙂 I do have a question. Is there a reason you don’t let the yeast foam first? I’ve only made a few things, so I don’t know much of the why, but most recipes I’ve seen call to activate the yeast first? I have heard though you don’t need to foam it if it’s instant yeast. Thanks for the knowledge! Have a Blessed day. 🙂
Hi, Jordyn!
Welcome to the world of baking! It’s a fun and sometimes frustrating journey. I’m glad you asked this question.
There are four main types of yeast: natural (also called sourdough or starter), fresh, active dry and instant dry yeast.
Fresh yeast is sold in the refrigerated section and looks similar to tofu but brown. It’s not common in the US but seen often overseas. Natural or sourdough is created by capturing your own yeast from flour and water. Active dry and instant dry yeasts are sold in a powder from and look very similar.
Only “active” dry yeasts need to be bloomed in warm liquid 100 – 110F (38-43C) to activate. A good way to remember this is active means activate your yeast!
Instant dry yeast, natural and fresh yeasts do not need this activation and it can actually cause your dough to collapse prematurely if you do so.
The only reason to bloom instant dry yeasts would to check to see if they were still alive. You can do this by adding just a pinch to your liquid and a bit of flour and see if it foams up after 10 minutes or so.
Also, some of the instant dry yeasts will only need one rise with a brief resting period as opposed to two rises like many of recipes state. These are often called rapid rise or quick rising. They will tell you to only rest the dough briefly and then shape the bread. So always check the back of your packaging to see what it suggests. I am not a fan of the rapid rise yeasts as they don’t develop as much flavor. However, they are a great way to make bread for bread machines and if you are a busy mom and still get a good result.
I personally use instant dry yeast when creating most recipes. I will sometimes add it to the liquid and let it dissolve a little just to hydrate the yeast, but I never let it sit unless I’m worried about the age as it’s simply not needed.
Also, people will often tell you to heat up the milk in many bread recipes. This isn’t to activate the yeast. This is more because doughs enriched with milk, butter, oil or eggs take longer to rise and the heating of the milk speeds up the rising process significantly.
Unfortunately, many recipes out there today are written by folk that don’t realize you no longer need to heat up the yeast and let it foam unless it is active dry. So they erroneously tell you to do so. This is where you will often see a lot of comments on collapsing bread or poorly tasting loaves. I hope this all helps you understand the process a little better. Let me know if I can be of further assistance in your adventures!