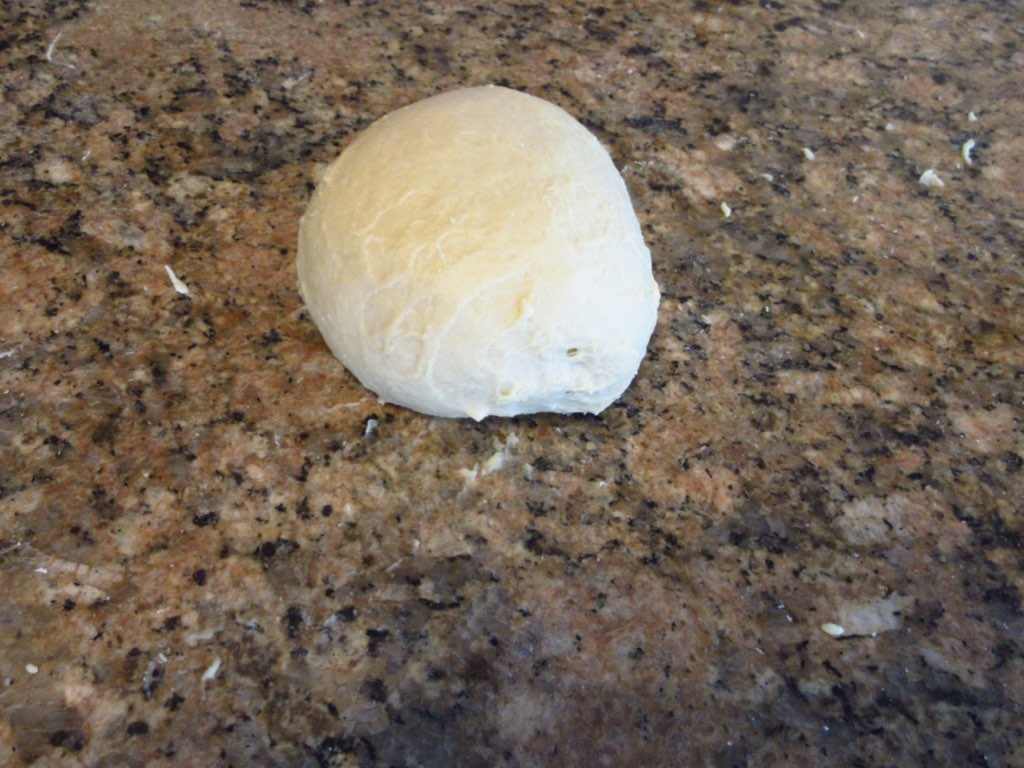
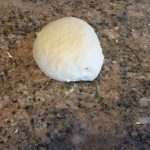
Kneading sticky dough by hand can be a little intimidating for beginners, but it doesn’t have to be. Imagine finding a recipe for some gorgeous cinnamon rolls or another high hydration dough and trying to make it without a stand mixer. Many recipes tell you it is a sticky dough and a mixer is essential. Naturally, you ignore this advice and have a huge mess on your hands because you never worked with sticky dough. You give up and put a lot of flour in to compensate and the recipe doubles in size. Also, you find the bread is the worst ever as a result. Instead of light and fluffy rolls, you have this terribly sad dense brick. All because you didn’t have a stand mixer and no one bothered to show you how to knead high-hydration dough.
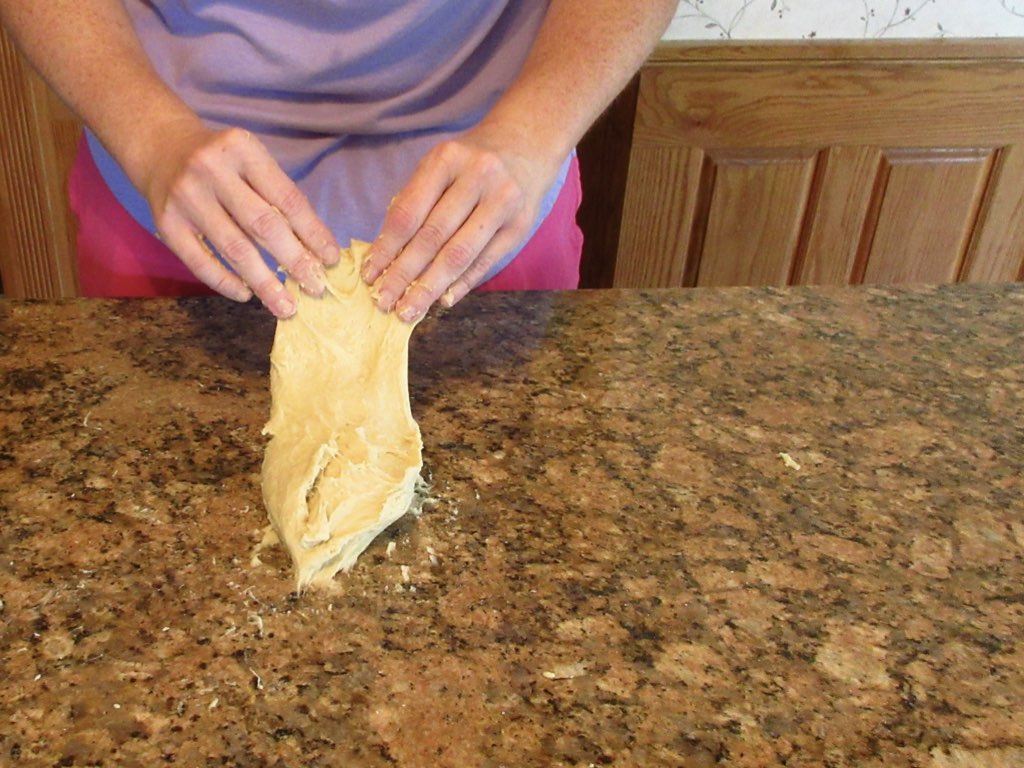
However, you don’t need a mixer to learn how to work with sticky dough! I will teach you how to knead by hand and without any fancy equipment. I will show a few photos, but due to the motion, it’s difficult to get on camera without blur. Therefore, I’m including a brief video so you can see the process in action. I’ve found it’s easier to learn through watching and practicing. If you are struggling, try a few tablespoons less liquid or just a few tablespoons more. Don’t be tempted to do more than that as you’ll start to drastically change the texture and flavor after that.
Once you learn how to do this, and you totally can, we will start making some light and fluffy recipes in the near future. So be sure to check back often! In the meantime, if you want to practice without a lot of expensive ingredients, I’ll give you a cheap recipe below. And if you want to go cheaper, try 200g water and 250 grams of flour. This will give you a nice portion to work with and you can simply toss it when you are done. But why not get a nice recipe for some high hydration dinner rolls while we are at it? This will be an 80% dough. There will be nothing higher than that on this website and most recipes will be around 60%, which those recipes are even easier to knead by hand. So master kneading sticky dough at this level and you’ll be able to make all bread with little problem! Happy baking!


High Hydration Dough
Ingredients
- 1 ¾ cup (250g) flour
- ½ cup (120mL) water
- 1 large (50g) egg
- 2 tbs (30mL) oil
- 2 tbs (25g) sugar
- ¾ tsp (4g) salt
- 1 tsp (3g) yeast
Instructions
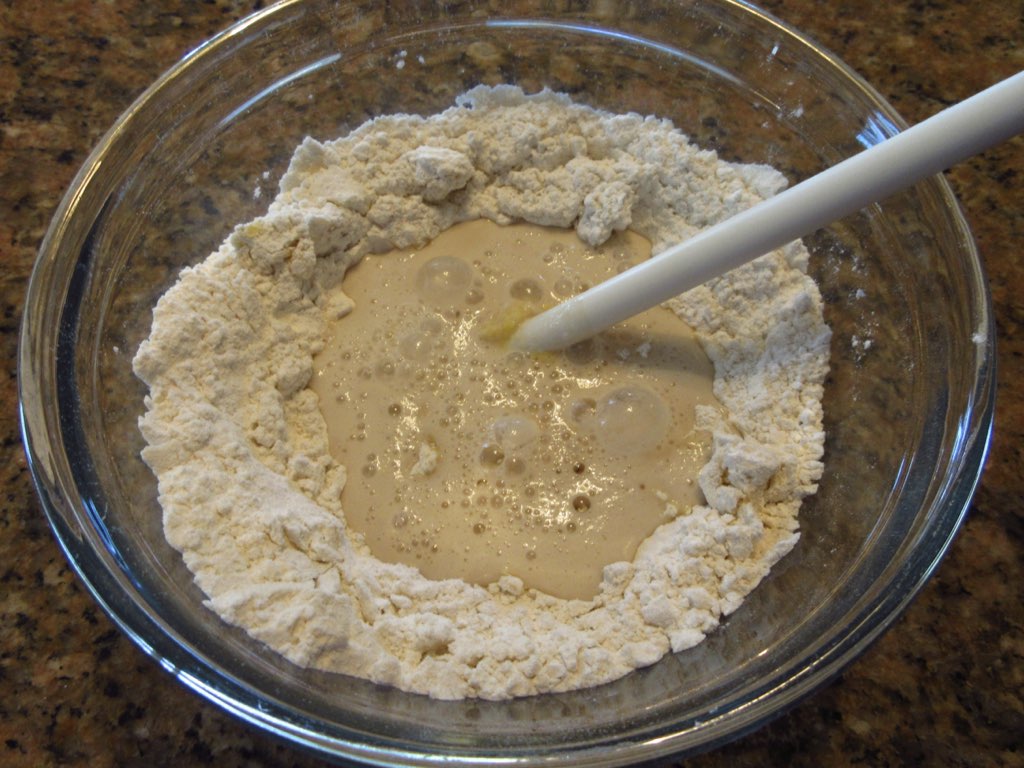
- In a bowl, mix together all ingredients until a shaggy dough forms.
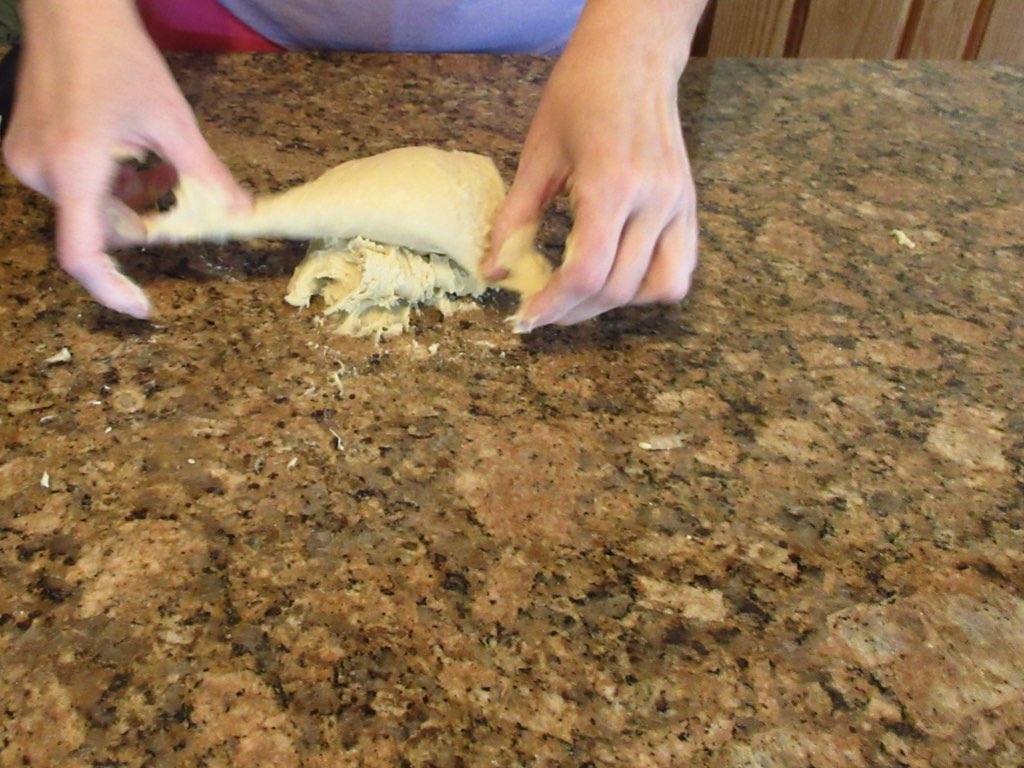
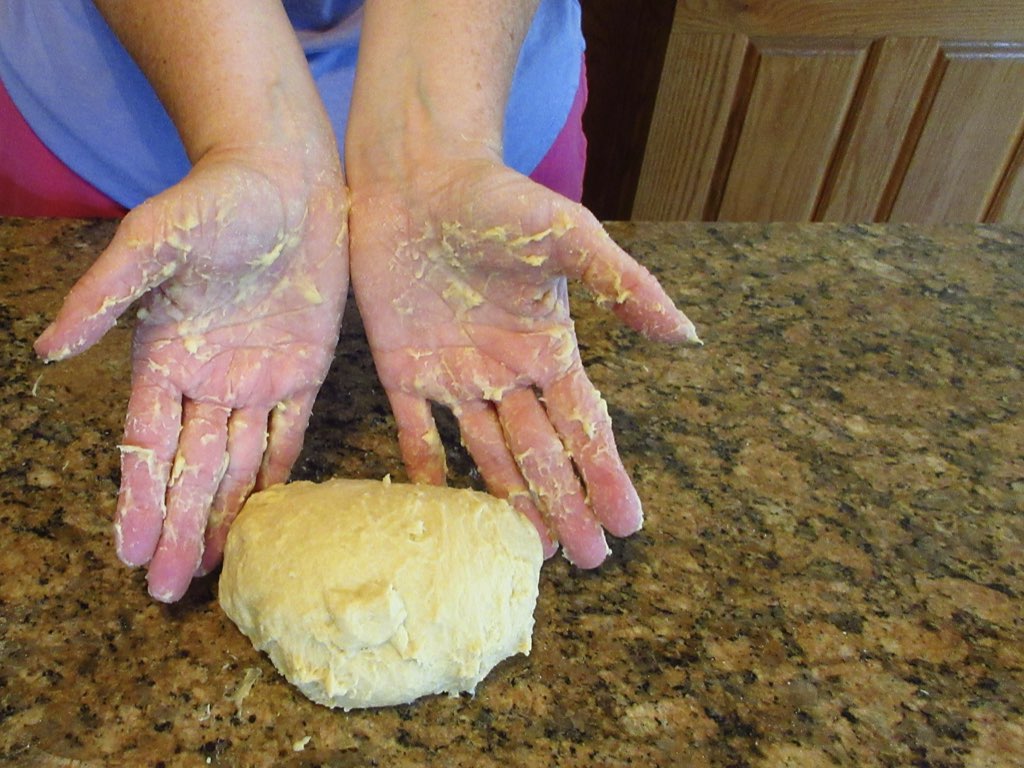
- Knead dough by slapping on the table and folding over. Repeat for 8 – 10 minutes or until dough stretches easily without tearing.
- Cover and let rest until double in size before shaping, about 45 – 90 minutes depending on type of yeast used.
- Preheat oven to 375F (190C.)
- Divide into 6 portions, place on a parchment lined tray and allow to rise until at least double in volume, about 45 minutes.
- Bake 15 minutes or until golden brown.
“Repeat for 8-10 minutes”? Ummmm
That was not my experience. I kneaded this dough for 30 minutes and the gluten still wasn’t fully developed. Then, seeing the size of the dough ball (that has not risen at all in an hour now), I decided to make another batch. I used a stand mixer for the second batch. After more than 30 minutes in the stand mixer, this dough still needed more attention.
So, how can one accomplish this by hand in 8-10 minutes?? I might be a little slow because I’m new to handing wet dough, but I know I’m not THAT slow. (For context, I bake bread, etc. 1-4 times a week.)
What the heck???
Abigail, I must apologize for the long delay on responding. I have been under the weather on not online much.
Whereas 8-10 minutes is a general guideline, this can vary slightly, depending on the skill level, disabilities, making by hand or machine, etc. However, it should generally not take more than 20 minutes, especially by machine. I used to make this dough one handed as I was recovering from an injury and it only took me 15 minutes.
I am suspecting it could be your yeast. Look at the directions on the packet of yeast. Some yeasts need you to activate the yeast by heating the yeast to a certain temperature. If that isn’t the case, check to see if your yeast is still alive and well. Add 1 tsp of yeast and 1 tsp of sugar to 1/2 cup of warm water. Stir and let it sit for 10 – 15 minutes. It should foam up and form a “head” like you see in some sodas and beer. What could be happening in the stand mixer, the longer you knead the dough, it starts to warm up quite a bit. This is why I’m thinking your brand of yeast may need activated by using warm water. Hope this helps! If you are still having trouble, feel free to reach out.
Thank you very much for the video and recipe. Do you let your dough rest before kneading (as you mention in the video) or knead right away (as suggested in the recipe)?
Hi Jennifer,
I personally will knead the dough right away as I enjoy the process of watching it come together. However, if you are new to working with sticky dough or the dough is really high on the hydration side, the resting basically gives the flour and yeast a chance to absorb that water and will do some of the “kneading” for you by marching around and building up gluten and gliadin strength. The dough as a result becomes more stretchy and easier to work as it is less sticky from the flour soaking up more of the moisture with time. There’s a fancy word for it called autolyse if you want to read more about the process. King Arthur’s website has a fabulous article on it. My advice is to try both methods and see which one you like best!
Thank you so much for this thorough, quick and easy-to-understand response. I really appreciate it. 🙂
You’re quite welcome! I hope it helps you have much success in working with this incredible type of dough. If you need more help, let me know and I’ll try my best! 🤗
Hi. I used your technique today (I couldn’t wait to try it) to great success. I made rolls (half white flour, half whole wheat flour) that have a very sticky dough, at least initially. They’ve never turned out better. They were super soft and delicious. Your video gave me the confidence to keep going when I might have given up. I can’t thank you enough. Kneading sticky dough was the sole reason I was contemplating buying a stand mixer, but with your technique, I can now put that idea to rest. Again, thank you so much.
That is fantastic news about the rolls! They sound perfect and now I want some. 😁 Now that you mastered this technique, you will be making some of the most amazing bread imaginable. You can make some amazing sweet breads like cinnamon rolls with the sticker doughs and you’ll be amazed how much better they taste!
By the way, if it helps at all, I have a stand mixer and I am not a fan in general. It’s not always the greatest in how it kneads doughs. Often times it will either spin around not doing much if the dough is drier or it will only grab the insides of the dough if it’s more sticky. They really seem to only work well for a specific range. But I’ve found I usually have to finish kneading by hand so I just don’t bother most of the time. It’s the brand name everyone tells you to get, so maybe others are much better.
Thank you so much for the most practical explanation and demonstration I’ve seen online anywhere.
You are very welcome! Please let me know if you need any more help. It will get easier the more you practice.
Great recipe.
Thanks, Jim! Glad it was helpful.
Thank you so much for this method. I love it. I am a beginner and I was trying to duplicate my Mother’s recipe. Sometimes it would come out too wet. I searched and finally saw your demo. Thank you. Thank. Every batch is perfect.
Jean, I’m so glad I was able to help you get your Mother’s recipe just right! This makes me very happy as recreating memories through loved ones baked goods is so precious. Now that you’ve mastered her recipe, you are sure to get even better. Sticky dough is hard for many experienced bakers so you have natural abilities!
Thank you very much! Your youtube video and this recipe worked out really well!
You are very welcome. Sorry that I didn’t reply sooner, the comment got hung up in the spam filter. I’m really glad it was of use to you as working with sticky dough can be frustrating to learn without some guidance.
Simply amazing, I just chucked it in as a loaf, dusted with some flour and put in a tray of water.
It was so soft
Owen, so very glad to hear the method worked for you! There’s nothing quite like the smell and taste of fresh baked bread. It’s my favorite thing to bake.
This was incredibly helpful, thank you so much
You are very welcome!