A Little Background on Creating this No-Bake Cheesecake Recipe
We love cheesecake! We never pass up the chance to make one. So when a viewer of our YouTube channel recently asked us if we would show them how to make a no-bake cheesecake, we said absolutely! We love helping out fellow bakers just as much as we love cheesecake, so we got to work creating the perfect recipe!
We also wanted to give our fellow baking friend, Karen, some options. So we are going to show the two most popular methods. There is a third method that uses a lot of cream cheese with a can of condensed milk, but it frankly tasted too sweet, was a bit temperamental and did not have that classic cheesecake consistency and flavor we desired. We decided just to stick with the two that are nearly identical and discuss the pros and cons of each.
Whipping Cream vs. Whipped Topping
When it comes to making the best no-bake cheesecake, we have to break the news to you. This is one instance where whipped topping (Cool Whip) is the winner over fresh cream or whipping cream. If you have followed our baking adventures, you know that we are all about using natural, fresh ingredients whenever possible. We are not fans of high fructose corn syrup, artificial flavors or shortcut ingredients loaded with preservatives. Except, when they do a better job and serve a function that can’t be easily substituted.
Whipping cream does a good job as a substitution in this recipe, but the shape isn’t as sturdy and the texture isn’t as firm as you would expect a cheesecake to be. It takes on a…well whipped cream type consistency and the no-bake cheesecake ends up tasting like slightly tangy whipped cream more than cheesecake, as the amount of cream needed simply overpowers the flavor of everything else. It’s a lovely cheesecake, don’t get us wrong. It’s just not what we are after.
Let’s compare the two visually. Below, one slice is made with whipping cream and one is made with whipped topping, or Cool Whip as it’s often called. Can you tell the difference? The one with the fork is made with fresh whipping cream. The one on the right is made with whipped topping. See how the texture is much softer for one, where the other holds its shape very well? In this instance, whipped topping is the winner, in both taste and texture. If you want to use fresh ingredients to make a cheesecake, we highly recommend making a baked cheesecake. It’s worth the effort and time for that classic cheesecake taste and texture. But if you are wanting a delicious no-baked variety, this is the time to use the whipped topping. The stabilizers they put in their products just out perform whipping cream every time, regardless of the stabilizers added to fresh cream.


Step-By-Step Instructions
So now that you have learned why we make this no-bake cheesecake with Cool Whip or whipped topping, let’s get to making this delicious and easy dessert! But what if you want to make a no-bake cheesecake without cool whip? Don’t worry, we will show you how to use fresh heavy whipping cream as a substitution as well.
The first thing you’ll need for this recipe is passive time. You will need to bring ingredients to room temperature or a softened state, and then you have to wait around for the cheesecake to chill. The active time making this cheesecake is minimal, but you do have to plan ahead. Especially if you are using whipped topping as it is often sold frozen.
Step 1: Make or Purchase the Graham Cracker Crust
You will need a 9″ (23cm) pie pan or you can purchase a pre-made graham cracker crust. Both are excellent options, but we think the homemade crusts always taste best. And they are easy to make.
To make your own graham cracker crust for this recipe you only need two ingredients. First, melt 5 tablespoons of butter using the microwave or your stovetop. Since we are not going to be baking this crust, we are using a little extra butter to hold everything together. Next, crush up 9 full sheets of graham crackers until they are fine. You can use a plastic bag and a rolling pin or a heavy drinking glass to crush them. You can also whiz them in a blender or food processor. Pour the melted butter over the graham cracker crumbs and stir until well moistened.

Press the crumbs evenly and firmly into the bottom and up the sides of the pie pan. Chill until firm. This will typically take 20 – 30 minutes.

Step 2: Bring Ingredients to Room Temperature
When using Cool Whip or other whipped topping brands, you typically buy them in the freezer section. Each manufacturer is different so be sure to follow their directions. A general guideline is to expect this step to take 4-8 hours. This is the hardest part of this recipe: the waiting around for the ingredients and waiting for the cheesecake to set. About 1/2 hour prior to the time indicated on the whipped topping, take out your yogurt and cream cheese as well. If your house is very warm, this may only take a few minutes. Our house usually stays around 72 – 76° F (22- 24°C) and it takes 30 – 45 minutes for cream cheese to fully soften. Do not leave milk products out longer than an hour or so for food safety.
Step 3: Mix the Ingredients
In a large bowl, add the cream cheese. The block kind works best for no-bake cheesecake recipes as it holds a better shape after chilled.
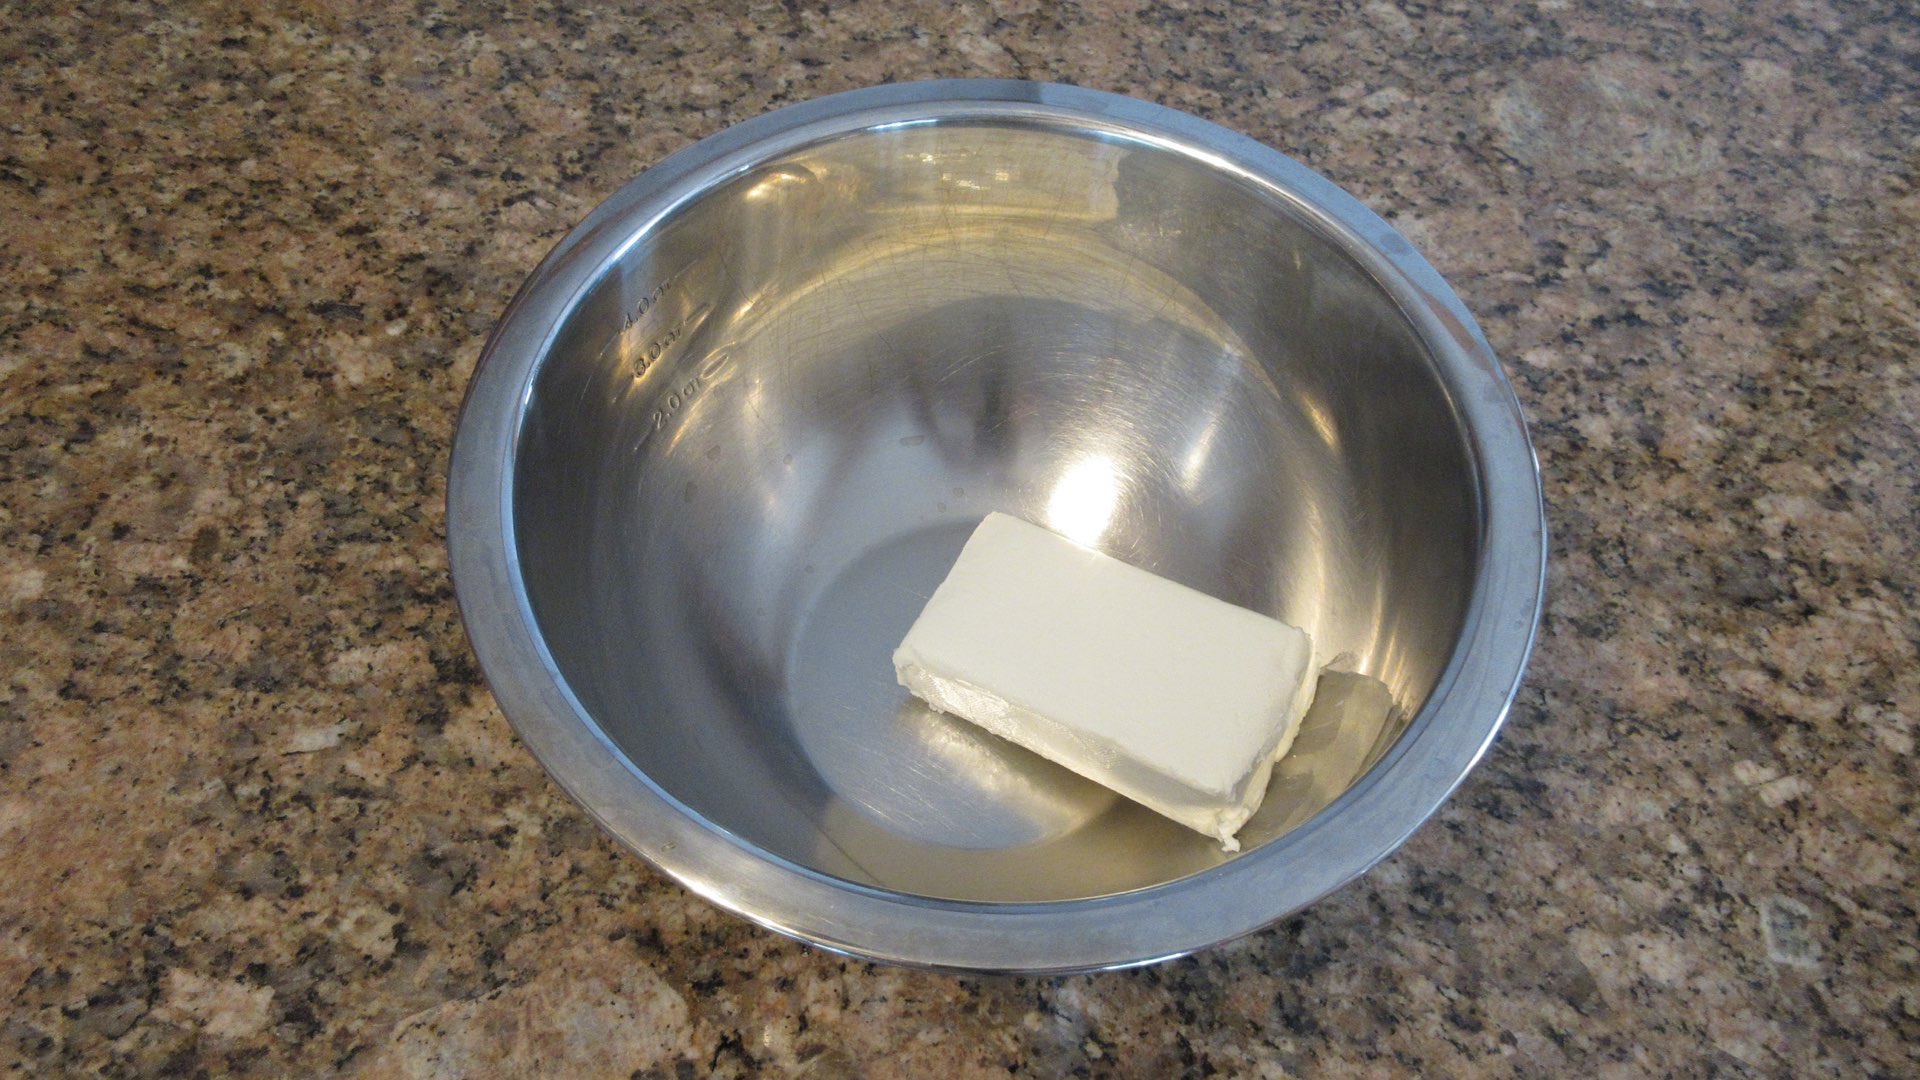
Beat on medium speed until it is very smooth and you do not see any lumps. Take your time with this step as this will make or break your cheesecake. You want a smooth cheesecake after all.
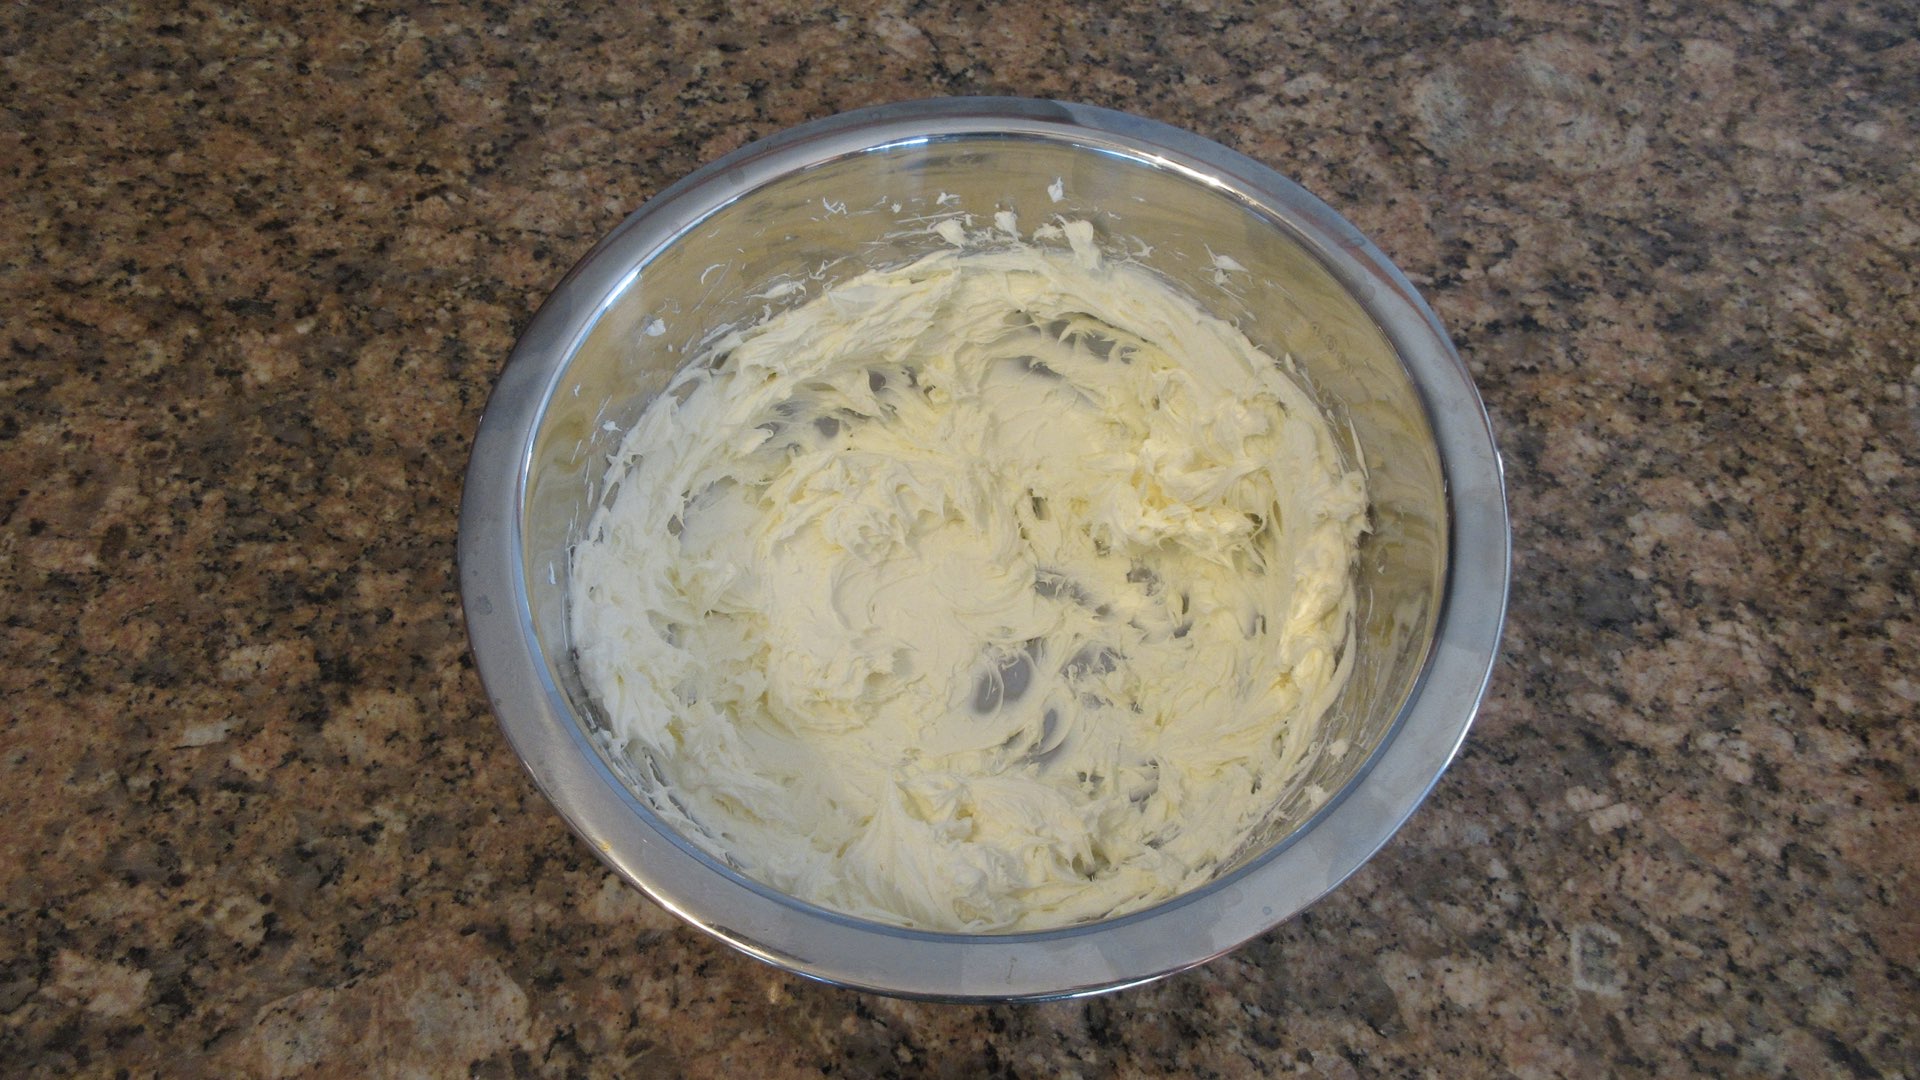
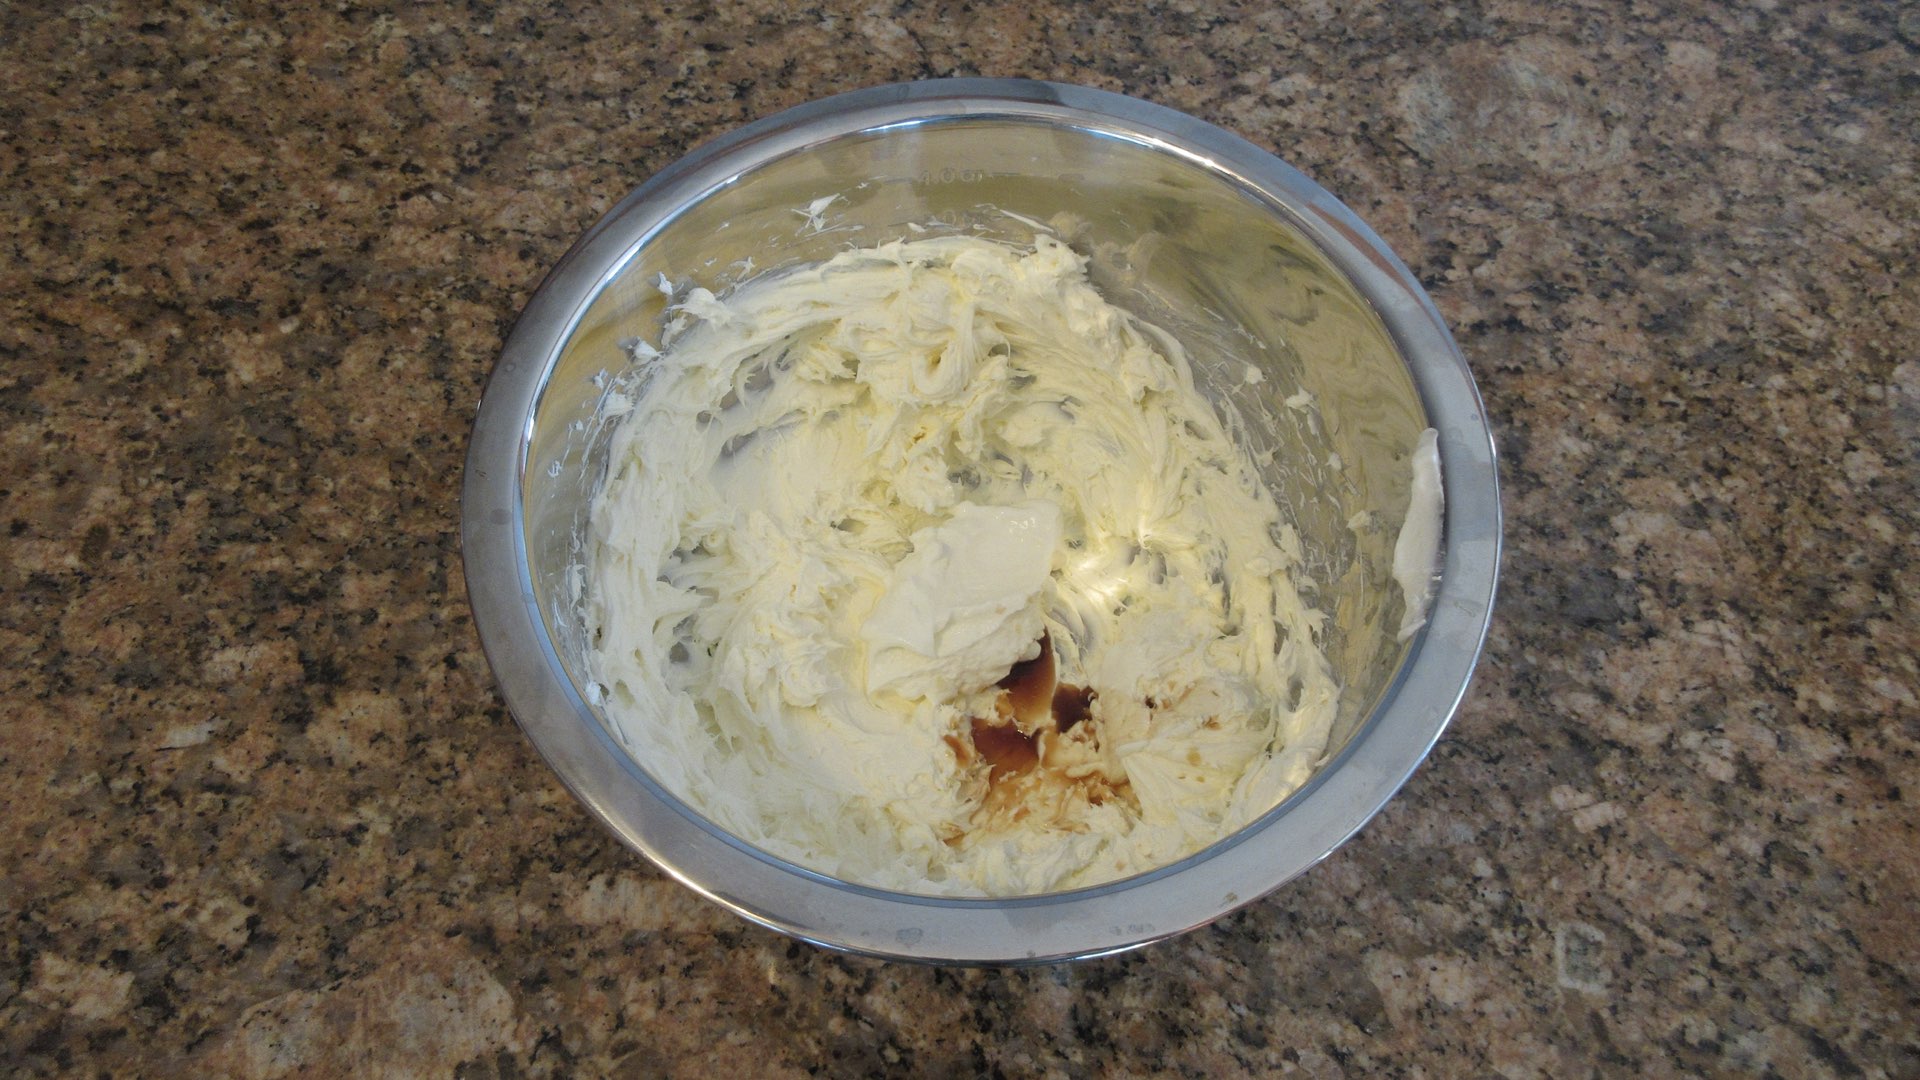
Add the yogurt (or sour cream) and beat until there are no lumps and it is well combined with the cream cheese. Stop and scrape the sides of the bowl to ensure the two ingredients get thoroughly mixed. Next mix in the vanilla and salt.
Now beat in the sugar, scraping down the sides on occasion.
Only Follow this Section if Using Heavy Whipping Cream and not Whipped Topping
If you want to substitute whipping cream for the whipped topping, follow this step. If not, skip ahead to the next photo.
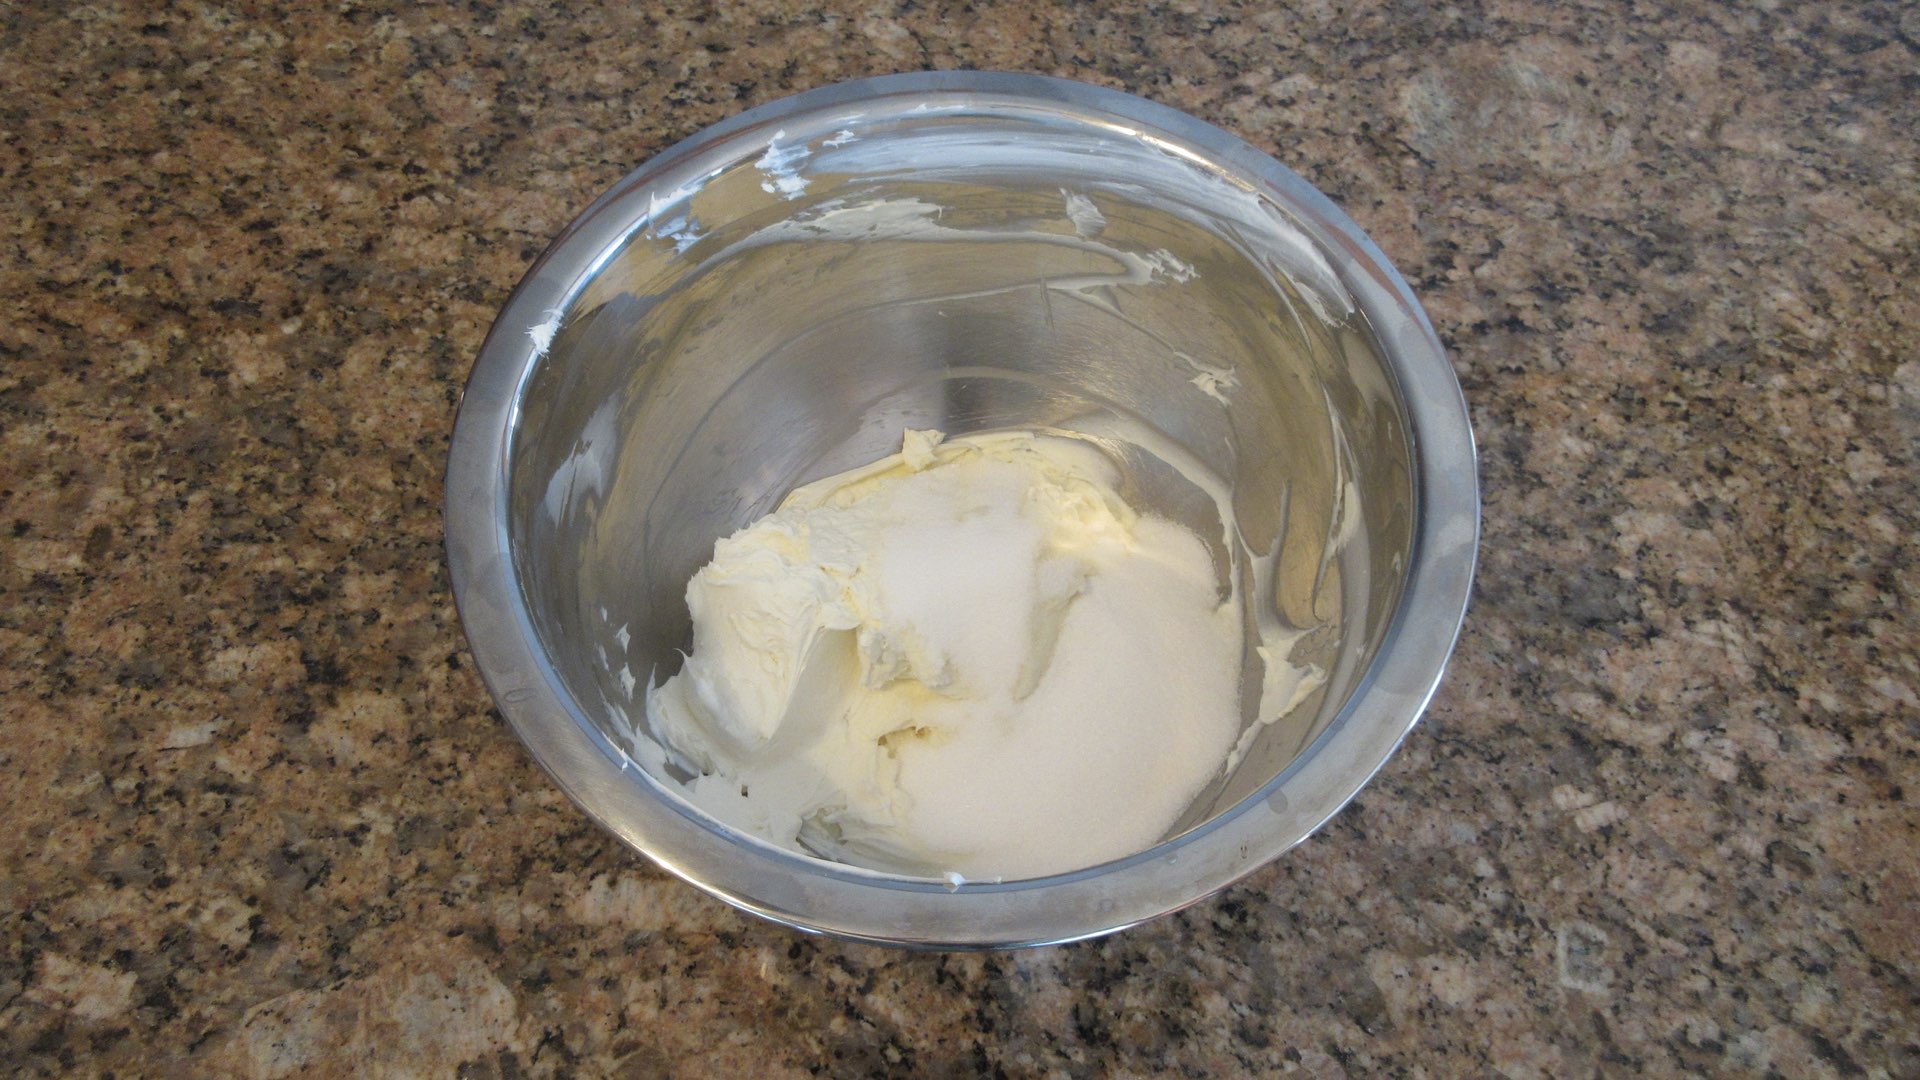
Pour 1 cup (240mL) of whipping cream into a separate bowl and beat on medium just until stiff peaks are formed. Do not over-mix. Over mixing will cause the cream to separate and curdle. It should look like the photograph shown below. Gently fold the whipped cream into the cream cheese batter in place of the whipped topping. You may want to increase the sugar to 1/3 – 1/2 cup (67 – 100 g) of granulated sugar to taste.

Finally, gently fold in the whipped topping or whipped cream. The texture will change and thicken.

Step 4: Fill the Crust
Spread the filling into the chilled pie crust evenly. It will be a very thick batter and a bit difficult to spread. Chill the cheesecake several hours, overnight is best, until the filling is set.

If you are using whipped cream, the texture will be more loose and fluid. It will spread easier, but it will not firm up as nicely.

Step 5: Serve!
After several hours, your cheesecake will be ready to eat. Depending on which ingredient you chose will determine what the slice looks like in the end. We highly, highly recommend saving the whipped cream for garnish like you see below and enjoy a nice textured cheesecake by using the whipped topping. We drizzled ours with a bit of the chocolate sauce we made last week. See how we often build and tie in our recipes?

If you ignored our advice and used whipped cream, you will end up with a very soft texture that is much like soft serve ice cream. It will taste lovely, but it won’t be as good as it could be. This is the time to use the man-made whipped topping and enjoy it. You can always make your next meal with all fresh ingredients.

Substitutions and Tips
Here are some common substitutions and tips for this recipe.
- Block cream cheese works best for this recipe. Cream cheese in the tub may not set firmly and will be difficult to slice.
- You can use either fat-free to full-fat cream cheese. Use whatever you like best.
- Feel free to use a pre-made graham cracker pie crust to save a step! However, homemade graham cracker crusts are not difficult and taste amazing!
- Substitute graham crackers for your favorite shortbread type cookie or biscuit. Shortbread, vanilla wafers, digestive biscuits and Oreo cookies without the filling are a few good examples. You need enough to end up with 1 1/4 cup (140g) of crumbs.
- Add some spice to your cookie crumb base. Try 1/2 tsp of ground ginger or cinnamon.
- Instead of plain yogurt, you can try vanilla yogurt for a more intense vanilla flavor. This will also make the cheesecake sweeter so you may want to hold back some of the sugar and taste the batter prior to using.
- Substitute whipped topping for 1 cup (240mL) whipping cream. You may want to increase the sugar to 1/3 – 1/2 cup (67 – 100 g) of granulated sugar to taste.
Storage
Cheesecakes, both no-baked and baked varieties must be stored in the refrigerator until ready to serve. Likewise, any leftovers must be returned to the fridge promptly for food safety. No-bake cheesecakes are often best straight from the fridge to the plate. Since the cold air helps set no-bake cheesecakes, it’s best to leave them chilled until ready to serve for the best texture and taste.
No-baked cheesecakes will last up to 3 days in the fridge. For longer storage, slice and wrap the cheesecake slices well with plastic wrap and then aluminum foil or use an airtight container and store up to 2 months in the freezer. Do not store this no-bake cheesecake around foods with strong odors such as onions or garlic as cheesecakes tend to absorb smells and flavors of items around them. To bring cheesecake to room temperature from frozen, place frozen cheesecake in the fridge overnight for at least 8 – 12 hours.


No-Bake Cheesecake Recipe
Ingredients
For the Filling
- 8 oz pkg (226g) cream cheese
- 8 oz container (226g) whipped topping
- ¼ cup (50g) granulated sugar
- 3 tbs (42g) plain yogurt or sour cream
- ½ tsp (2.5mL) vanilla
- ⅛ tsp (.625g) salt
For the Crust
- 1 ¼ cups (140g) crushed graham crackers, about 9 full sheets
- 5 tbs (70g) melted butter
Instructions
- Remove whipped topping from the freezer, and allow to come to room temperature according to package instructions. This will take several hours. Whipped topping must come to room temperature before moving on to next step.
- Crush up 9 full sheets of graham crackers in a baggie or blender until you have 1 1/4 cups (140g) of fine crumbs. In a small bowl, mix together the crumbs and the remaining melted butter until moistened. Press crumbs into the bottom and sides of a 9" (23cm) pie pan. Chill 30 minutes or until firm.
- While pie shell is chilling, remove cream cheese, yogurt or sour cream from the refrigerator and allow to soften.
- In a large bowl, beat cream cheese on a medium speed until it is smooth. Add the yogurt or sour cream and beat until there are no lumps, scraping the sides of the bowl as needed. Next mix in the salt, vanilla and sugar. Gently fold in the whipped topping.
- Pour mixture into the pie pan and level. Chill overnight or at least 6 hours in the refrigerator before serving. It must be chilled to fully set. Immediately store any leftovers in the fridge.
Notes
Use 1 cup (240mL) of whipping cream in place of the cool whip or whipped topping. In a separate bowl whip the cream until you reach stiff peaks. Regular or heavy cream are both great substitutes. Fold into the batter instead of using whipped topping and chill overnight. The consistency of the cheesecake will not set as firmly. If using whipping cream instead of whipped topping, increase the granulated sugar to 1/3 – 1/2 cup (67g – 100g) instead of 1/4 cup (50g) as whipped topping has sugar added. Substitute graham crackers for vanilla wafers, flavored graham crackers, gingersnaps, or digestive biscuits. Use as many as needed to get a total of 1 1/4 cups or 140 grams of crumbs.
I made two of these cheesecakes for our church and everyone was begging for the recipe.
Needless to say not a bite was leftover and now I’m being asked to bring it to every church function.
It was so easy to make using the cool whip so I definitely didn’t feel guilty eating it.
The problem now is I’m craving in all the time! The next one might not make it church! 😊
Thank you for this great review!
That is too funny! I am really glad the recipe was a success! At least they will all be looking forward to your contributions to the potluck dinners instead of asking you to bring the soda. Happy baking! 🙂