
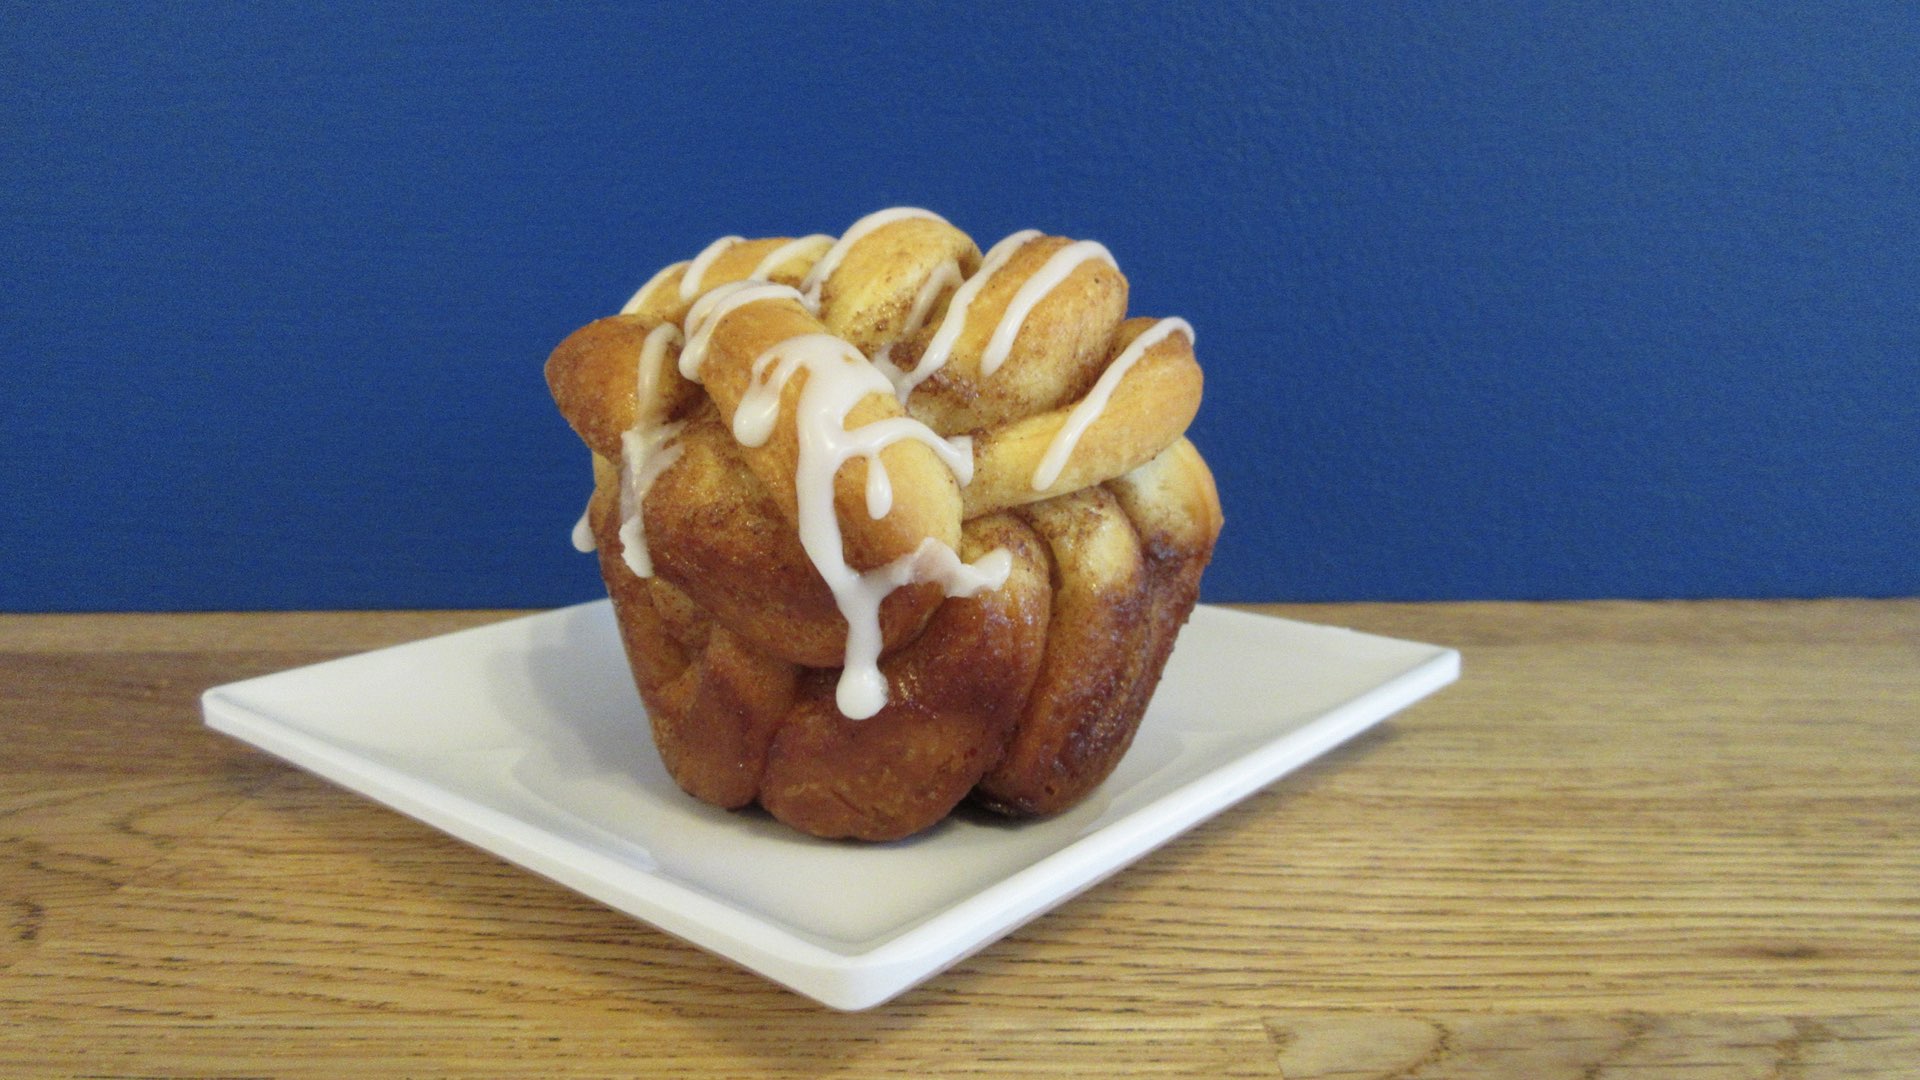
A Little Guide to Making Braided Cinnamon Buns
Recently, you learned how to make an easy dough recipe with endless possibilities. We promised we would show you more delicious ways to use this bread dough and these braided cinnamon buns are one of many delicious examples. These look very complicated to make, but in reality, they are quite easy once you get the hang of it. You’ll love the taste of these little decorative cinnamon rolls so much that you’ll want to give them away just to show off your baking skills. And these braided cinnamon rolls starts with a good solid dough recipe.
Step-By-Step Instructions
Below, we will teach you how to make this braided cinnamon buns recipe. It is not a complicated recipe, but it is a little time consuming. But the time and effort put in makes these a work of art.
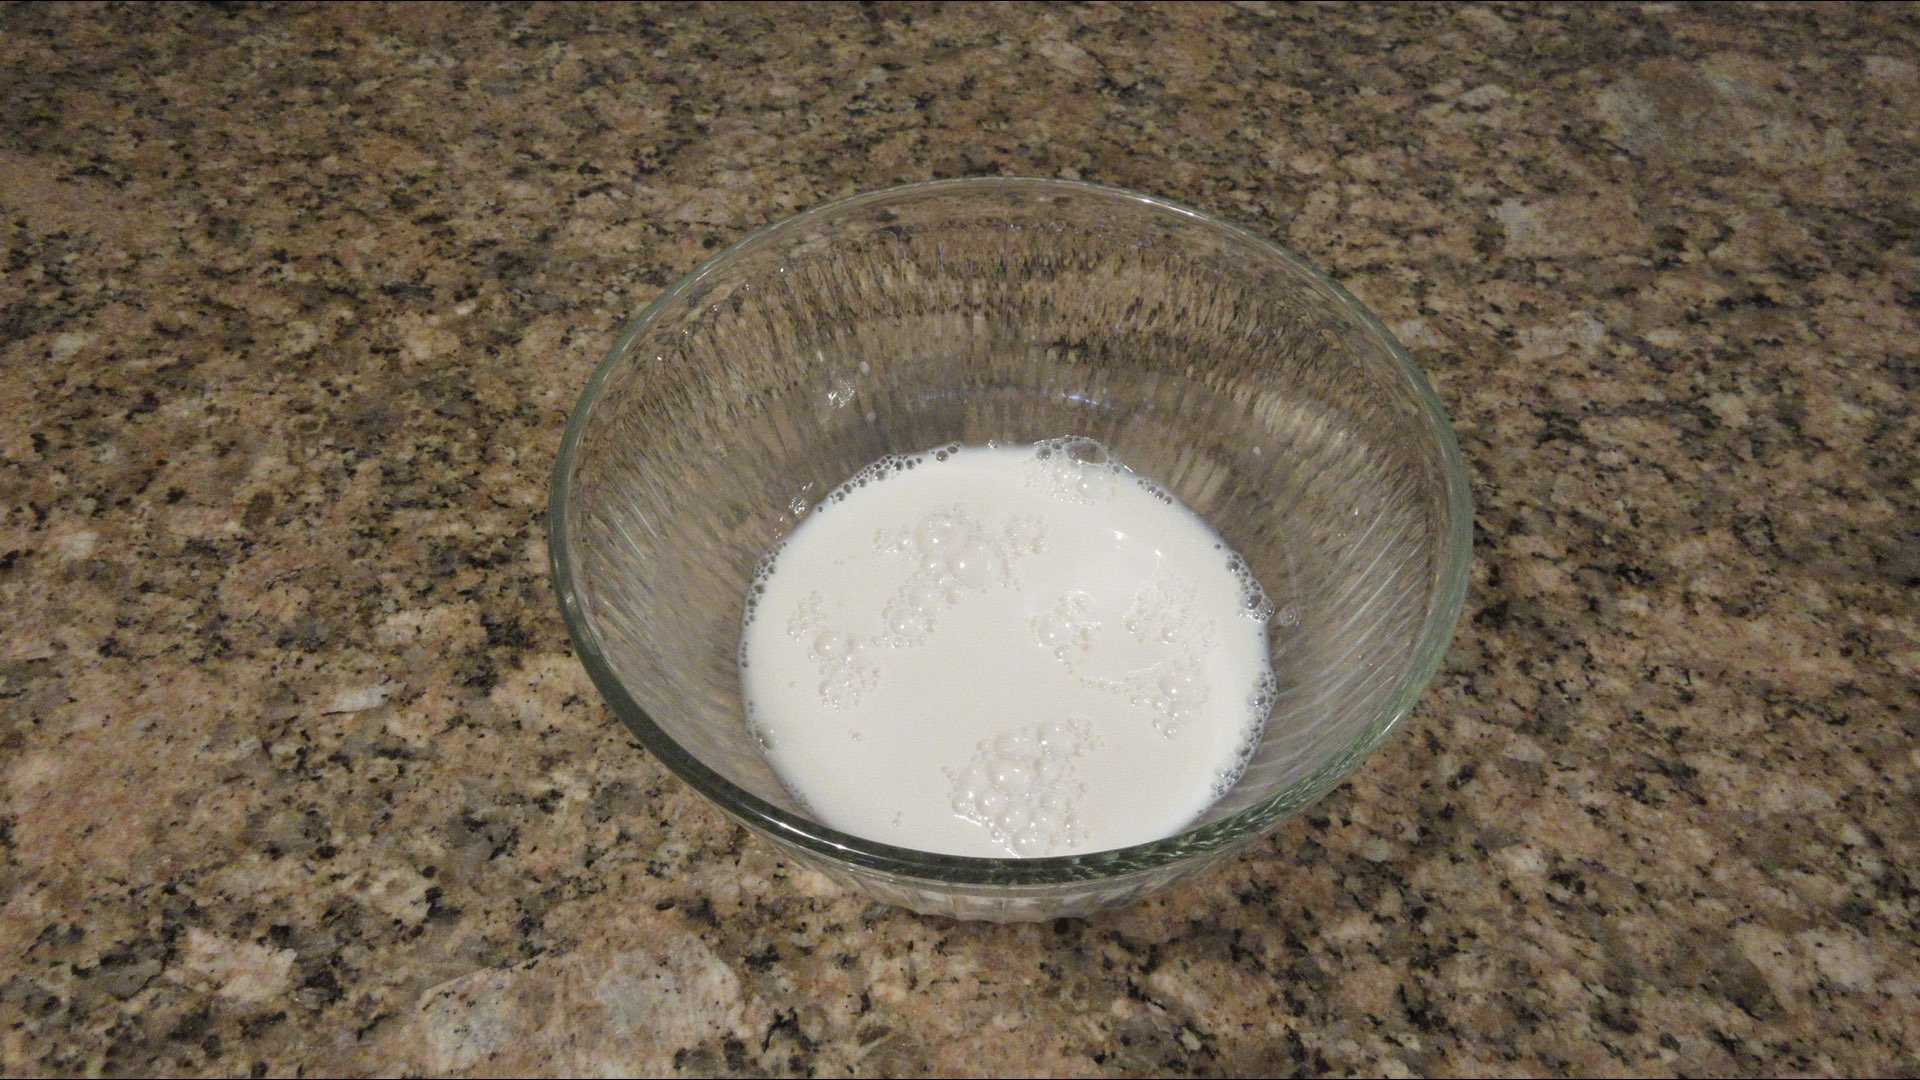
Step 1: Heat the Milk
In a small saucepan, heat the milk on medium until it is lukewarm. It should be just warm to the touch, but not hot. If you have a thermometer, it should reach 110°F or 43°C. You can also use the microwave for 30 – 60 seconds until lukewarm.
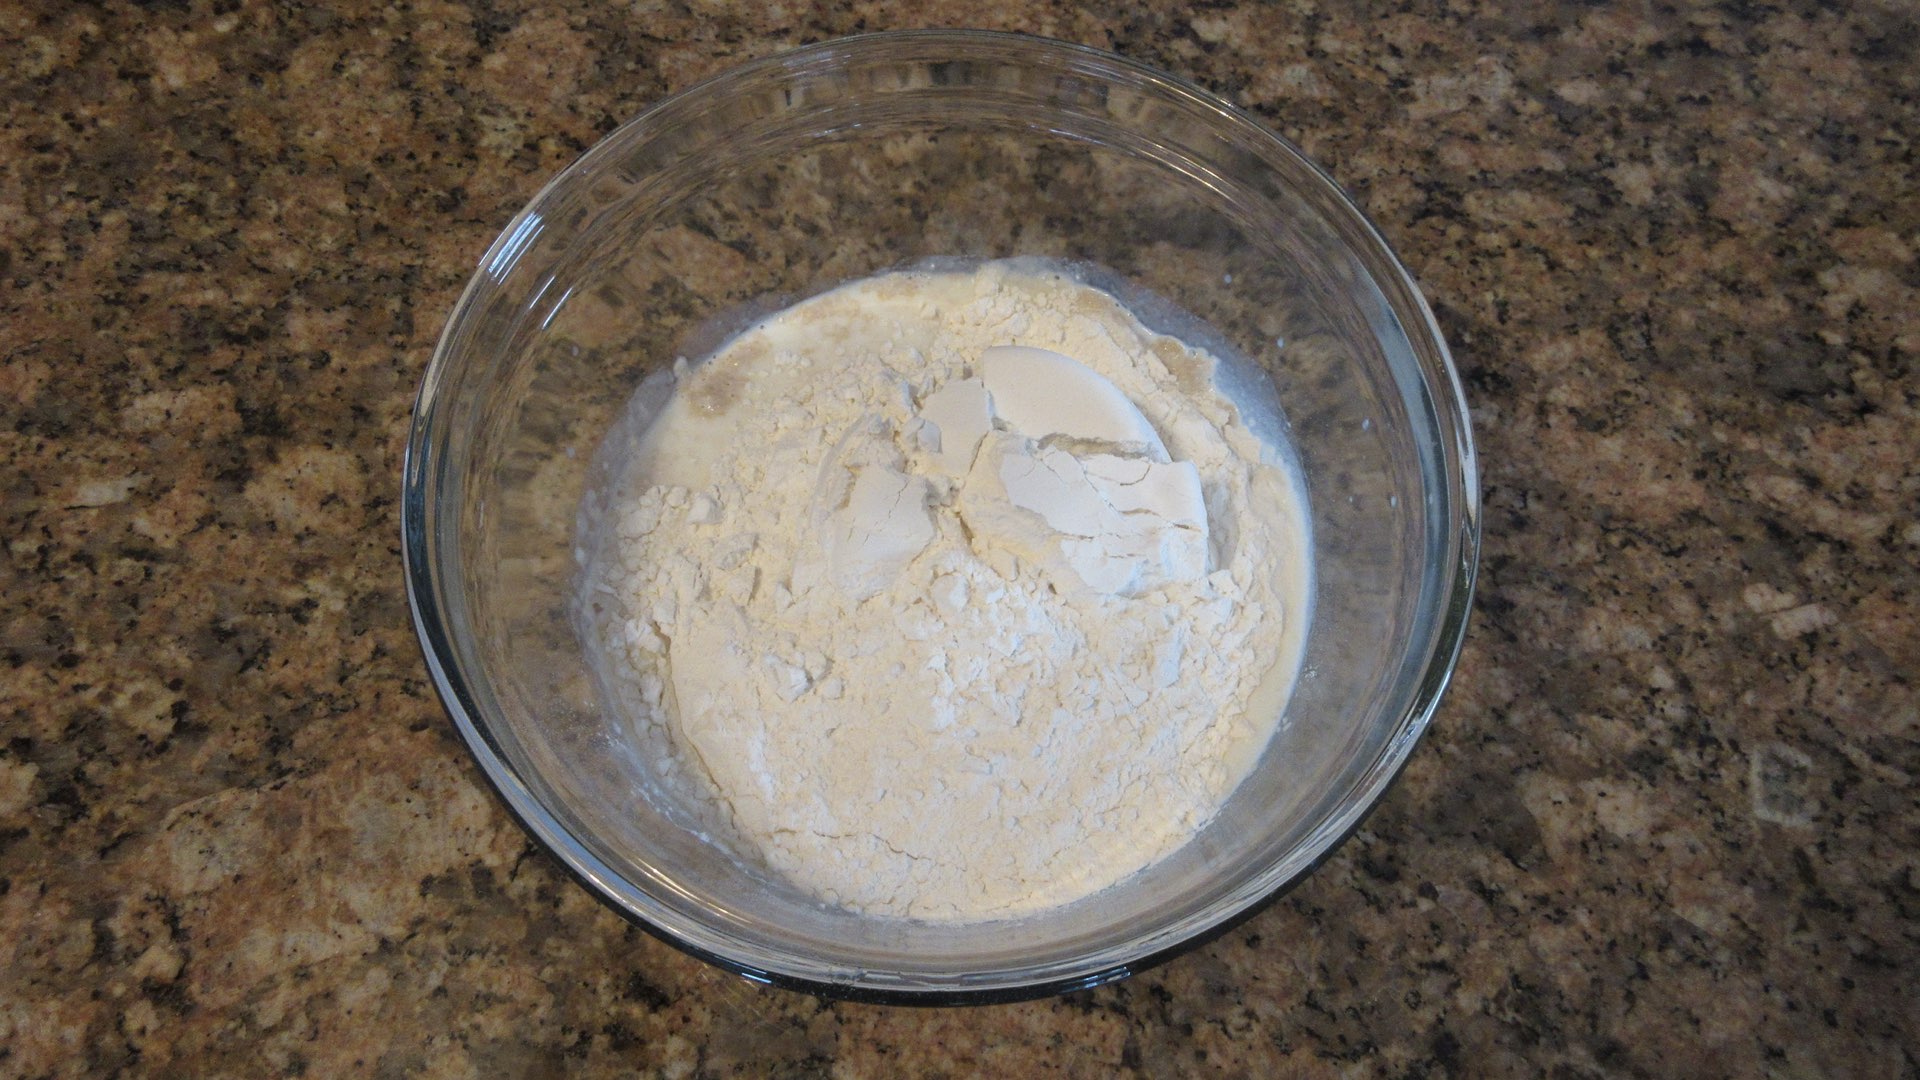
Step 2: Make the Dough
First, you need to make the dough. You have two options here. You can dump in all the ingredients at once or you can add the sugar, salt, oil, butter and yeast to the milk and let it set a few minutes to hydrate before adding the flour. Either way is fine.
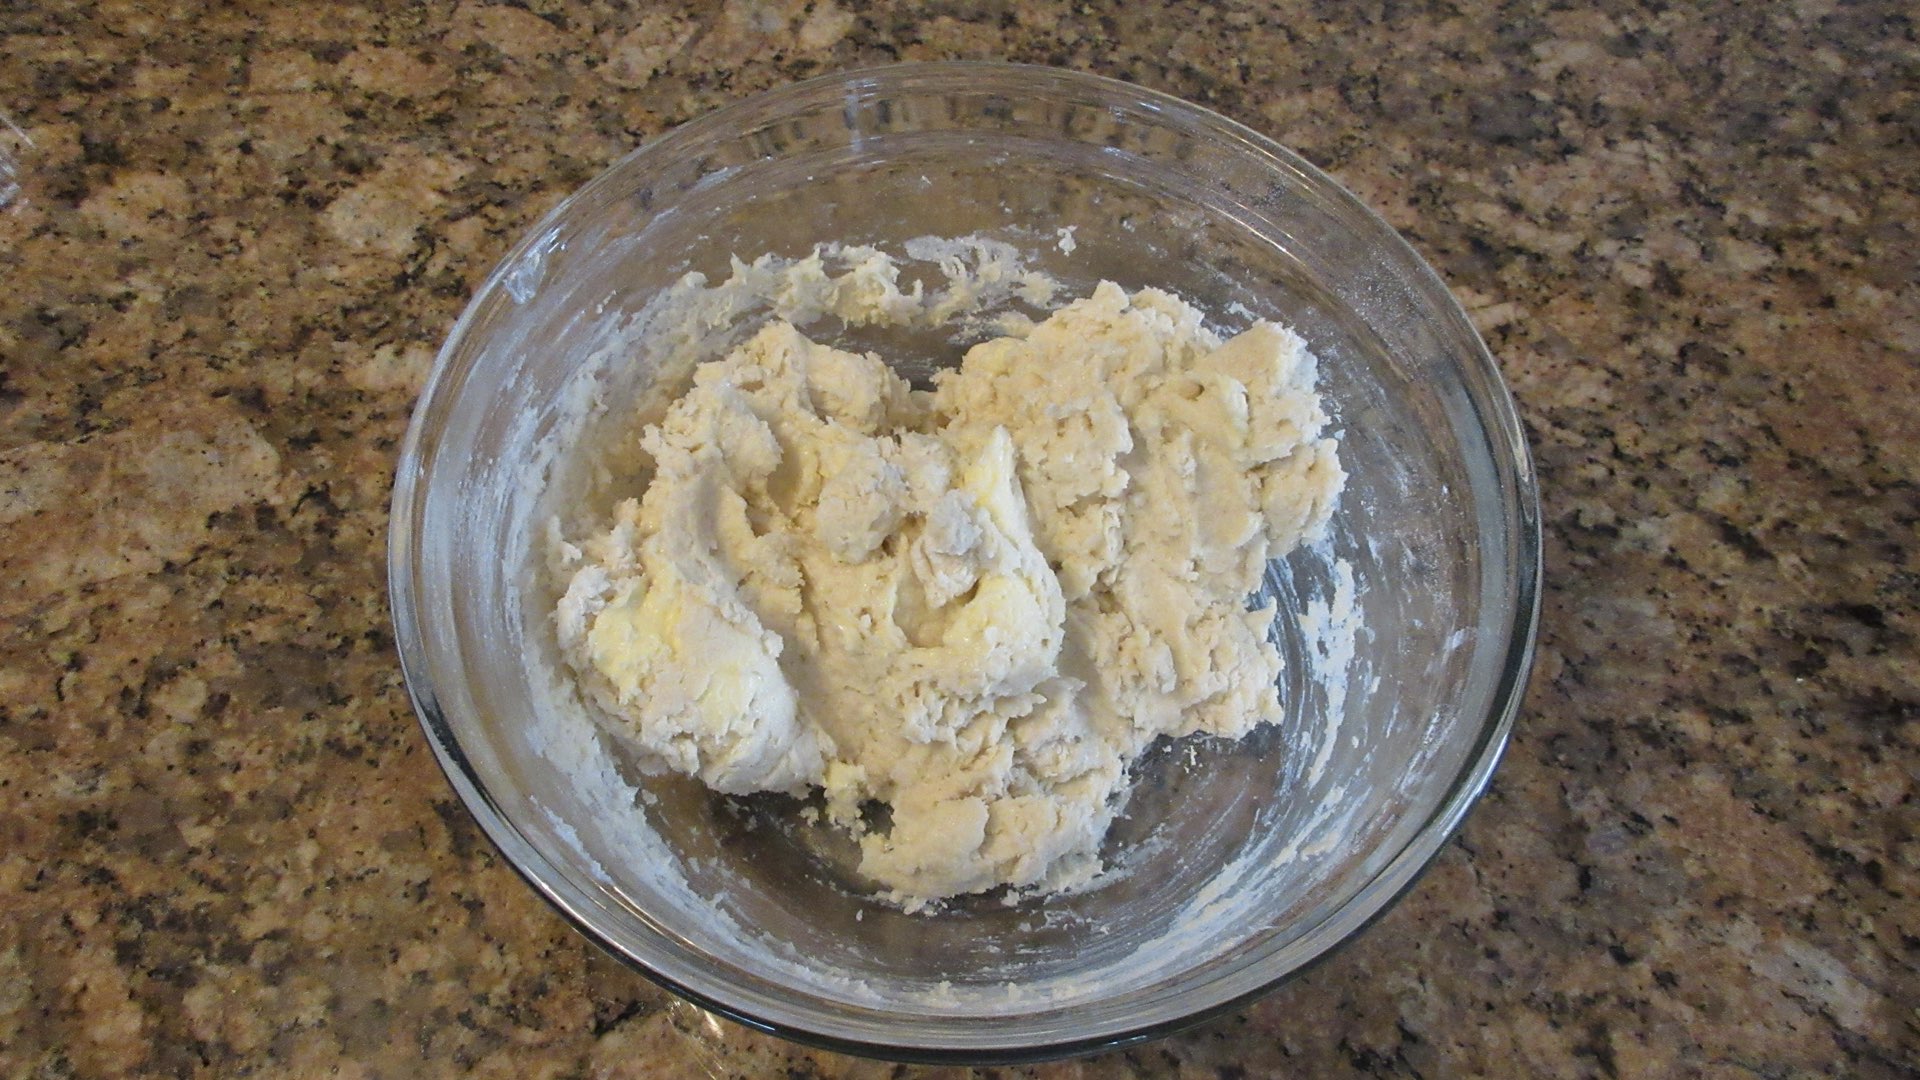
Stir your dough until it is a shaggy mess forms. Now we need to knead the dough until it is smooth and elastic.
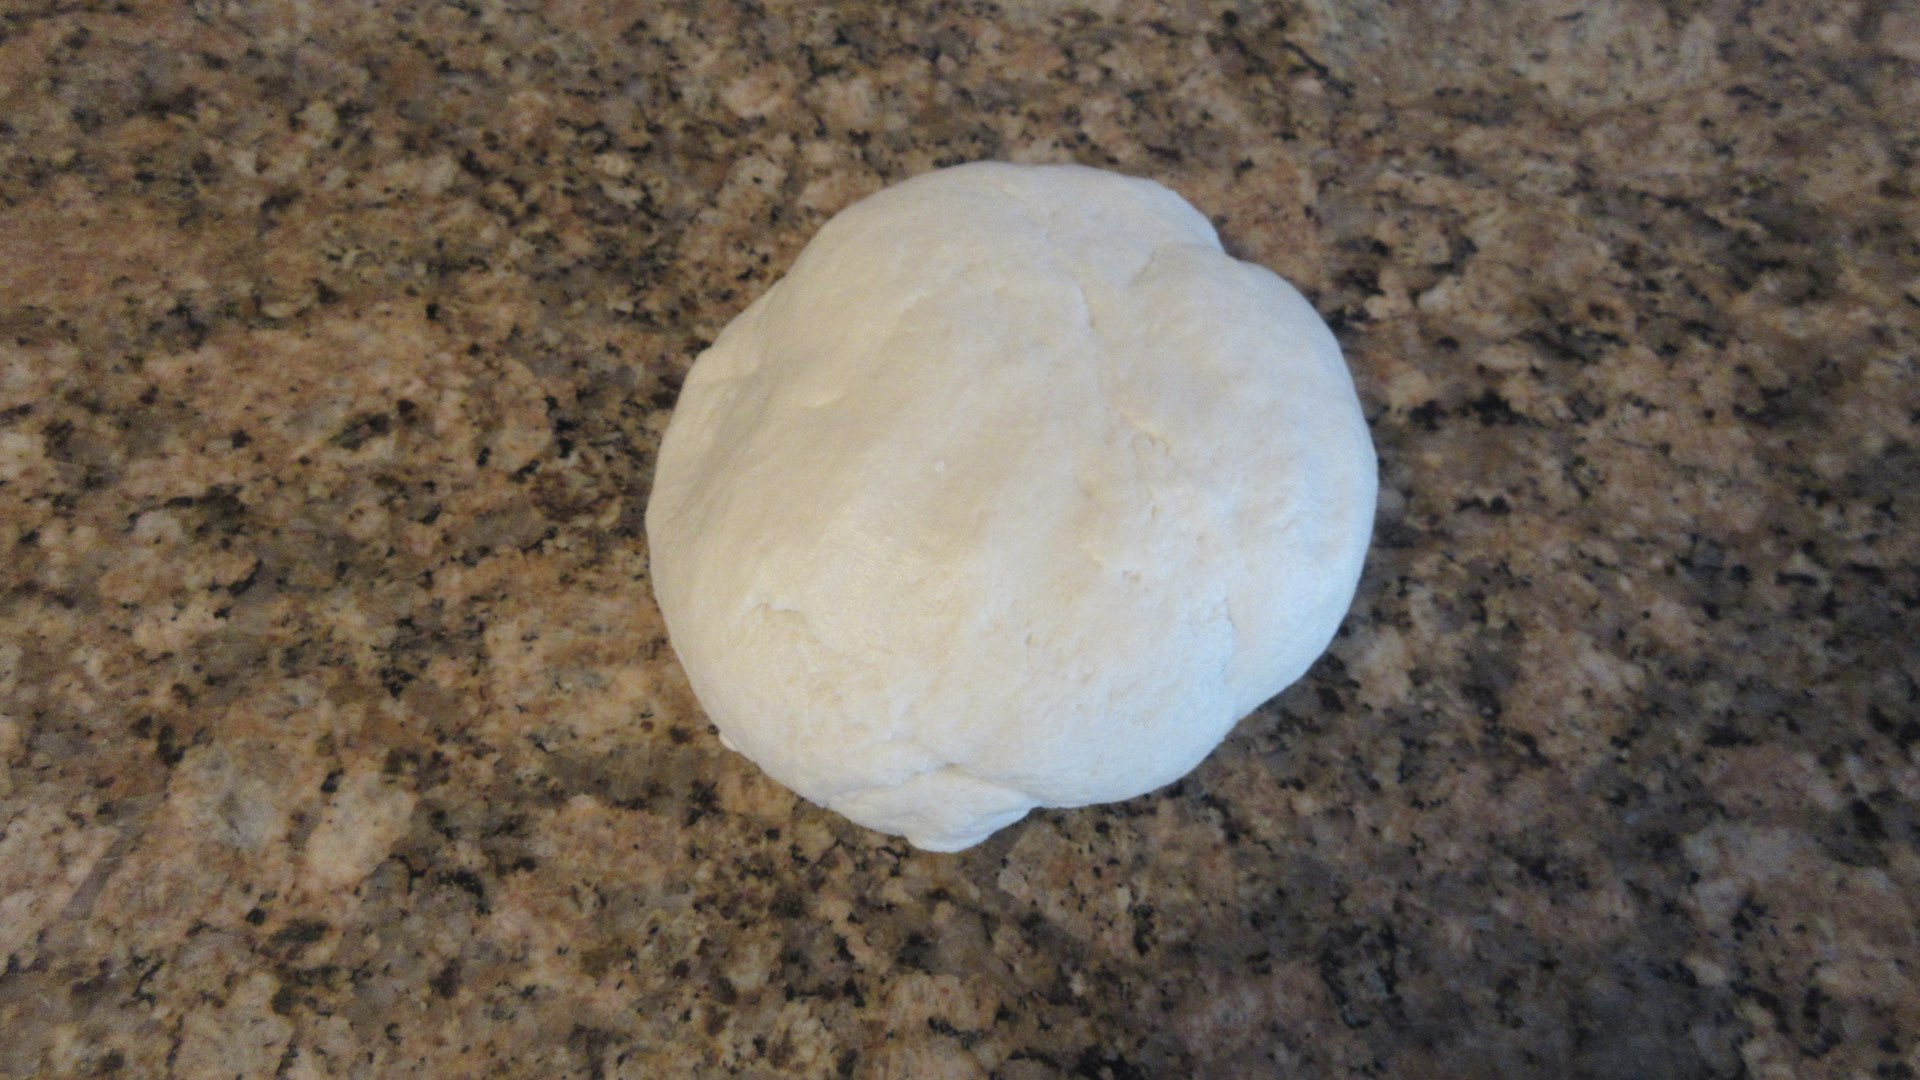
Step 3: Knead the Dough
Turn out the dough onto a clean work surface and knead the dough for approximately 8 – 12 minutes or until it stretches easily without tearing. If you decided to hold back the butter, after kneading for 5 minutes, begin kneading in the butter about one teaspoon at a time until the butter is fully incorporated. Continue to add in the butter until it all has been added. Knead the dough until it is elastic and stretches easily without tearing.
Step 4: Let the Dough Rest
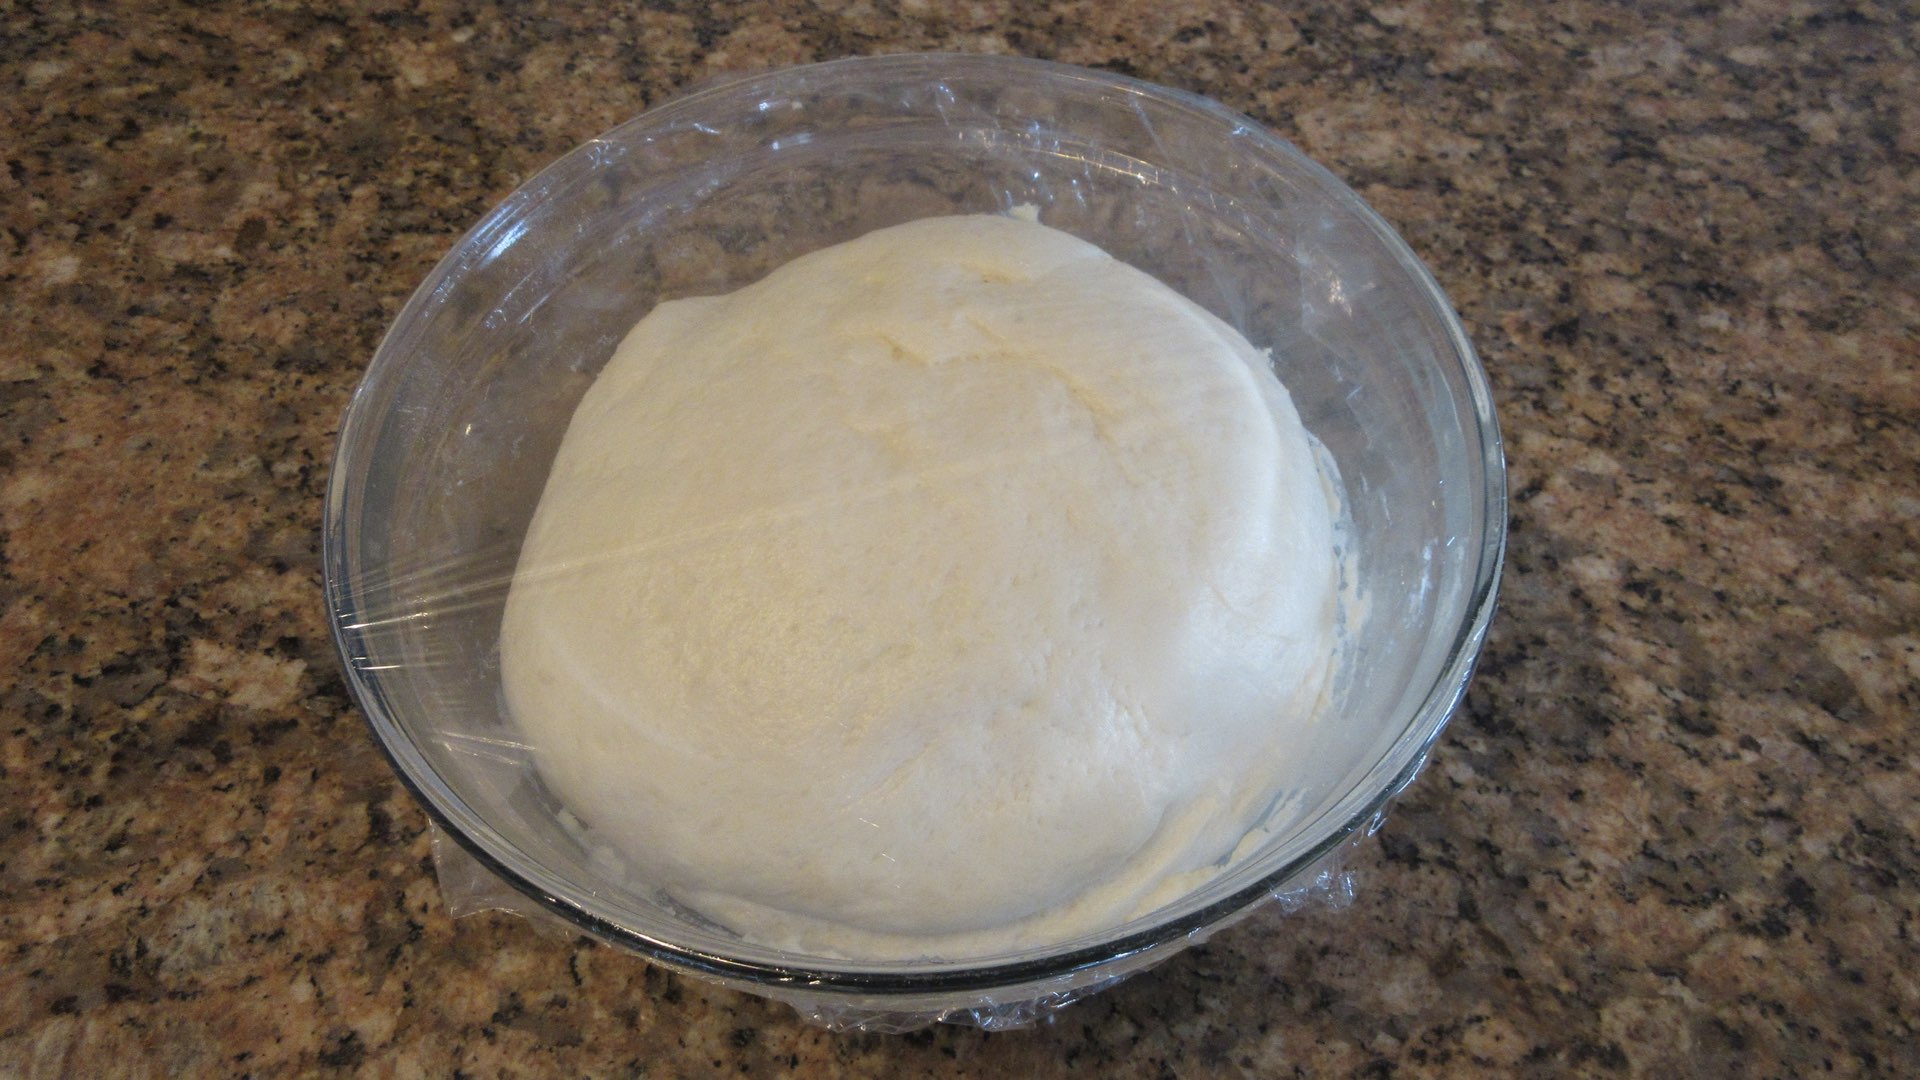
Once the dough is fully kneaded, it’s time to let it rest. You want to cover the dough with a damp towel or plastic wrap and allow it to double in size.
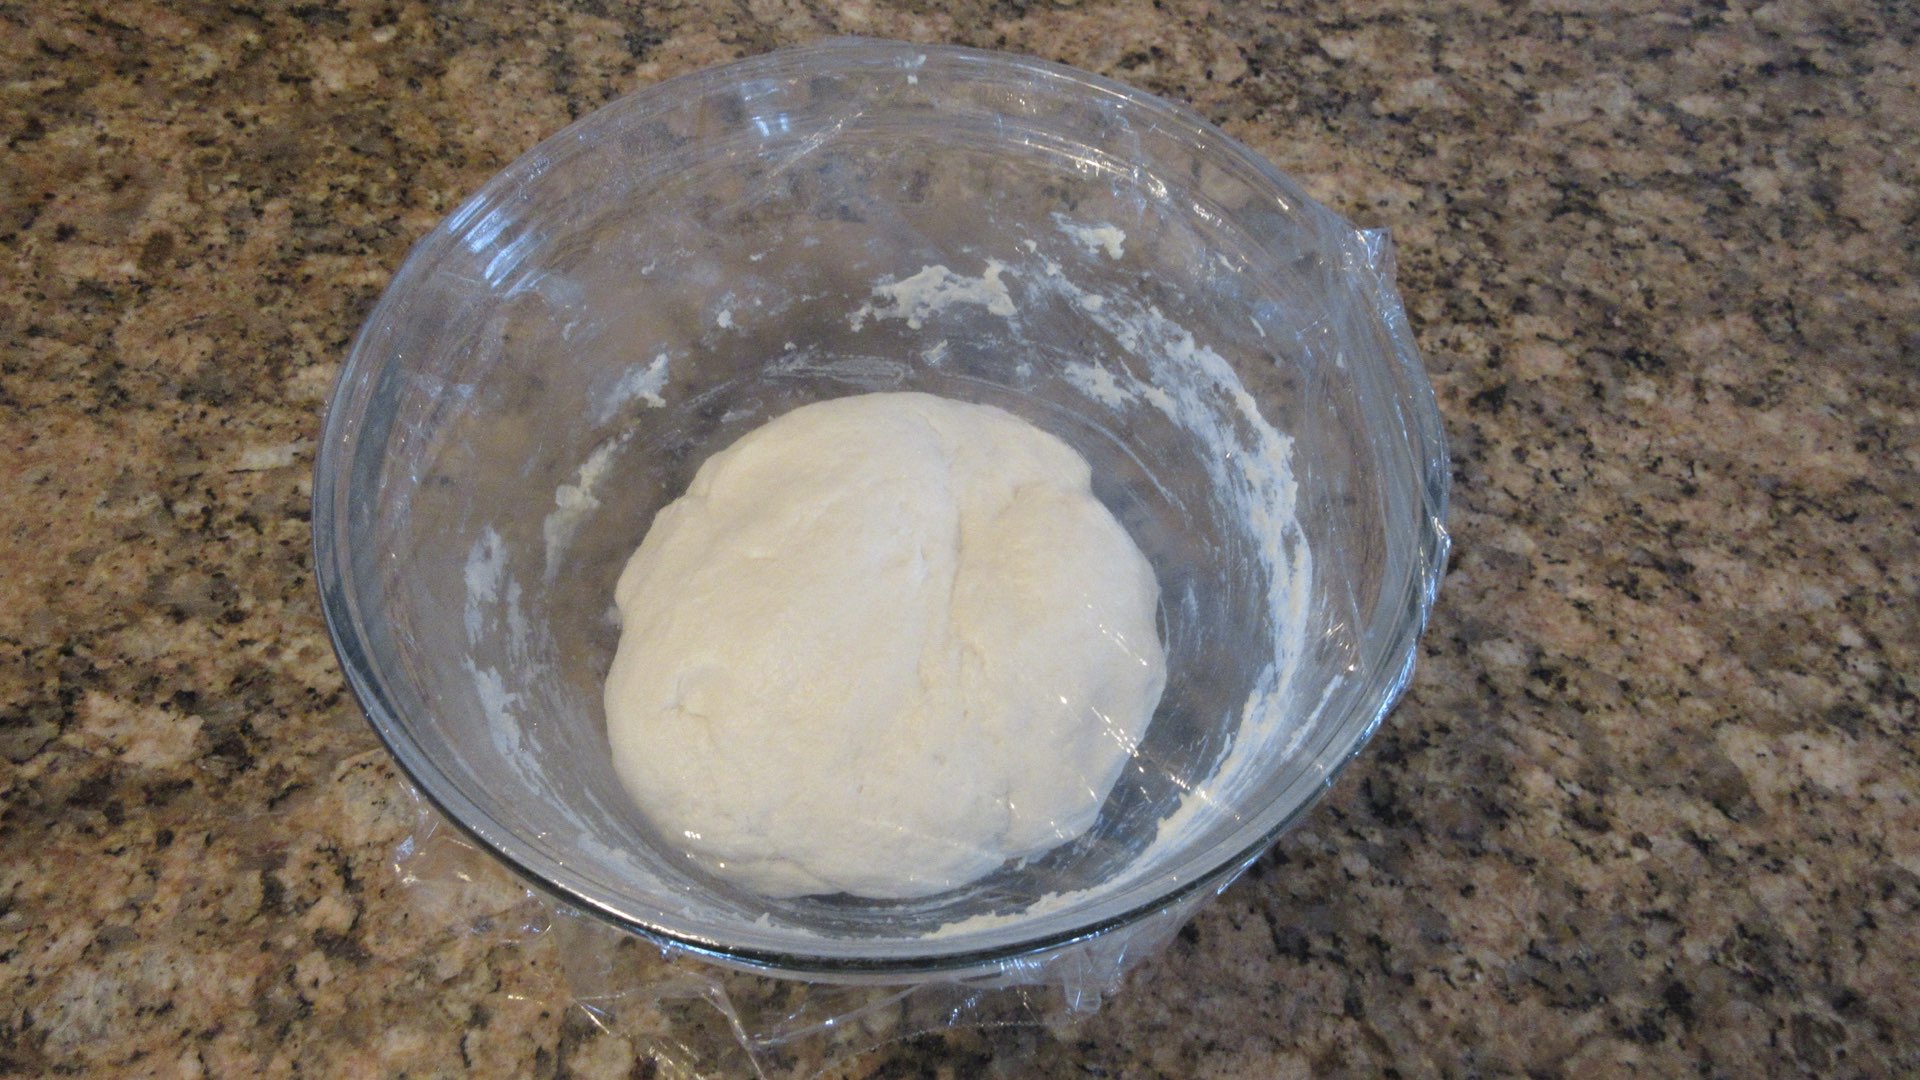
The time it will take varies on the temperature of the milk and your home. In cooler climates with cool dough, it will take longer to rise. If you are like my friend, Gidget who lives in hot and humid weather, start checking after 20 minutes or so. You’ll be surprised how much quicker dough rises with heat.
Step 5: Make the Filling
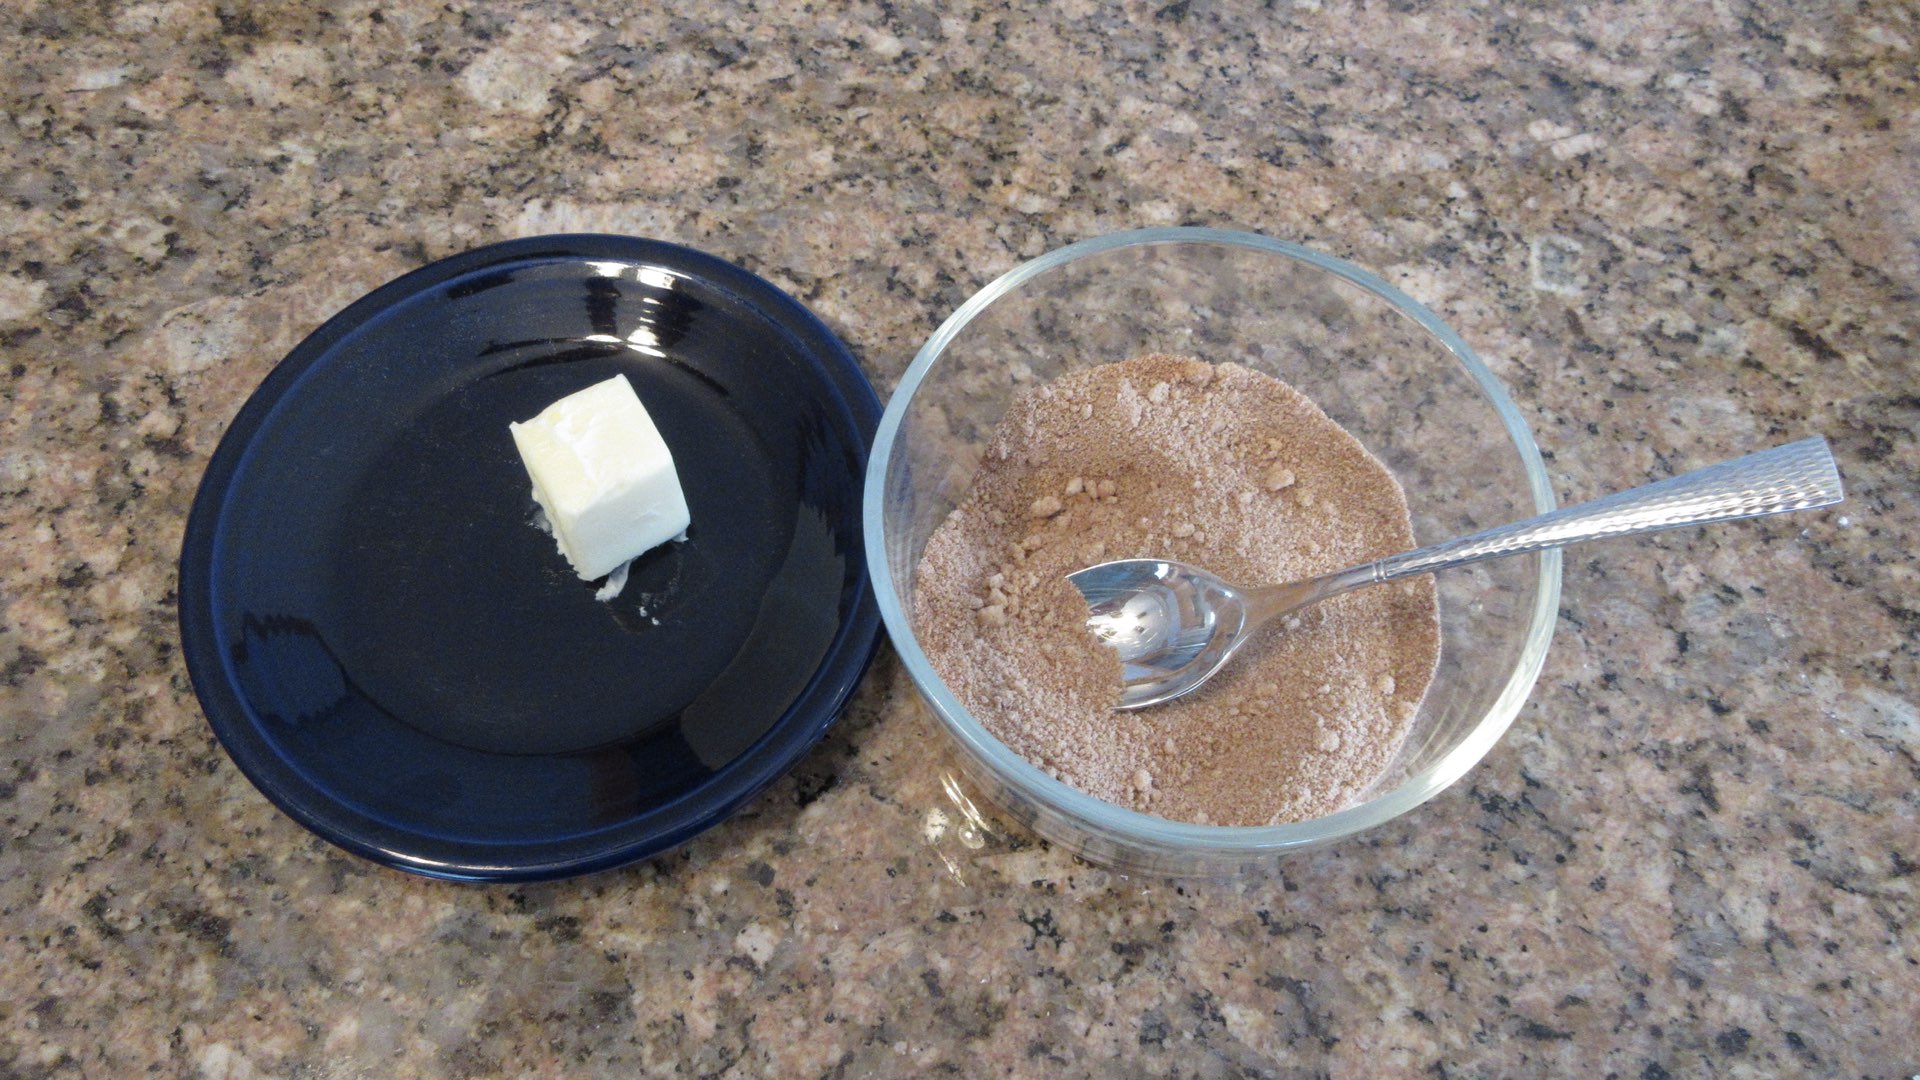
As the dough is nearly double in size, this is the time to make the filling for the braided cinnamon buns. Mix together brown sugar, flour and cinnamon. The flour helps prevent the filling from oozing out and keeps it in place by thickening the sugar as it bakes, so don’t leave it out!

It should look like fine bread crumbs once fully mixed. You also will need 3 tablespoons (42g) of softened butter. If you haven’t gotten it out already, now is the time to do so. You want it spreadable soft, not a puddle of liquid.
Step 6: Shape the Dough
Once the dough has risen, you’ll want to turn it out onto a clean work surface and begin to pat it into a rectangle. If you need to, feel free to sprinkle a little flour on the surface. But let’s try not to for a while.
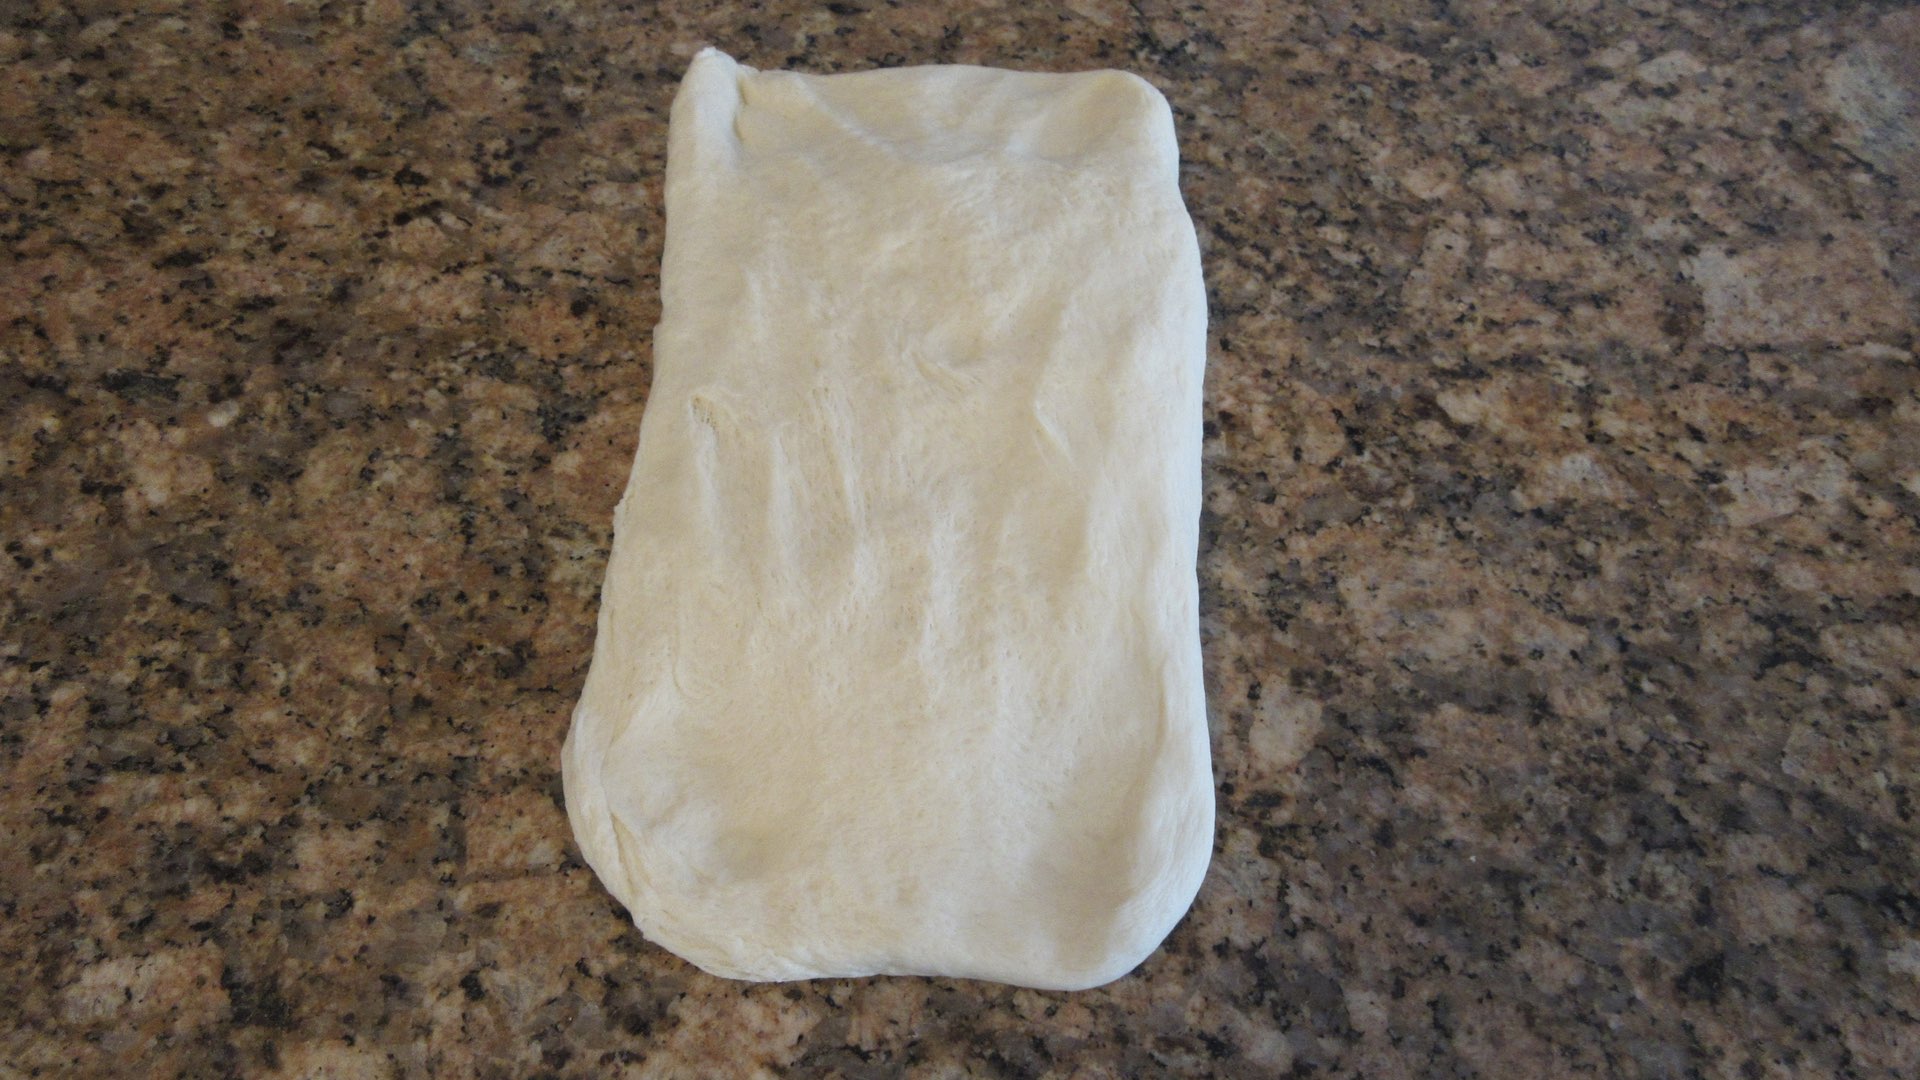
Either pat out or roll a rectangle that is approximately 10 x 18 inches (25 x 46 cm.) It doesn’t have to be exact, but you do want it pretty close to this size. Try your best.

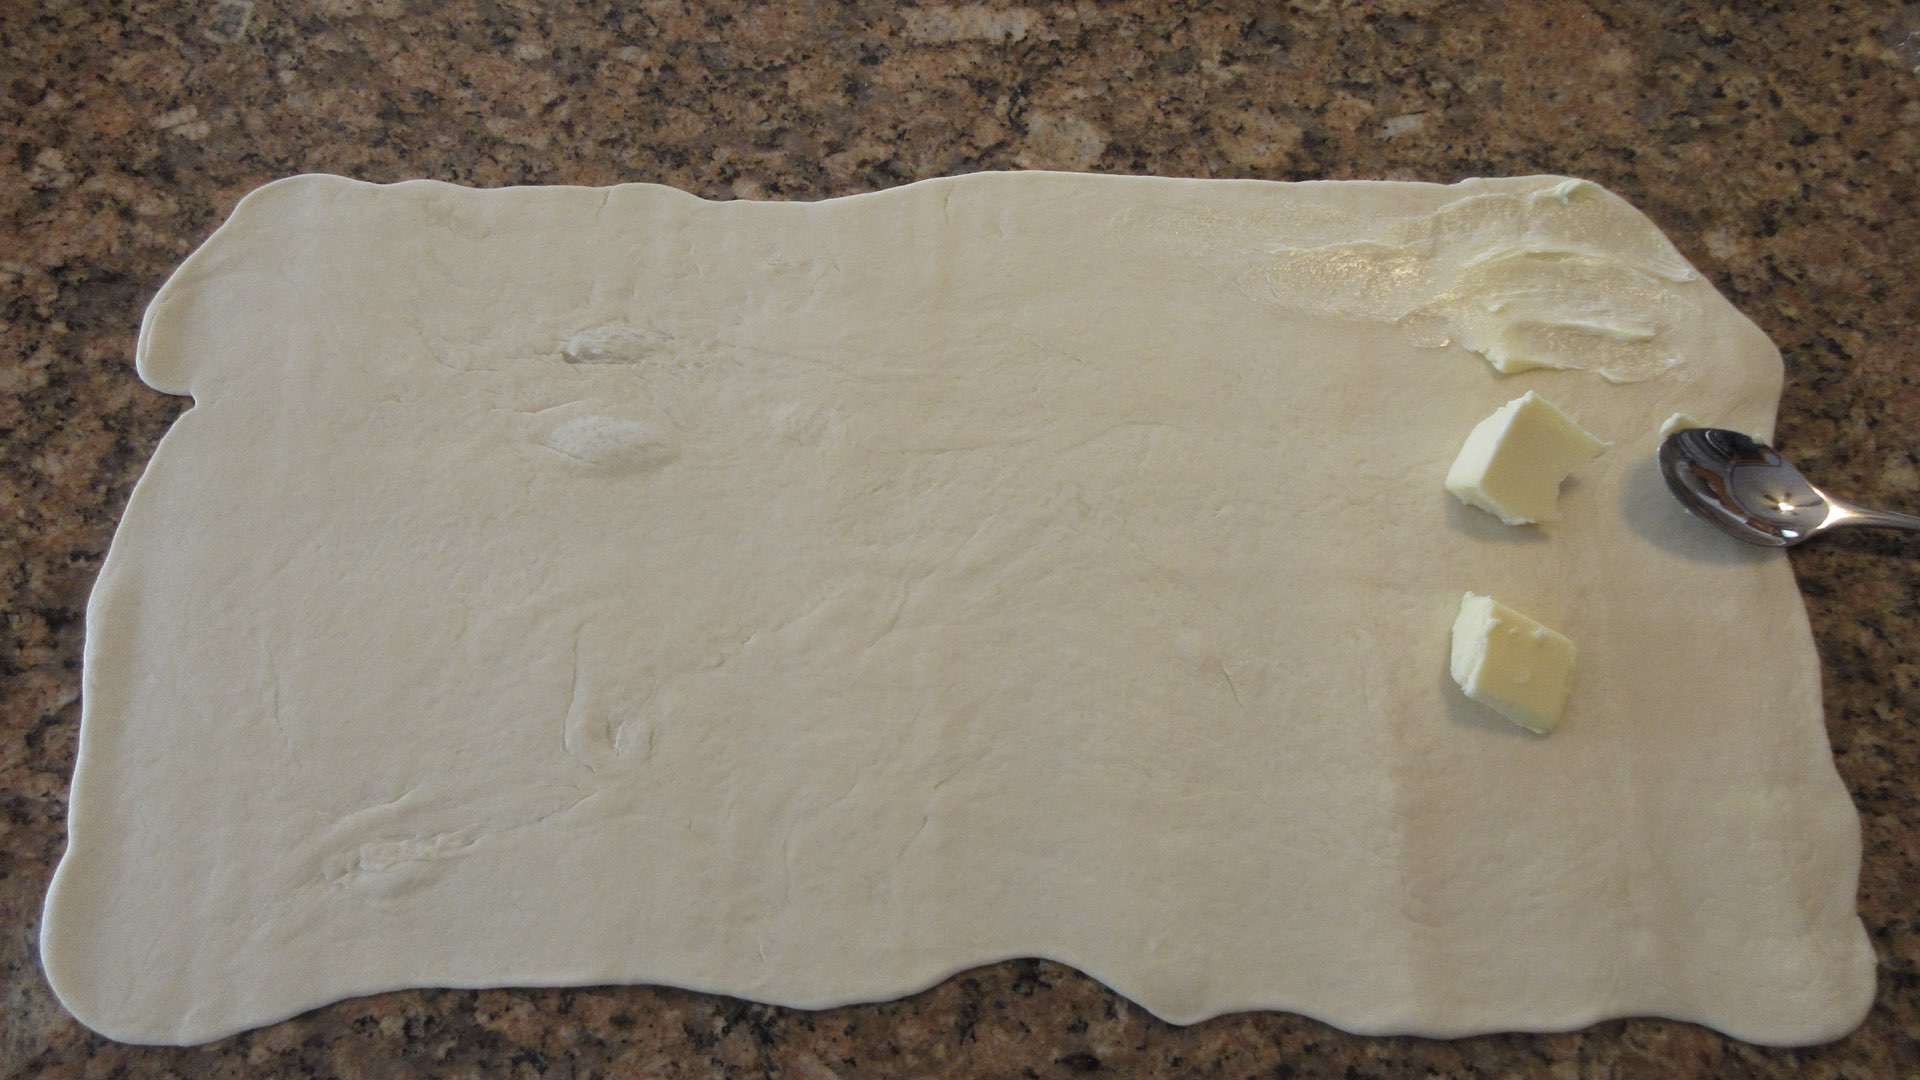
Step 7: Filling
Once you have your rectangle type shape, you want to spread the softened butter all over the surface of the dough. It will be a thin layer.
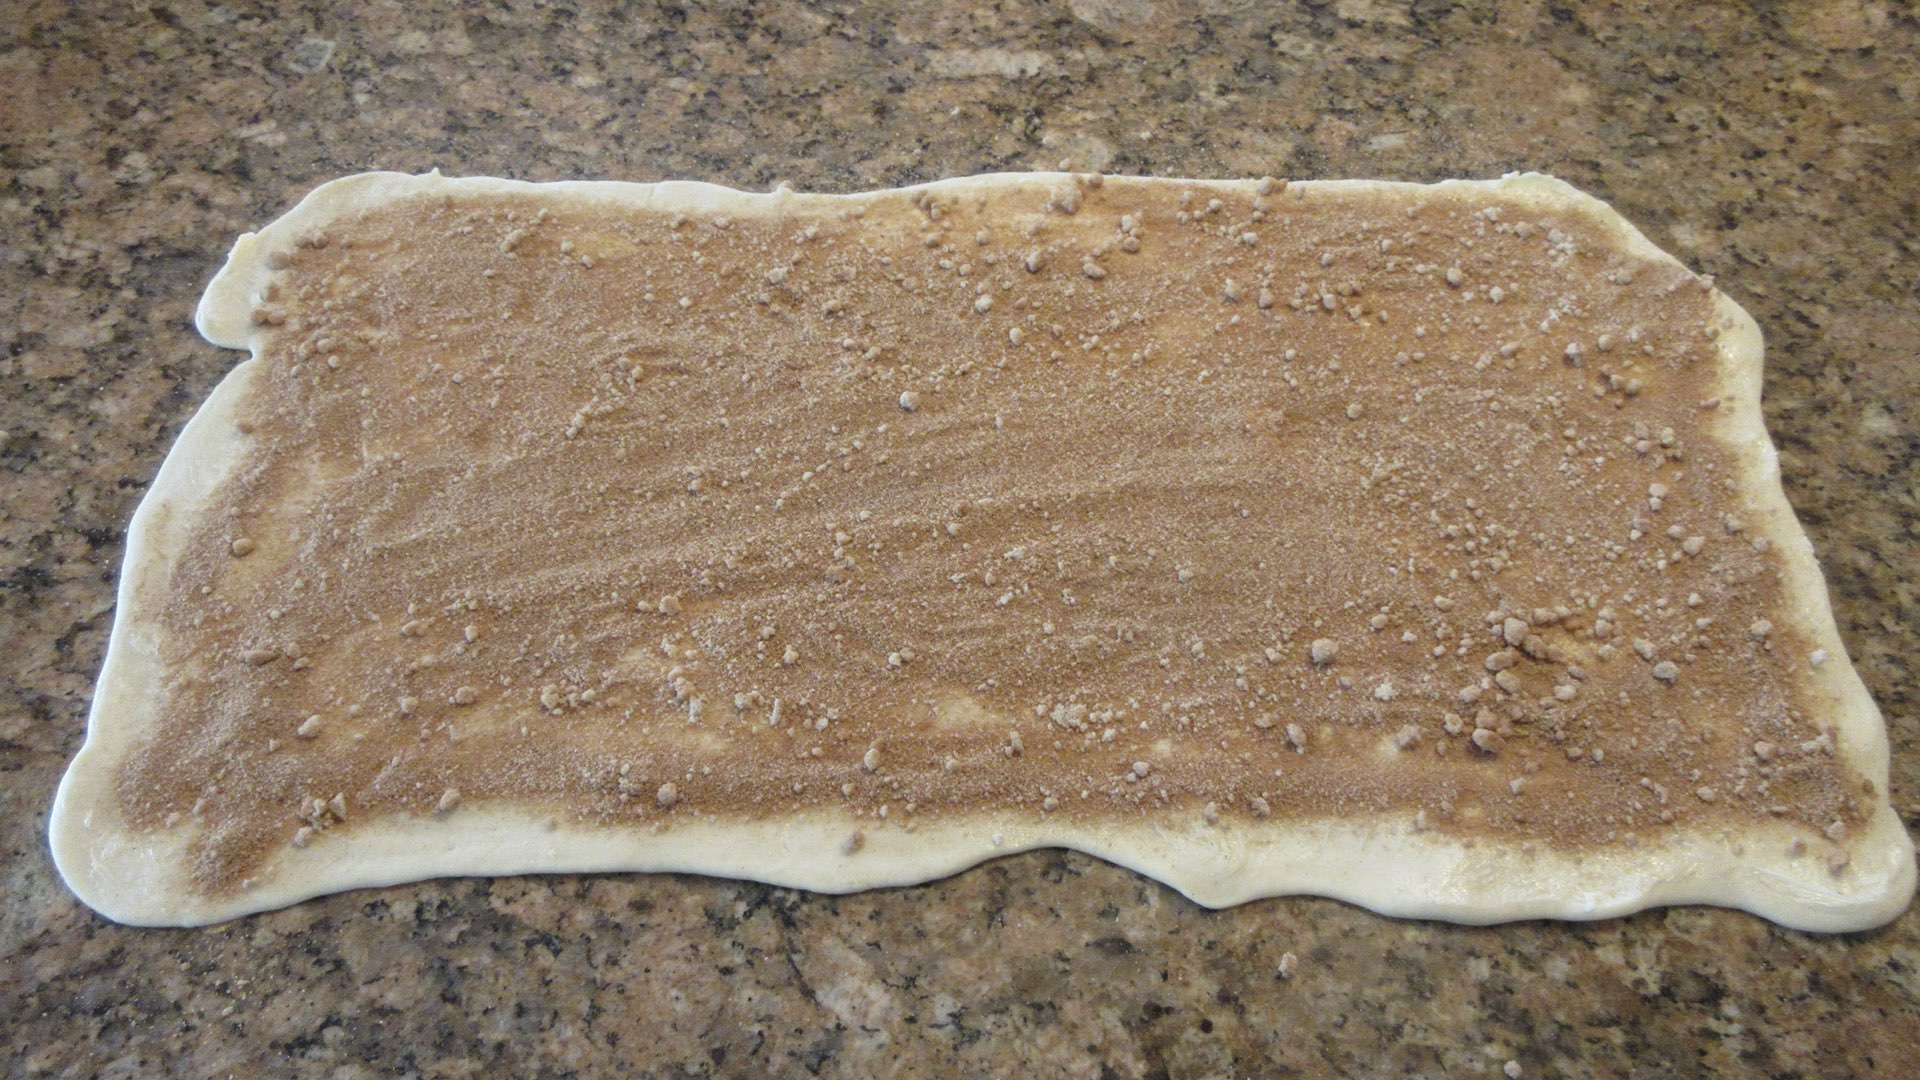
After the butter is spread out evenly, sprinkle the top with the brown sugar and cinnamon mixture. Leave a little gap around the edges.
Now we need to fold into thirds. Bring down the first third toward the center.
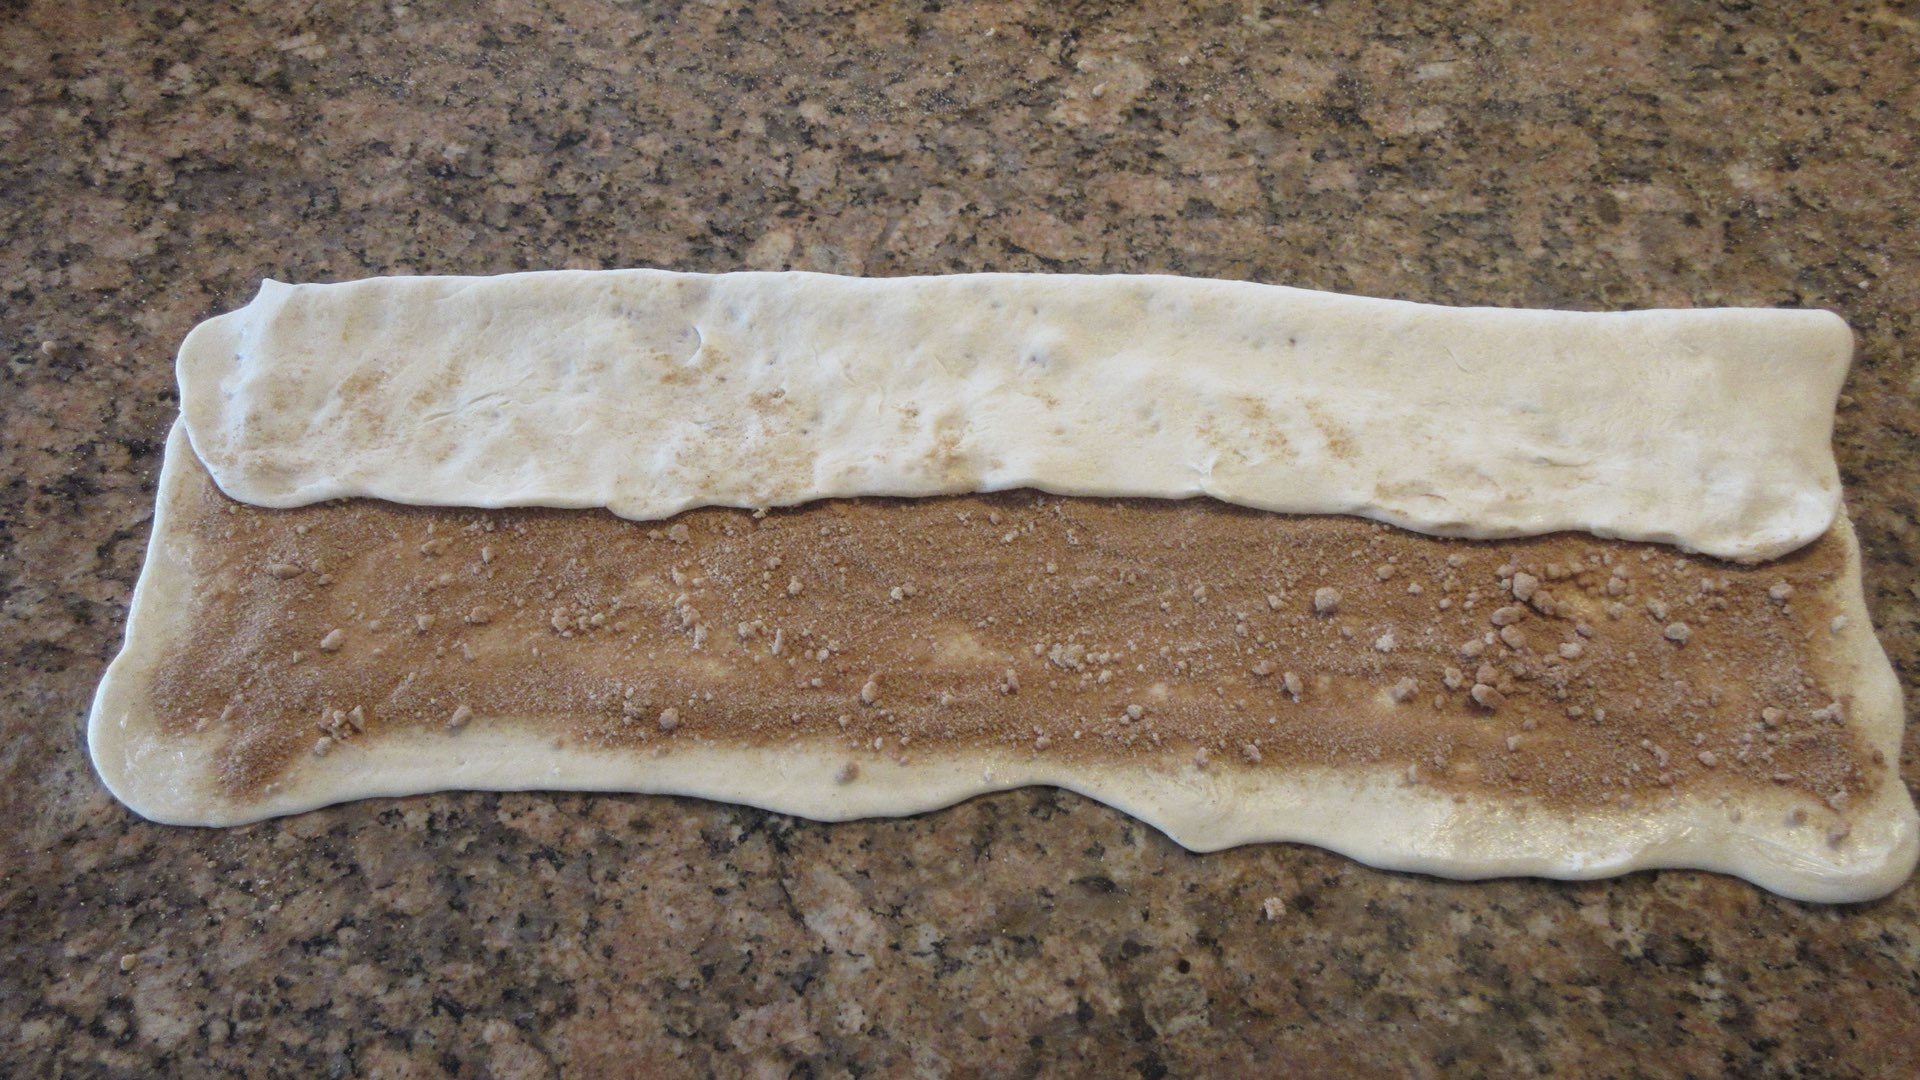
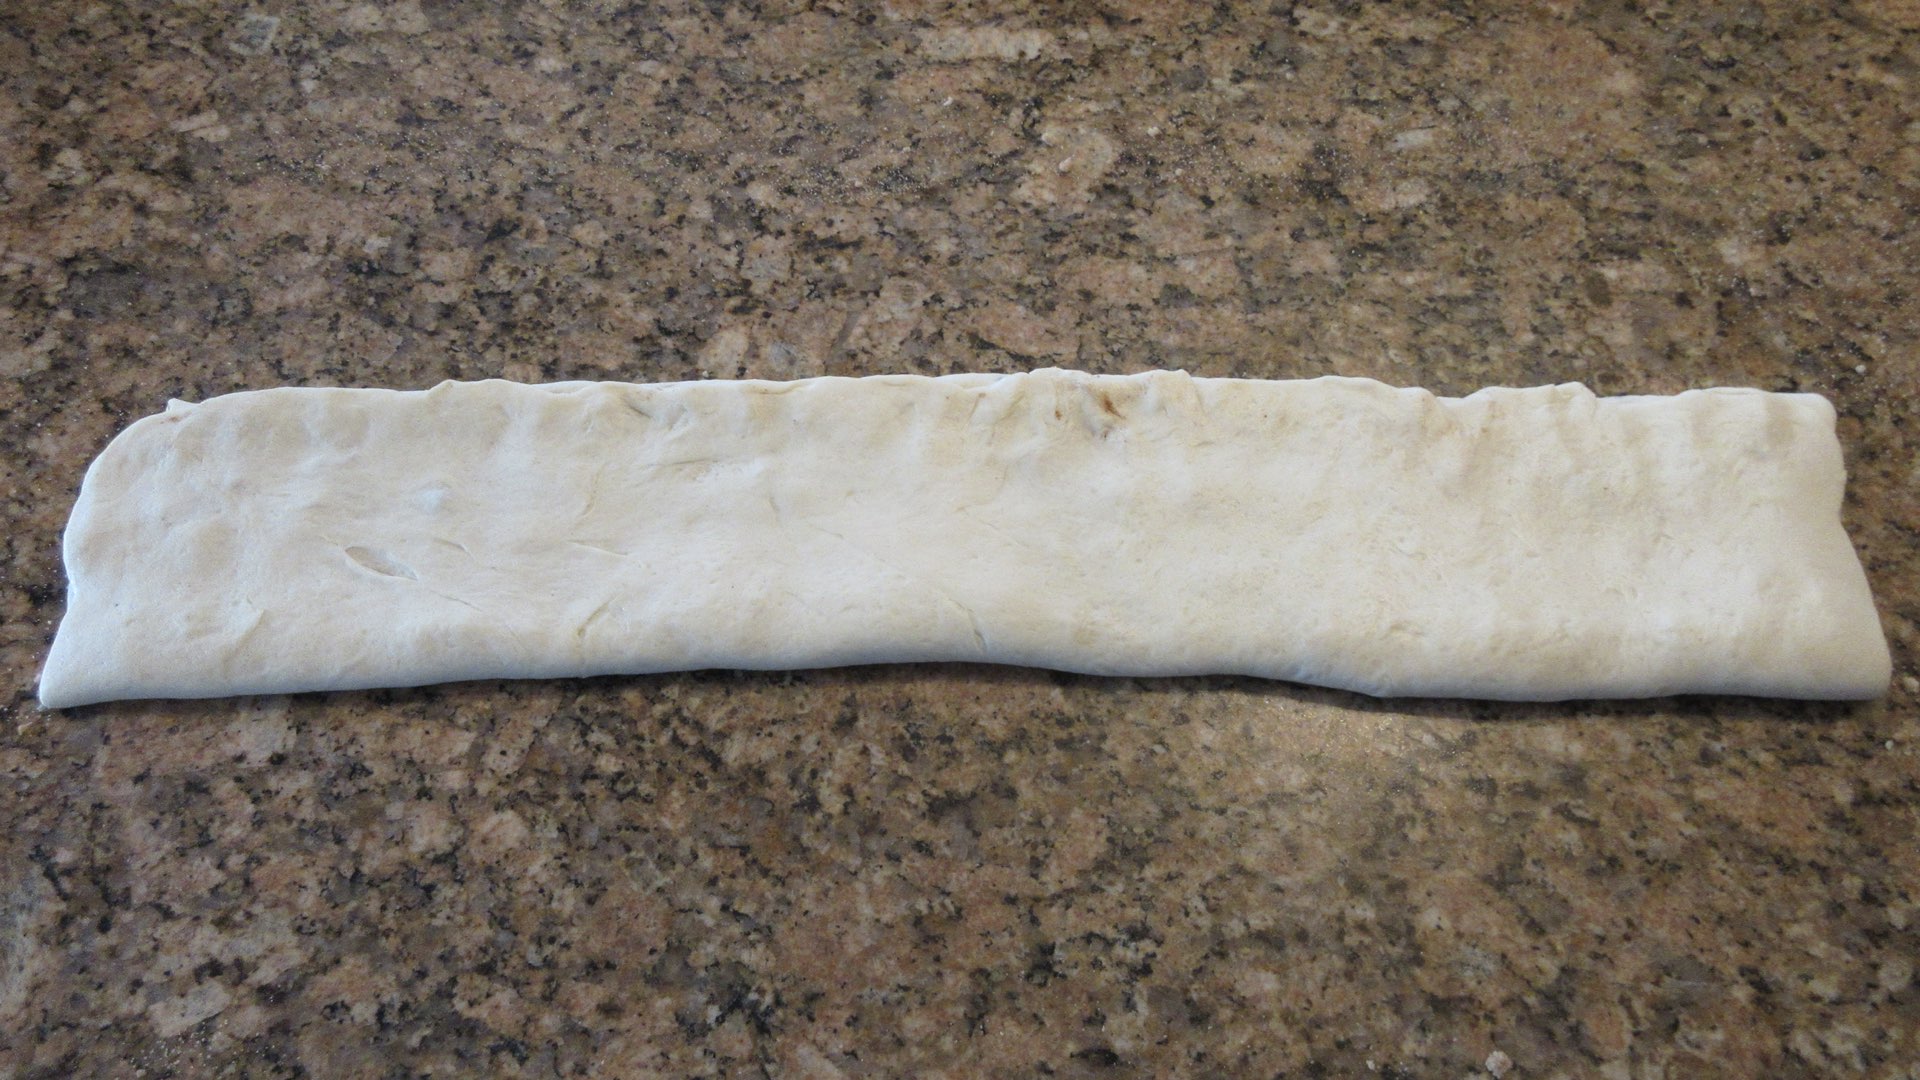
Then bring the bottom up to meet the top of the fold. You are now ready for the fun part!
Step 8: Braid the Strands of Dough
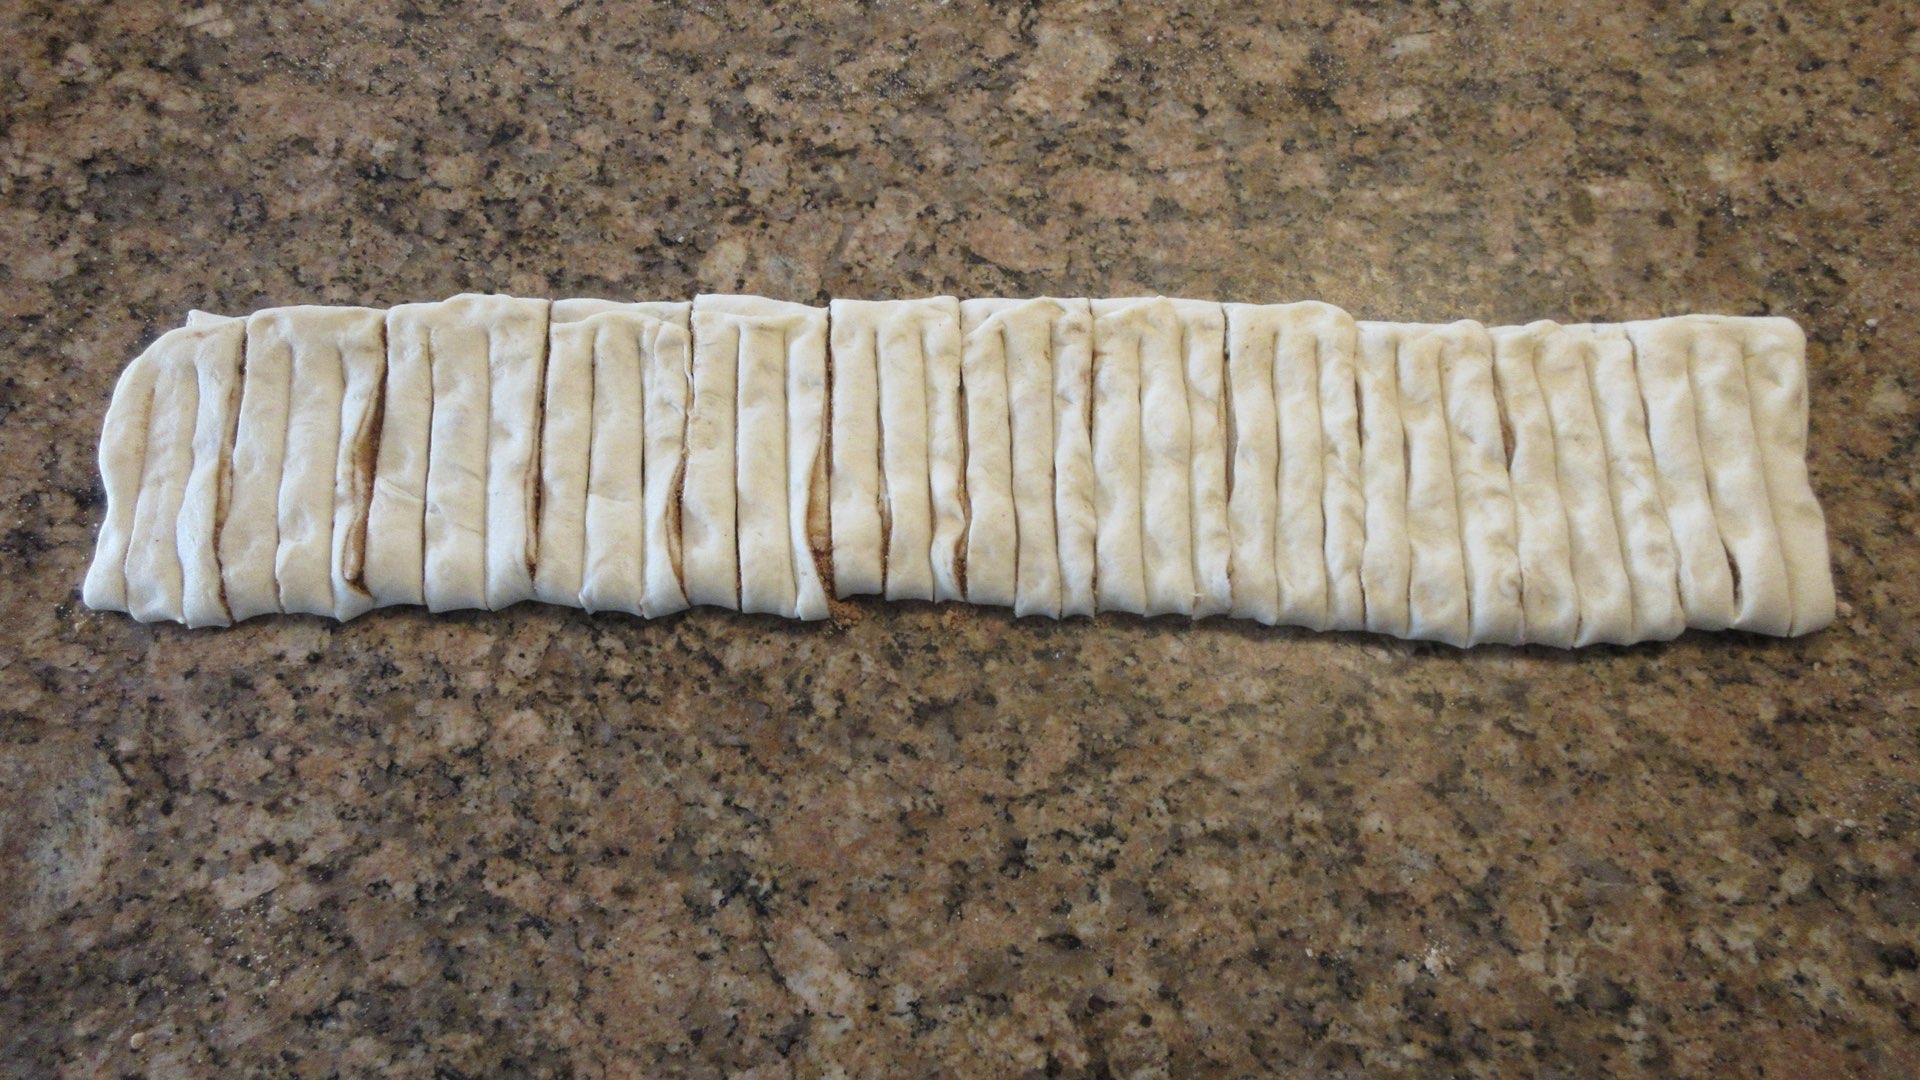
Cut this into 12 sections. If your rectangle was exact, each piece will be 1.5″ (3.8cm) wide. If it wasn’t exact, just measure the dough and cut it into 12 equal portions. Cut two vertical lines in each of the twelve pieces stopping .5″ (1.27cm) from the top. You want to have three total strips of dough, all approximately the same width. If you measured correctly, each strip will be .5″ wide. If you didn’t, each strip should be approximately 1/3 third the width of your section. Don’t get too technical here. Look, our lines aren’t perfect. And they will look amazing in the end!
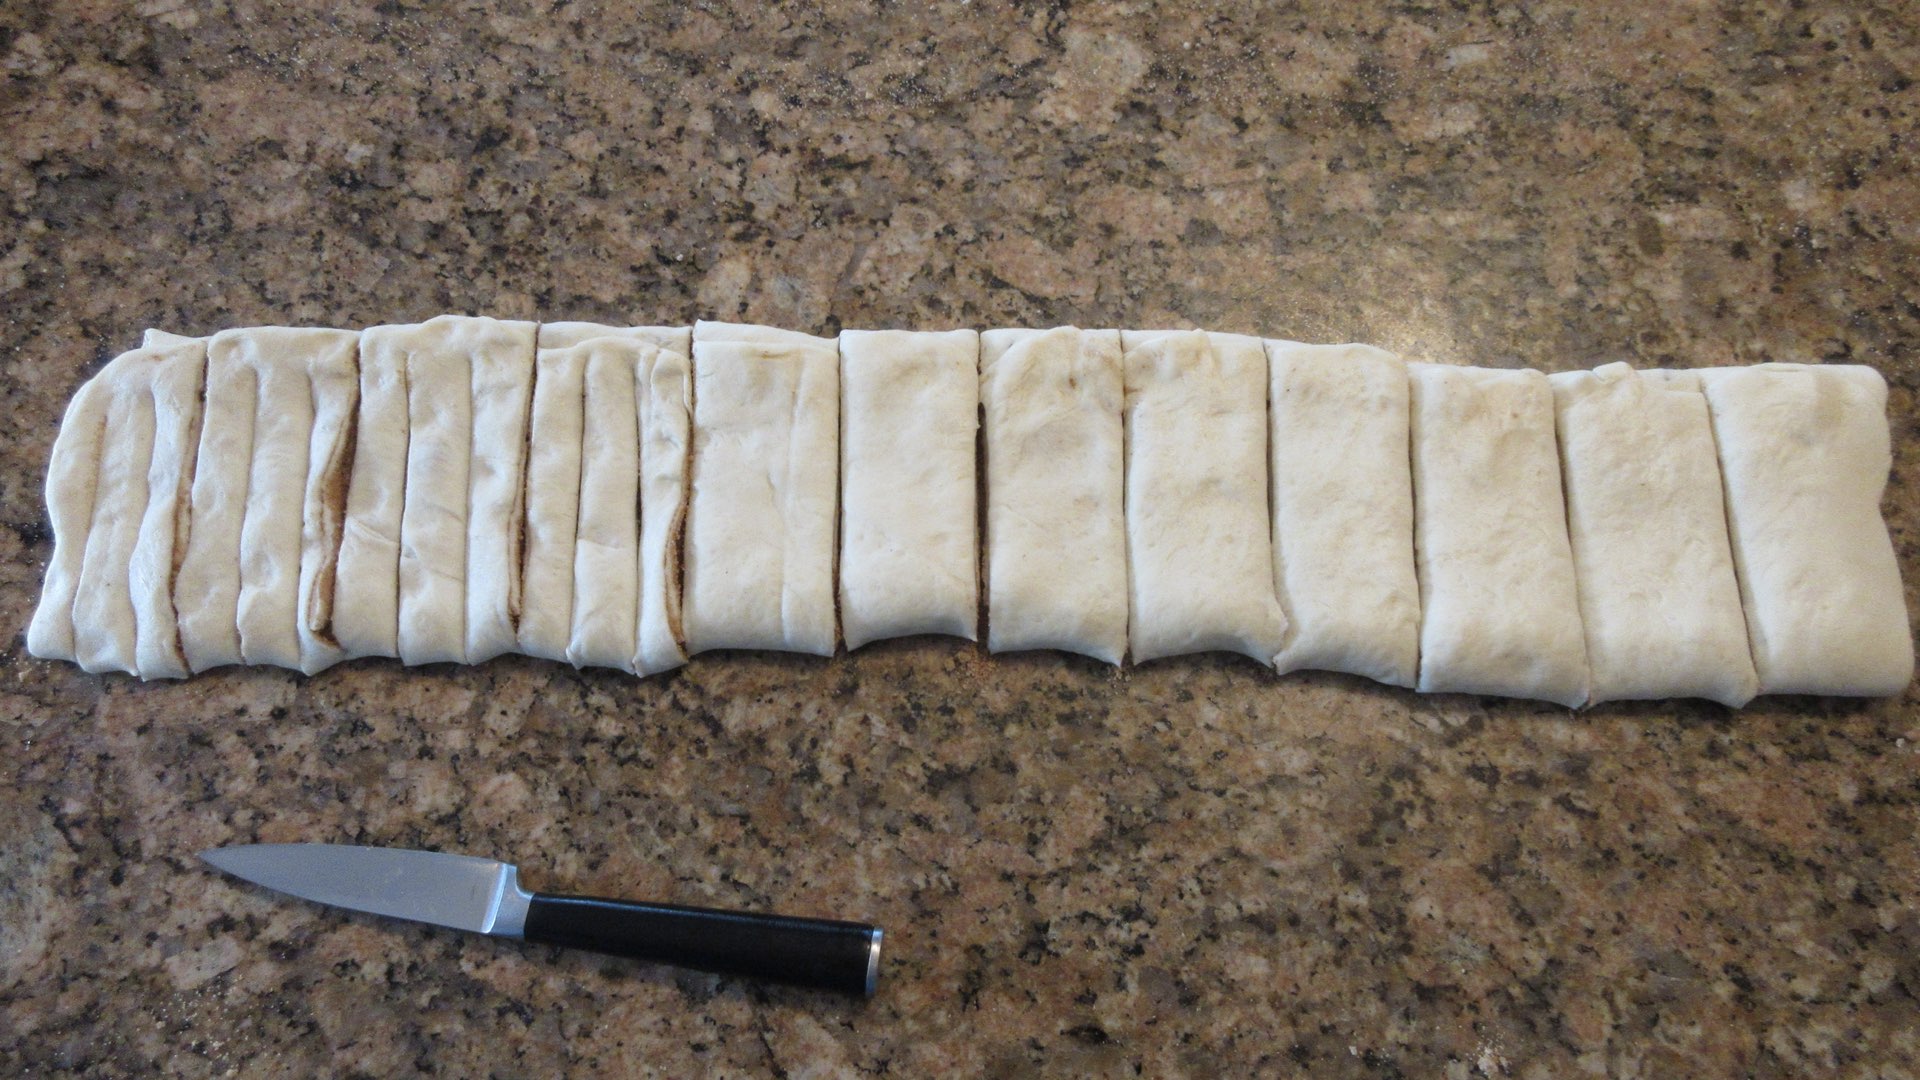
Continue this step until all 12 pieces have been cut into strips.
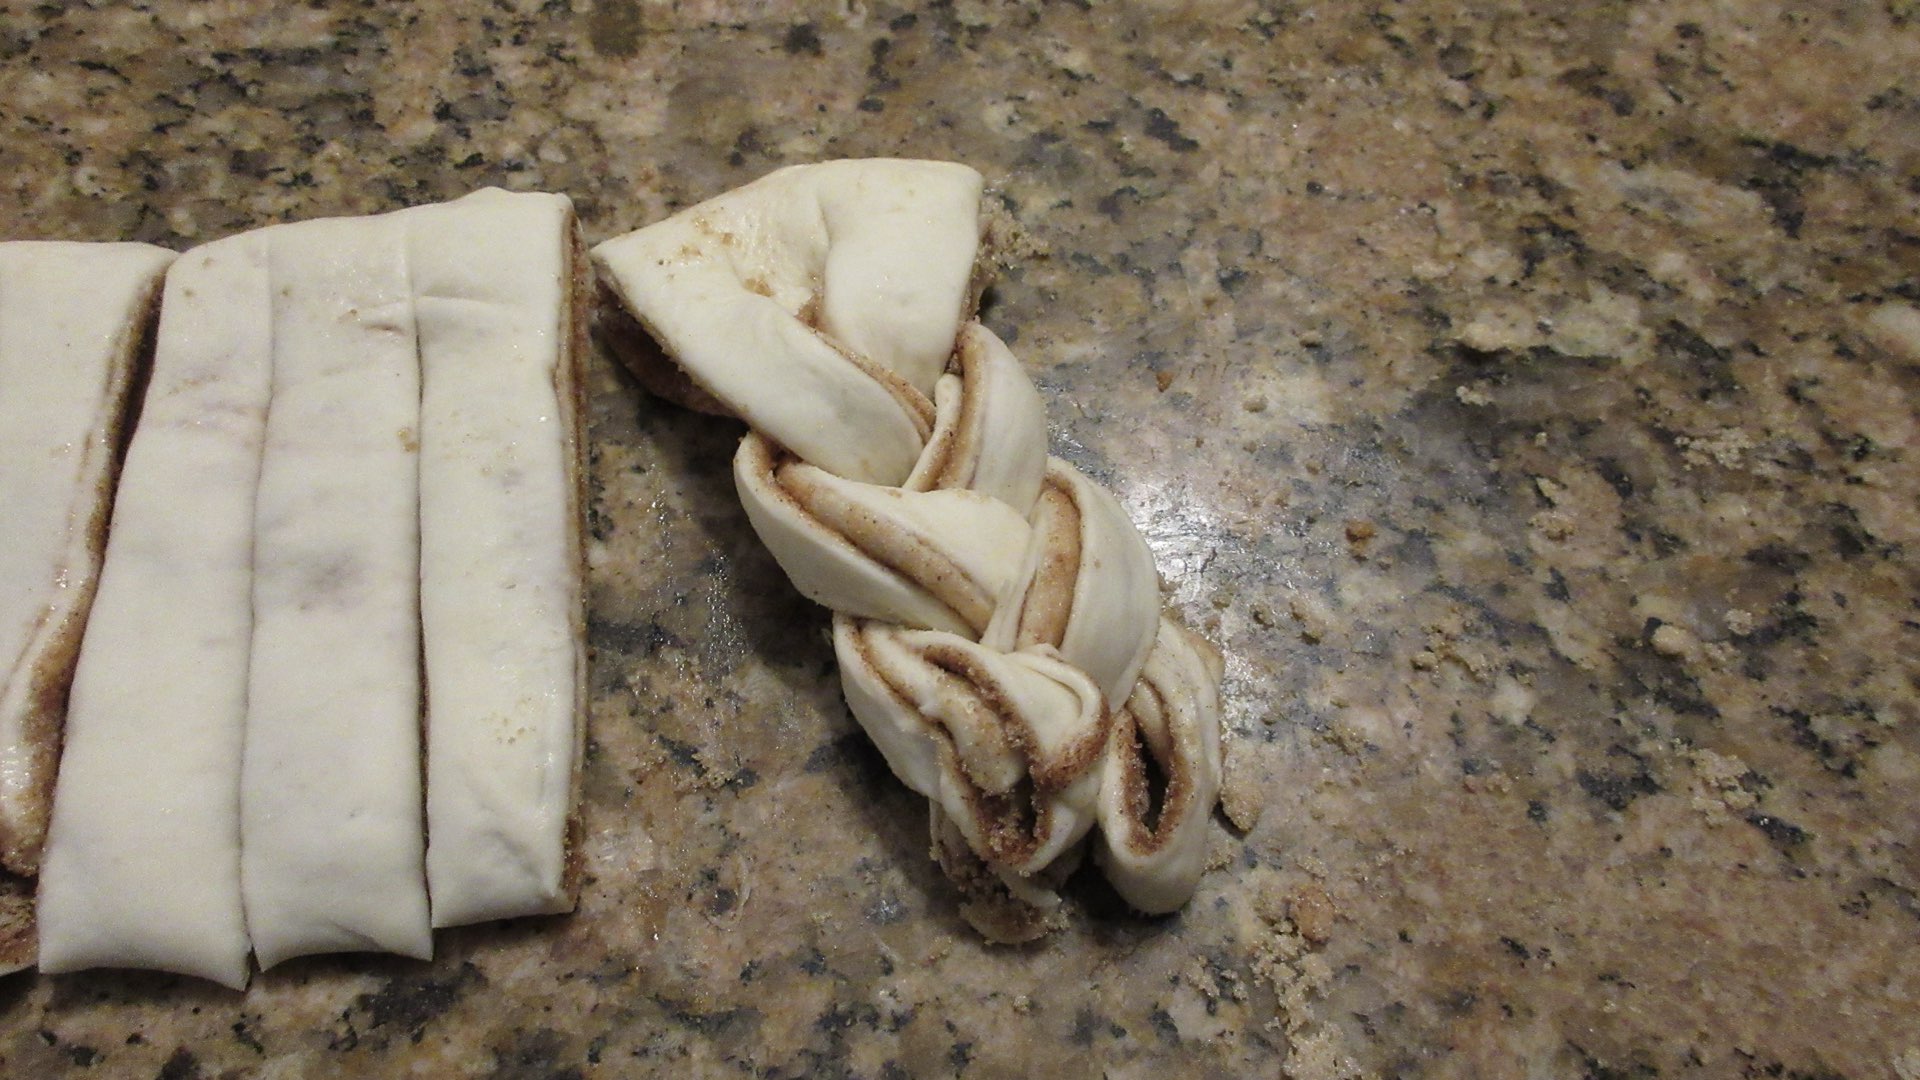
Now we need to braid each of the 12 pieces of dough. Separate the three strands so it is easier to braid. Take the far left of the three pieces and place it on top of the middle strand of dough. The middle strand now becomes the far left and the far left is in the middle. Pick up the far right of the three pieces, and place it over the new middle strand. Repeat this process of picking up the far left strand and bringing in over top of the strand of dough in the middle, then bringing the far right piece and bringing it over top of the middle strand of dough.

It should look very similar to this after you have finished braiding your piece of dough.
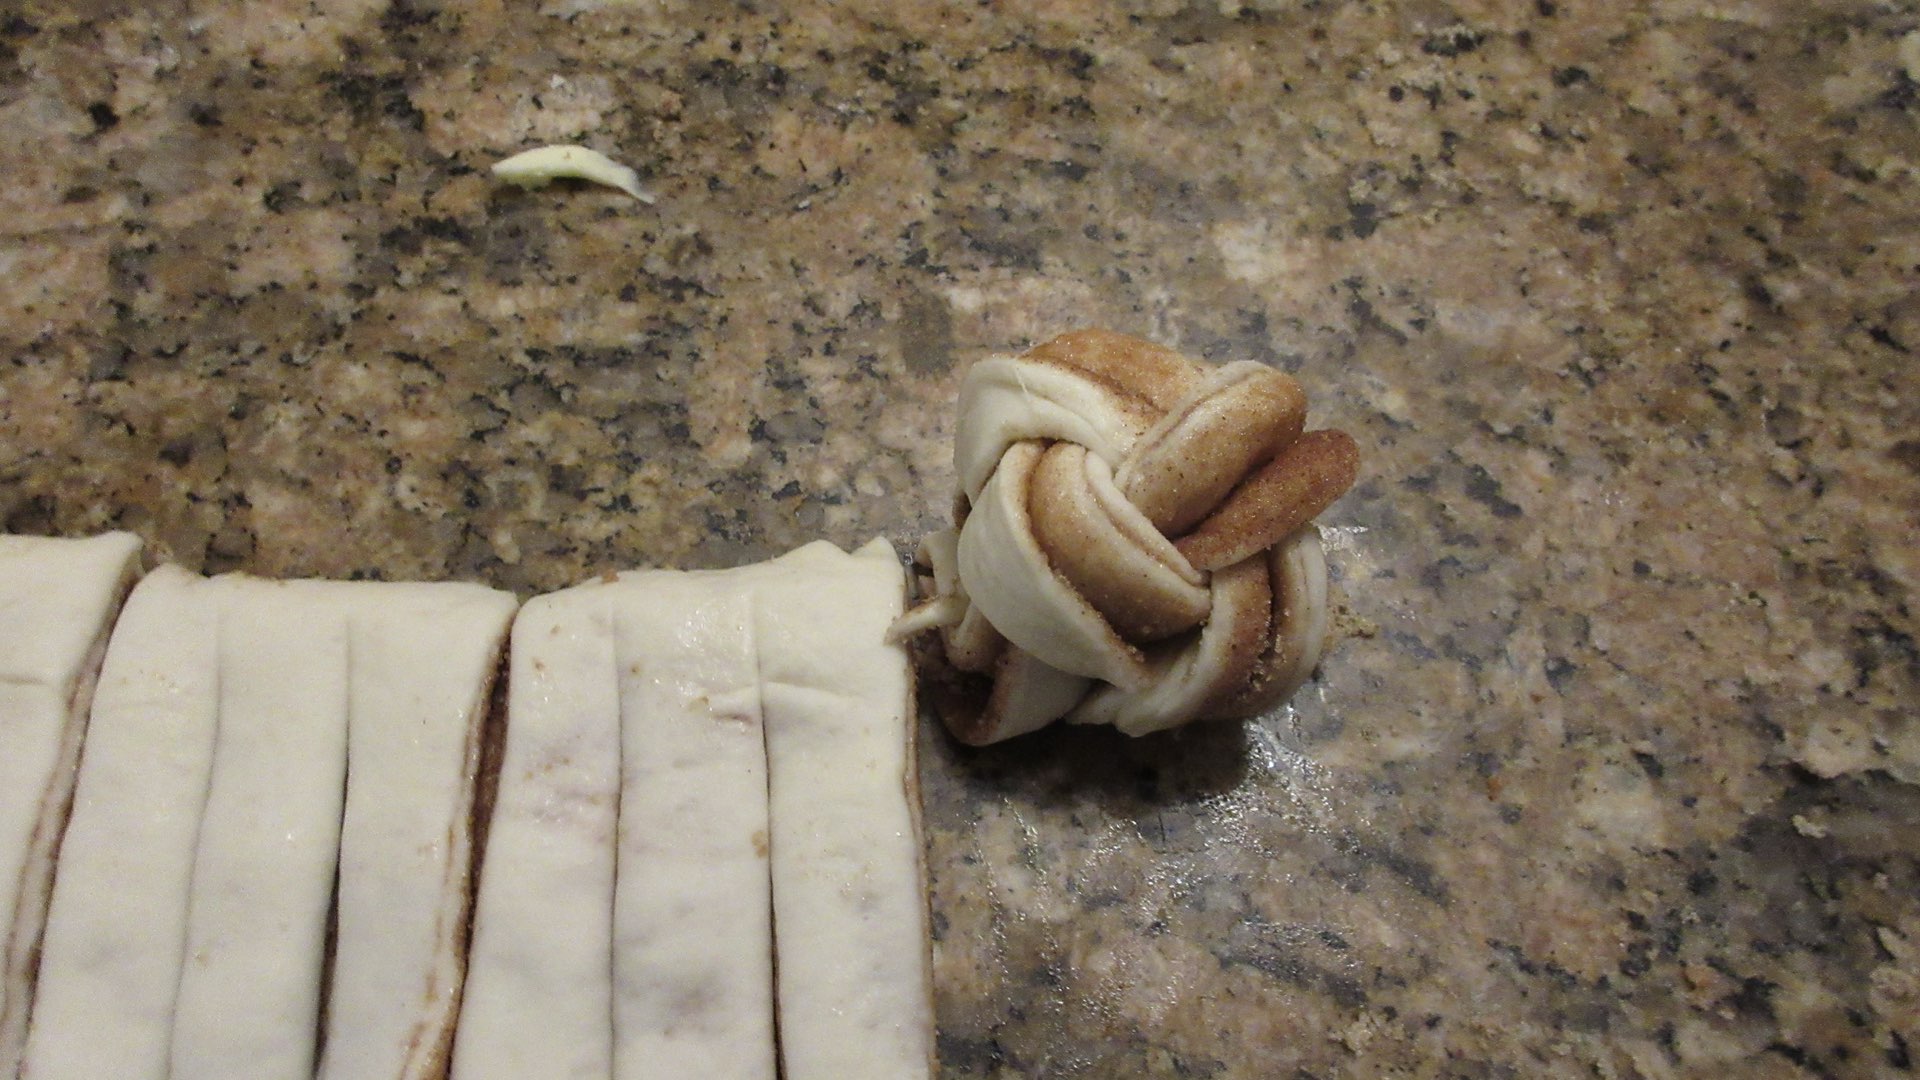
Roll the dough from the bottom of the strands up until you have a ball.
Step 9: Let the Dough Rest
Place the seam side down (the loose strands of dough) into a buttered or well greased muffin tin. Repeat braiding and rolling for the next 11 pieces of dough. Now we let the dough rest a final time. Cover and let rise another 30 – 60 minutes. After 30 minutes, preheat your oven.
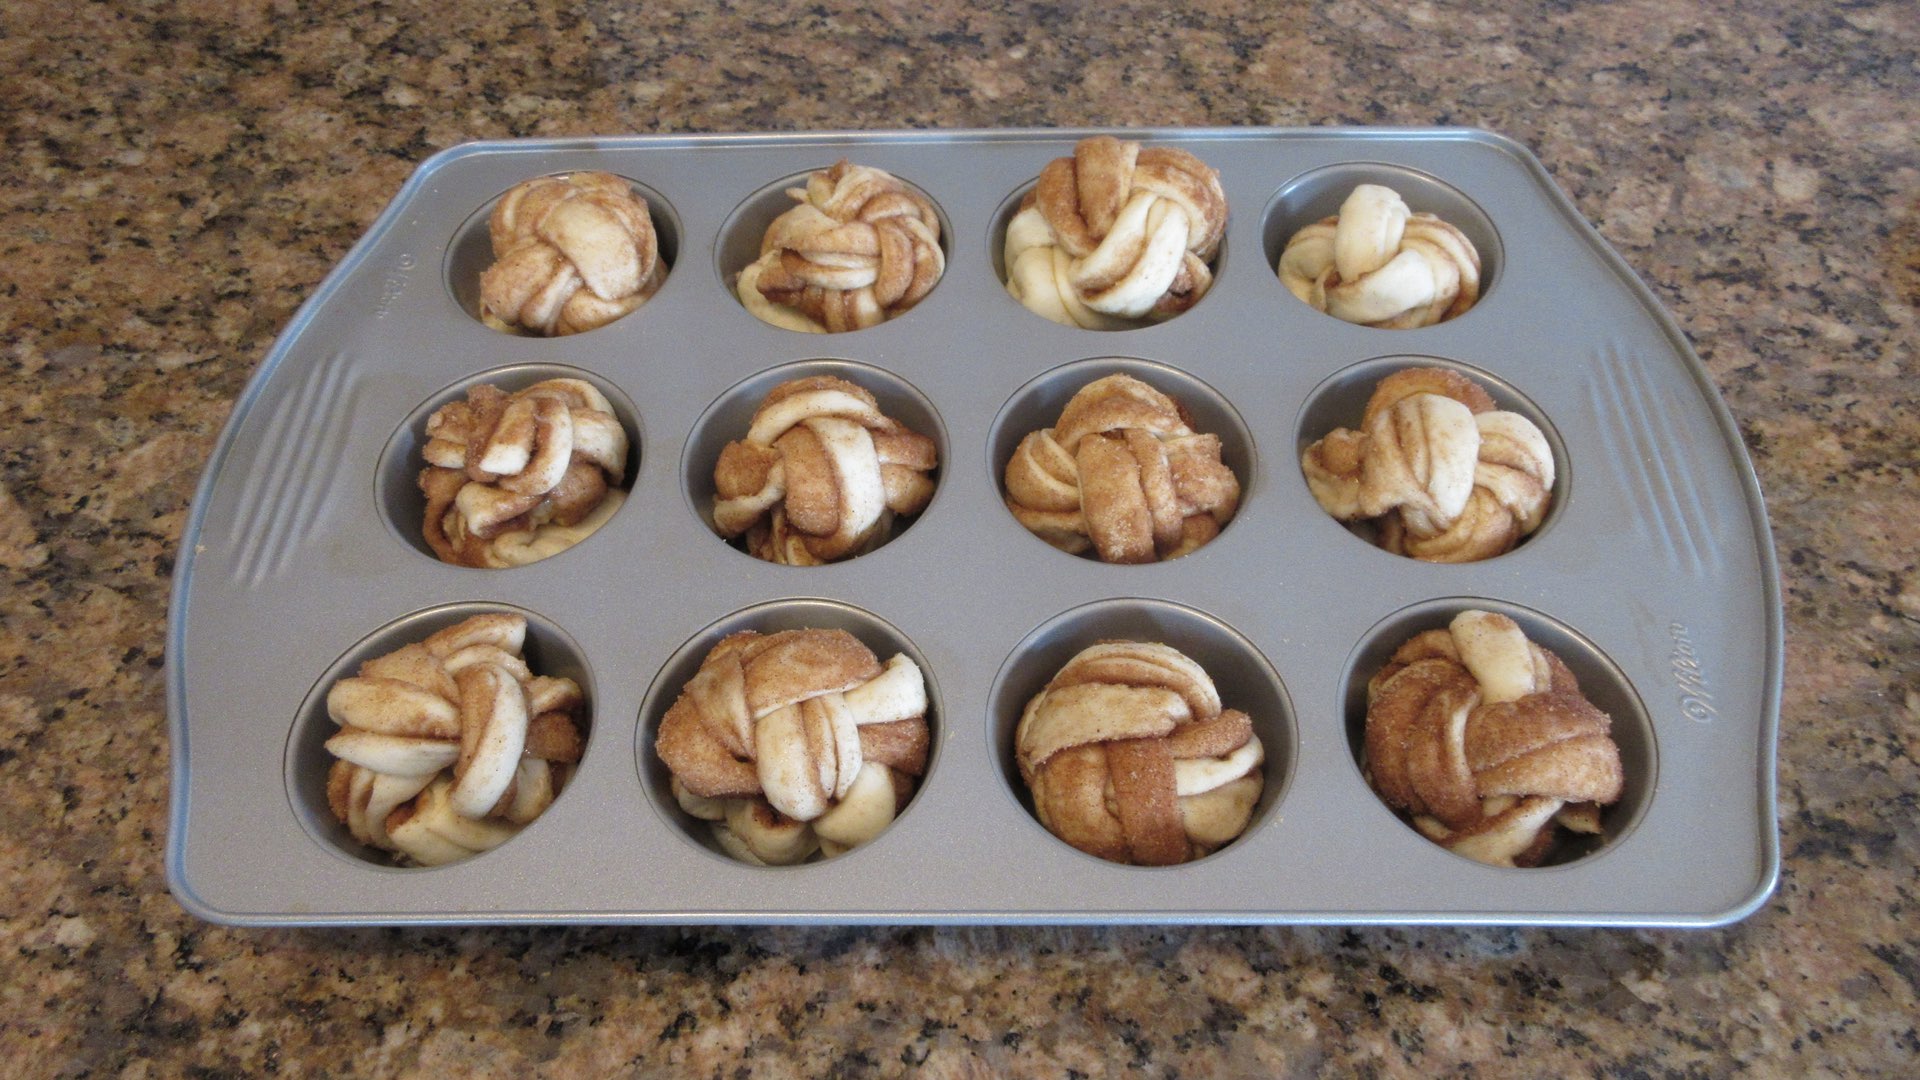
Step 10: Bake the Dough
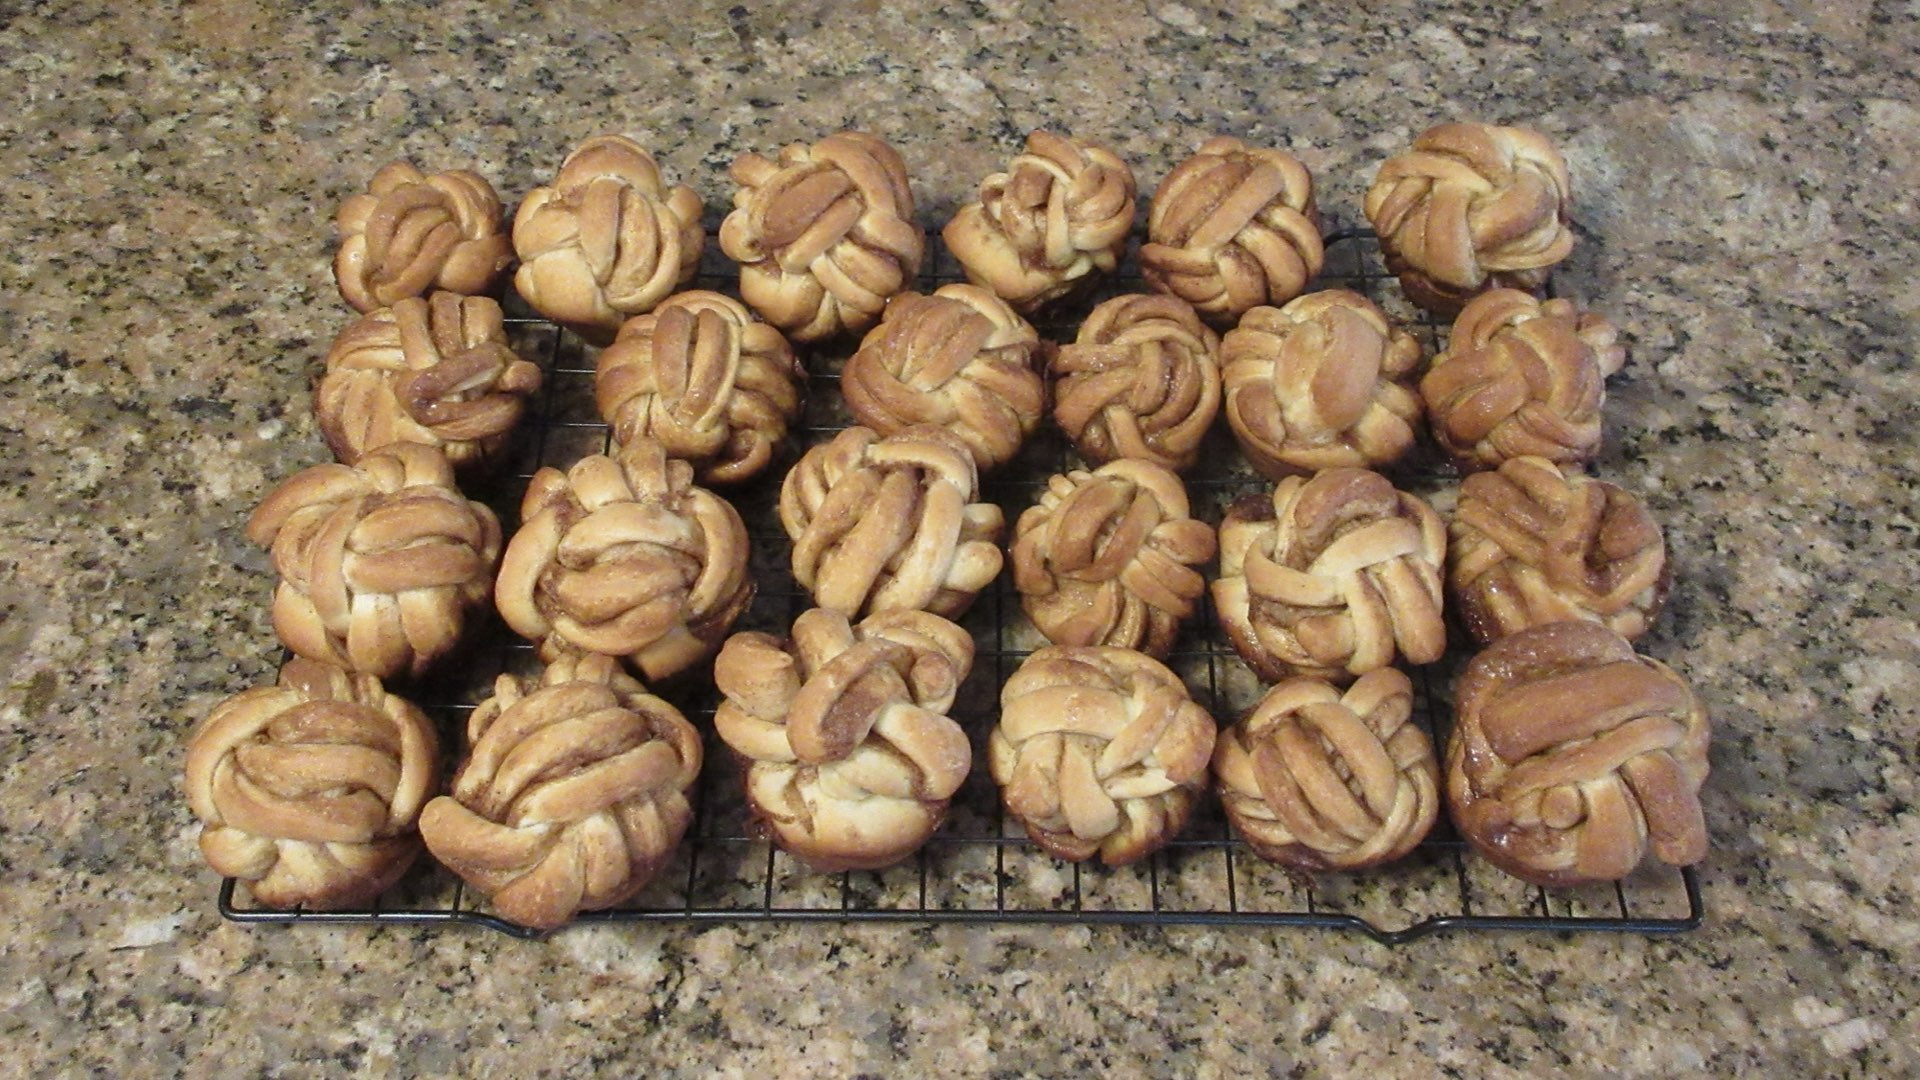
Remove the cover from your dough. Bake until golden brown. Immediately turn out the dough onto a wire rack to finish cooling. Be careful with this step as the sugar is piping hot and you can get burned.

Eat while still warm or cool completely before storing. If desired, let them cool 10 minutes and cover with powdered sugar or icing. They are honestly delicious just as they are and don’t really need the topping.
Alternative Baking Method
You don’t need a muffin tin to bake these. It helps the dough keep its shape while rising. You can use a baking tray or cake pan instead. Be sure to grease the pan well with butter or nonstick baking spray before placing the dough on the pan. Space evenly apart and allow to rise 45 minutes or until double in size.
Substitutions and Tips
Here are some common substitutions and tips for this easy dough recipe.
- Try making a cream cheese frosting to spread on the cinnamon buns for even more flavor.
- Heating the milk isn’t necessary, but it significantly speeds up the time needed to rest the dough.
- You can double the salt for more flavor, but it will slow down the rising of the dough.
- Adding the butter in at the beginning slows down gluten formation, which slows down the kneading process. Holding it back frees up a few minutes and changes the texture of the bread to be more fluffy after baking.
- Fat-free, 2%, whole milk or buttermilk can be all be used for this recipe. Whole milk will give the richest flavor, but fat-free tastes excellent! For a tang, try buttermilk.
- You can replace up to one-half of the white flour with whole wheat flour. You may need to add 1 – 2 tablespoons (15 – 30mL) of milk to get a smooth dough as whole wheat absorbs liquid more readily.
- Yes you can use soy, almond or other milk substitutes for this recipe. You may need to add 1 – 2 tablespoons more flour (9-18g) as milk substitutes are often thinner than cow’s milk.
- Any type of cooking oil can be used for this recipe. Canola and vegetable oils will give a neutral taste.
- Melted coconut oil or butter can be substituted for the oil in this recipe.
- Margarine or vegetable spread can be used in place of the butter for this recipe in equal amounts.
Storage
Freshly baked bread is always best eaten the day you make it. It doesn’t have a long shelf life at all. However, these will keep 2-3 days before they go stale. Let the rolls cool completely and store in an airtight container or plastic bag to stay soft. The crust will soften slightly stored this way. If you want the crust to be more like the day you baked them, store in a paper sack or bread bin.
These rolls freeze up to 1 month, but it is best to freeze the dough raw after shaping. To freeze dough, shape into nine rolls and freeze on a baking sheet for one hour. Transfer to a freezer safe storage bag or container. Dough can be kept frozen up to 3 months. Thaw the dough overnight in the refrigerator. The next day, place rolls in a greased baking dish or pan, cover and allow to rise until double before baking. Frozen baked bread can be reheated in the oven at 350F (180C) for 10 – 15 minutes.

Braided Cinnamon Buns Recipe
Ingredients
Knead the Dough
- 2 cups (300g) flour
- ¾ cup (180mL) milk
- 2 tbs (30mL) oil
- 2 tbs (28g) softened butter
- 2 tbs (25g) sugar
- 1 ½ tsp (4.5g) yeast
- ½ tsp (2.5g) salt
For the Filling
- ½ cup (113g) brown sugar
- 3 tbs (42g) softened butter
- 1 tbs (9g) flour
- 1 tsp (2g) cinnamon
For the Topping
- 1 cup (125g) powdered sugar
- 1 – 2 tbs (15-30mL) water
- ¼ tsp (1.25mL) vanilla
Instructions
For the Dough
- In a small saucepan, heat milk on medium until it is lukewarm or 110°F (43°C.)
- In a large bowl, mix all the ingredients together with the handle of a spoon until a shaggy dough forms. Knead on a clean work surface until dough is elastic and stretches easily without tearing. This can take 8 – 12 minutes.
- Cover with plastic wrap or a damp cloth and let rest until double. This step typically takes 60 – 120 minutes.
- Prepare a muffin tin by generously buttering each tin or use a nonstick baking spray. Do not use spray on non-stick surfaces as it can damage the finish. Set aside while you prepare the dough.
- Either pat out or roll a rectangle that is approximately 10 x 18 inches (25 x 46 cm.) It doesn't have to be exact, but you do want it pretty close to this size.
For the Filling
- Mix together the brown sugar, cinnamon and flour in a small bowl. Set aside.
- Spread the butter out evenly on top of the rectangle of dough. Sprinkle with a layer of the cinnamon sugar mixture.
- Now we need to fold into thirds. Bring down the first third toward the center. Bring up the bottom third to meet the top of the first fold.
Braid and Bake the Dough
- Cut this into 12 sections. If your rectangle was exact, each piece will be 1 1/2" (3.8cm) wide. If it wasn't exact, just measure the dough and cut it into 12 equal portions. Cut two vertical lines in each of the twelve pieces stopping 1/2" (1.27cm) from the top. You want to have three total strips of dough, approximately the same width. If you measured correctly, each strip will be 1/2" wide. If you didn't, each strip should be approximately 1/3 third the width of your section.
- Braid each section. Spread apart the three strands of each section so it is easier to braid. Take the far left of the three strands and place it on top of the middle strand of dough. The middle strand now becomes the far left and the far left is in the middle. Pick up the far right strand and place it over the new middle strand. Repeat this process until the entire section is braided. Starting at the end of the braid, roll the dough up and place it seam side down into the muffin tin. Repeat for all 12 pieces of dough.
- Cover and let rest 30 – 60 minutes or until double in size. Preheat oven to 350°F (180°C.) Remove the cover after they have risen and place the pan in the oven. Bake 17 – 24 minutes or until golden brown. Center temperature should reach 190°F (88°C) when done. Remove immediately to a wire rack to finish cooling.
For the Topping
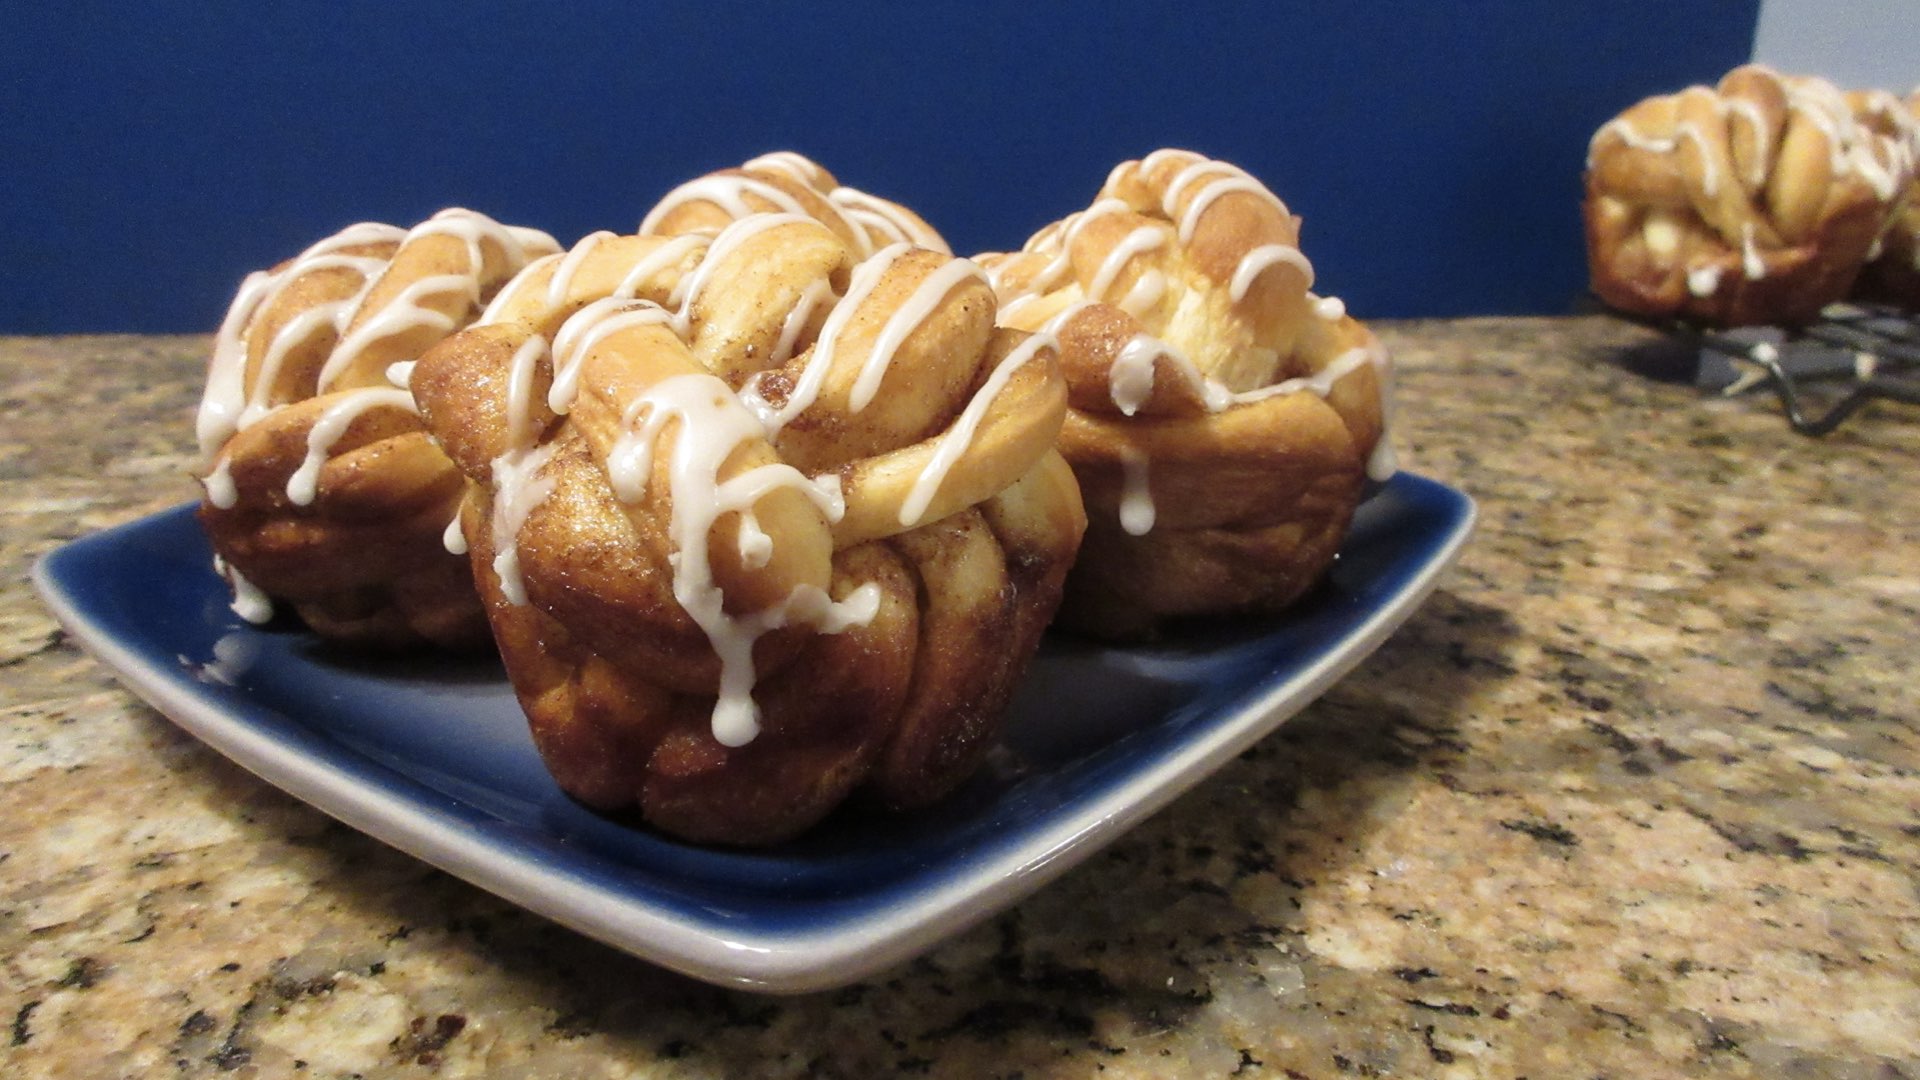
- In a medium bowl, add the powdered sugar and vanilla. Gradually add the water a teaspoon at a time until you reach the desired thickness. Spread or drizzle on top of each cinnamon bun while still warm.
0 Comments