A Little History on this Buttermilk Pie Recipe
A buttermilk pie recipe is to be one of the many desperation pies that were invented during times of hardship like the World Wars or the Great Depression. It is a simple pie with very little ingredients that has evolved over the years. Although it is supposed to be simplistic and affordable, the buttermilk pie has grown to become quite the pretentious pie in some areas of the country to show off wealth and substance. The addition of more sugar, butter, nutmeg, vanilla beans and fresh lemons became popular as times became more stable and people were no longer struggling to make ends meet. Instead of cutting corners, they wanted to show off their prosperity.
Yet, here we are again in a recession where prices are at an all time high due to inflation, shortages and price gouging. No more showing off our wealth for the most of us. Many folks are now looking for ways to enjoy a sweet treat without having to spend an abundance in ingredients. So we will show you the basics and also discuss additions you can add to enhance the pie.
Step-By-Step Instructions
Below, you will see how easy it is to make this buttermilk pie recipe. The hardest part is deciding what flavorings and how much sugar you want in your recipe. We will show you the bare bones and give you tips and tricks along the way to make it your own.
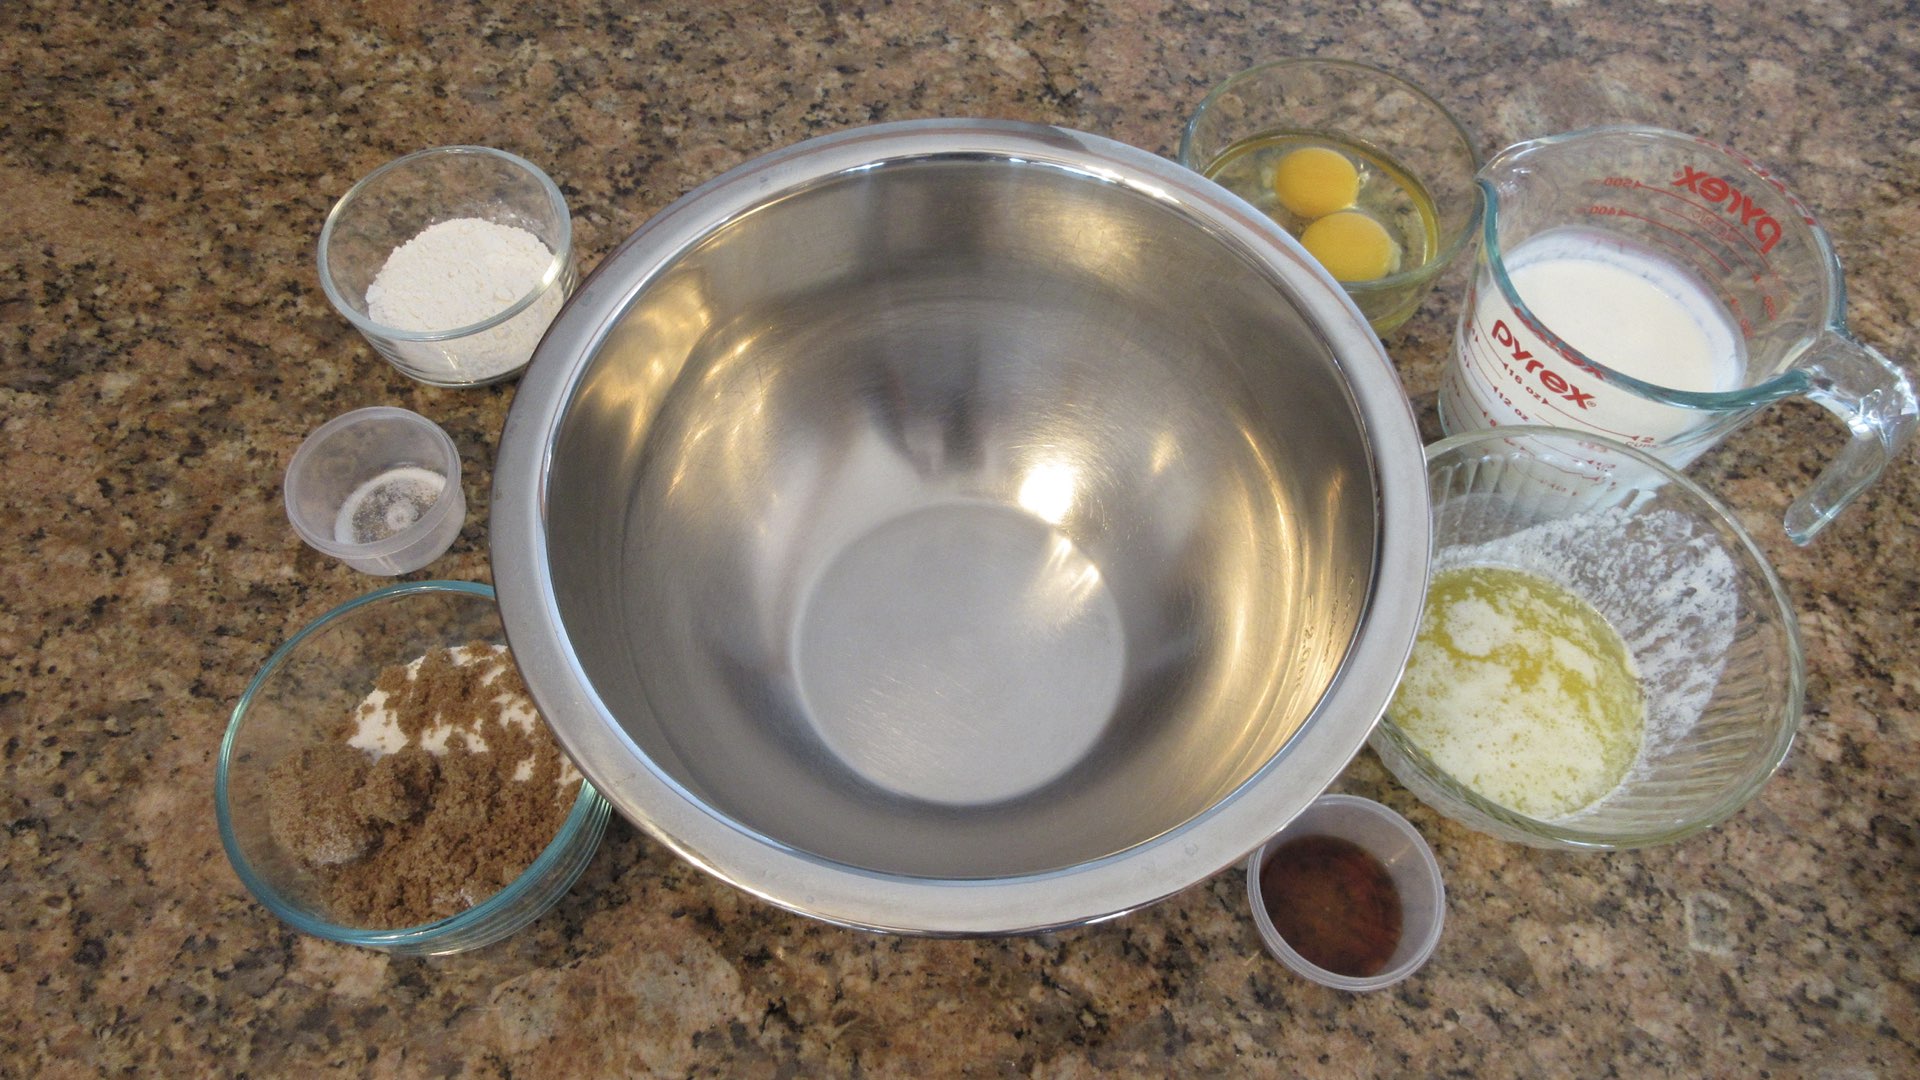
Step 1: Gather Your Ingredients
Prior to making any recipe, it is always wise to gather your ingredients ahead of time. This helps ensure you don’t forget adding any of the items and will also guarantee you have everything needed on hand and at the appropriate temperature. In this instance, you will need to melt and cool the butter. In addition, you want to bring the eggs and buttermilk to either room or just slightly below room temperature. Our house is currently 70°F (21°C) for reference. The temperature of the ingredients will affect the baking duration, so keep that in mind when budgeting your time. The colder the ingredients, the longer your buttermilk pie must bake.
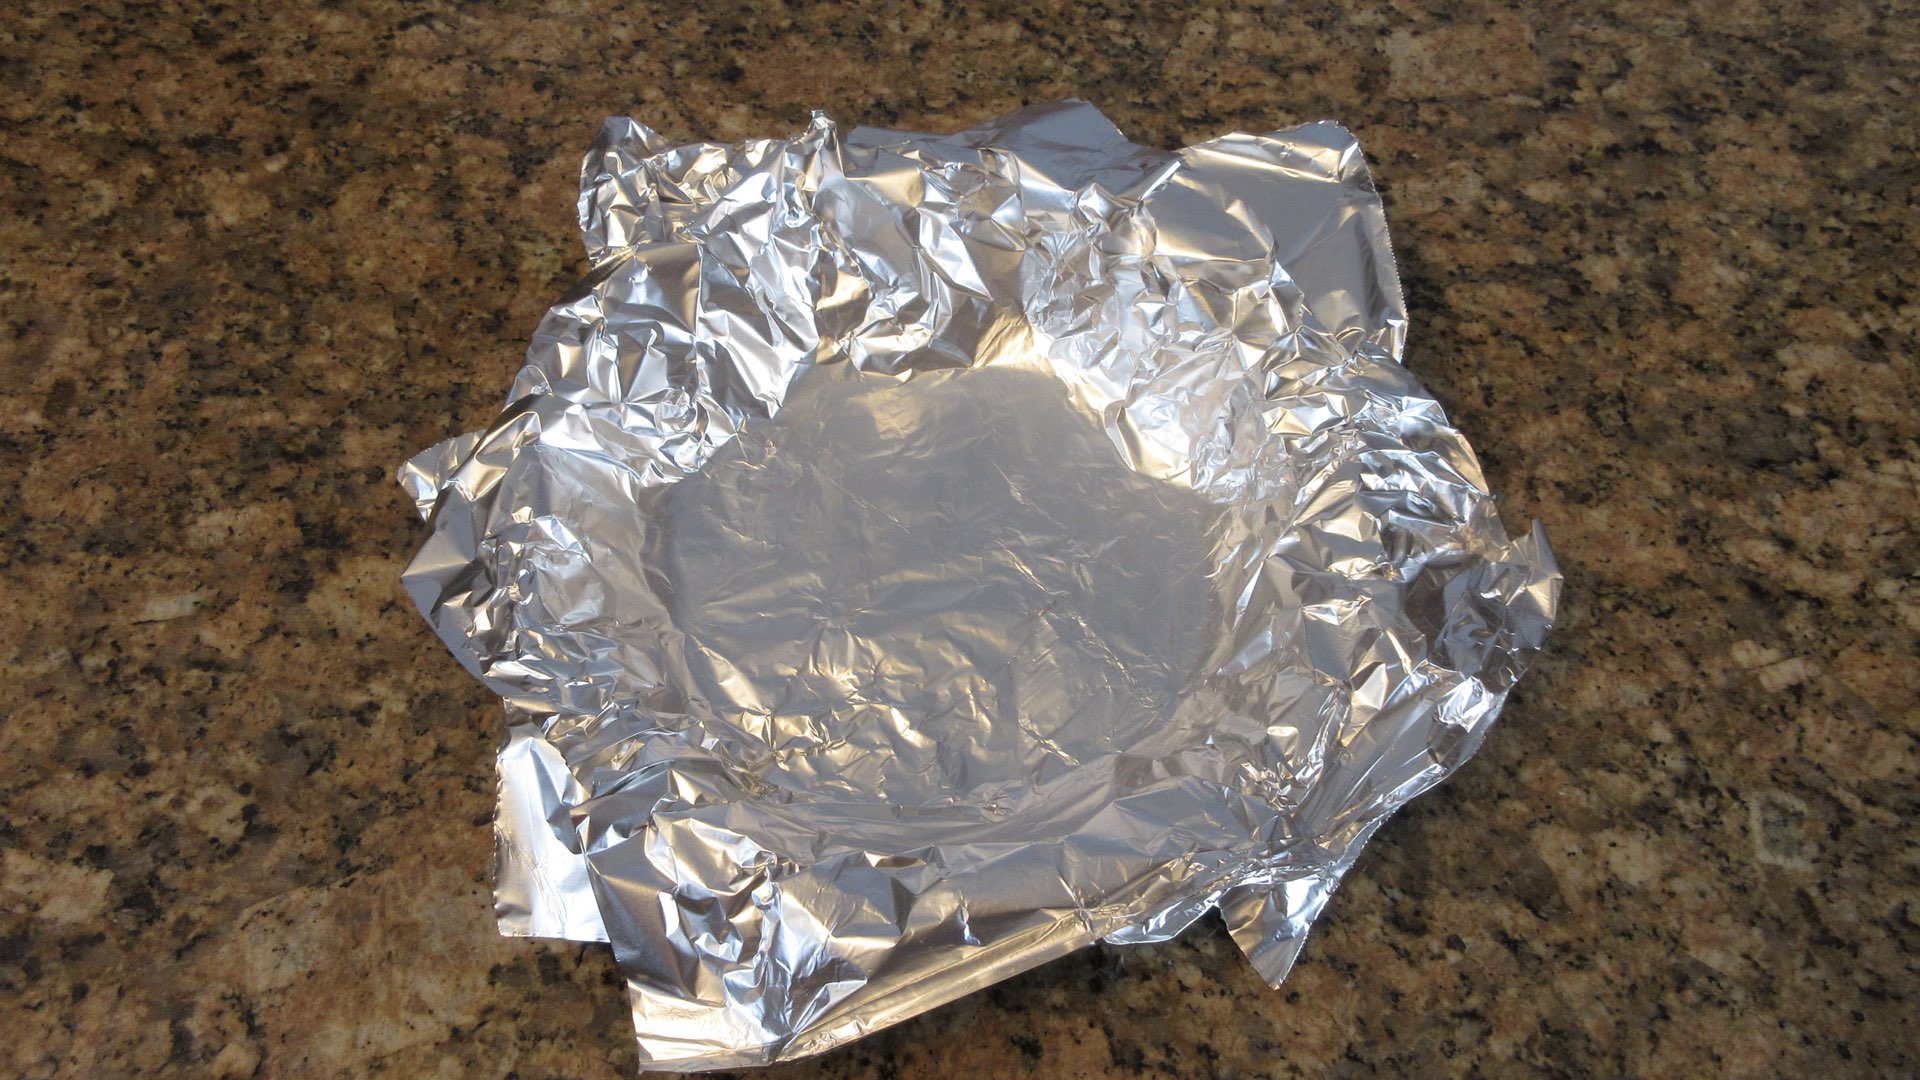
Step 2: Blind Bake Your Pie Shell
For best results, we like to blind bake the pie shell to a partial bake. This is also known as parbaking. Even though the pie shell will be spending quite a significant amount of time in the oven, parbaking helps ensure a crispy flaky pie shell and soggy bottoms. We also recommend docking the pie. Piercing the pie shell with the tines of a fork several times will help prevent air bubbles from forming.

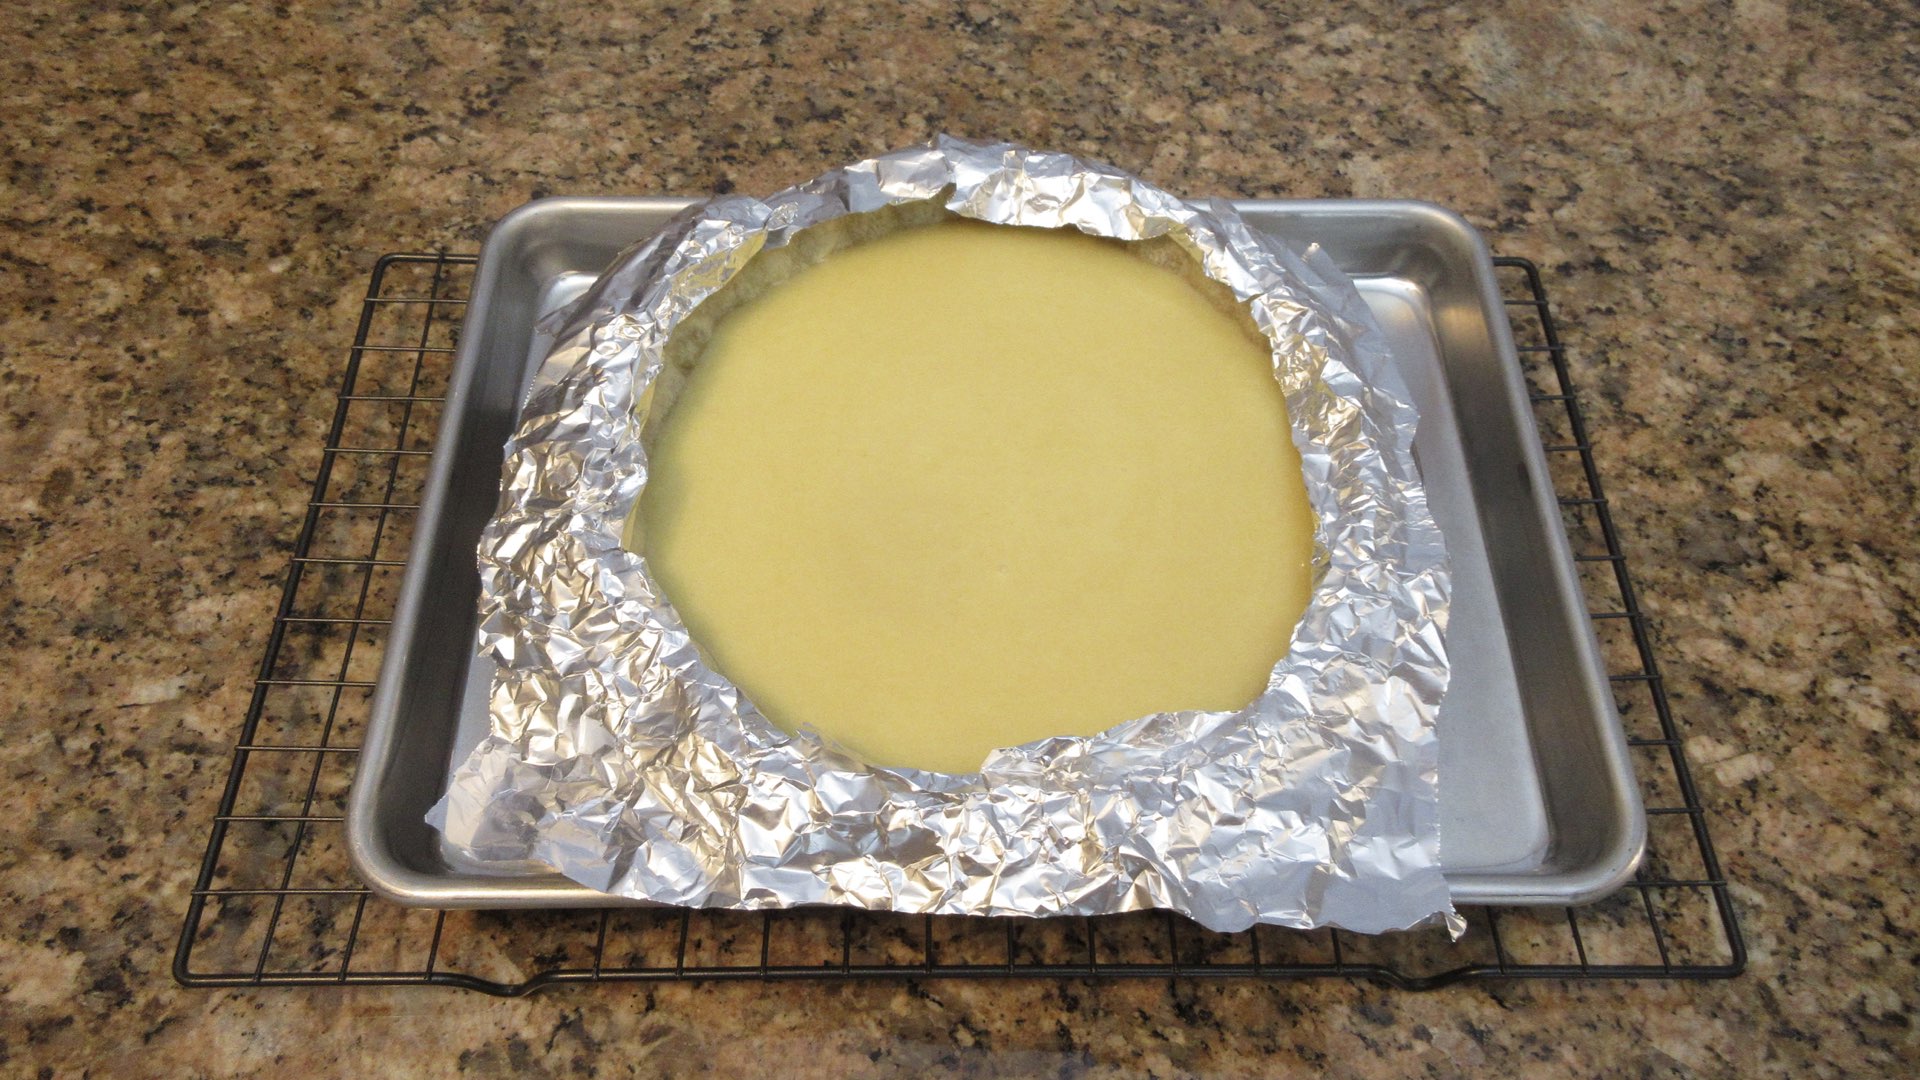
Cover the pie with aluminum foil or parchment. Press it down gently so it forms to the shape of the pie shell. I like to use two sheets of aluminum foil and stager them so the crust edges are completely hidden. This will prevent over browning.
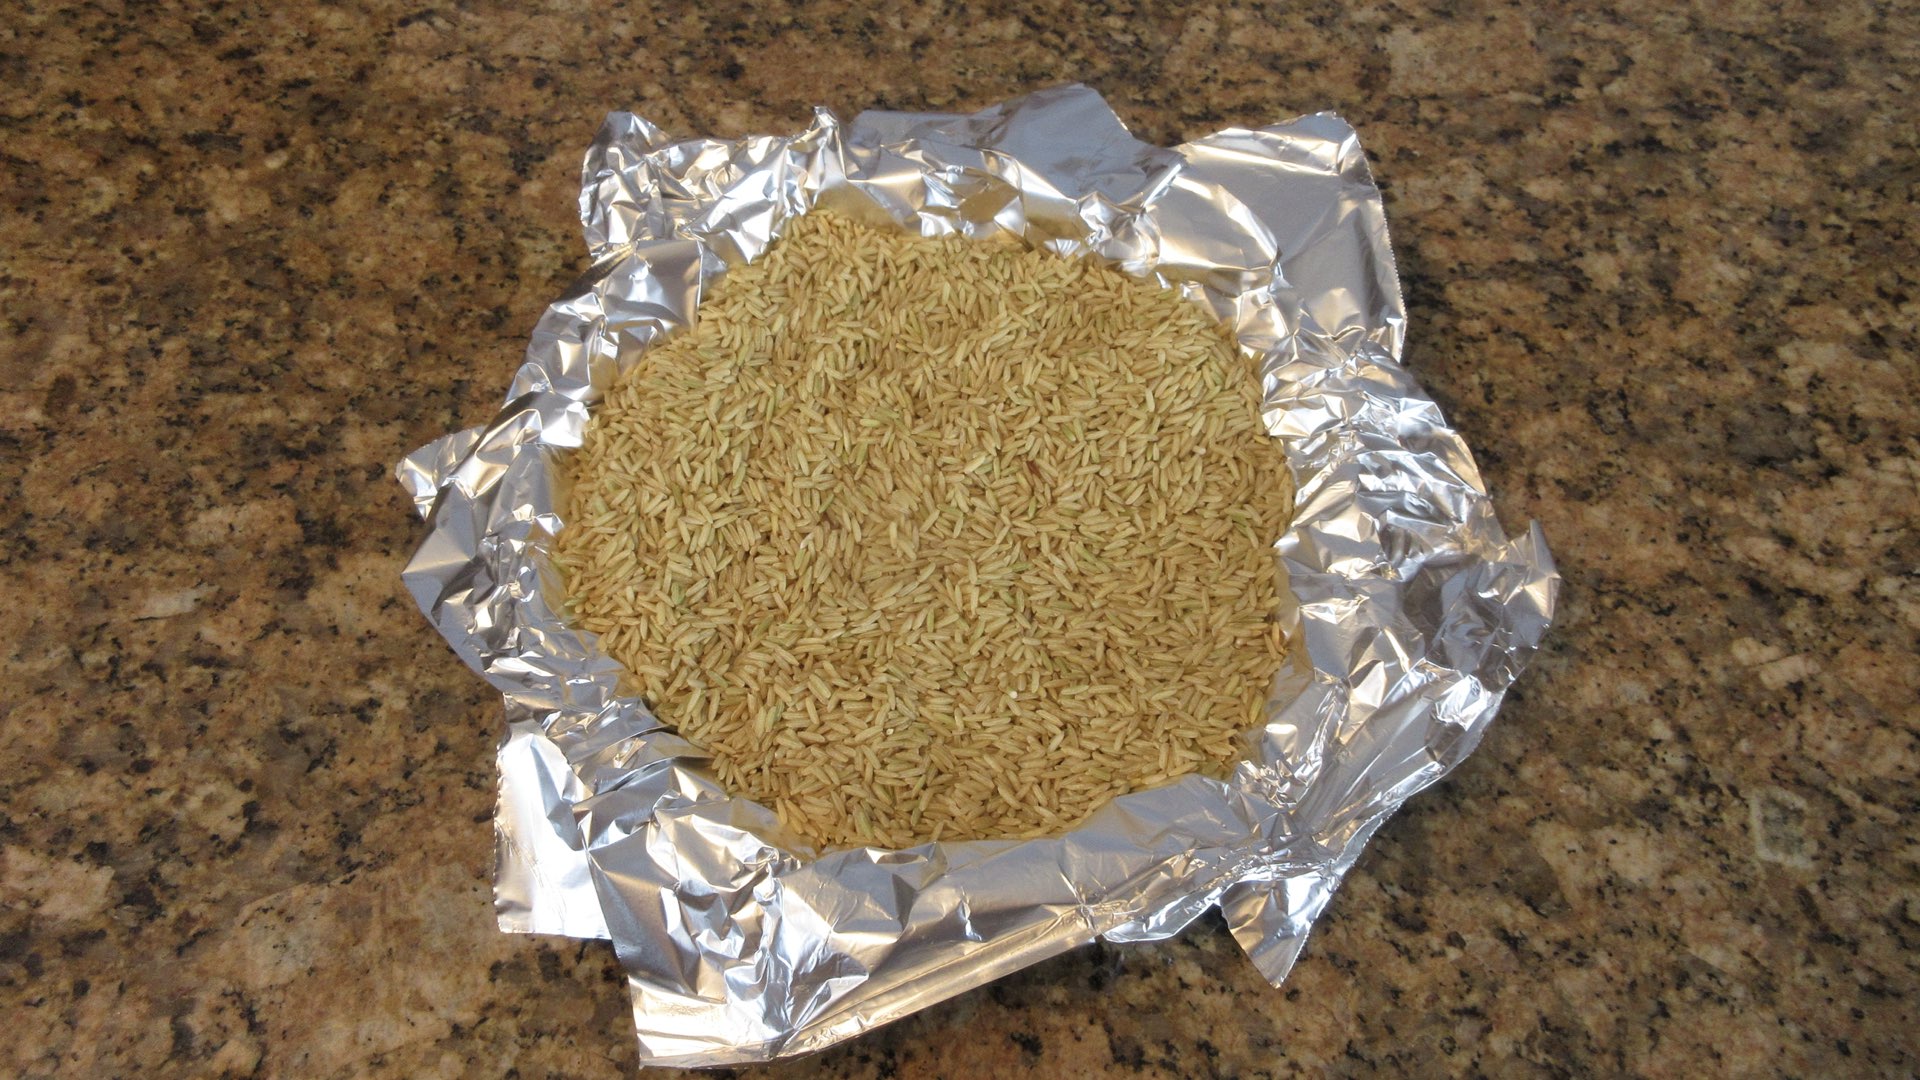
Next, fill the aluminum foil or parchment with weights. I like to use rice. However, pie weights, beans, rice, dry pasta, sugar and flour all work well for this step.
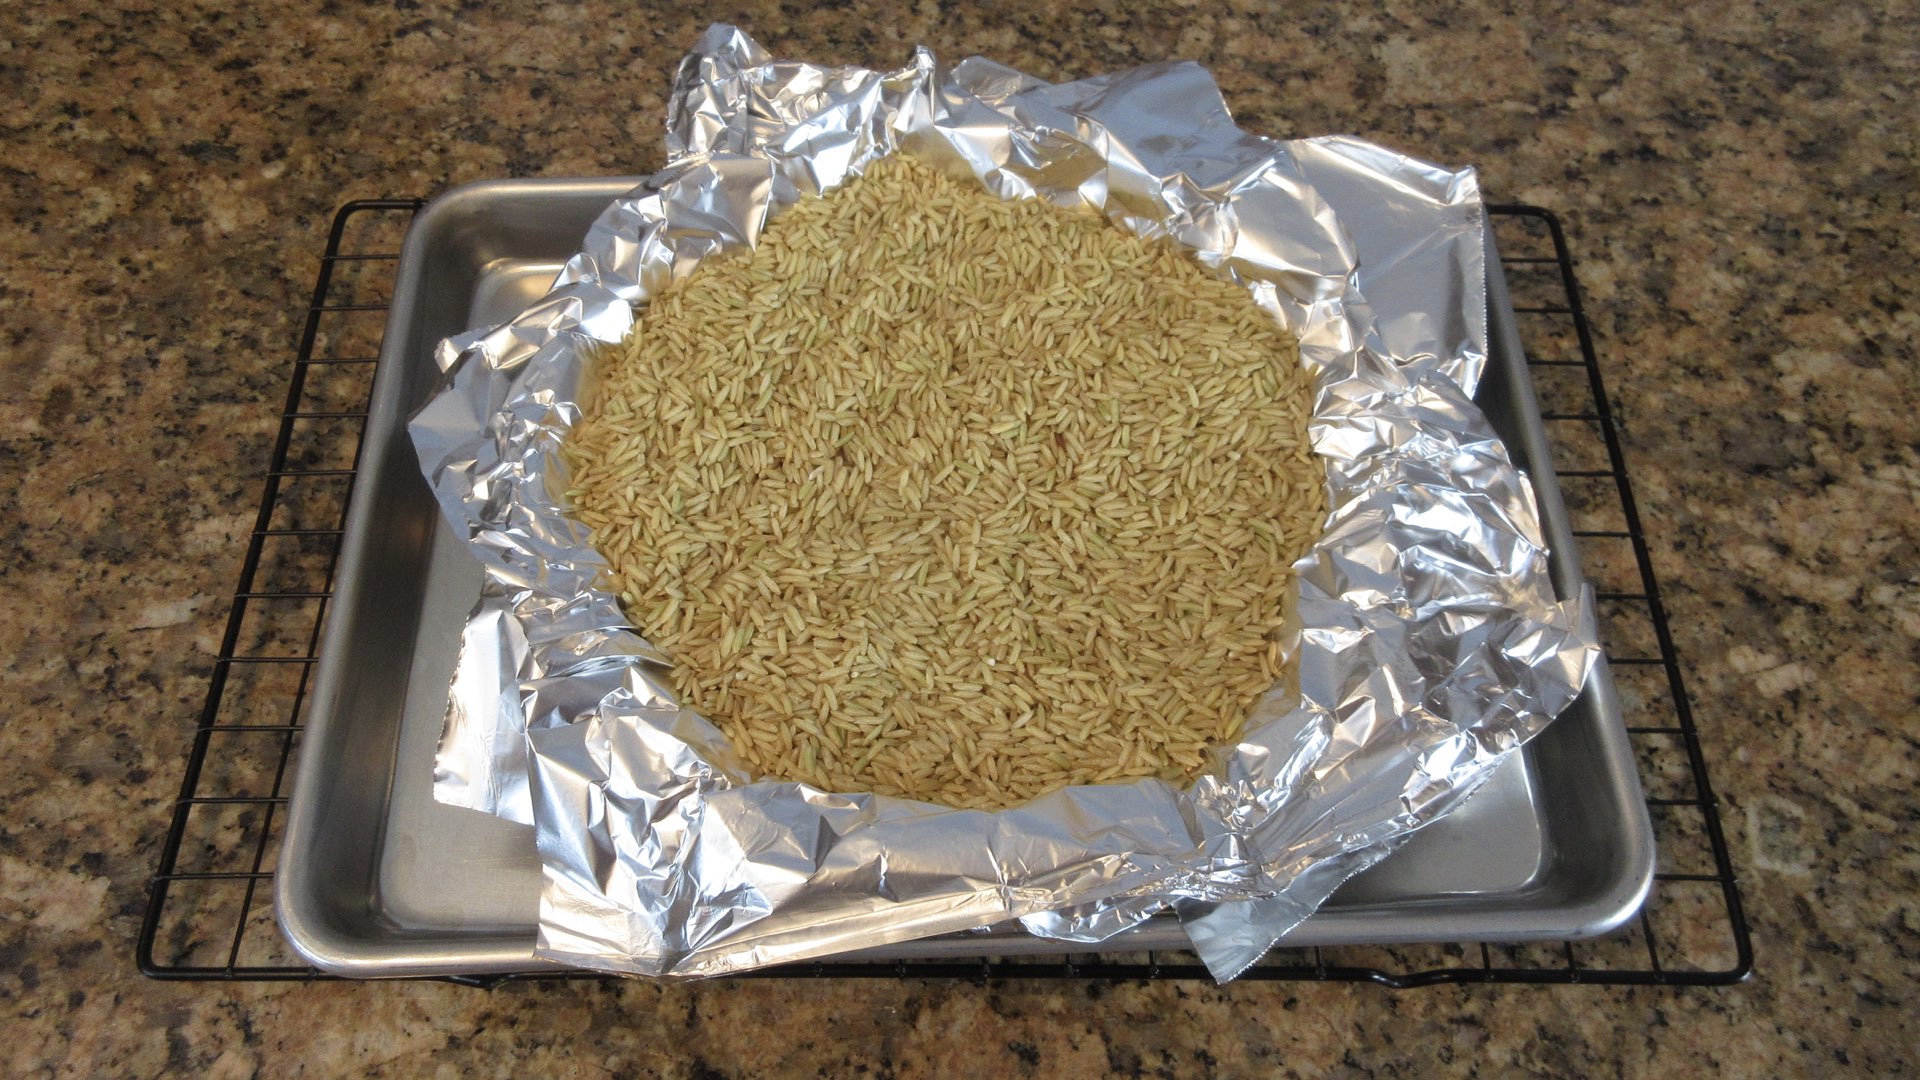
After it has baked for 15 – 20 minutes, we remove it to a wire rack and carefully remove the rice. Do this slowly to prevent burns.
The crust should look be pale and parts will be dry while others are still damp. This is a partial bake. Set it aside for several minutes to cool before proceeding.
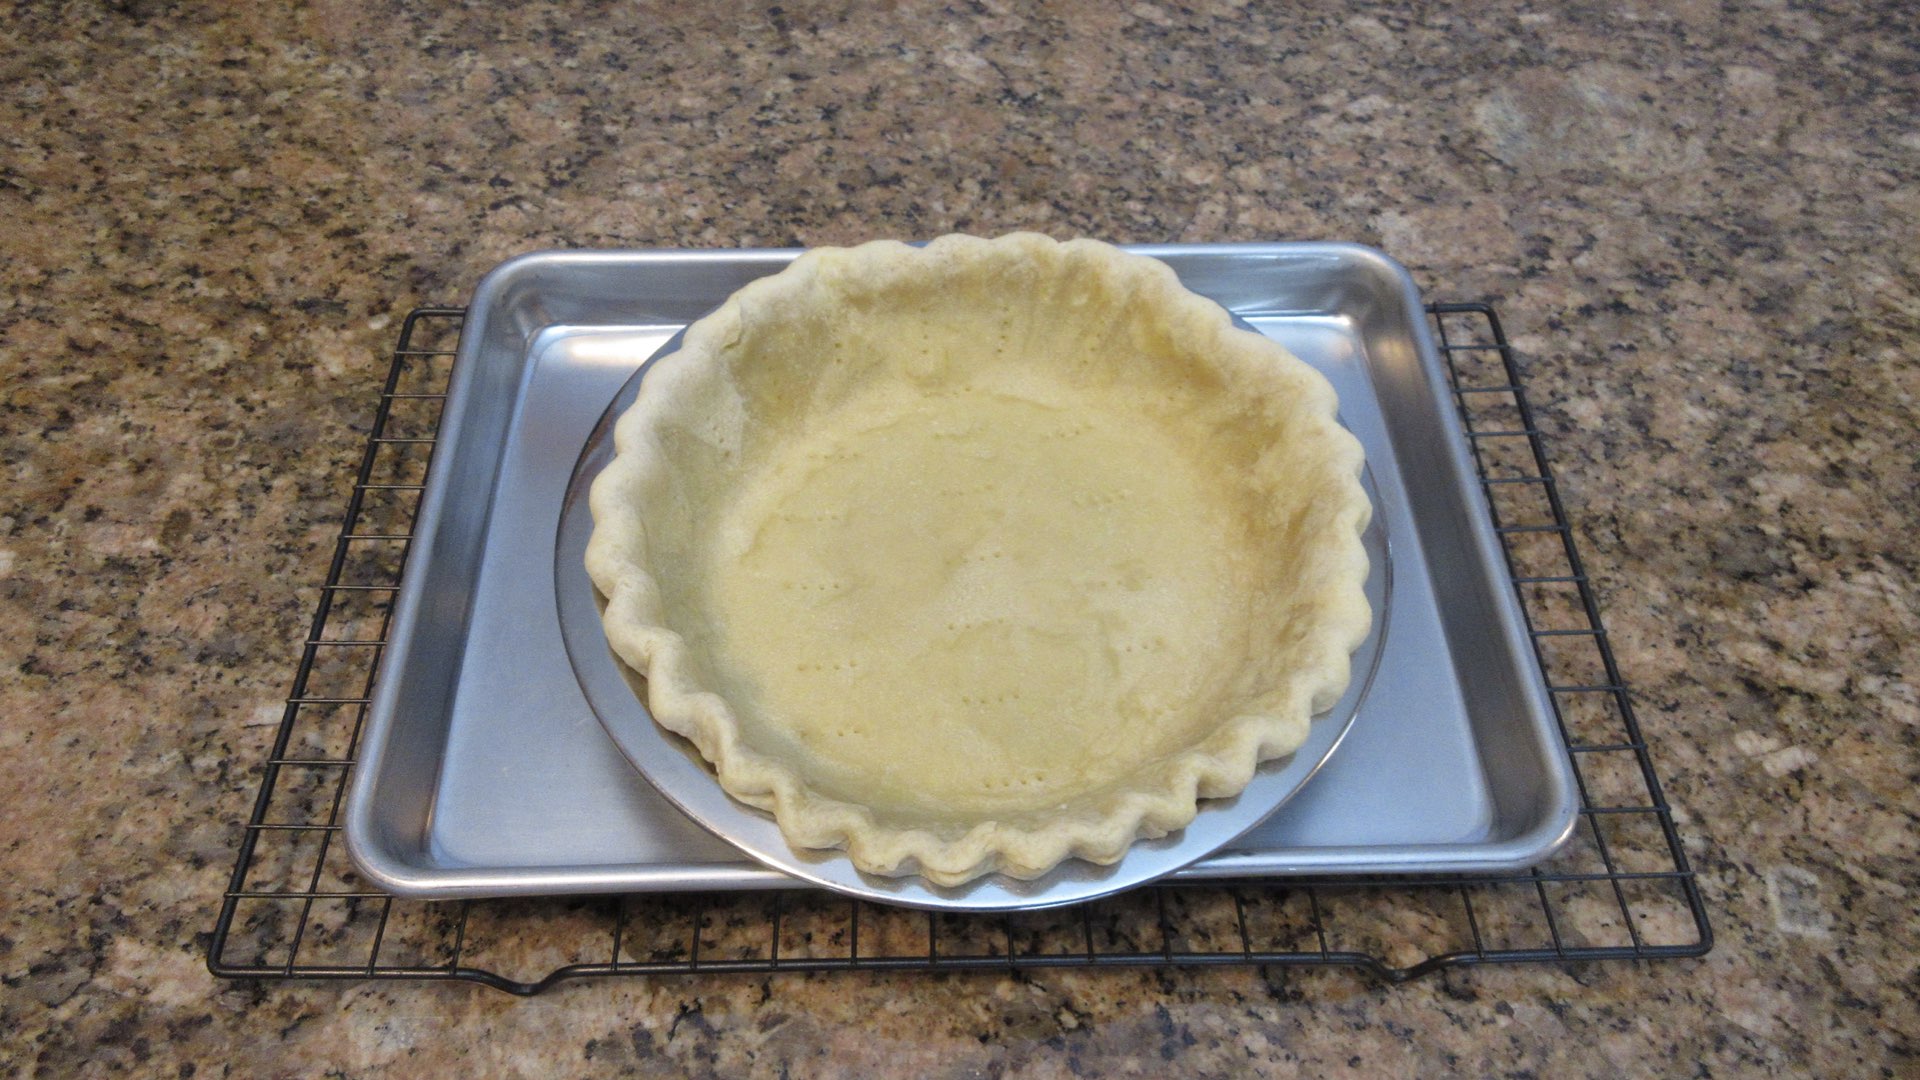
After the pie shell has cooled, you may want to cover the edges with a pie shield or some of the aluminum foil we used earlier. This will keep the crust edge from over browning as it bakes in the oven. We do this with all our pies.

Step 3: Prepare your Filling
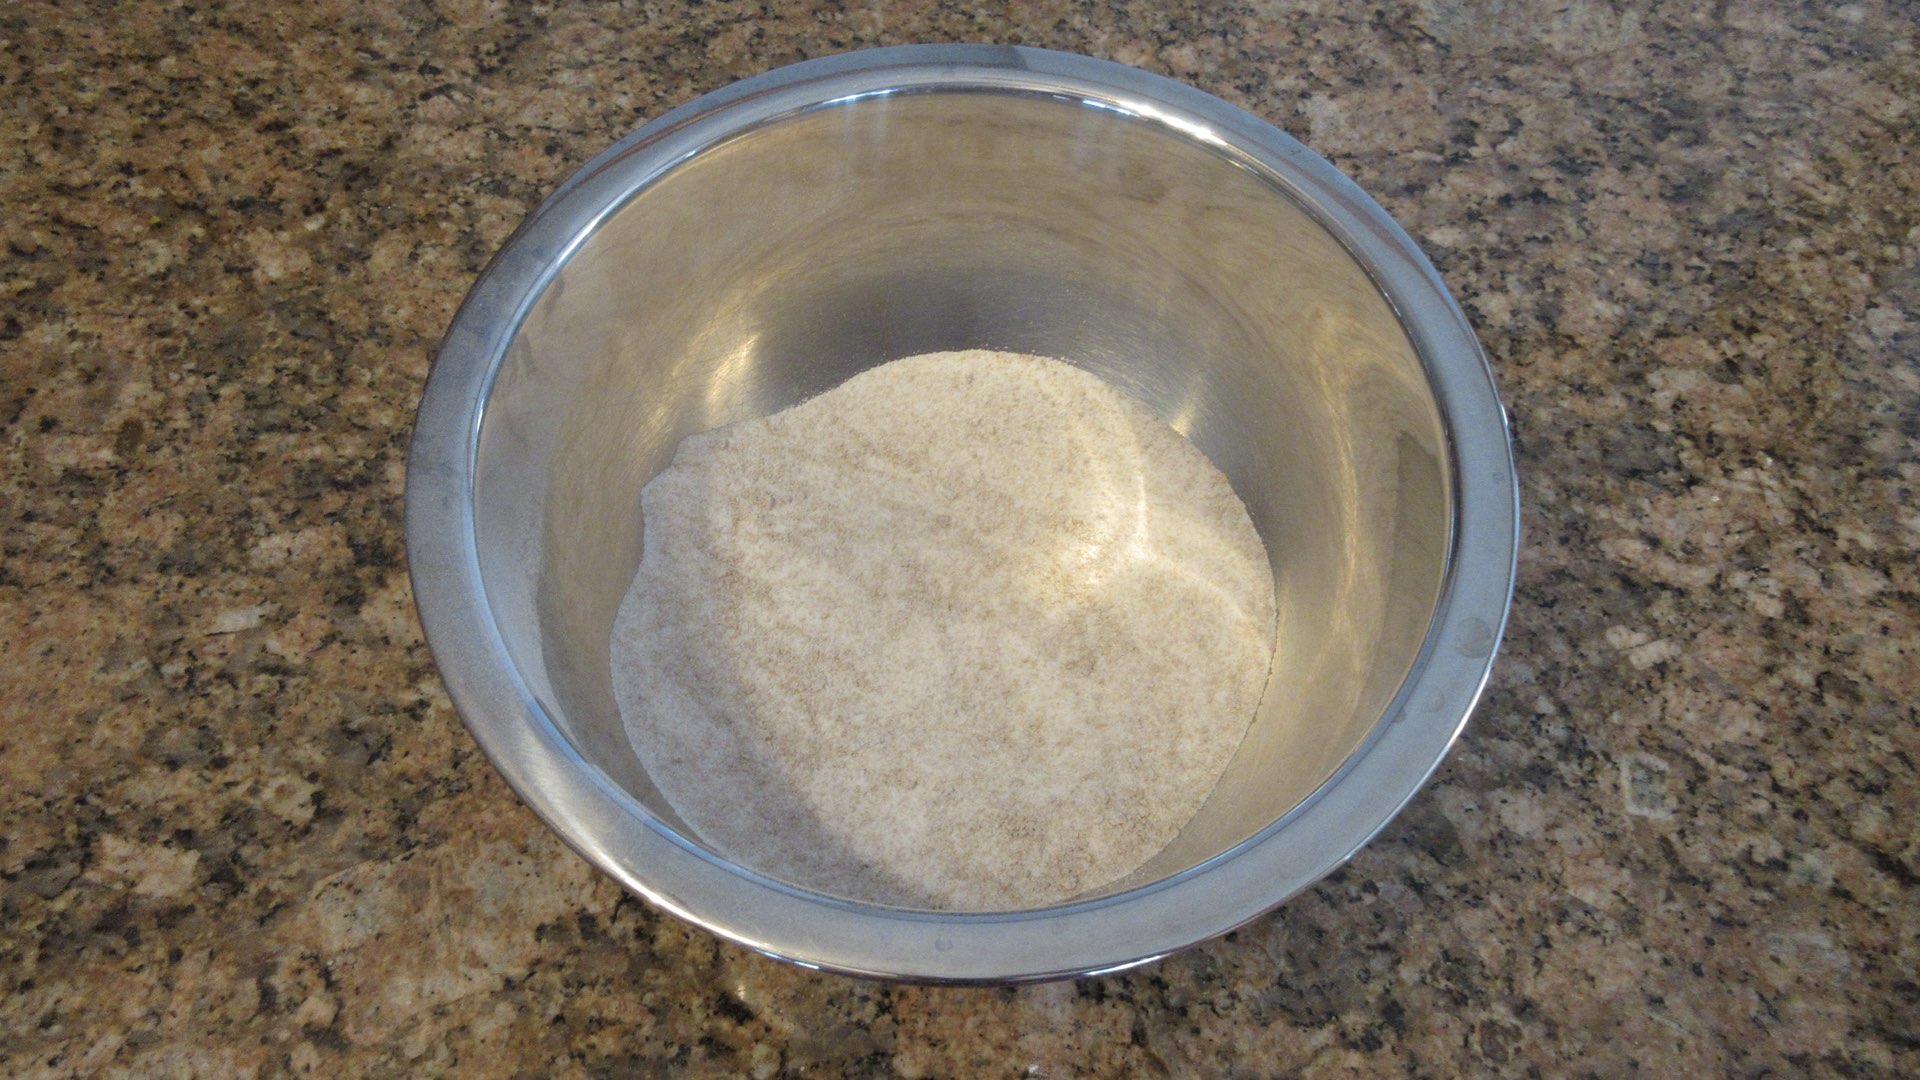
In a large bowl, we want to combine our granulated white sugar, brown sugar, flour and salt. Whisk or sift the ingredients together until there are no lumps remaining.
Next, pour in the butter and mix it until the sugar is well coated.
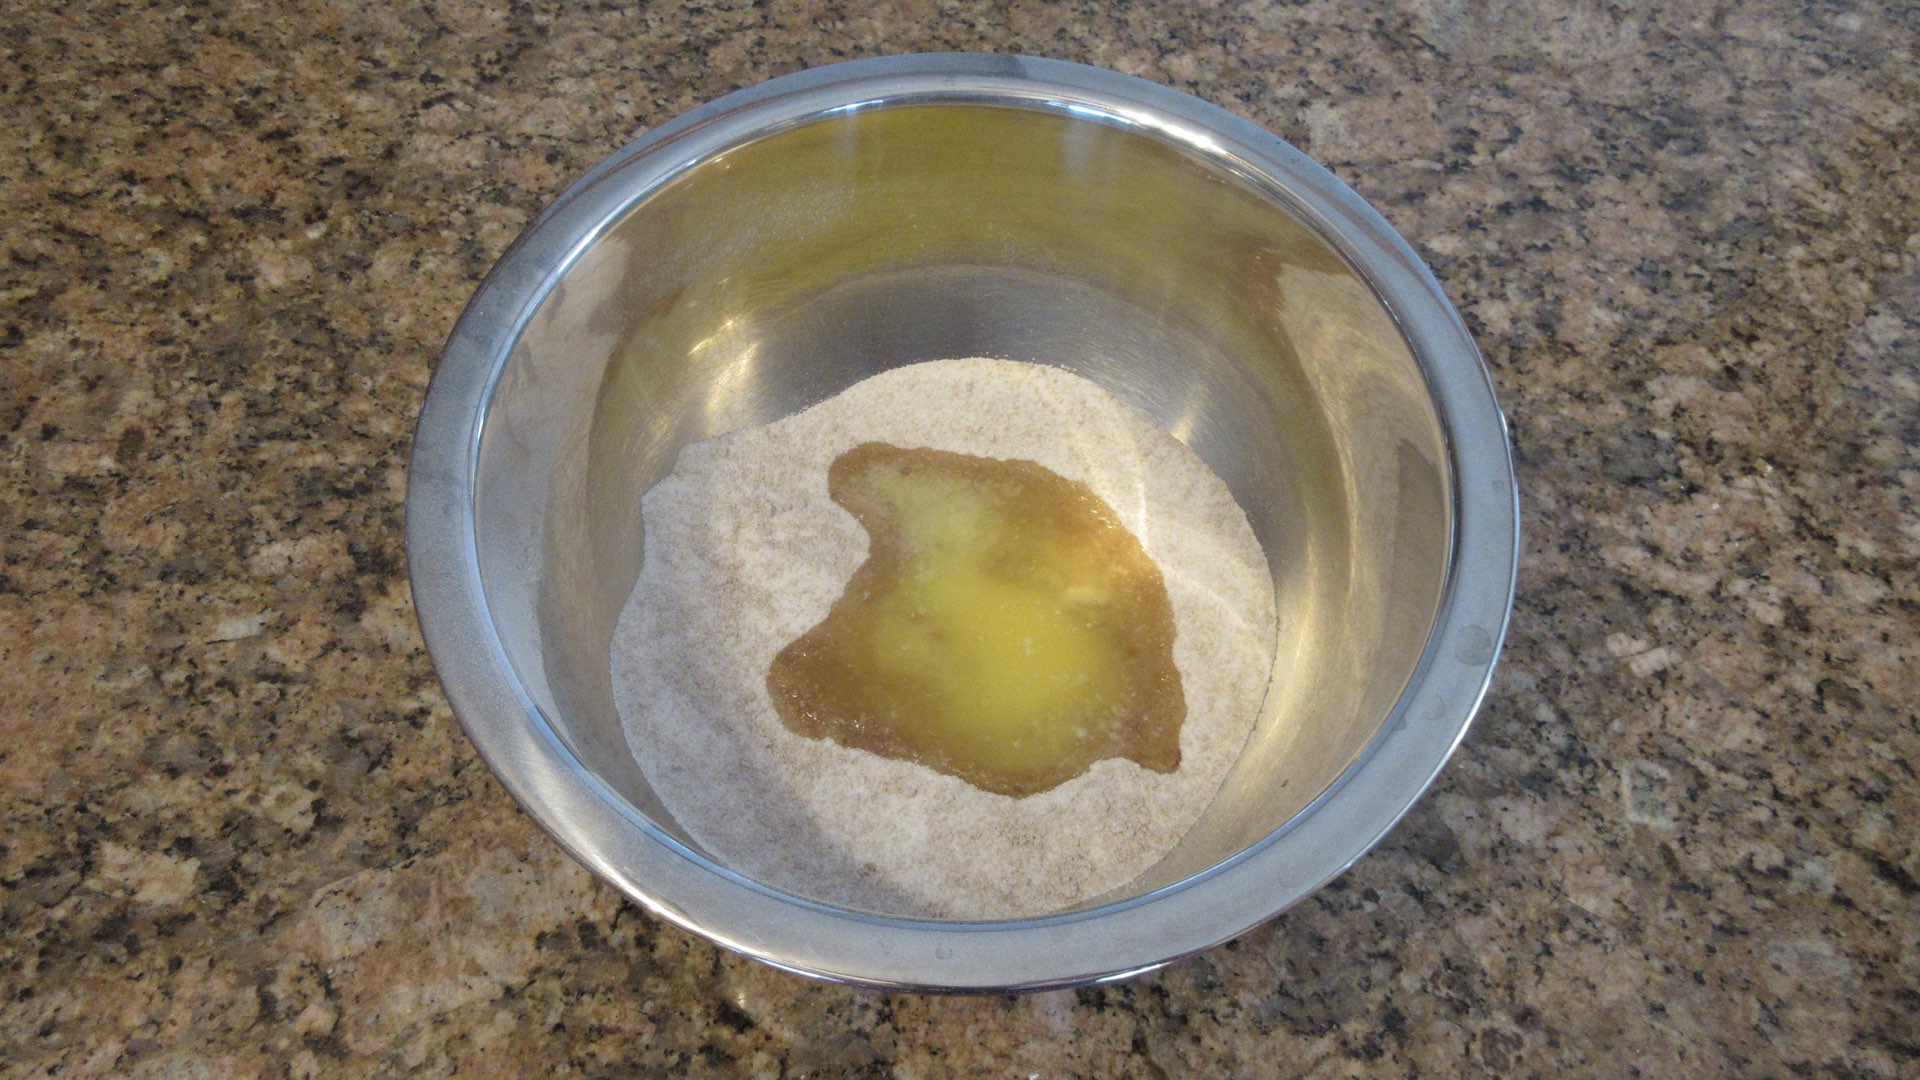
Feel the sides of the bowl. Is it really warm to the touch? If so, wait 5-10 minutes before adding in your eggs in case that butter is a wee too warm to avoid cooking your eggs. If the sides are cool or lukewarm, add the eggs.

Mix until just combined. Do not beat in a lot of air. It should look like this.
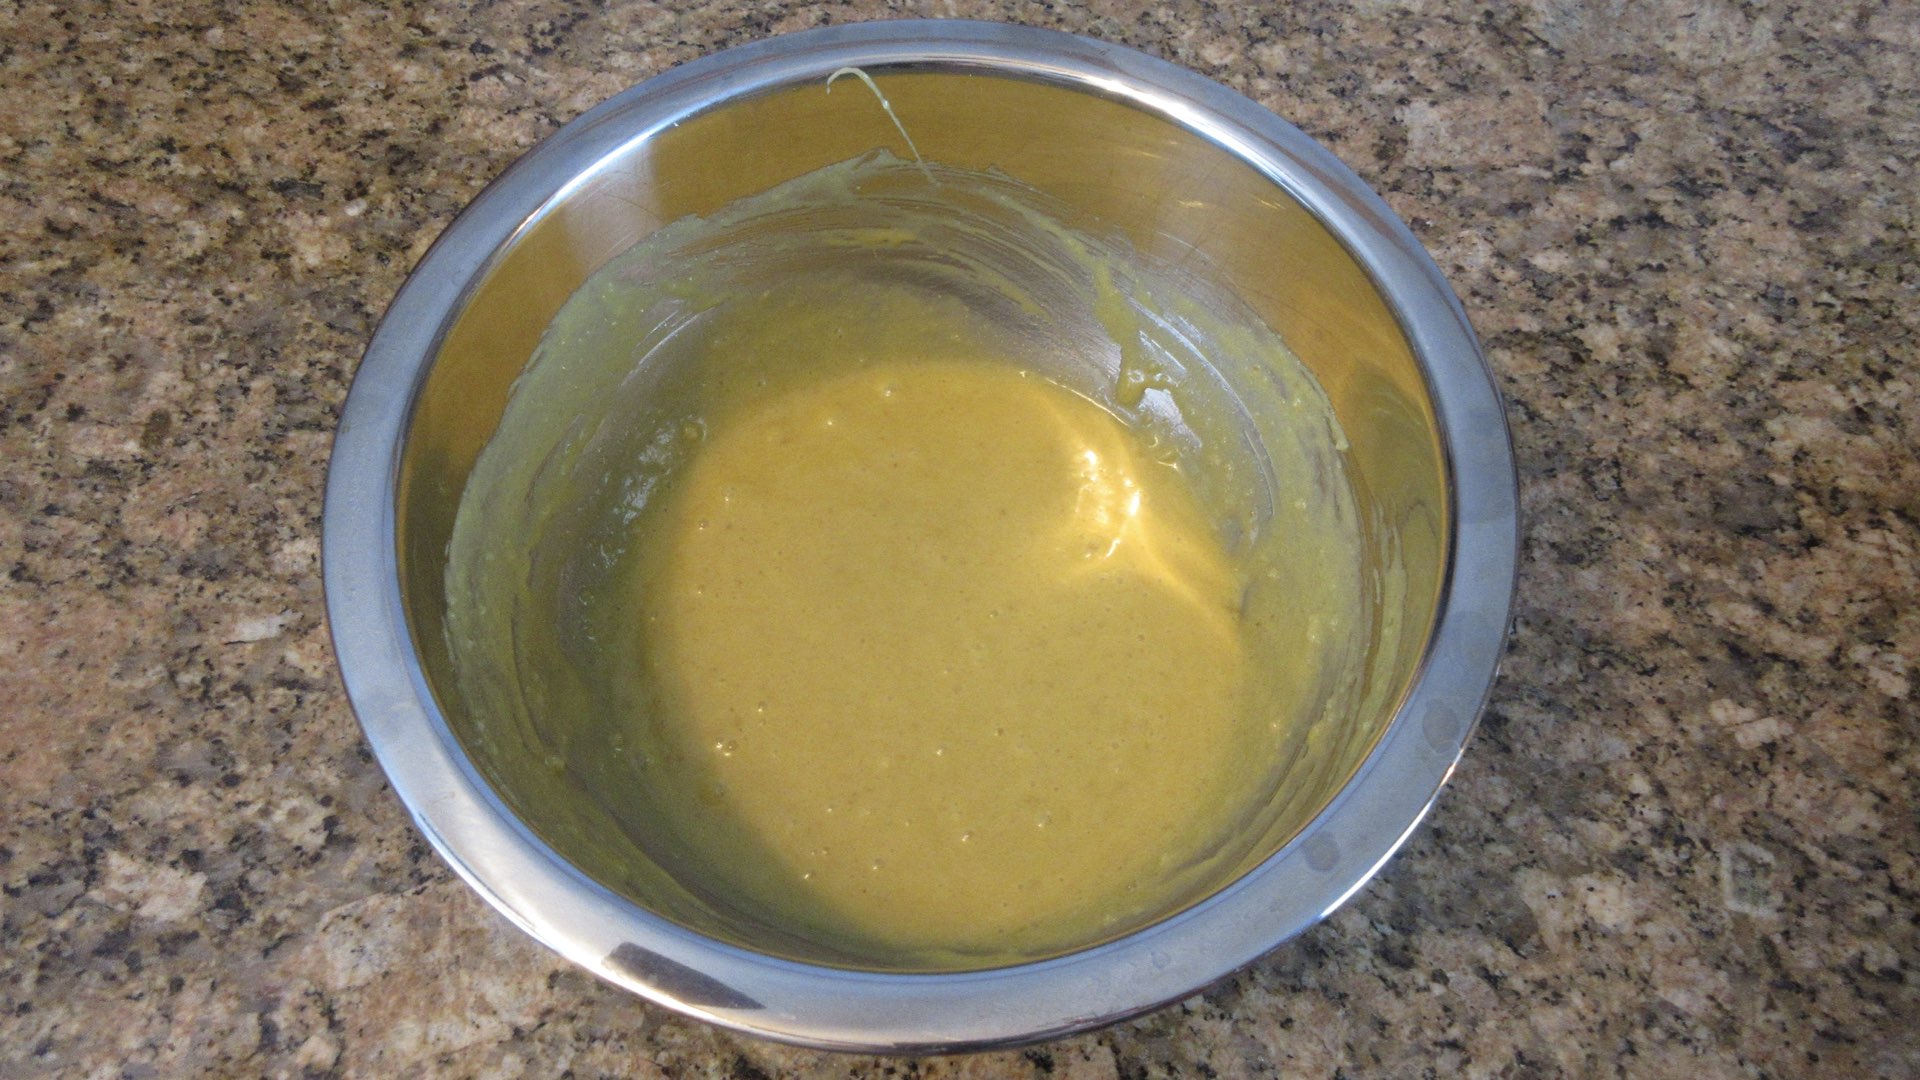
Add in your buttermilk and vanilla at this stage. If you are using any lemon, in it will go, too. A precaution about adding lemon into the batter. It can sometimes cause the buttermilk to separate which can lead to a separation of the pie into two distinct layers as it bakes. The top will almost be cake like and the bottom will be custard. This is especially true for the cheaper buttermilks that have put additives into the milk such as modified corn starch, tapioca starch, locust bean gum, and carrageenan. This is another reason why we left the lemon out of our recipe. Because it made the pie unpredictable.
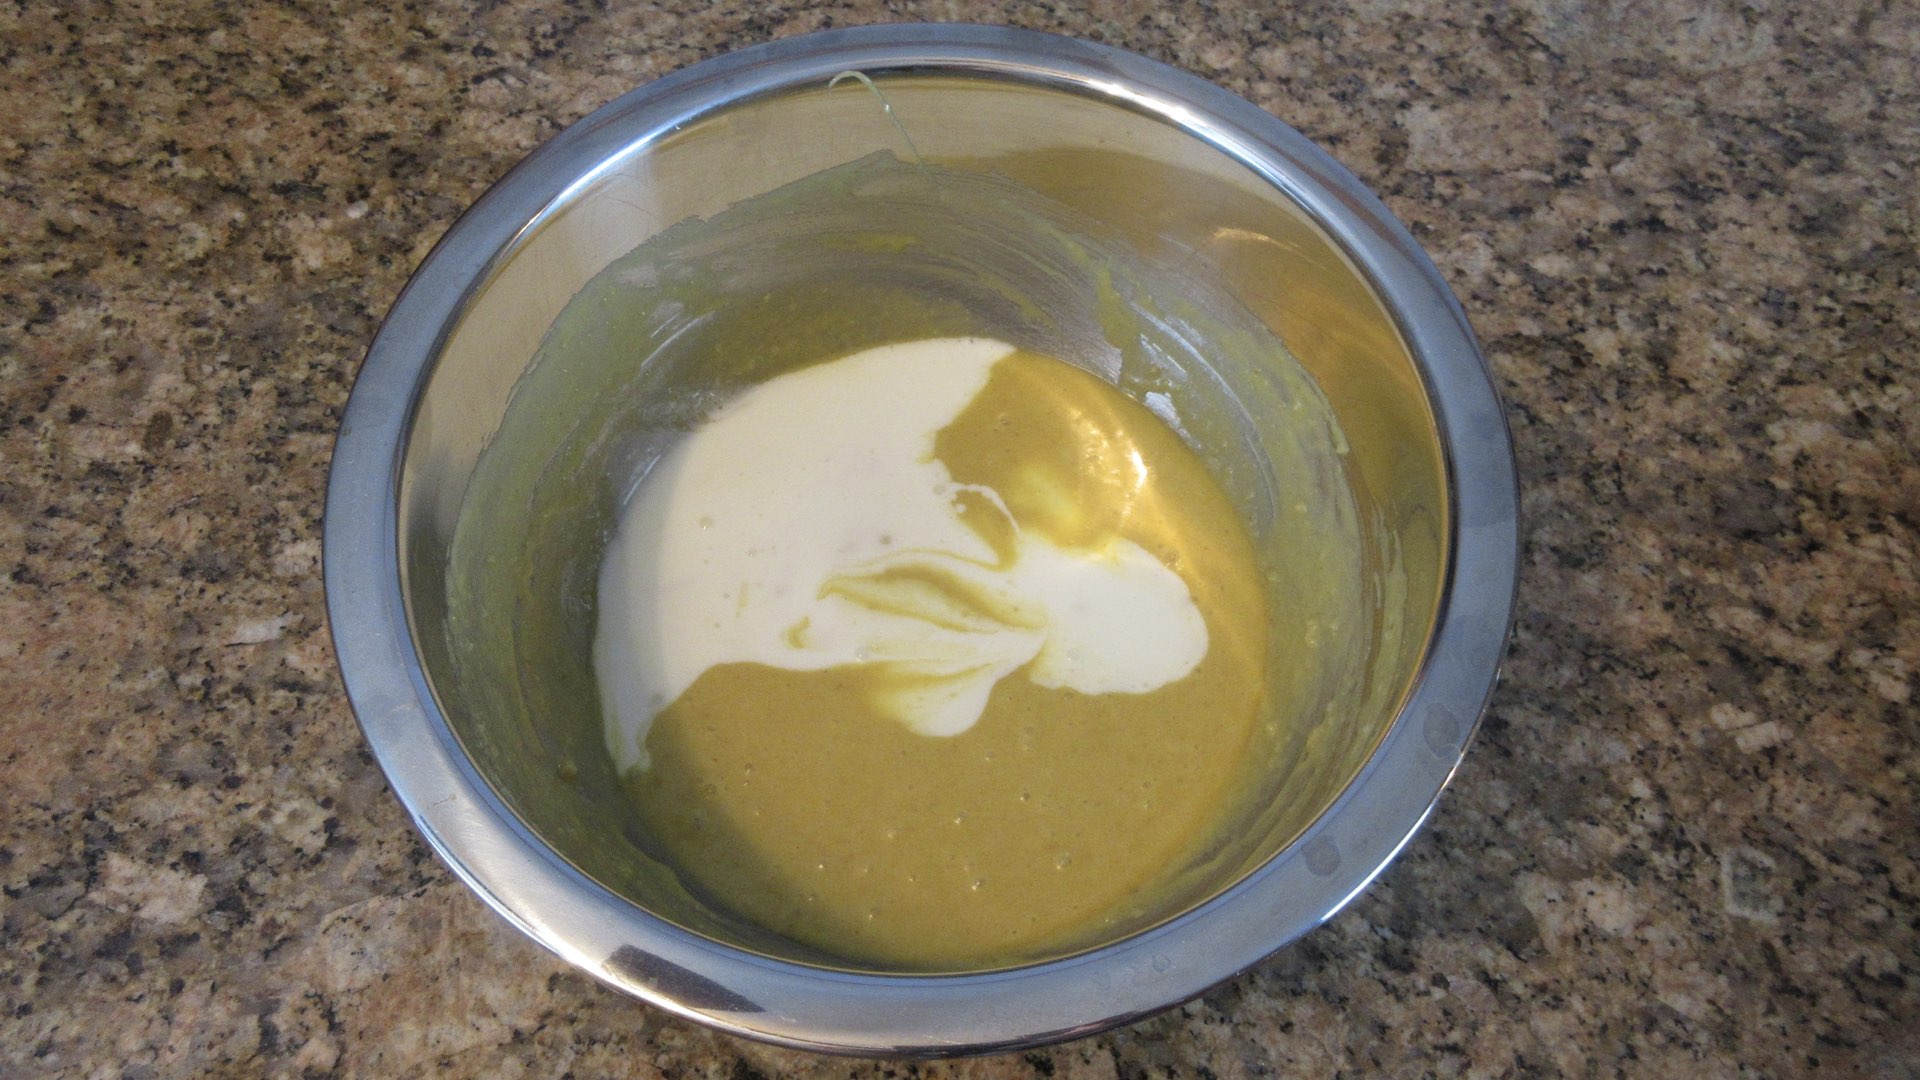
Gently stir the mixture until it is homogenized and a very thin batter. At first it doesn’t want to combine, but then it blends together nicely.

Step 4: Bake your Pie
Put your pie shell on a baking sheet larger than the size of your pie pan. It’s best if it has a lip to catch any spilled batter as you transfer it into the oven or as it bakes. Pour the batter into your pie shell. You may notice there is undissolved sugar in the bottom of the bowl. Make sure to add this to the shell. The excess sugar creates that crispy layer on top. The batter should come up to nearly the top of the pie shell. If you are using a store bought pie shell, it could be a little shallow and you may find yourself with extra batter. You can pour the excess into a ramekin and bake alongside the pie.
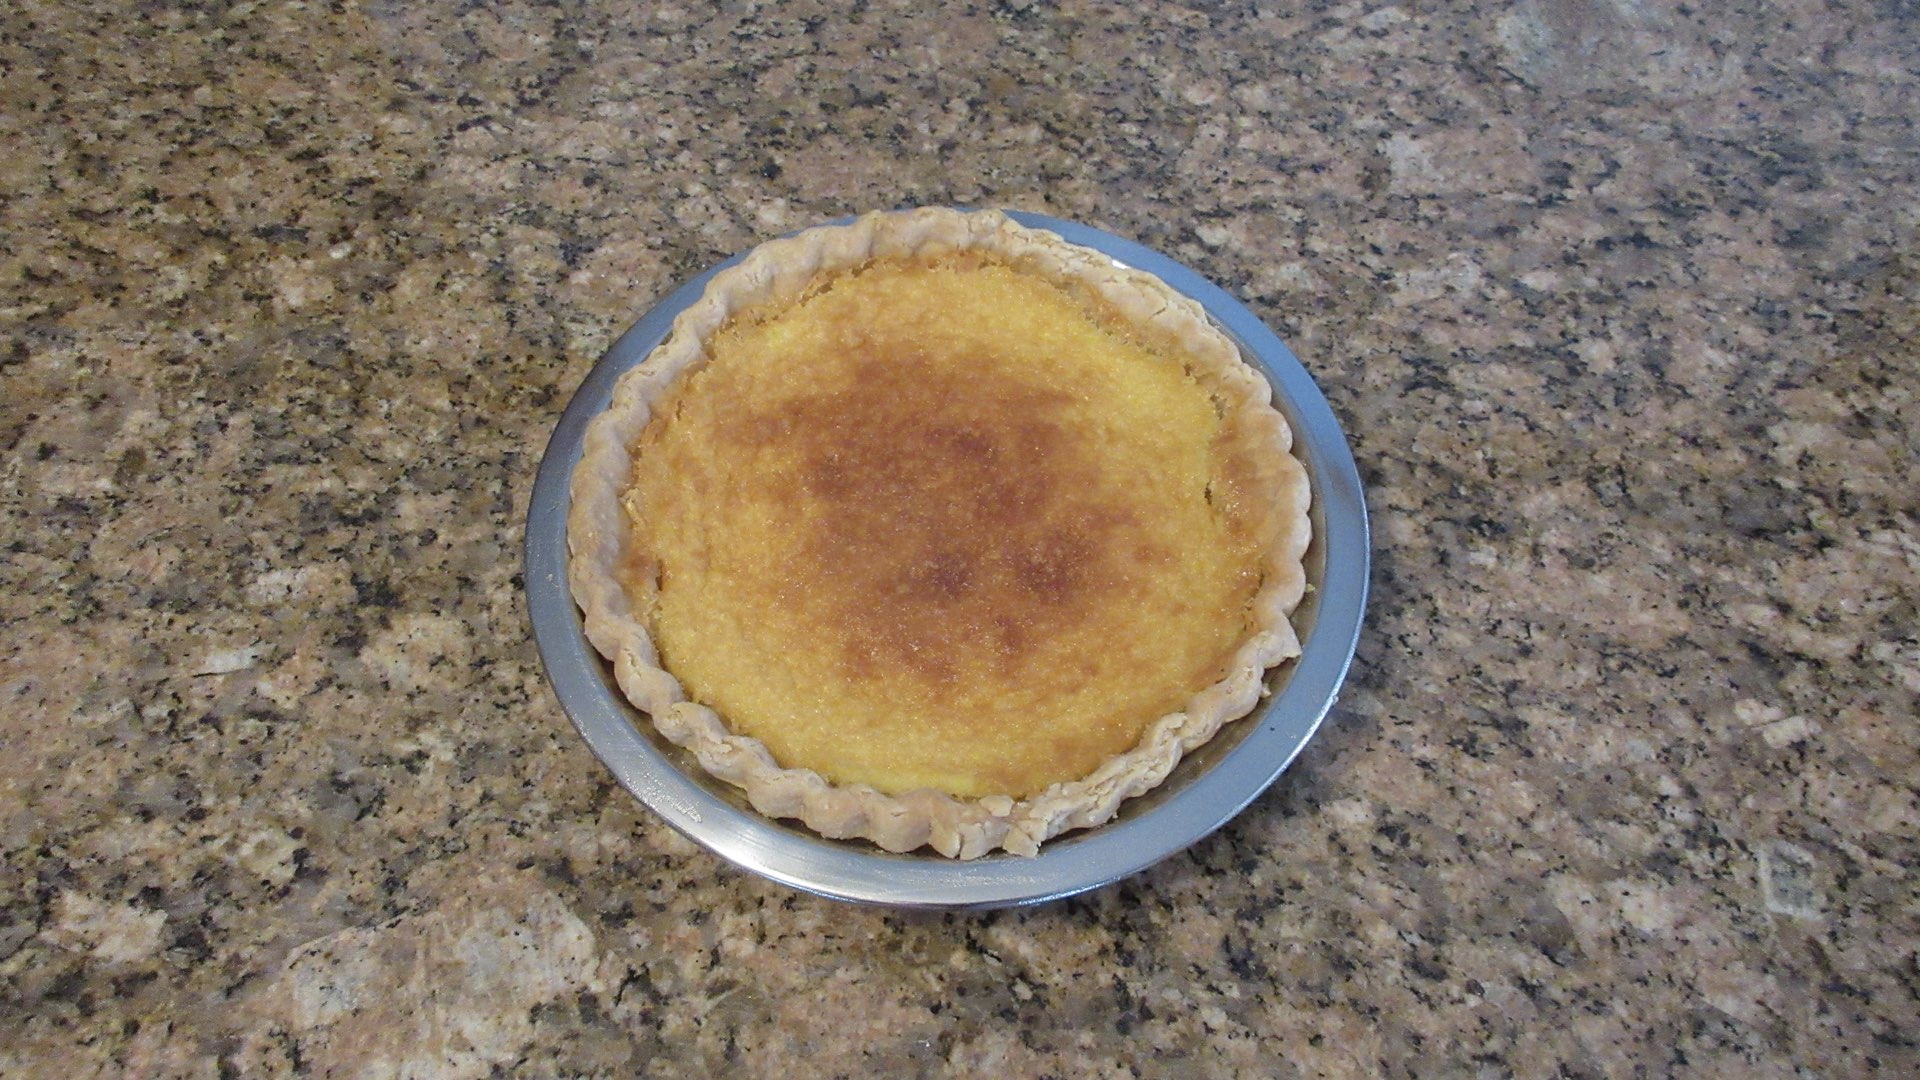
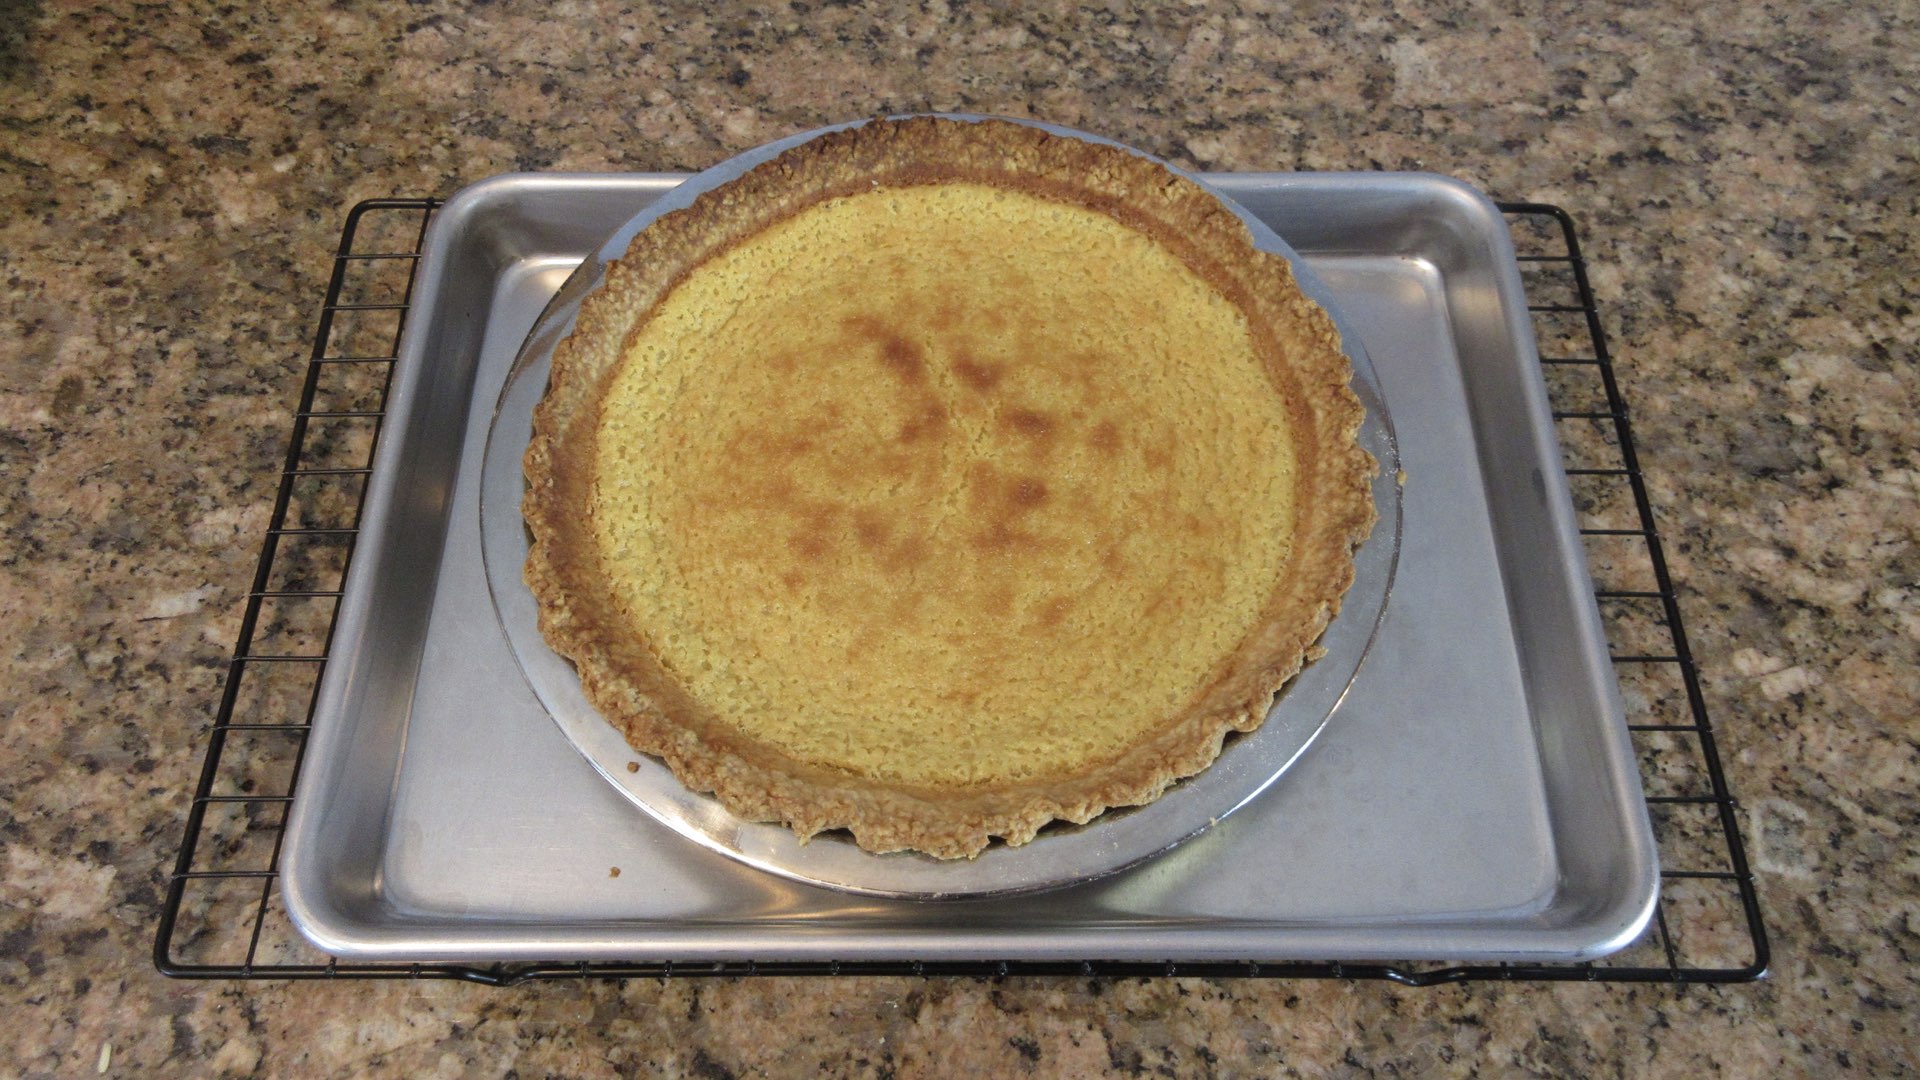
You want to bake the pie for 40 – 60 minutes. The top should turn a golden brown in the center and the edges will be a lighter golden amber. This is caramelized sugar. The pie should be set in the center where it just lightly wobbles. The temperature for custards should ideally read between 170°F – 180°F (77°C – 82°C) in the center. Baking above this temperature risks over cooking the eggs and can lead to weeping, curdled or a split custard. When baked correctly, the pie will be slightly puffed up like you see below.

Step 5: Let the Pie Rest
As the pie cools, the top will settle and become level. It make crack a bit, especially where the crust meets the edges. This is the caramelized layer and it isn’t uncommon for this to happen, especially on a humid day. Letting the pie cool in the oven with the door ajar for 5 – 10 minutes will help prevent cracks from becoming excessive.
Now comes the hard part: the pie must cool at room temperature a good 90 minutes or more. Do not slice into this pie until it has cooled or you risk a runny texture. The pie filling has to set by letting the temperature come down slowly. Popping your pie into the fridge too early or cutting too soon will result in a little puddle of filling. It’s perfectly safe to eat, it’s just a bit of a mess. It’s a lot like instant pudding pies. The longer you let them set and then chill, the firmer the texture it will be. We recommend cooling to room temperature and then consider chilling it overnight for the best texture and flavor. With that said, this pie tastes lovely warm.
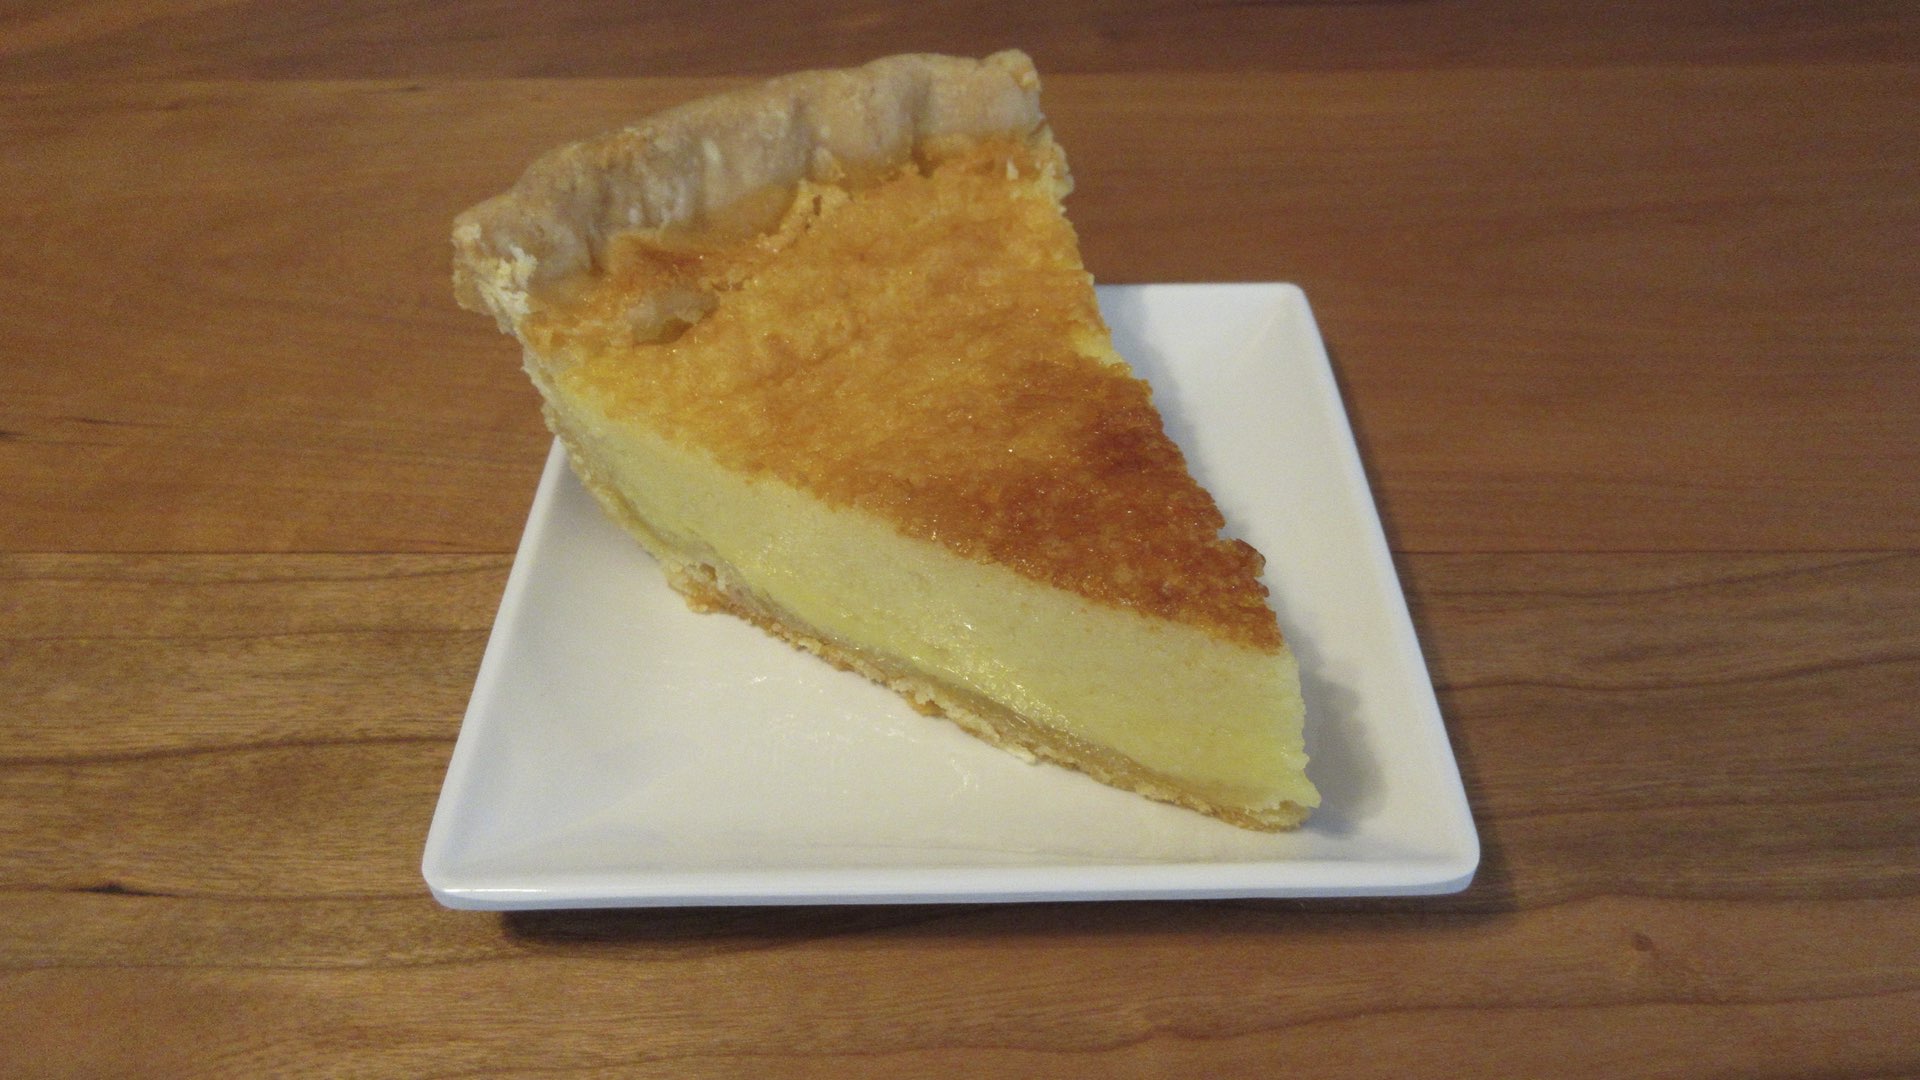
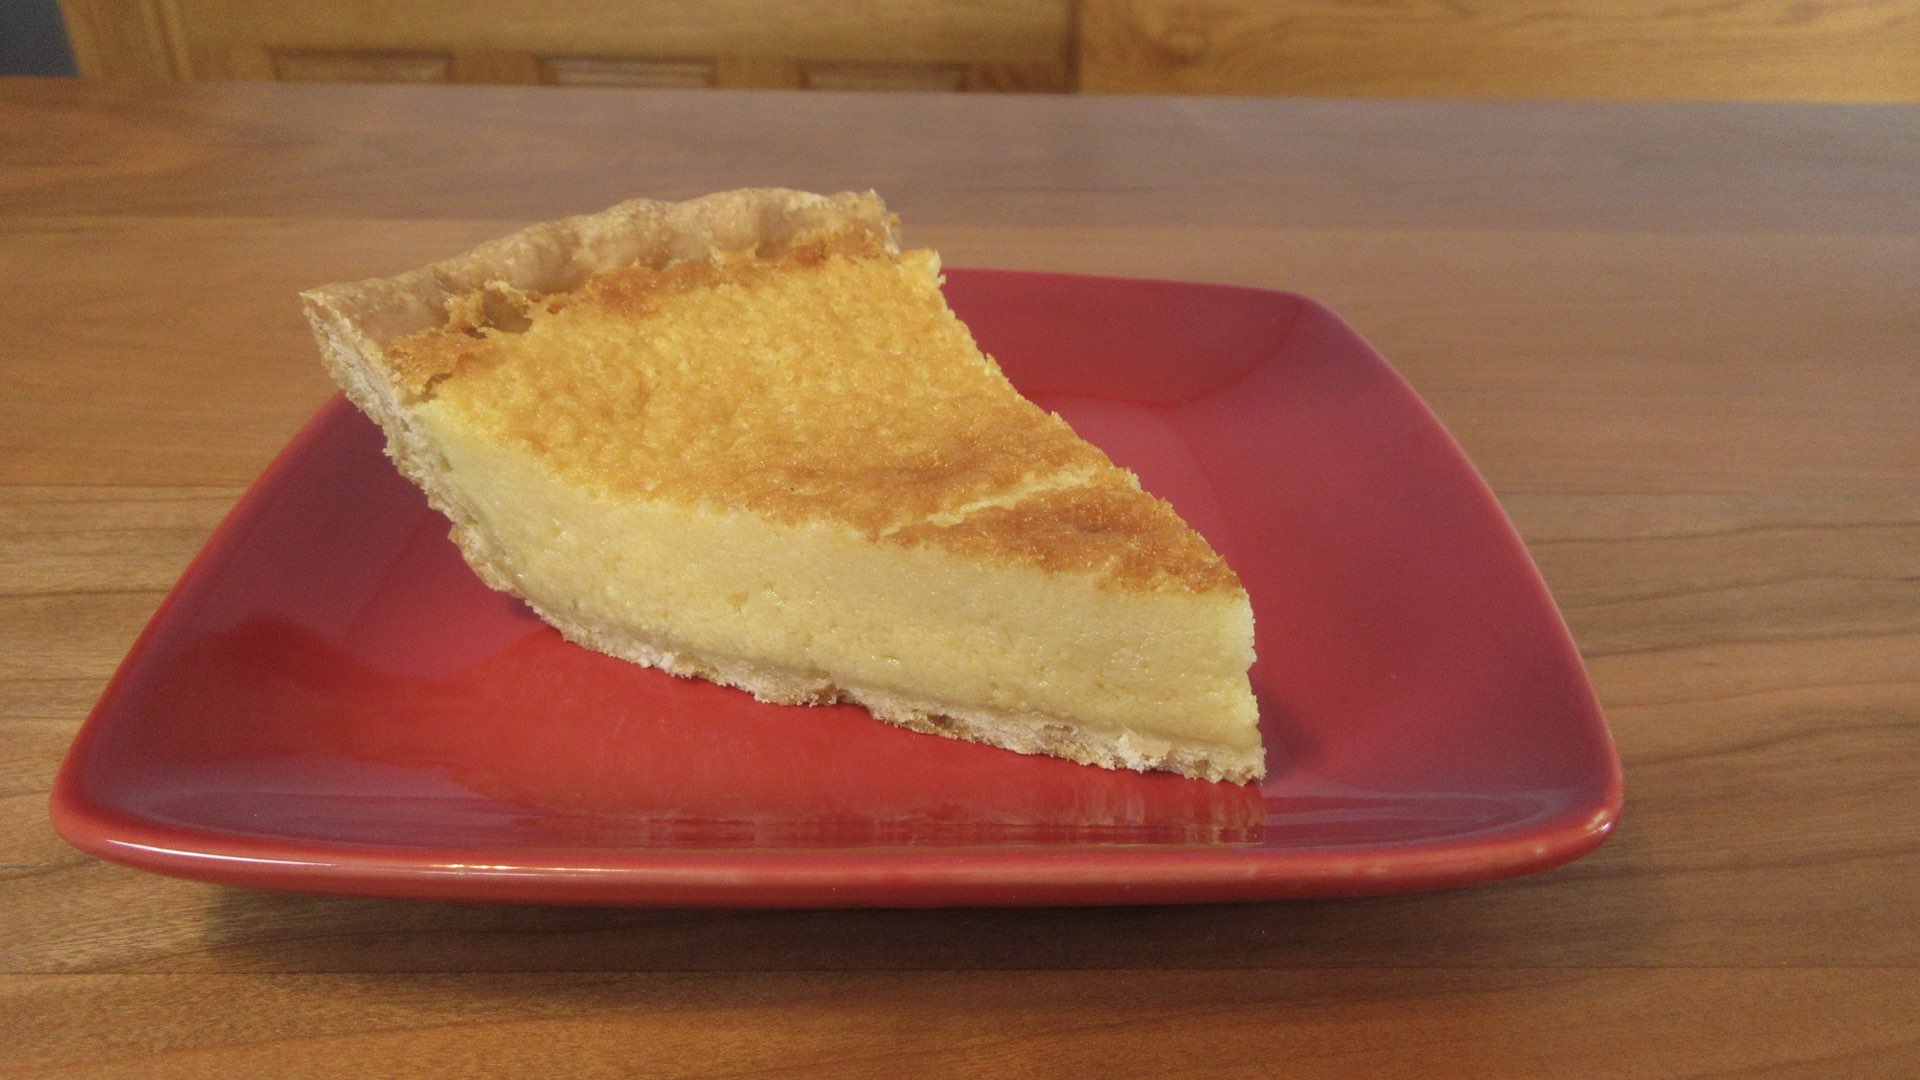
Ideally, when you cut into the pie, it should hold its shape like the photo below. It should be a uniform texture from top to bottom and be well…custard like. This is essentially a custard, after all. The pie is very sweet. A small piece is all you need. If you don’t like pumpkin pie, custards or puddings, you won’t likely enjoy this buttermilk pie recipe. But if you are a fan of egg custard? You’ll likely enjoy this immensely. Before you dig in and start making your own, read on if you want to see how we faired with our sugar experimentations. Perhaps it will help you decide how sweet you want to make your pie!
Experimenting with Sugar and other Ingredients
When it comes to buttermilk pie, it can be quite cloy depending on the recipe. You can find those that use a whopping 2 cups (400g) of sugar for this pie. We knew from experience with other pie recipes, this was likely way too sweet, but we made it anyway. In fact, we experimented with over a dozen combinations and recorded the results below.
The recipe we share was the most favored when taste tested by a large variety of individuals. The second most popular had 1 1/4 cups (250g) of sugar. It didn’t really matter if it was all white or brown sugar or a combination of the two. Both were well liked.
Too Little Sugar?
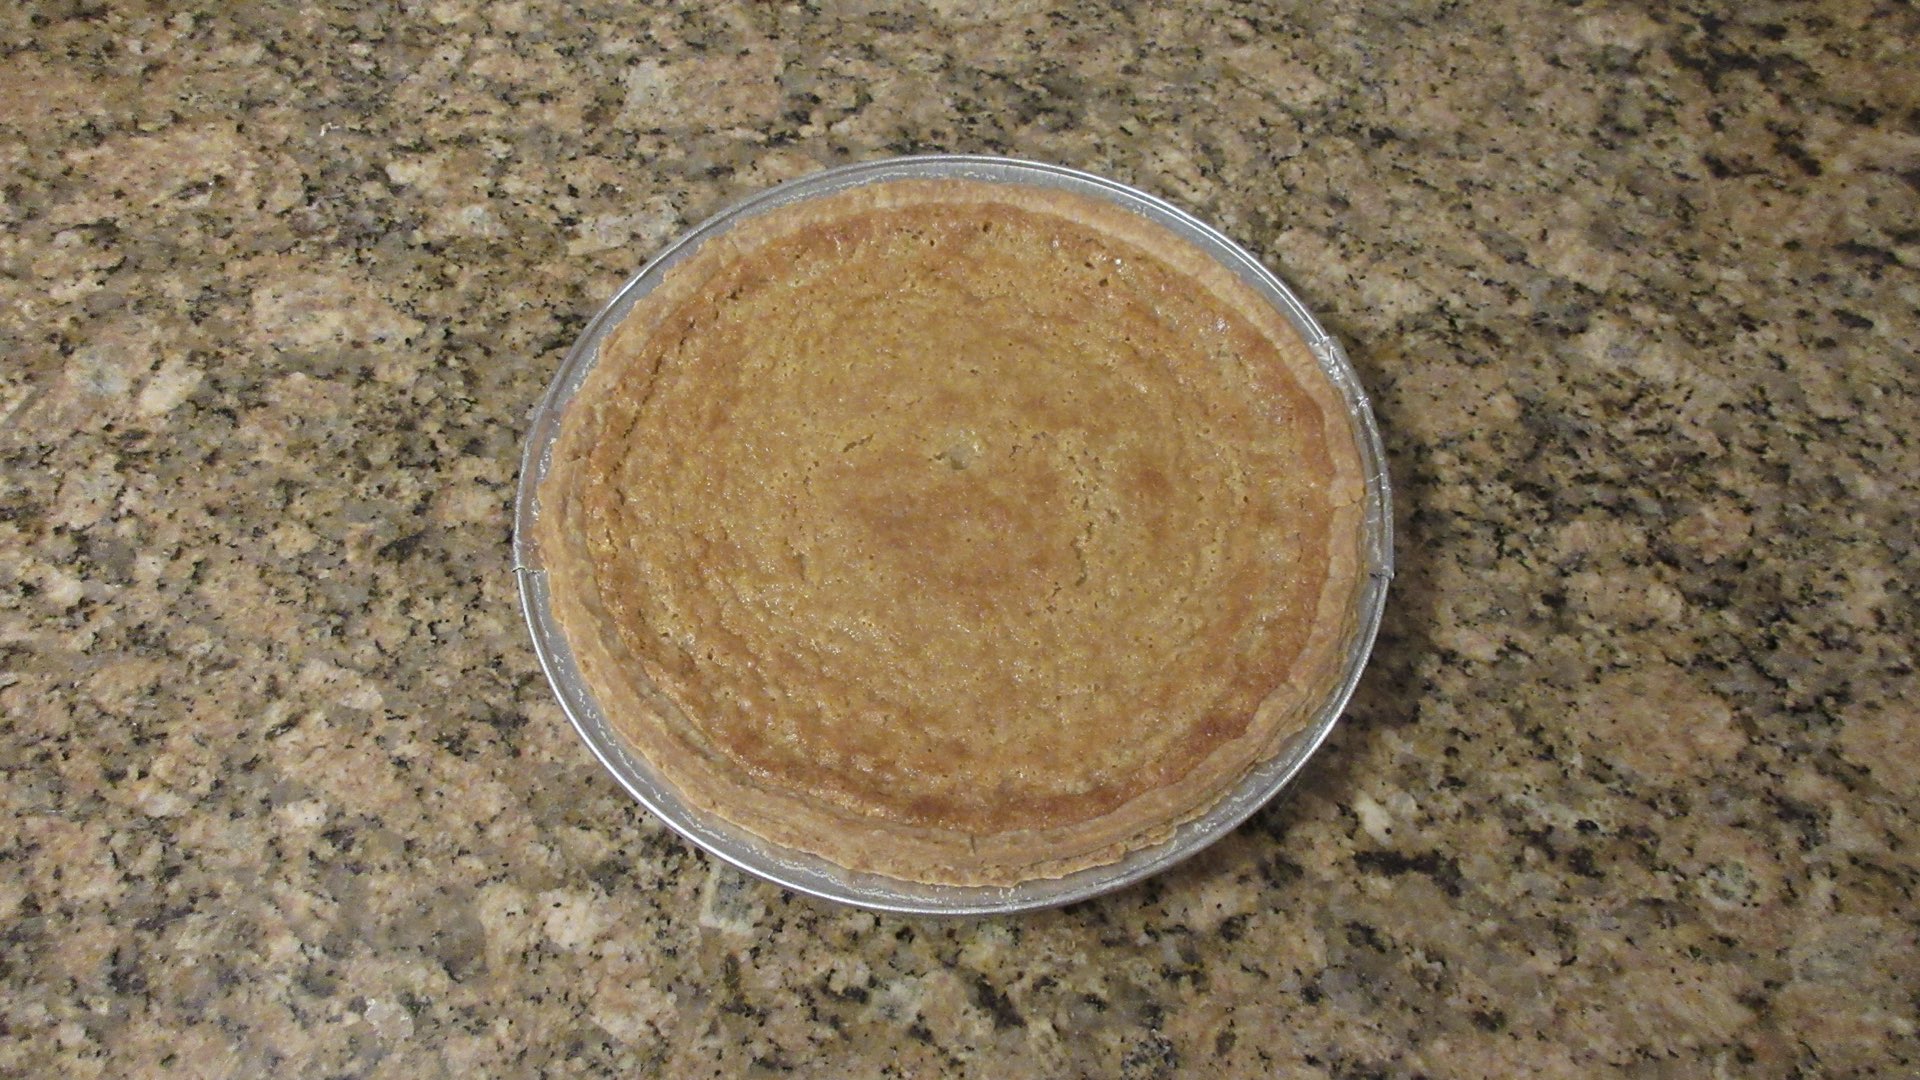
If you use less than the amount of sugar we are recommending, the baking time has to be adjusted down to around 30 minutes to ensure the pie doesn’t split, curdle or turn into a weeping mess. The same applies when you cut the butter down any less than provided. This pie had 1/4 cup (56g) of butter and 1/2 cup (100g) of sugar. The tartness of the buttermilk really shined here and you had a custard very reminiscent of a cheesecake.
The draw back is the crunchy caramelized layer of sugar will not happen. The browning happens with time and excessive sugar that doesn’t dissolve. The excessive sugar also protects your eggs from splitting, curdling or weeping. You really have to keep an eye on the temperature to prevent this pie from ruining. The surface will be quite pale, so you’ll want to completely bake that crust prior to adding the filling if you want to go with the less sugar or butter route.

This pie had the same amount of sugar yet baked for 45 minutes. It split. The top half was more like a quiche and the bottom half was a delicious custard. A sweet and savory pie. A disaster, but part of it was edible.

This pie had the same amount of ingredients described above but was baked the full 60 minutes. Anyone care for a slice of sweetened scrambled eggs? No thank you. This went to the birds. Literally. They enjoyed it immensely.
Here is another pie. This time we tried adding 3/4 cup (150g) of sugar. It faired better. It did get a little crunchiness on top but the insides were a little over-baked to get the golden layer. The eggs started to weep a little. It was edible, but it wasn’t incredibly tasty. Again, to bake it just right, there was no browning. So we decided to up the sugar, one tablespoon at a time until we found the “sweet spot.” If you want a crunchy layer and a pie that’s still good to eat, then you will need the minimum amount of sugar we provide in the recipe.

Using Brown Sugar?
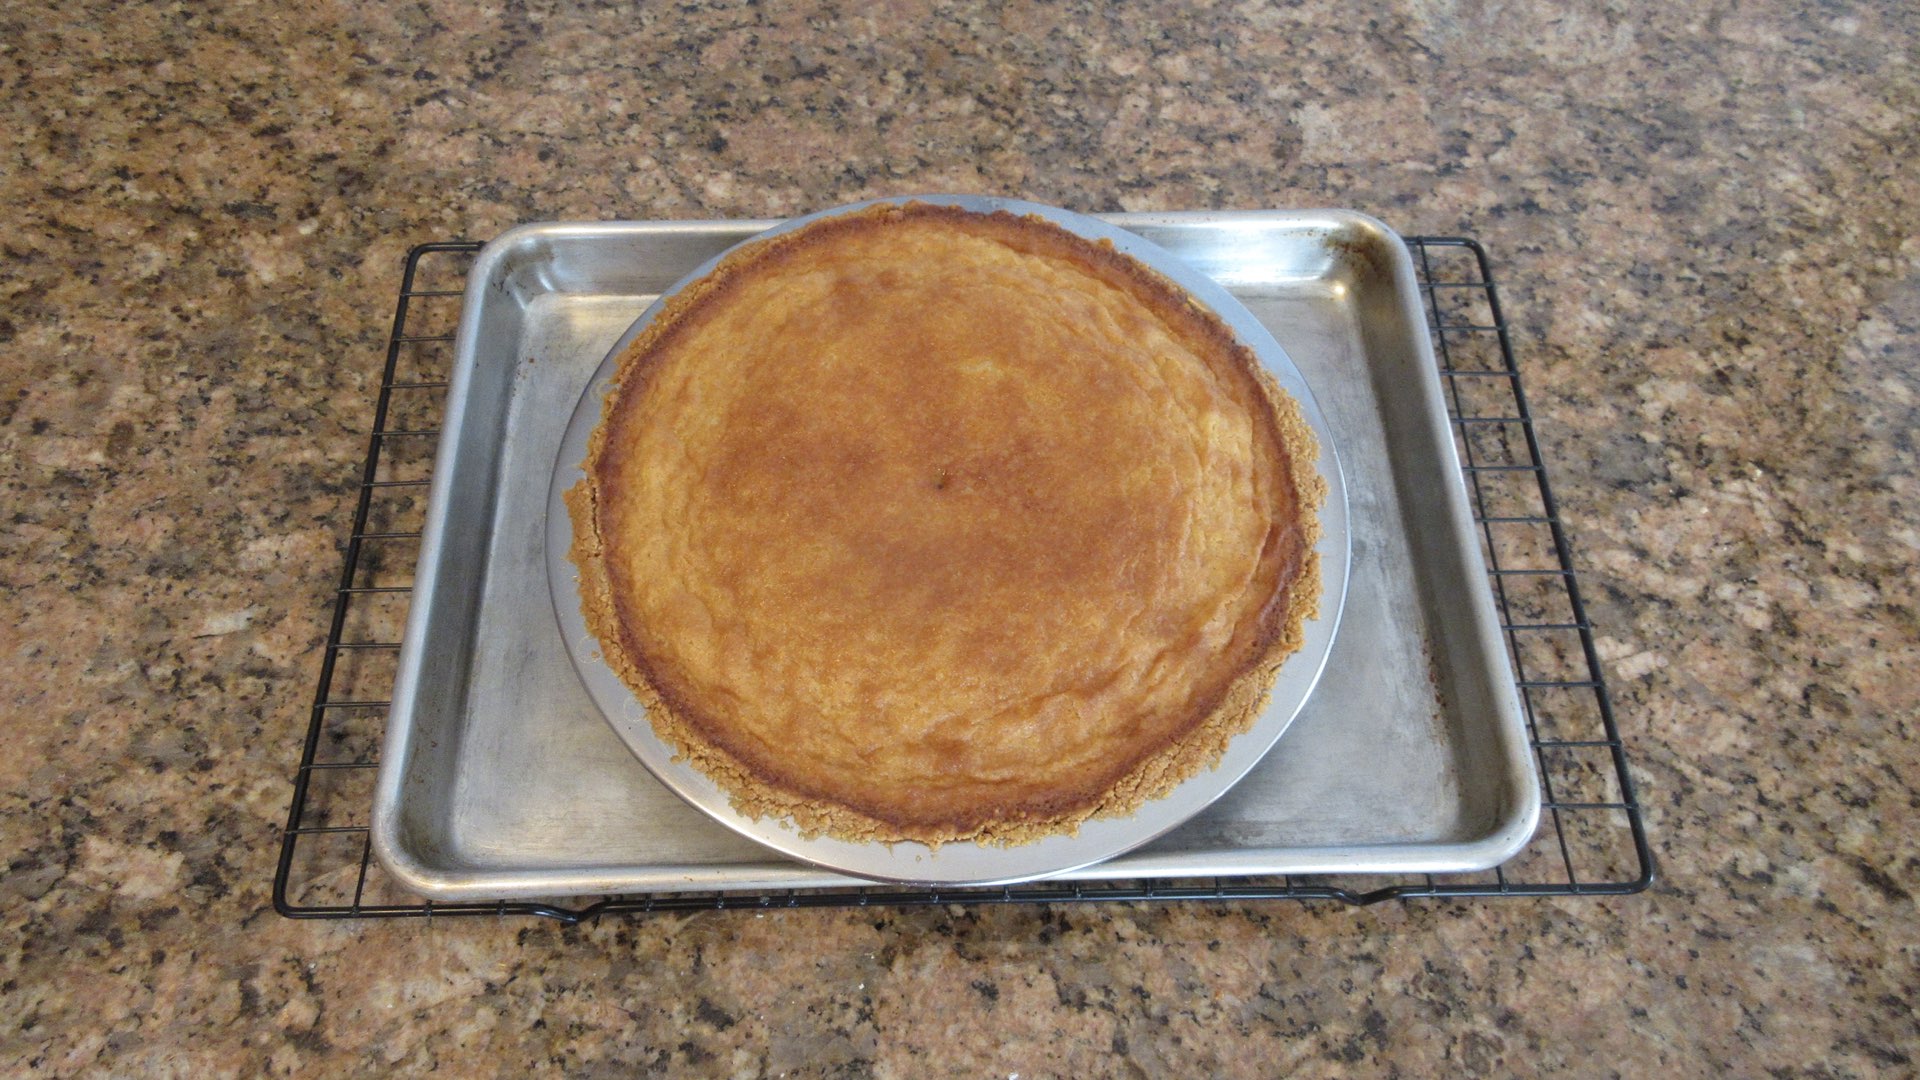
Let me tell you, we enjoyed these pies immensely! The all brown sugar pies gave a rich flavor and we found we could sneak that sugar down to around 3/4 cup (169g) and still get a lovely crunch on top. The inside of the pie was a very rich and tangy butterscotch. We adored this sweet little pie and couldn’t get enough. We tried it with a graham cracker crust like you see below and it was amazing! But not everyone was a fan. Some just don’t care for the butterscotch taste as opposed to the more mellow caramel you get with just white granulated sugar. However, if you love brown sugar, we encourage you to dive right in.
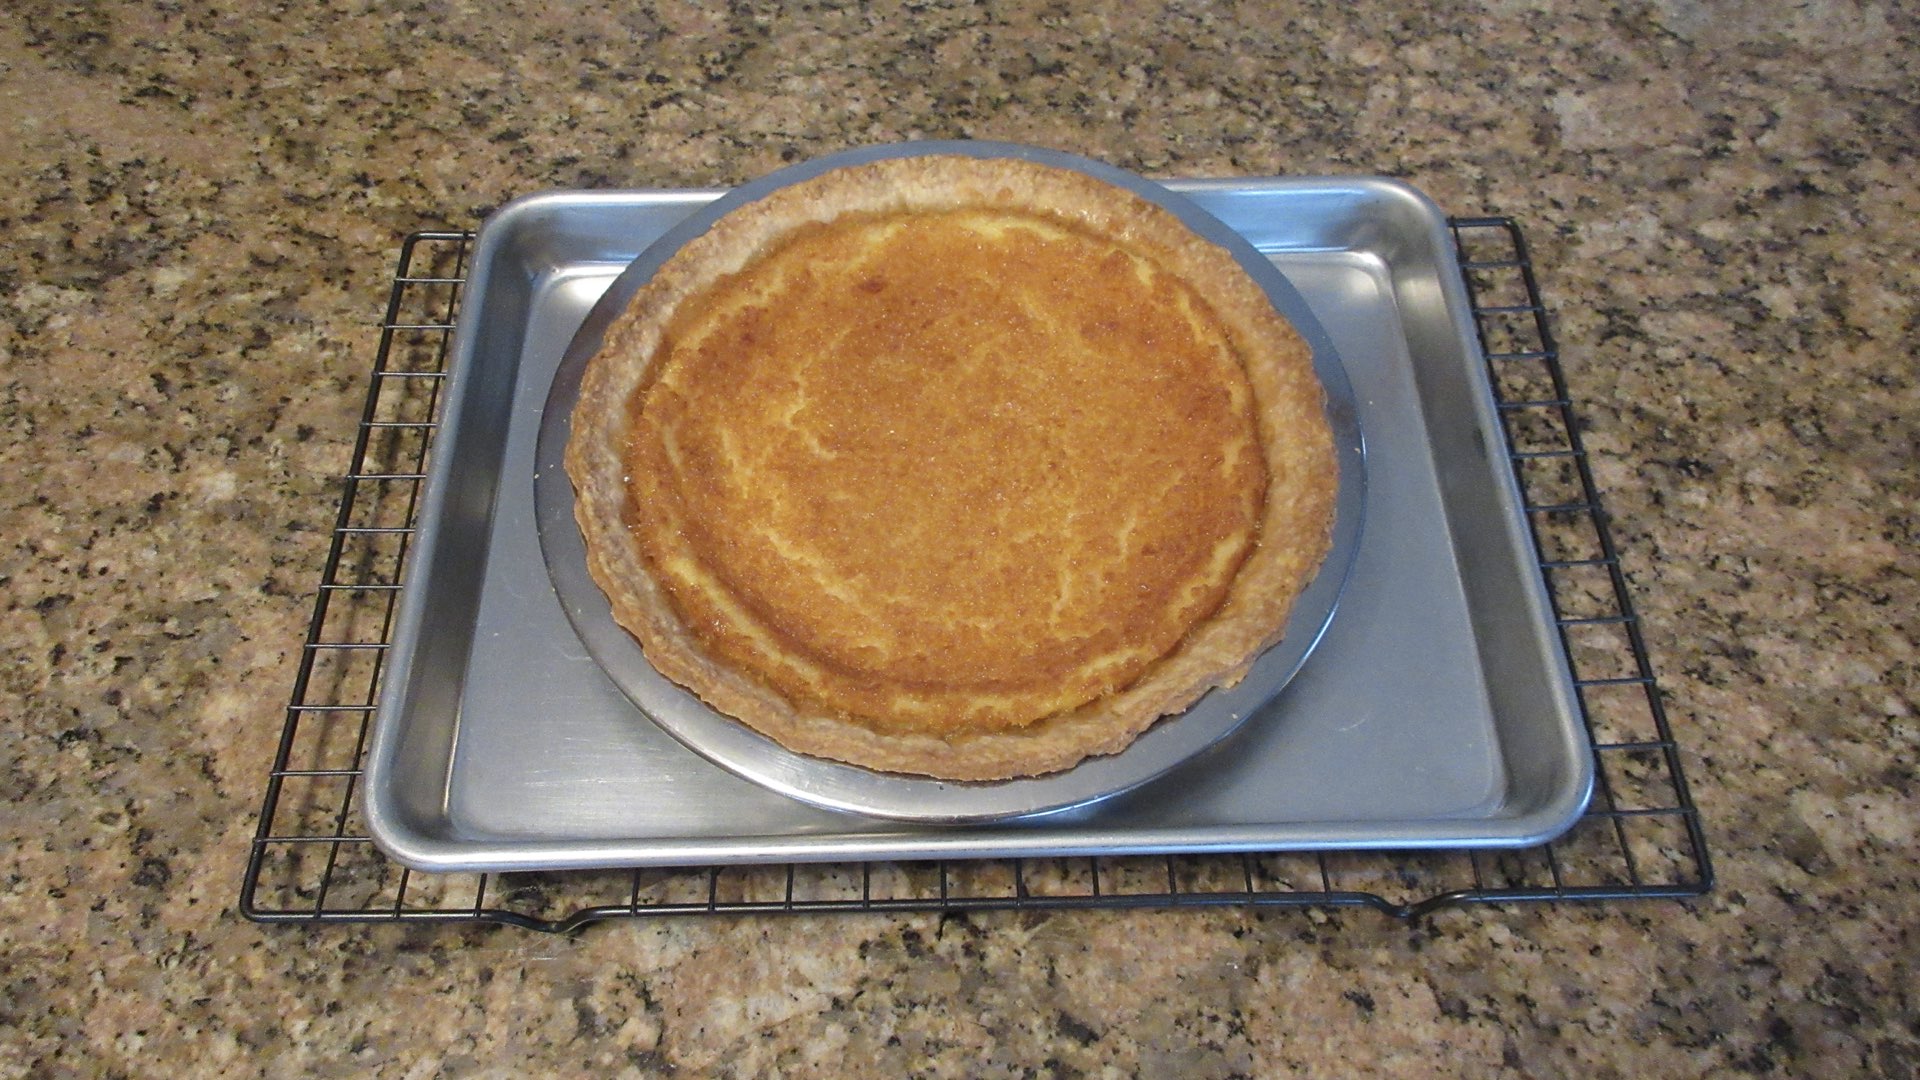
This was another version of the brown sugar pie. This time, we did 1/2 cup (113g) of brown sugar and 3 tbs (38g) white sugar. This was a very, very nice pie. Many enjoyed this pie. This was our second favorite.

Buttermilk Substitutes
We are not a fan of using a buttermilk substitute for this recipe. It does something quite odd to the crust and texture of the pie. First, we got a wrinkly pie and the layer of crunch was more like a layer of goo by the time it cooled. Water got trapped beneath the caramelized layer and above the custard and it turned the crunchy topping into a weeping mess. We first thought we overbaked the pie. So we baked it for less time and double checked with two different thermometers. It happened again and again. It was more apparent with graham cracker crusts and lower fat milks.
So we tried again with a higher fat milk. The crust was much better, but it was more grainy like crystallized sugar. The pie was weepy and separated frequently. Even at lower temperatures, the pie tended to have a soggier crust due to the natural separation that occurs when vinegar or lemon juice is added to milk.
If you aren’t a huge fan of custards, you might not even notice some of the differences. But to us, it was obvious and not pleasant. Plus, the complex flavor of the buttermilk pie was gone by using the substitute. It was no longer tangy with these little undertones of flavor. It was just flat with some vanilla added. In the end, we preferred the simple and classic version with less sugar. What type will you like best? Only one way to find out!
Substitutions and Tips
Here are some common substitutions and tips for this buttermilk pie recipe.
- Substitute the pie shell for a graham cracker crust. Plus, you don’t have to bake it ahead of time! You can even make your own homemade graham cracker crust!
- Add some spice to your pie. Try adding 1 tsp (1g) of cinnamon to the sugar or sprinkling the top of the pie with some nutmeg.
- We don’t recommend buttermilk substitutes for this recipe. We tried several times and not one pie was worth the time or effort.
- Lemon can cause the pie to separate into two distinct layers. This is due to the milk solids in the buttermilk reacting to the acidity in the lemons.
- Use full fat buttermilk without additives for best results.
- Using a thermometer is strongly recommended when making custards to avoid over-baking.
- All custards need to set by slowly cooling to room temperature before slicing. Failure to do so will result in a runny or loose texture.
- Do not overbake custards. The eggs in custards can weep, separate, split, scramble and ruin your pie.
Storage
Buttermilk pies must stay chilled in the refrigerator until ready to eat and any leftovers must be returned to the fridge promptly. When in doubt, throw it out.
For longer storage, wrap the pie with plastic wrap or use an airtight container and store it up to 4 days in the refrigerator or 2 months in the freezer. To thaw, place frozen pie in the fridge overnight for at least 8 – 12 hours. Then bring out 20 – 30 minutes prior to serving.


Buttermilk Pie
Ingredients
- 1 cup (240mL) room temperature buttermilk
- 3 large (150g) room temperature eggs
- ¾ cup (150g) granulated sugar
- 6 tbs (85g) butter, melted and cooled
- 3 tbs (42g) brown sugar
- 3 tbs (28g) flour
- ½ tsp (2.5mL) vanilla
- ¼ tsp (1.25g) salt
- 9" pie crust
Instructions
- Preheat oven to 350°F (180°C.)
- Dock and blind bake the pie crust 15-20 minutes. Set aside to cool.
- Melt and cool butter. Bring eggs and buttermilk to room temperature. Set aside.
- In a large bowl, whisk together sugars, flour and salt. Whisk in butter and vanilla. Next, whisk the eggs until well combined. Gradually add the buttermilk and whisk until smooth. The batter will be thin. Pour into a cooled pie shell.
- Bake 40 – 60 minutes, until center is set. The center of the pie should reach between 170°F – 180°F (77°C – 82°C) for best results. Turn off the oven, prop open the door and let the pie sit for 5 – 10 minutes or until the top settles to avoid excessive cracking.
- Cool the pie completely on wire rack before cutting or chilling as the pie needs to finish setting. If you prefer a chilled pie, refrigerate a minimum of 4 hours after pie has cooled to room temperature, at least 90 minutes.
- Immediately refrigerate any leftovers.
Notes
- Adding the juice and zest from one lemon will give you a lemony buttermilk pie!
- Some like to use 1 tbs (15mL) of lemon juice with 1 tsp (5mL) of vanilla extract.
- Try sprinkling the top nutmeg prior to baking for a traditional egg custard taste.
0 Comments