Puff Pastry Doesn’t Need to Be Difficult
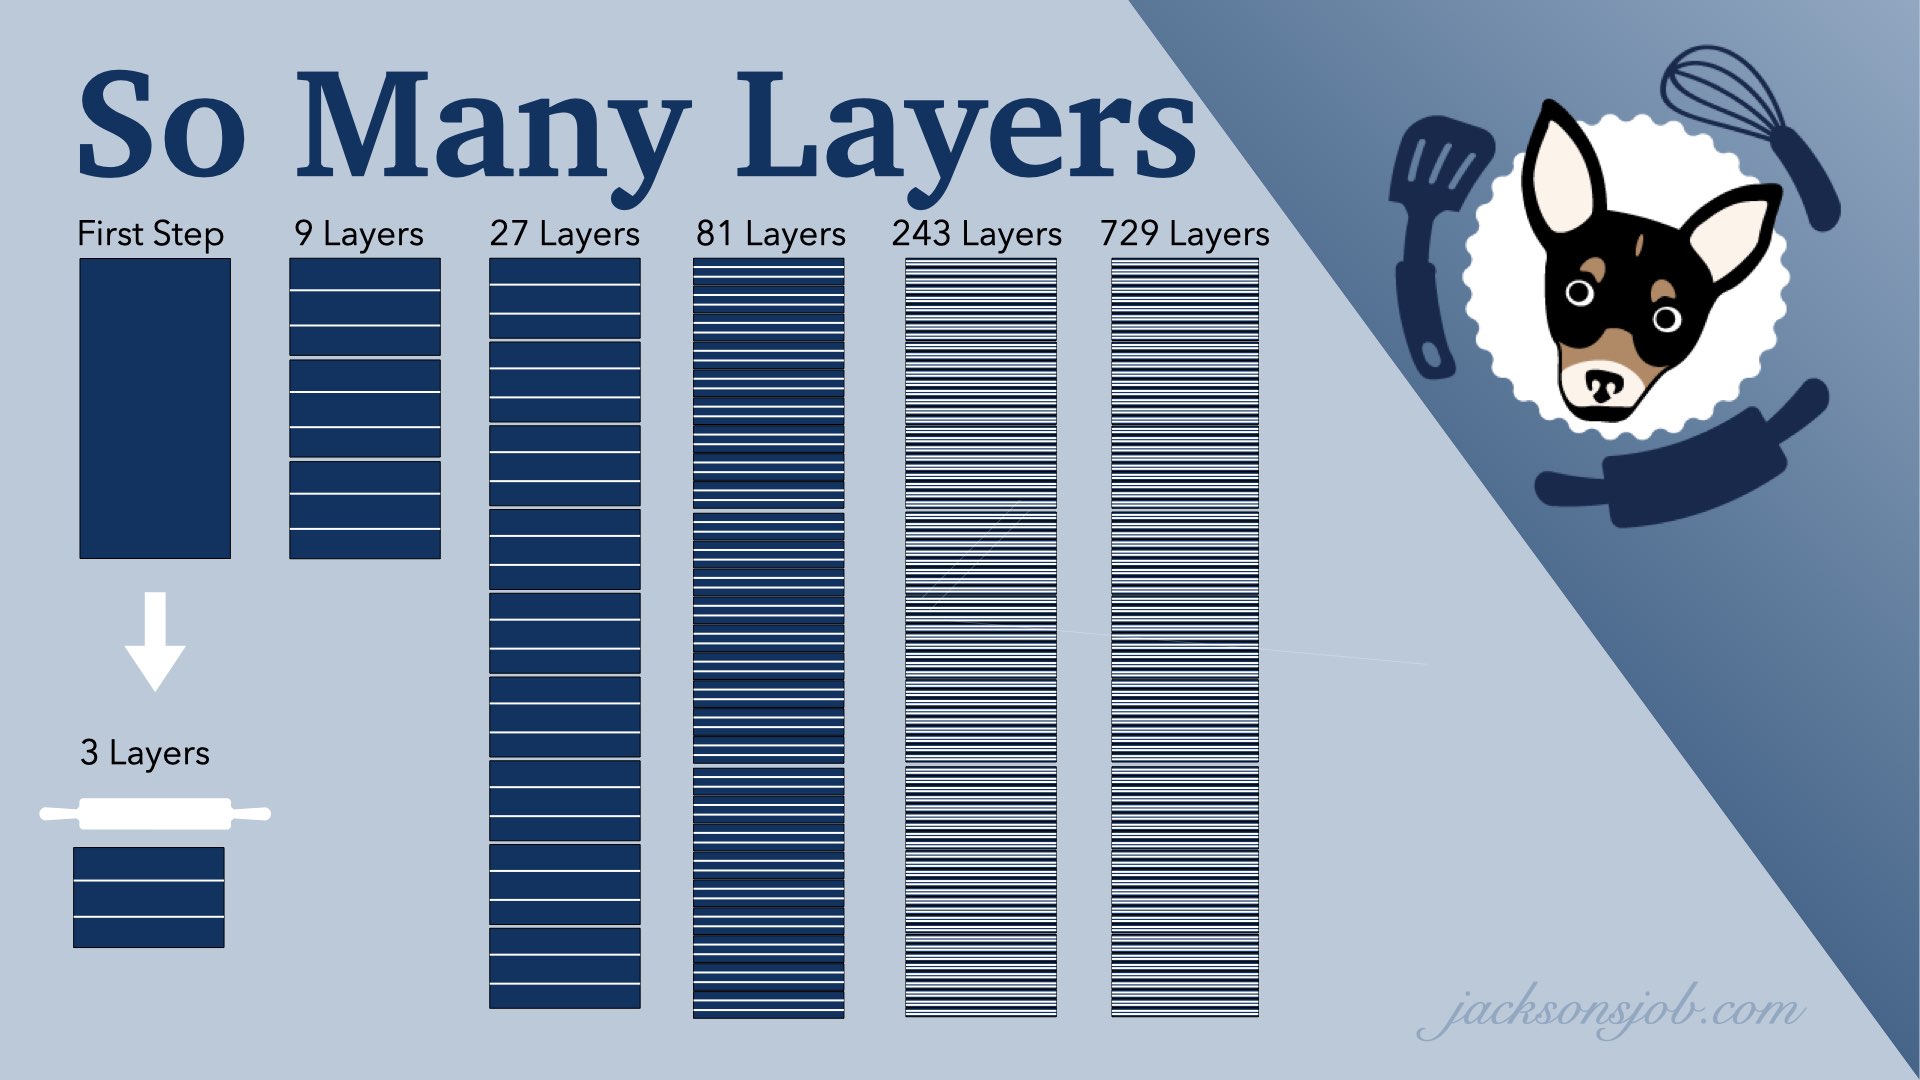
The traditional puff pastry recipe may be time consuming, but it’s worth the effort. In the end, you have 729 laminated layers of crispy and delicate buttery pastry. A lot of people think it is difficult to make your own puff pastry and opt to make a rough puff variety instead. Although the rough puff variety is an excellent way to save time, the traditional method has its merits. We prefer the traditional method because it has more defined layers which can reach better height and structure in the oven when done correctly.
This is because puff pastry rises when the water within the dough heats up and produces steam. By taking the time to create all those layers of butter and dough, you will have a much lighter, buttery and crispier puff pastry. How does a simple recipe create such a lovely pastry dough? It’s all in the name.
Pâte feuilletée is French for puff pastry. It roughly translates to layered or laminated dough. They also call puff pastry “leaf pastry” because of how delicate each of the layers become when properly prepared. The layers of dough are created with a few main ingredients: flour, water, and butter. By folding butter within layers of dough over a period of time, you create layer upon layer of thin sheets of butter within the dough. This creates a light and flaky crust that is perfect for both sweet and savory dishes. From chicken pot pie to palmiers, this dough is versatile and doesn’t have to be difficult to learn.
How Do you Determine the Layers of Buttered Bliss?
How many layers will puff pastry have at the end of the folding process? It’s actually a simple multiplication equation. You can determine what the end result of each fold will be with a little bit of algebra. Remember how your high school teacher told you math is needed in everyday life? She was actually right. You really can’t get away from it. Baking is all about science and mathematics.
Let me prove the need for math to you. Can you look at the following graphic and understand how you go from a single rectangular piece of dough to 729 layers of delicate pastry dough without any knowledge of multiplication or addition? We sure can’t! It can be a nice illustration even without knowledge behind it. Do you technically need to know the math to make puff pastry? Not really, as someone has done it for you already as they have in every recipe you try.
But wouldn’t it be better to understand that recipe with confidence? Knowledge is power in baking. Knowledge allows you to advance to making your own recipes and fully understanding the how and why behind the science of baking. It can take you from above average home baker to advanced professional levels. Knowledge helps you correct mistakes easily so you can recover dishes when things are going lopsided.
We will teach you the mathematics behind making puff pastry below so that when you come back to this graphic, you will completely understand what happened to create all the layers. Let’s go through each of the six folds and then you’ll be able to come up with new folding techniques if you want to experiment and have successful pastry dough. Trust me on this one.
The Formula for Successful Puff Pastry
As previously mentioned, the traditional puff pastry recipe has its own formula in determining the amount of layers you will end up with at the end of each fold. It doesn’t matter how many layers you ultimately decide to start with or whether it will be a book fold, single fold or double book fold. You just have to be consistent and know what you are after in the end. The formula is the number of layers to the power of the number of folds.
Either Lxn or Ln would be the equation. The L stands for the amount of layers you are creating each time whereas the xn or n means “to the power of” and indicates how many times to multiply the first number to itself.
Once you determine the amount of layers you want to create and the fold you are performing, the formula will be written as follows:
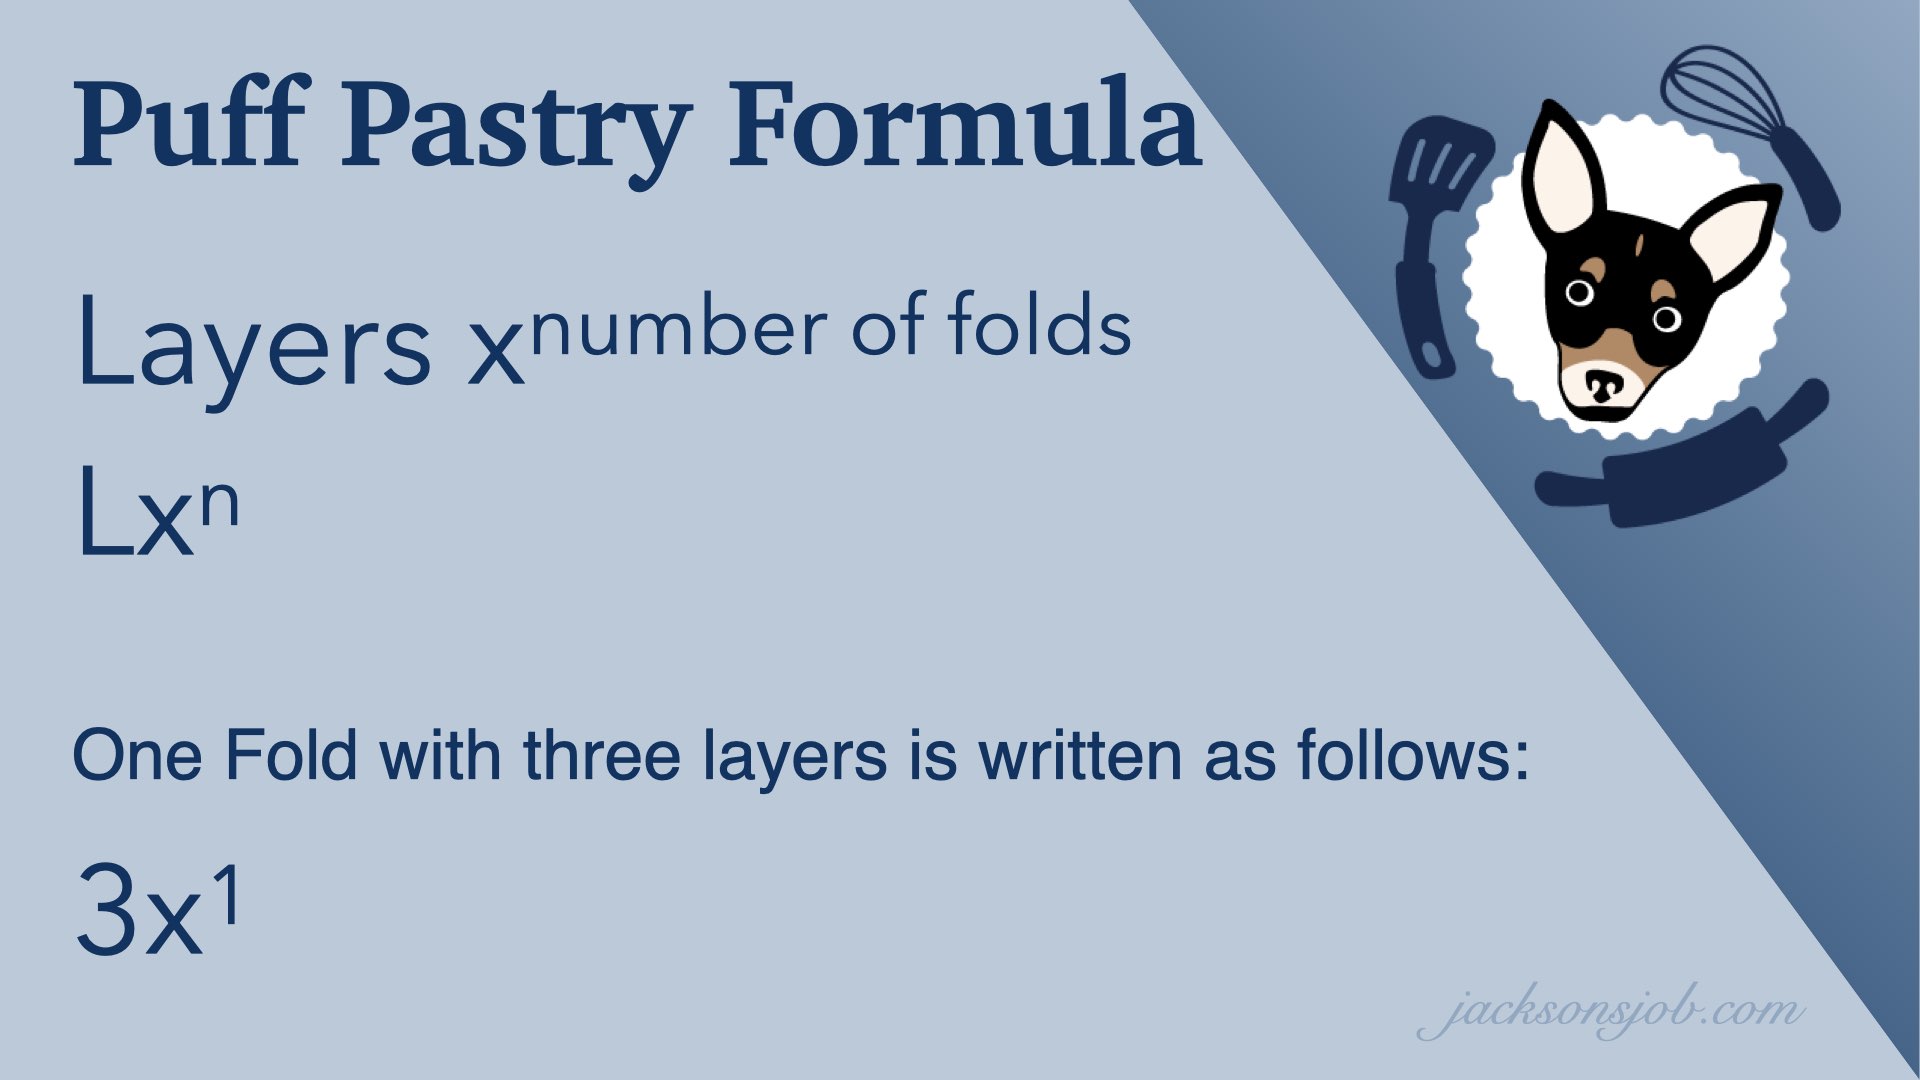
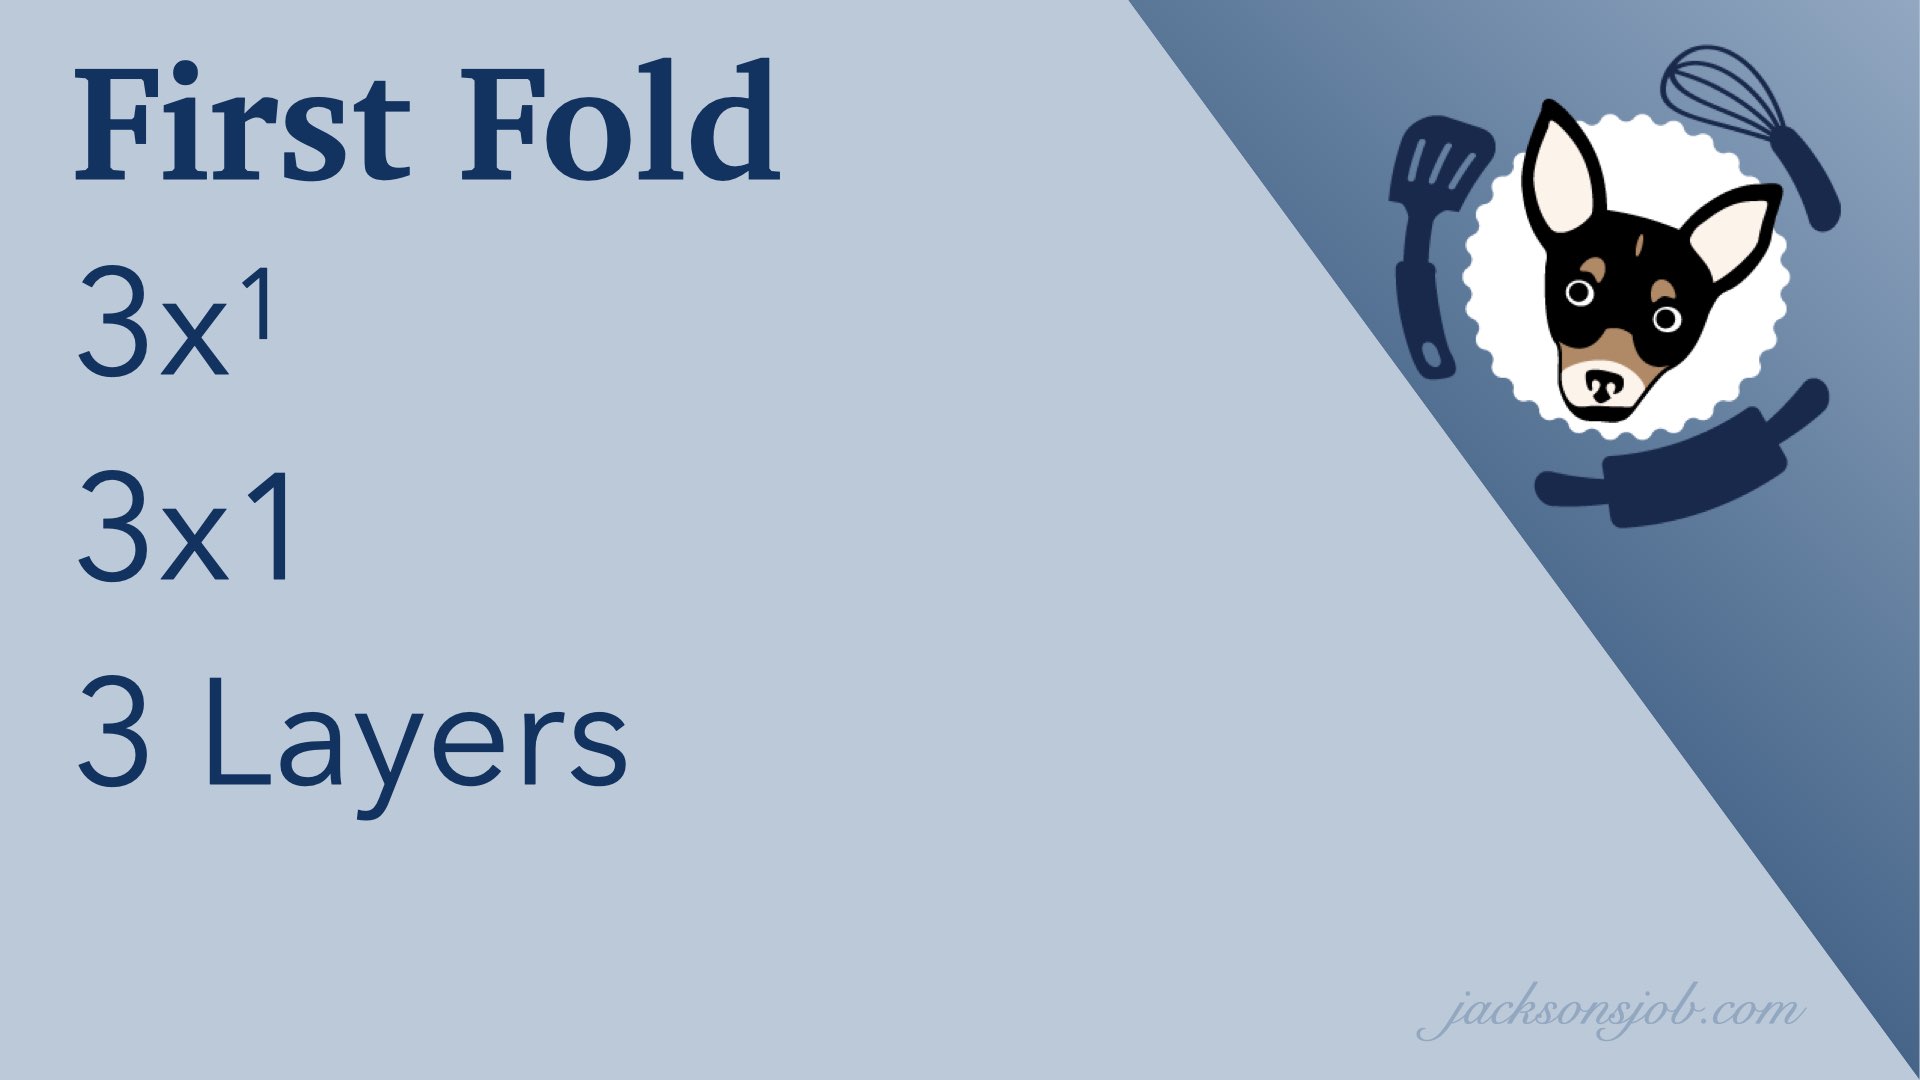
This formula 3x1 may look intimidating, but it doesn’t need to be. Let’s look at what happens when you fold puff pastry using the traditional book method. To create the layers, you roll the dough into a long rectangle and then fold the rectangle into thirds. This creates three total layers and completes what is known as the first fold. Each time, you will be doing this same exact process to create 3 layers and you are just repeating it until you get the desired level of layers.
Other ways to write the formula can be 3 to the first, 31 or 3 to the power of 1. The subscript number 1 is known as the exponent of a number. An exponent refers to the number of times the preceding number is multiplied by itself. This formula is simply directing you how many times to multiply the initial number of layers in order to determine the new set of layers. In this instance, the number 1 is telling you to do the following equation: 3 times 1. But why not just say that? Isn’t it easier? Well yes. Until you get to even more folds.
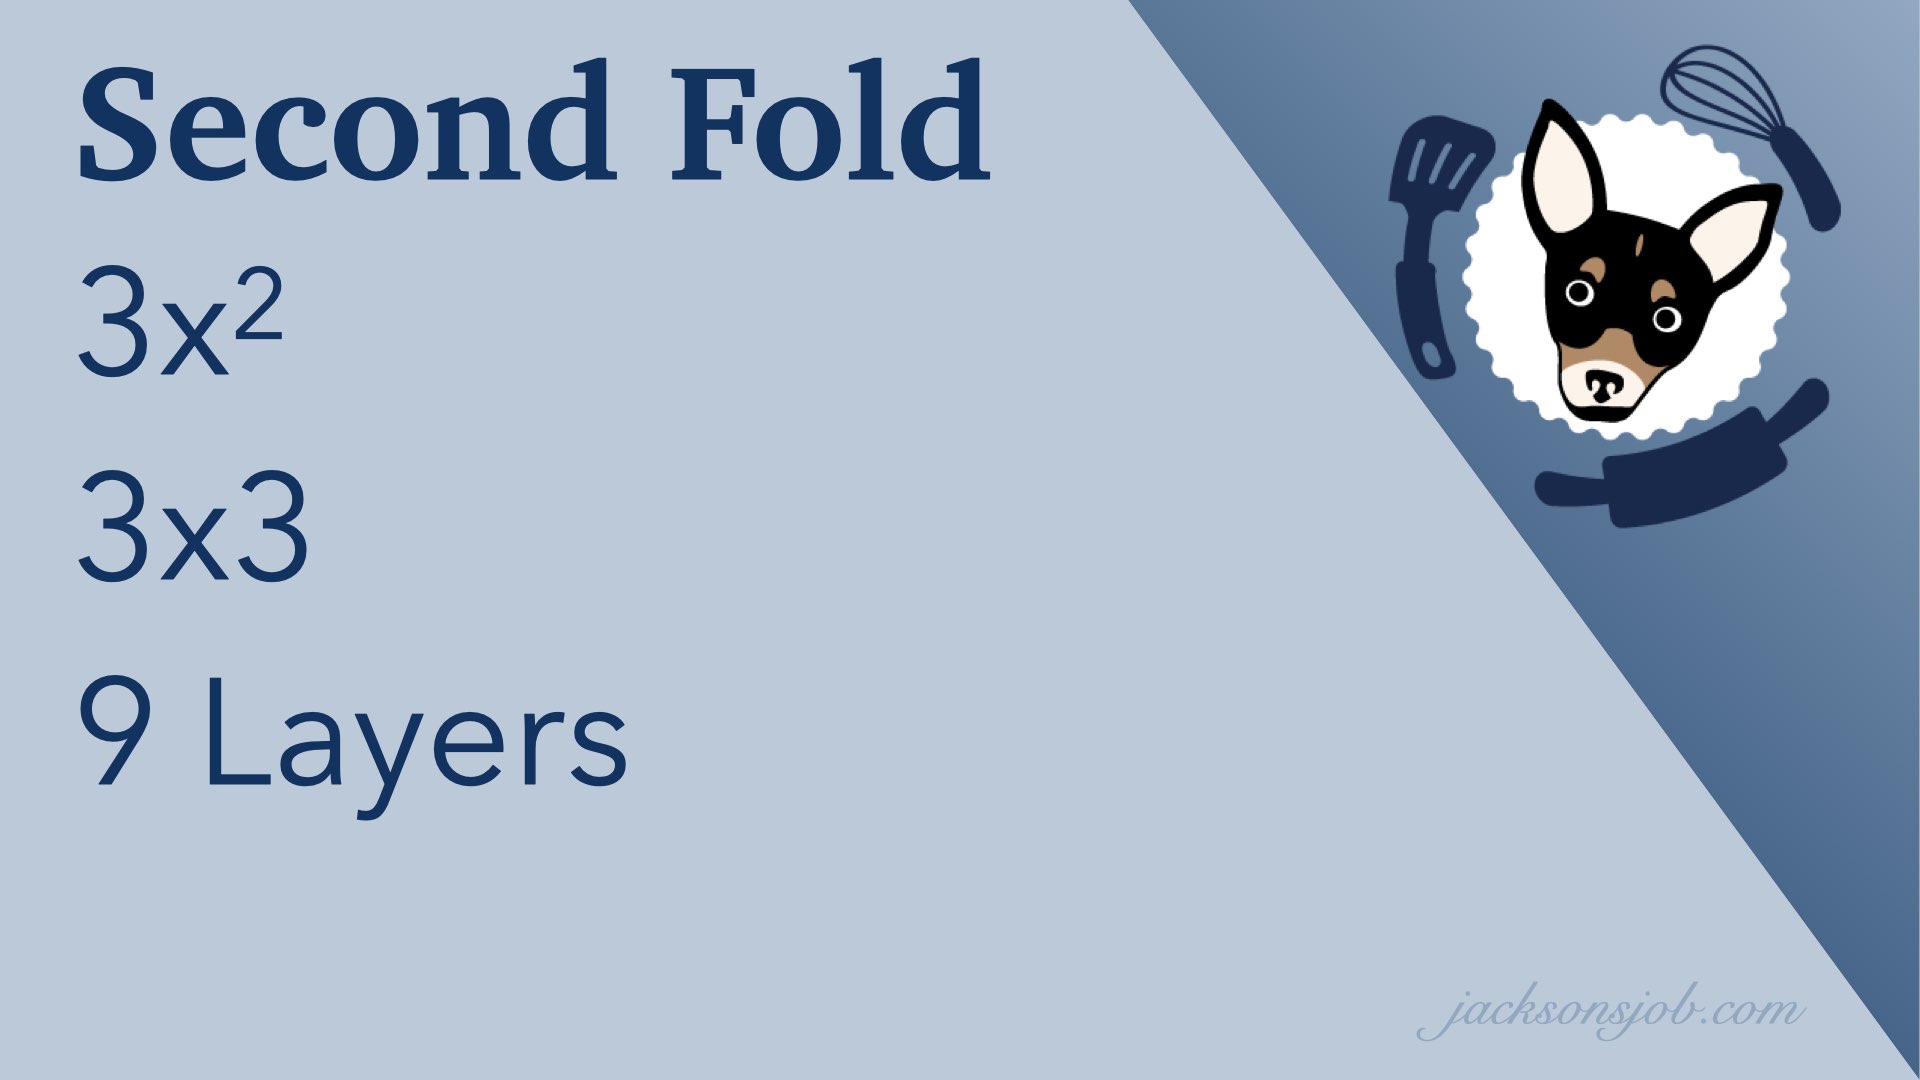
So, the next fold is 3 times 2 for a total of 6 layers, correct? Actually, no. By the time you fold the dough a second time, you will have a total of 9 layers. How is this possible? Let’s look at what is happening.
When you complete that first fold, you have created a total of three layers. You then rotate the pastry 90° and chill the dough. Afterward, you flatten those layers into another thin rectangle and fold it into thirds again. You didn’t lose the first three layers, you squished them. And by folding a second time, you are building more. Each third will be stacked on top of each other which triples the amount of layers. As a result, the second fold creates a total of 9 layers. The layers will continue to triple with each subsequent fold. You could try to count them and keep track. Or you could quickly determine the amount of layers created with each fold by simply using the formula.
This is formula is possible because the layers created with each folding session stays consistent throughout the process. Only the completed folds will continue to increase in number. With that in mind the second fold, the formula is written as 3x2. Let’s look below on how the nine layers is computed mathematically.
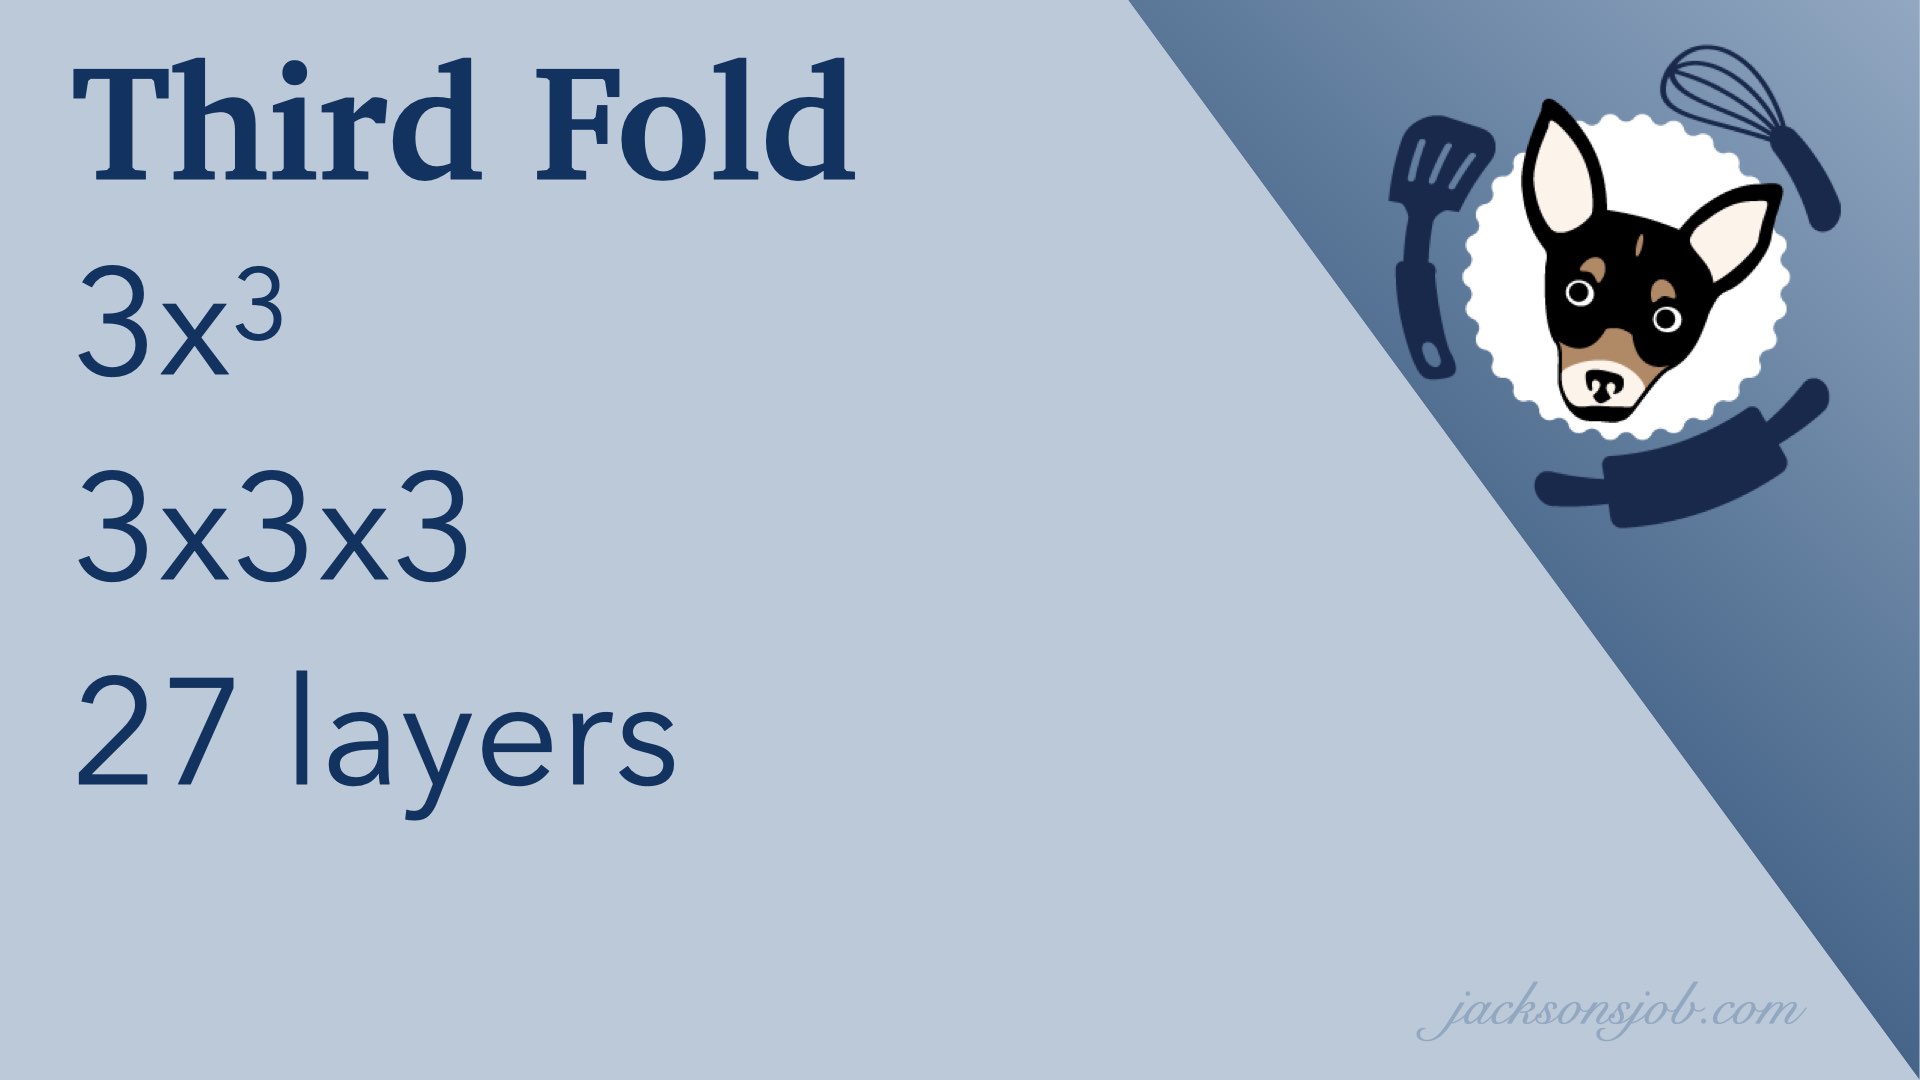
Now that it’s becoming a little clearer, let’s look at the third fold. We have previously completed two folds and now have 9 layers. We flatten these layers into another thin rectangle. Now, take that rectangle and fold it into thirds. After, turn the dough another 90° and chill.
Once again, we are tripling the number of folds. You could simply say 9 times 3, 3 times 3 times 3, or 3 x 3 x 3, but all of these equations have some flaws. The first requires you to remember the prior calculation and the second one is a bit wordy. The third option is a little better but not by much. However, wouldn’t it be both faster to write and memorize 3x3? Which ever way you want to calculate it, the third completed fold makes 27 layers of delicious pastry!
Since we’ve made it this far, let’s look at the last few folds. We start out with 27 layers from our third complete fold. Flatten the 27 layers into a rectangle and fold it into thirds, tripling the number yet again. Make sure to give the dough another 90° turn. The fourth fold 3x4 will gives you 81 layers. See how quickly you went from 3 layers to 27? What happens with the next fold? Let’s find out!

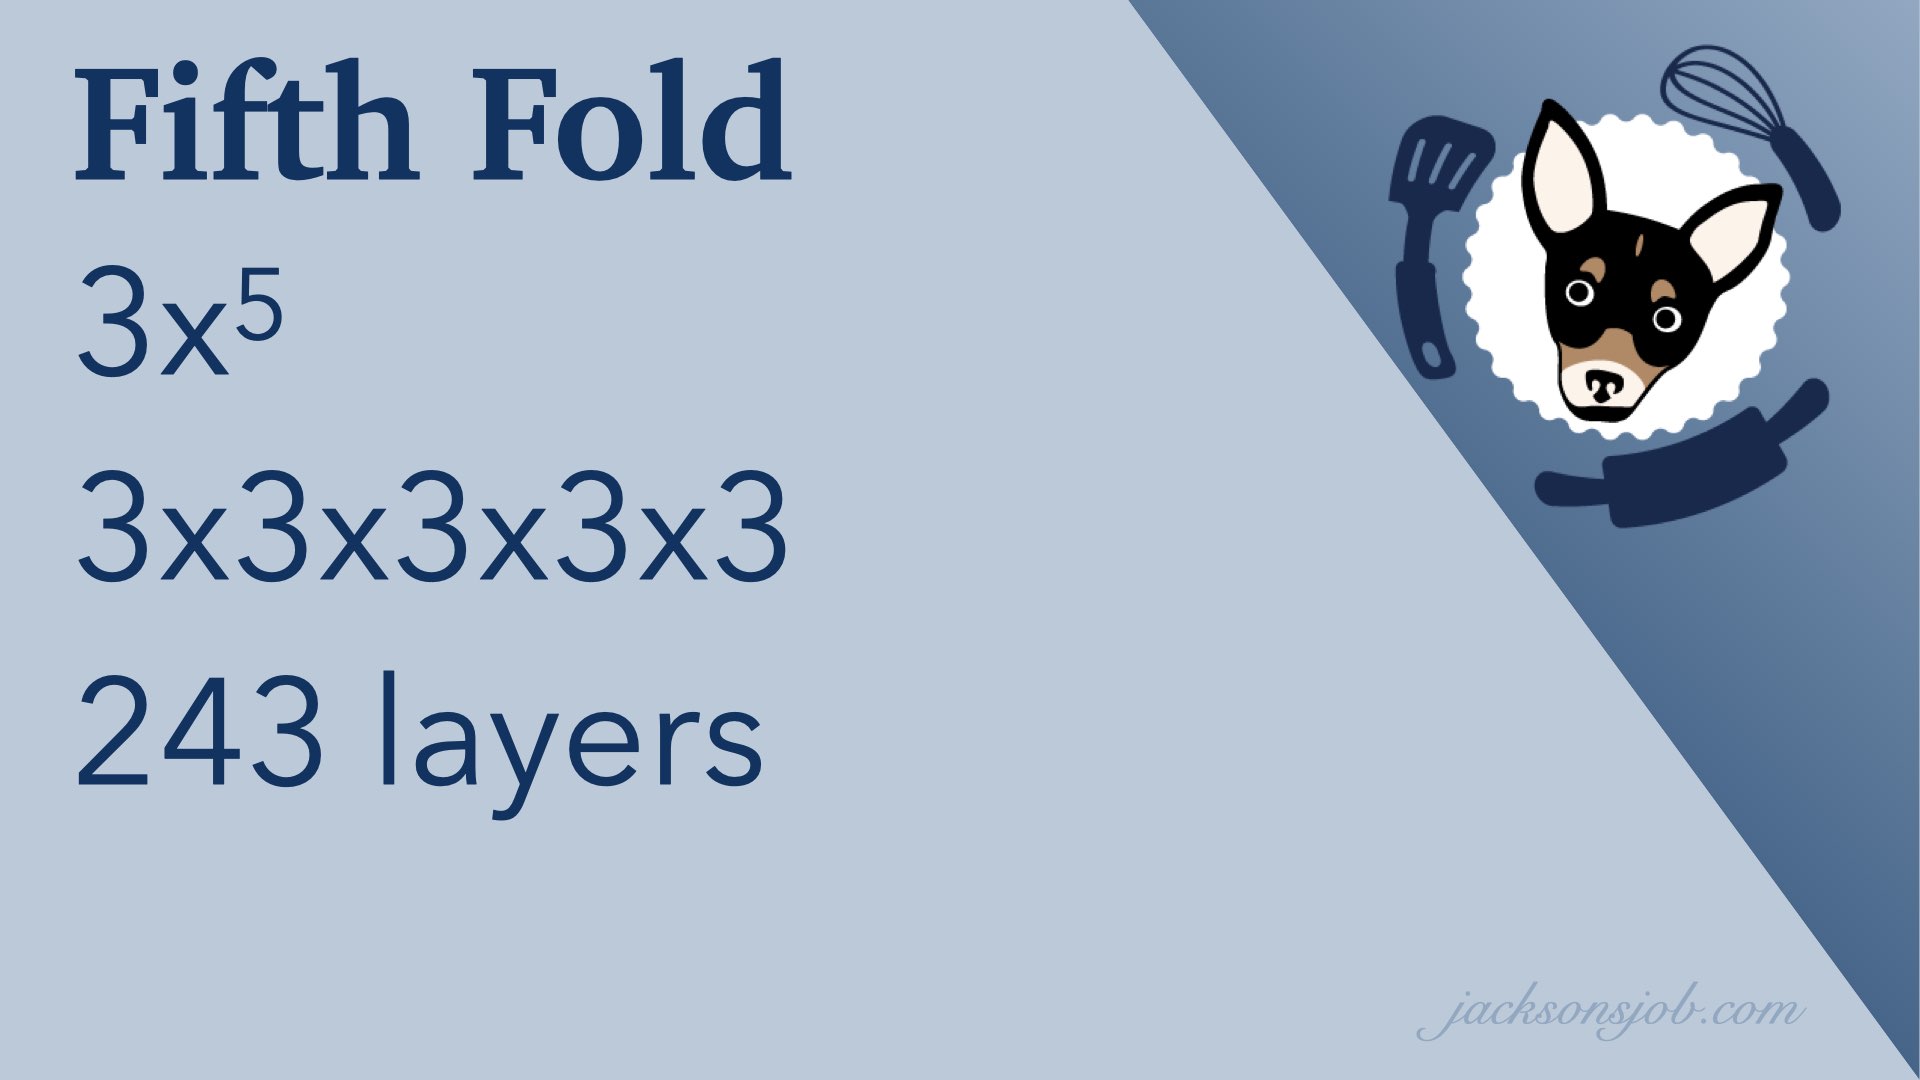
The fifth fold starts with 81 layers. You guessed it. Flatten those 81 layers into a rectangle before folding into thirds a fifth time. We will again turn the dough 90° and rest. We could write this as 3x3x3x3x3 or better yet, 3x5 is looking much easier now isn’t it? Either way, we are tripling those folds yet again. And now we are getting some serious layers of dough and butter happening. A total of 243 layers to be precise!
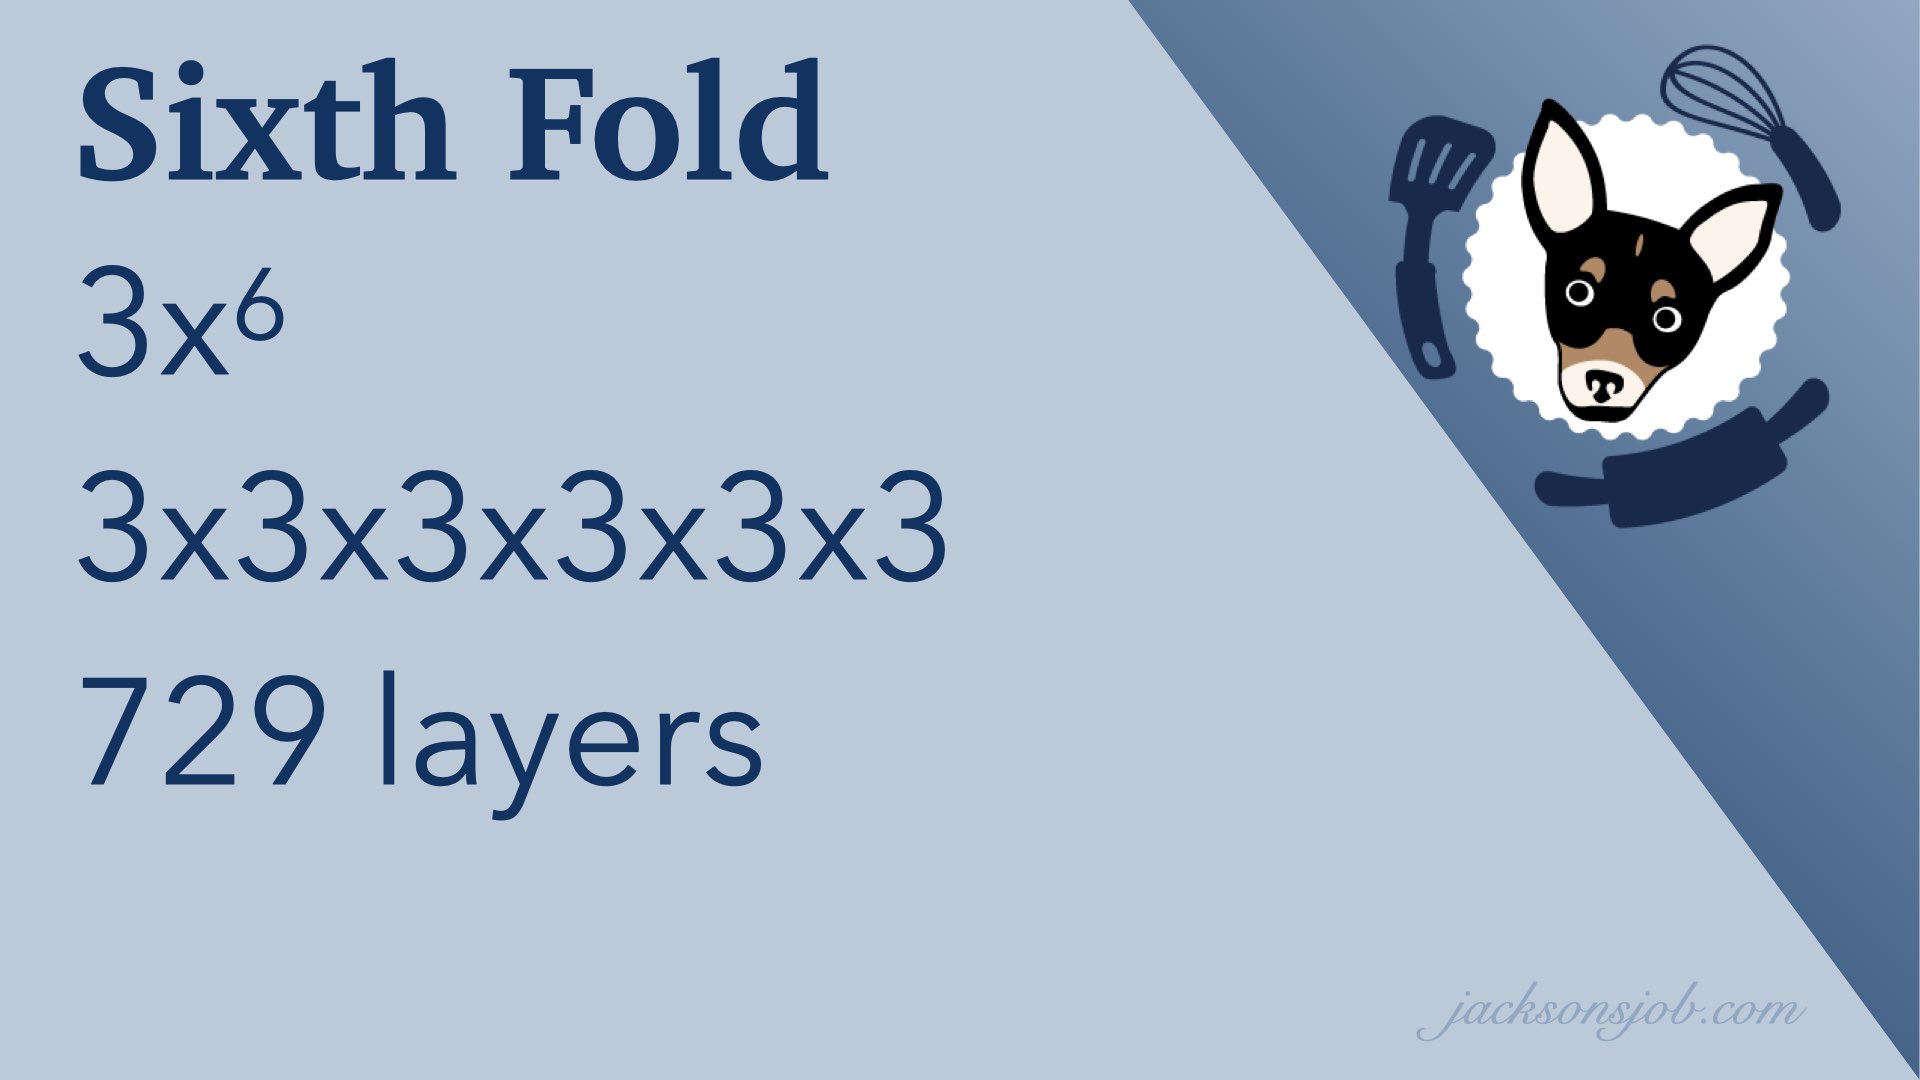
Our final and sixth fold will make the formula look so tidy and easy to remember at this point 3x6 will result in so many layers. We take those 243 layers from earlier. Flatten those 243 layers into a thin rectangular sheet and fold it into thirds, tripling the number for a final time. We end up with 729 delicate layers of dough and butter. Whew. That’s quite a lot!
So how many layers do you want in puff pastry? Why not more? Why not less? Good question! Well, for pastries such as an apple turnover or chicken pot pie, 4 folds or 81 layers is a great compromise. You still get flaky pastry, but the dough is more sturdy and holds up well to heavy fillings like apples and chicken with vegetables. But for a more delicate pastries such as vol-au-vents or croissants, you’ll want those 6 folds. Show off those multiple layers of crisp pastry dough.
Why not make more then? Well you can. But it’s not always advantageous. More than 6 folds will lead to a very delicate and fragile dough. The butter layers are more likely to seep and break through as you fold and roll the dough. It will be prone to tearing and de-lamination while preparing and baking the puffy pastry dough. For this reason, most pastries are created within the 4 – 6 folds range. It’ll be up to you in the end to determine which number of folds you are most comfortable working with. This is about you after all. So now that you have learned the mathematics behind making this puff pastry recipe, how about we actually learn how to make it?
Step-By-Step Instructions
I thought you’d never ask! Let’s look at how simple it is to make the traditional puff pastry recipe. Much less complicated than the mathematics behind it! There isn’t really a lot of hands on time. It’s more along the lines of 25% work and 75% waiting around for the next step. But it’s so worth the effort.
Another of the reasons many people are hesitant to try making this wonderful dough is because of how expensive it can be to make. Today, we are going to make it more affordable! We will teach you how using only one cup of flour (150g) and one stick of butter (113g) which will still give you a generous portion of puff pastry dough to work with after you are finished. If you decide you love this dough, you can double or even quadruple the amounts to make larger portions. This particular recipe will yield approximately 3/4 of a pound (354g) or a 10 inch square (25.4cm) of puff pastry dough. Let’s get started!
Step 1: Make the Dough
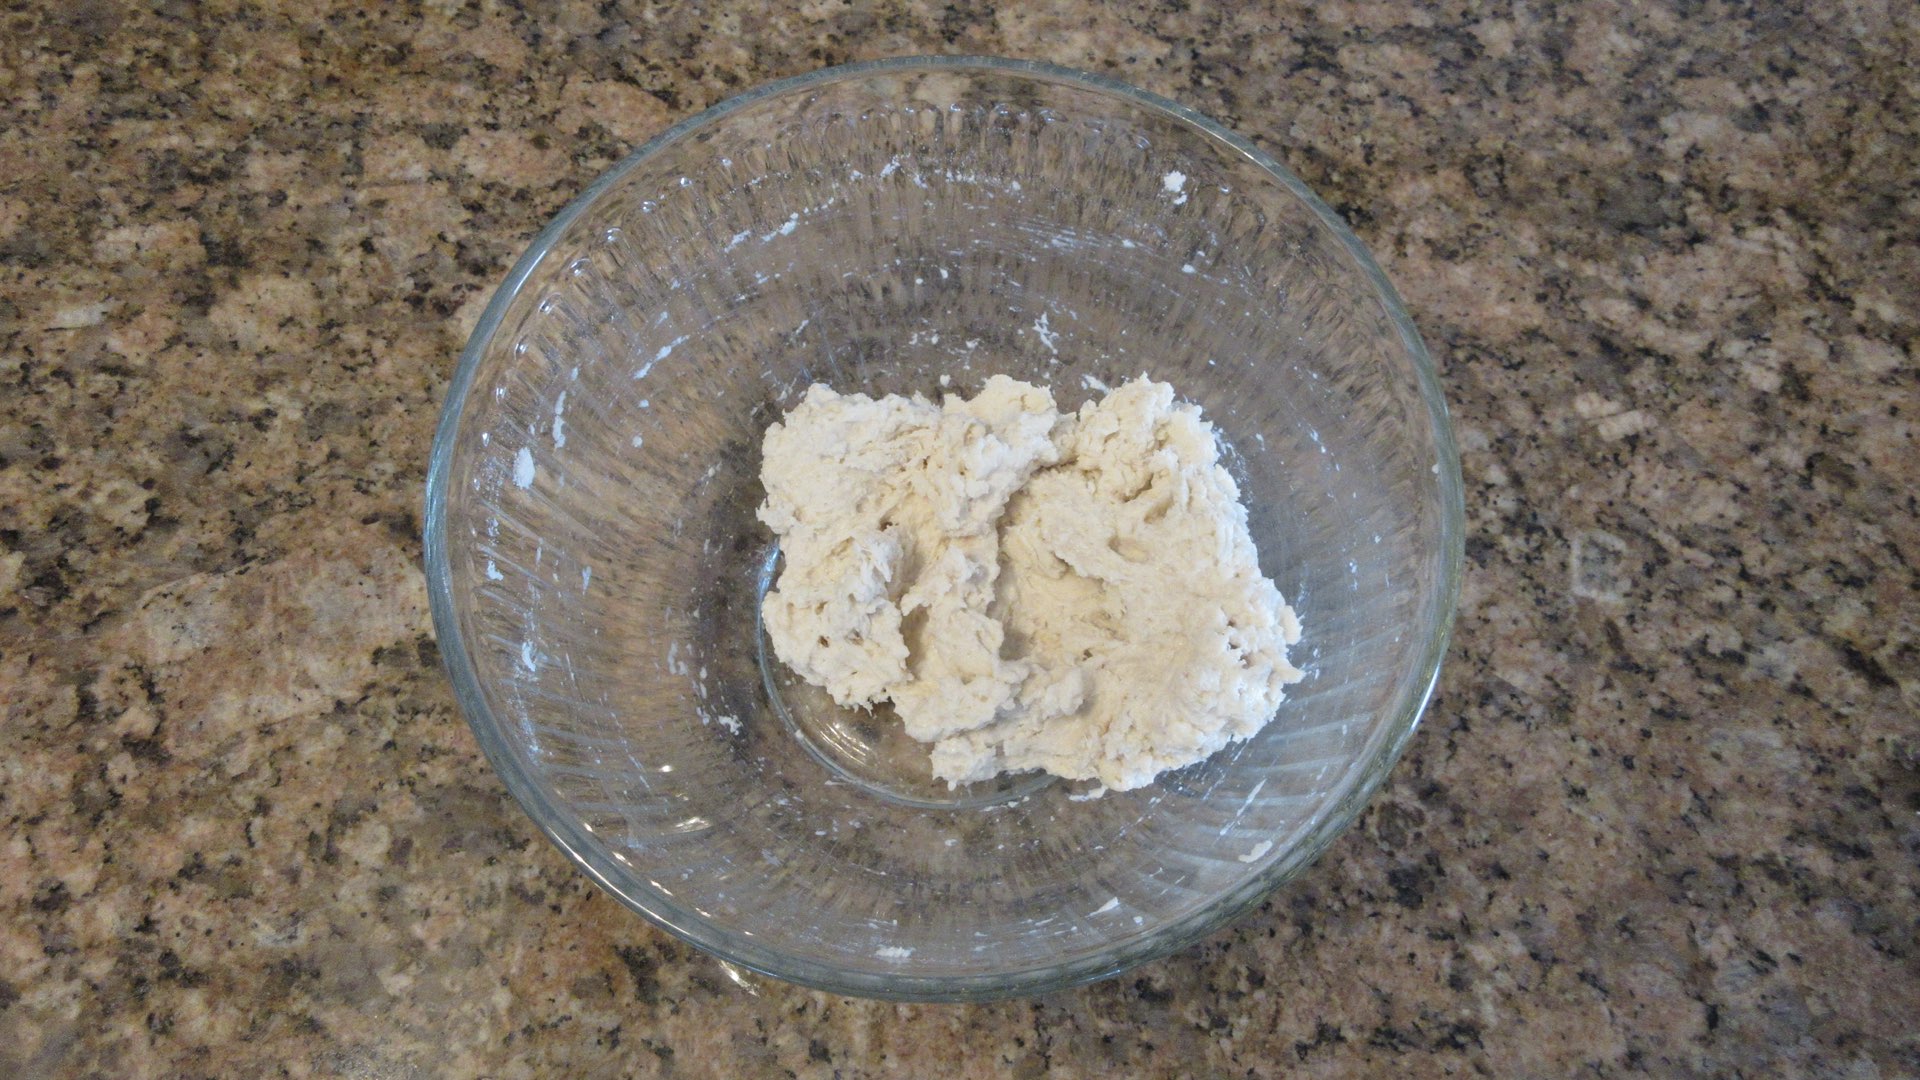
In a medium bowl, you’ll want to add the flour, water, vinegar (or lemon juice) and salt. The vinegar or juice will help the dough relax and it will be easier to roll out so don’t skip this ingredient. Unlike many other doughs, the assembly won’t take long at all.
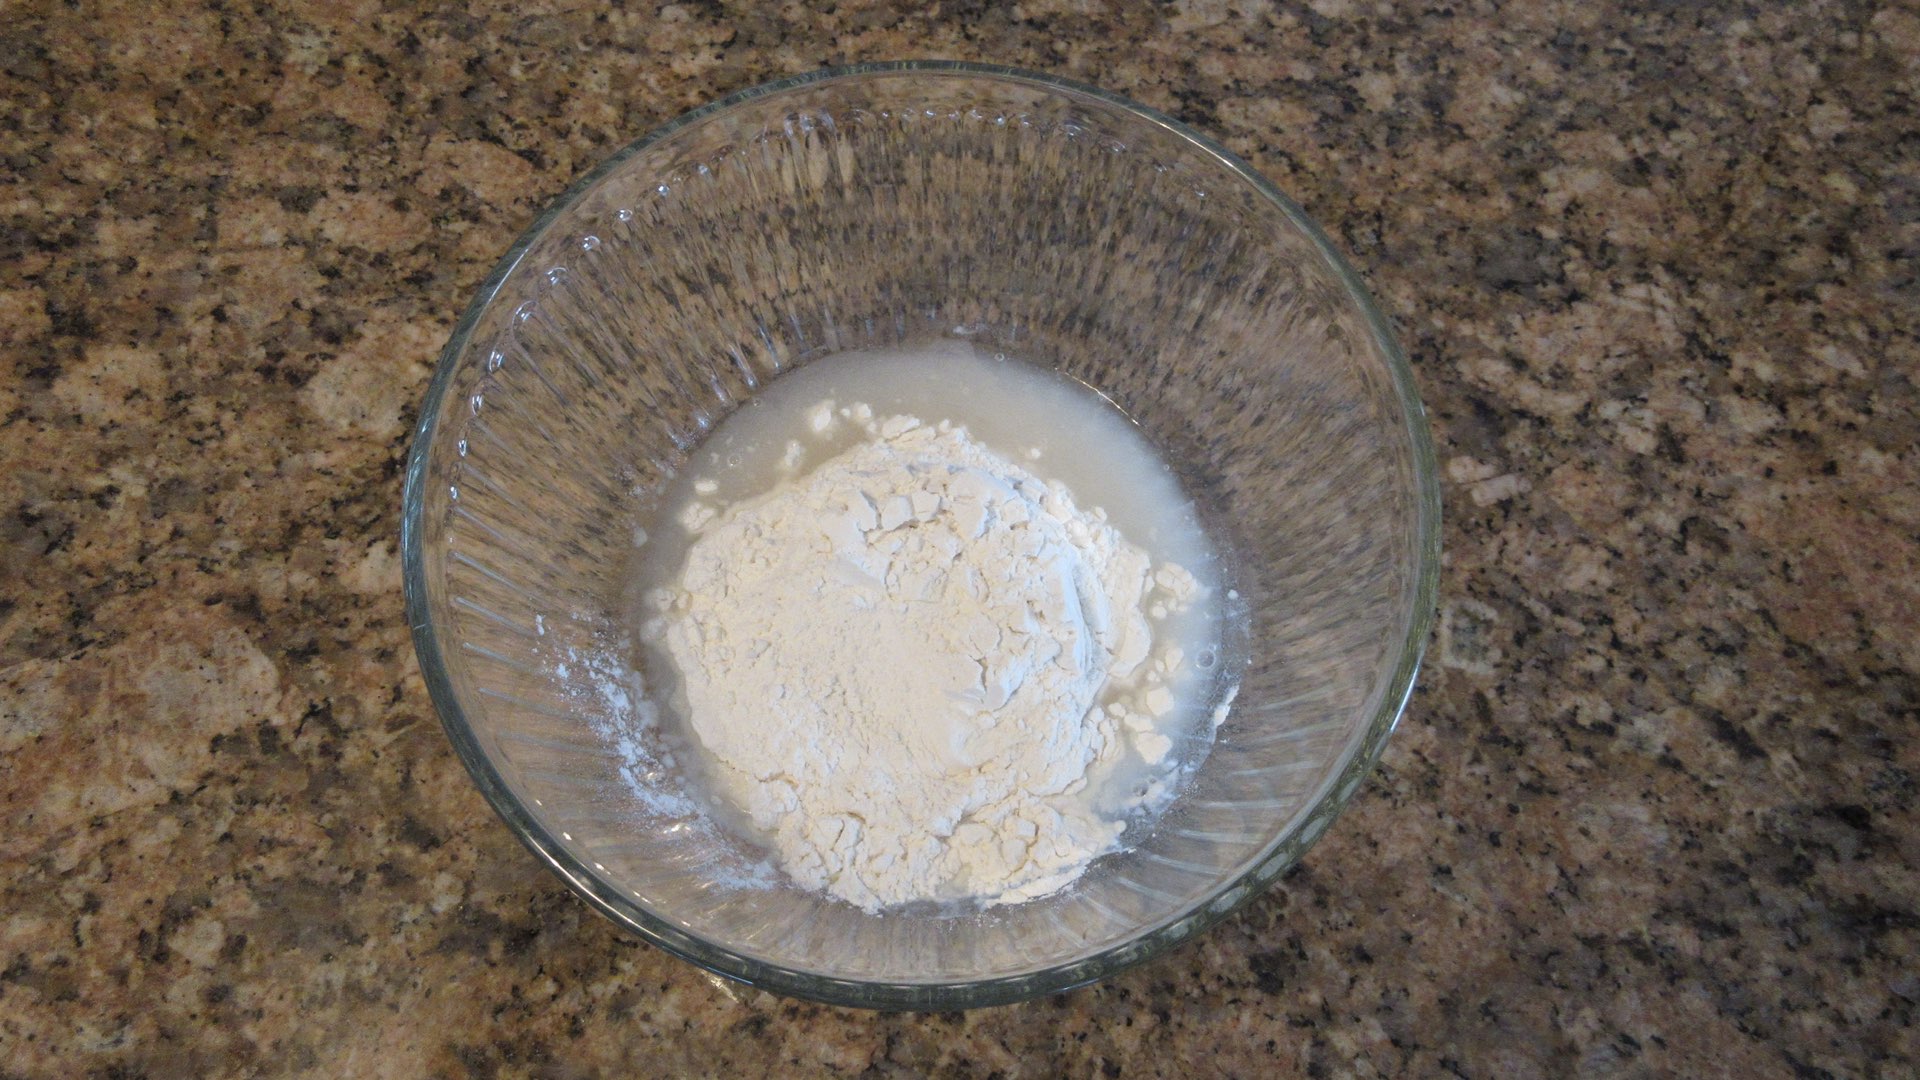
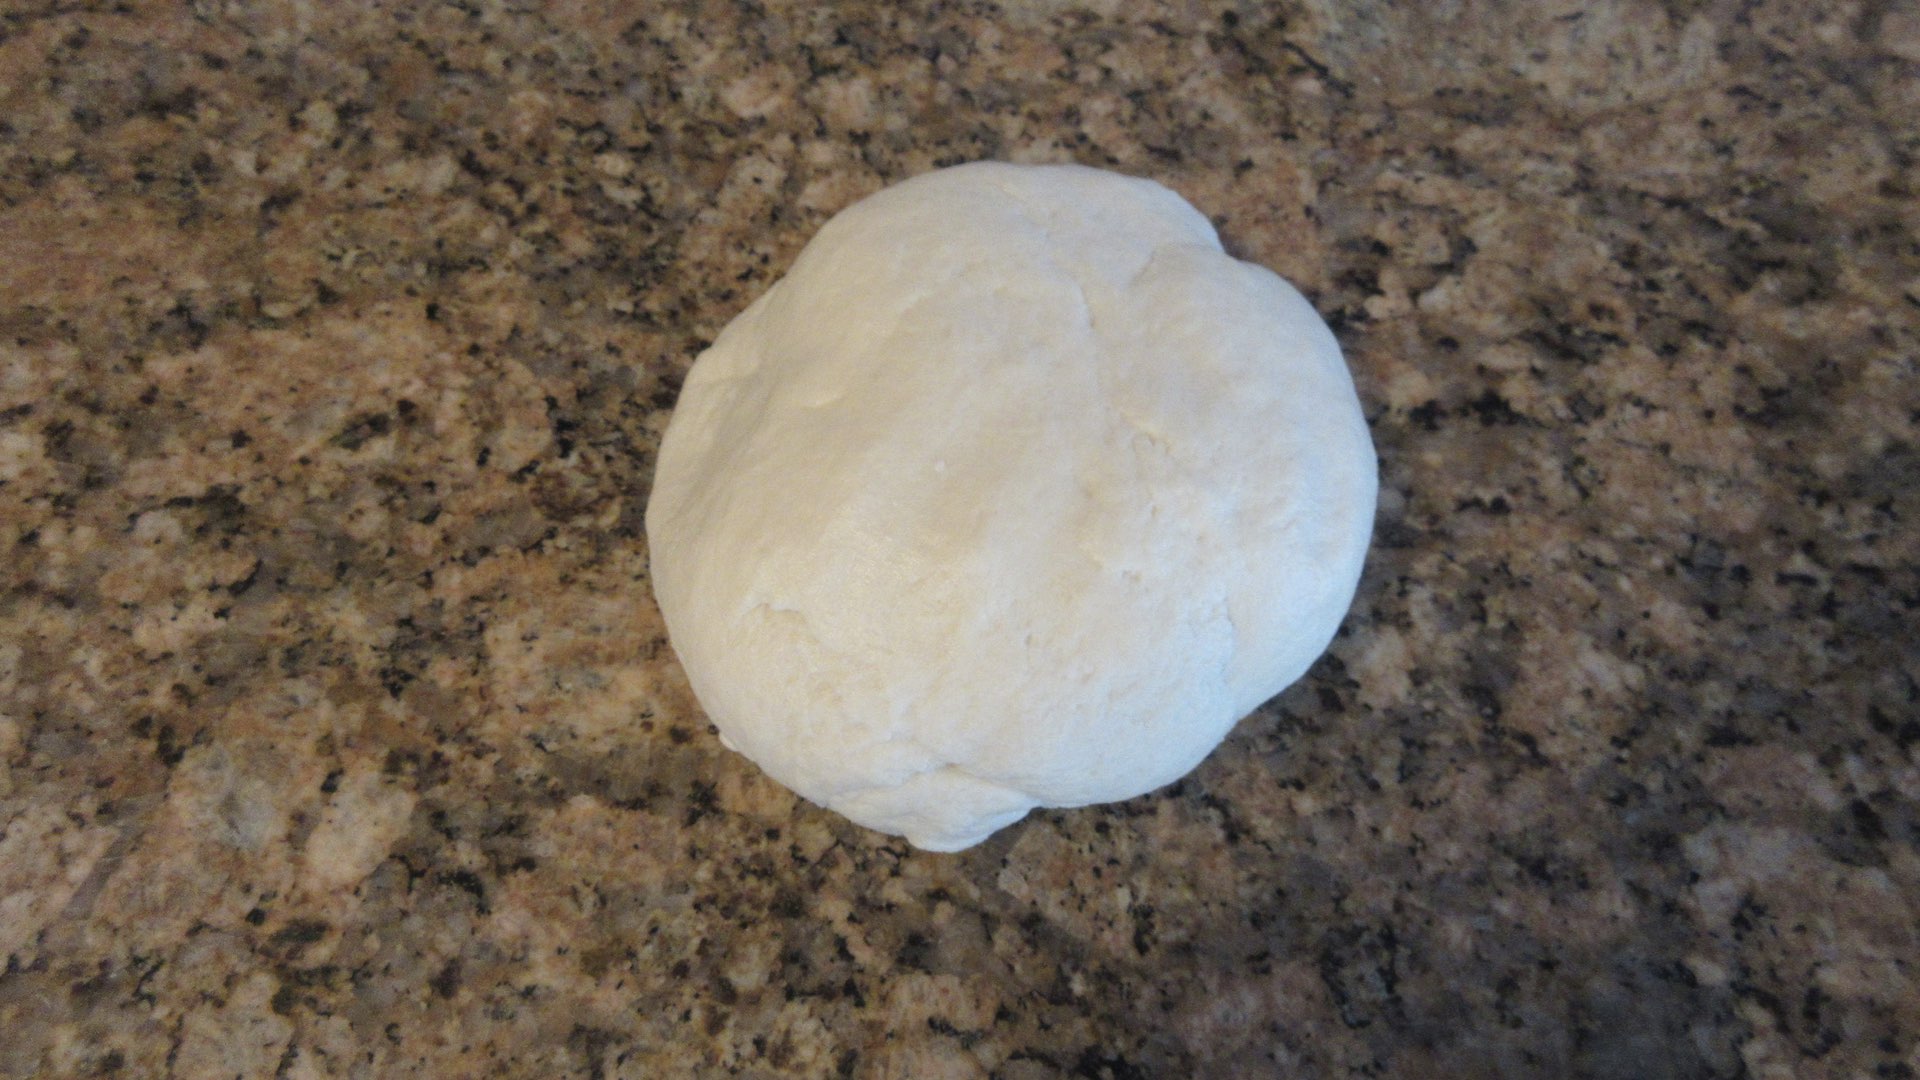
You stir the mixture with the back of a spoon until it forms a shaggy dough like below.
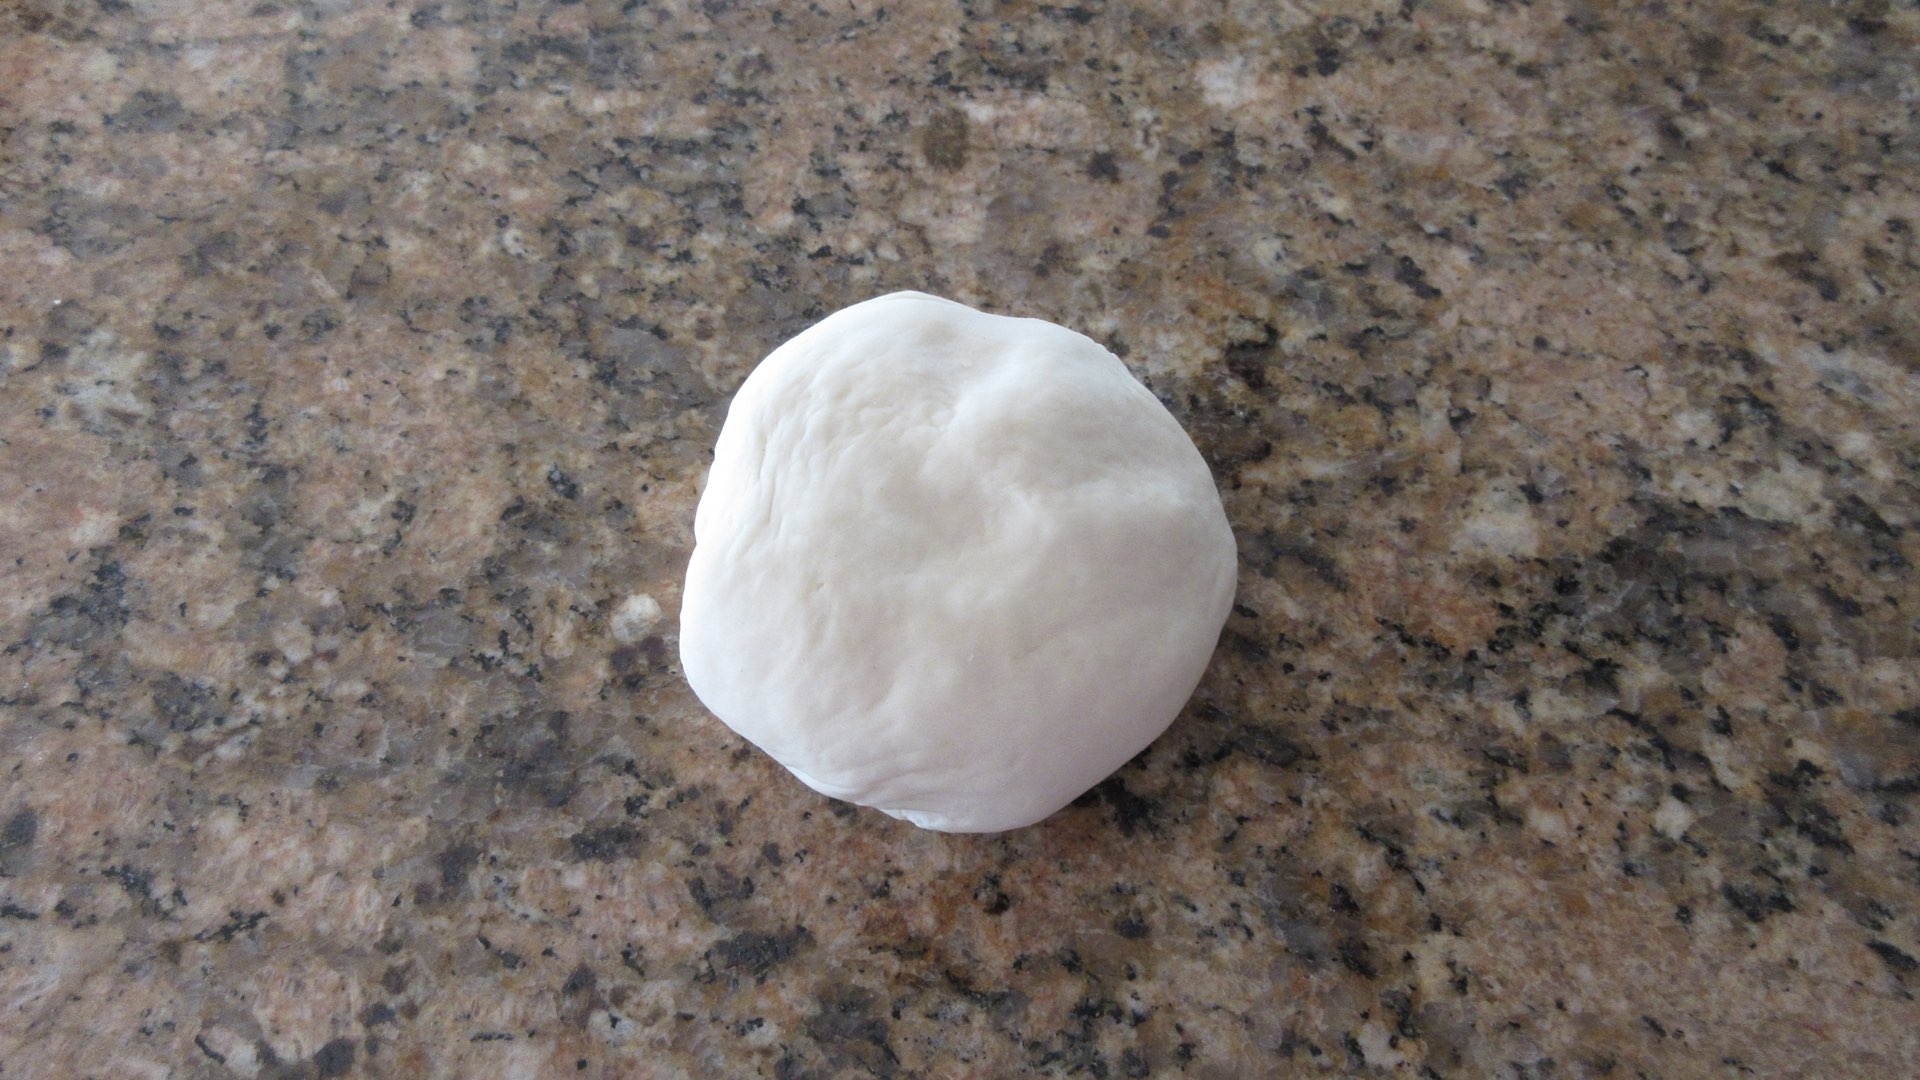
Then you turn out the dough onto a clean work surface and knead it a few turns until it’s a smooth dough. It will take around 30 seconds to a minute or so depending on your skill level.
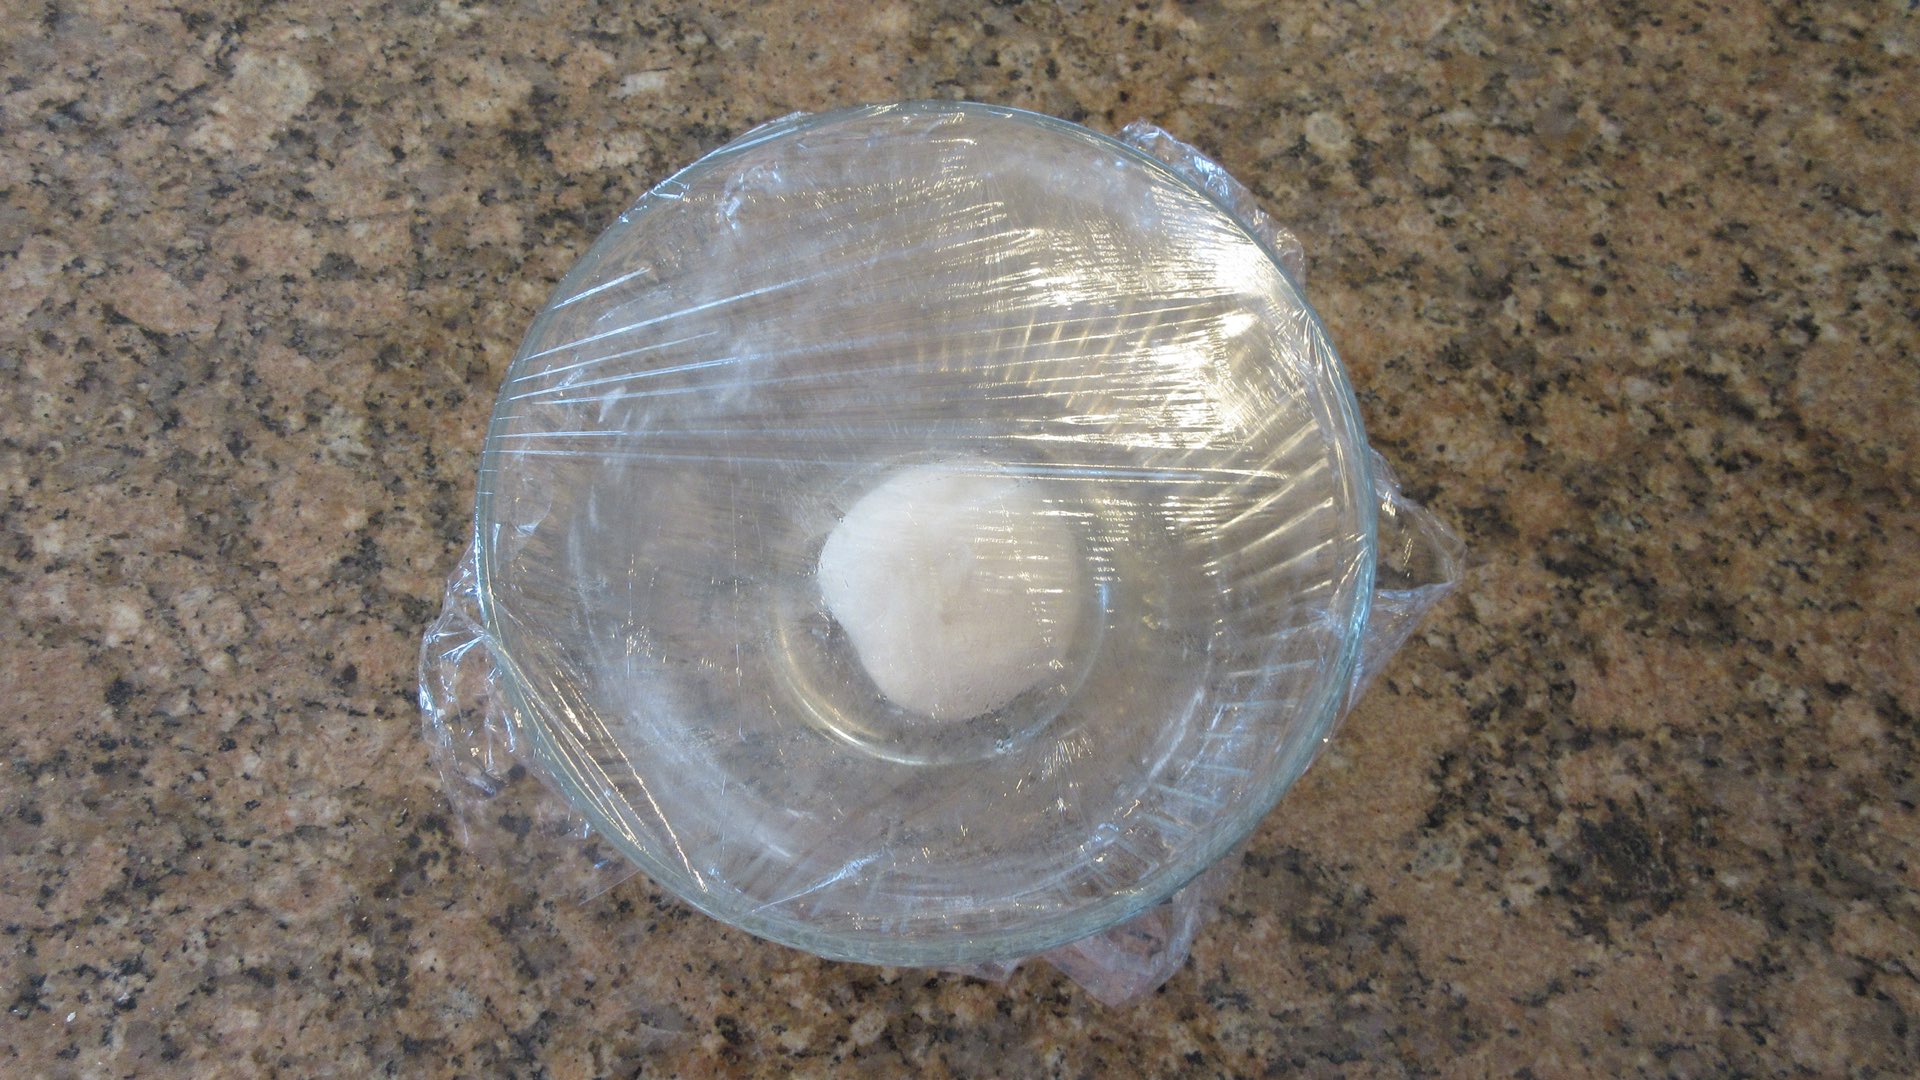
Then you place the dough back in the bowl and cover it with cling wrap. Or you could just wrap the dough in plastic wrap alone and place it in the fridge to rest 20 – 30 minutes.
Step 2: Prepare the Butter
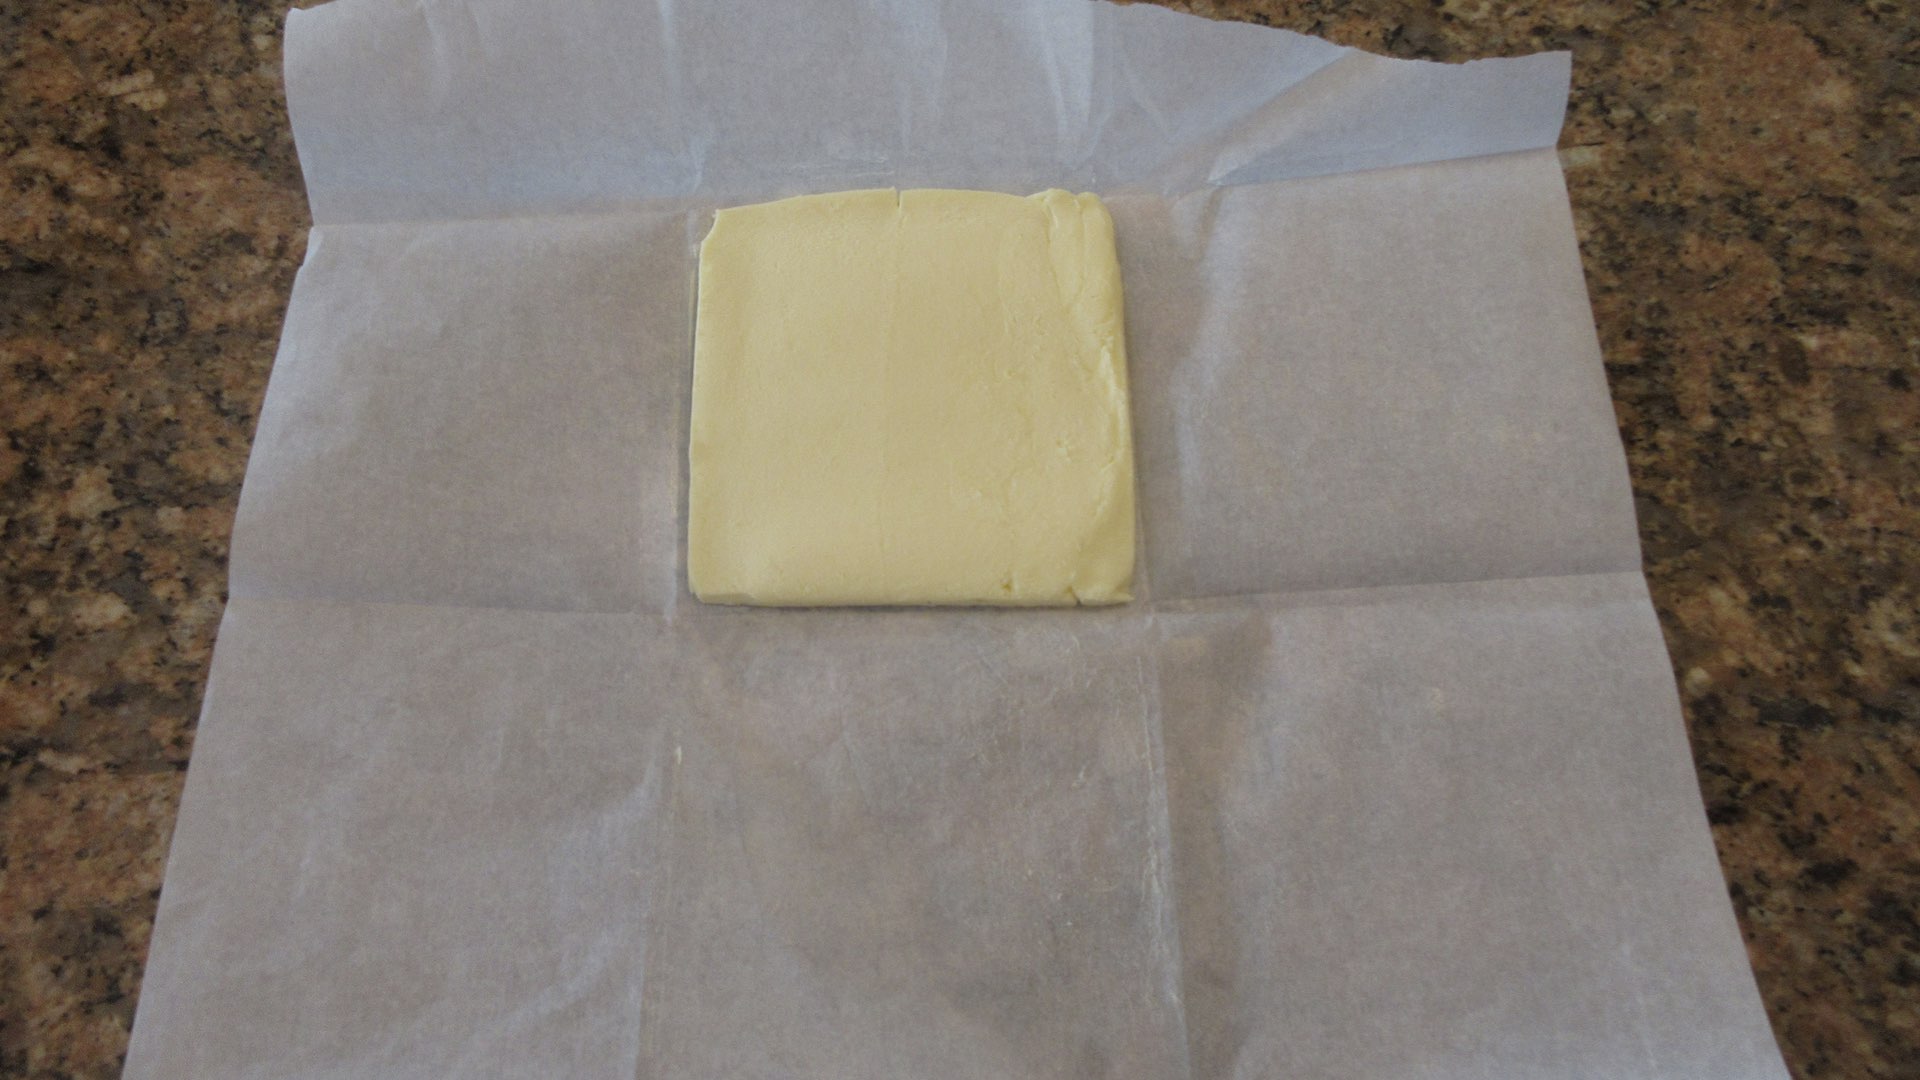
Using either a large piece folded over or two smaller pieces of parchment, you want to place a stick of butter. Pound the butter until it starts to flatten.
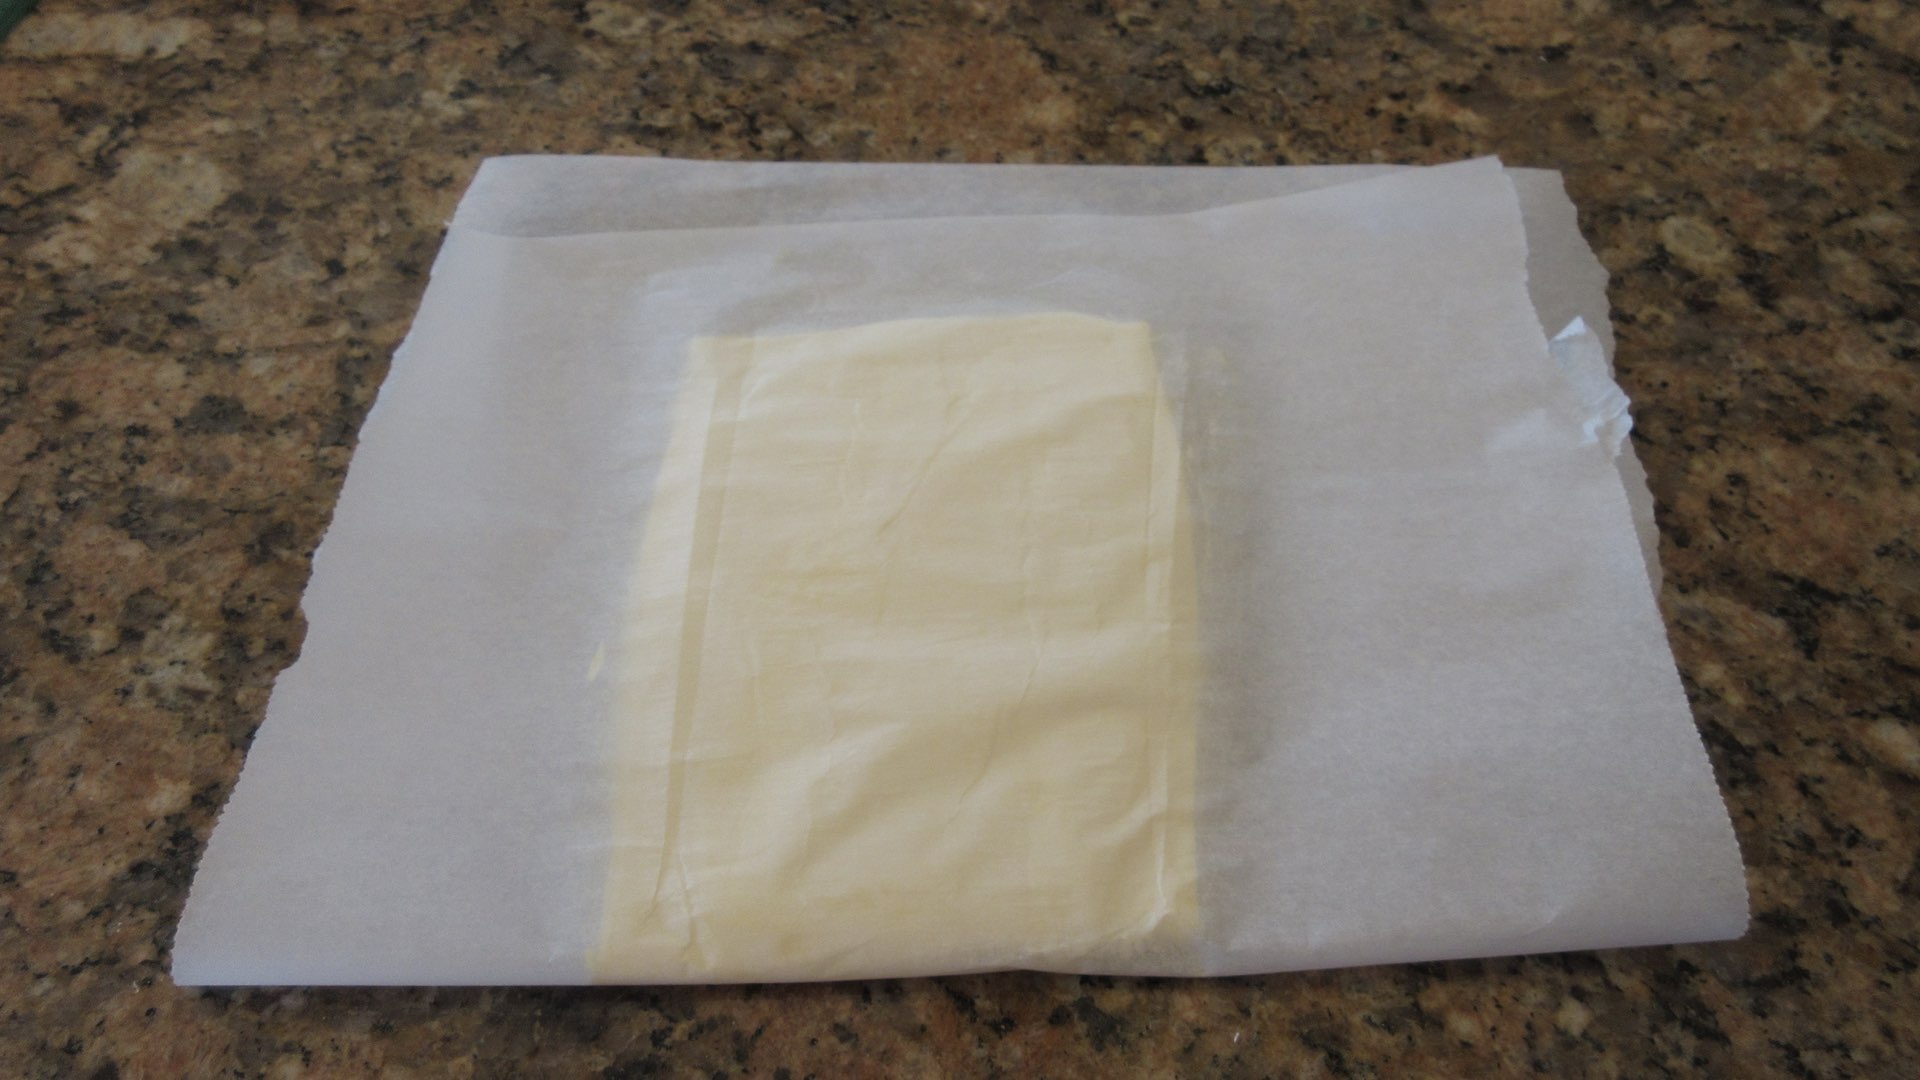
You want to shape the butter until you get a square. If necessary, trim off the edges and place them in the middle and continue to flatten. You want roughly a 5″ square (12.7cm.)

It should look similar to the one pictured below. Don’t worry if it’s not a perfect square. It will work out as you create layers.
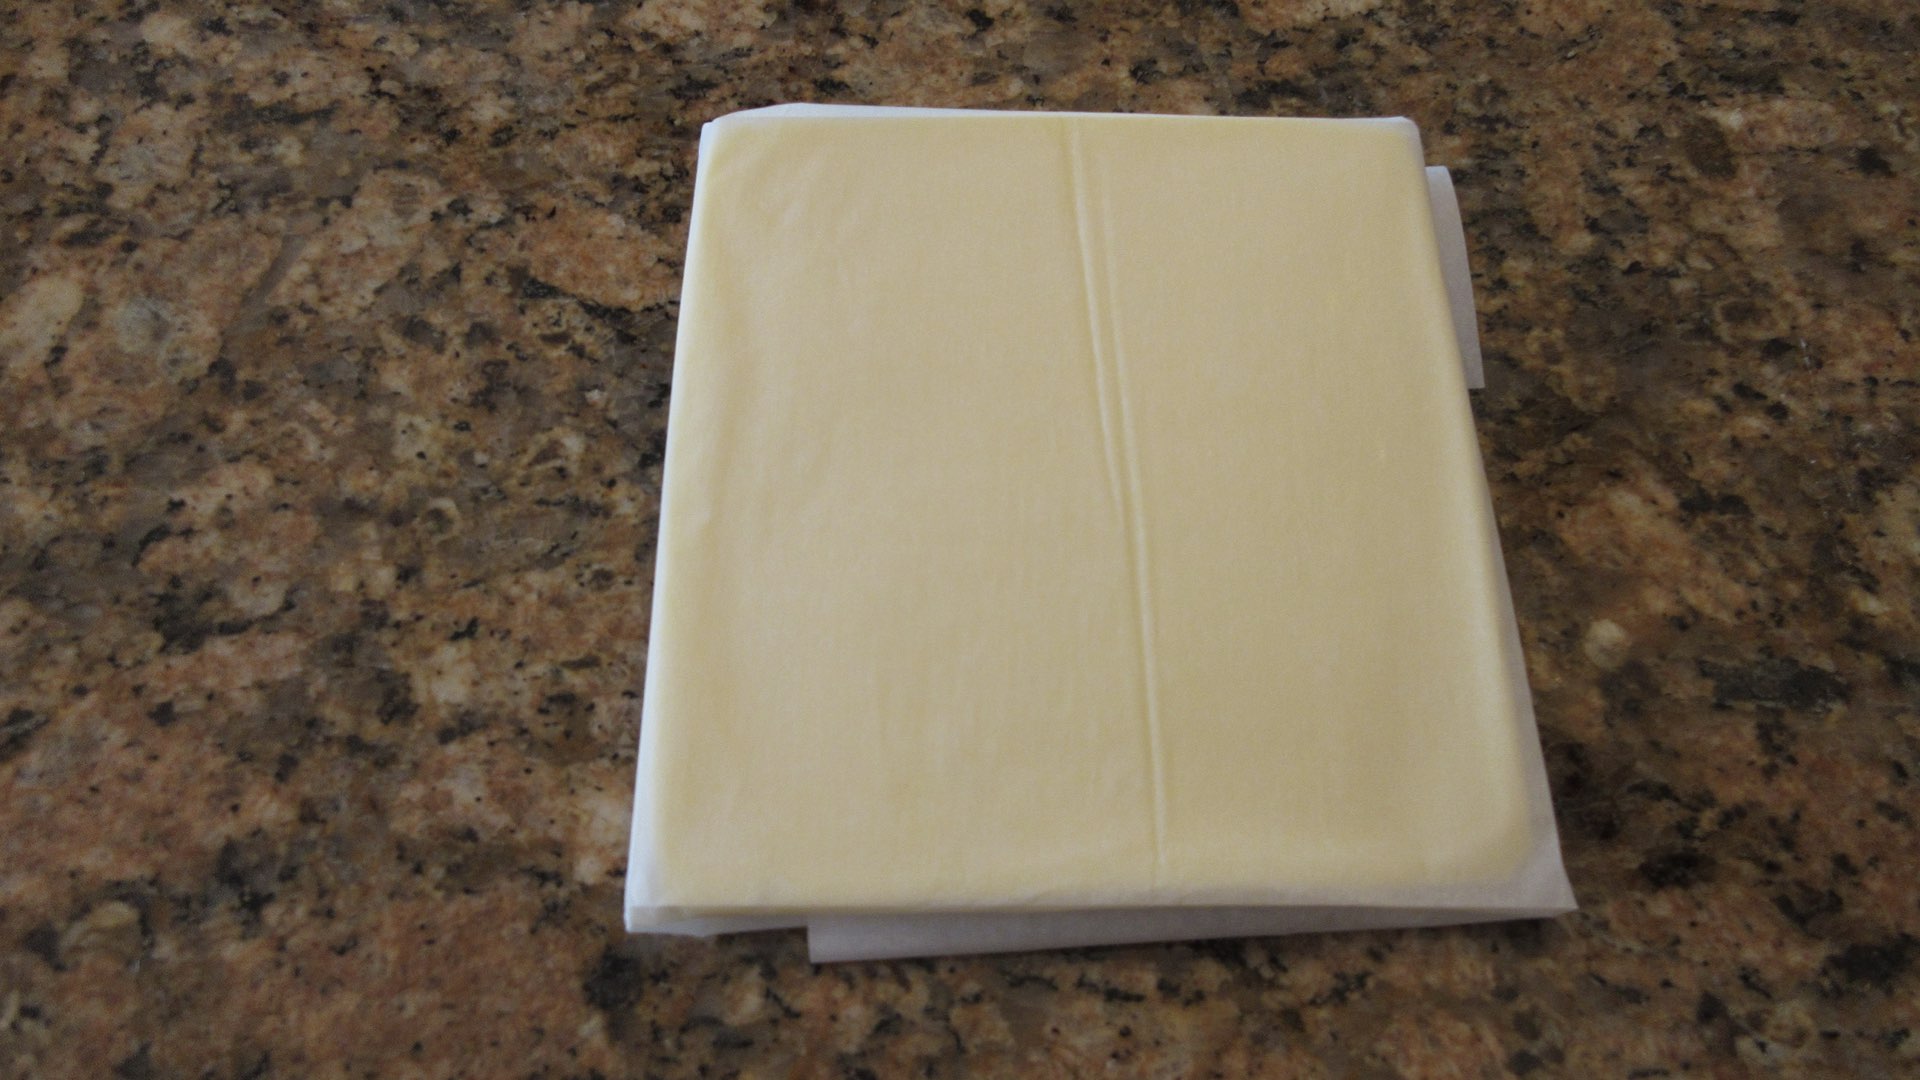
Wrap and chill the butter for 20 – 30 minutes until firm but pliable. This time will vary depending on how hot the climate is in your environment and how quickly you worked. Patience is key to flaky puff pastry. You want the butter and dough to stay chilled throughout the process so you can create distinct layers. If either gets too warm, the butter will absorb into the flour and will not create the desired flakiness. Instead, you will end up with an enriched dough like biscuits. We don’t want that for this recipe.
Step 3: Creating the Layers for Puff Pastry
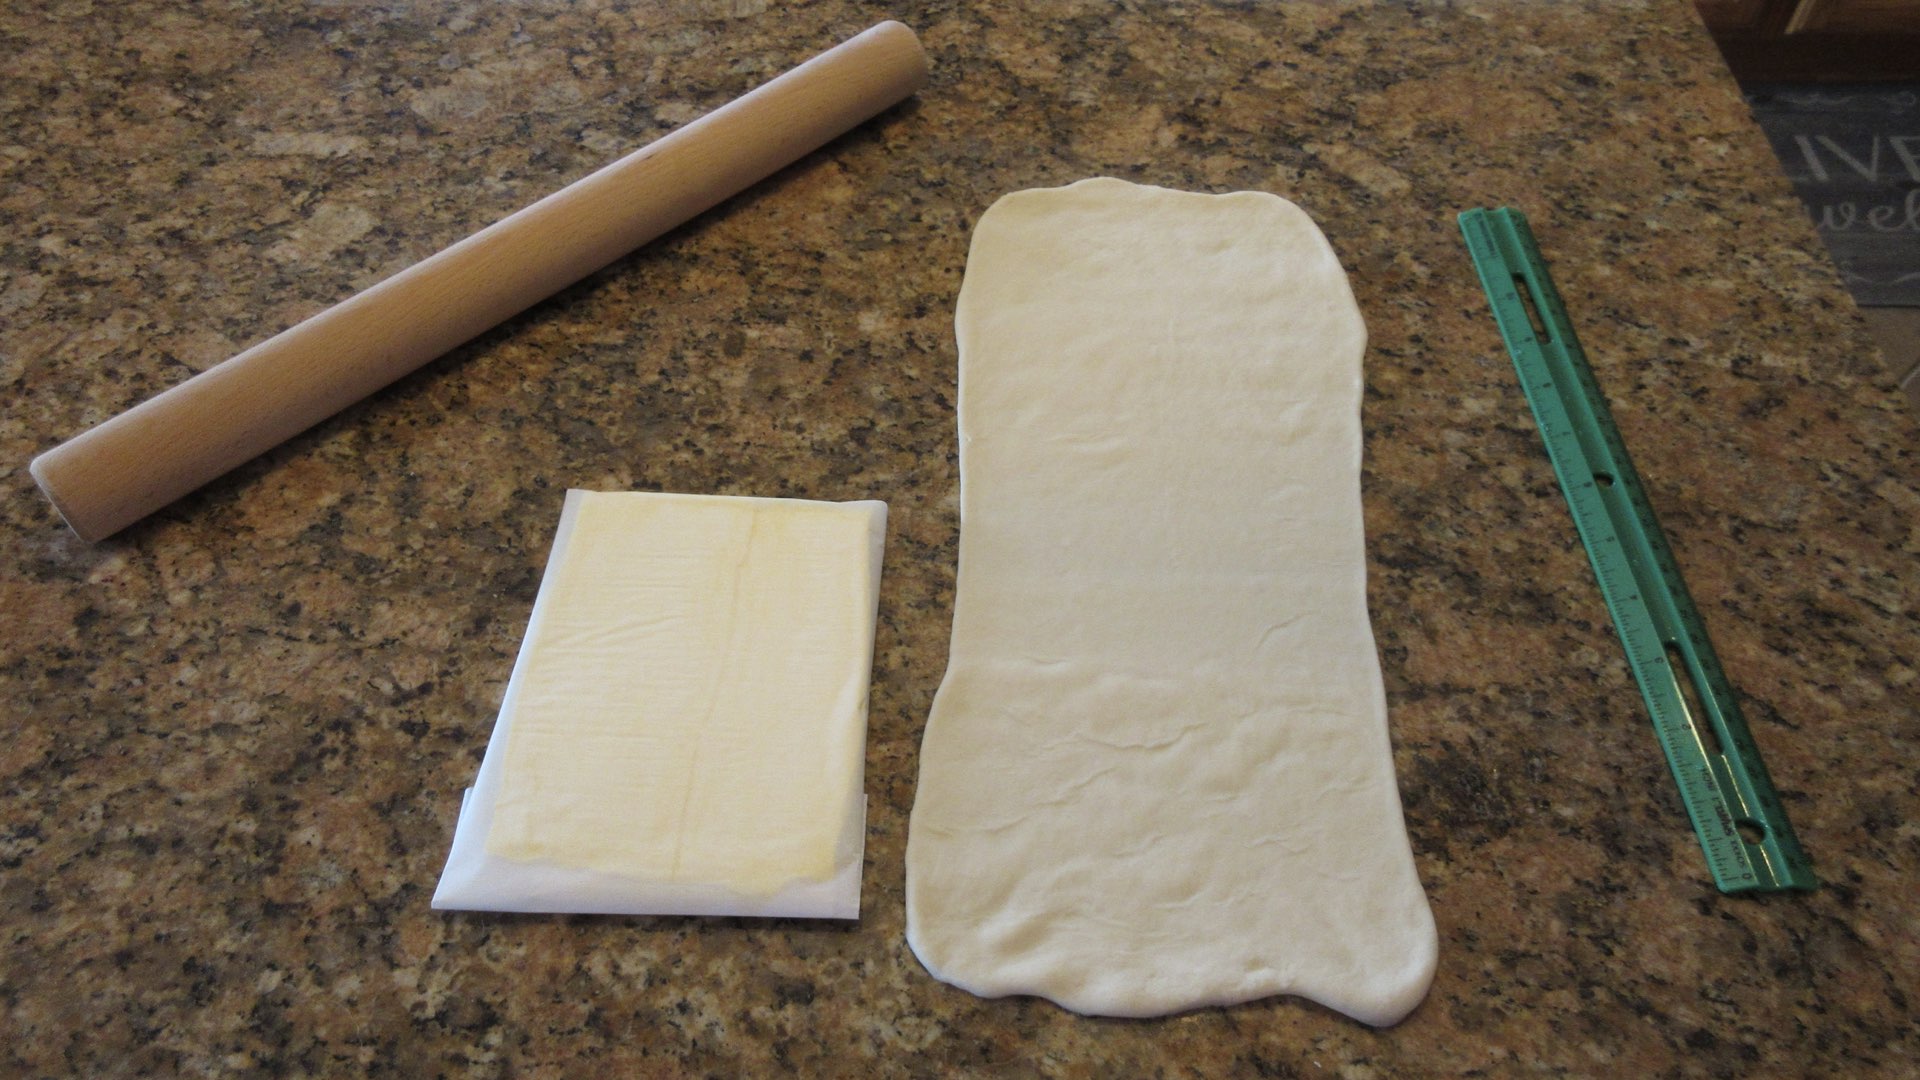
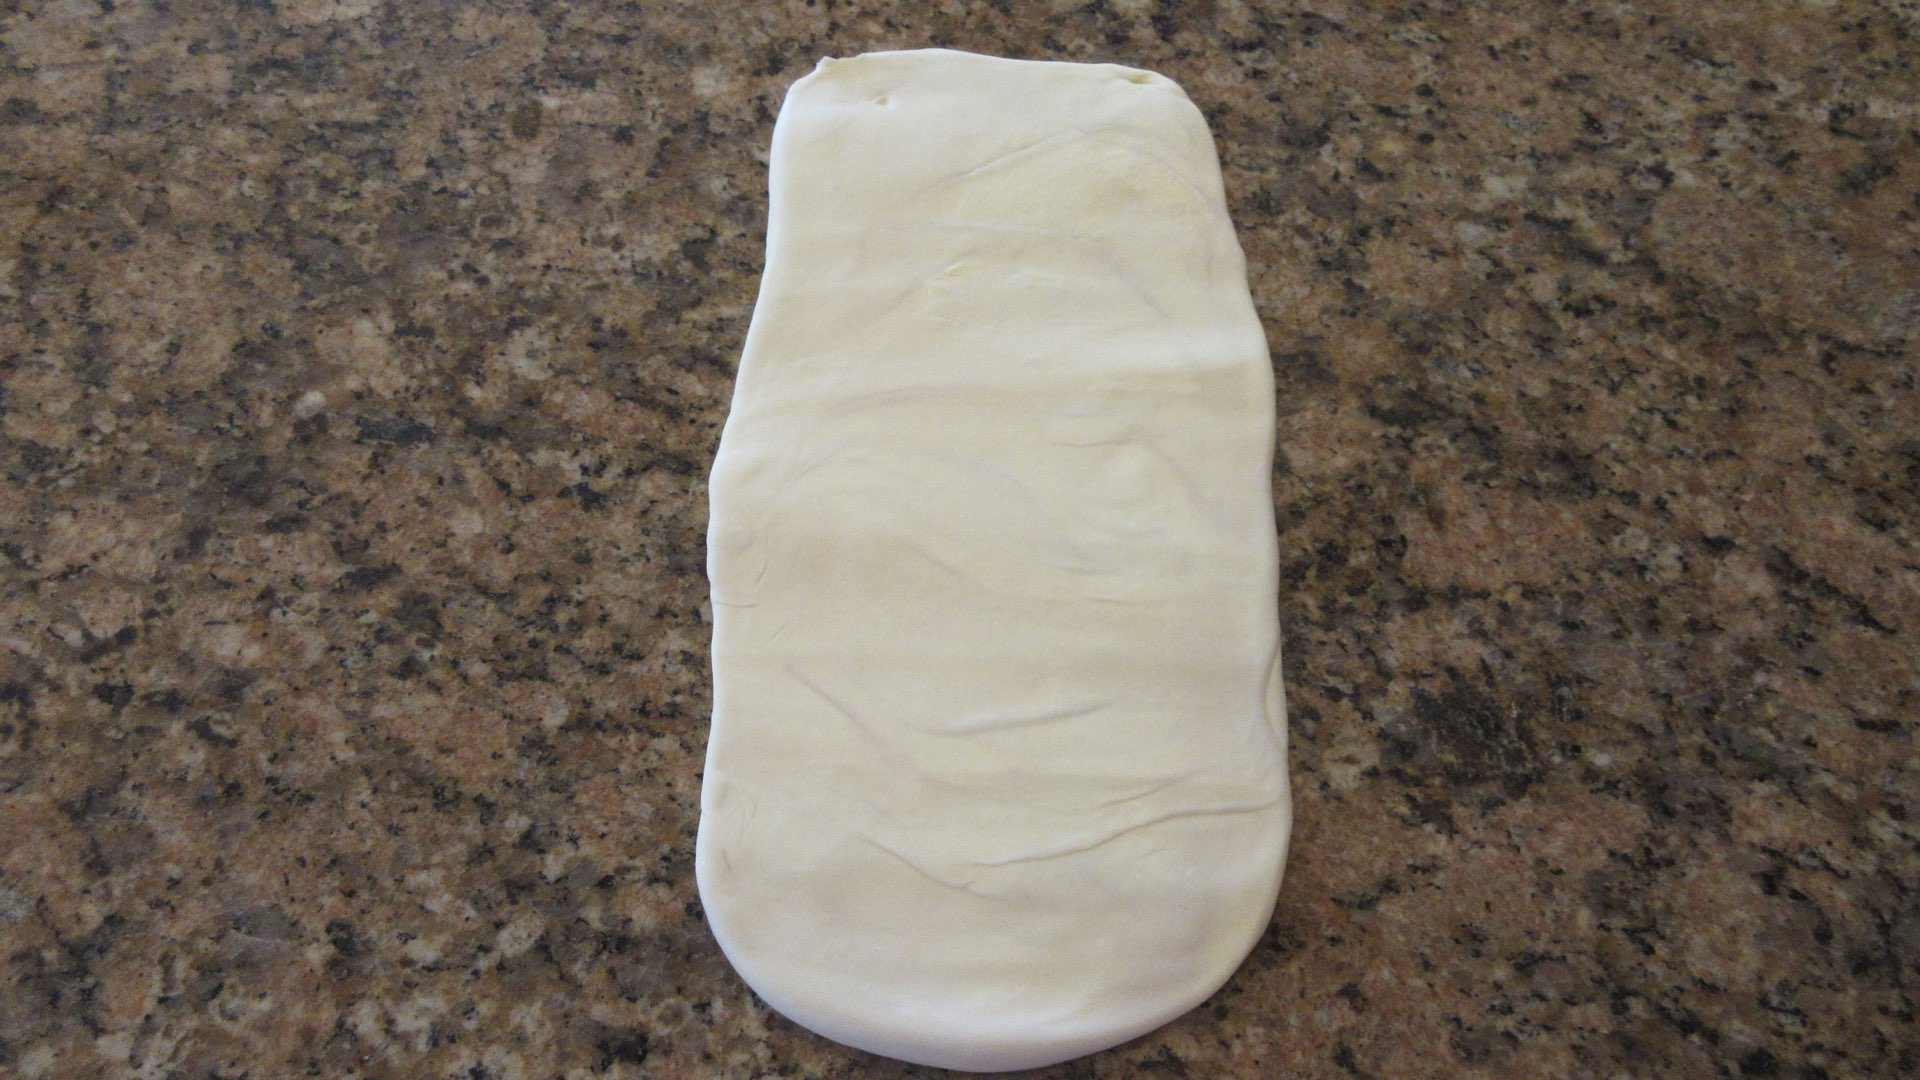
After your dough has had time to relax in the fridge, remove it and the butter. Flatten the dough and begin to shape it into a rectangle. If you need to, sprinkle some flour on your work surface to prevent the dough from sticking to the counter. Not too much–a few pinches is usually enough. Just enough to allow the dough to glide around.
Roll the dough three times the length and just a little wider than the width of the butter block. It doesn’t have to be precise. You are creating a little envelope for the the butter to nestle in.
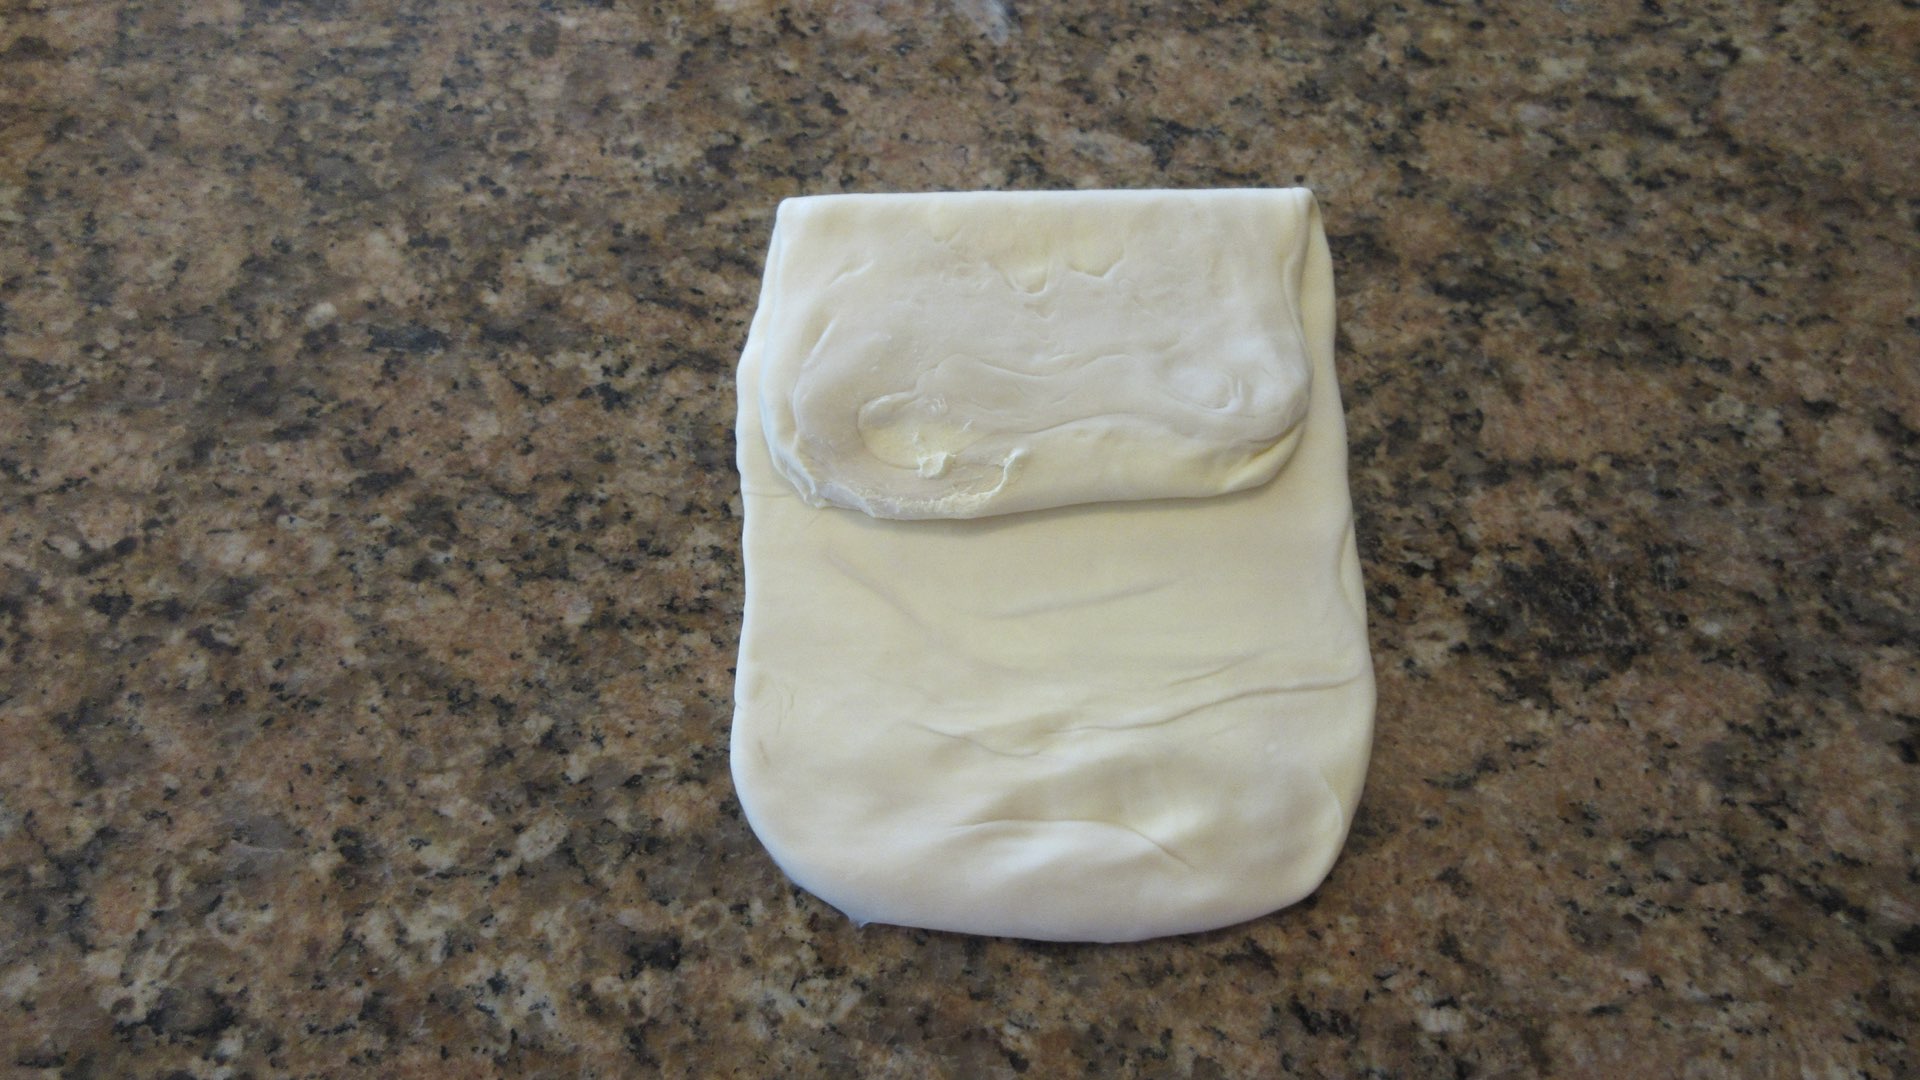
Place the block of butter in the center of the dough like shown below.

Next, you want to fold the butter inside. You do this by folding the dough into thirds. Bring one piece of dough toward the center. It doesn’t really matter if you start at the top or bottom.
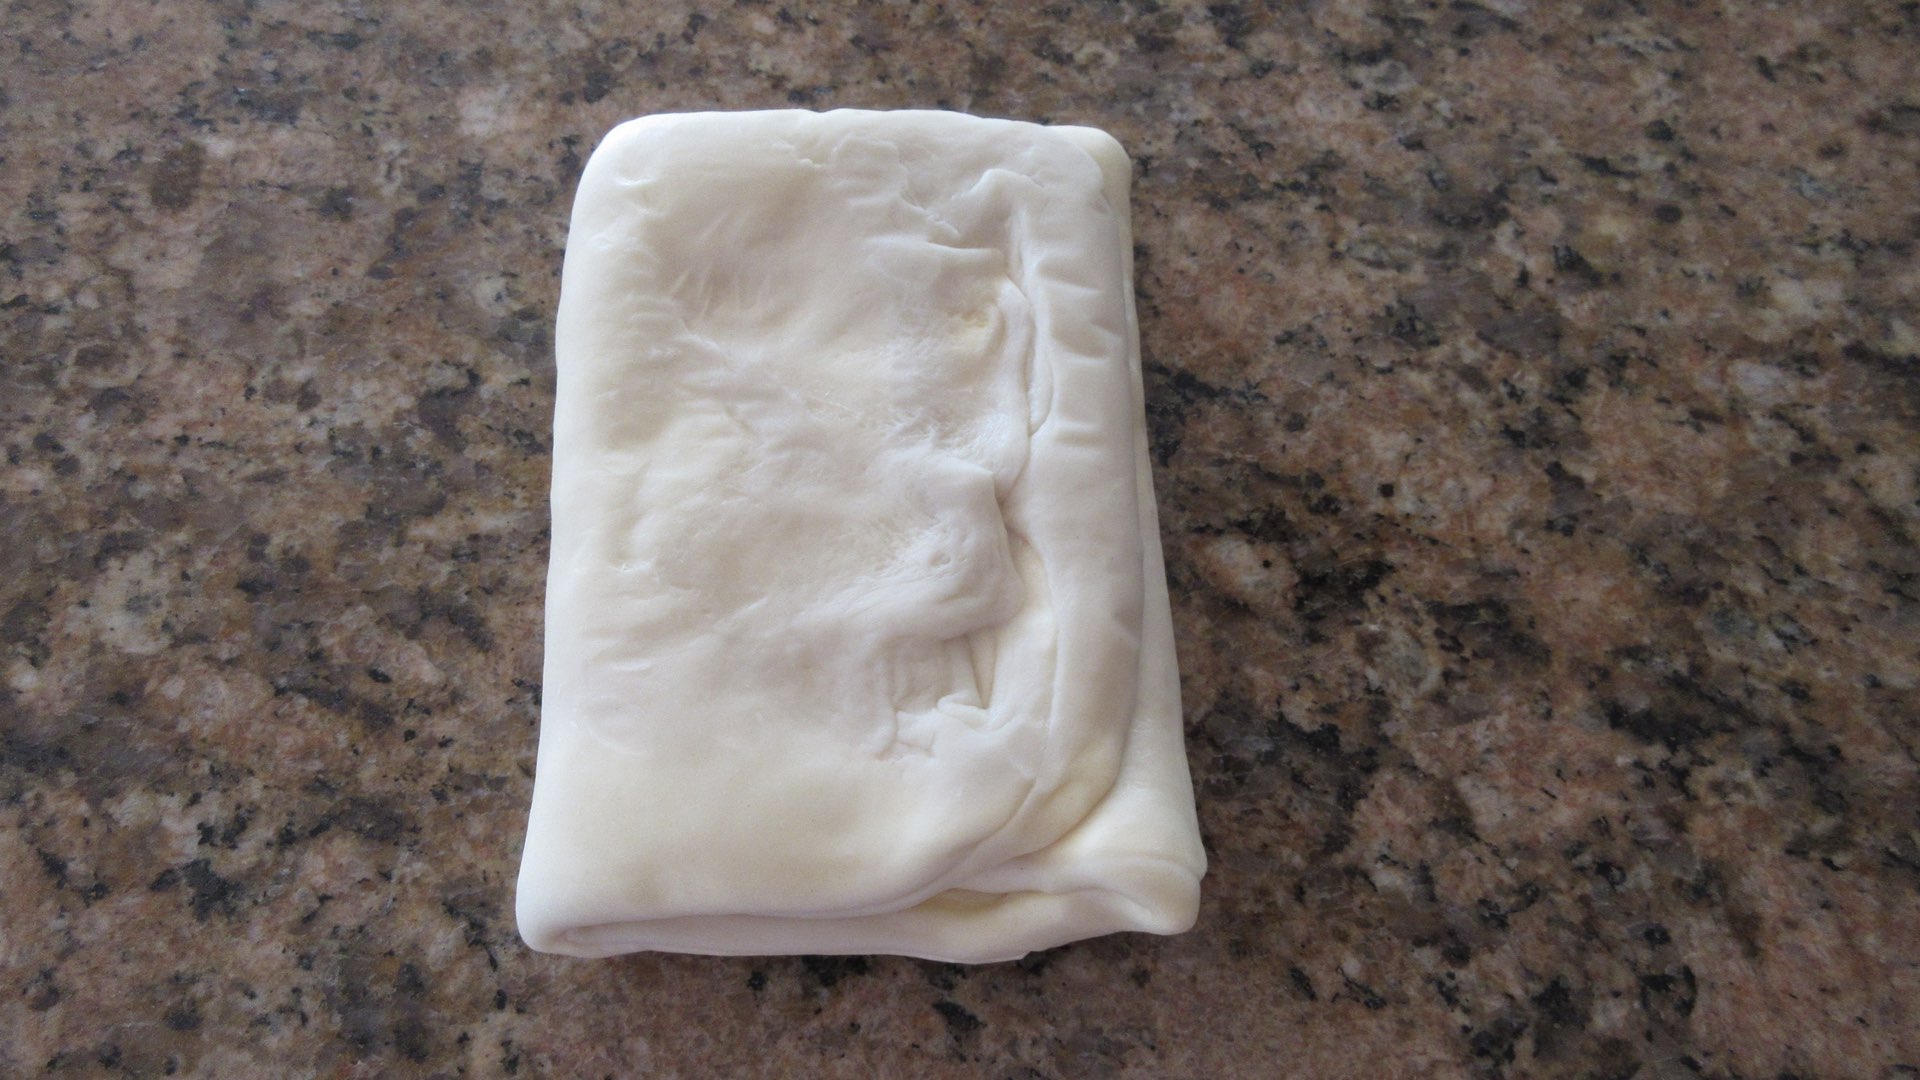
Next, bring the remaining side of the dough toward the center. You shouldn’t see any of the butter at this point. If the dough doesn’t meet the edge, gently stretch it into place.
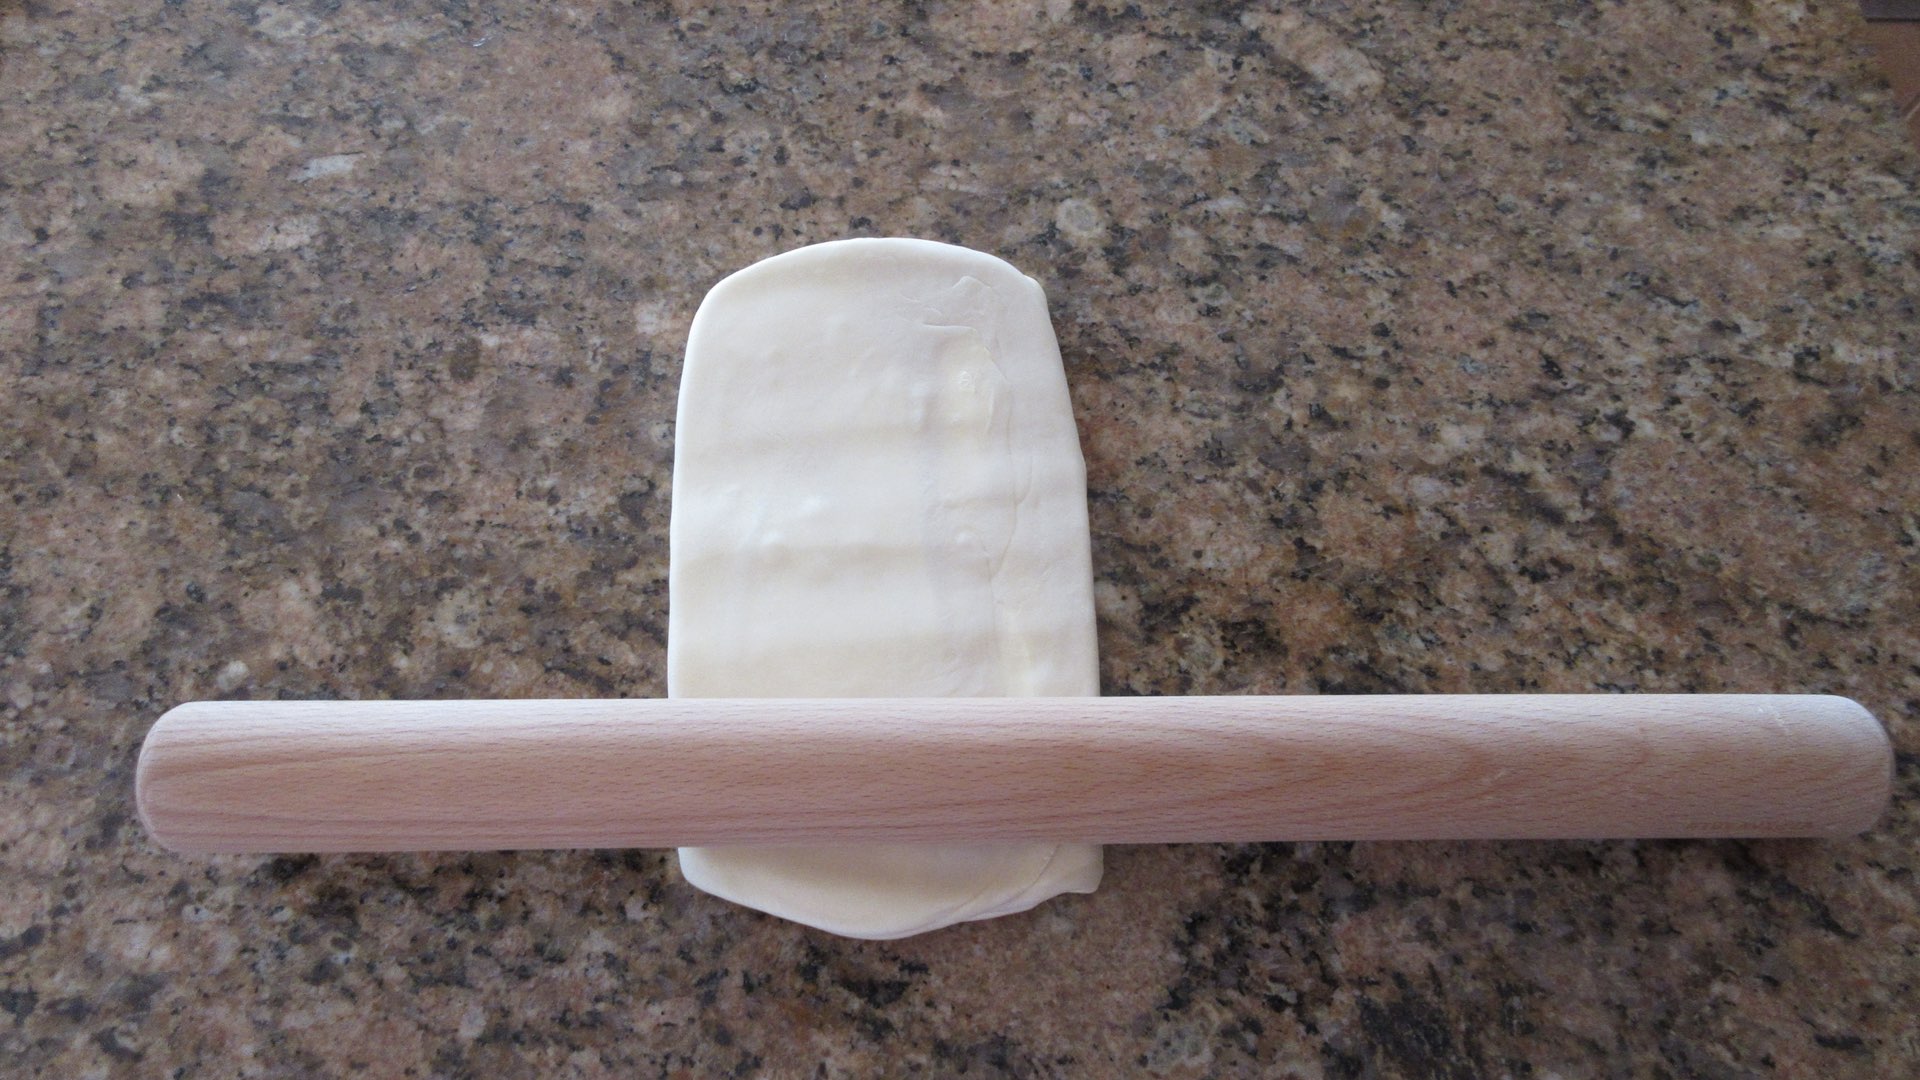
Turn the dough a quarter of a turn (90°) and press down on the edges with the rolling pin. From this point forward, always turn the dough the same direction. This turning process helps create the layers.
Using your rolling pin, lightly start tapping or rolling the dough out into a rectangle. If there is resistance, don’t apply too much pressure. Continue to lightly tap. Rolling too firmly or bashing the dough will cause the butter to squish out the sides or through the back of the dough.
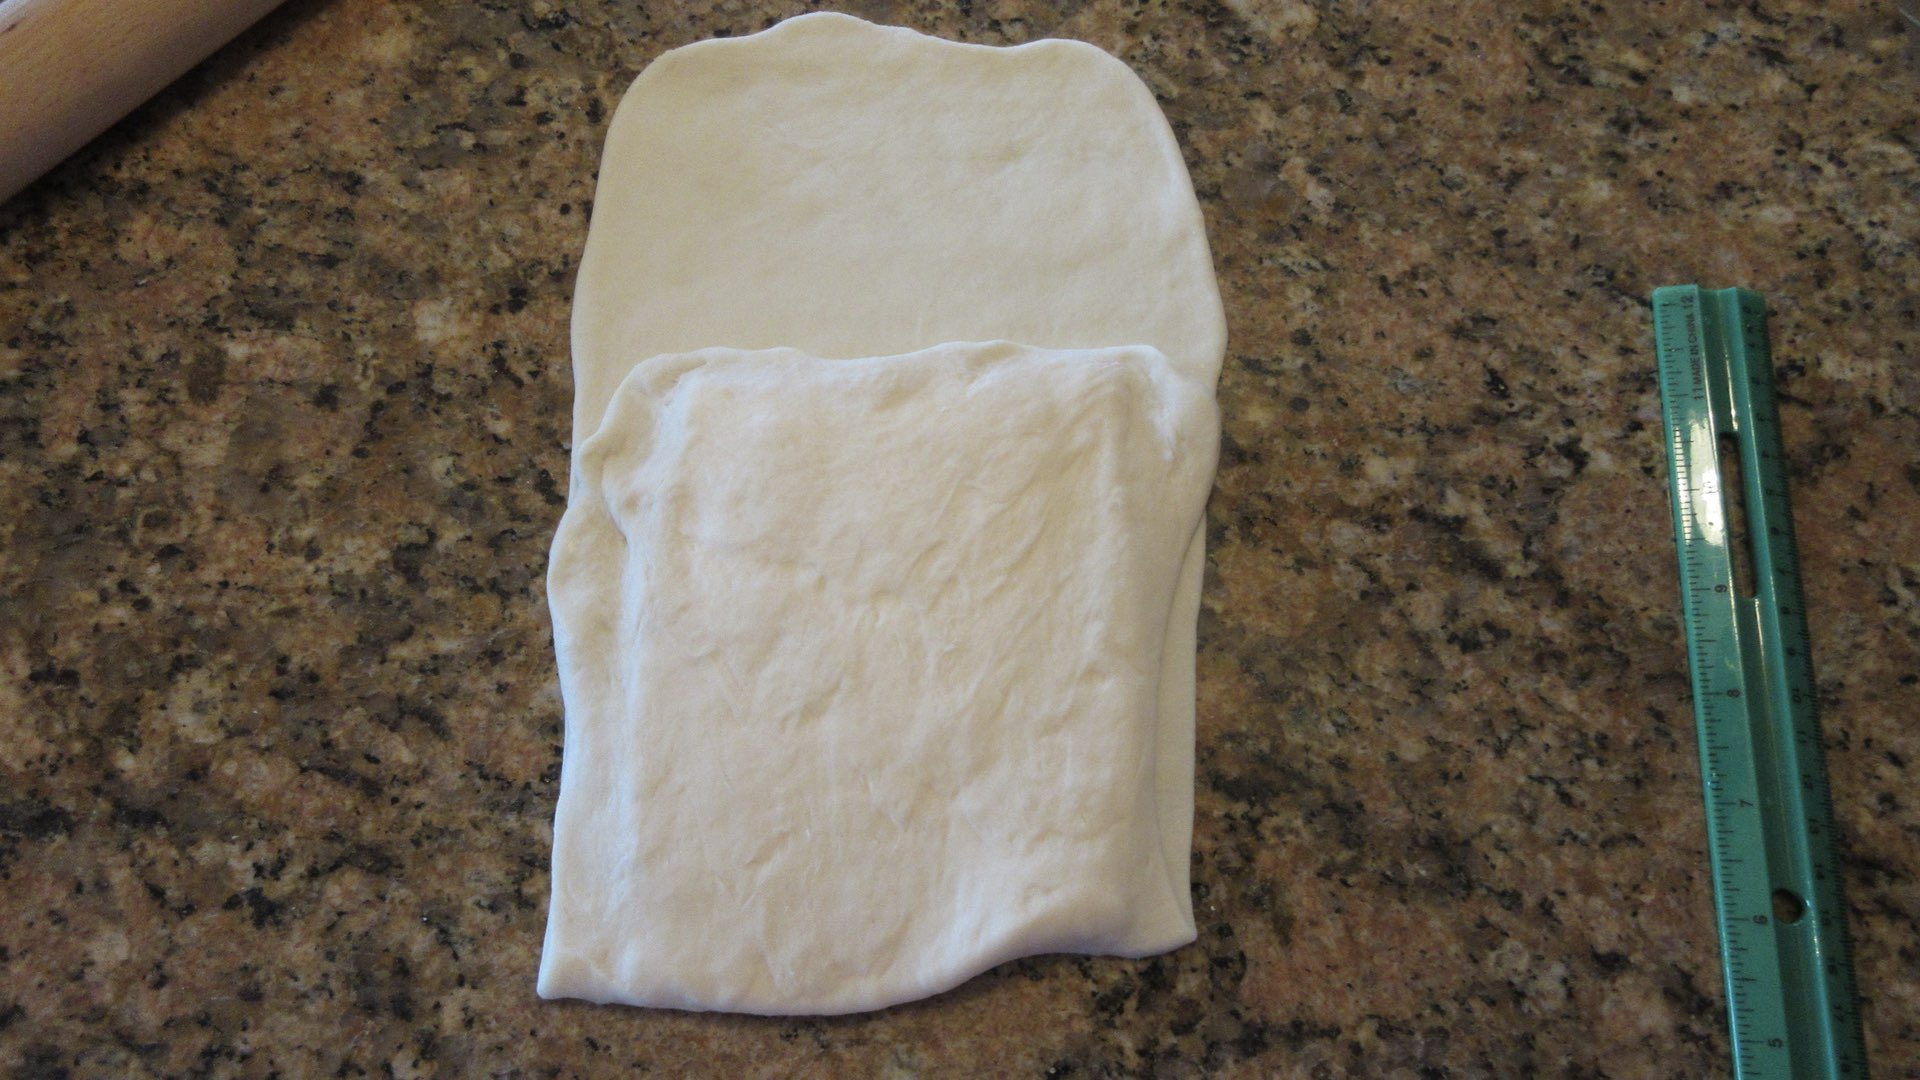
Don’t worry if the rectangle isn’t perfect. The many layers will correct minor imperfections like this. But do try to make the rectangle three times the size of the butter square you originally made. This will help the butter distribute more evenly.
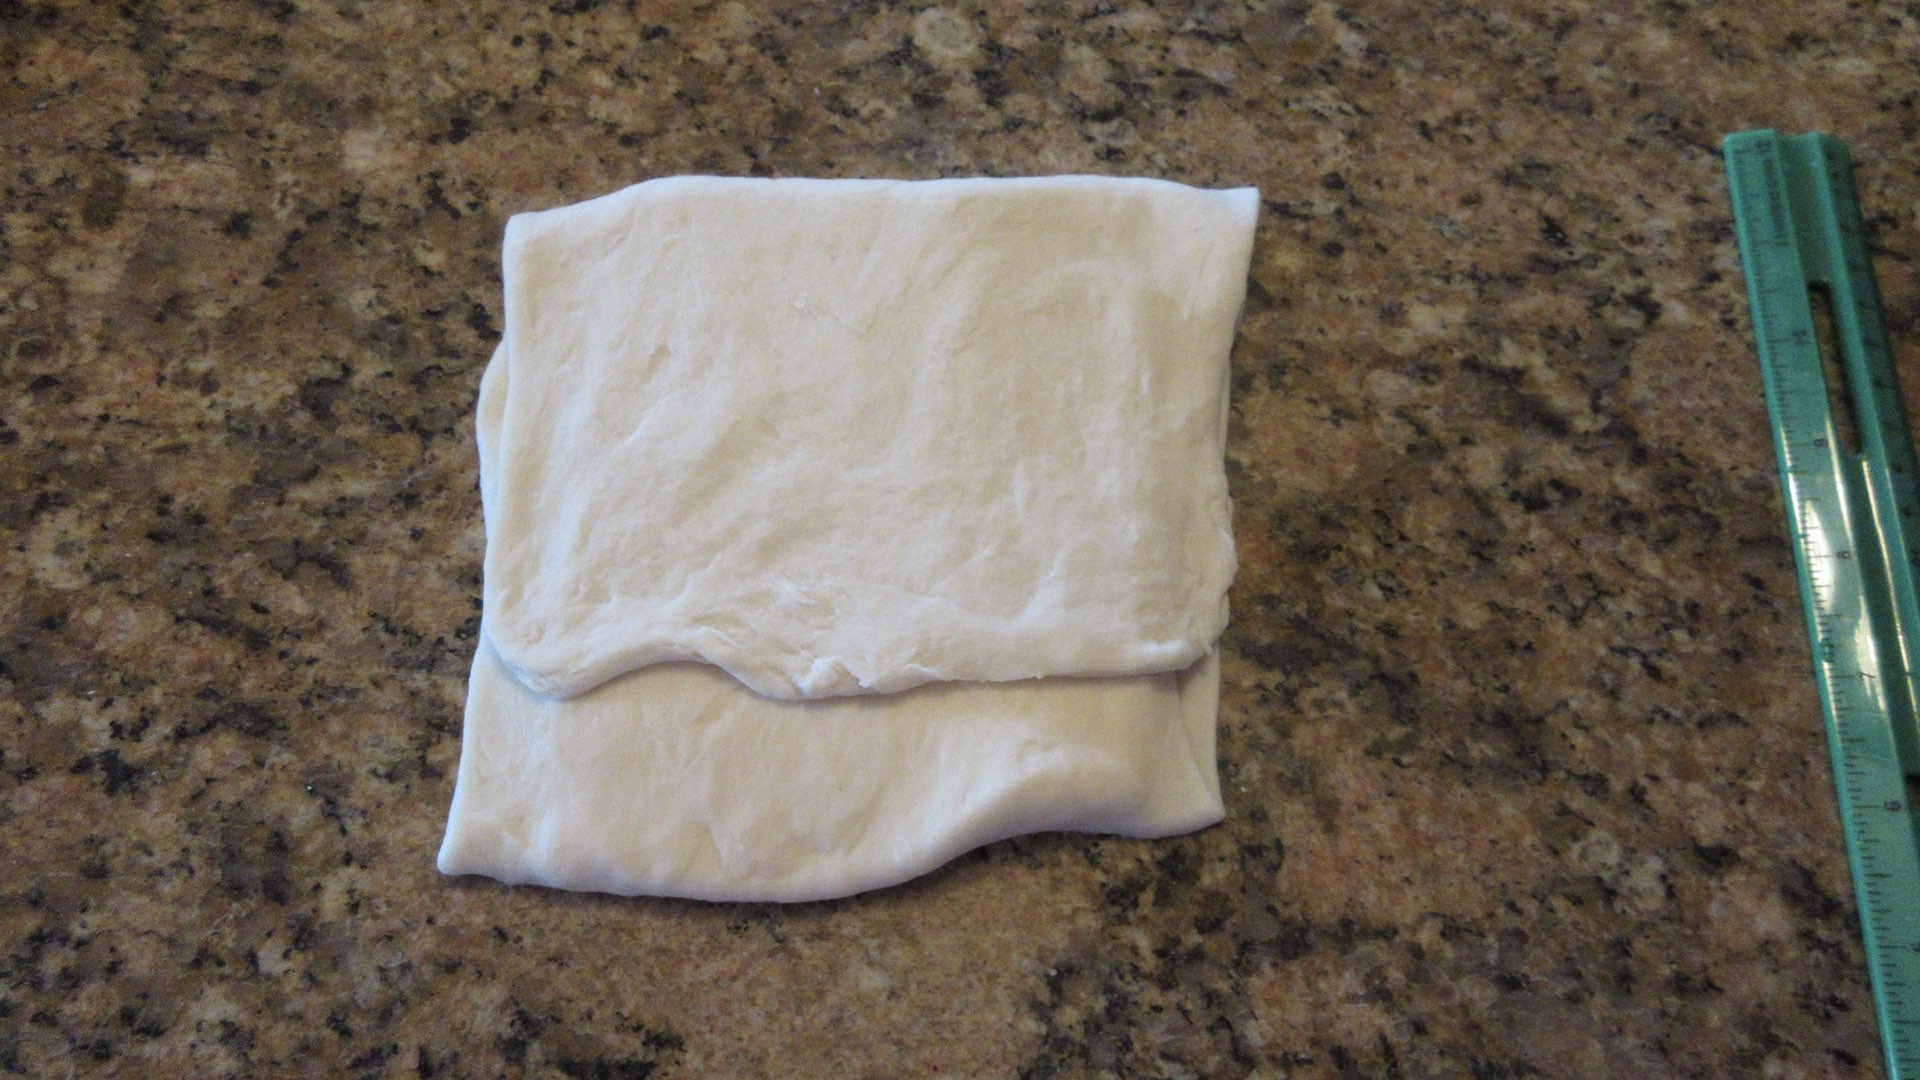
Now we are going to fold this into thirds. Bring the top toward the center. Then the bottom toward the center. If there is a little bit of butter peeking through, it’s okay. It just means next time you need to let the dough chill a little longer or use a lighter touch when rolling.
Turn the dough a quarter of a turn. You have completed one fold or the first three layers! At this point, wrap the dough tightly in plastic wrap and chill for at least 1/2 hour or even a bit longer if you are new to puff pastry. You will repeat this folding process for a total of 6 times or until you get those 729 layers we discussed earlier. Yes, it’s a lot of work and even more waiting around. But it’s worth it!
A Bit of Caution While Folding
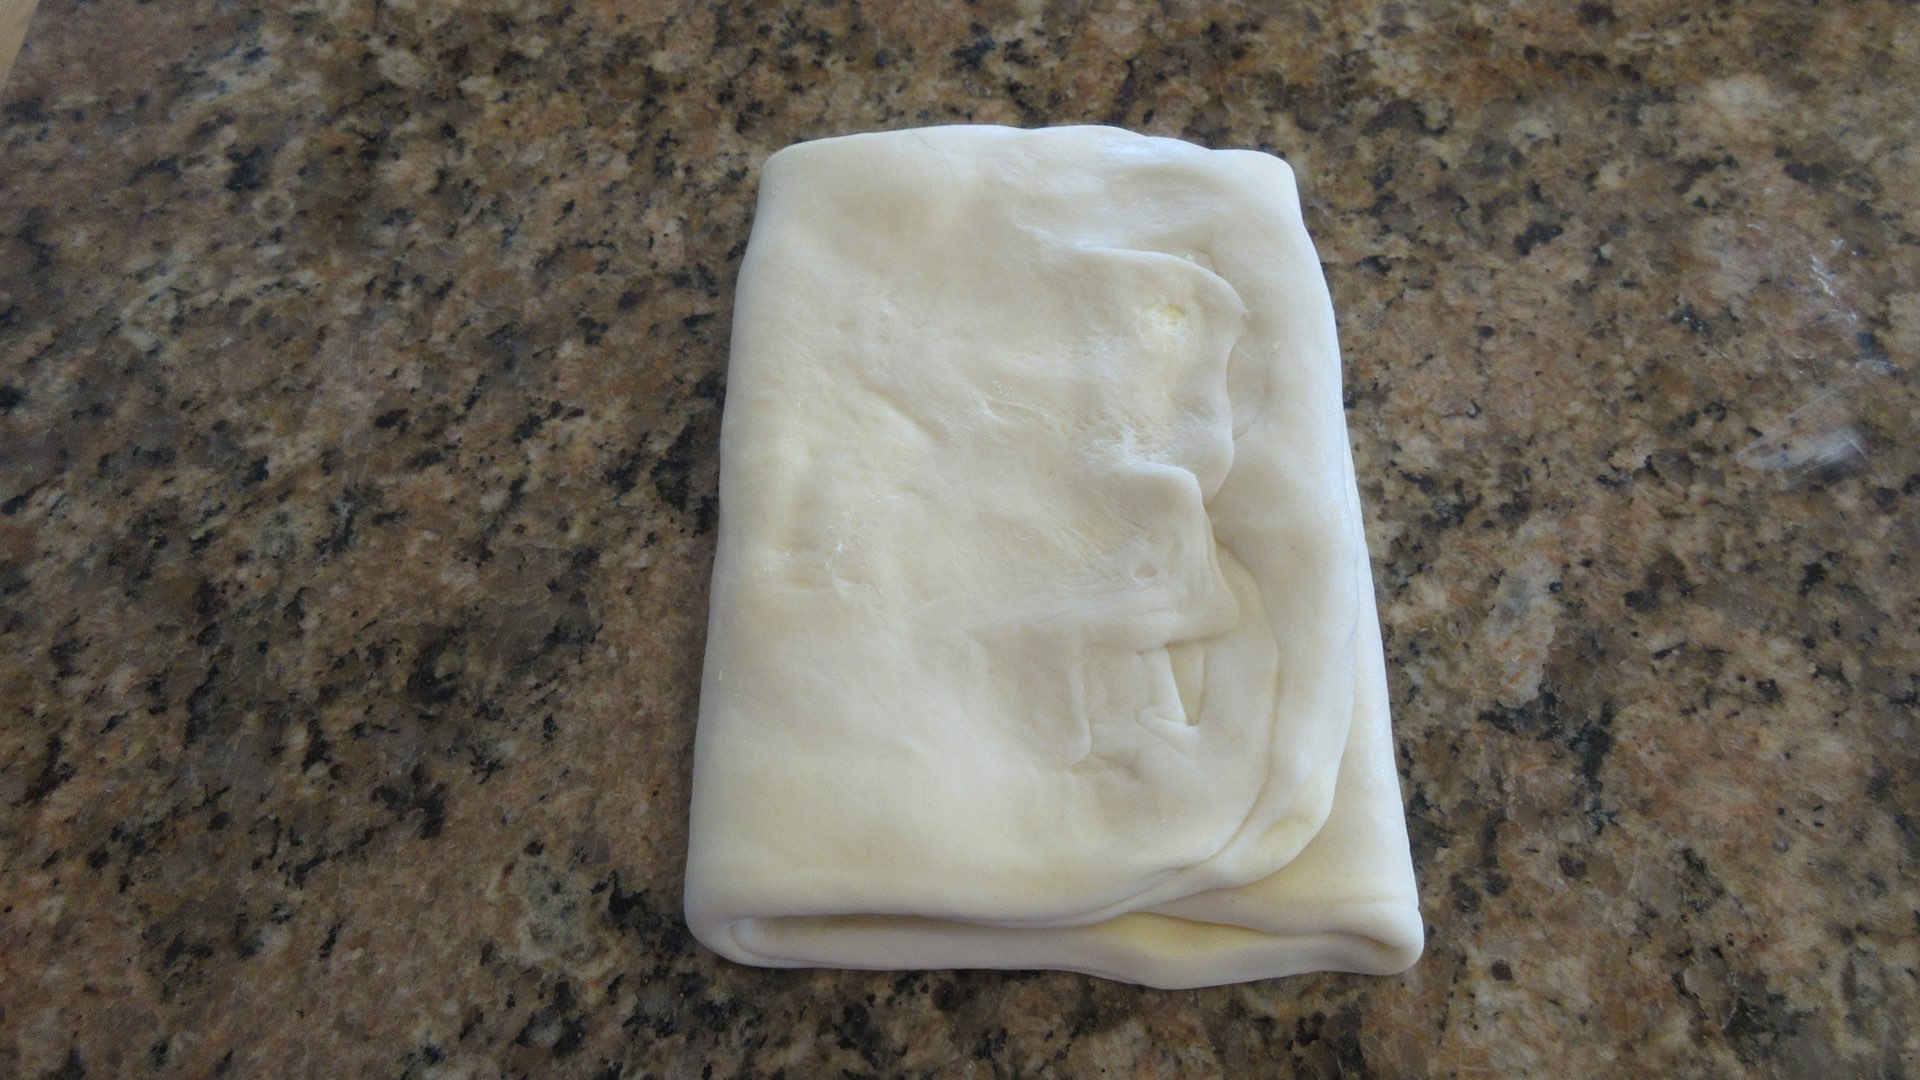
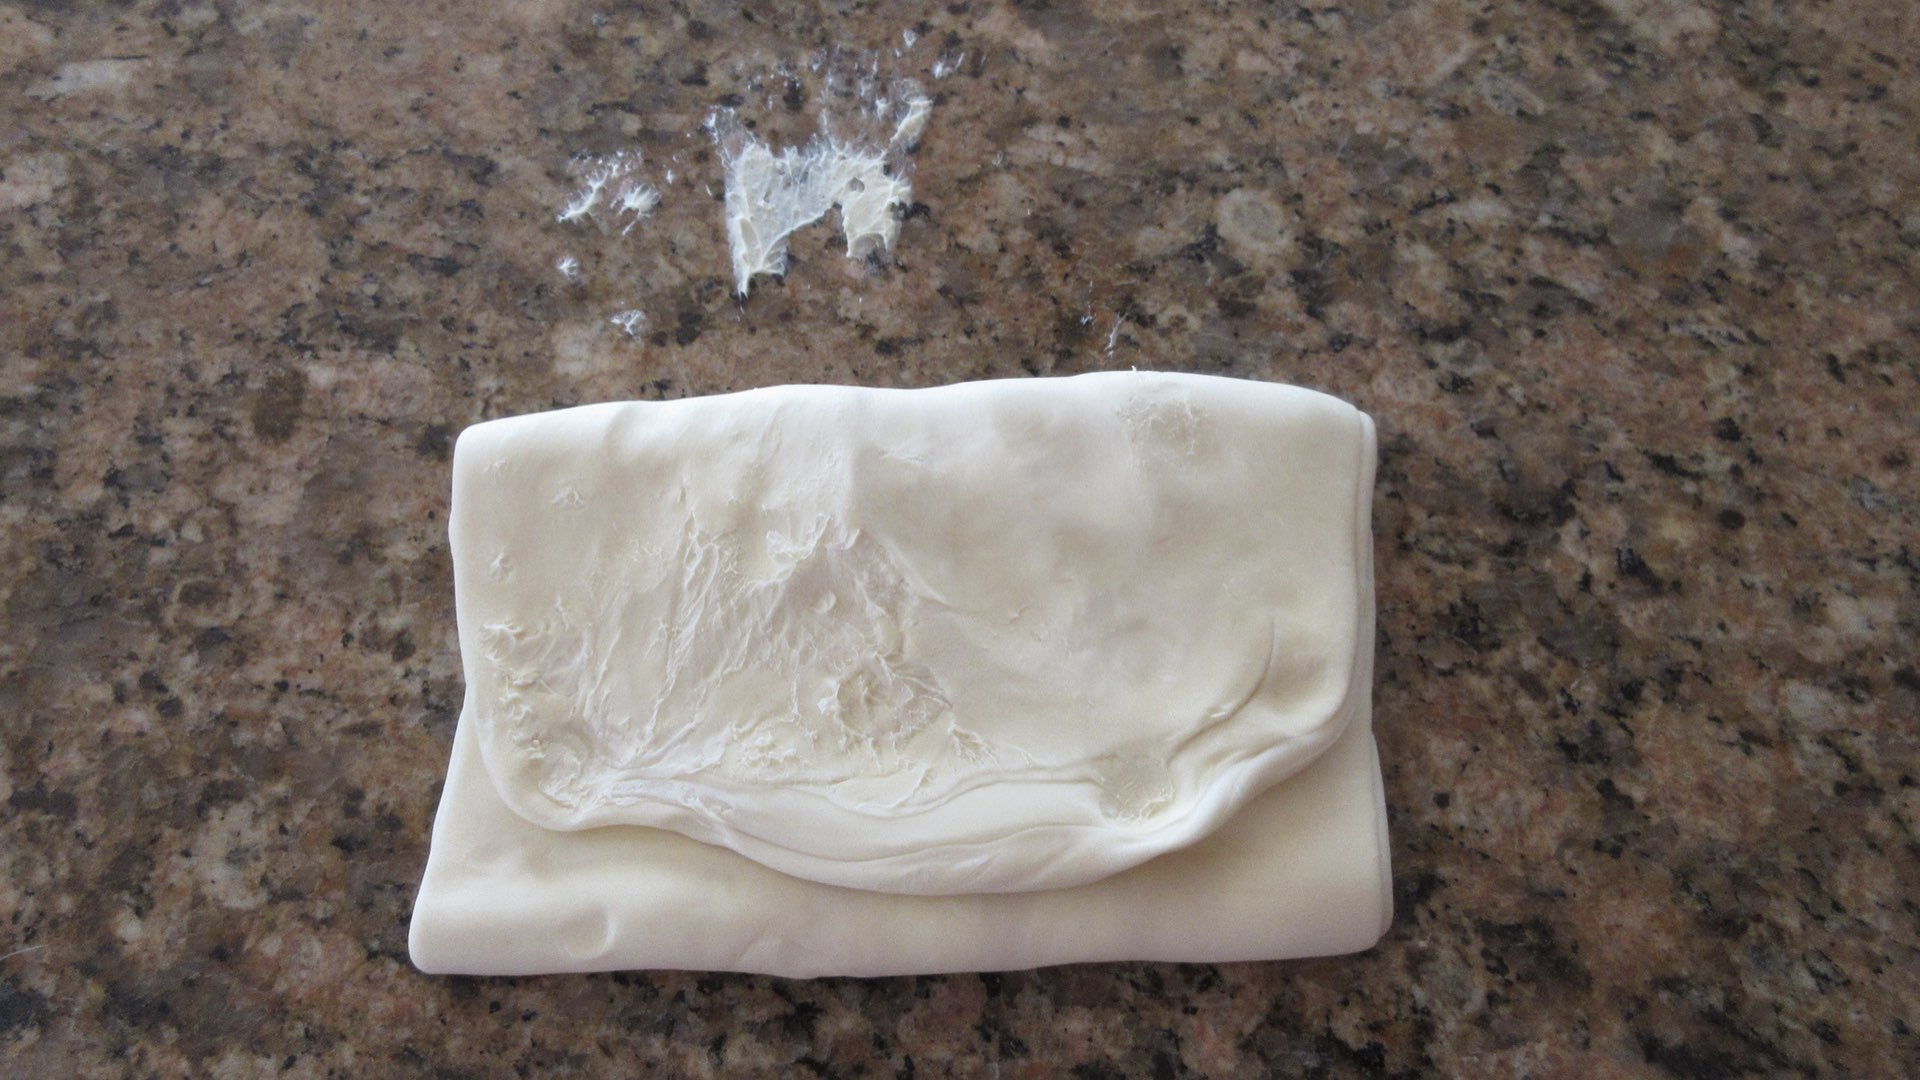
You can try for another complete fold before chilling, but the butter or dough could be stressed or too warm. When you are working in a warm climate, are new to rolling dough or or just slow like I am, this is not always a great idea. This second fold can cause problems for the beginner that could be skipped just by having a little patience. See how there is butter on the counter and the dough has broken in the following photograph? This is a sign you’ve overworked the dough. It’s okay if this happens. Don’t panic. Un fold the dough, flip it over and fold this broken side in toward the middle to encase the butter and just chill it down well before going onto the next step. Next time, we recommend you just work one layer at a time until you get this recipe mastered.
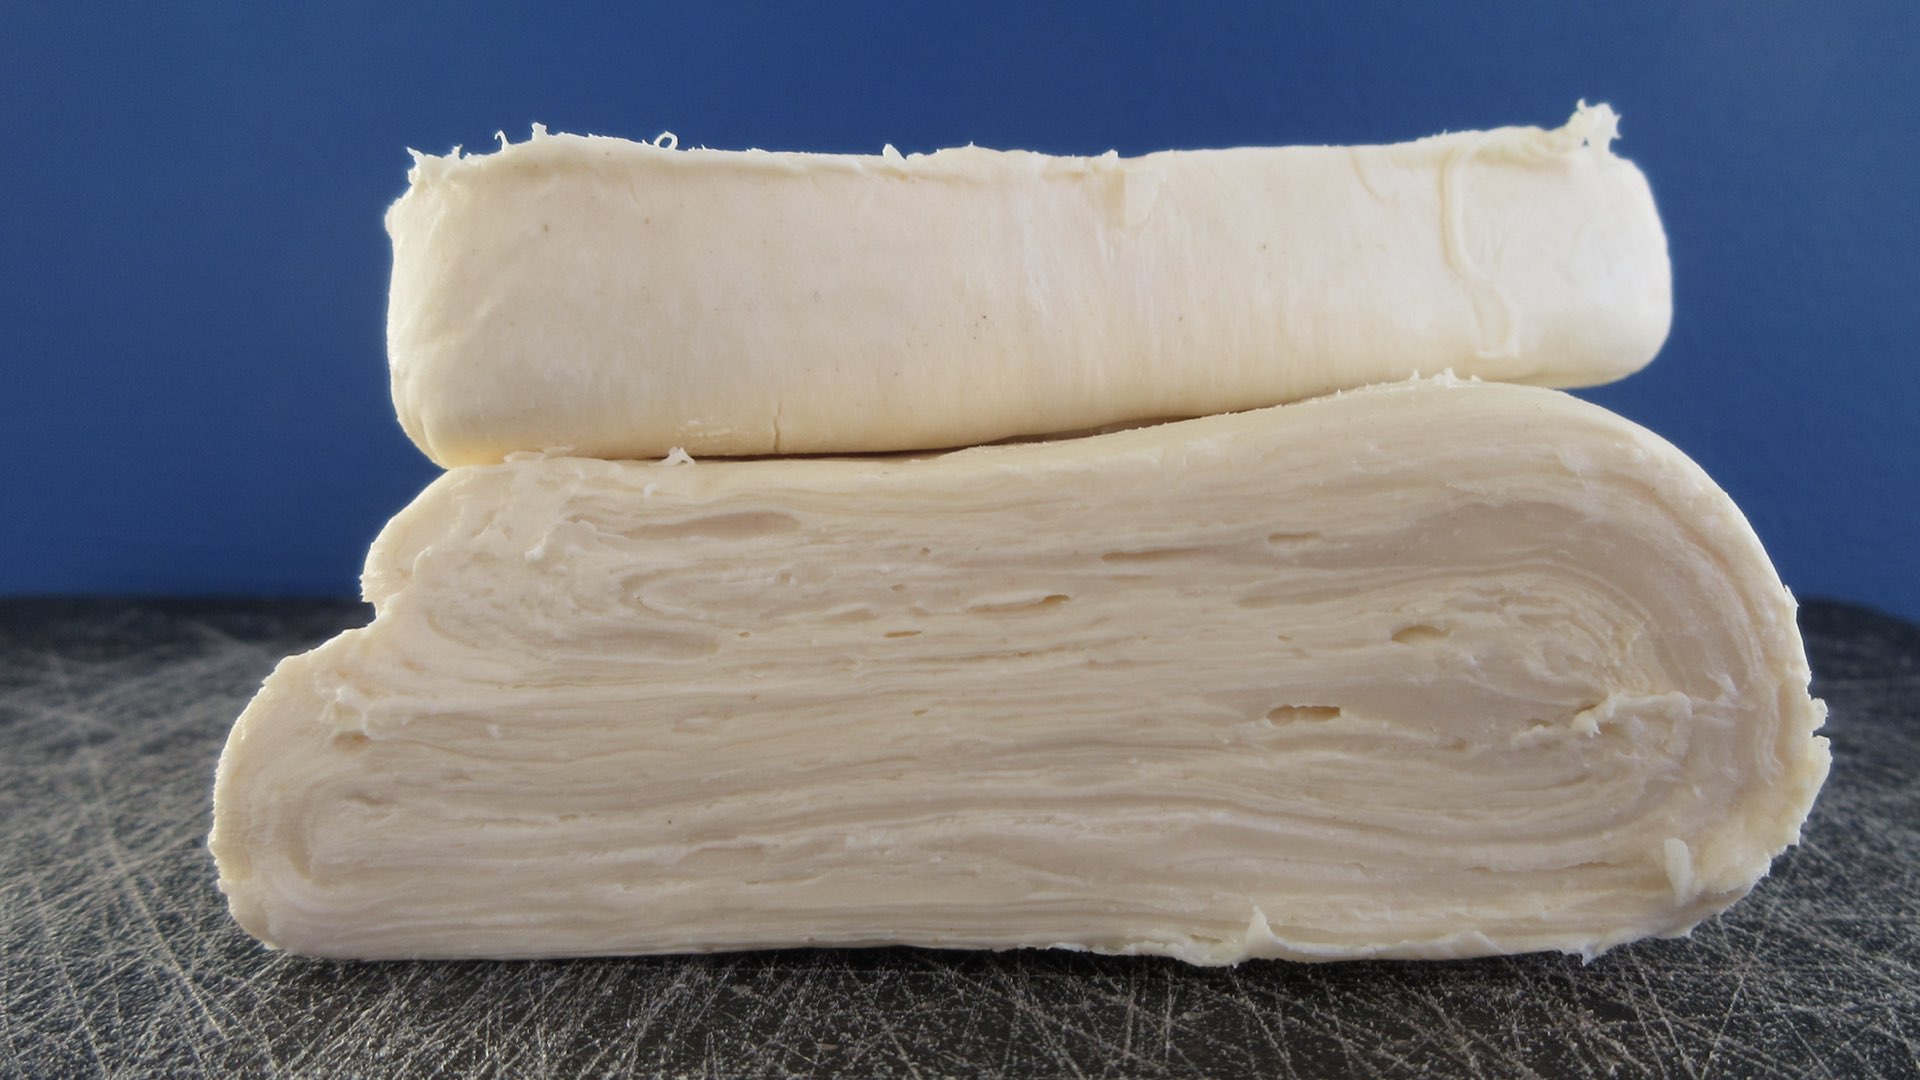
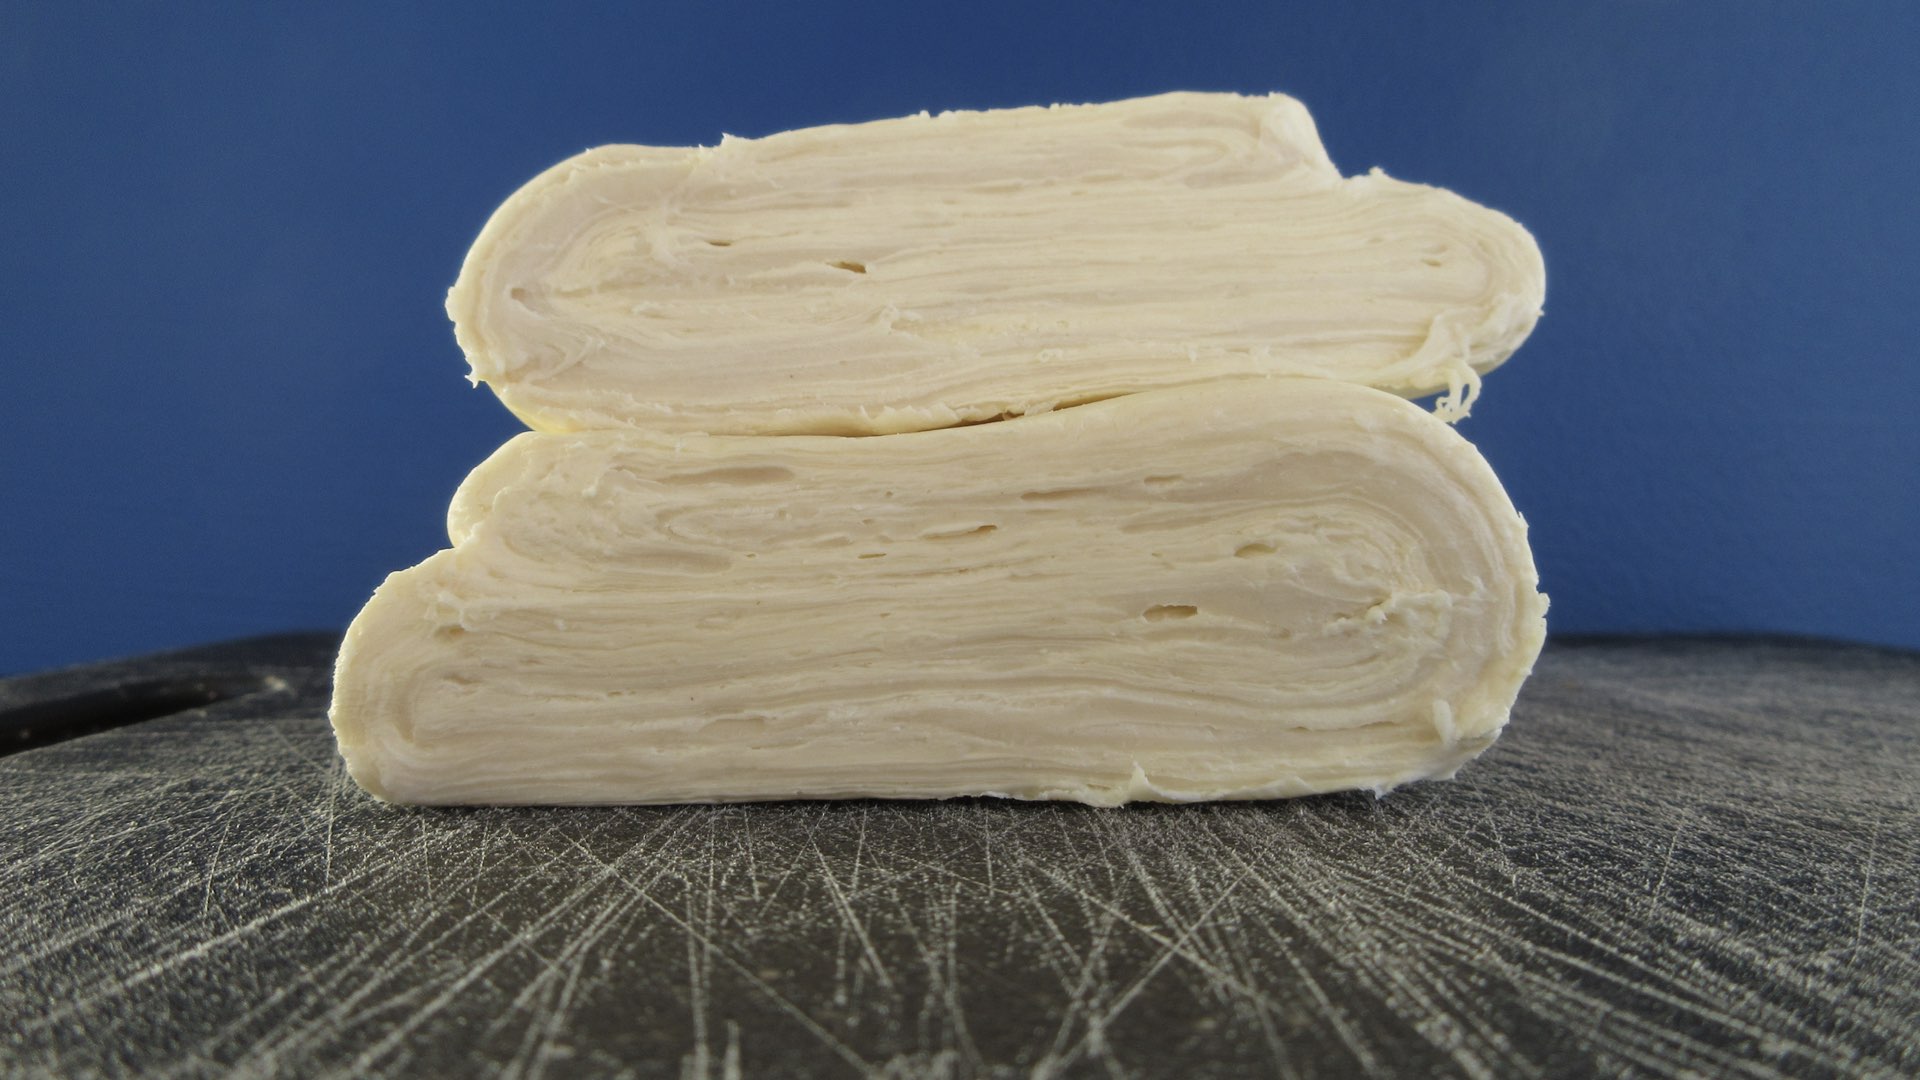
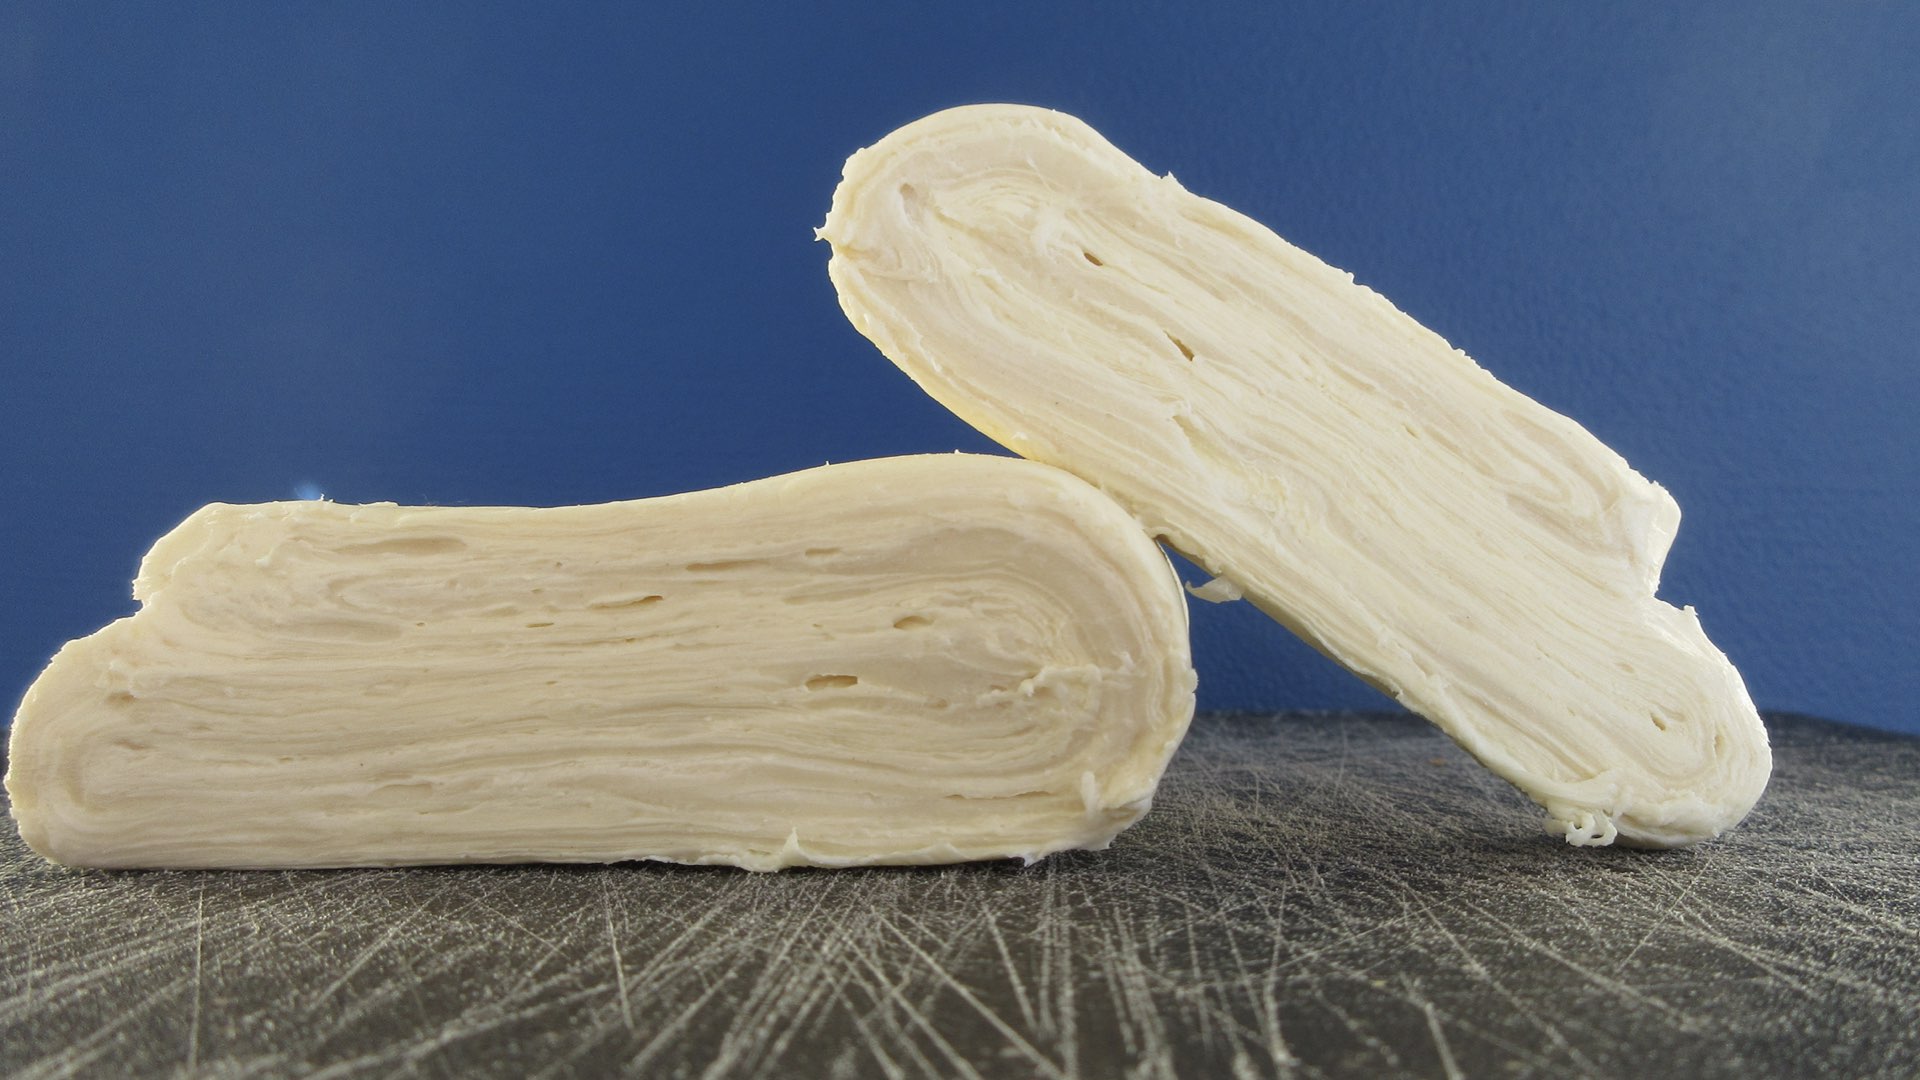
At the end, the layers will build up quite nicely. Let me show you what it looks like inside after the sixth fold. See all those 729 layers? Feel free to count them. Our eyes aren’t that great and neither is the camera. Once you have the final sixth fold finished, this is the most difficult part. You need to chill it again. A good 2 hours is recommended. Overnight would be best. Then you are ready to shape it for your baked goods!
Step 4: Prepare the Puff Pastry for Baking
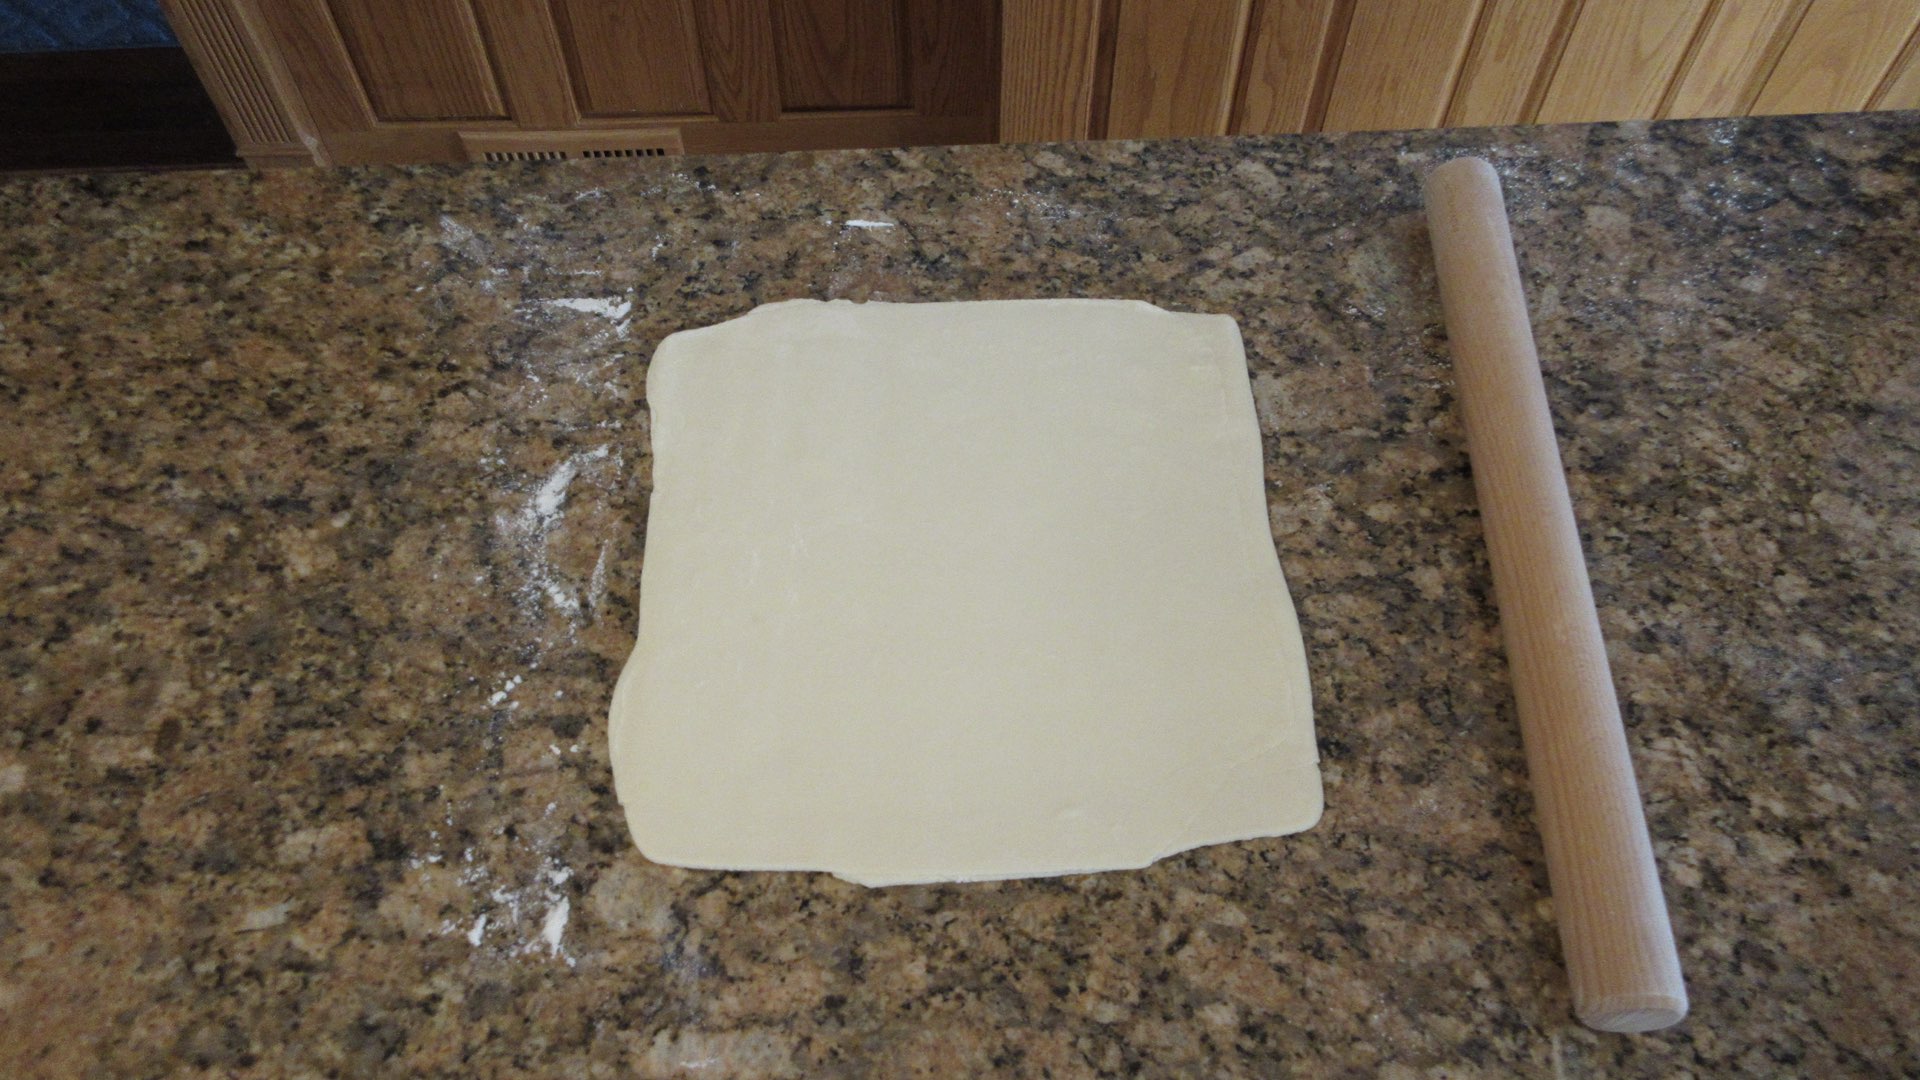
After the dough has chilled the final time, you can roll it out into a 10″ (25.4cm) square.
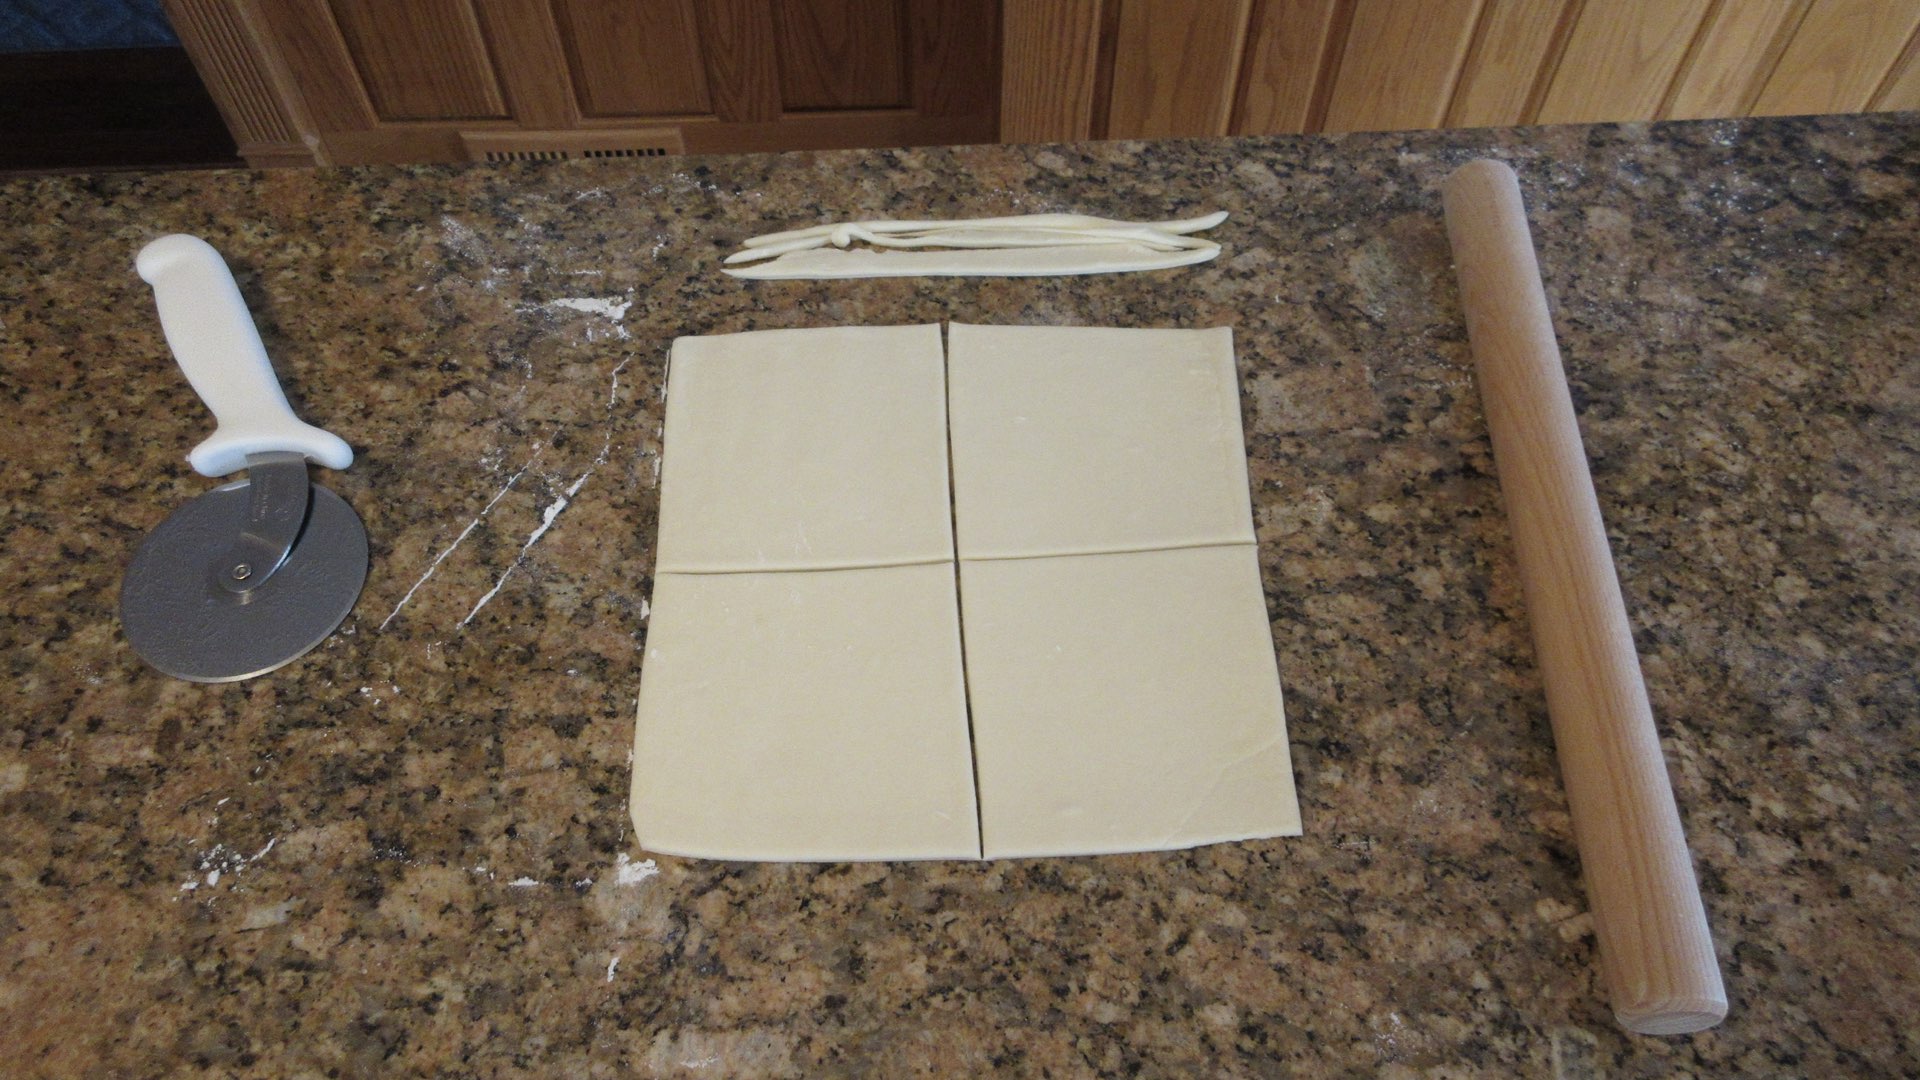
You will want to straighten up the edges for a nice crisp puff. This recipe will make four 5″ (12.7cm) squares. This is perfect for two to four portions.
Tips
- The more layers created, the more light and delicate the pastry will be. But it will be more prone to losing the butter in the oven. You can combat this by keeping the dough chilled between steps.
- While you can use puff pastry for croissants, the results won’t be as light and flaky as those made with yeast. We prefer to use a yeasted dough for them as a result.
- As you improve in technique, you can start creating two folds between chilling. However, this does risk melting the butter and losing layers. We have found one fold at a time to be ideal even with the extra time involved.
- What if you fold the rectangle once (single fold) or into fourths (double book fold) instead of using the book fold? You can use the formula to easily determine how many layers you’ll get with different types of folding methods! Try calculating the single fold method 2x6 and double book fold method 4x6 to see how many layers you’ll end up with after six folds. Let us know the answers you got in the comments below!
Storage
To use the puff pastry at a later date, dust the dough with flour or cornstarch to prevent it from sticking to itself and fold into thirds. Then wrap the dough well in cling wrap, and refrigerate for up to three days. Puff pastry dough can be frozen for up to six months, but three months or less is ideal. If freezing, thaw the dough overnight 8-12 hours in the refrigerator overnight before using. Do not thaw the dough on the counter as you could lose the layers of butter due to the room’s temperature.
Traditional Puff Pastry
Ingredients
- 1 cup (150g) flour
- ½ cup (113g) unsalted butter
- ⅓ cup (80mL) water
- 2 tsp (10mL) white vinegar or lemon juice
- ⅛ tsp (0.625g) salt
Instructions
- Flatten one stick of cold butter between two pieces of parchment paper and soften by pounding with a rolling pin. Cut the butter in half if needed and continue to shape the butter into a 5" square. Wrap in the parchment and chill the butter for 20 – 30 minutes.
- In a bowl, combine flour and salt. Stir in water until a shaggy somewhat dry dough forms. Turn out onto a clean work surface and knead until smooth, about 1 minute. Cover tightly and rest in the fridge for 20 – 30 minutes.
- Flour your work surface. Roll the dough out to a long rectangle roughly 5.5" x 16" (14 x 41cm) and place the chilled butter in the center. Fold dough sides in to cover the butter. Brush off any excess flour. Seal the edges of the dough by pressing down with your rolling pin. Give the dough a quarter turn.
- Roll the dough out to another rectangle and mark into thirds. Fold the bottom third up to cover the middle third and the top third down. Seal the dough gently by pressing down on the edges with your rolling pin. Give the dough a quarter turn. The first fold is now done. Make a mark in the dough by sticking 1 fingers in. This means the dough has been folded once. Wrap the dough in cling film and refrigerate for 20-30 minutes or longer. Puff pastry needs to be folded 6 times.
- Flour your work surface, roll the dough into a long rectangle, brush off any excess flour. Fold the dough into three parts. Start by folding the right third over toward the center, then the left side then toward the center. Seal the edges by pressing down. Make a mark in the dough by sticking 2 fingers in. Wrap the dough in cling film and refrigerate for 20-30 minutes or longer. You now have two folds.
- Flour your work surface, roll the dough into a long rectangle, brush off any excess flour. Fold the dough into three parts. Start by folding the right third over toward the center, then the left side then toward the center. Seal the edges by pressing down. Make a mark in the dough by sticking 3 fingers in. Wrap the dough in cling film and refrigerate for 20-30 minutes or longer. You now have three folds.
- Repeat this process until you have a total of six folds. Wrap the dough a final time and let chill for at least 30 minutes before using. Puff pastry can be stored for up 4 days in the fridge or for several weeks in the freezer. Wrap it tightly before storing.
0 Comments