
Never Buy Canned Dough Again with this Crescent Rolls Recipe
We wanted to make an enriched dough recipe that was easy, affordable to make and had endless possibilities. It was a huge success! A frequent visitor asked if we could use this dough to make crescent rolls. The answer is absolutely! Below, we will show you how in a few simple steps. But first, let’s talk a little bit about crescent rolls for those wanting to know a little history about these tender and flaky crescent shaped rolls.
Crescent Rolls vs. Croissant
You may be looking at these and asking yourself, isn’t this just a croissant? Well, they are both crescent shaped rolls and both are amazing in their own special way. But that’s about where the similarity ends. Croissants are made with flaky puff pastry dough which creates literally several hundred layers of flaky and buttery bread that is so delicate and crispy. They take several hours or even overnight to make from scratch.
Crescent rolls on the other hand, are made with an enriched dough and the flaky layers are created by rolling the dough and using a little butter to help create flaky, yet more tender and soft bread. These are much easier and quicker to make, which is perfect for the beginner. They are fantastic for dinner, breakfast or even a snack. And once you learn how to make this dough, there are endless ways to make them into a meal.
Step-By-Step Instructions
Below, you will learn how easy it is to make this crescent rolls recipe. You don’t even need a stand mixer. This dough is great to knead by hand and we recommend it.
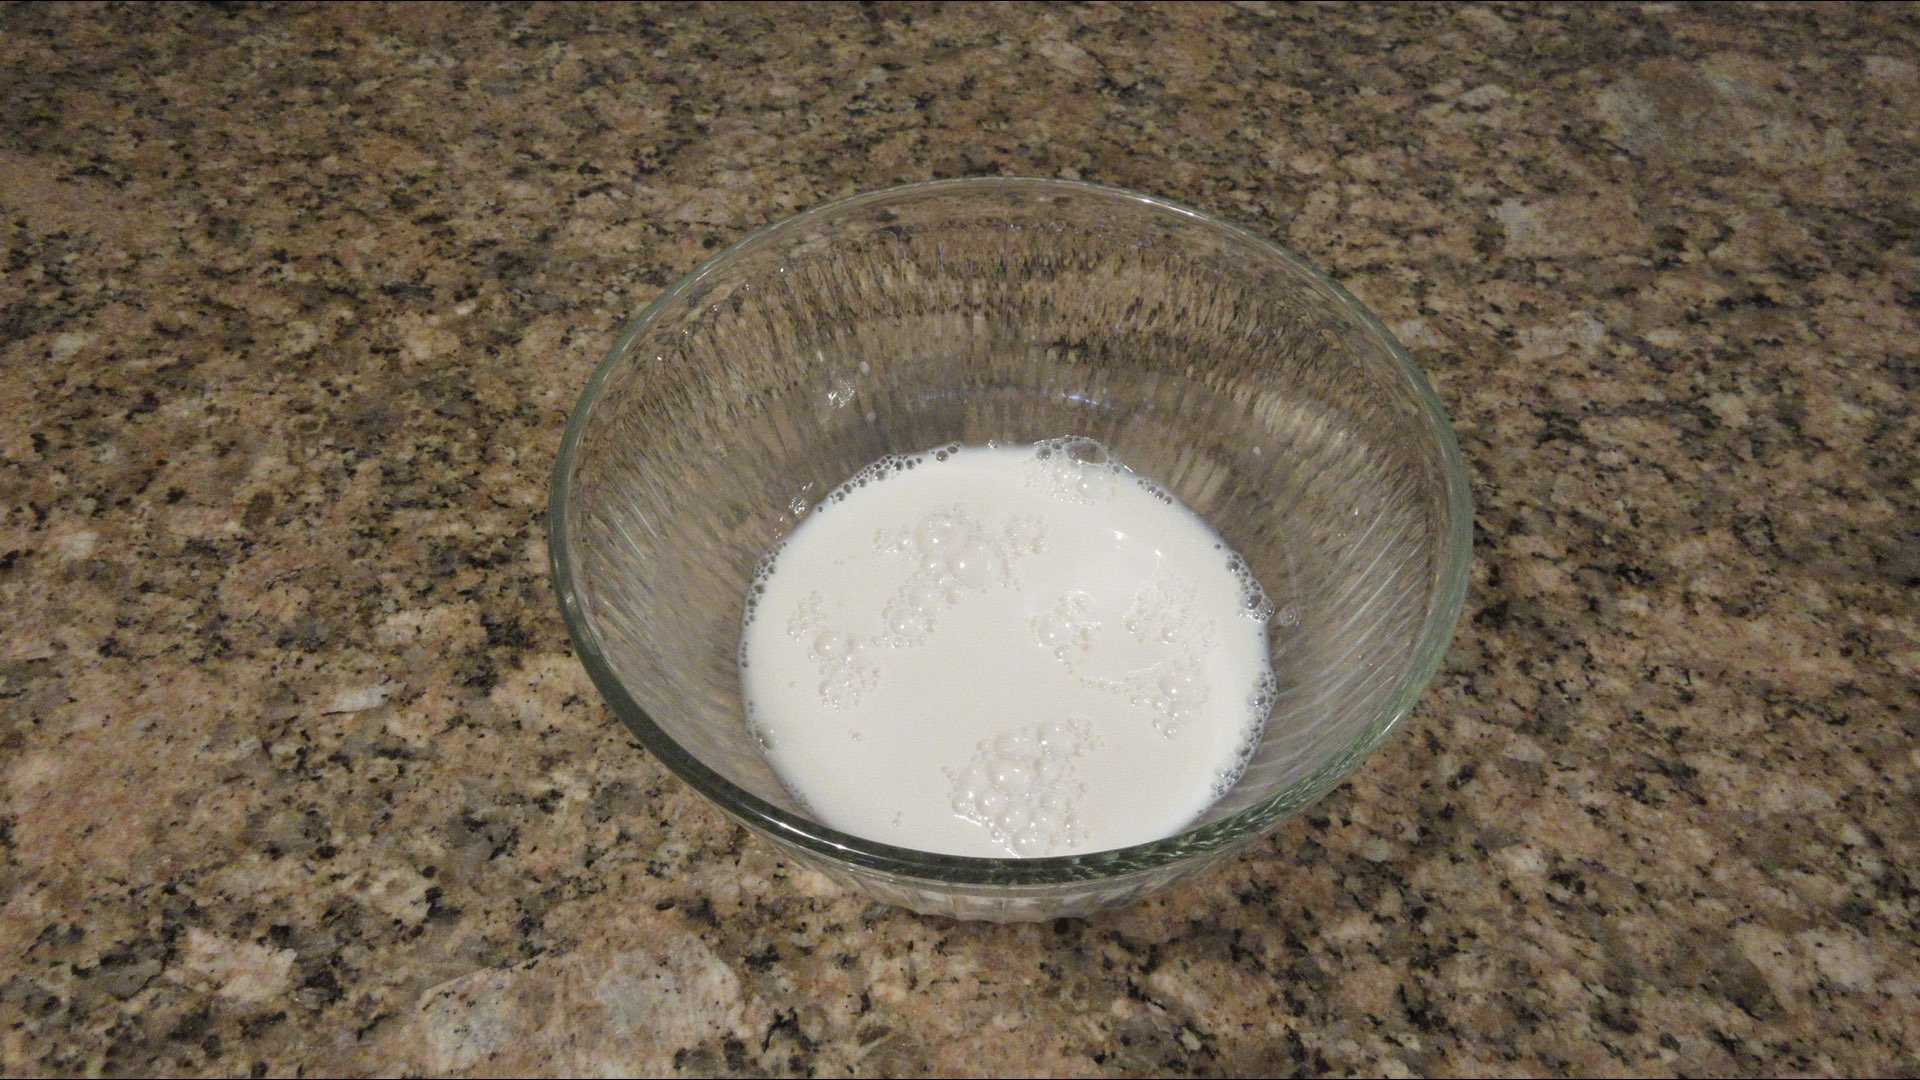
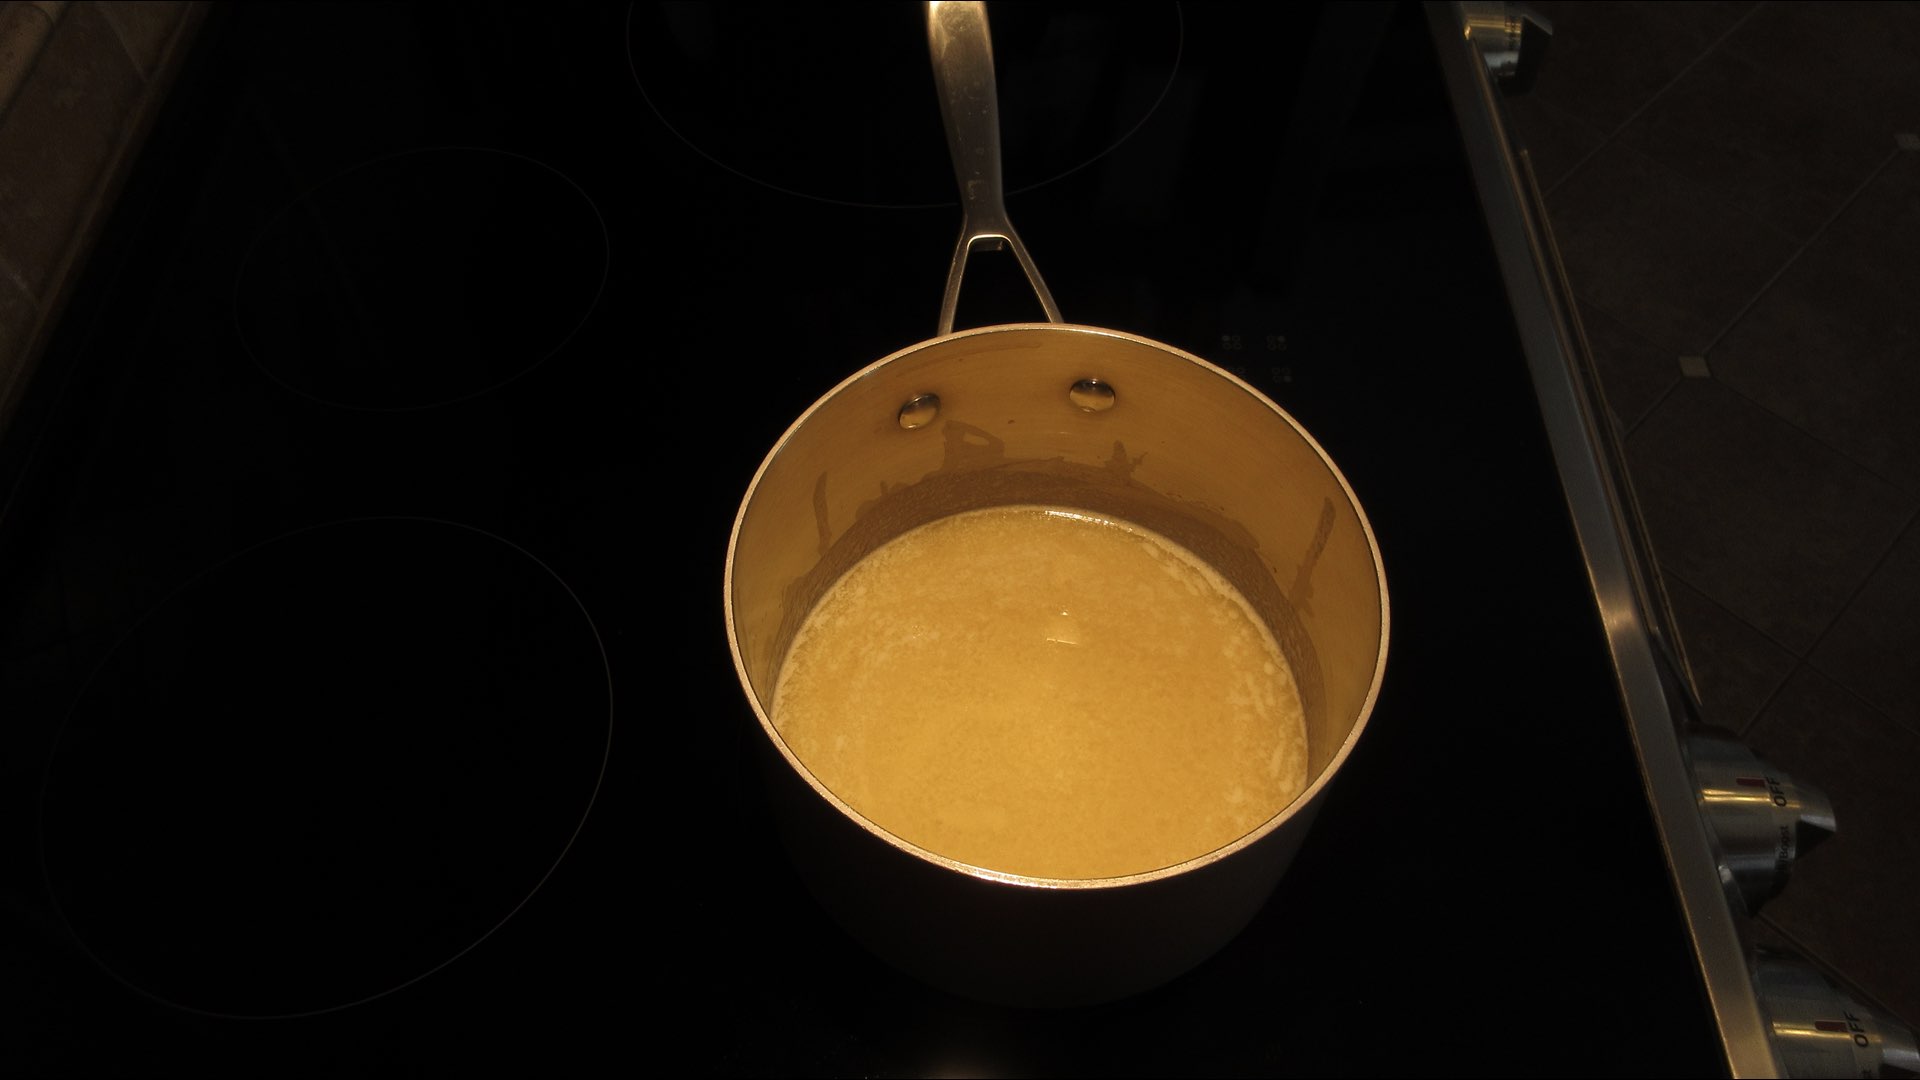
Step 1: Heat the Milk
In a small saucepan, heat the milk on medium until it is lukewarm. If you like, you can also microwave the milk in a heatproof container for 30 – 60 seconds. The milk should be just warm to the touch, but not hot. If you have a thermometer, it should reach 110°F or 43°C.
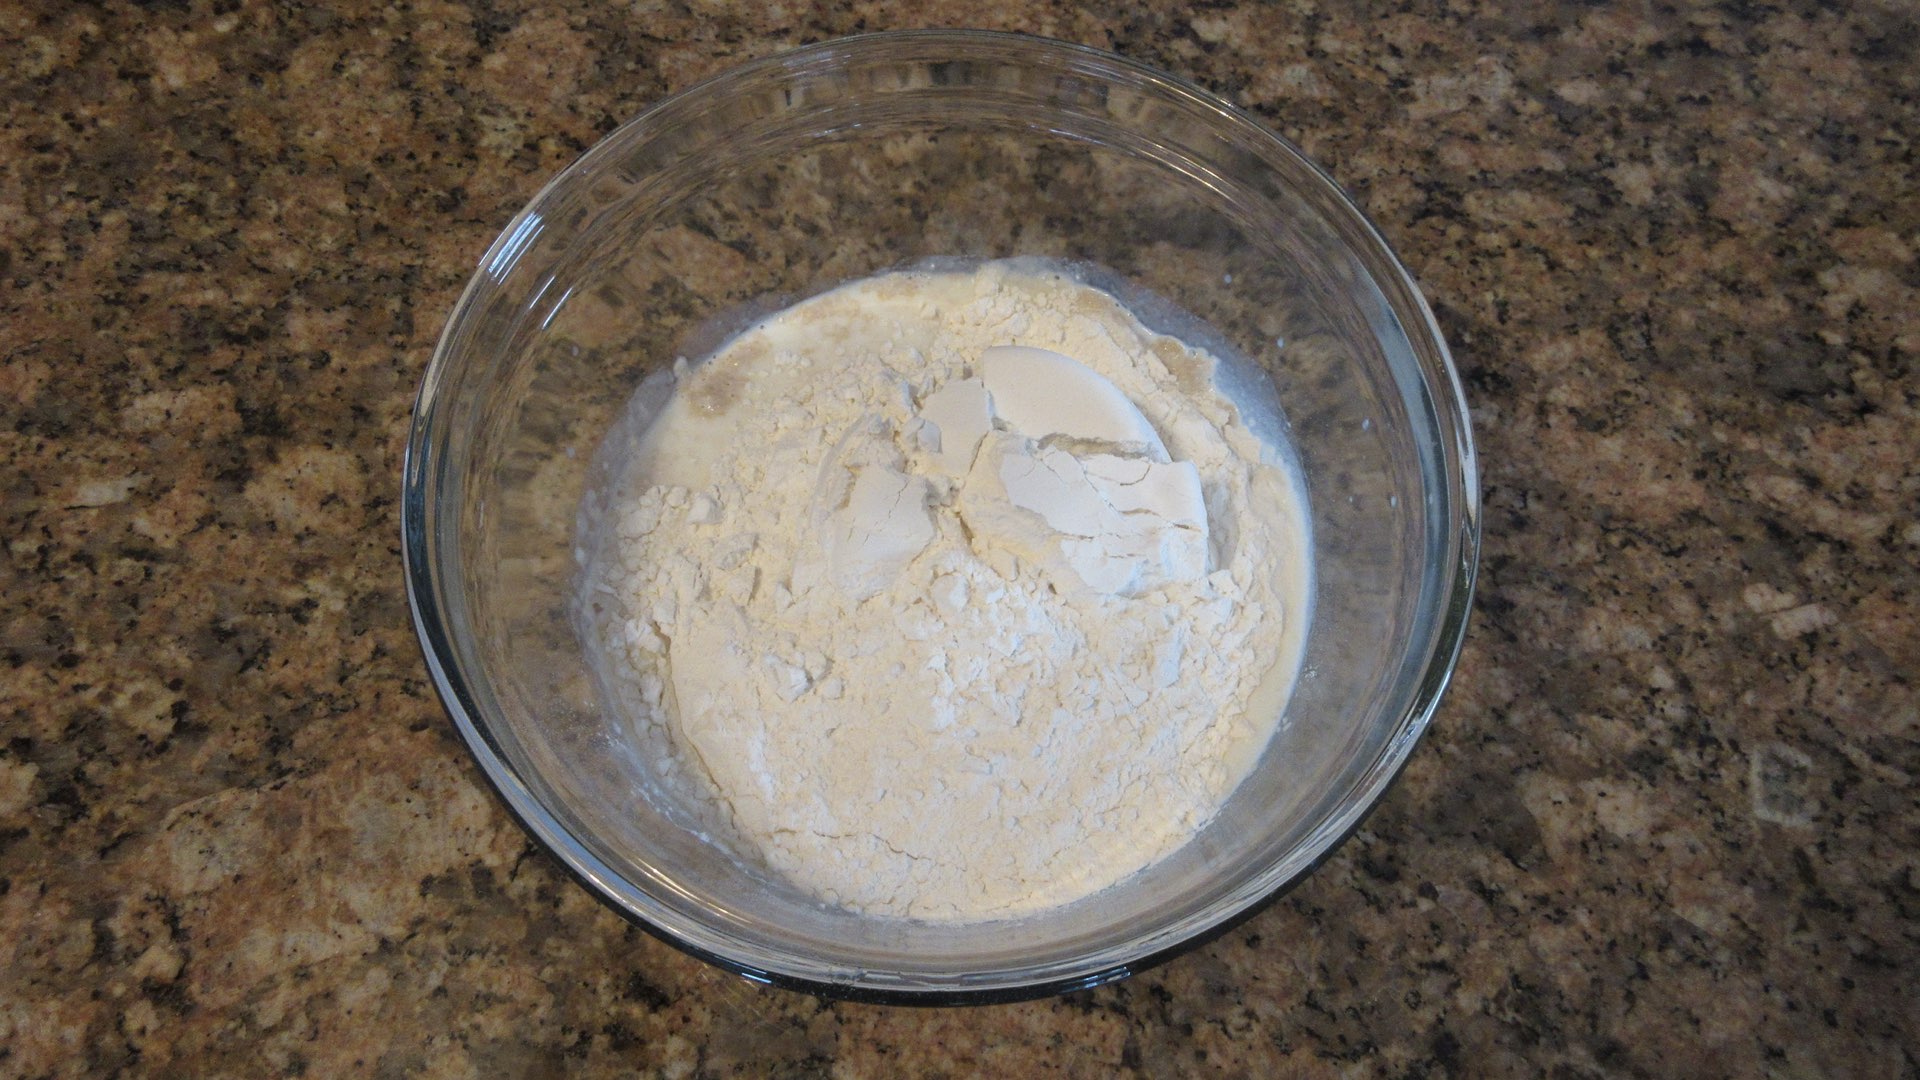
Step 2: Add all the Ingredients
You have two options here. You can add all the ingredients at once and mix until a shaggy dough forms. Or you can add the milk, sugar, butter, oil, yeast and salt to the bowl. Leave this mixture a few minutes to hydrate. Then you can add the flour and mix.
This second option is a good idea if you are not sure if your yeast is still alive and well. It will foam up slightly within 5 – 10 minutes if healthy, or just sit there if not. If you are using active dry yeast and not instant, follow the directions on the packet to activate the yeast. We always recommend instant dry yeast as it is easier for the beginner.
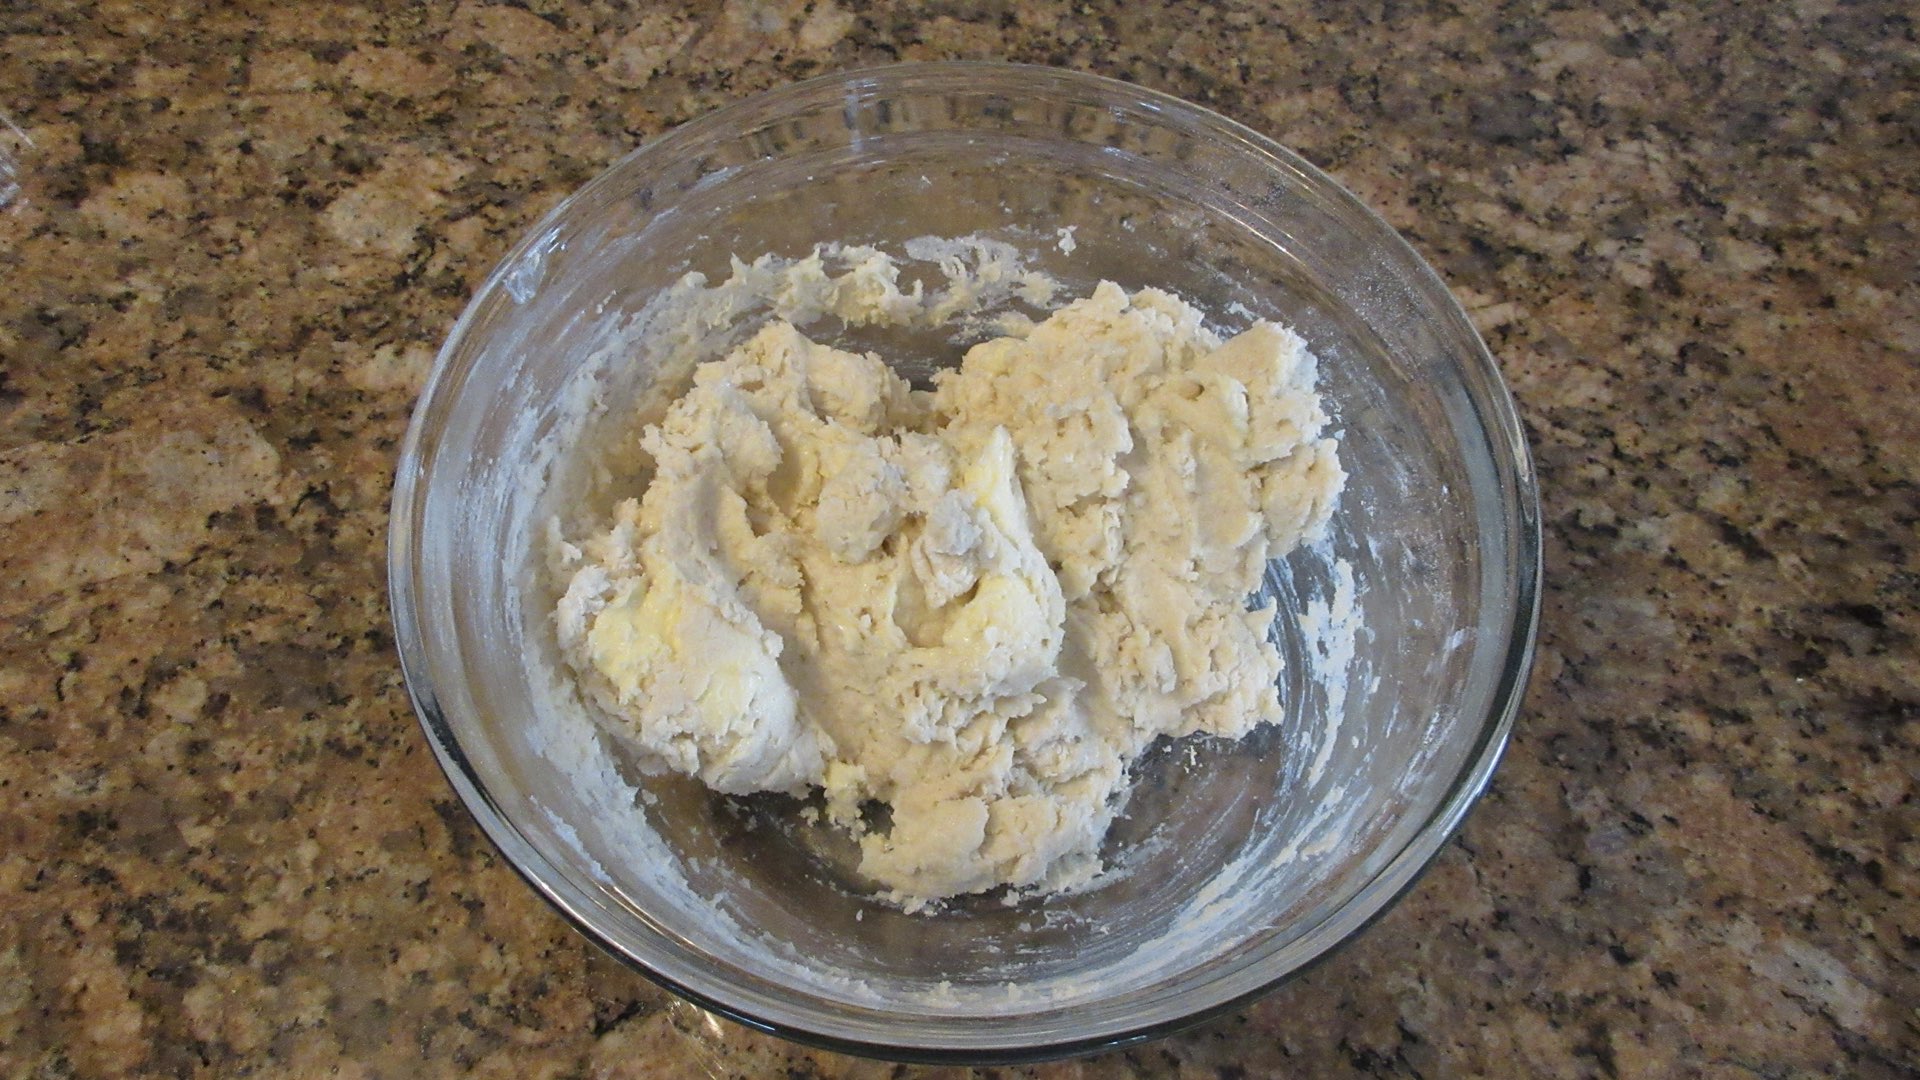
Step 3: Mix the Ingredients
Stir the mixture with the handle of a spoon or your hands until a shaggy dough forms.
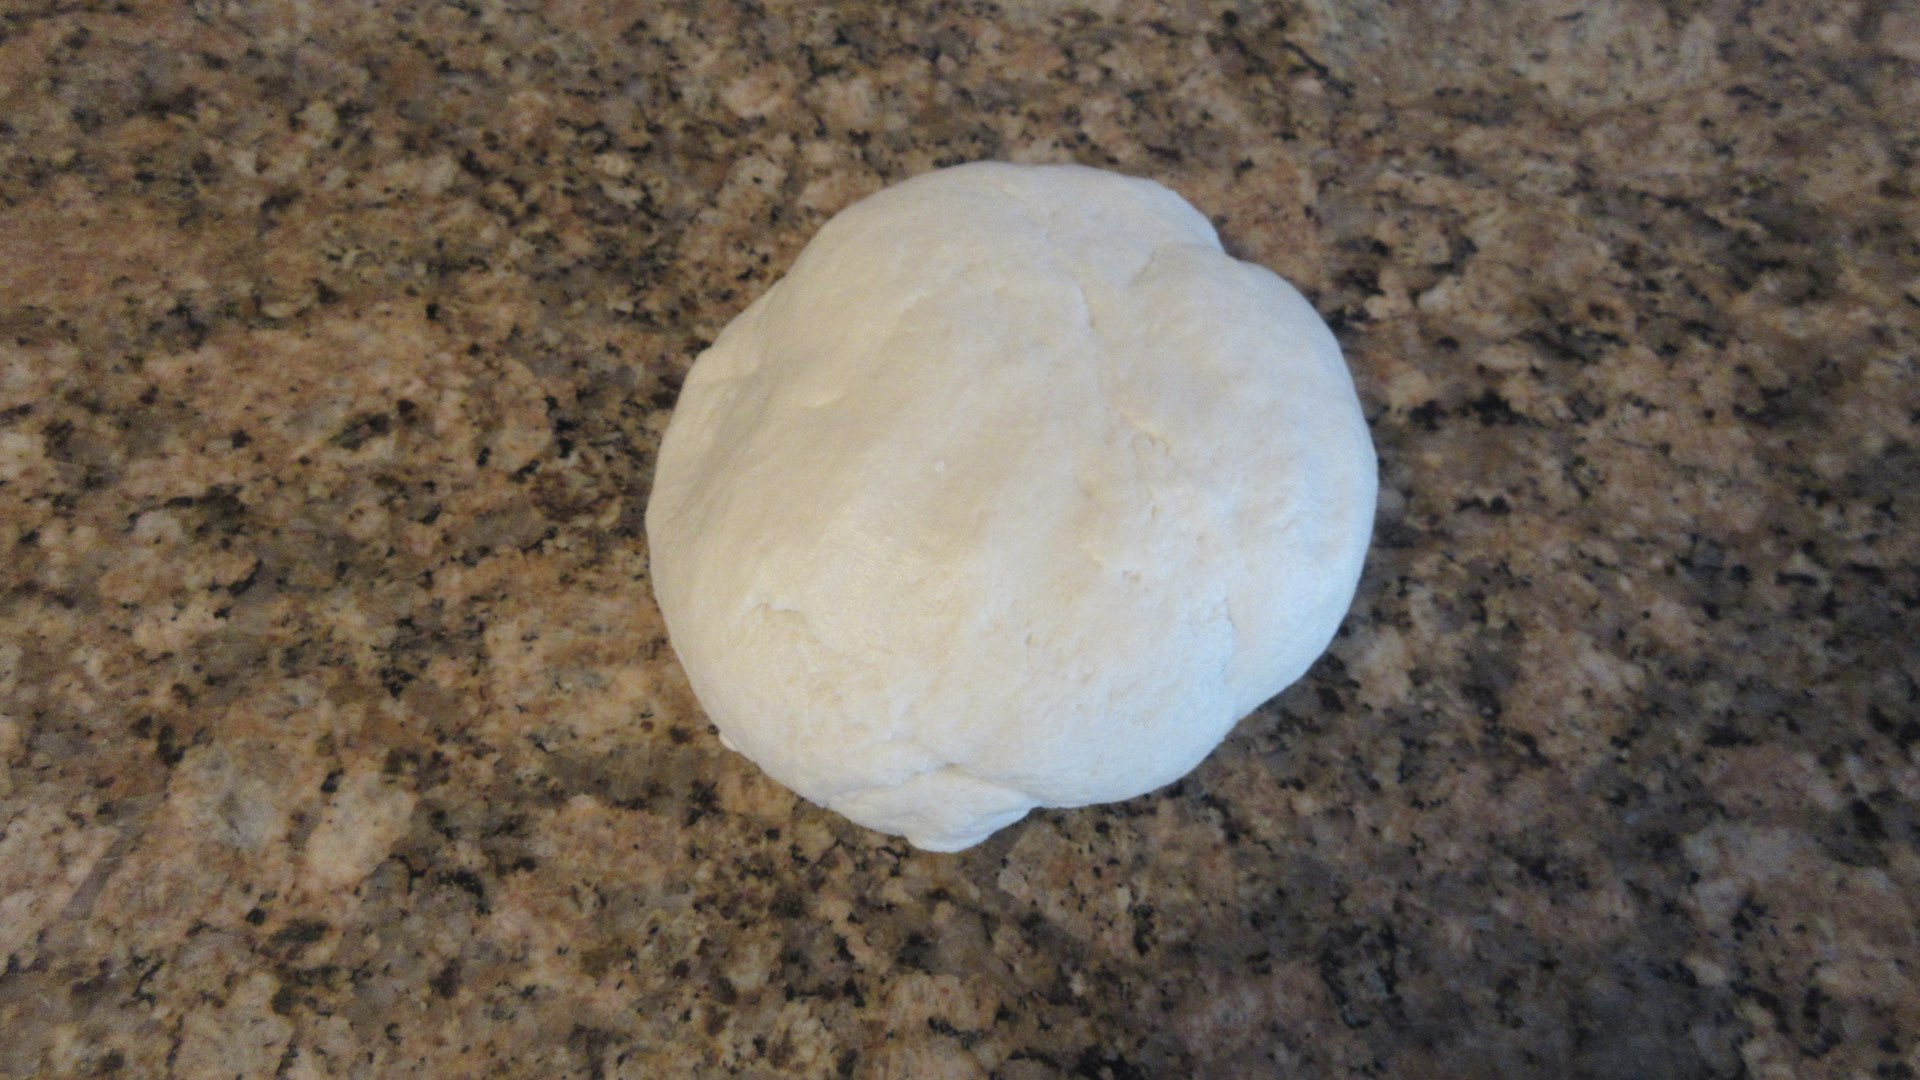
Step 4: Knead the Dough
After you form a shaggy dough, turn it out onto a clean work surface. Knead 8 – 10 minutes or until the dough stretches easily without tearing. If you are using a stand mixer, turn it to the appropriate speed for kneading dough and mix 8 – 12 minutes or until the dough is quite elastic and soft.
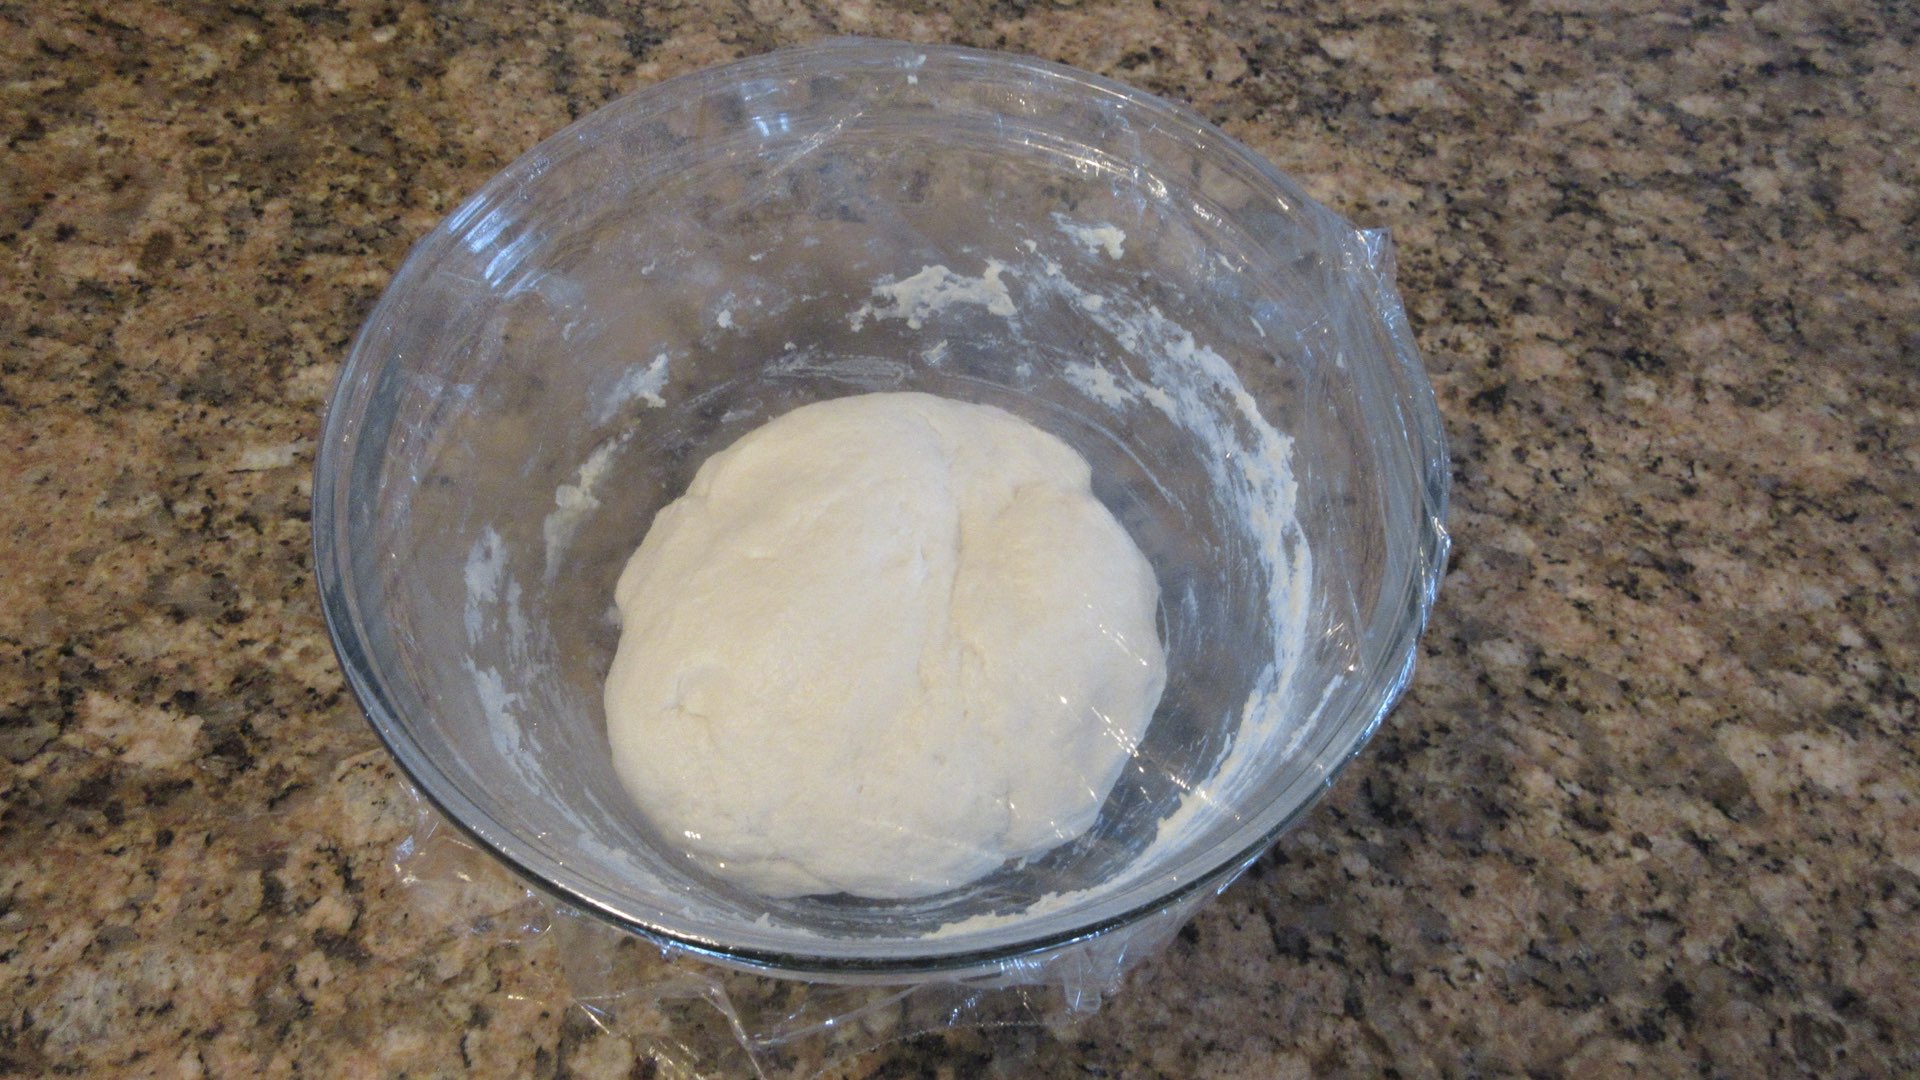
Step 5: Let the Dough Relax and Rise
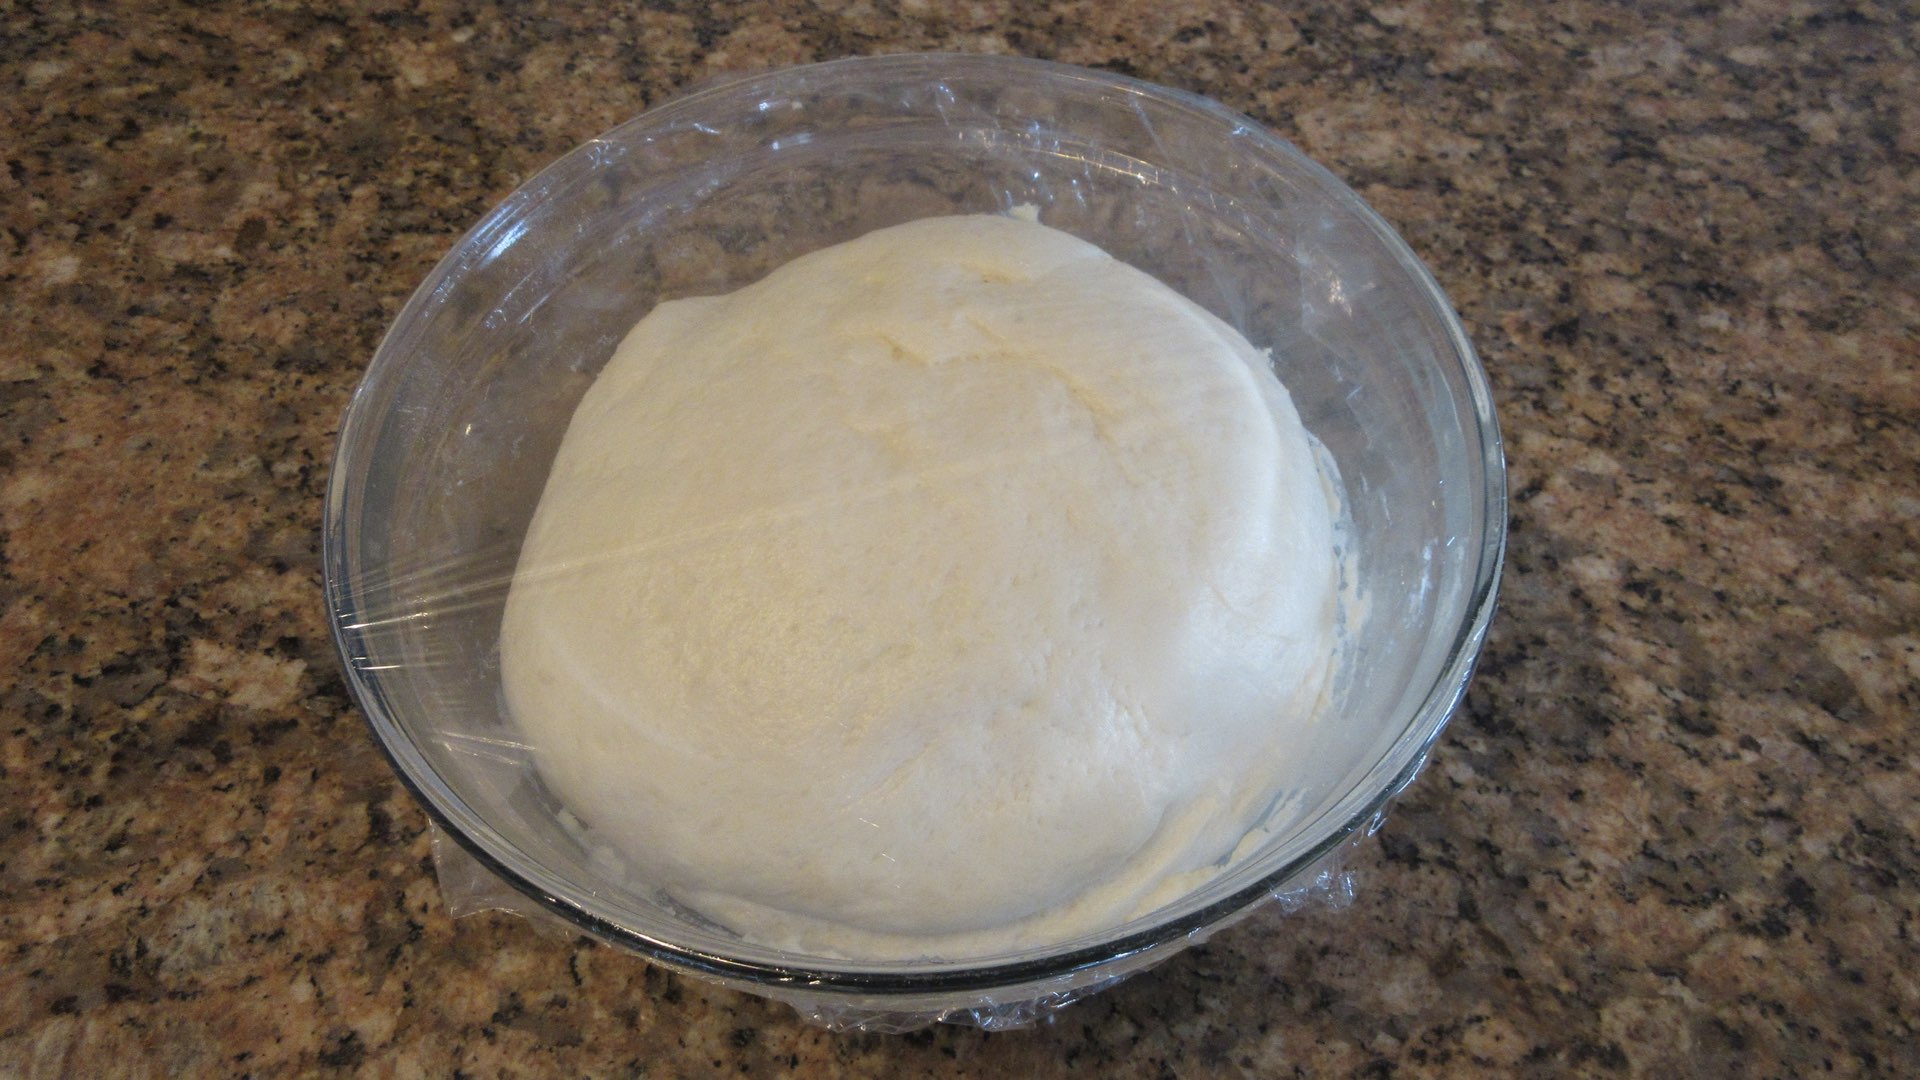
Now the dough needs to rest. Set it back inside the bowl you mixed it in and cover it with plastic wrap or a damp towel. Place it away from drafts, small children and pets. Allow it to rest until it doubles in size.
This can take 1 – 3 hours depending on the temperature in your home. Typically, it takes around 90 minutes at temperatures between 70°F – 72°F (21°C – 22°C) for guidance.
Step 6: Melt the Butter
In a small saucepan, or in the microwave, melt the butter. If you need help learning how to melt butter on the stovetop, we have a brief tutorial to help you. Set it aside to cool slightly.
Step 7: Shape the Dough
Roll dough into at least a 15″ (38cm) circle. The larger the circle, the more layers you’ll create.

Brush the top of the dough with melted butter. Allow the dough to sit uncovered for 5 minutes. This will let the butter cool a bit and make it easier to roll.

Cut the circle into 8 wedges.

Roll up each wedge from the wide end to the point.

Curve the ends to form crescents.

Place on a baking tray several inches apart. For easier cleanup, you can use parchment paper, but it is not necessary.

Step 8: Rest and Let Rise
Now, you cover the dough with plastic wrap or a tea towel for 30 – 60 minutes or until the bread puffs up to nearly double in size.

When the dough is close to double like you see here, this is the time to heat your oven. Enriched doughs are better baked at lower temperatures so they do not over brown or burn before they finish baking.

Step 9: Bake
Now, we bake the crescent rolls until they are a beautiful golden brown. This will take approximately 18 – 24 minutes. A few may have unfurled a bit at the tips. That’s what makes them homemade! The center temperature should reach 190°F (88°C) when they are fully baked. Remove to a cooling rack to finish cooling prior to storing.

These are best eaten while still warm. They are so good, there likely won’t be any leftovers.


Troubleshooting
Occasionally, things can go wrong in baking. These are two of the most common scenarios that can happen, especially if you are new to baking bread. Below, the triangular point has straightened and the crescent rolls are thick and puffy with paler coloring overall. This is due to not rising the dough long enough after shaping. Next time, let the dough rise a bit longer. You don’t want them to have too much oven-spring (rise) for the rolls to keep their shape. This simply takes practice and learning how bread dough works in your kitchen and oven. They still taste great! To help ensure the points stay in place, you can always place the pointed side down after shaping.

Other reasons your rolls will unfurl can be from rolling too tightly, adding too much butter or placing these in too hot of an oven. If you roll them with too much tension, they will need to expand somehow and the triangle is the weakest point.
Also, if you have been baking all day, the oven may be hotter than the temperature your dial states. Most often, it’s because you thought you didn’t have enough butter and added more. The extra butter creates more steam and forces the dough open before it has a chance to form a crust. That’s what I did with these pictured below. 🙂 Again, simply placing the triangular side down will solve these issues.

Substitutions and Tips
Here are some common substitutions and tips for this easy crescent roll recipe.
- Add 1/2 cup (100g) of sugar and 1 tsp (2g) of cinnamon to the top of the circle of dough prior to rolling for a sweet treat!
- Try spreading a bit of nutella, peanut butter or another nut butter on the dough instead of butter prior to rolling. For food safety, do not dip the knife directly into the jar more than once. Instead, transfer some into a bowl first and discard any unused portions.
- Placing them with the point side down will help them keep their shape. However, they will be a little flat and more golden brown on the bottom due to the butter.
- Fat-free, 2%, whole milk or buttermilk can be all be used for this recipe. Whole milk will give the richest flavor, but fat-free tastes excellent! For a tang, try buttermilk.
- You can replace up to one-half of the white flour with whole wheat flour. You may need to add 1 – 2 tablespoons (15 – 30mL) of milk to get a smooth dough as whole wheat absorbs liquid more readily.
- Yes you can use soy, almond or other milk substitutes for this recipe. You may need to add 1 – 2 tablespoons more flour (9-18g) as milk substitutes are often thinner than cow’s milk and can make the dough too sticky.
- Any type of cooking oil can be used for this recipe. Canola and vegetable oils will give a more neutral taste.
- Melted coconut oil, lard or butter can be substituted for the oil in this recipe.
- Margarine or vegetable spread can be used in place of the butter for this recipe in equal amounts.
Storage
Freshly baked bread is always best eaten the day you make it. However, this bread will store up to 3 days before it goes stale. Let the crescent rolls cool completely and store in an airtight container or plastic bag to stay soft. The crust will soften slightly.
This bread freezes up to 3 months. Wrap well in freezer bags and store away from strong odors. Reheat frozen bread in the oven or microwave. The frozen crescent rolls can be reheated in the oven at 350F (180C) for 10 – 15 minutes or until warm.

Crescent Rolls
Ingredients
For the Dough
- 2 cups (300g) flour
- ¾ cup (180mL) milk
- 2 tbs (30mL) oil
- 2 tbs (28g) softened butter
- 2 tbs (25g) sugar
- 1 ½ tsp (4.5g) yeast
- ½ tsp (2.5g) salt
For the Filling
- 2 tbs (28g) melted butter
Instructions
- In a small saucepan, heat milk on medium until it is lukewarm or 110°F (43°C.)
- In a large bowl, mix all the ingredients together with the handle of a spoon until a shaggy dough forms. Knead on a clean work surface until dough is elastic and stretches easily without tearing. This can take 8 – 12 minutes.
- Cover with plastic wrap or a damp cloth and let rest until double. This step typically takes 60 – 120 minutes.
- Roll dough into a 15" (38cm) circle. Brush the top of the dough with melted butter. Allow the dough to sit uncovered for 5 minutes. Cut the circle into 8 wedges. Roll up each wedge from the wide end to the point. Curve the ends to form crescents. Place on a greased or nonstick baking tray several inches apart. Cover and let rise until doubled, about 30 – 60 minutes.
- Preheat oven to 350°F (180°C.) Remove the cover after they have risen and place the rolls in the oven.
- Bake 18 – 22 minutes or until golden brown. Center temperature should reach 190°F (88°C) when done. Remove rolls to a wire rack in order to cool. Cool completely before storing in an airtight container.
Notes
Instant dry and active dry yeasts are not the same. If using active dry yeast, you must activate the yeast according to the manufacturer’s instructions in order for the dough to rise properly. You typically need to activate or “bloom” the yeast by adding it to warmed liquid for several minutes. Instant dry yeast can be added to the dry ingredients and typically does not need to be activated prior to use. However, some brands of dry yeasts still require adding warm liquids, so be sure to read the label. Rapid, quick and fast acting dry yeasts will rise much faster than instant and active dry yeasts. For best results, always read and follow the instructions provided on the packet as the rising time varies widely between manufacturers.
Oops Saras neighbour Deanna lol
I’m Sara’s Deanna, so we get to periodically try out her baking skills. The latest was her crescent rolls, and yes they were extremly good. Thank you Sara 😊
You’re very welcome, Deanna! Thank you for the lovely comment. 😀