A Beautiful Star Bread using an Easy Dough Recipe
We wanted to make an enriched dough recipe that was easy, cheaper to make and had endless possibilities when it came to making more intricate recipes such as rolls, braided cinnamon buns, and this lovely easy star bread. To make it more affordable for everyone, we are going to fill it with a little bit of butter and brown sugar. The end result will be in a caramelized sweet bread that will remind you of glazed donuts.
Step-By-Step Instructions
You will be surprised how easy this star bread recipe is to make by hand. However, you can also use a stand mixer. We will explain how to make the bread using both methods.
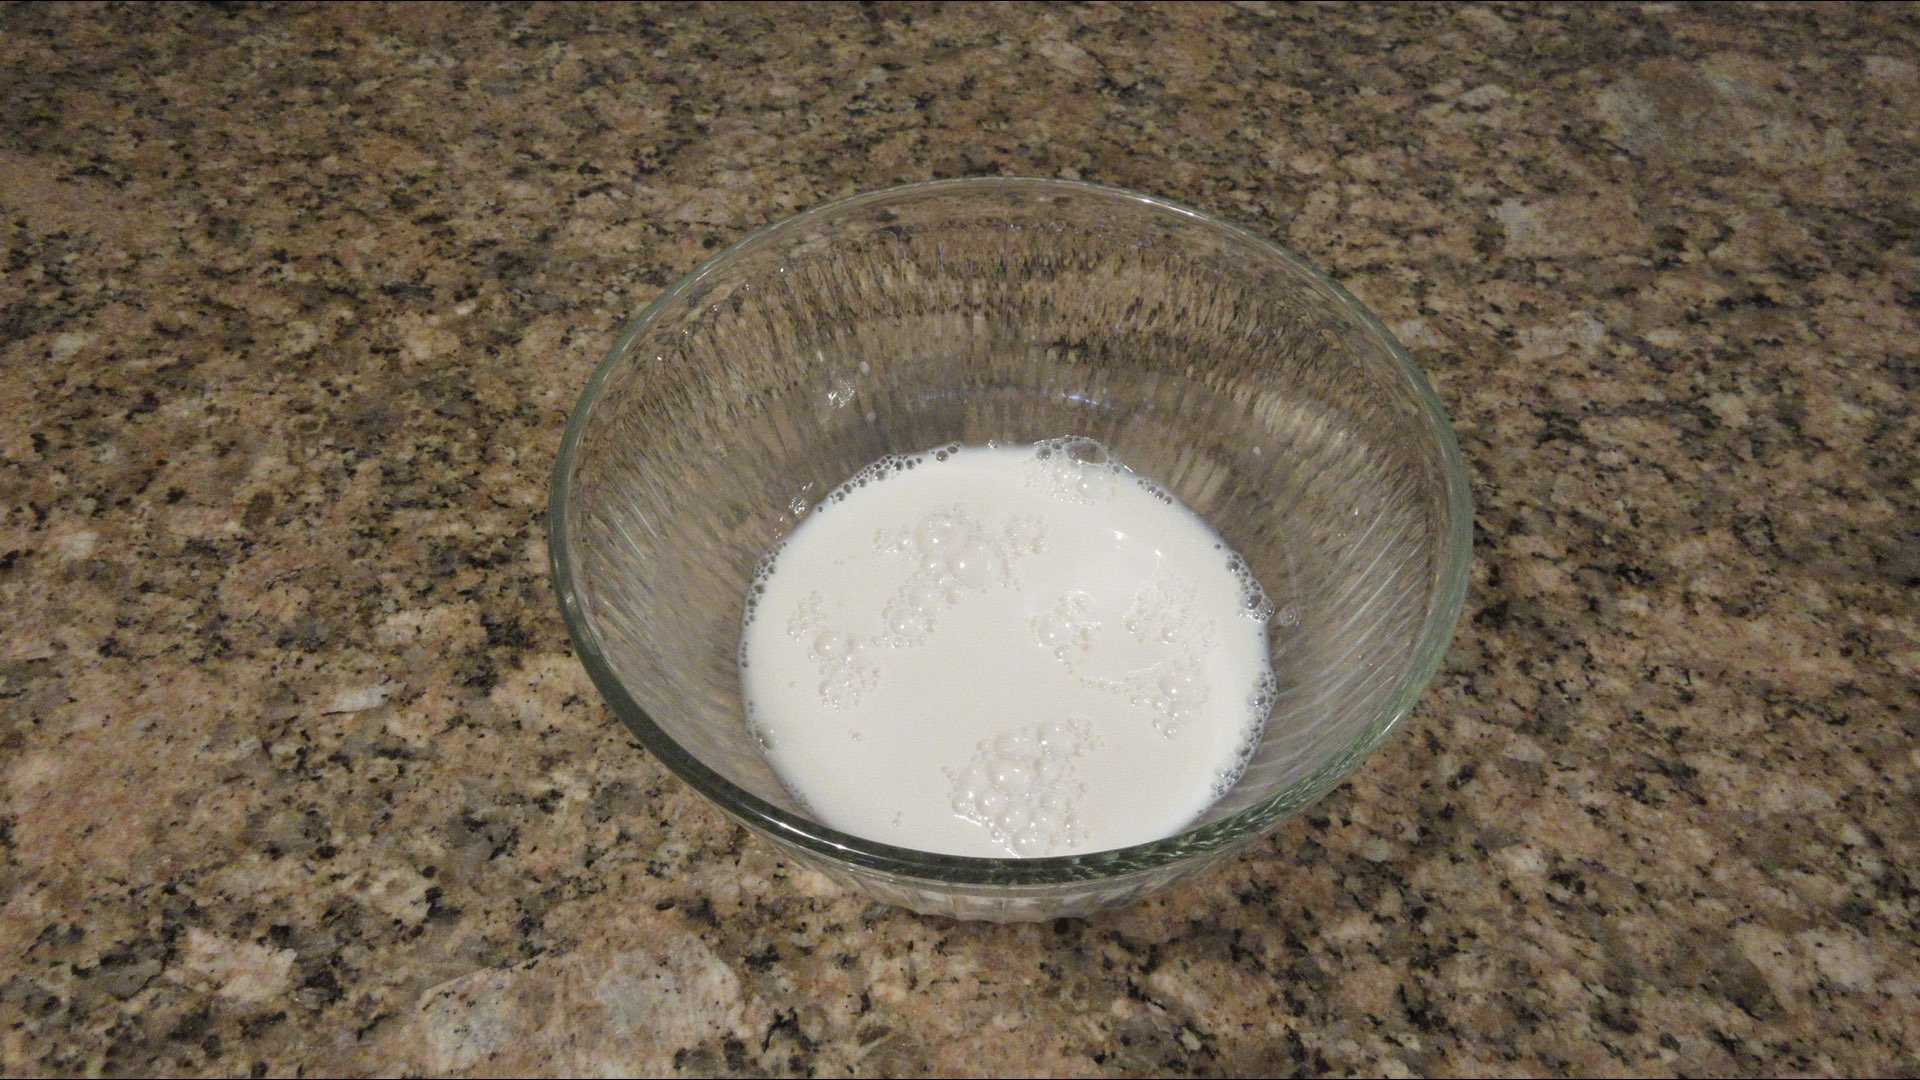
Step 1: Heat the Milk
In a small saucepan, heat the milk on medium until it is lukewarm. If you like, you can also microwave the milk in a heatproof container for 30 – 60 seconds. The milk should be just warm to the touch, but not hot. If you have a thermometer, it should reach 110°F or 43°C.
Step 2: Add all the Ingredients
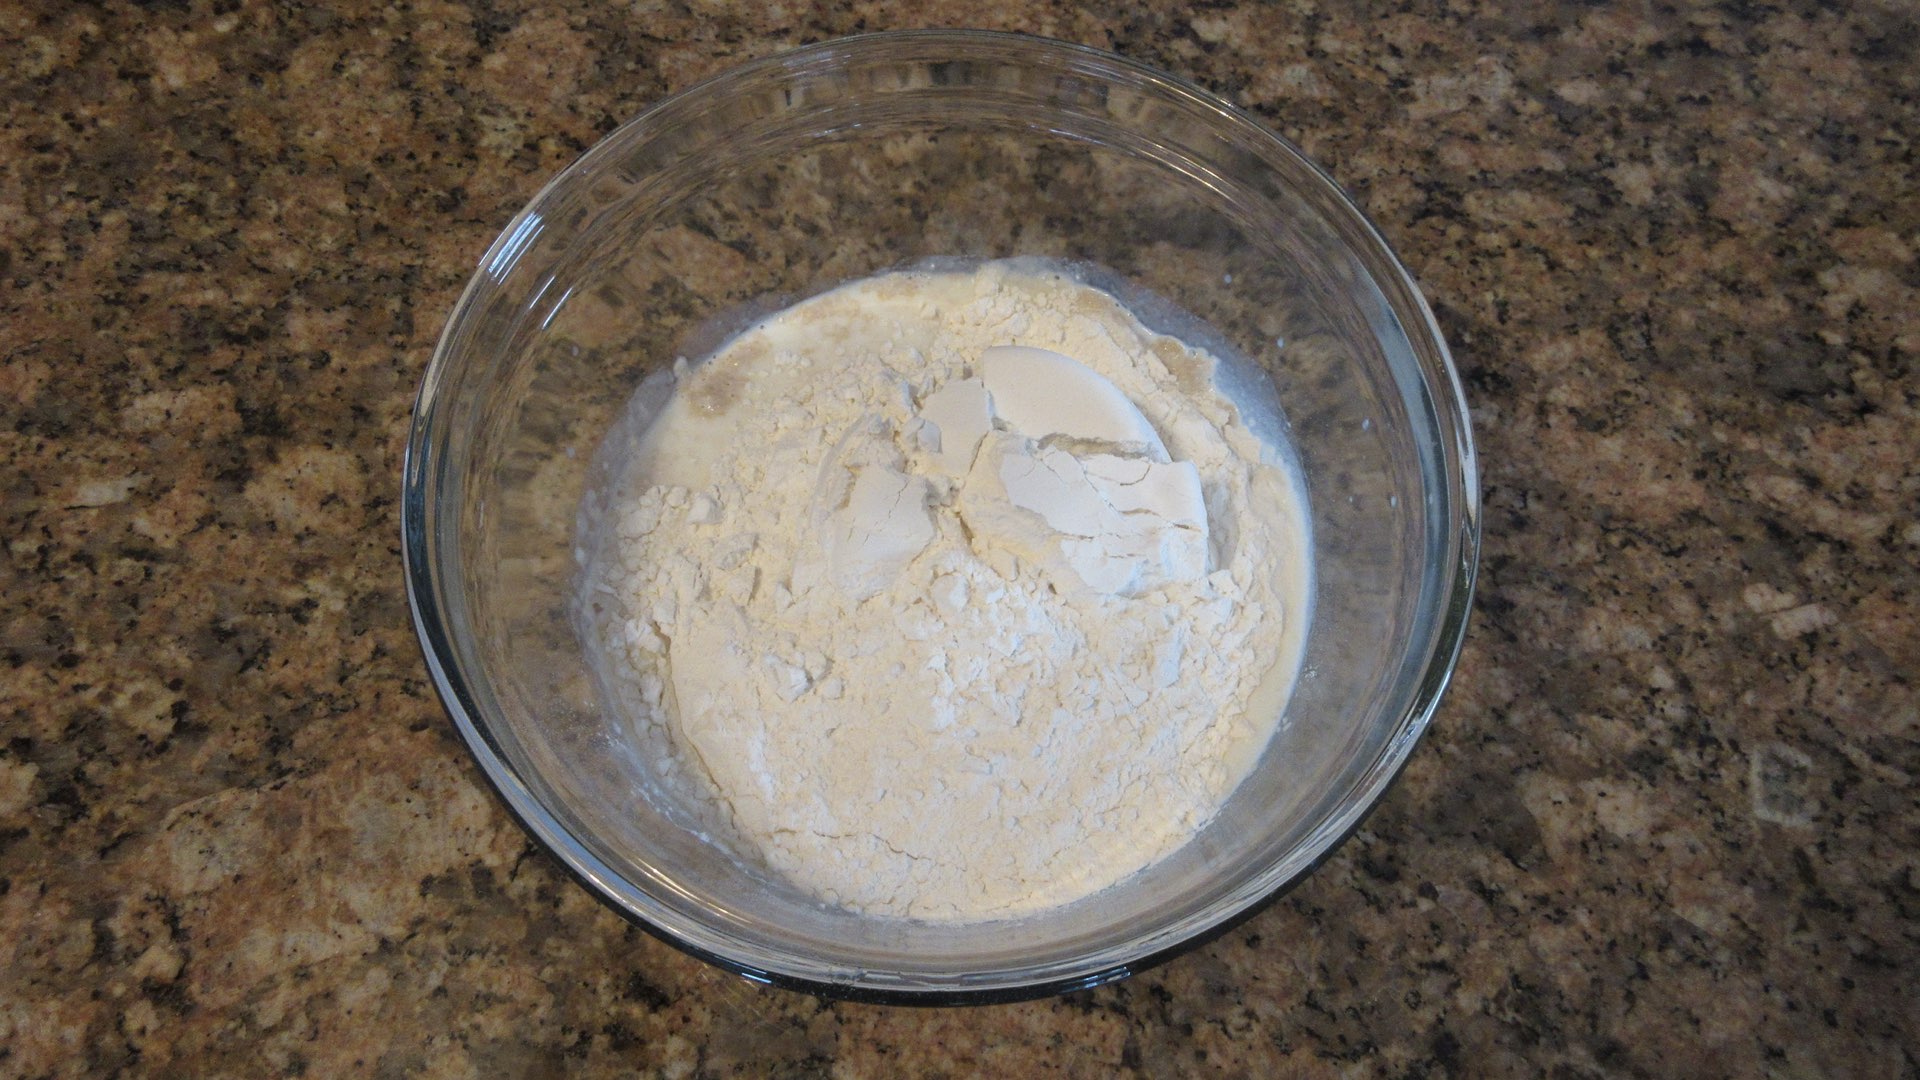
You have two options here. You can add all the ingredients at once and mix until a shaggy dough forms. Or you can add the milk, sugar, butter, oil, yeast and salt to the bowl. Leave this mixture a few minutes to hydrate. Then you can add the flour and mix.
This second option is a good idea if you are not sure if your yeast is still alive and well. It will foam up slightly within 5 – 10 minutes if healthy, or just sit there if not. If you are using active dry yeast and not instant, follow the directions on the packet to activate the yeast. We always recommend instant dry yeast as it is easier for the beginner.
Step 3: Mix the Ingredients
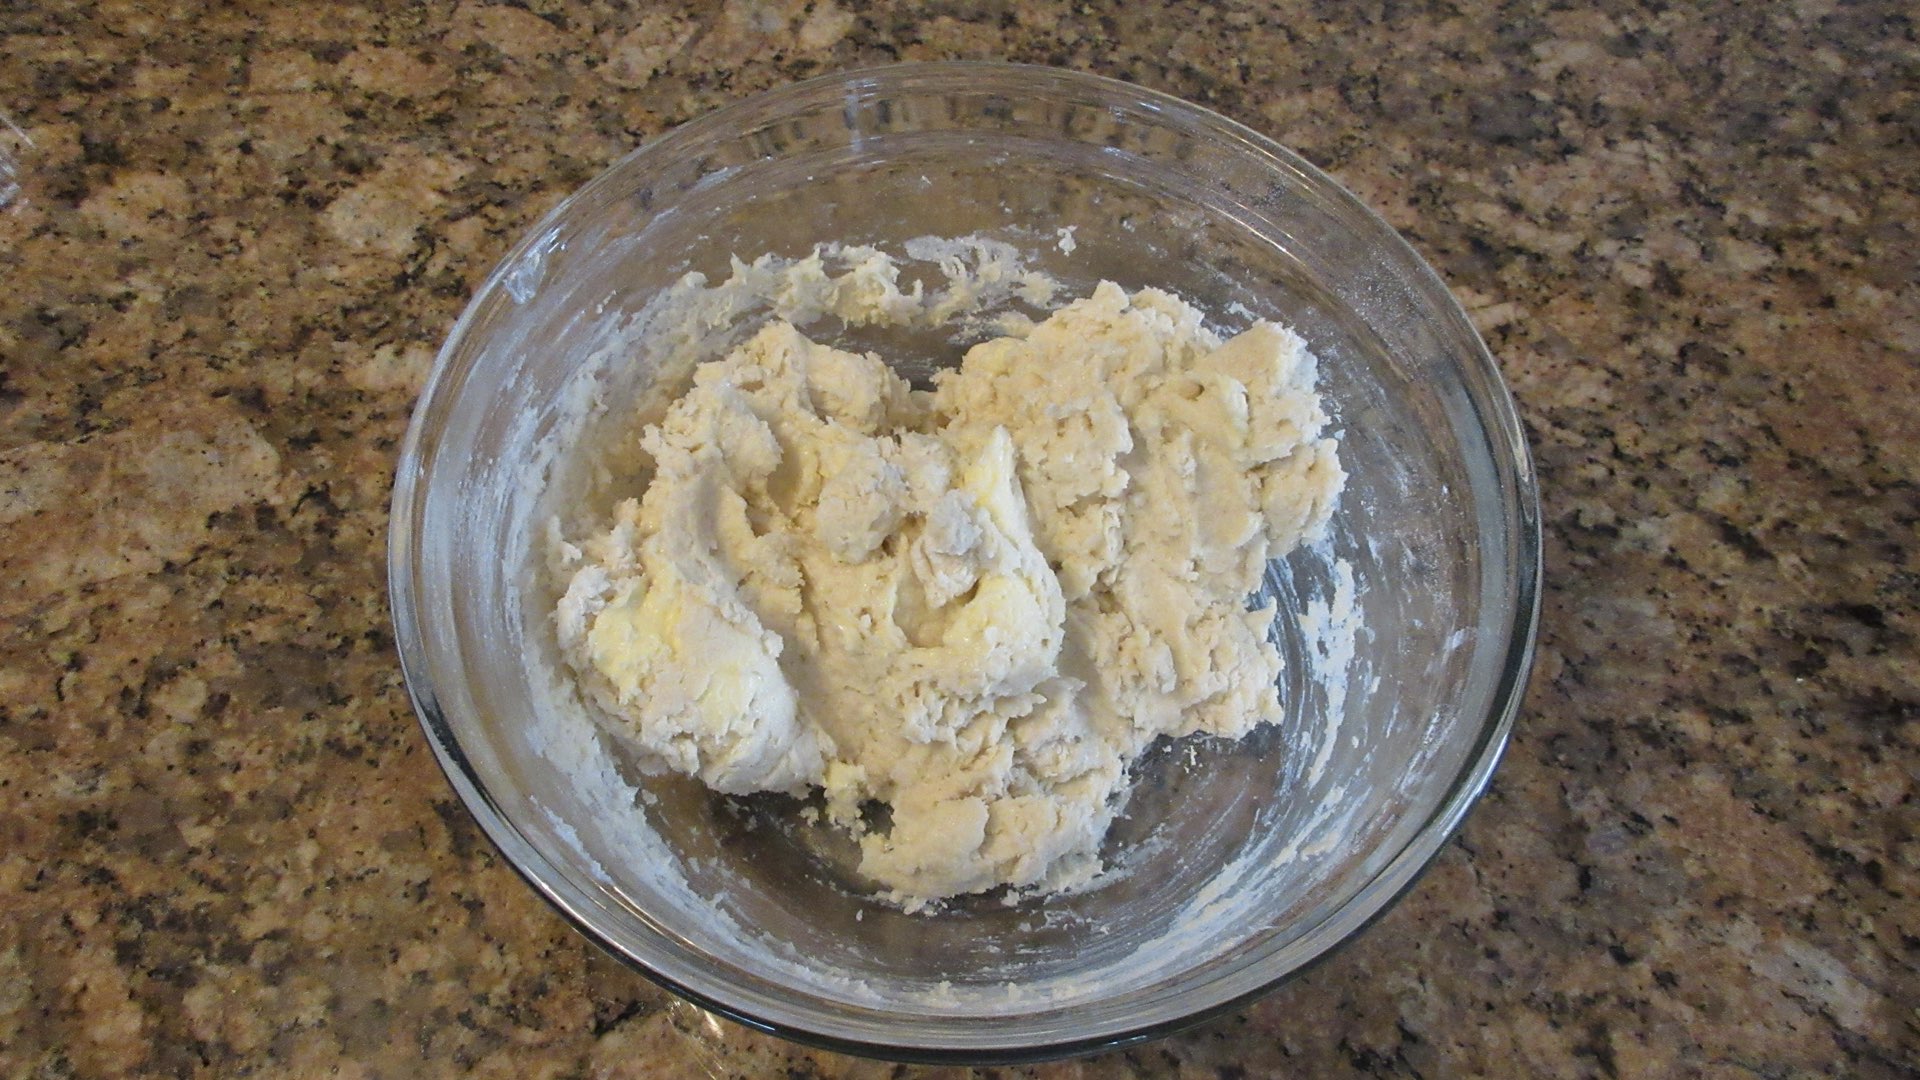
Stir the mixture with the handle of a spoon or your hands until a shaggy dough forms.
Step 4: Knead the Dough
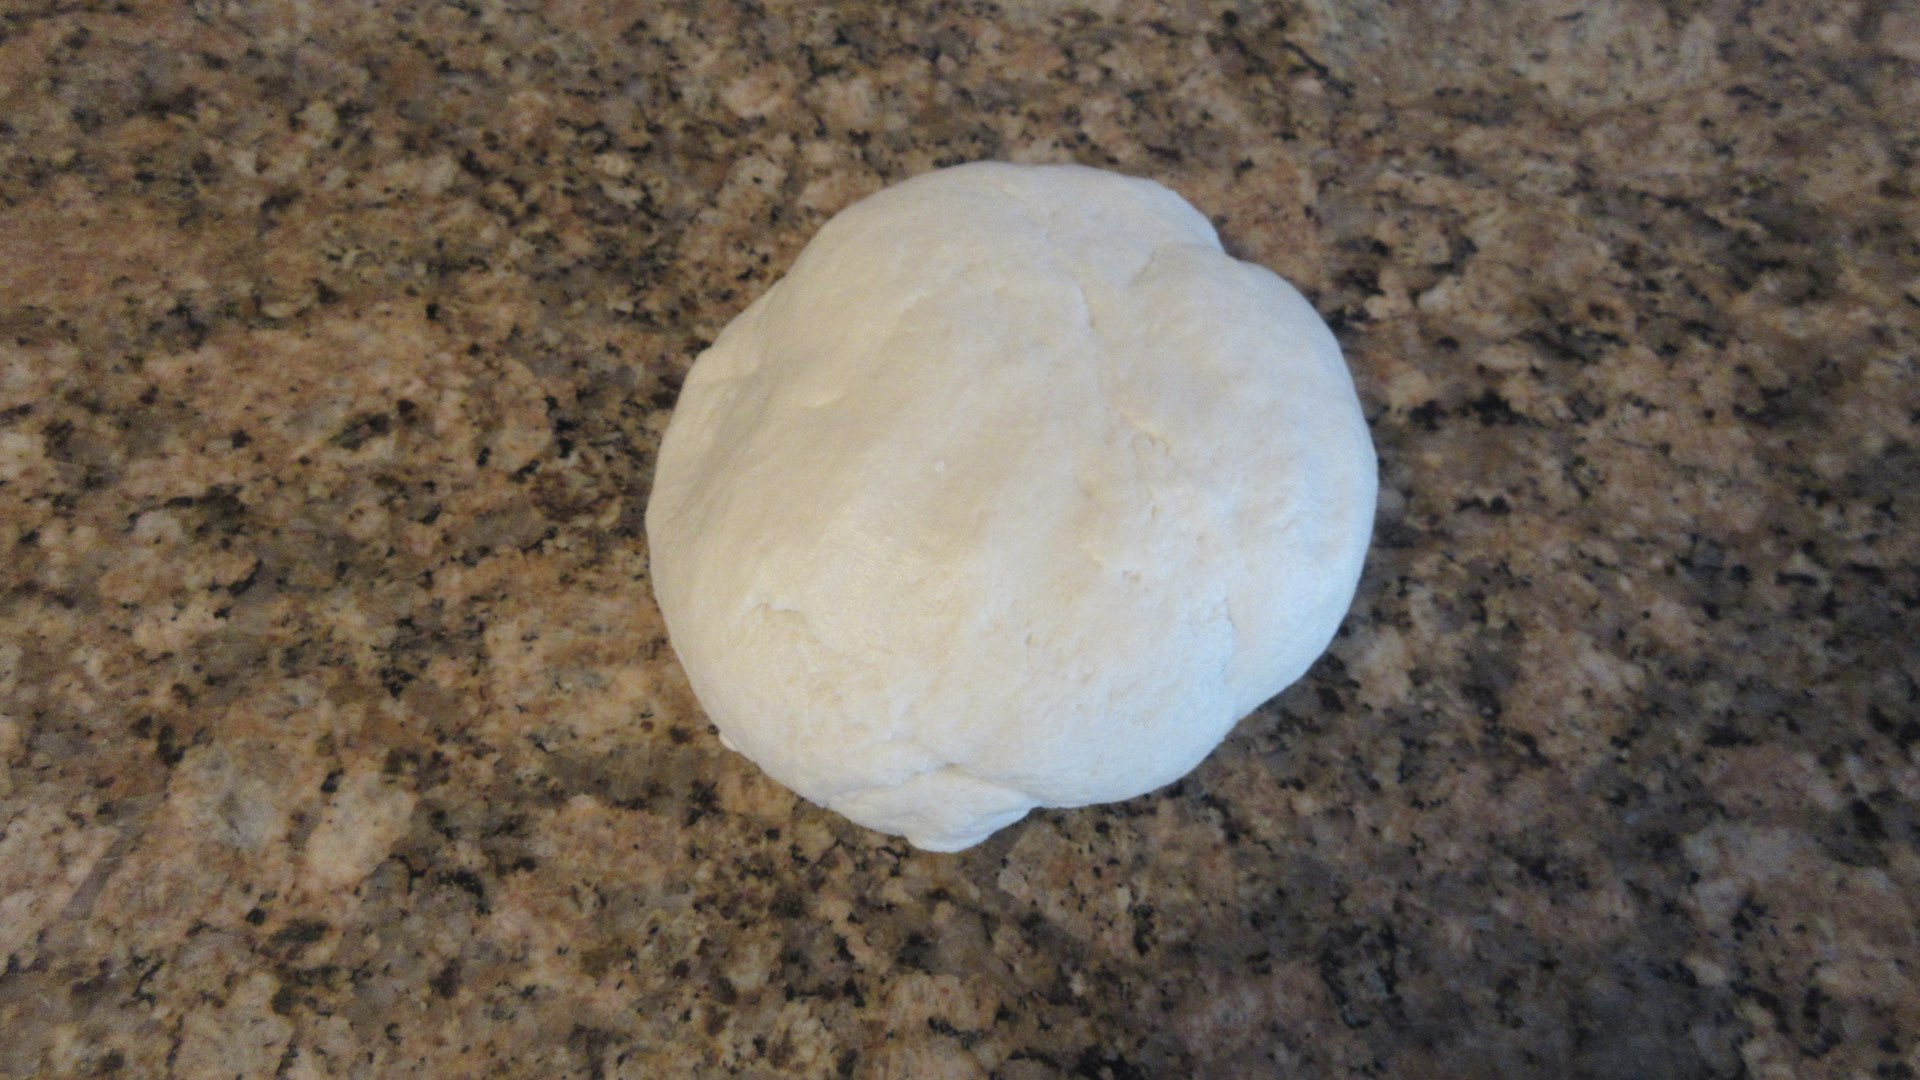
After you form a shaggy dough, turn it out onto a clean work surface. Knead 8 – 10 minutes or until the dough stretches easily without tearing. If you are using a stand mixer, mix on the appropriate speed for kneading dough and mix 8 – 12 minutes or until dough the dough is quite elastic and soft.
Step 5: Let the Dough Relax and Rise
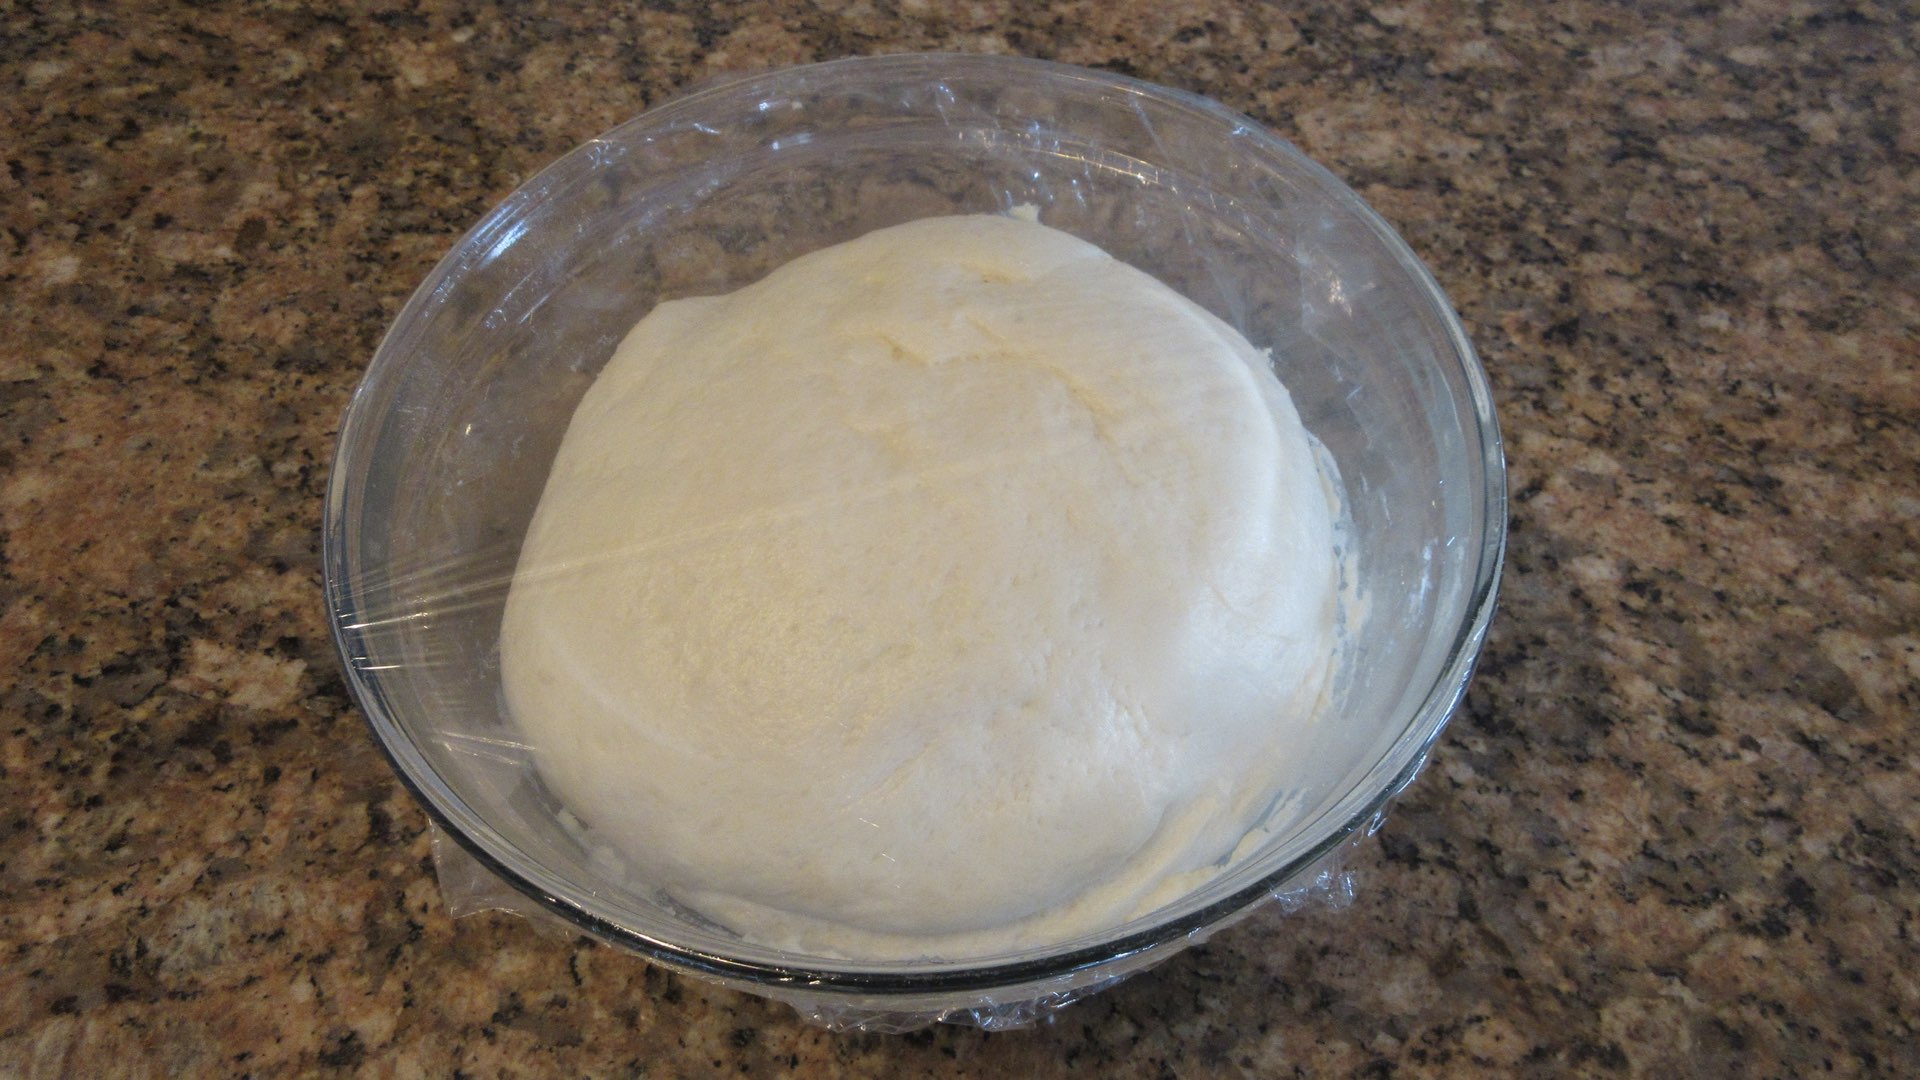
Now the dough needs to rest. Set it back inside the bowl you mixed it in and cover it with plastic wrap or a damp towel. Place it away from drafts, small children and pets. Allow it to rest until it doubles in size.
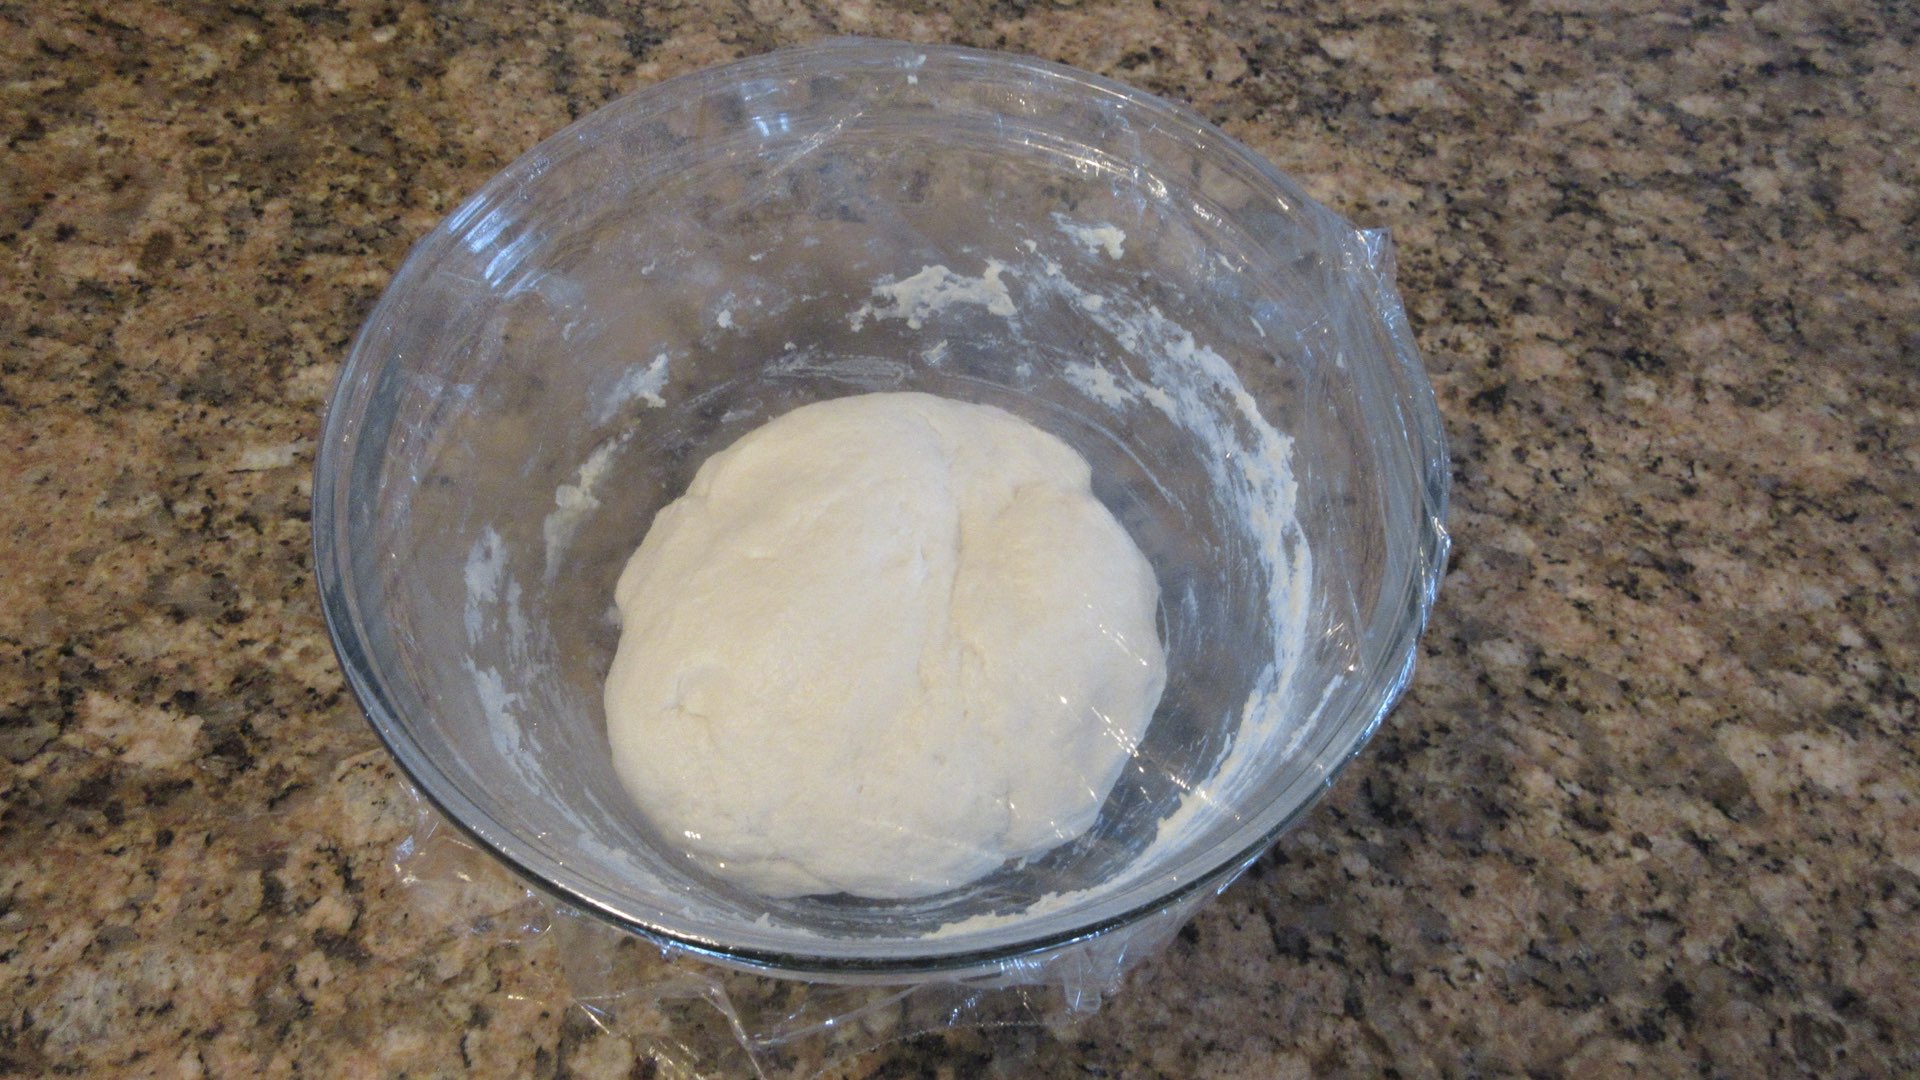
This can take 1 – 3 hours depending on the temperature in your home. Typically, it takes around 90 minutes at temperatures between 70°F – 72°F (21°C – 22°C) for guidance.
Step 6: Melt the Butter
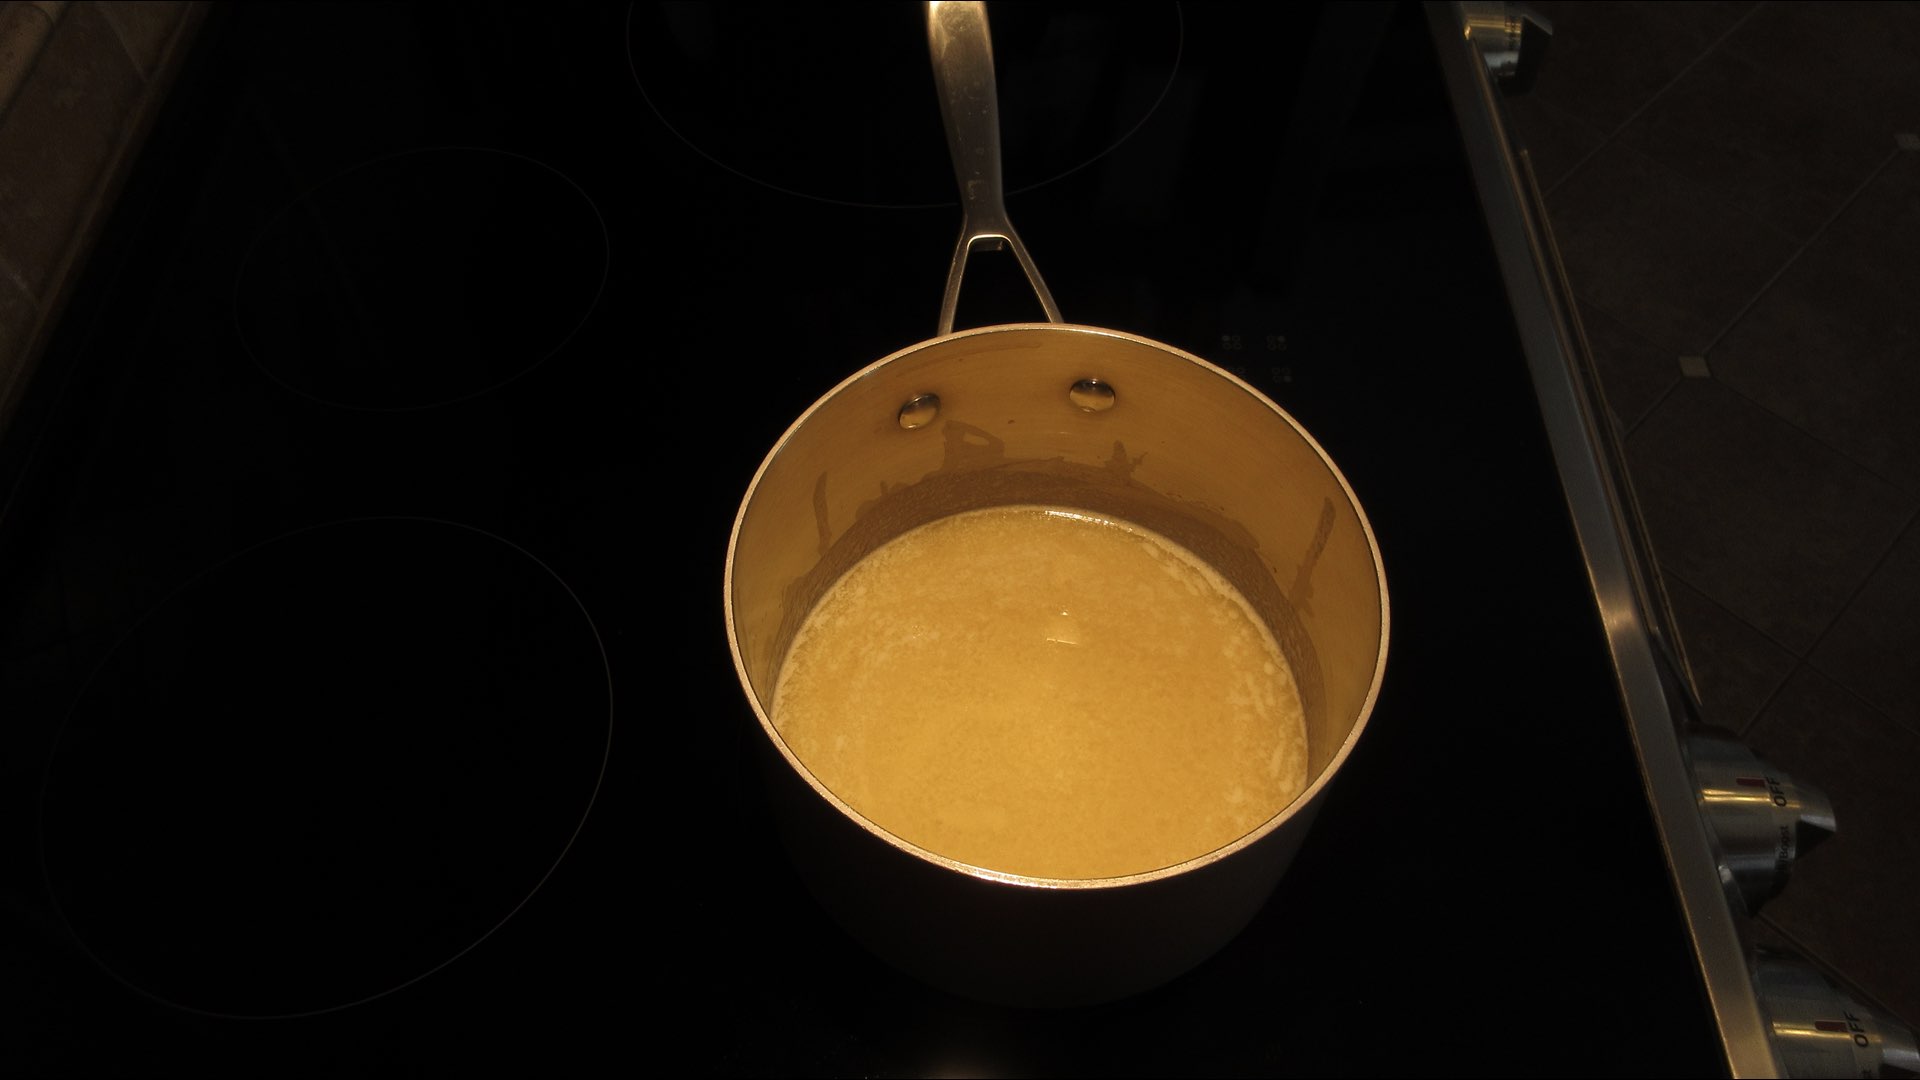
In a small saucepan or in the microwave melt the butter. If you need help learning how to melt butter on the stovetop, we have a brief tutorial to help you. Set it aside to cool slightly.
Step 7: Shape the Dough
Divide the dough into four equal portions. Set three aside and cover. Flatten one section of dough into a circle and begin rolling or patting it out until it measures 10″ (25.4cm) in diameter. The dough may try to bounce back on you and lose its shape. If this happens, just let the dough rest a few minutes under a clean tea towel or plastic wrap and then continue rolling.
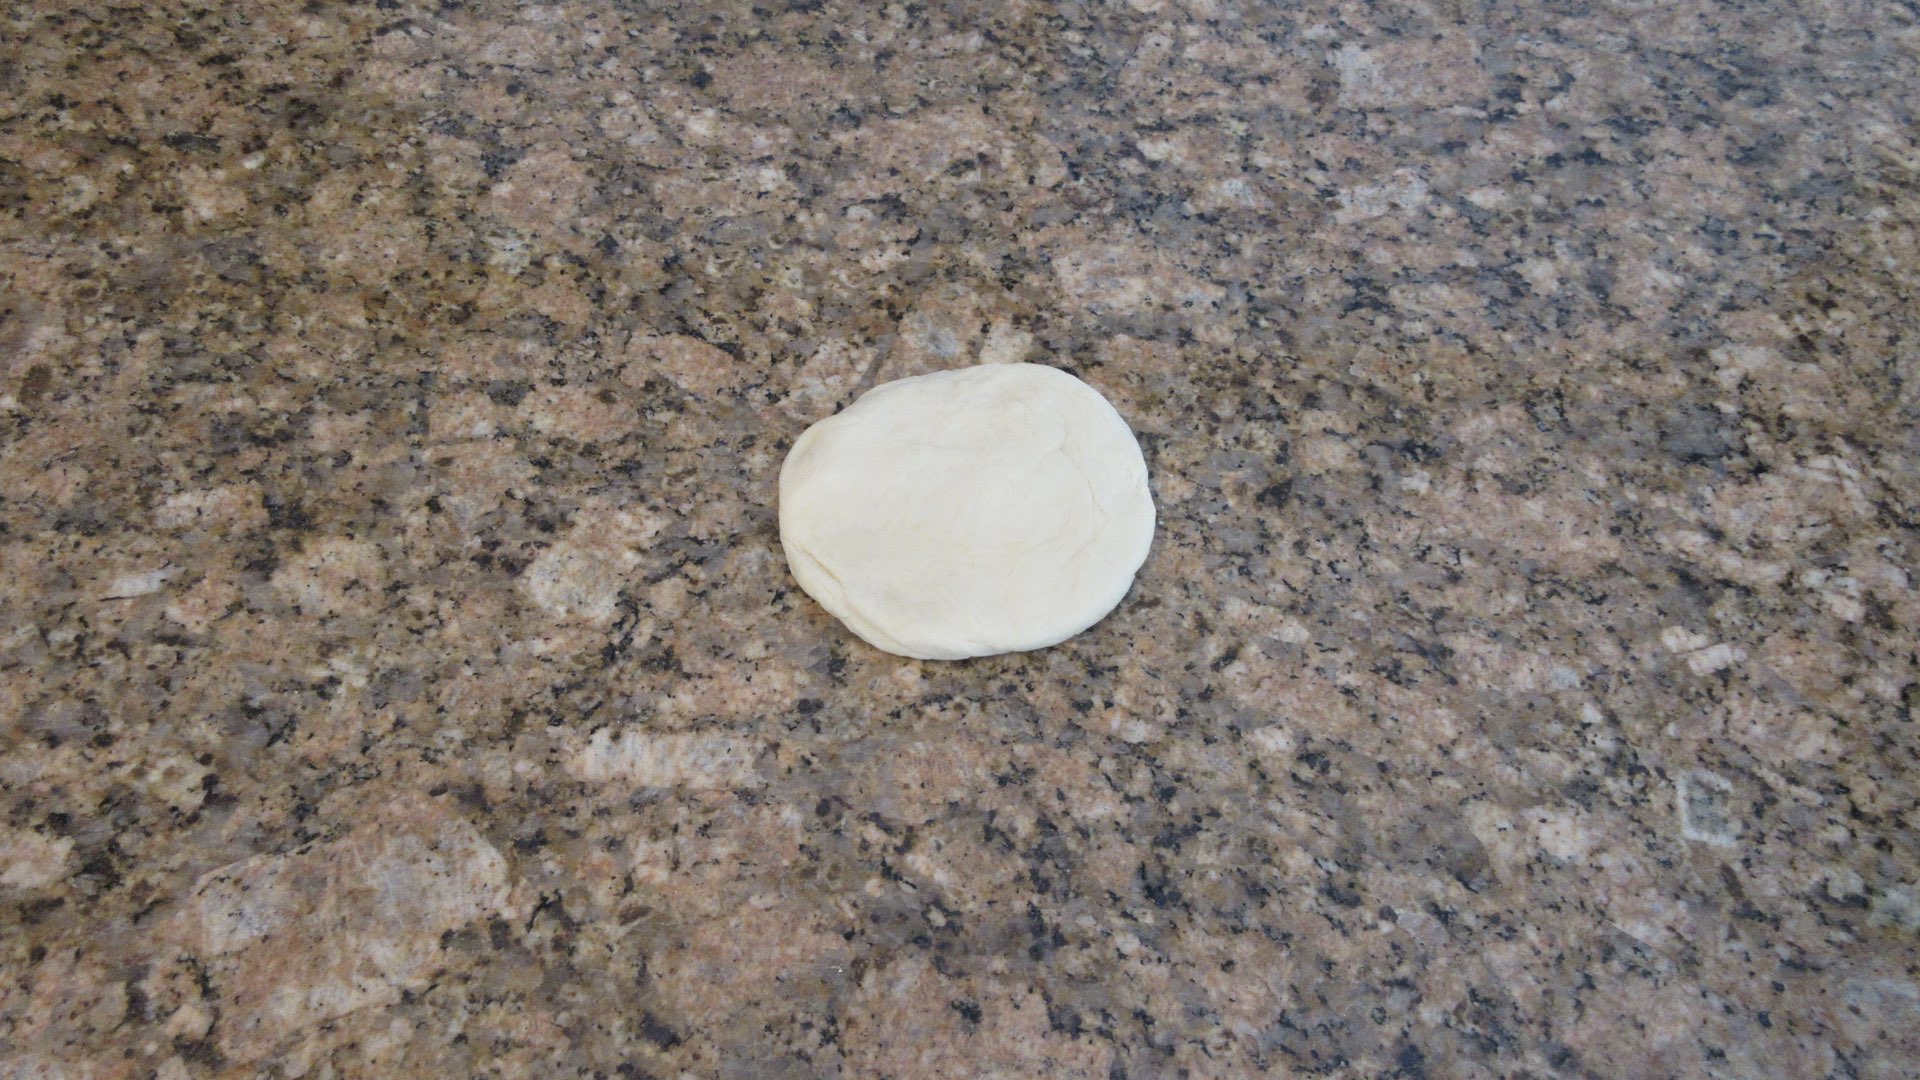
Don’t worry if the circle isn’t perfect. It’s okay as it will still look pretty.
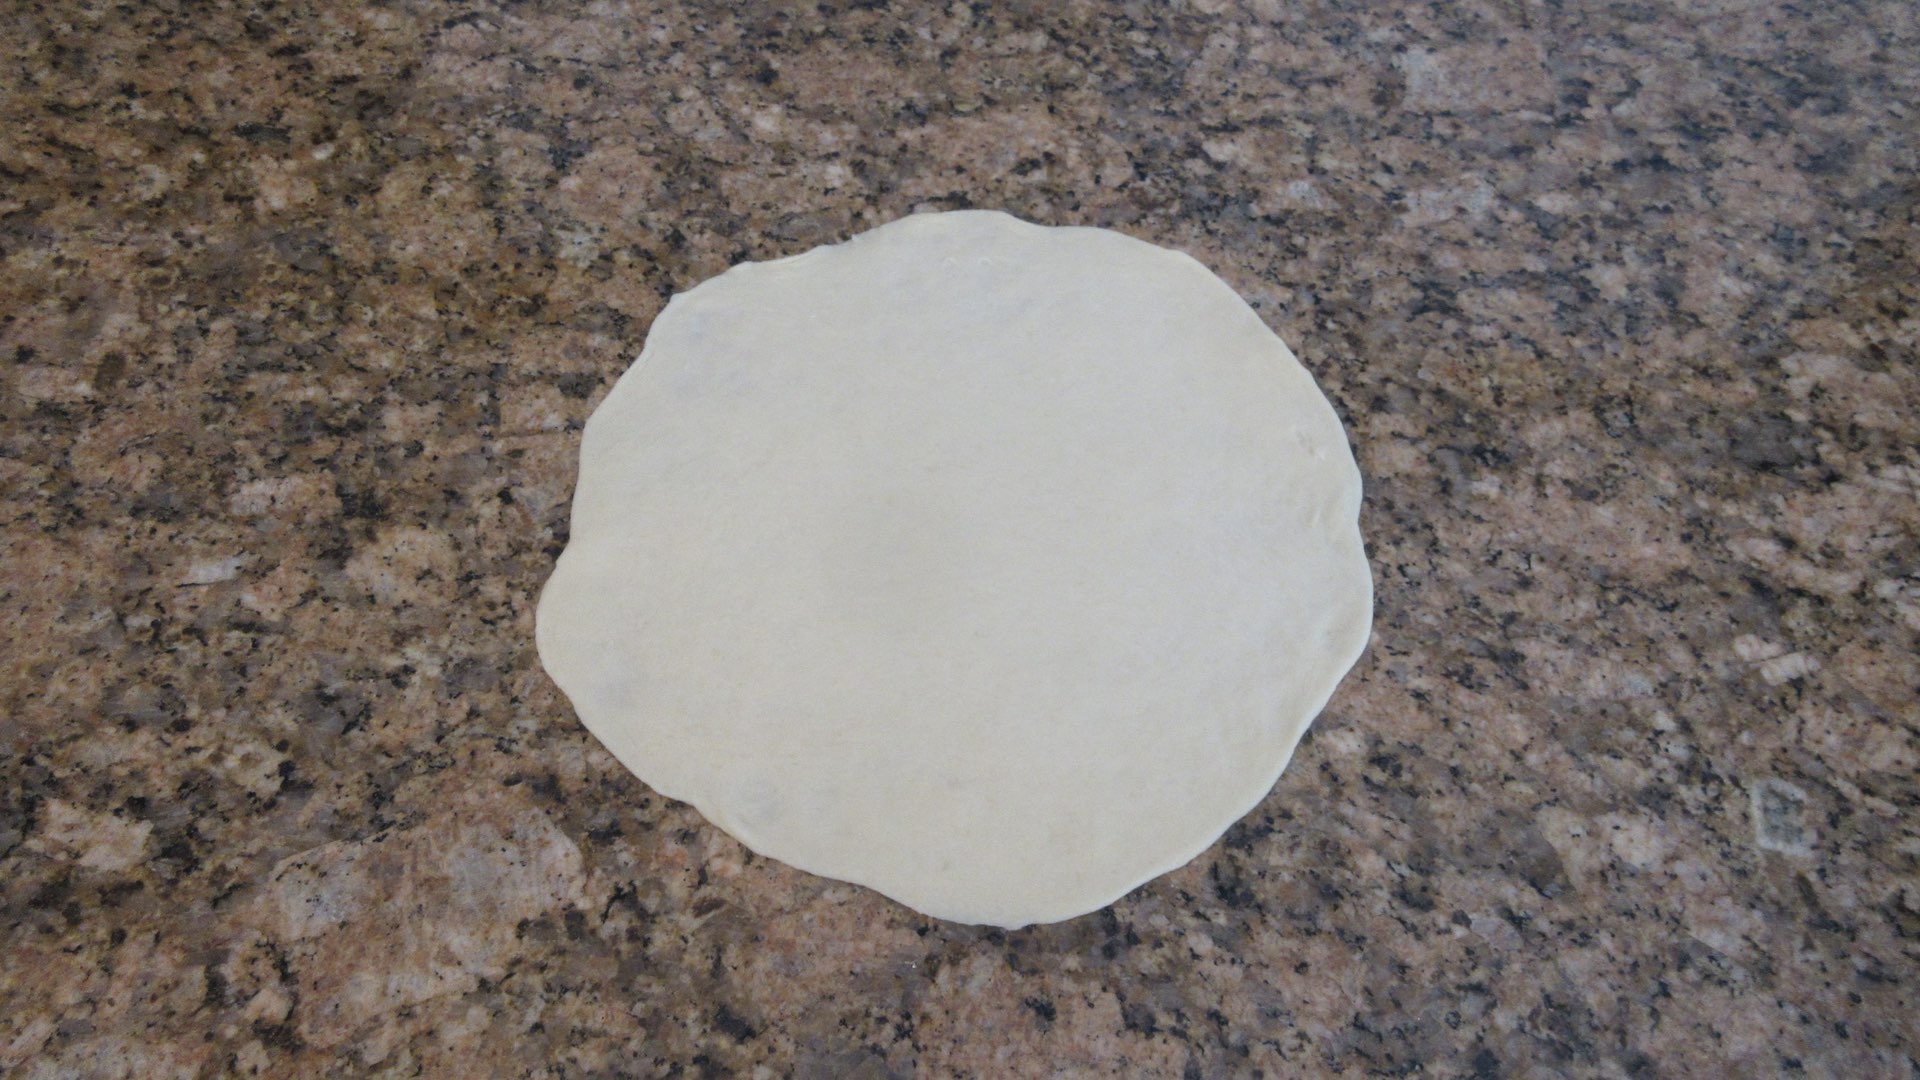
Place the circle of dough onto a non-stick baking tray or one lined with parchment or a silicone mat. We highly recommend parchment even for non-stick surfaces as the caramelized sugar may stick to the pan and the bread will tear as it cools. If the circle loses its shape on the transfer, simply reshape it on the pan.
Next, using a pastry brush or the back of a spoon, spread a thin layer of butter on the dough. Sprinkle the top with 1/3 the brown sugar. Leave a small edge around the circle free of sugar. About 1/4″ or 6mm will do.

Repeat the rolling process and lay the new circle of dough on top of the first piece of dough. You now have two layers of dough.
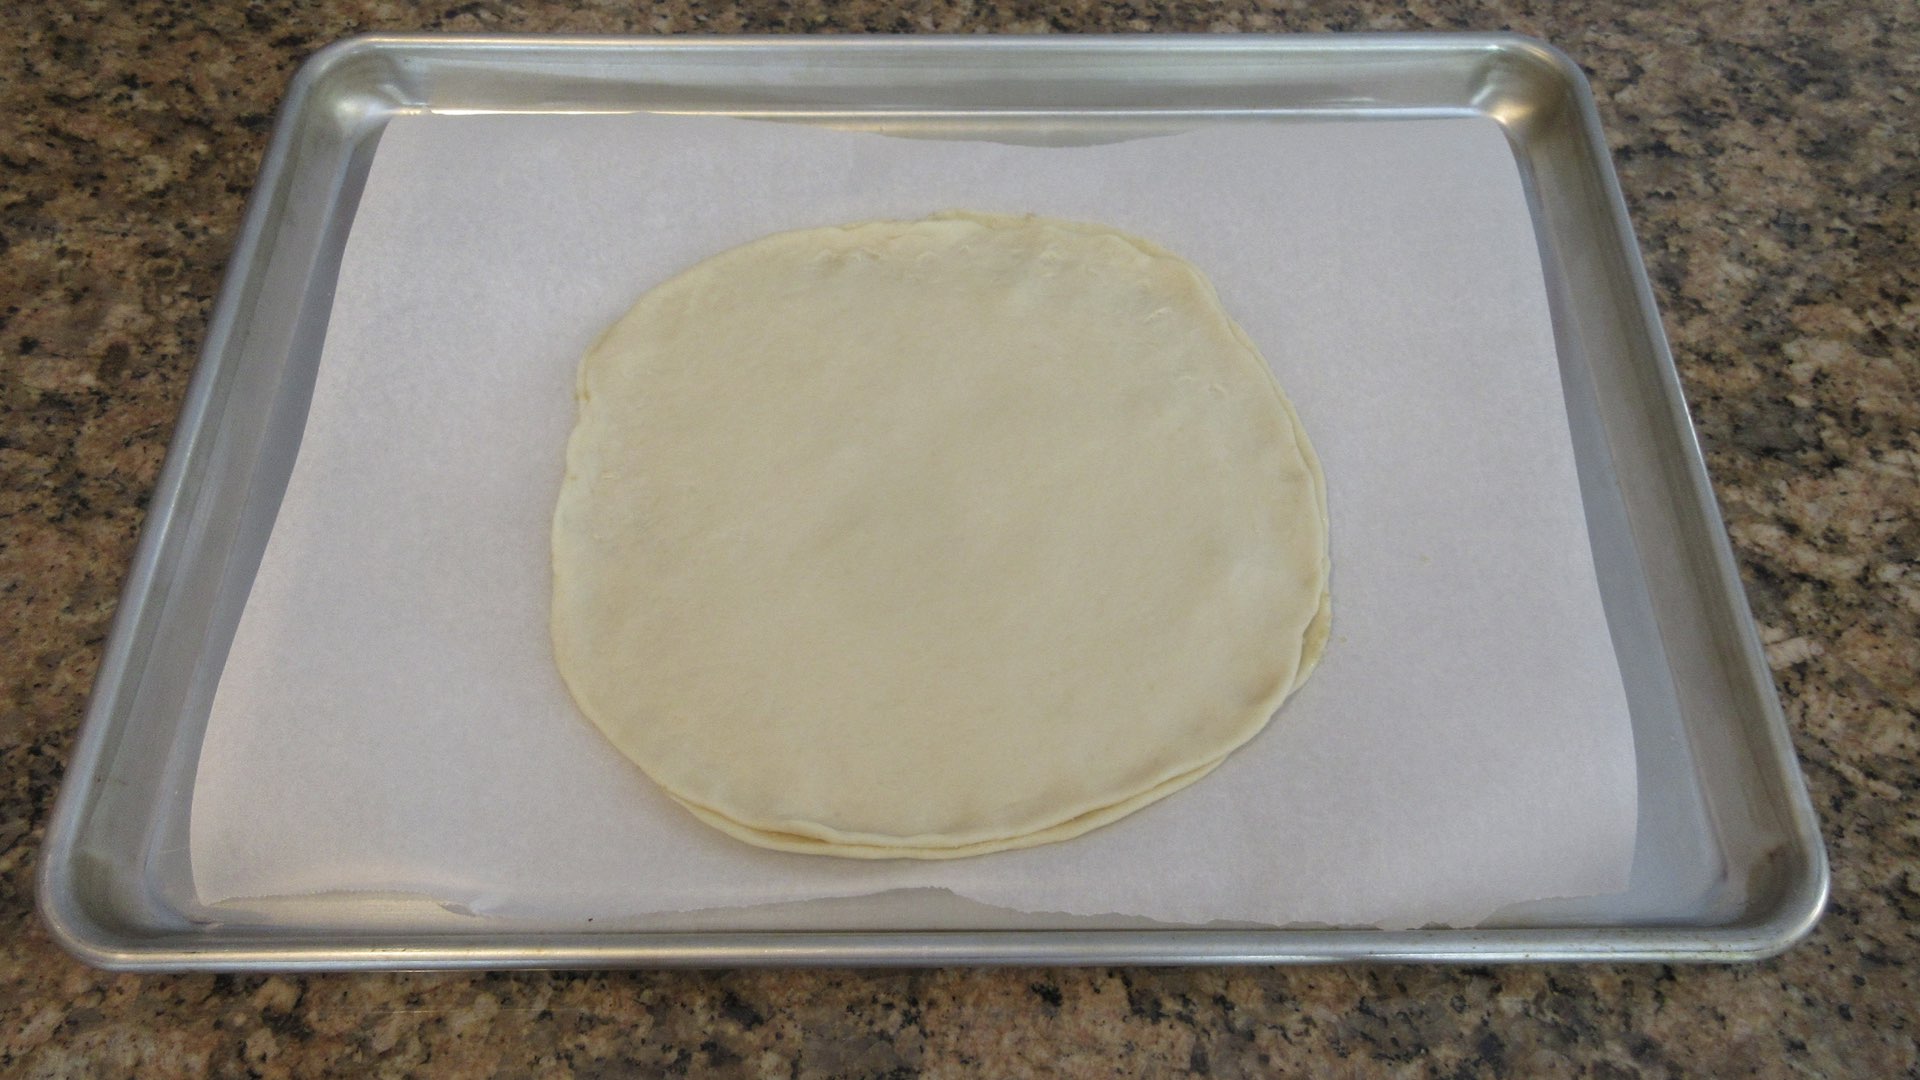
Spread another even, thin layer of melted butter and then add another 1/3 of the brown sugar. Repeat for the third layer of dough.

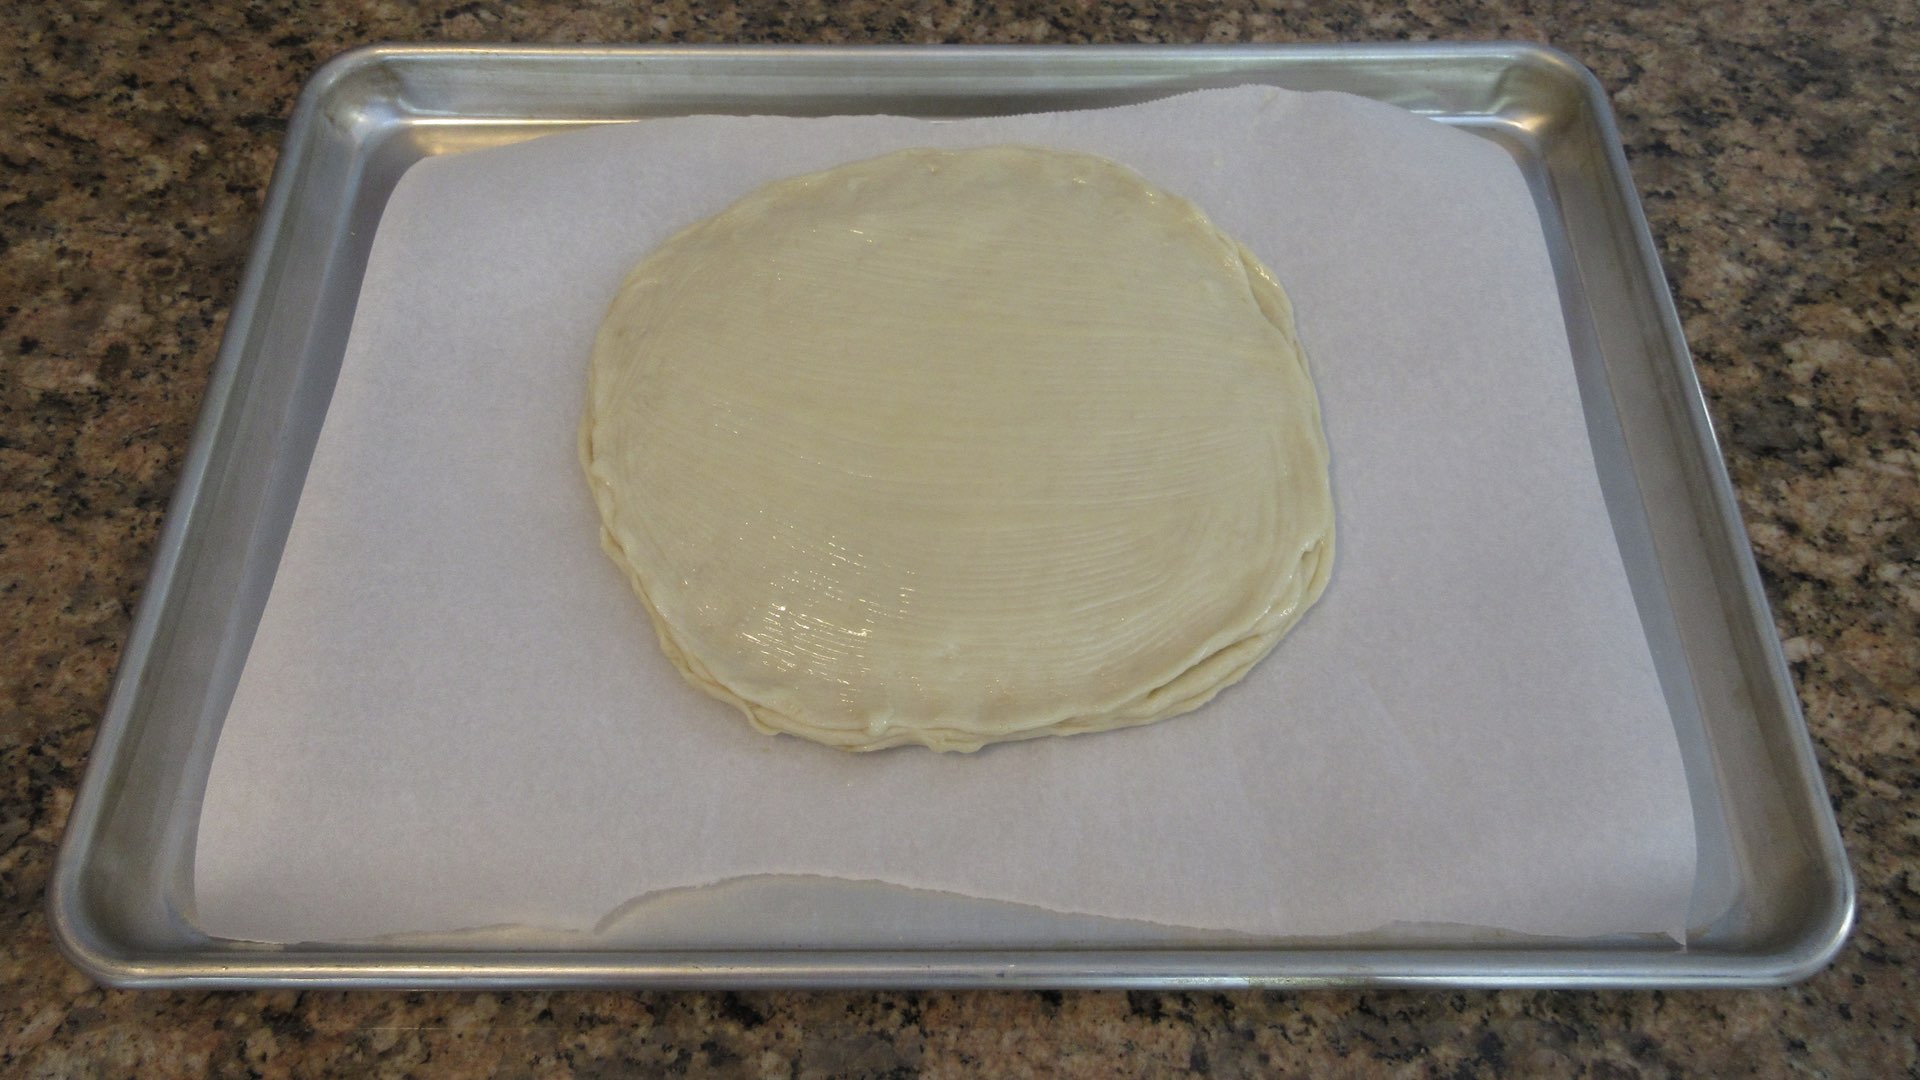
On the final and fourth layer of dough, spread the remaining butter. If desired, you could add an egg wash for a golden and shiny crust. This is up to you and entirely optional.
Step 8: Create the Star Pattern
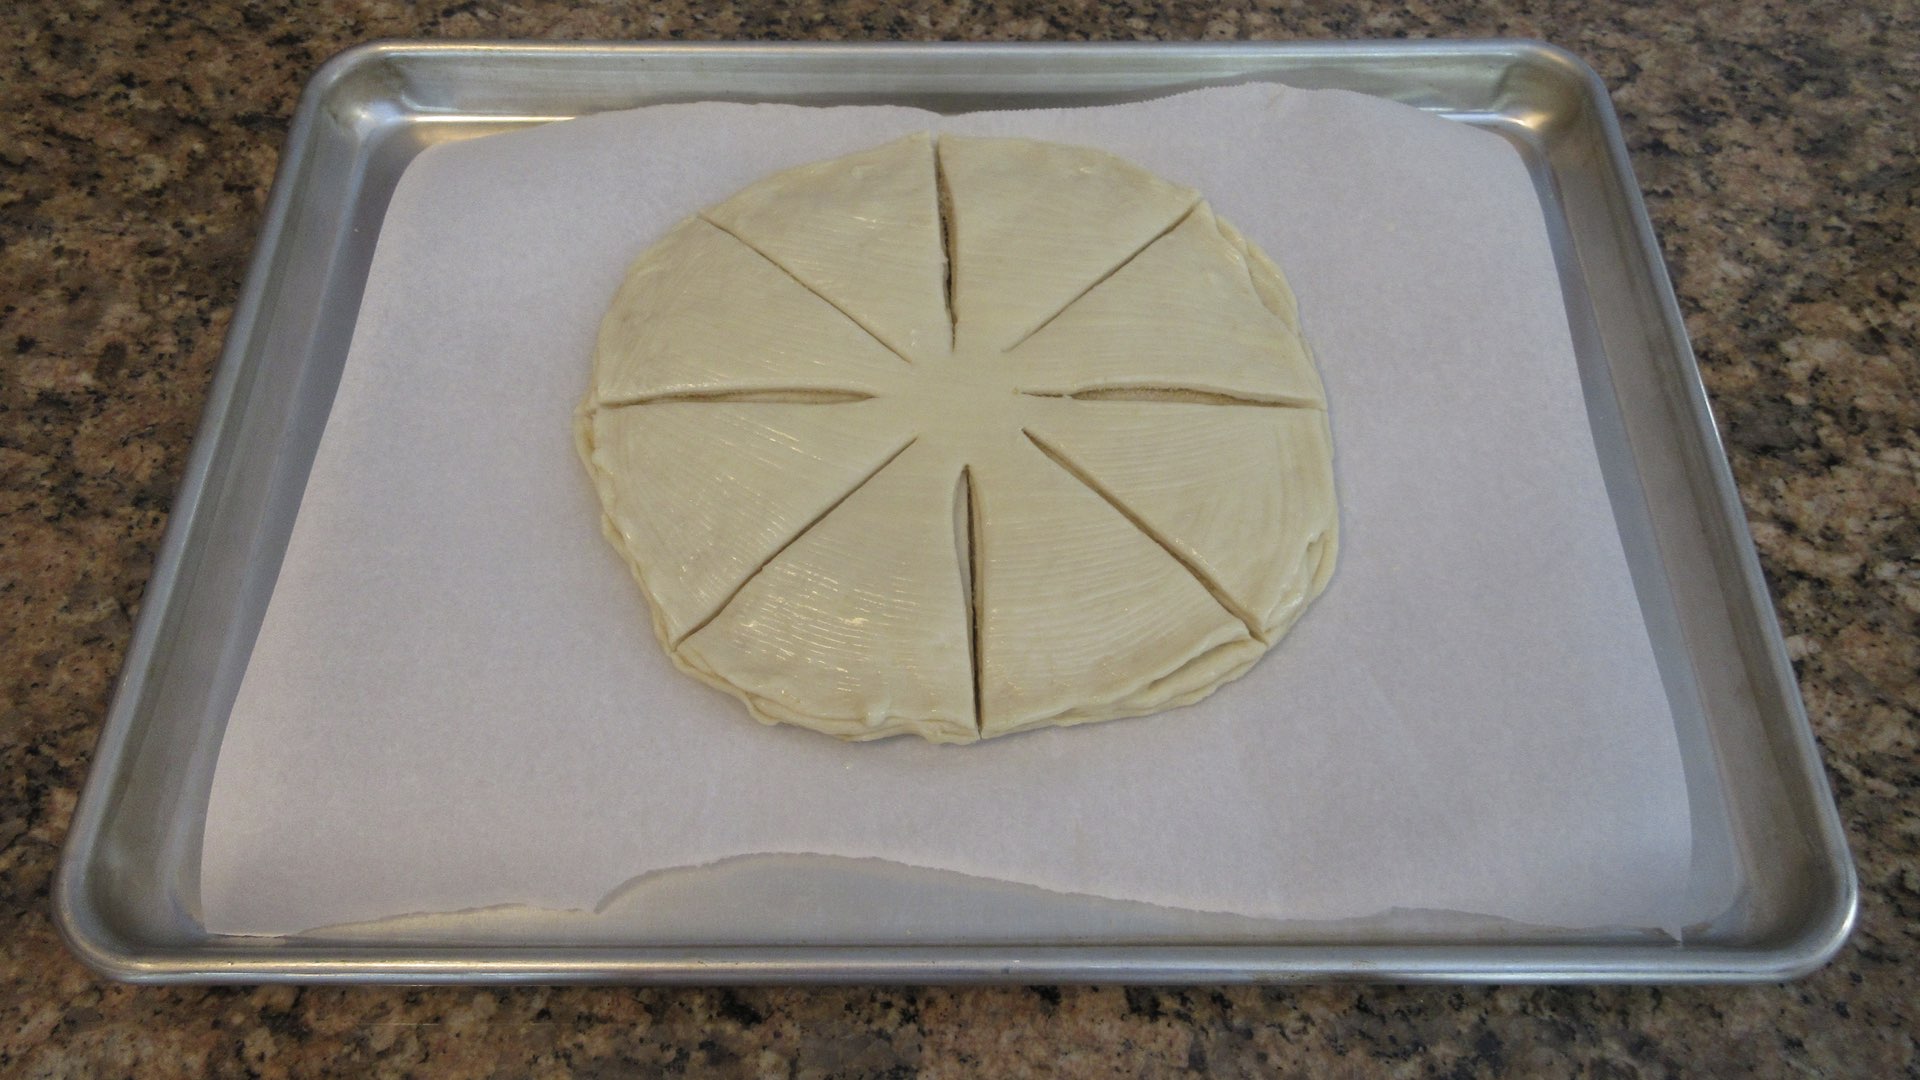
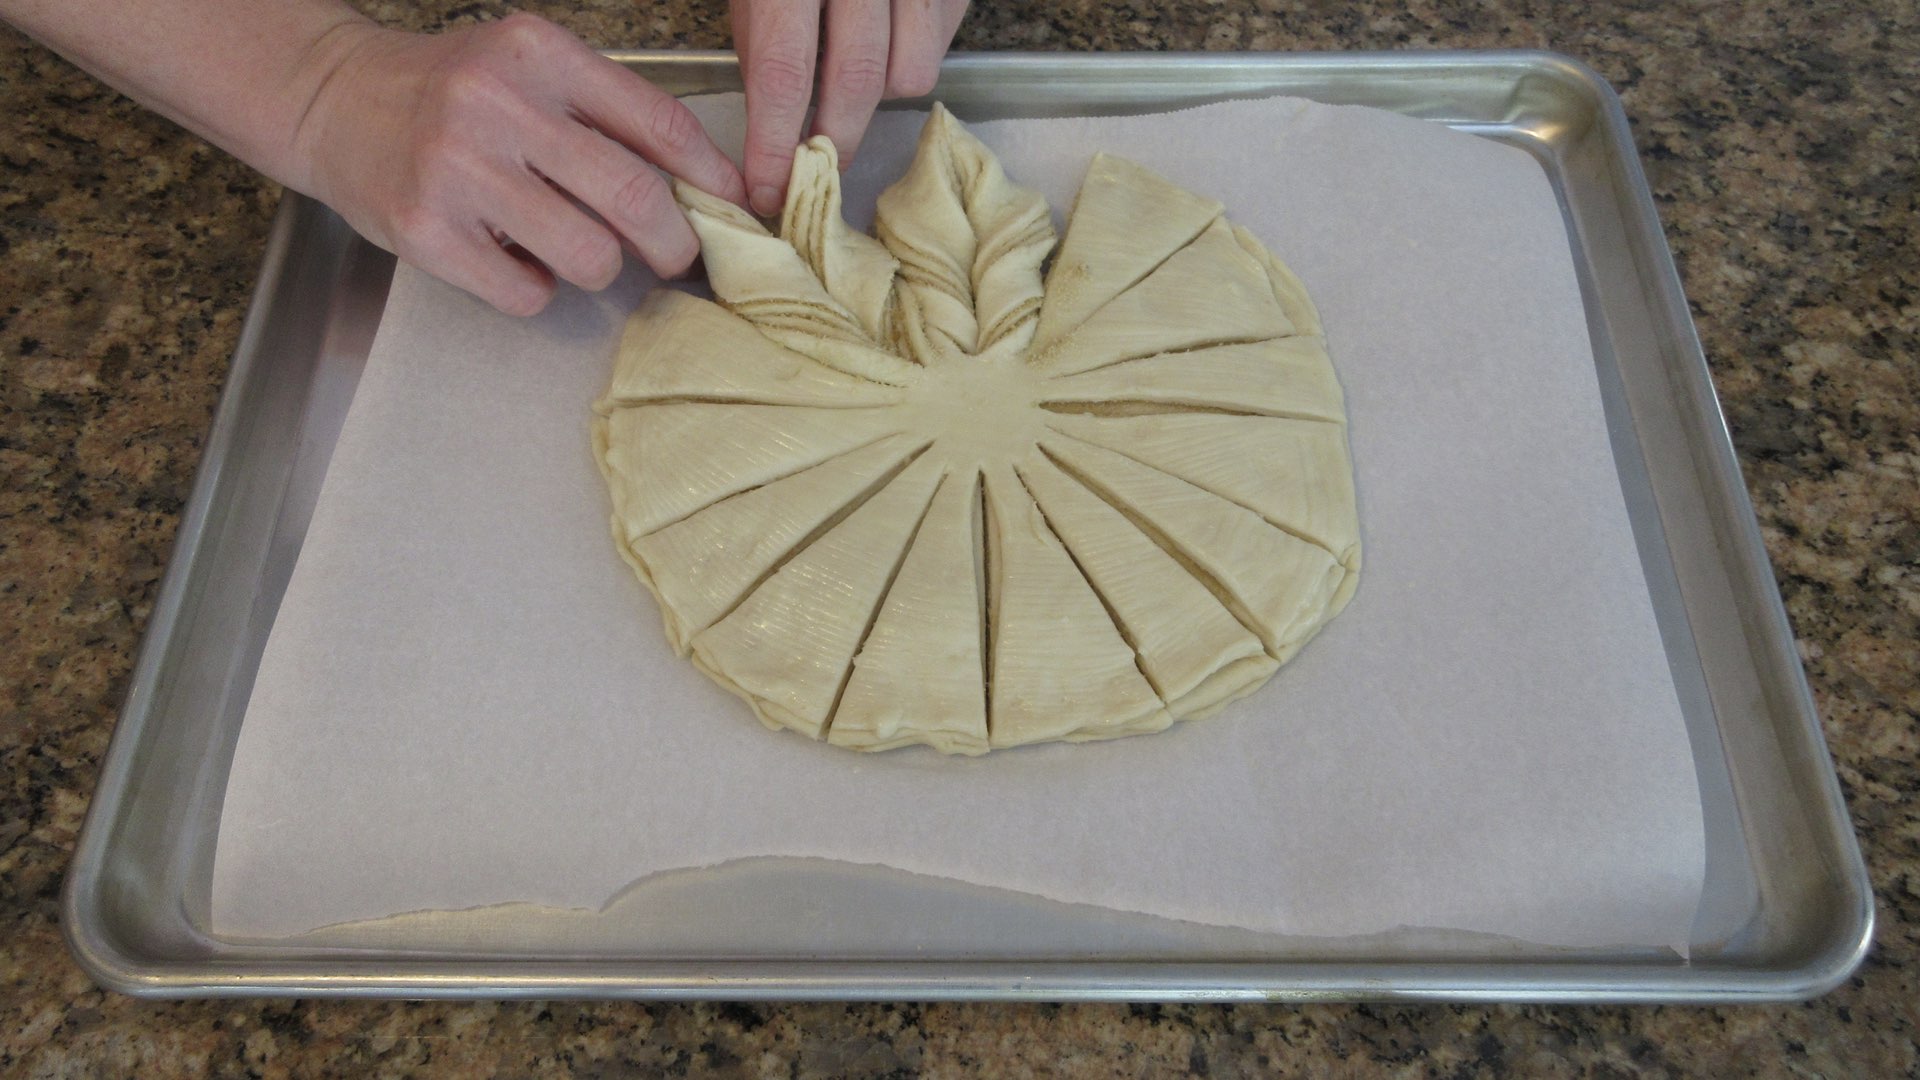
With a sharp knife or pizza cutter, cut the circle into 16 equal strips, starting about 1″ (2.54cm) from the center to the edge, through all the layers. If desired, place a a 2″ (5cm) round cookie cutter in the center of the dough circle as a guide. It’s easiest to start by cutting four strips north, east, south and west. It will look like the following.
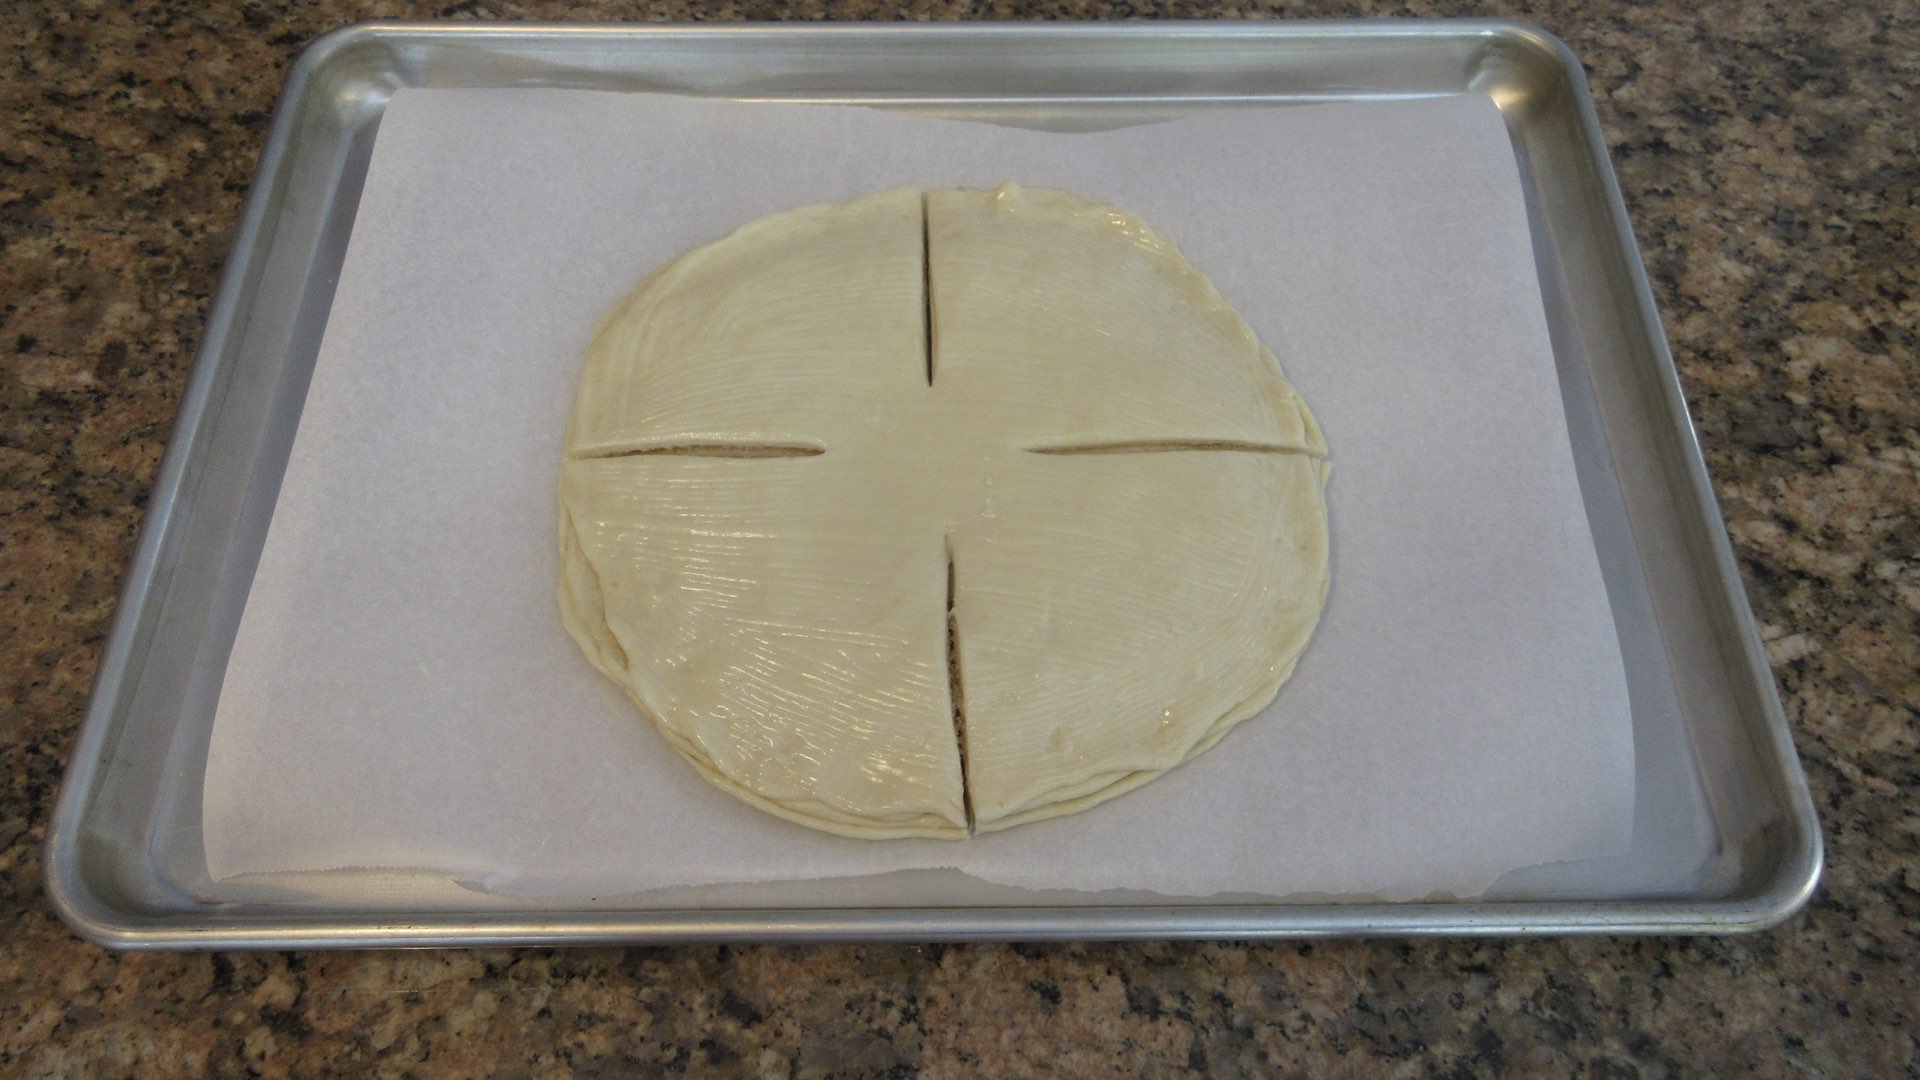
Once you have the four strips, cut four strips between the first cuts. You now have 8 strips of dough.
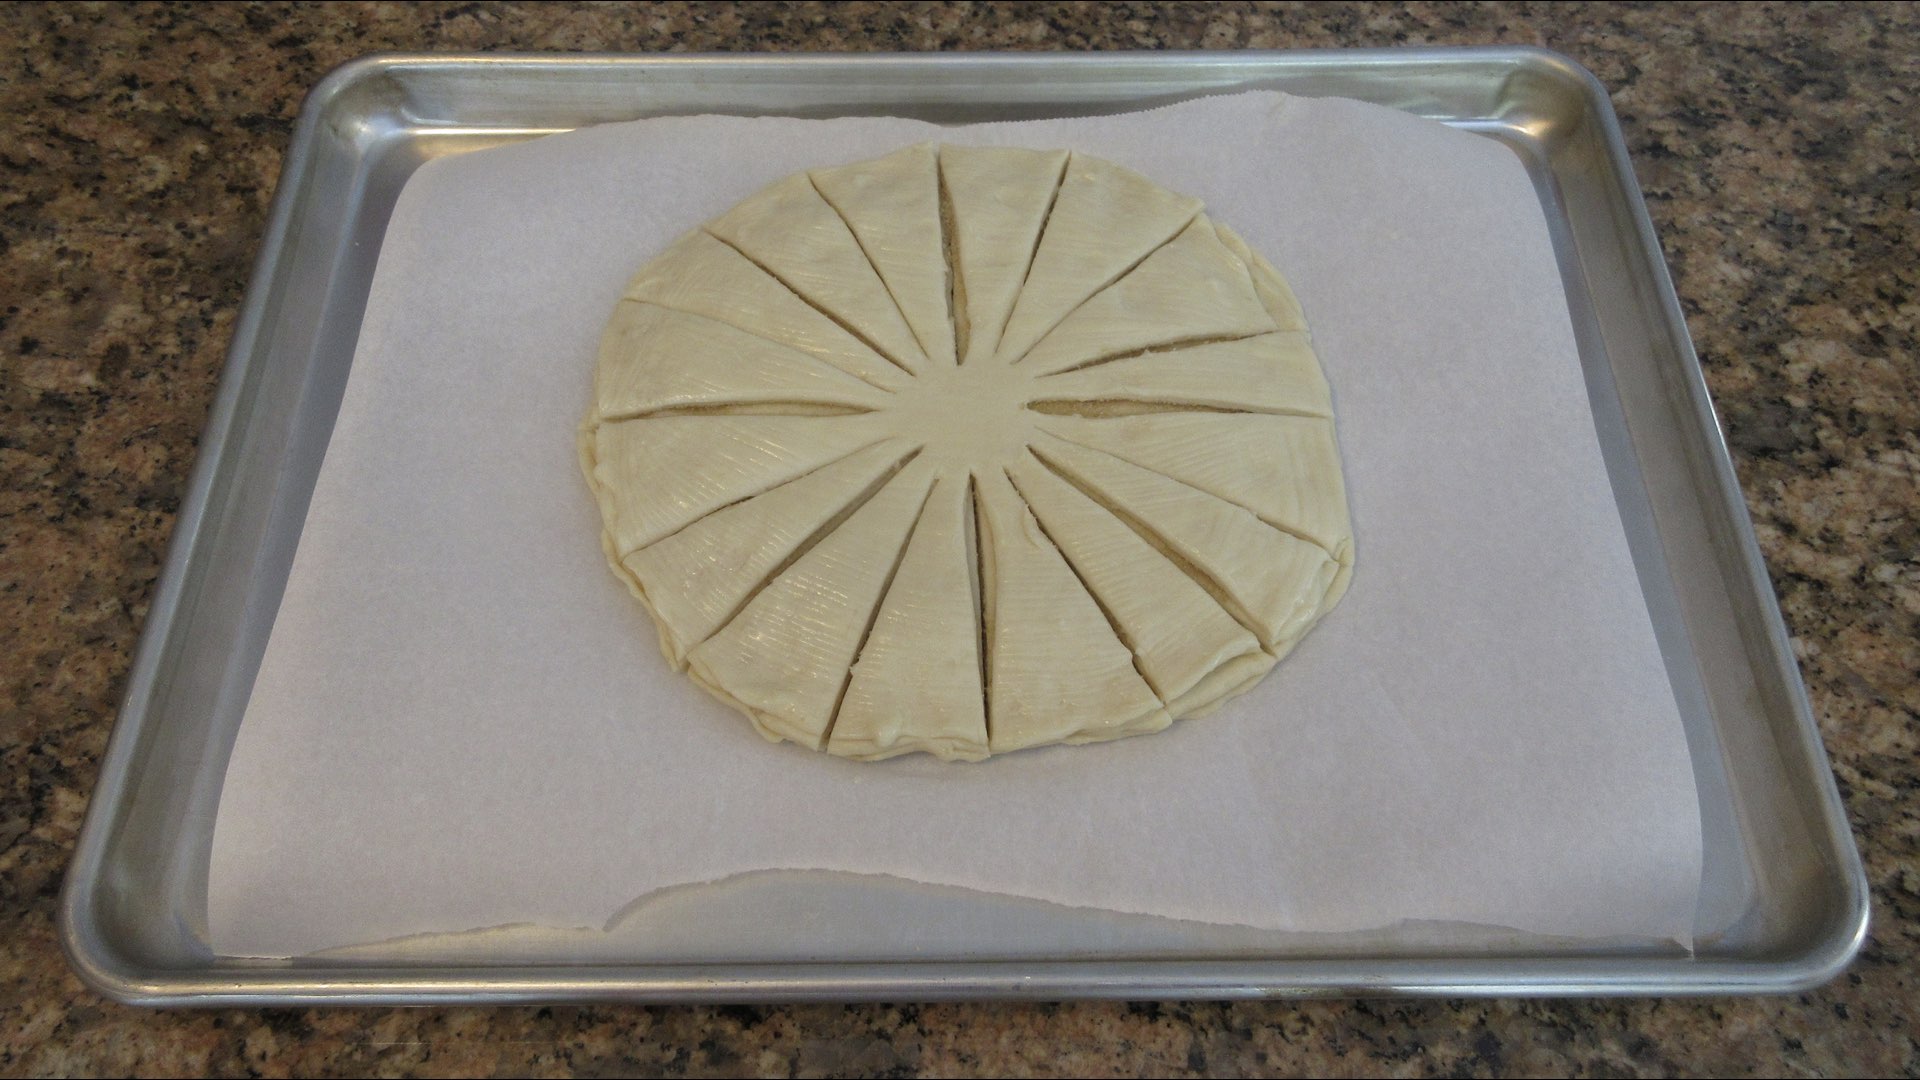
Now cut between each strip of dough. You’ll have 16 strips in total.
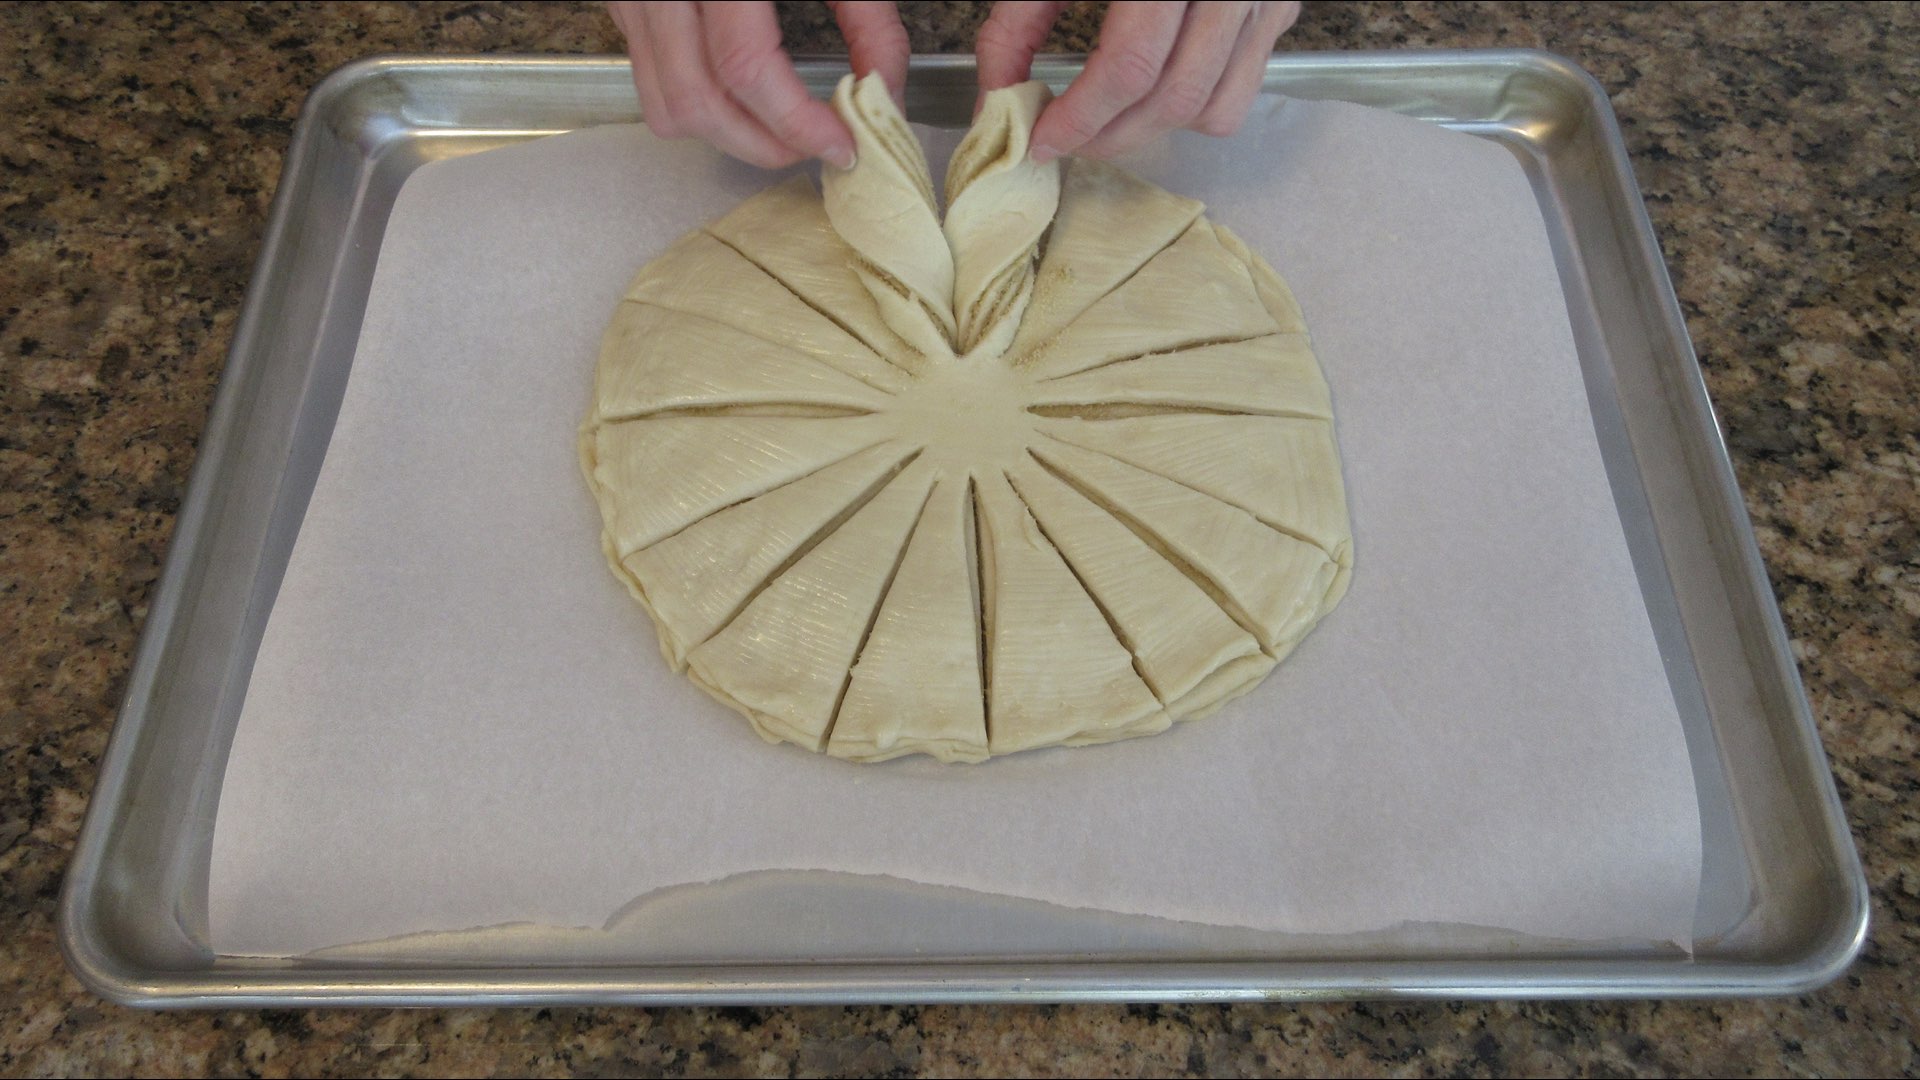
Picking up two adjacent strips, you will twist them away from each other three times.
Press the two ends together to make a point.
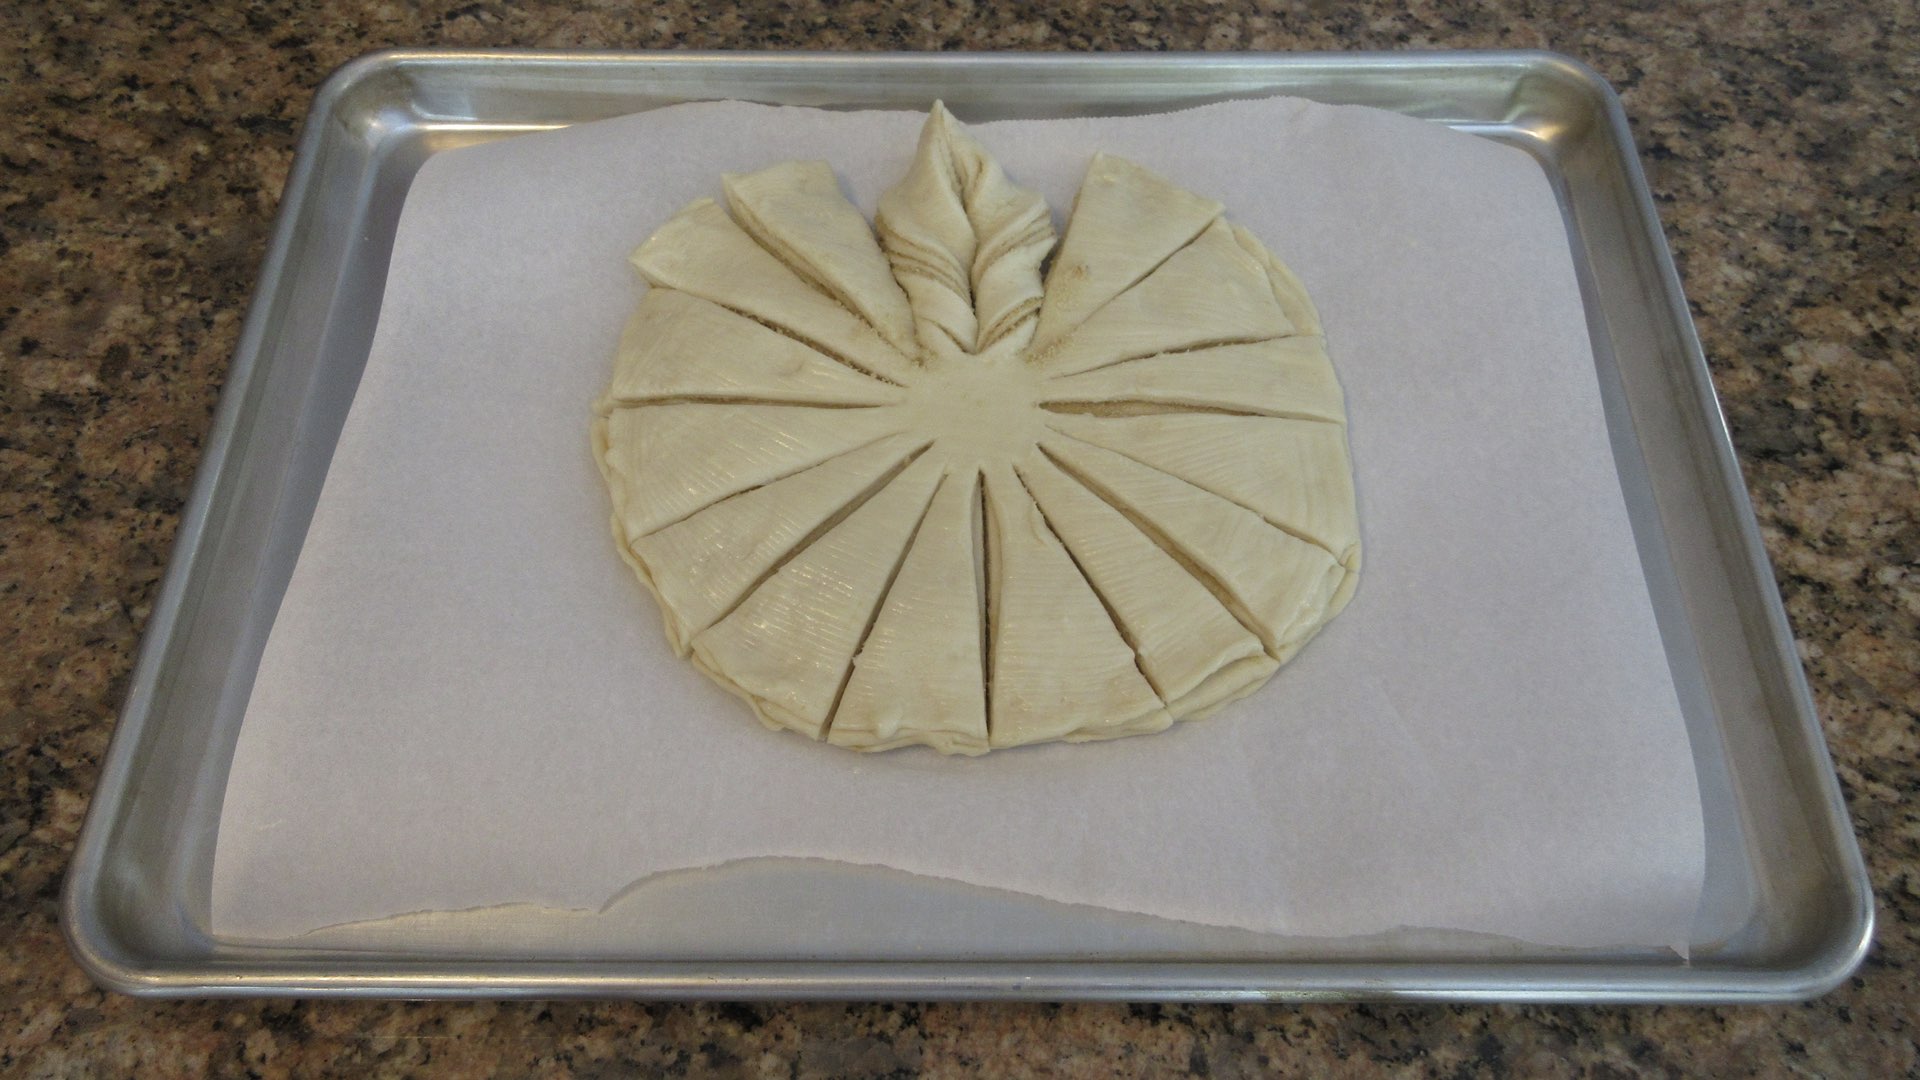
Repeat for the remaining strips.
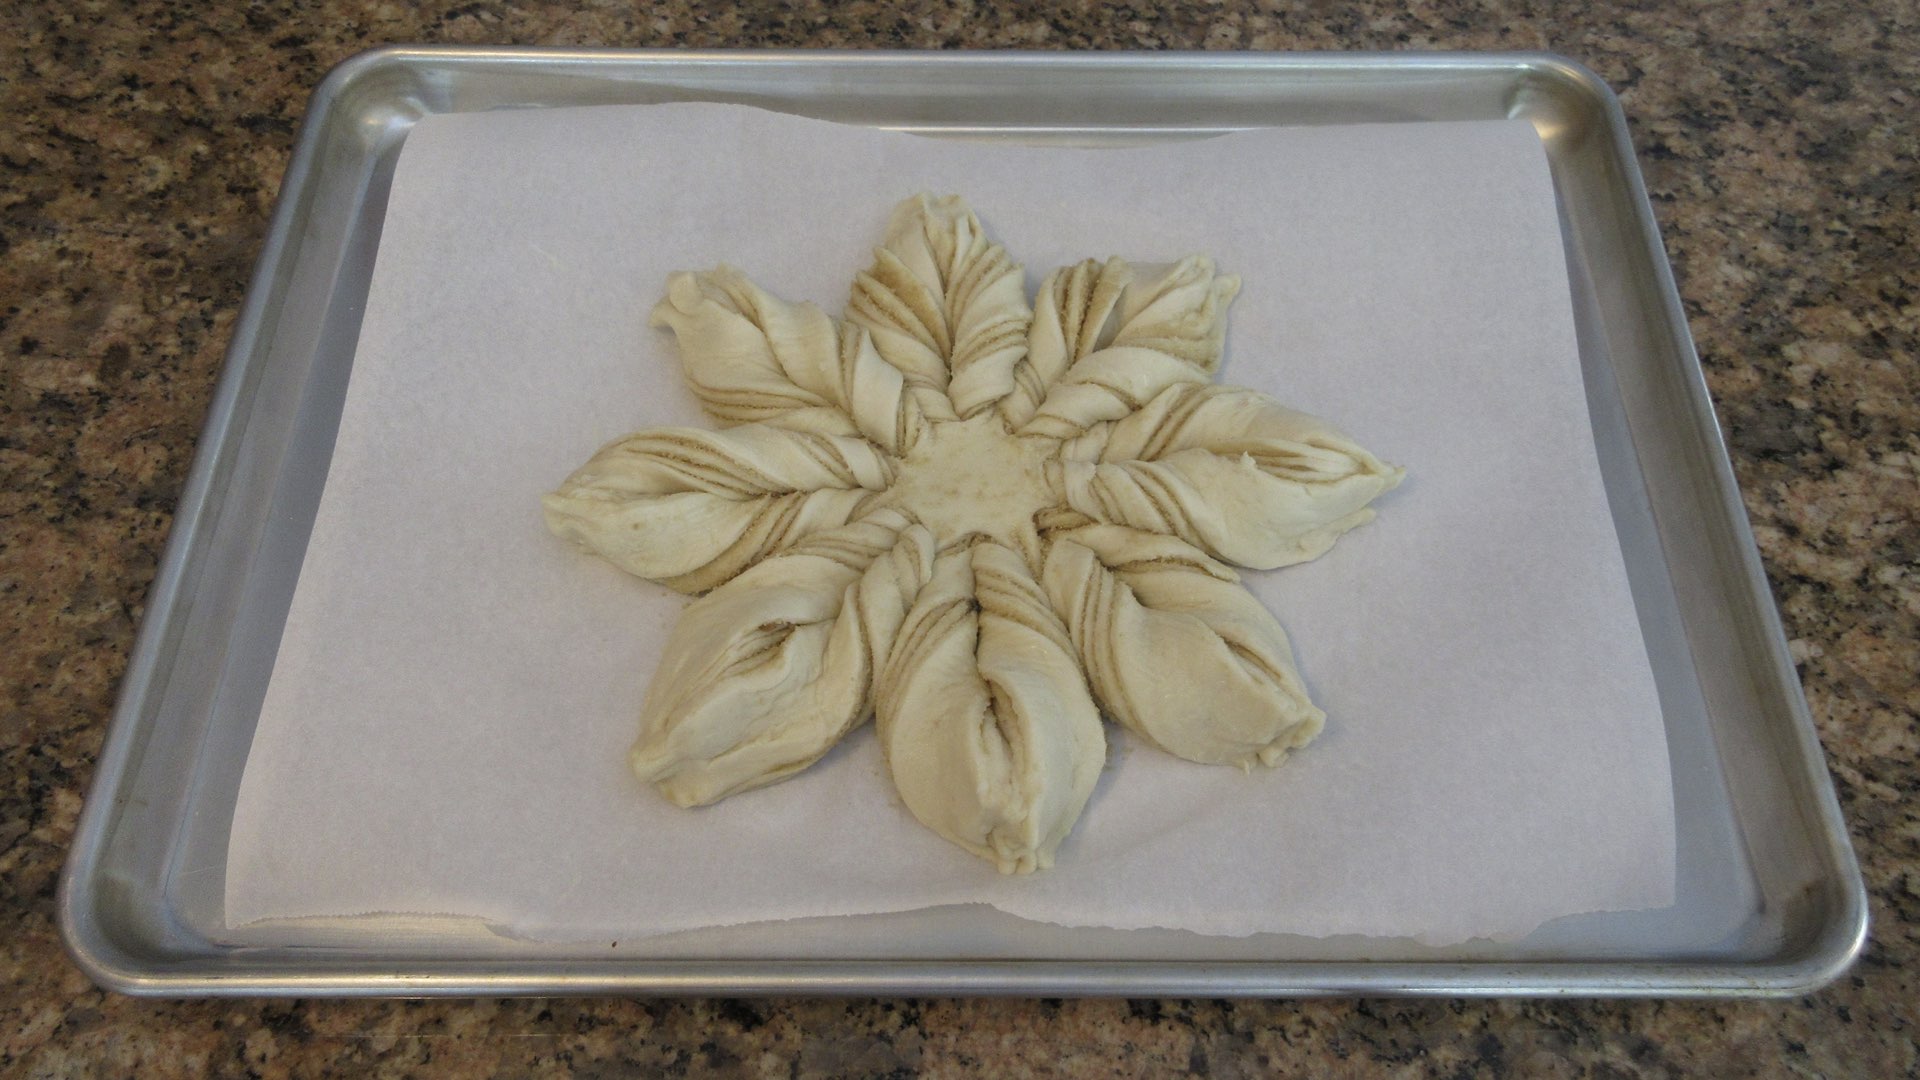
Your star bread will now have 8 pointed edges. Do you see the pattern?
Step 9: Rest and Let Rise
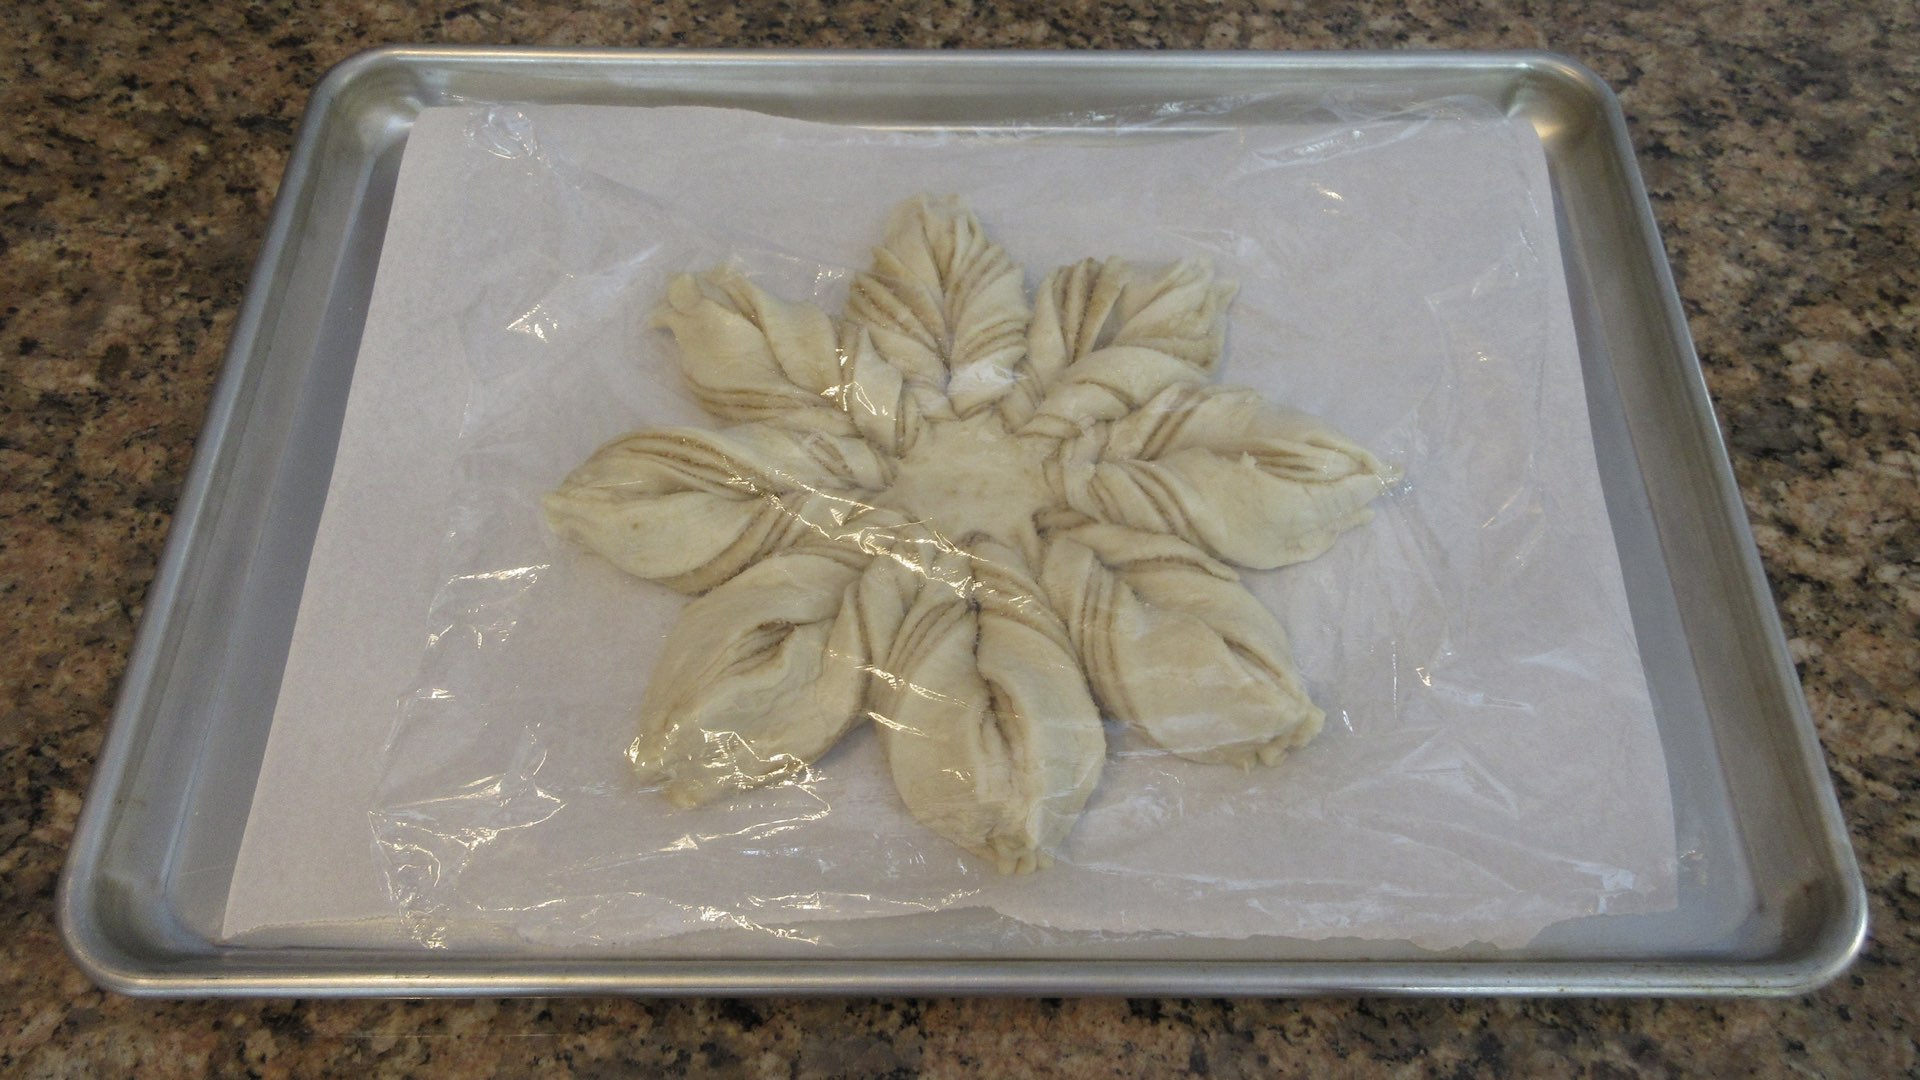
Now, you cover the bread with plastic wrap or a tea towel for 30 – 60 minutes or until the bread puffs up to nearly double in size.
When the dough is close to double like you see here, turn on your oven. You want to bake enriched doughs at a lower temperature so we are going to preheat the oven to 350°F (180°C.)
This should be obvious, but some of us are new to baking. Always remove the plastic wrap or towel prior to baking. Even if the recipe doesn’t tell you, always remove the covering before placing your bread in the oven.
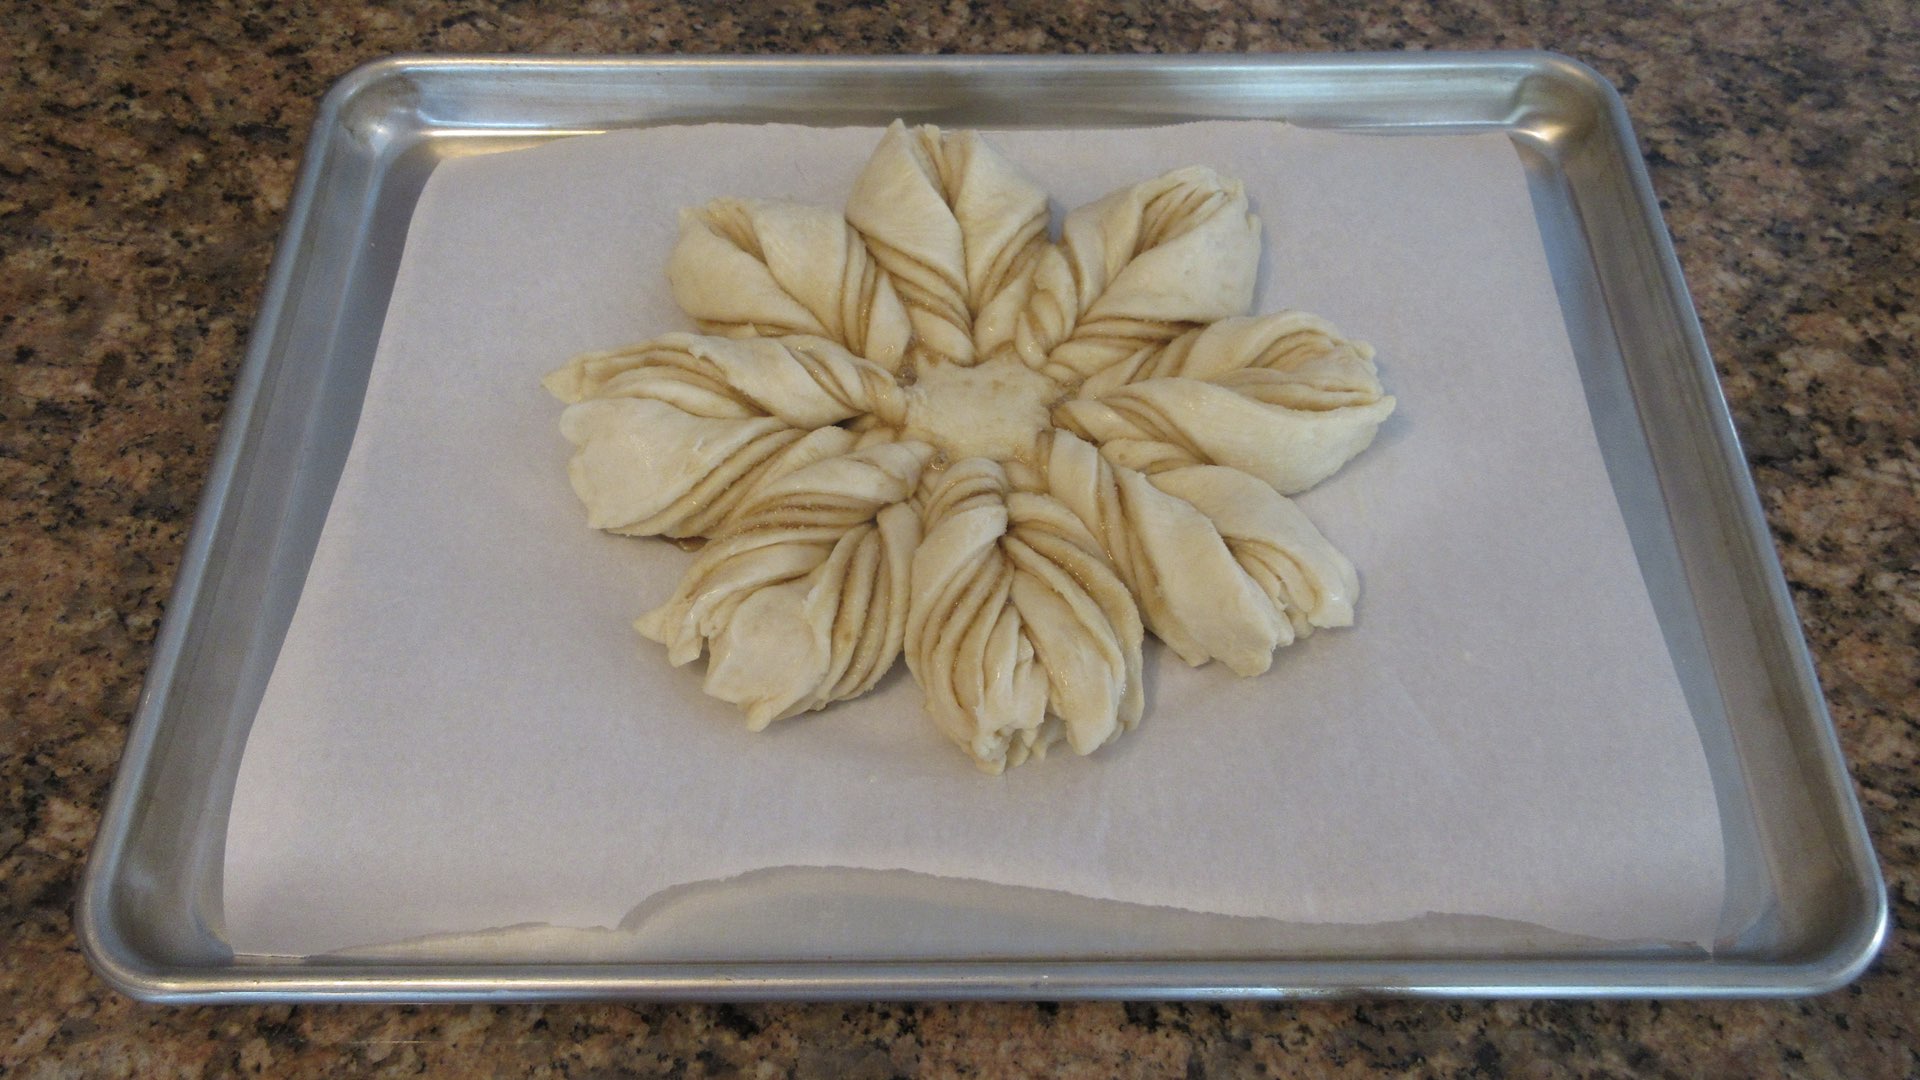
Some of the points may lose definition as they rise. You can press them back together prior to baking, but this risks the dough being deflated. I say embrace the charm of the star bread recipe.
Step 10: Bake
Now, we bake the dough until it is a beautiful golden brown. This will take approximately 18 – 24 minutes and depends on the type of bakeware you are using. For instance, expect ceramic and glass to take much longer than aluminum or stainless steel. If you are using a dark colored pan, you may need to drop the temperature 25°F (10°C) to prevent over browning of the crust. The center temperature should reach 190°F (88°C) when they are fully done.
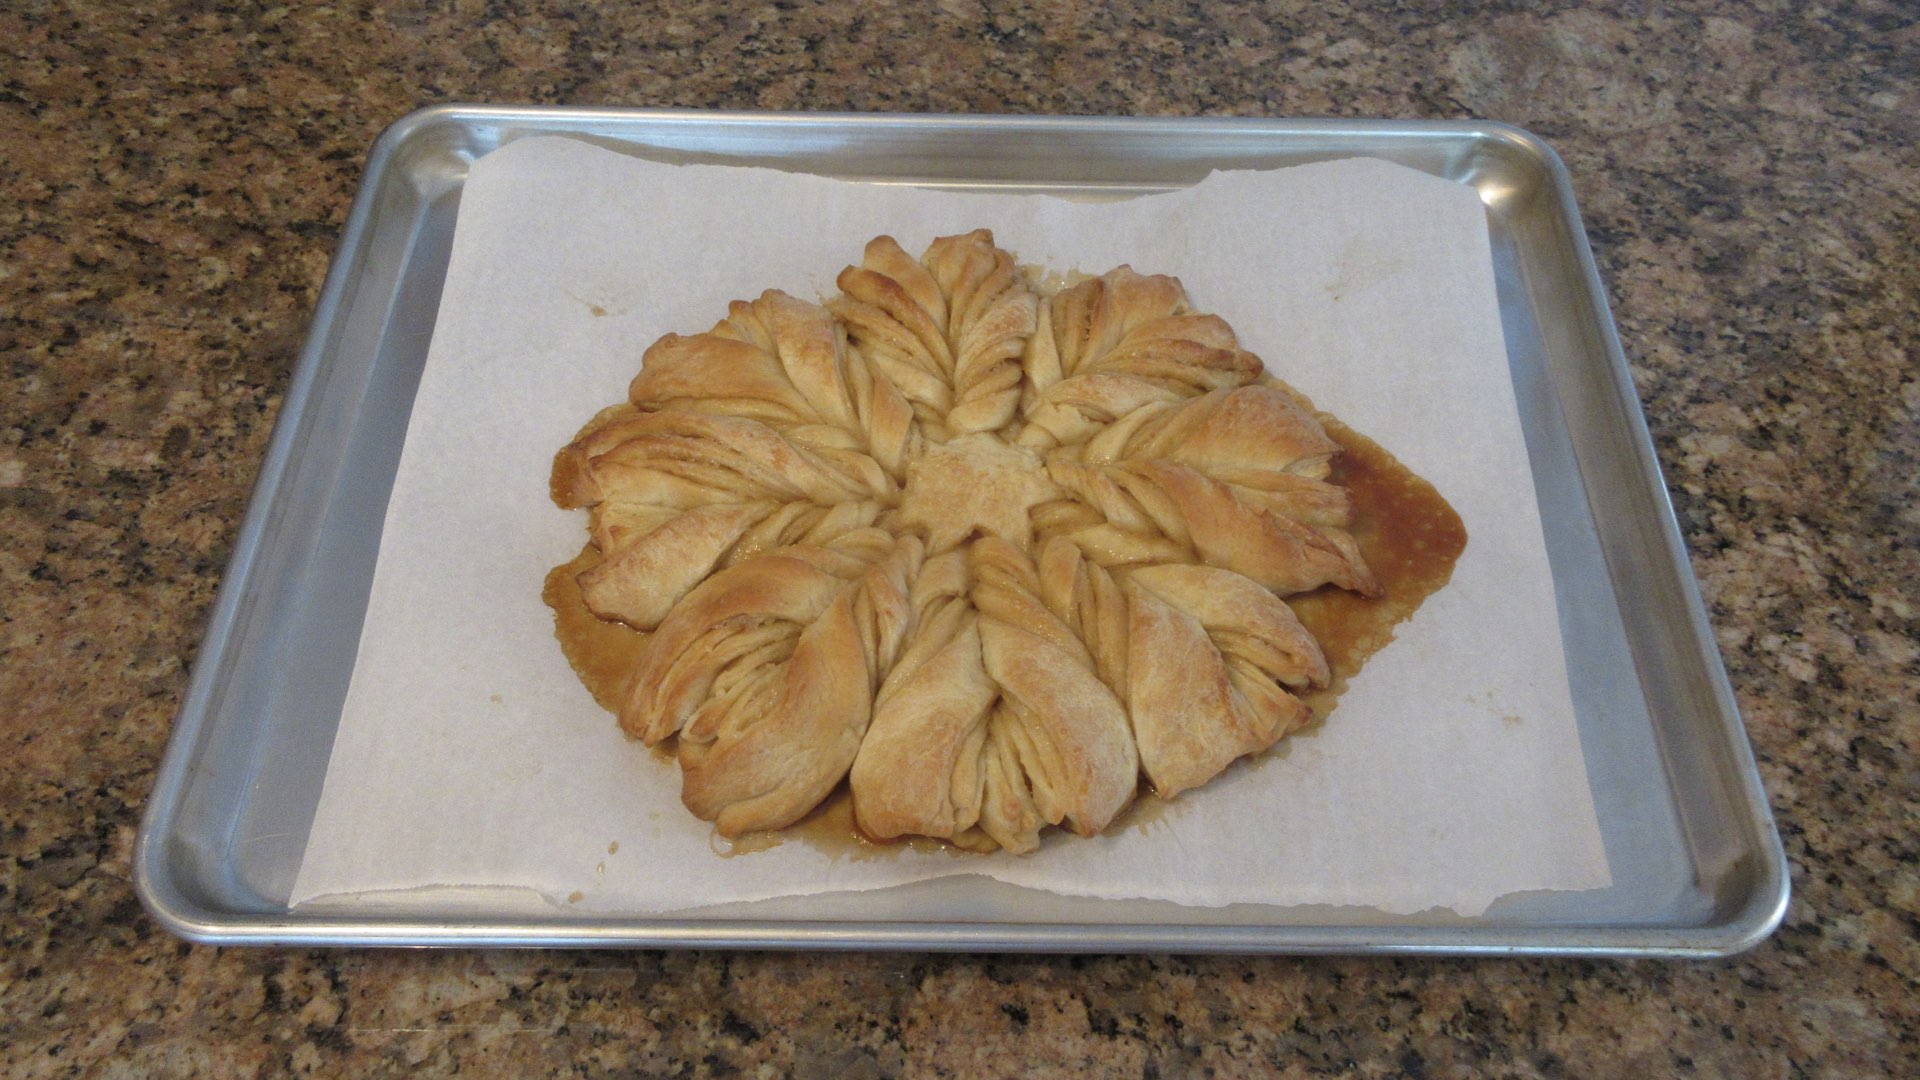
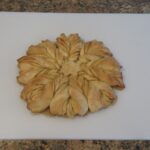
The star bread below is baked with just butter brushed on top. It is a lovely golden brown and has a mat like appearance.
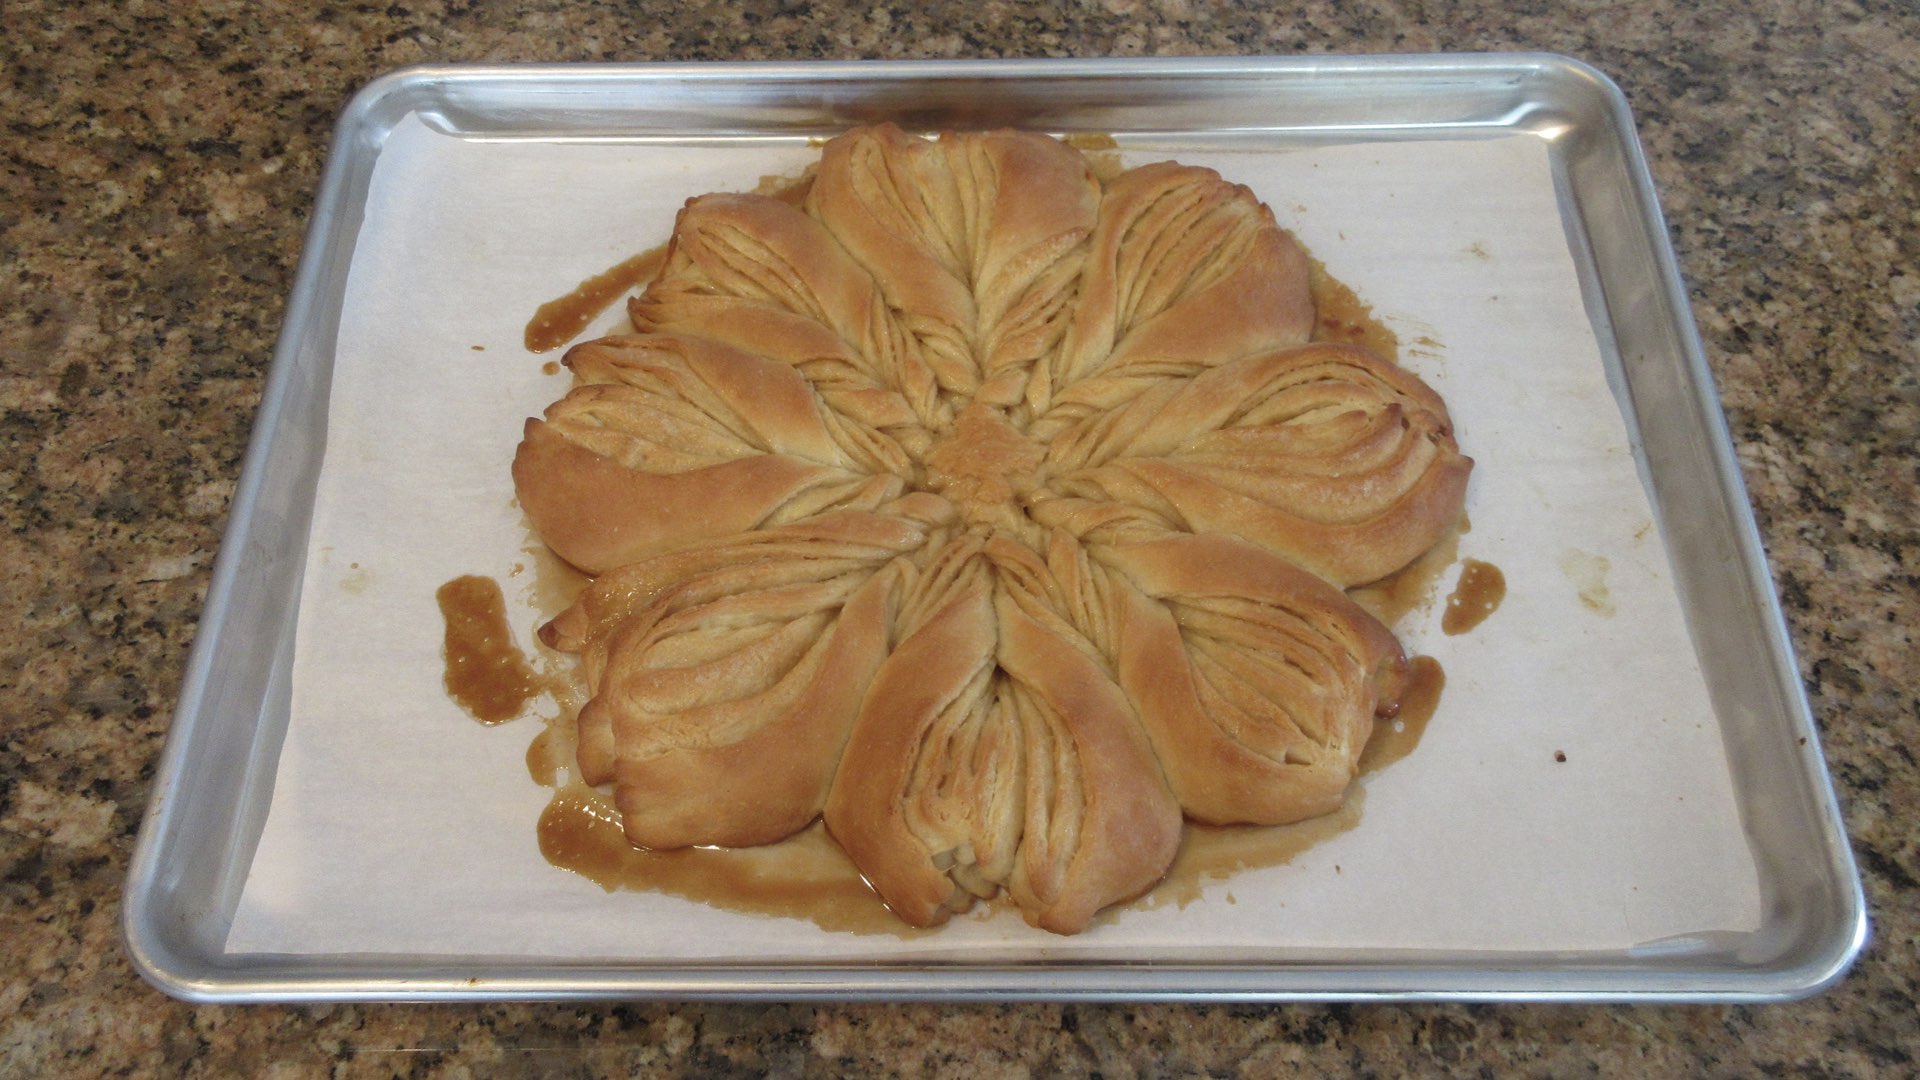
In comparison, the one brushed with an egg wash (one egg beaten with a tablespoon or 15mL of water) has a nice shiny appearance. Both tasted lovely and both look wonderful. Let the bread set on the tray 5 – 10 minutes before carefully transferring it to a wire rack. Be very careful as the sugar is very hot and you could get burned touching it.
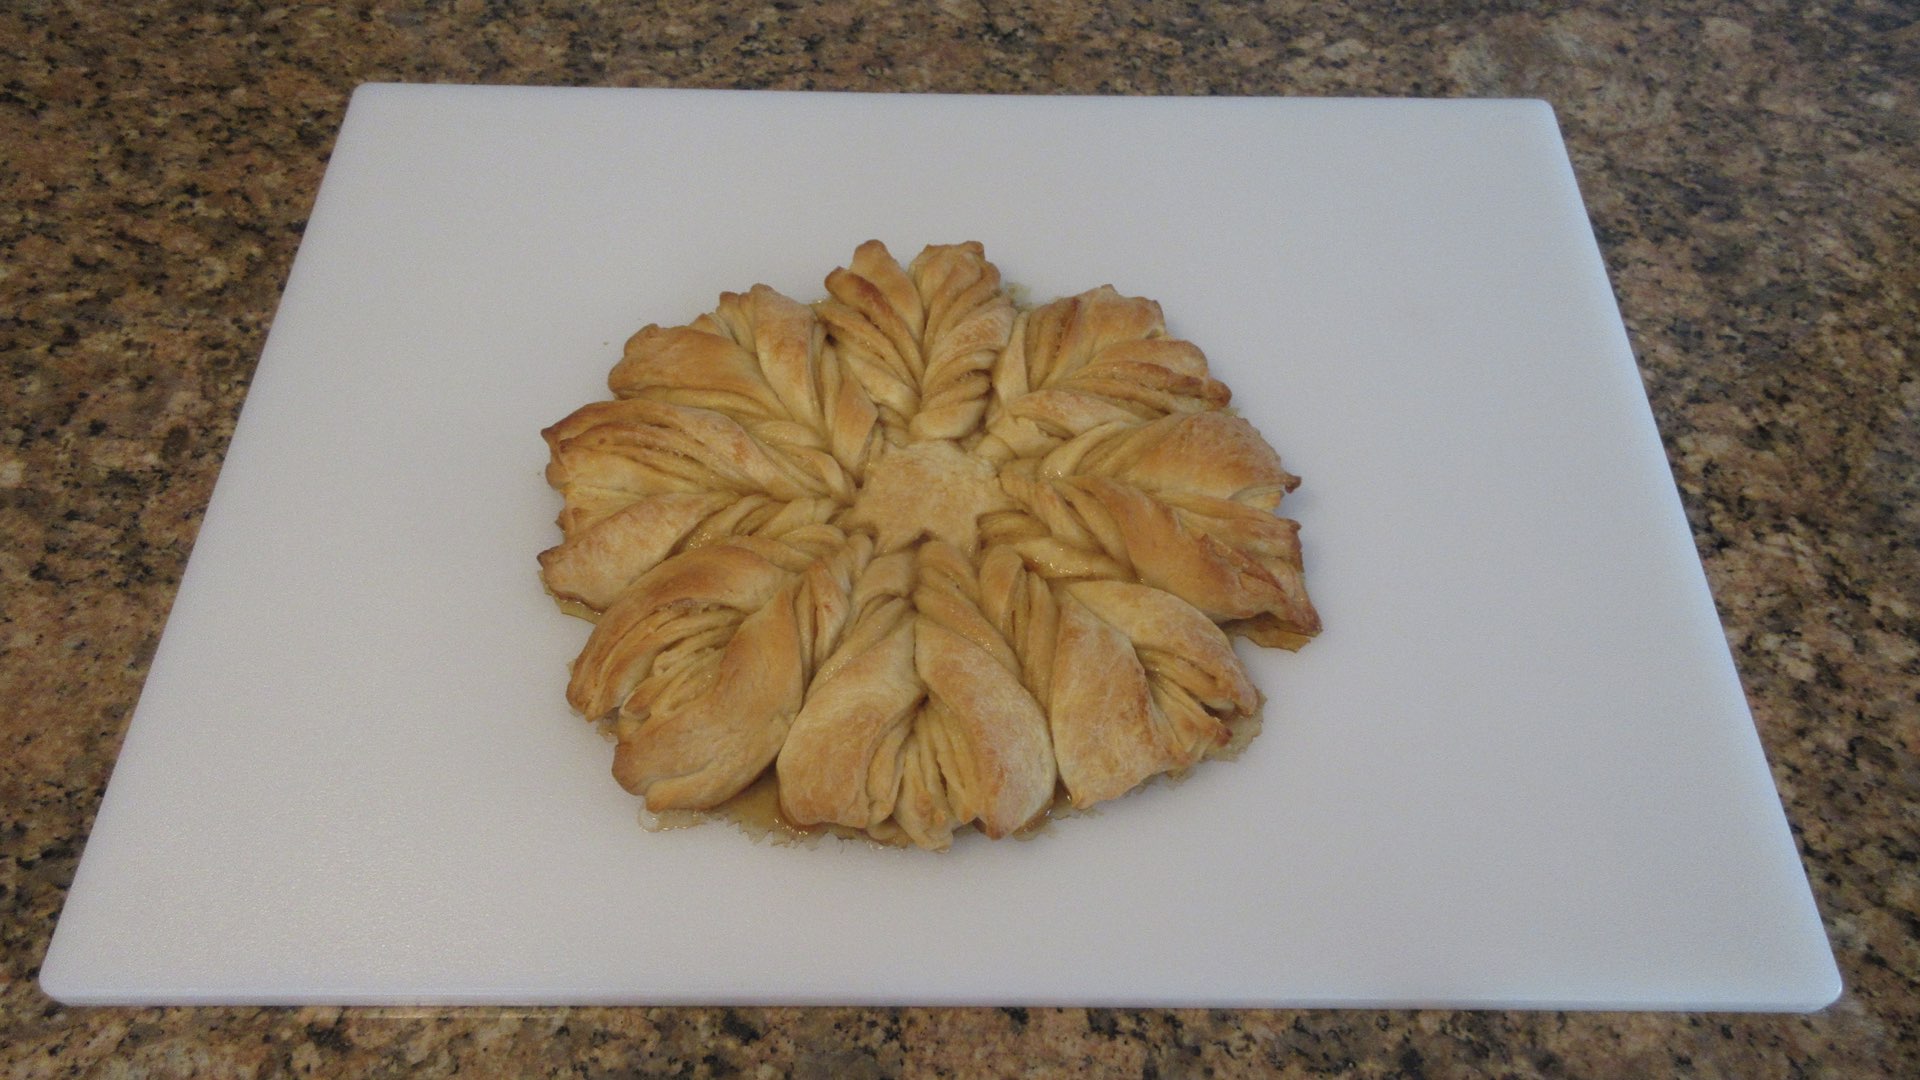
Let the bread cool completely before storage. But to be honest, this is a bread that is best served still warm. If desired, you could dust the top with powdered sugar.

Substitutions and Tips
Here are some common substitutions and tips for this easy star bread recipe.
- Add 1 – 1 1/2 tsp (2-3g) of cinnamon to the sugar mixture to have a cinnamon flavored bread.
- Try spreading nutella, peanut butter or another nut butter on the dough instead of butter. For food safety, do not dip the knife directly into the jar, but transfer some into a bowl first and discard any unused portions.
- Try a savory version. Skip the sugar and sprinkle on cheese between the layers instead!
- Fat-free, 2%, whole milk or buttermilk can be all be used for this recipe. Whole milk will give the richest flavor, but fat-free tastes excellent! For a tang, try buttermilk.
- You can replace up to one-half of the white flour with whole wheat flour. You may need to add 1 – 2 tablespoons (15 – 30mL) of milk to get a smooth dough as whole wheat absorbs liquid more readily.
- Yes you can use soy, almond or other milk substitutes for this recipe. You may need to add 1 – 2 tablespoons more flour (9-18g) as milk substitutes are often thinner than cow’s milk.
- Any type of cooking oil can be used for this recipe. Canola and vegetable oils will give a neutral taste.
- Melted coconut oil or butter can be substituted for the oil in this recipe.
- Margarine or vegetable spread can be used in place of the butter for this recipe in equal amounts.
Storage
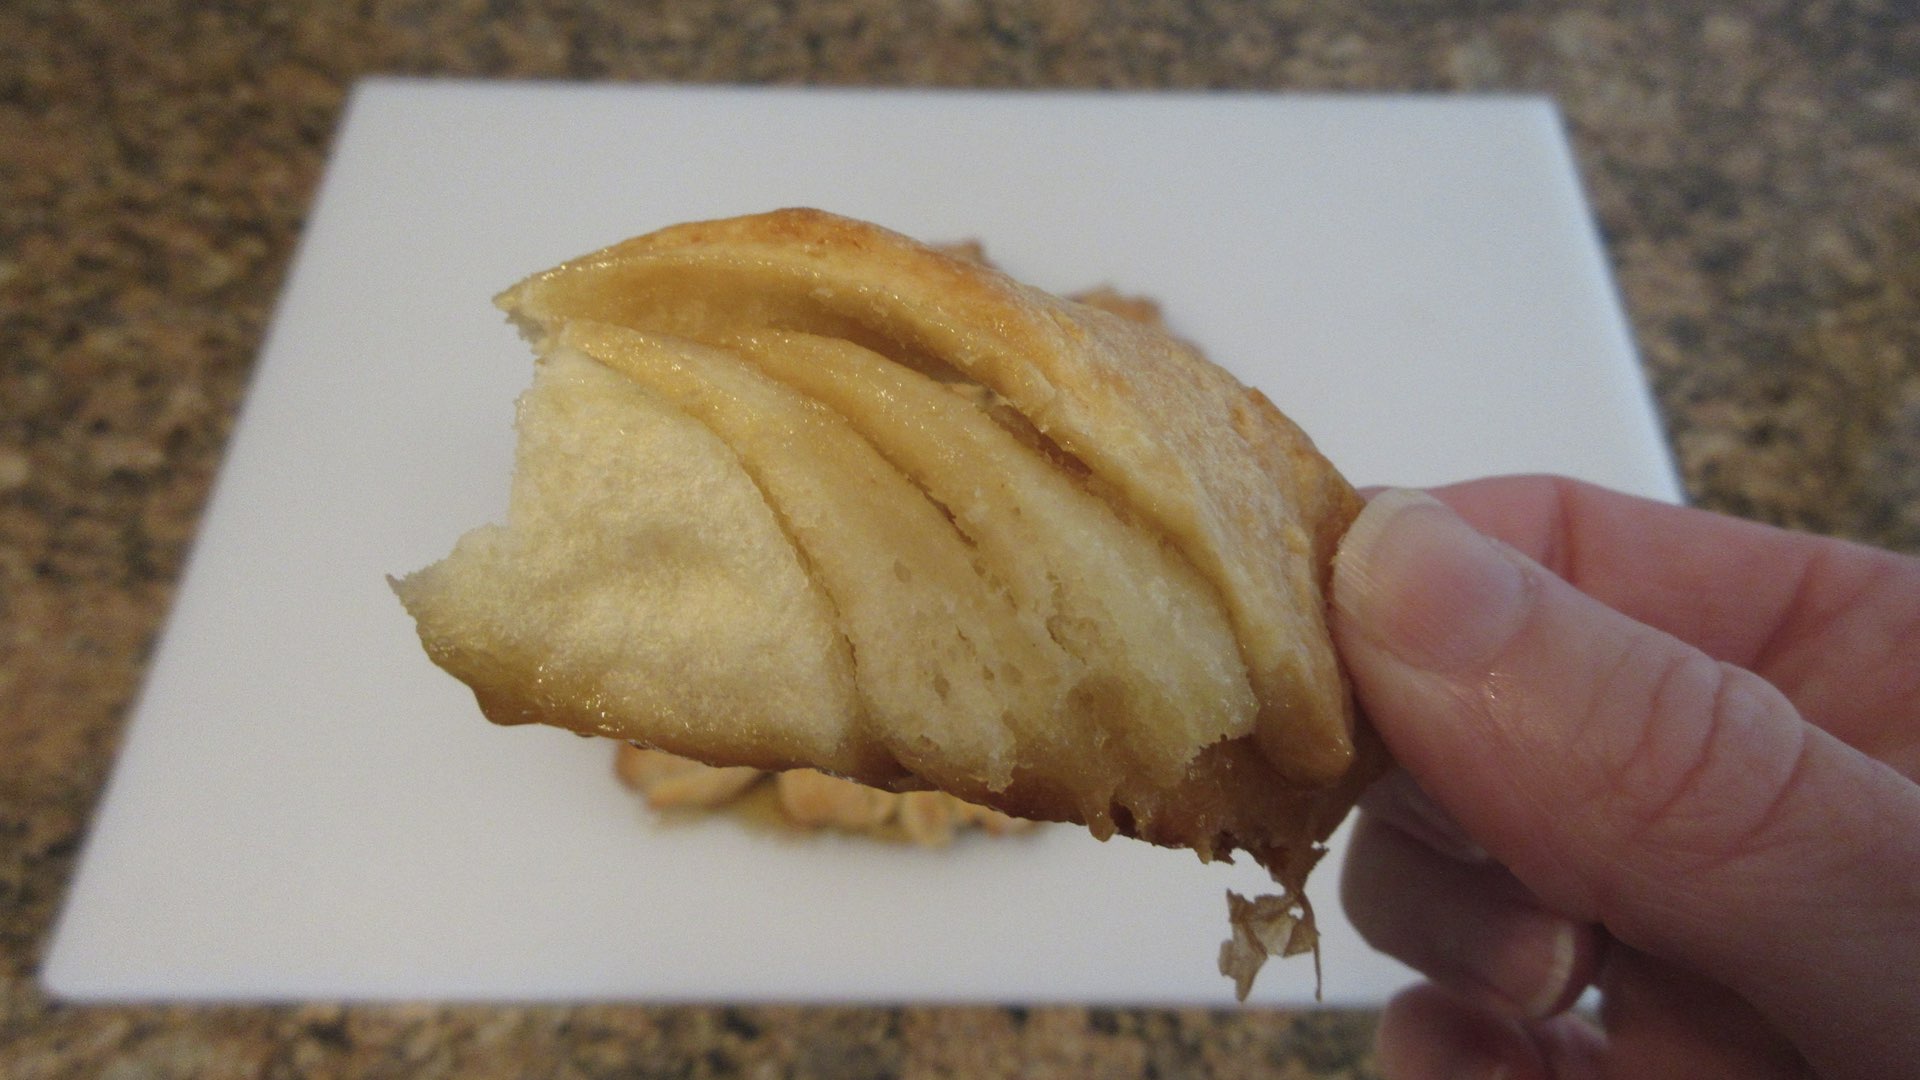
Freshly baked bread is always best eaten the day you make it. However, this bread will store up to 3 days before it goes stale. Let the star bread cool completely and store in an airtight container or plastic bag to stay soft. The crust will soften slightly.
This bread freezes up to 3 months. Wrap well in freezer bags and store away from strong odors. Reheat frozen bread in the oven or microwave. The frozen star bread can be reheated in the oven at 350F (180C) for 10 – 15 minutes or until warm.
Easy Star Bread Recipe
Ingredients
For the Dough
- 2 cups (300g) flour
- ¾ cup (180mL) milk
- 2 tbs (30mL) oil
- 2 tbs (28g) softened butter
- 2 tbs (25g) sugar
- 1 ½ tsp (4.5g) yeast
- ½ tsp (2.5g) salt
For the Filling
- ½ cup (113g) brown sugar
- 3 tbs (42g) melted butter
- 1 tbs (9g) flour
- ⅛ tsp (.625g) salt
Instructions
For the Dough
- In a small saucepan, heat milk on medium until it is lukewarm or 110°F (43°C.)
- In a large bowl, mix all the ingredients together with the handle of a spoon until a shaggy dough forms. Knead on a clean work surface until dough is elastic and stretches easily without tearing. This can take 8 – 12 minutes.
- Cover with plastic wrap or a damp cloth and let rest until double. This step typically takes 60 – 120 minutes.
Shaping the Dough
- Divide the dough into four equal portions. Set three aside and cover. Flatten one section of dough into a circle and begin rolling or patting it out until you get a 10" (25.4cm) diameter. The dough may try to bounce back on you and lose its shape. If this happens, just let the dough rest a few minutes under a clean tea towel or plastic wrap and then continue rolling.
- Place the circle of dough onto a large non-stick baking tray or one lined with parchment or a silicone mat. We highly recommend parchment even for non-stick surfaces as the caramelized sugar may stick to the pan and the bread will tear as it cools. Next, using a pastry brush or the back of a spoon, spread a thin layer of butter on the dough. Sprinkle the top with 1/3 the brown sugar. Leave a small edge, about 1/4" (6mm) around the circle free of sugar.
- Repeat this process for the next two pieces of dough. On the final and fourth layer of dough, spread the remaining butter on top.
- With a sharp knife or pizza cutter, cut the circle into 16 equal strips, starting 1 1/2" (3.8cm) from the center to the edge, through all the layers. If desired, place a a 2" round cookie cutter in the center of the dough circle as a guide.
- Picking up two adjacent strips, you will twist them away from each other three times. Press the two ends together to make a point. Repeat for the remaining strips. Your star bread will now have 8 pointed edges.
- Cover the bread with a tea towel or plastic wrap and allow to rest 30 – 60 minutes or until the bread puffs up. Preheat the oven to 350°F (180°C) and remove the cover. Bake 18 – 24 minutes or until golden brown. Center of the bread should reach 190°F (88°C) when done.
0 Comments