
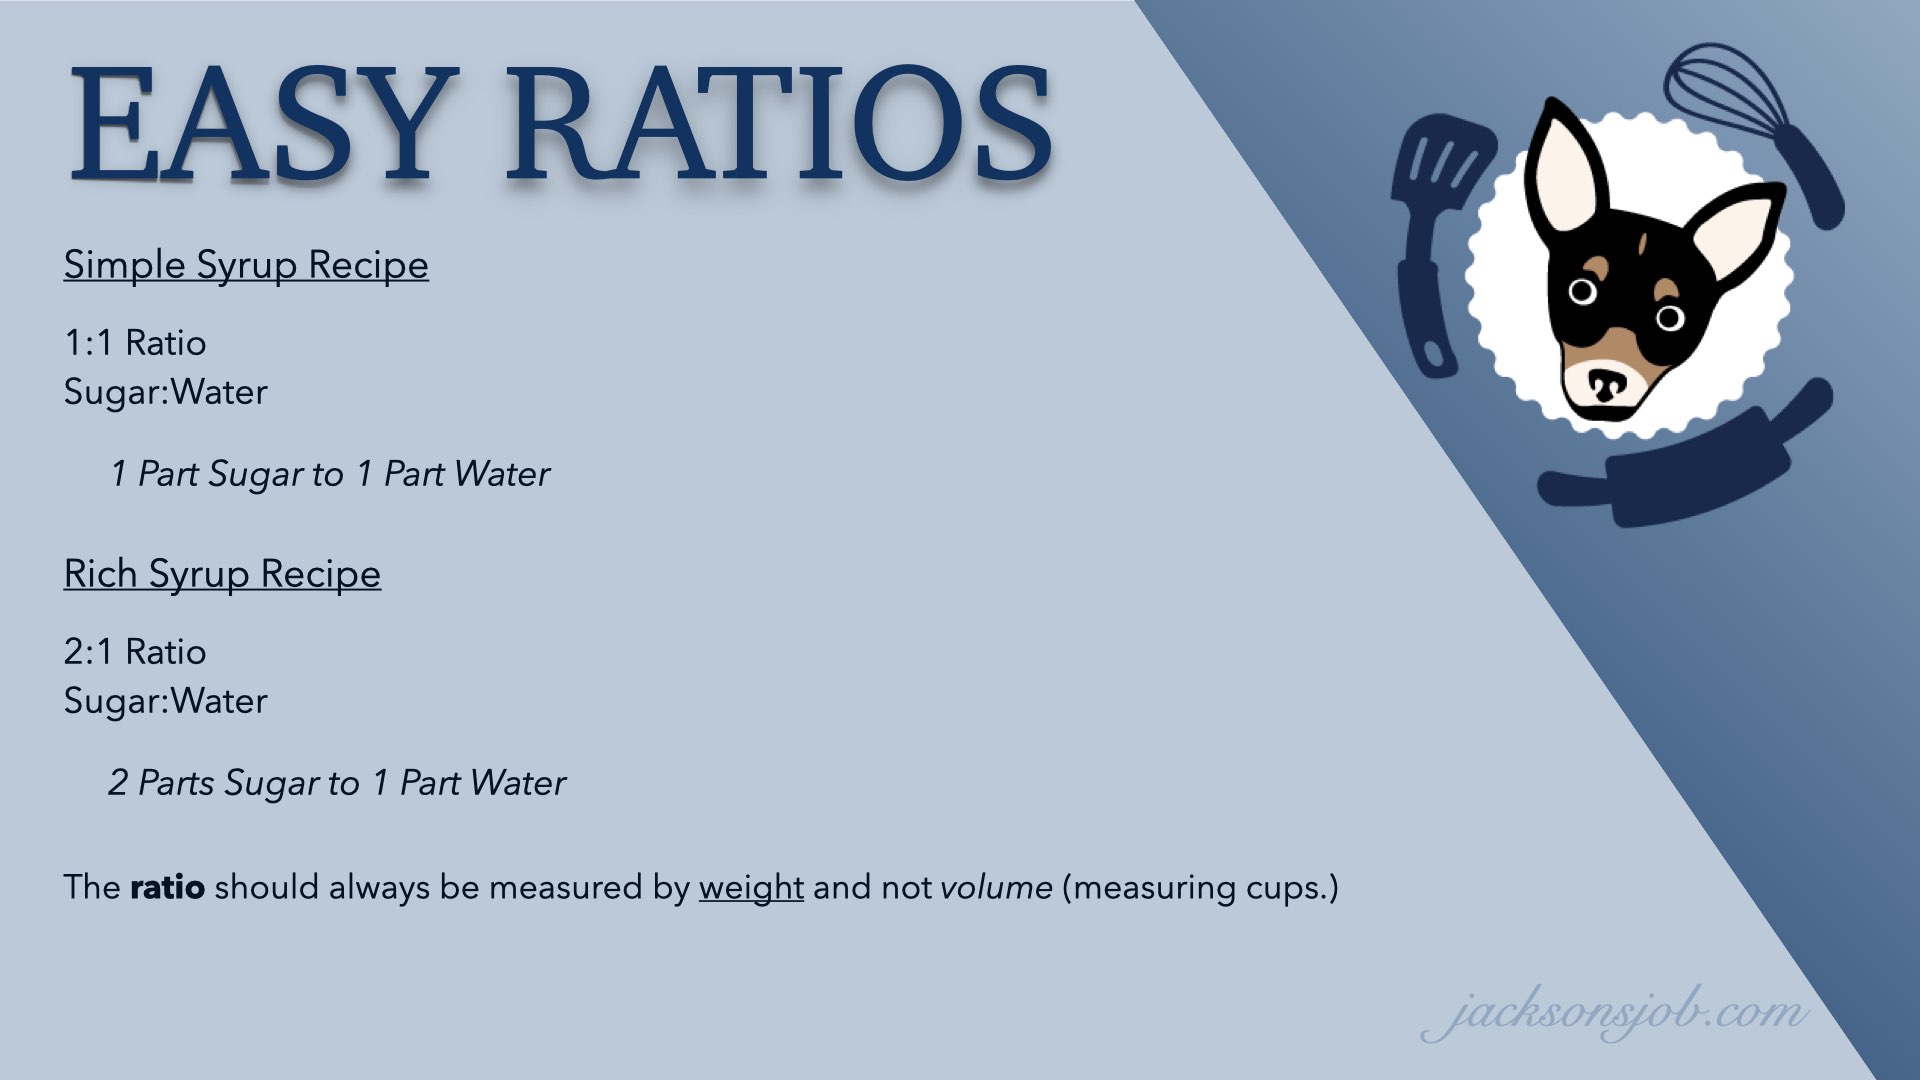
Simple Syrup – What Makes it so Simple?
A simple syrup recipe and even a rich syrup recipe should be easy to remember and be easy to make. After all, a simple syrup is simply a 1:1 ratio of equal parts water. That’s why they call it simple! Similarly, a rich syrup doubles the amount of sugar to water for a 2:1 ratio. This sounds easy to make! Let’s look at the chart below to see how truly simple syrup and rich syrup can be to remember the ingredients. So what is the problem?
Differences between Metric, Customary and Imperial Systems.
When it comes to baking, there are few ways of measuring ingredients: customary, imperial and metric. In the United States, we include measurements that differ from other countries. Not only are the number of ounces in pints, quarts, and gallons all larger in the imperial system, the size of one fluid ounce is also different. This unique difference makes it difficult to share recipes with the rest of the world. Sometimes, it also leads us as Americans to read recipes erroneously from other countries. And that is likely what happened with simple and rich syrups along the way.
So why do we use even use volume measurements if they are such a bother? Volume is often used with liquids because these items can be a bit awkward to weigh out for the home baker. Volume measurements are also used for dry ingredients in home cooking. And we do this because it is considered easier. Volume measurements are still often used in the industry for fluid measurements, but they are less often used for dry measurements. Weight will always be the most accurate way to measure ingredients or portions. When proportions of ingredients are critical, their measurements should be given in weights for accuracy. You’ll see this commonly in macaron recipes.
Why does any of that matter for a simple syrup recipe?
Well, it comes down to the fact that volume measurements do not often equal the same amount in weight. The one exception that I can personally think of is water. The mass of 1 milliliter of water is 1 gram for baking purposes. But does a cup of sugar and water weigh the same amount per cup measurement? No! A cup of sugar weighs 200 grams and a US cup of water weighs 240 grams. And what if you are one of those other countries whose cup measurement equals 250 milliliters? Your “simple” syrup recipes isn’t becoming so simple now.
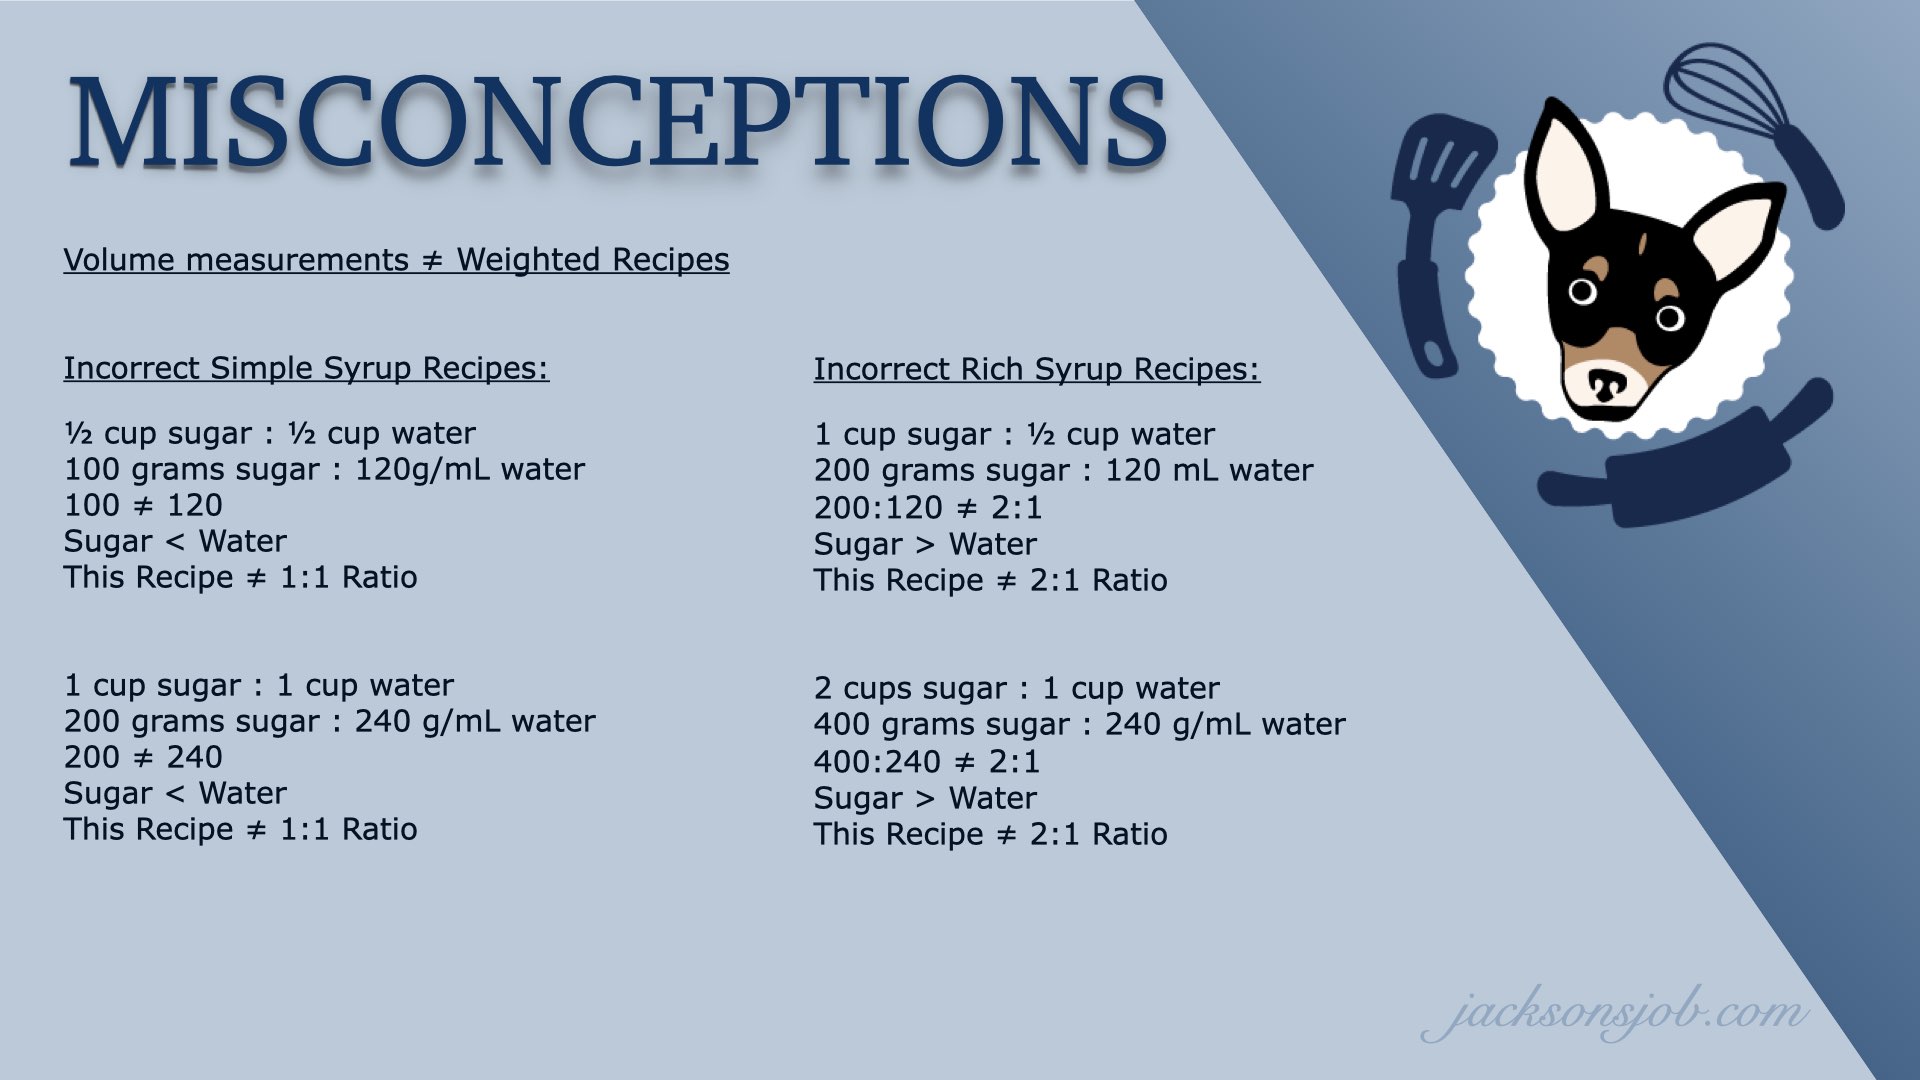
If you truly want equal amounts of sugar and water in your simple syrup, you need to either weigh the ingredients or do some math to find out how much volume measurements are needed to have a truly equal amount. The larger amount of sugar you use in a syrup recipe, the larger your discrepancy will be. Perhaps a twenty gram difference between 1/2 cup of sugar and 1/2 cup of water is acceptable to you. If so, go for it! But what happens when the discrepancy creeps up to 120, 240, 480 grams apart? Now you no longer have a simple syrup but more along the lines of sugary water. This can ruin your favorite cocktail or infused simple syrup recipe. Who wants to throw out expensive ingredients simply because we didn’t want to weigh out two simple ingredients? Let’s look at some of the misconceptions below for a visual idea of what’s happening.
Is there anyway I can still use volume measurements?
Absolutely! But it will take a little math and knowledge about the weight of sugar. Now there is one caveat: some granulated sugars weigh more than others due to the brand, size of the granules and the type of sugar (beet or cane) used by the manufacturer. But, let’s concede most sugar found in the US today weighs an average of 200 grams per cup. Next, within the US, our cup measures 240 milliliters and not 250mL, so we are going to stick with 240mL to determine how much of each ingredient we need. And let’s not forget, 1 gram of water is equal to 1 milliliter of water in the baking world. Finally, within that US cup measurement, there are 18 tablespoons and each tablespoon weighs 15 grams or milliliters. This knowledge will help you figure out the math. Let’s look at the chart.
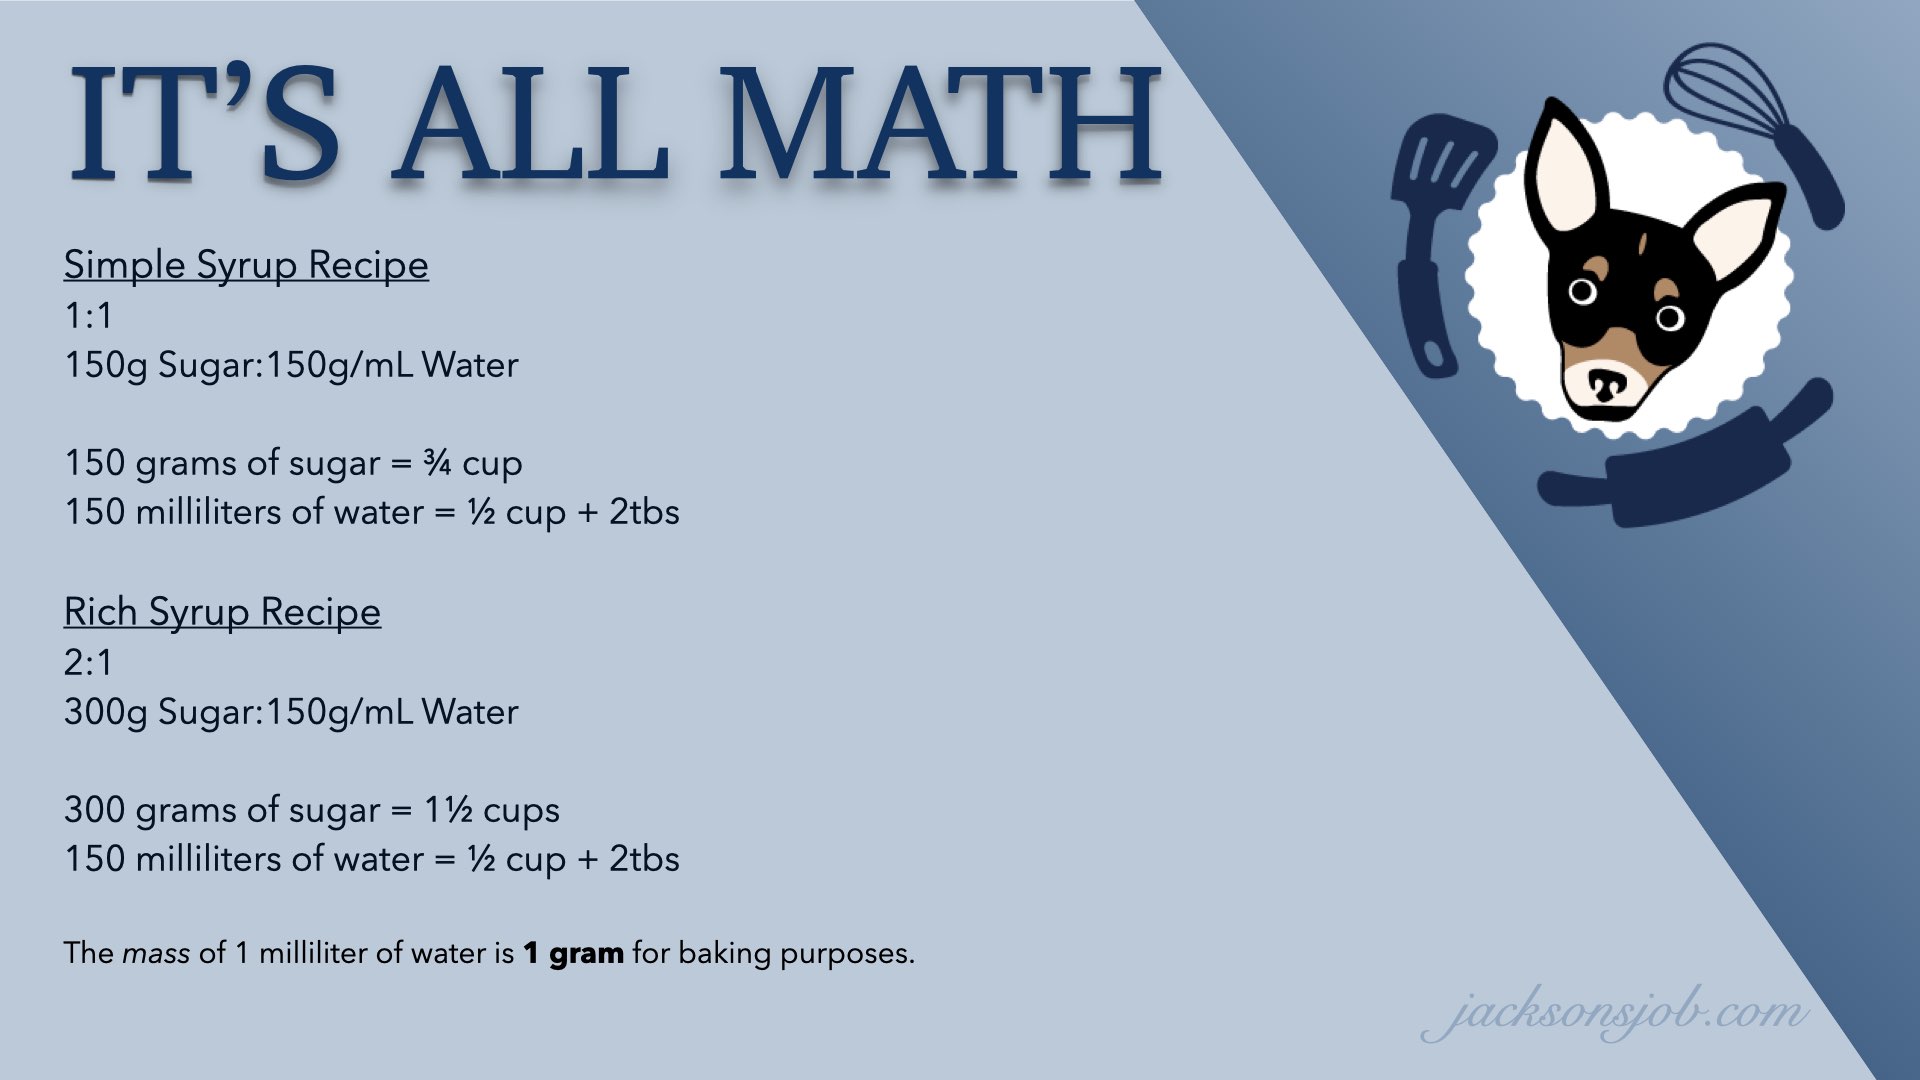
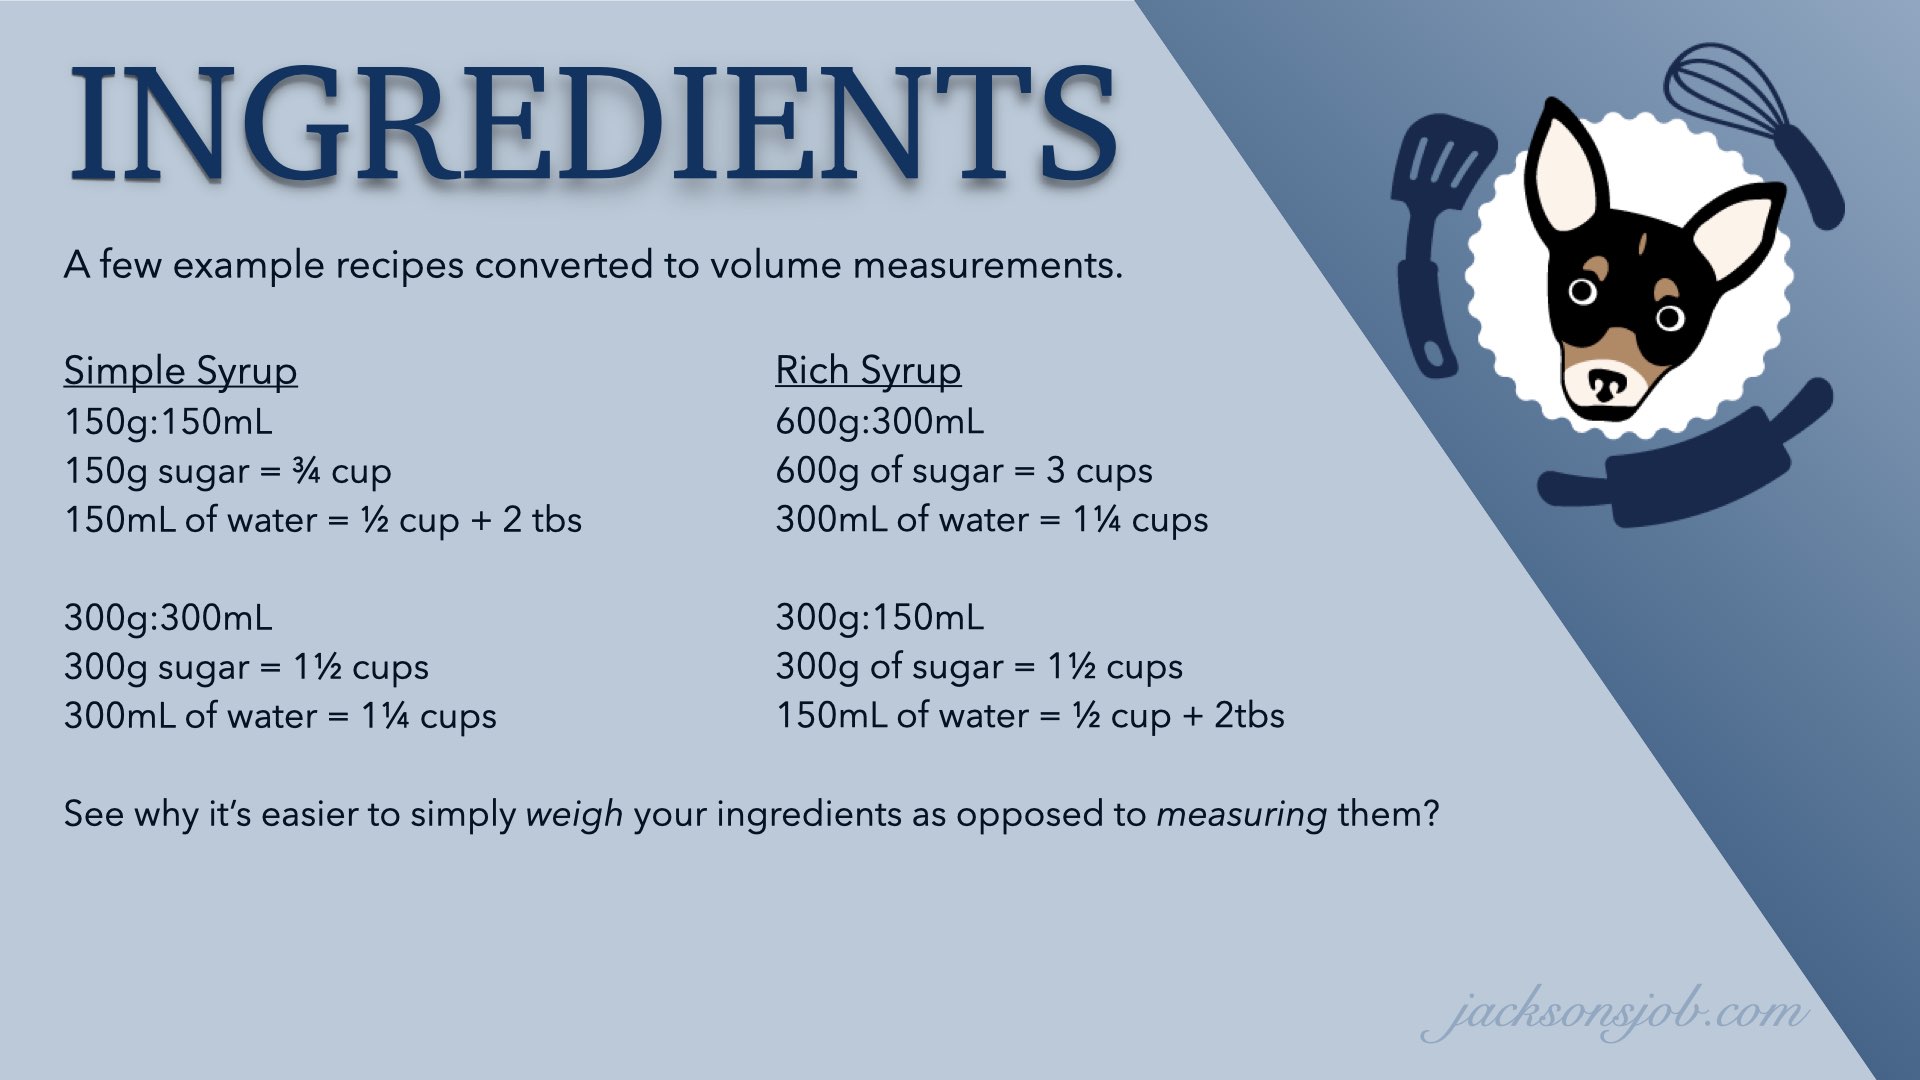
Let’s look at converted weights to volume measurements.
Now if you keep doing some math, you can get to volume measurements that are easier to remember than 1/2 cup + 2 tablespoons of liquid. The problem is you have to make quite a bit of syrup! And maybe all you need is that small amount. That is where weighing your ingredients makes all of this a breeze. By weighing the sugar and water, you skip all the fractions and headache. Still not convinced? Let’s look at the weights versus volume measurements for both simple and rich syrup. And let’s look at a few different starting amounts of sugar.
Are you throughly confused or embracing the math conversions? Perhaps you are a math nerd like me and enjoy doing the calculations. Let’s look at some more just to clarify a little better. Try to do the math yourself. Are you getting the same figures? What if you aren’t good at math? Is all lost? Well, not really. You could just follow the 1:1 or 2:1 ratio using volume measurements like so many others do and end up with syrup. And you will likely enjoy the results. But they aren’t simple or rich syrups. They are just syrup. And that is perfectly okay!
Let’s get to the point and make some syrup!
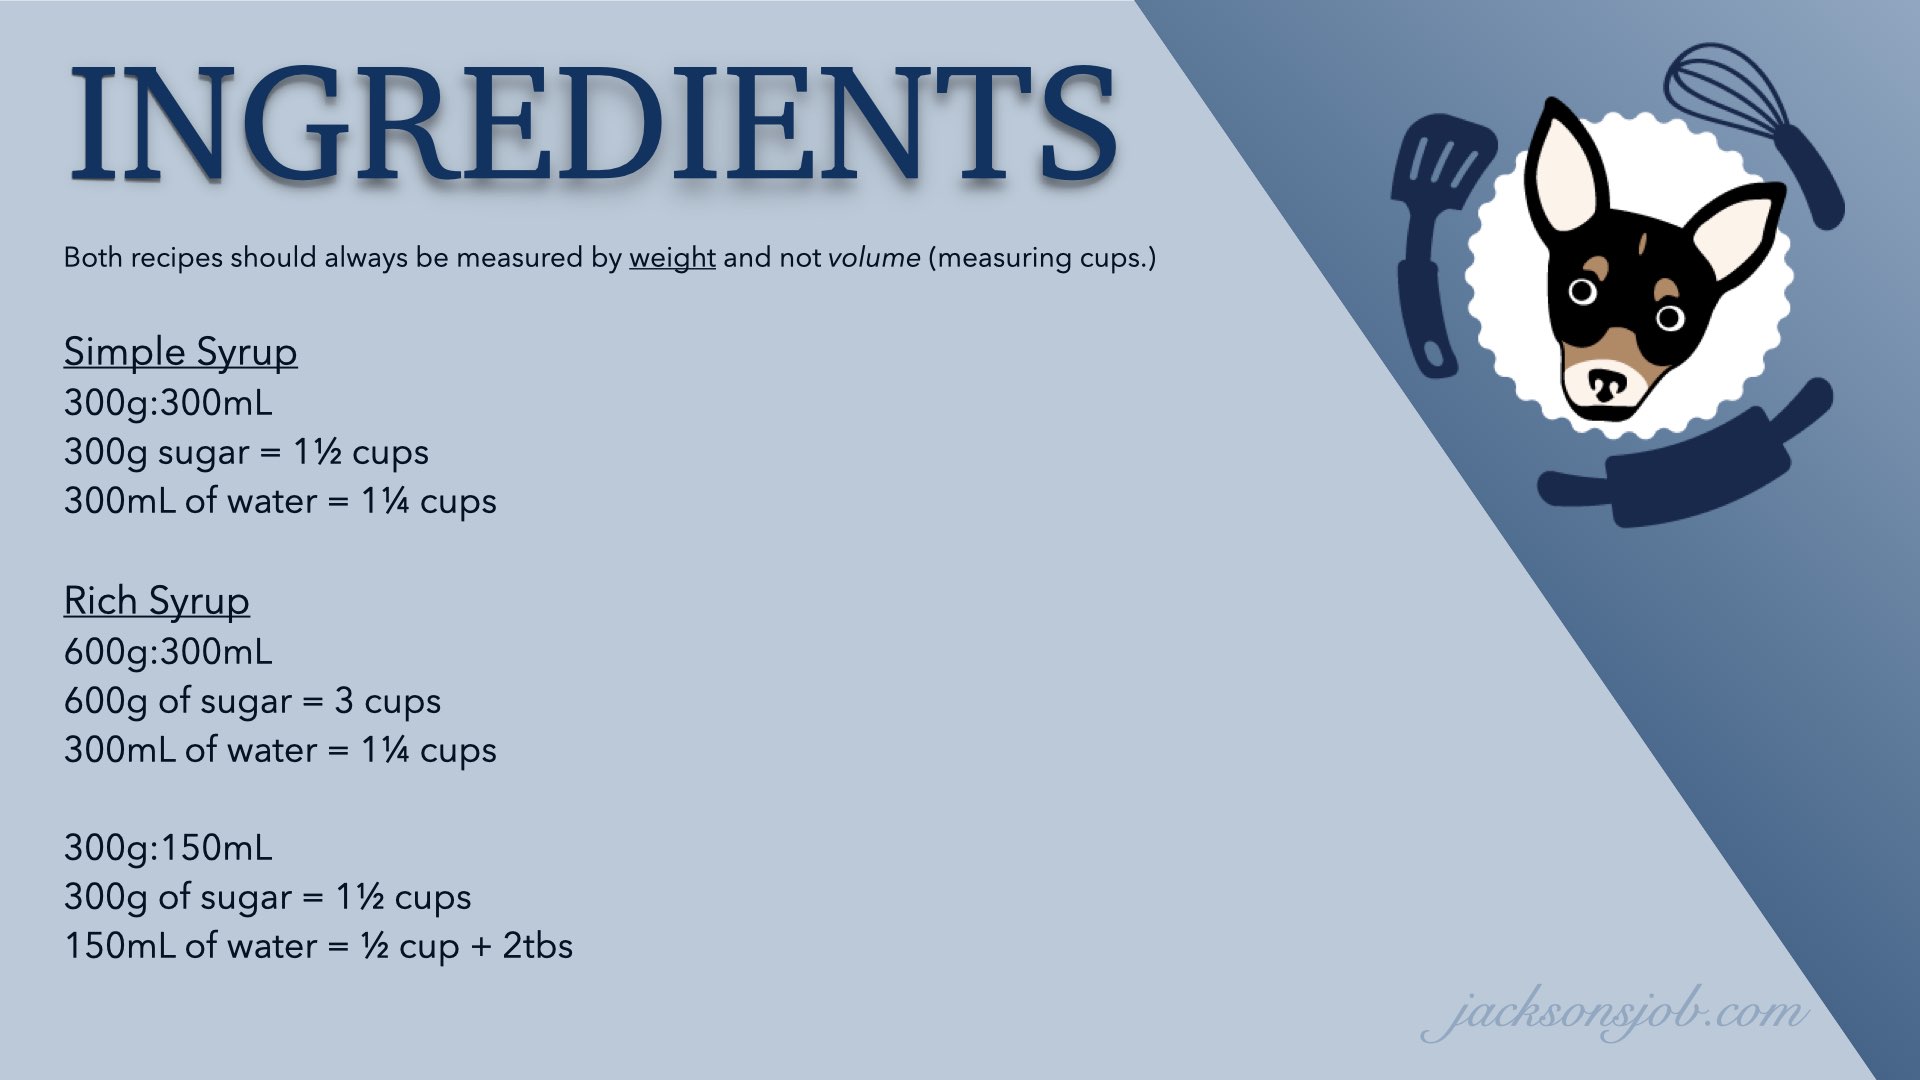
So if I haven’t convinced you to start weighing your ingredients whenever possible, I never will. And that’s so okay. Let’s hope you at least learned some fascinating concepts behind baking today. I will provide a recipe below for both a simple and rich syrup that has volume measurements for you. So don’t worry! You won’t have to do the math if you don’t own a scale. But if you do own a scale? This is the time to break it out! By the way, in case you didn’t realize it: you can use ounces or pounds if you are more comfortable weighing in those imperial measurements. It would be the same 1:1 ratio for simple syrup and 2:1 ratio for rich syrup. Without further ado, let’s get started!
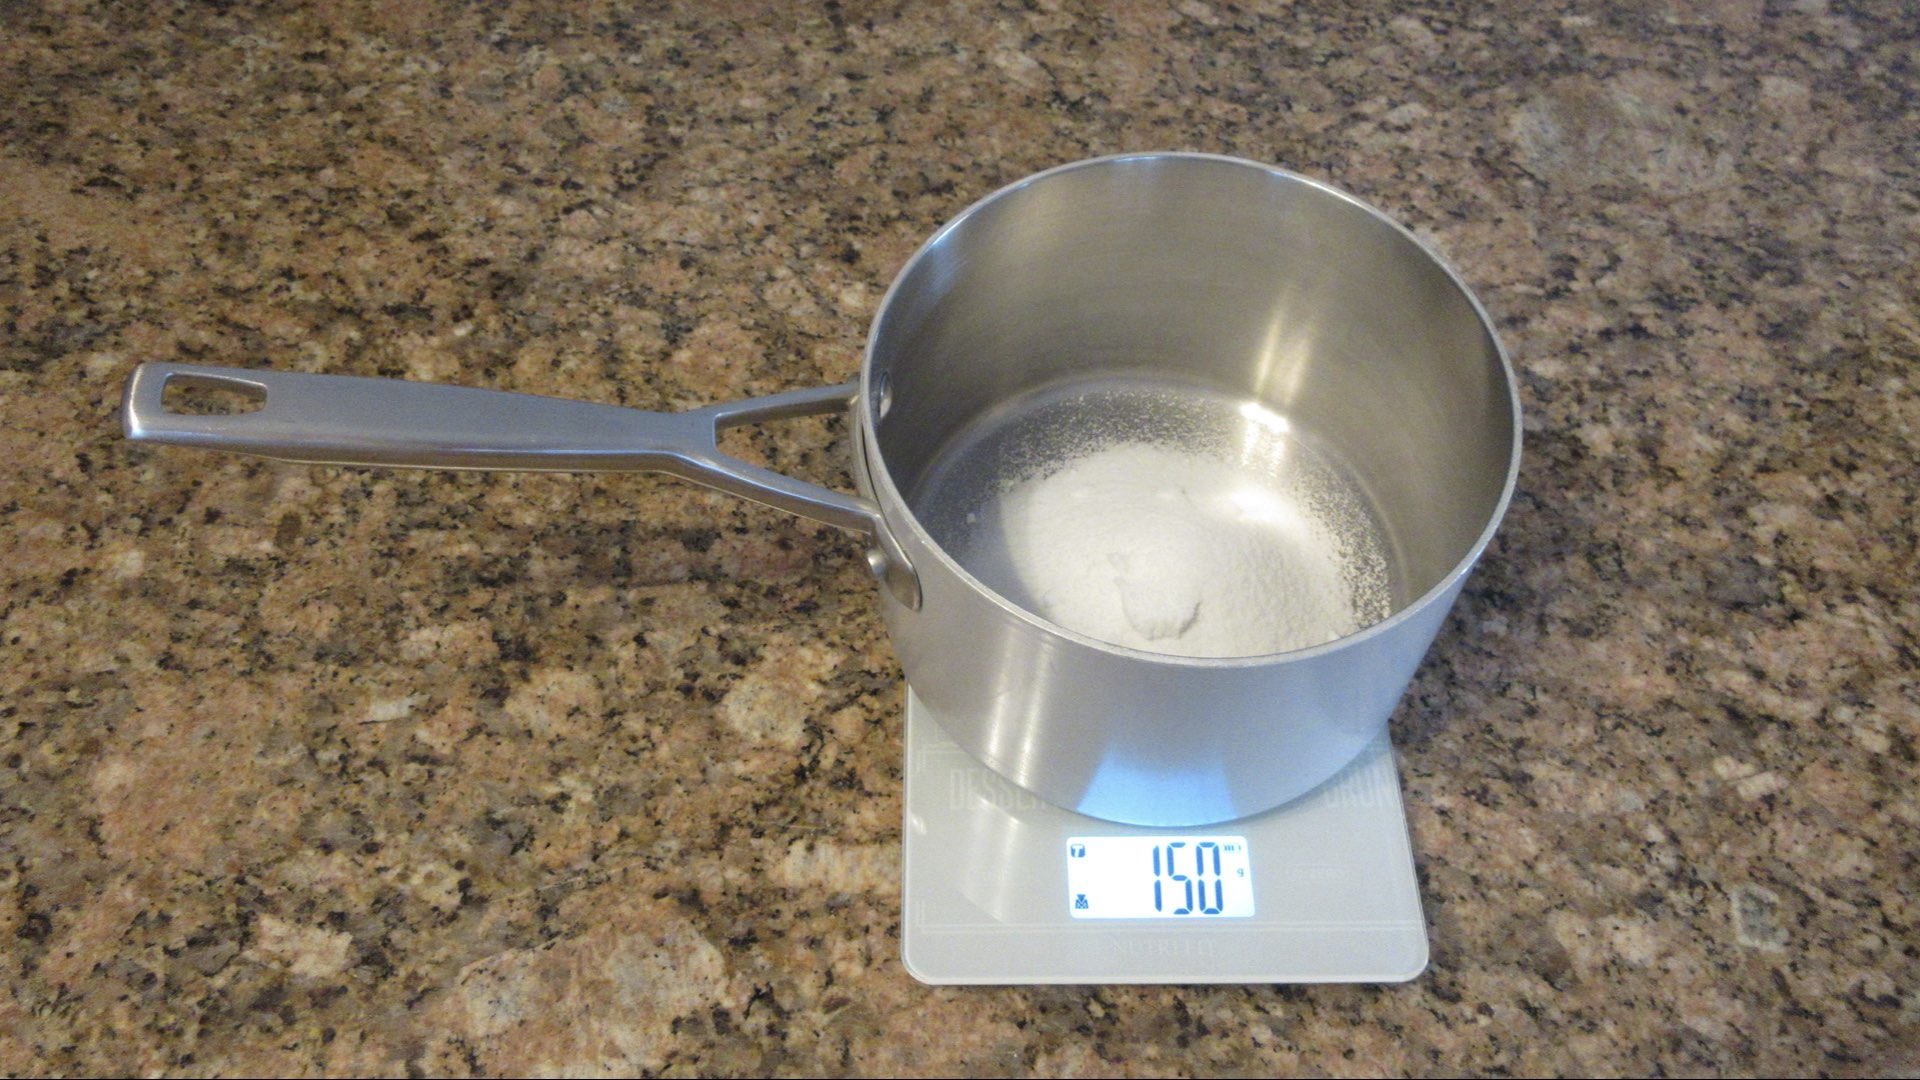
Step 1: Weigh out Your Ingredients
The amount of sugar you want to use can be arbitrary. It doesn’t matter if you want to make 28 grams or a kilogram of syrup. You simply weigh out the volume you desire.
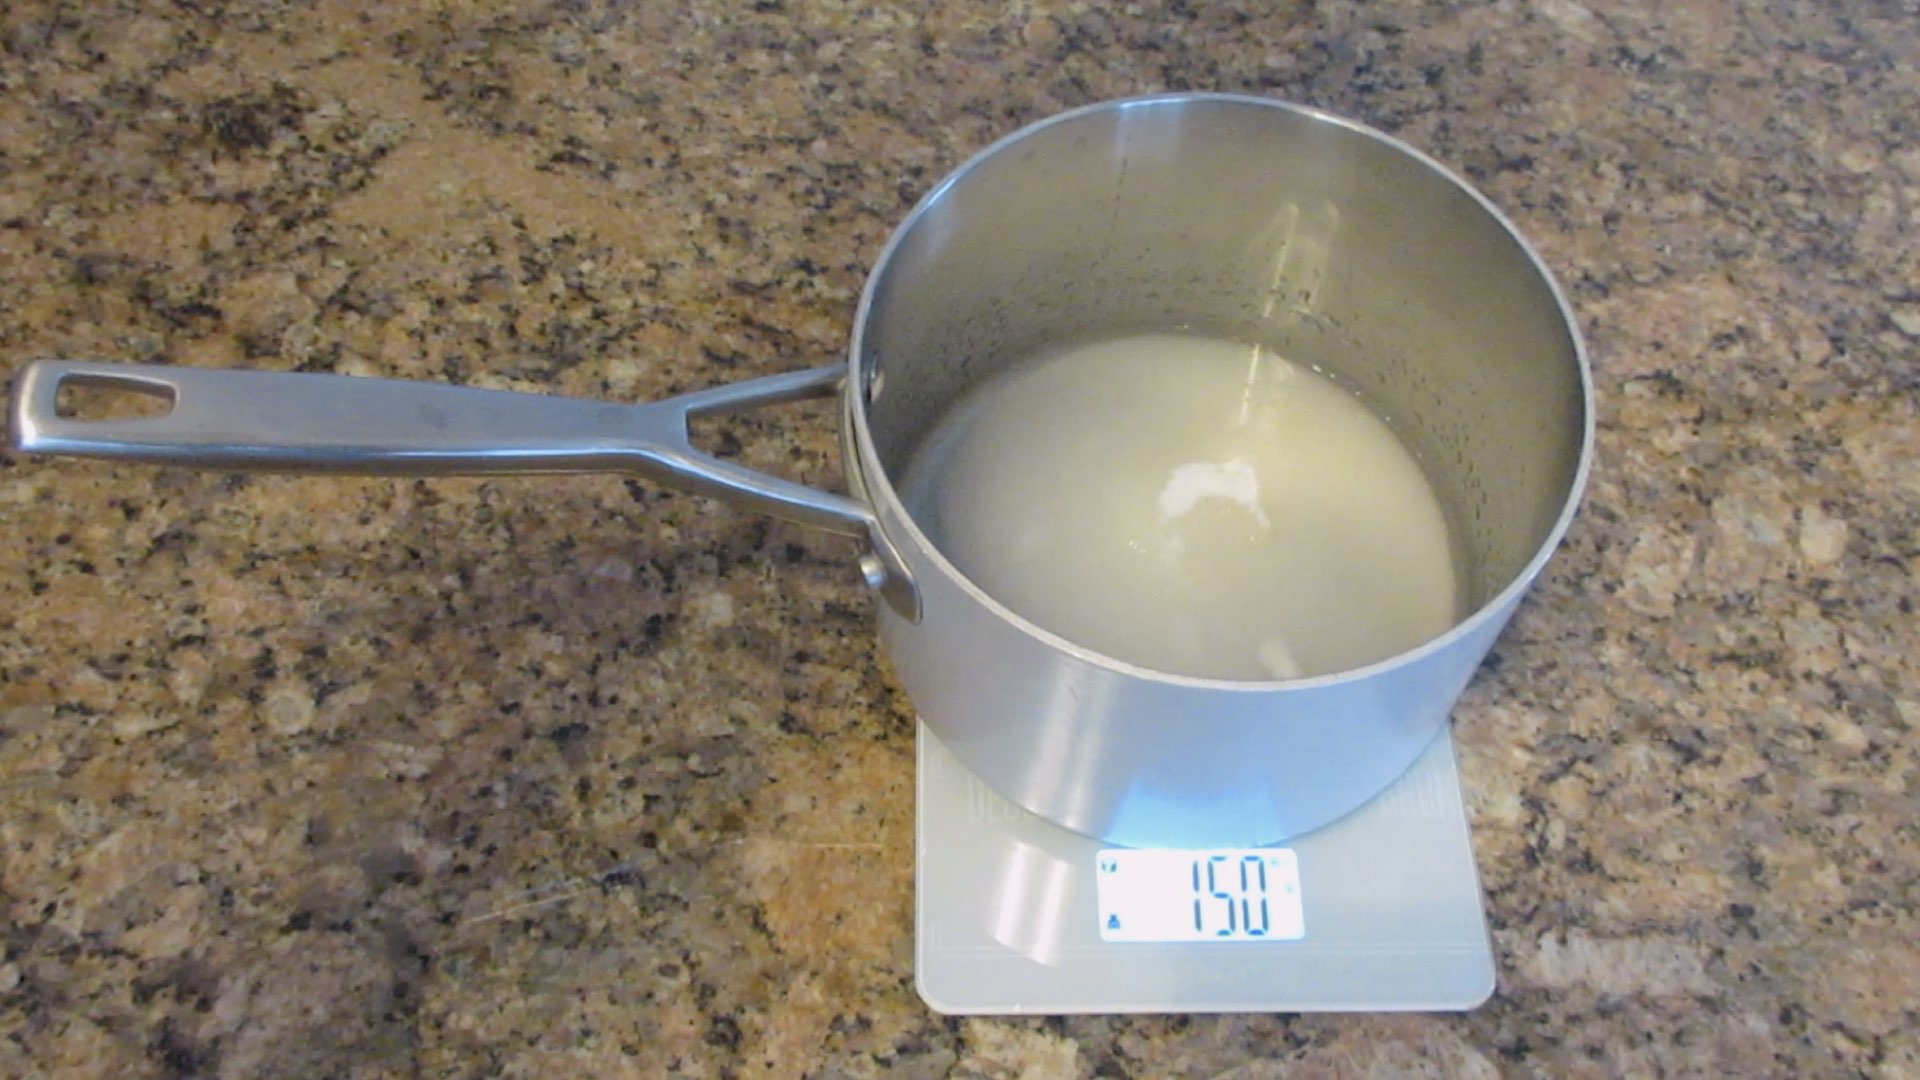
You will then add the same amount of water by weight. The water can be hot or cold. It doesn’t matter.
If you want to make a rich syrup, you would double the amount of sugar to water by weight. Remember, simple is a 1:1 ratio and rich is 2:1 ratio.
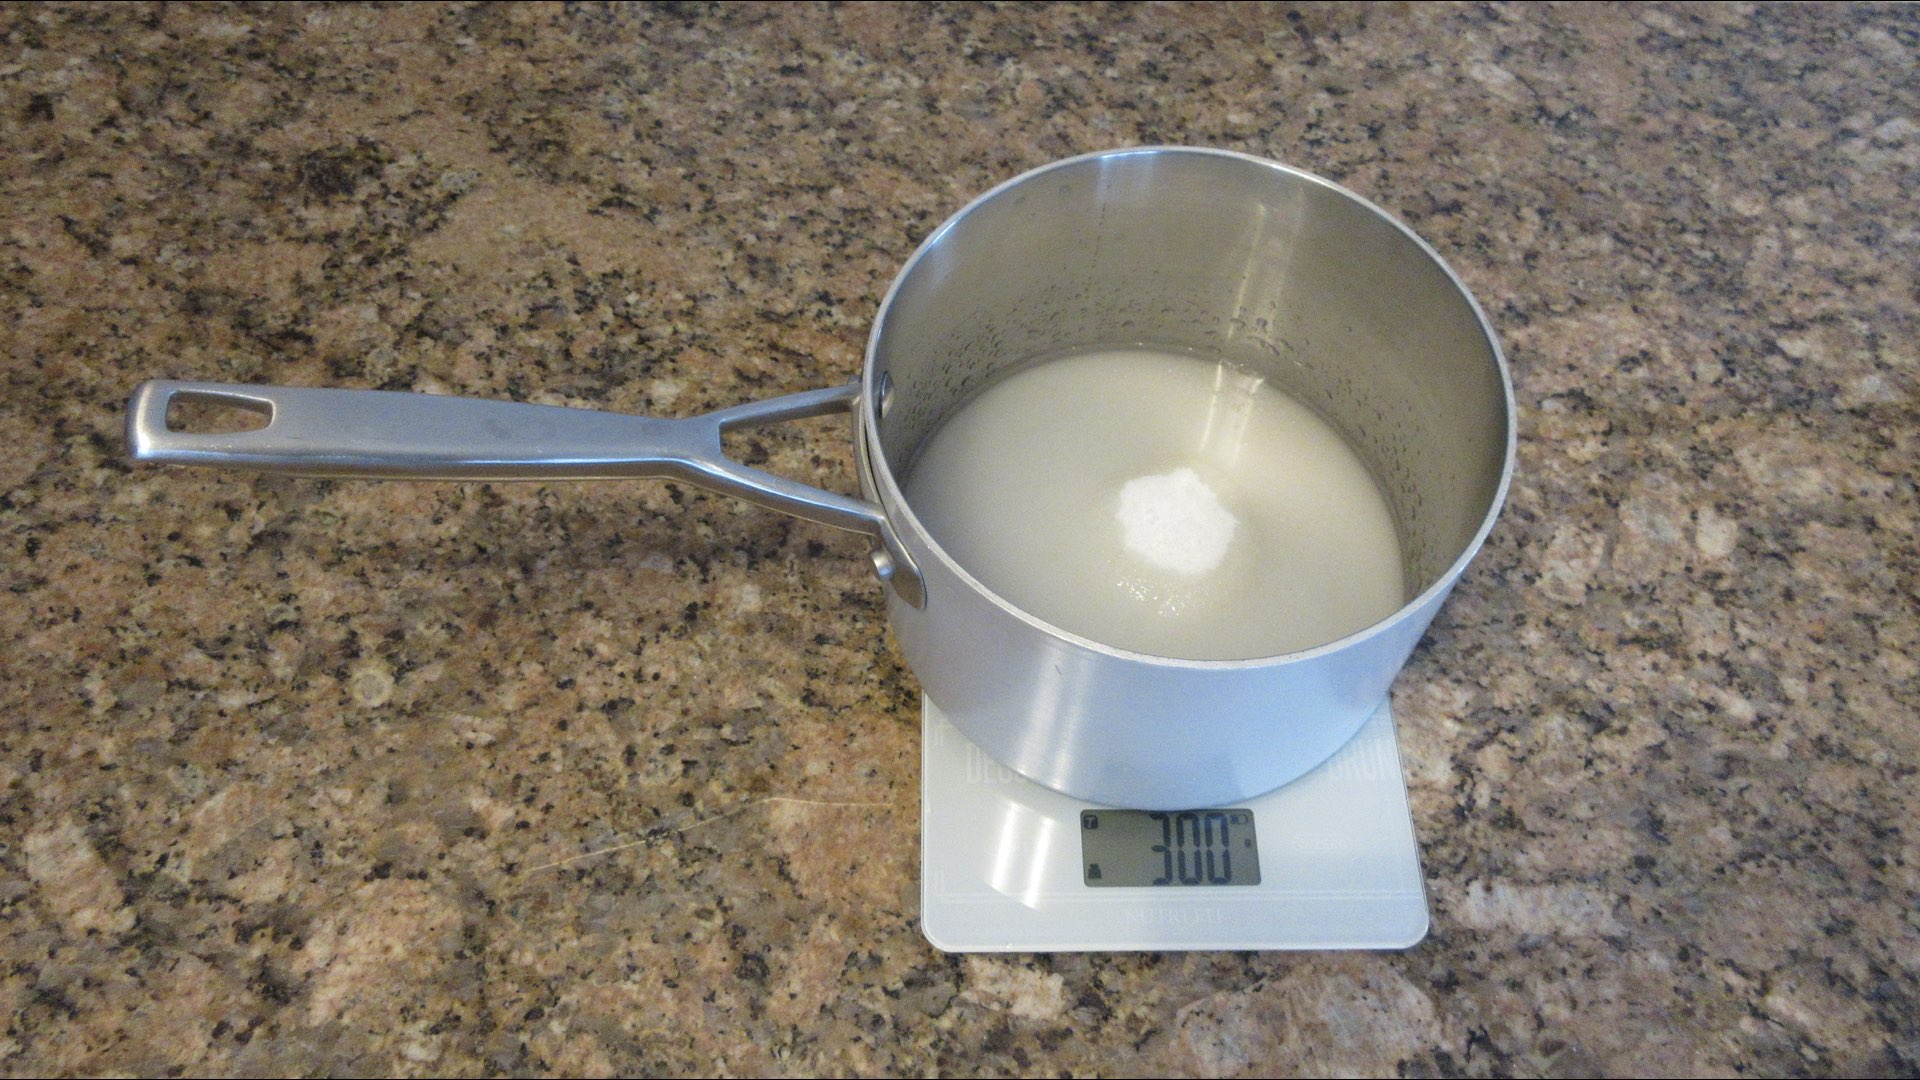
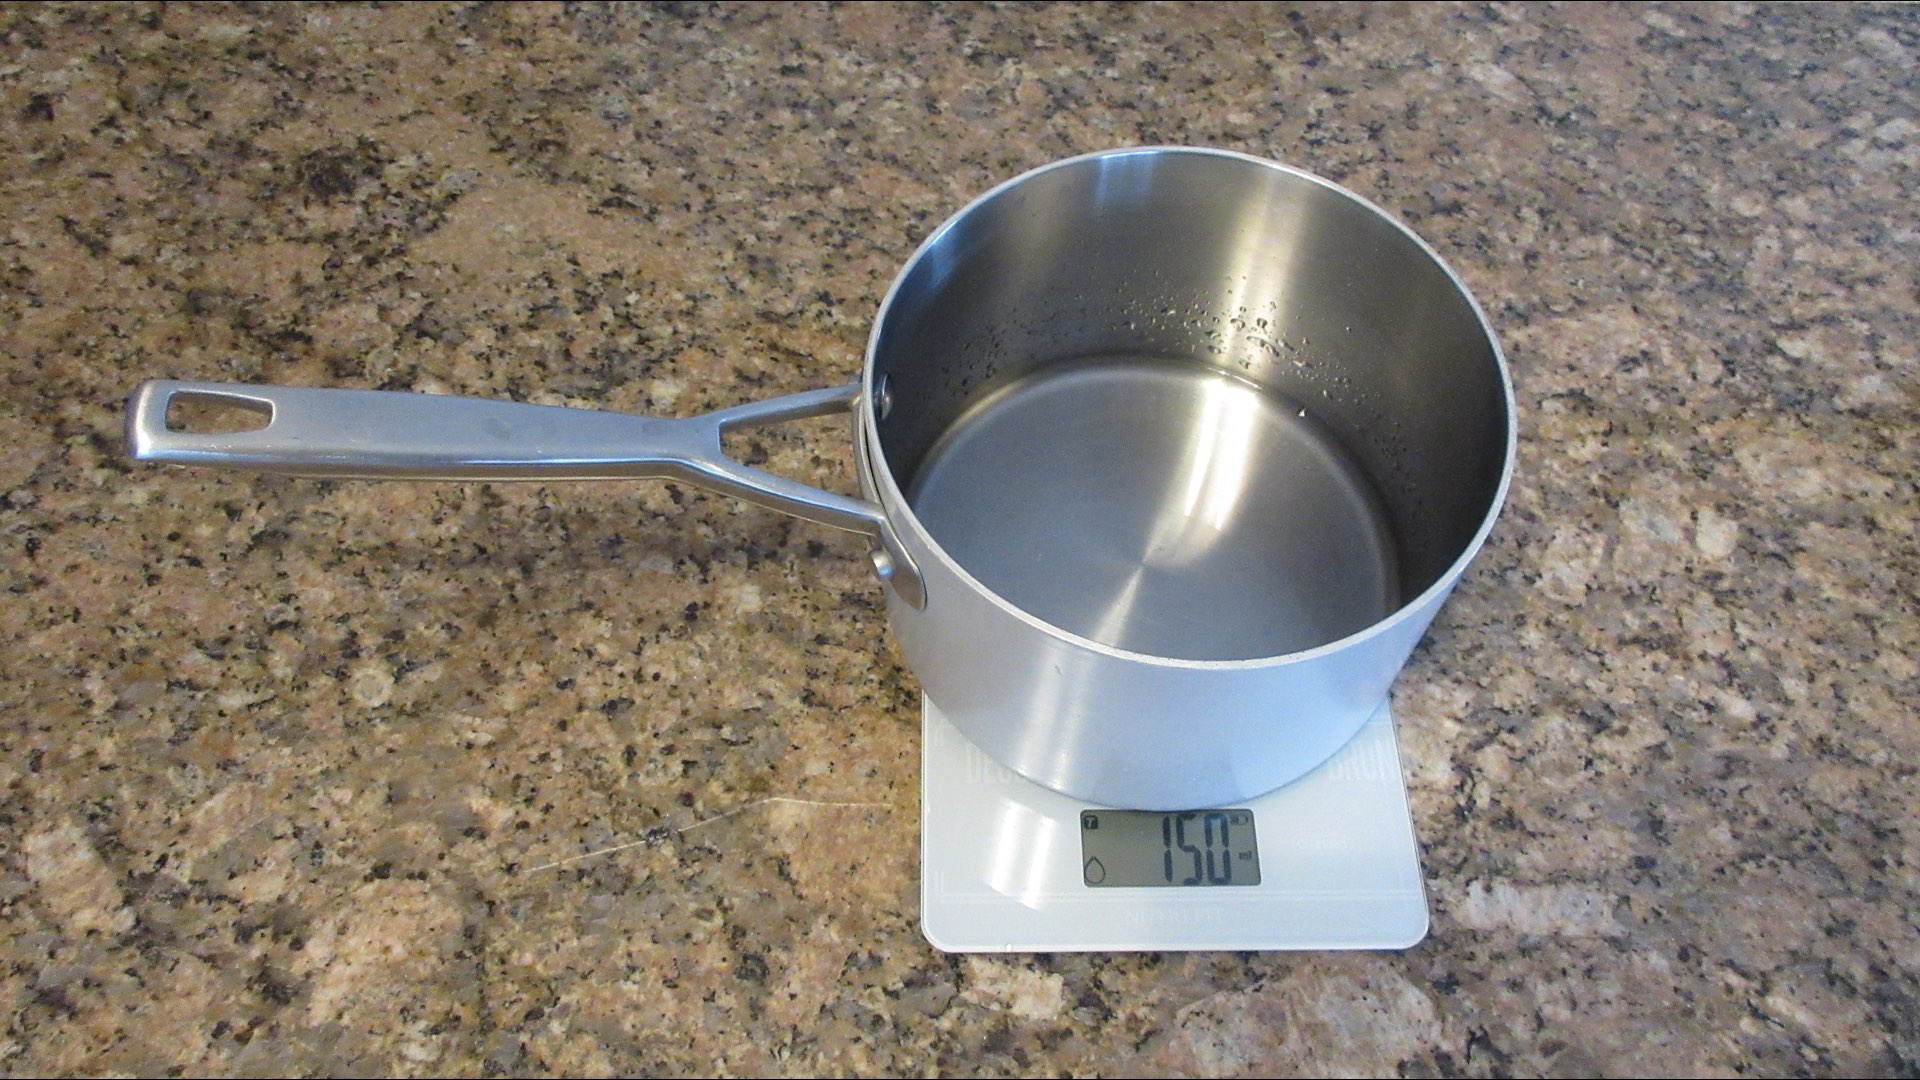
Since rich syrup is two to one water, you want have the amount of water by weight. In this case, you will need 150 grams or milliliters.
Step 2: Make the Syrup
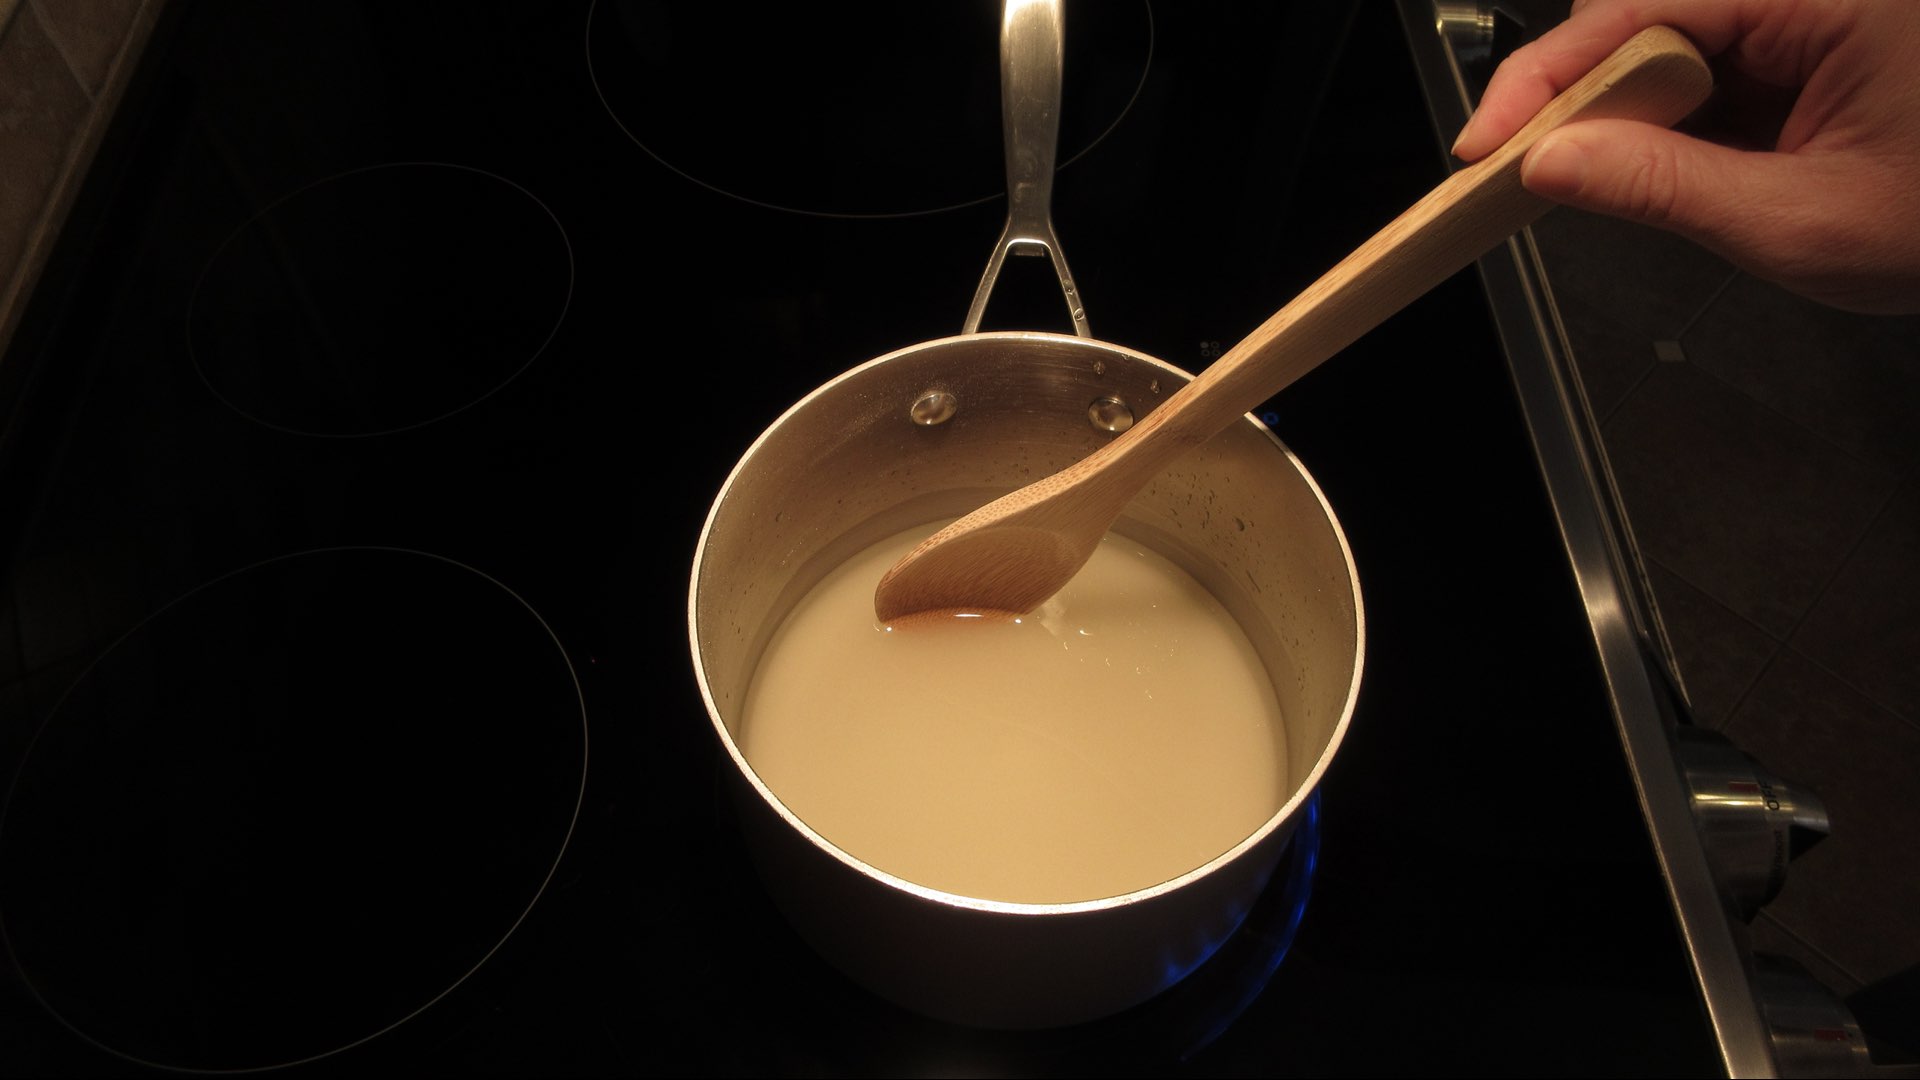
You want to make sure you are using a heavy duty saucepan for this step. Stir gently on a medium heat until all the sugar dissolves.
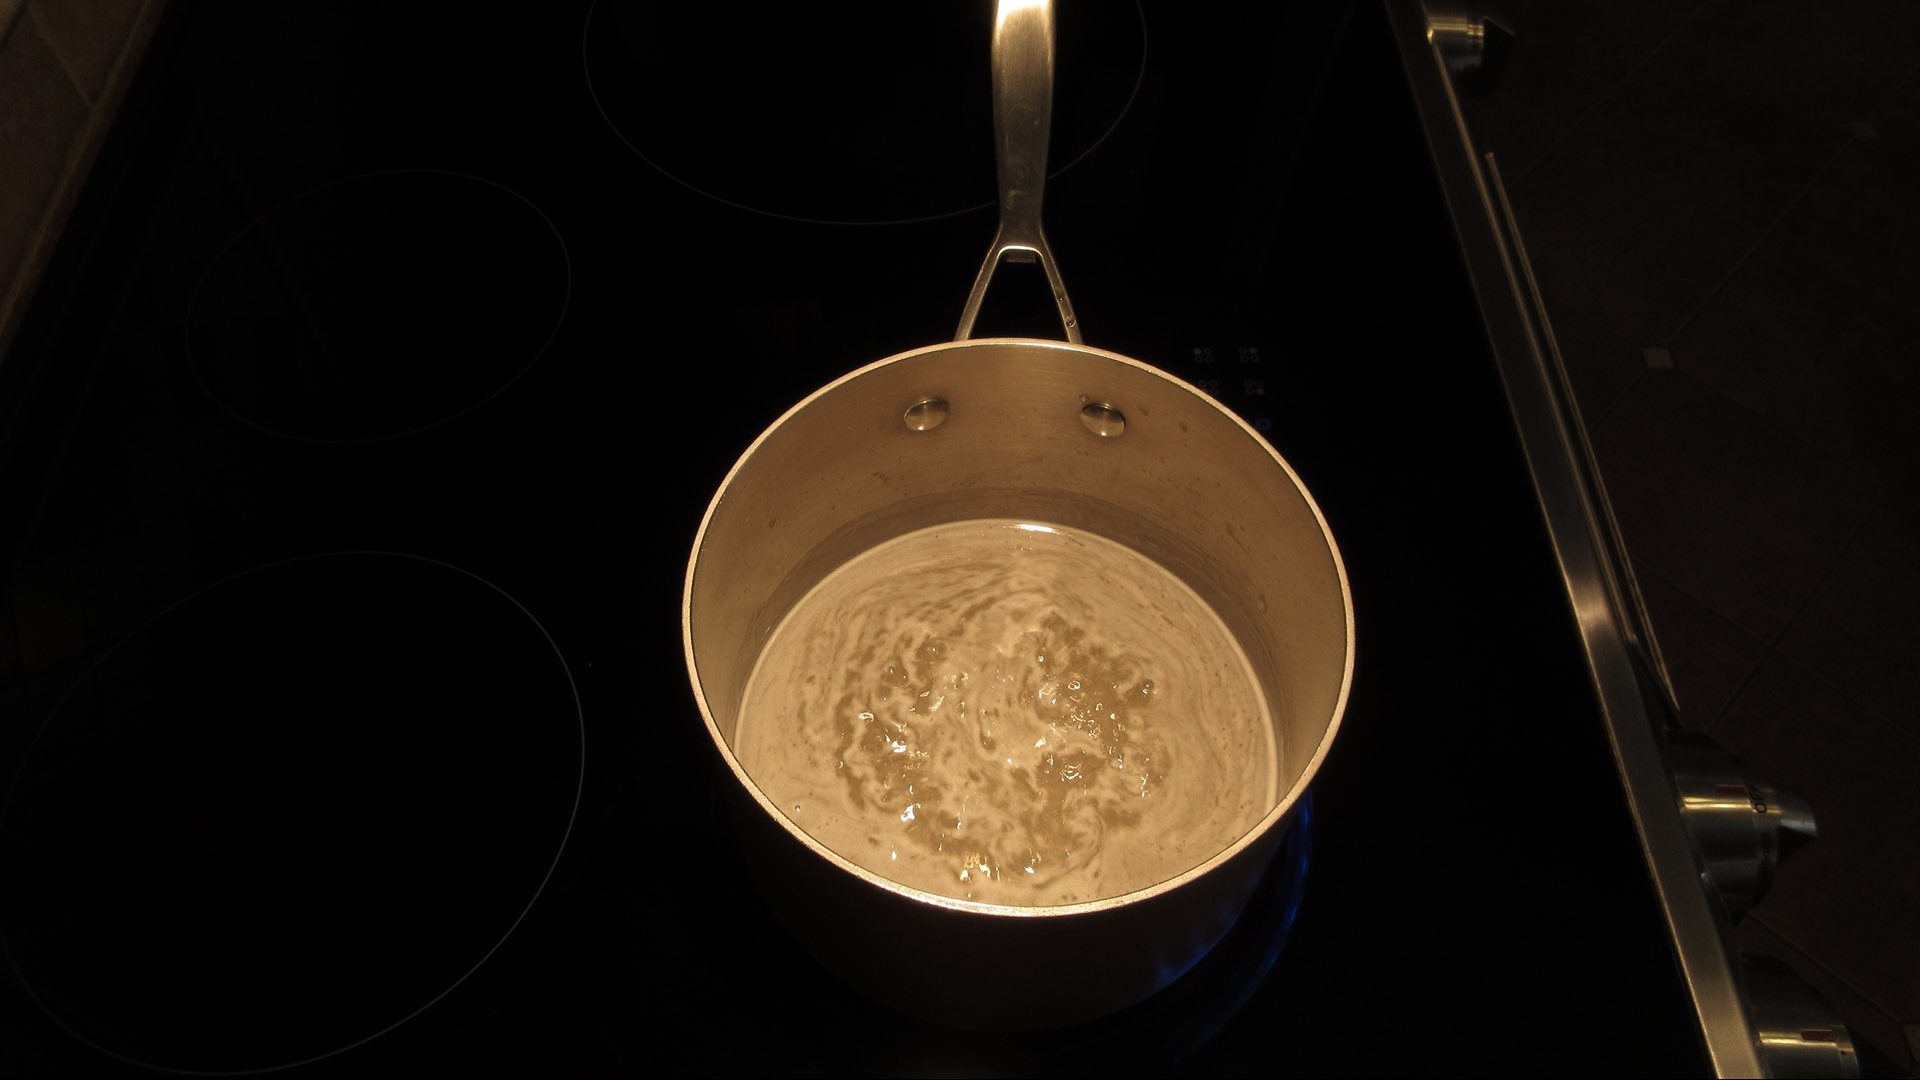
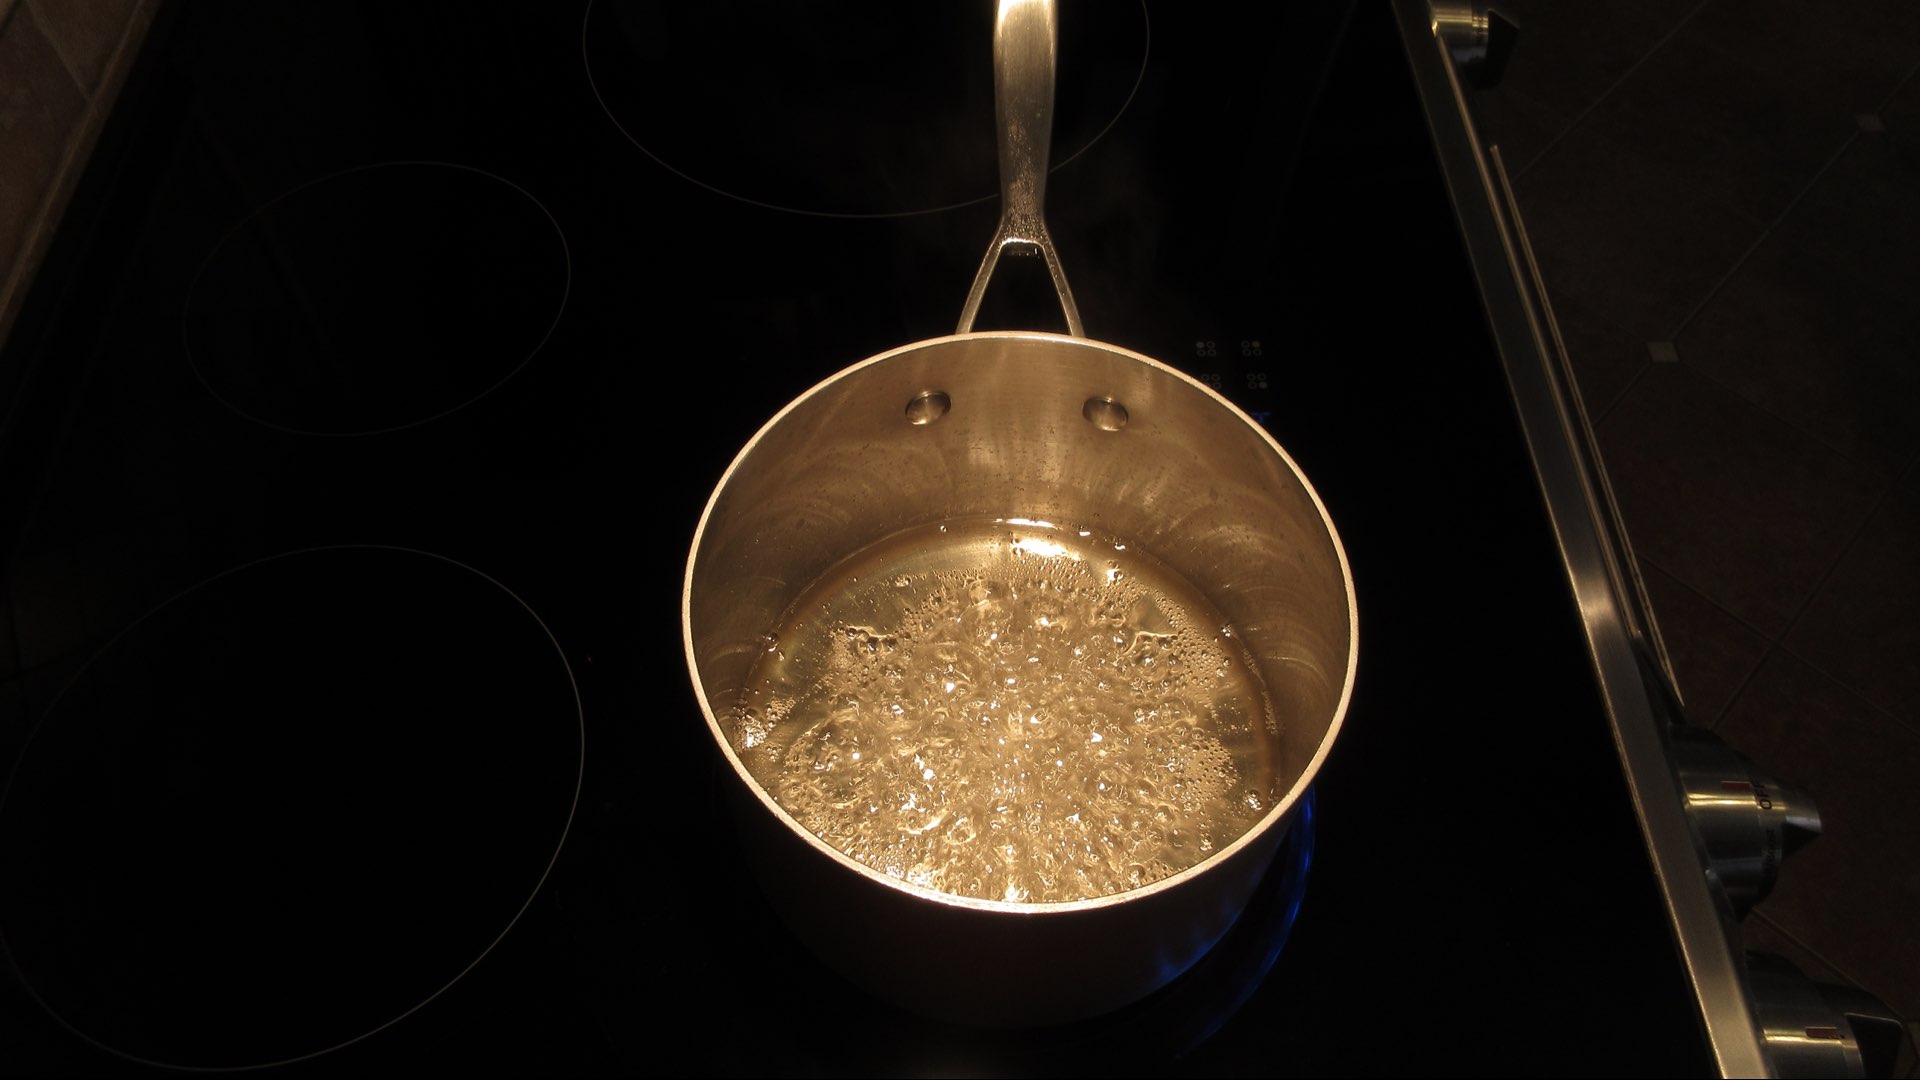
Once the sugar has dissolved and the water begins to boil, stop stirring. Don’t leave this unattended. Sugar will heat up rapidly.
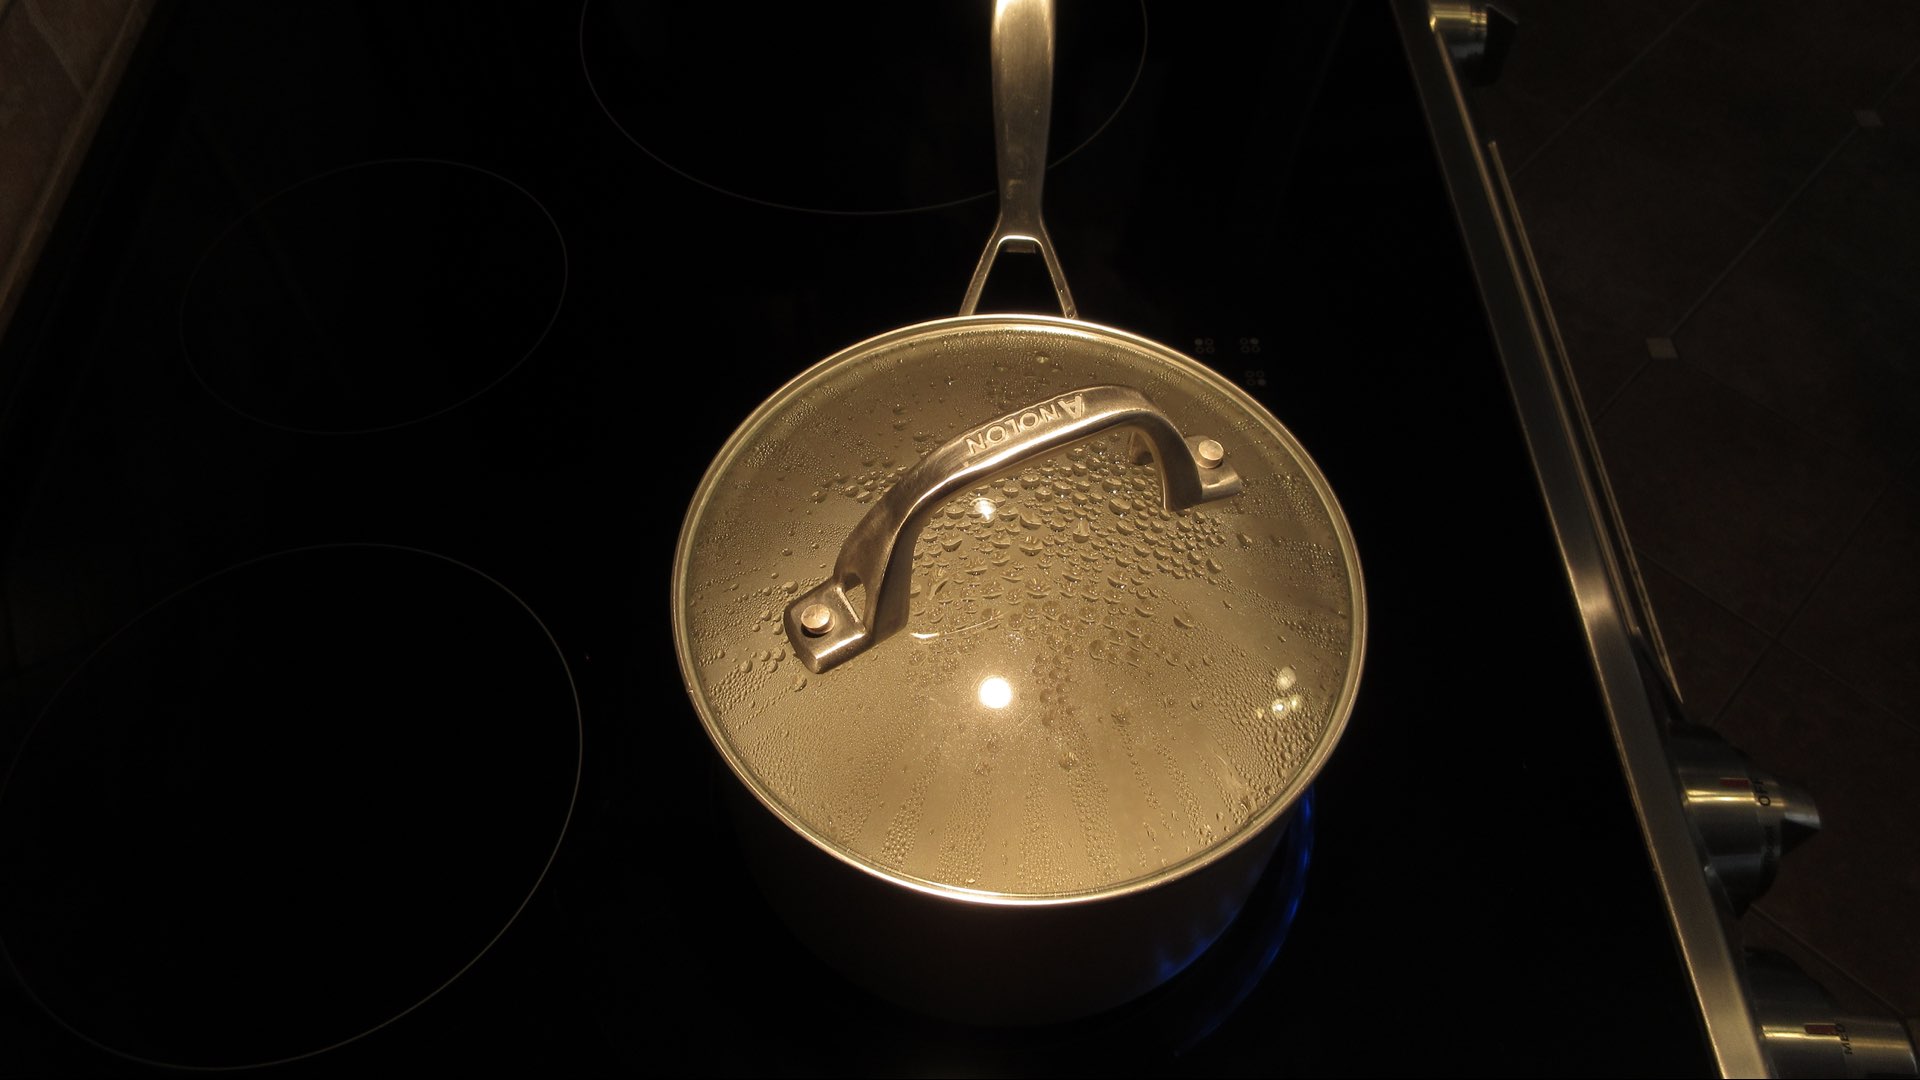
Cover with a lid for a bit to help prevent crystallization. The steam will wash down the sides of the pan.
After a couple of minutes, remove the lid and continue to boil a few more minutes. You want to get the syrup to a thicker consistency than this.
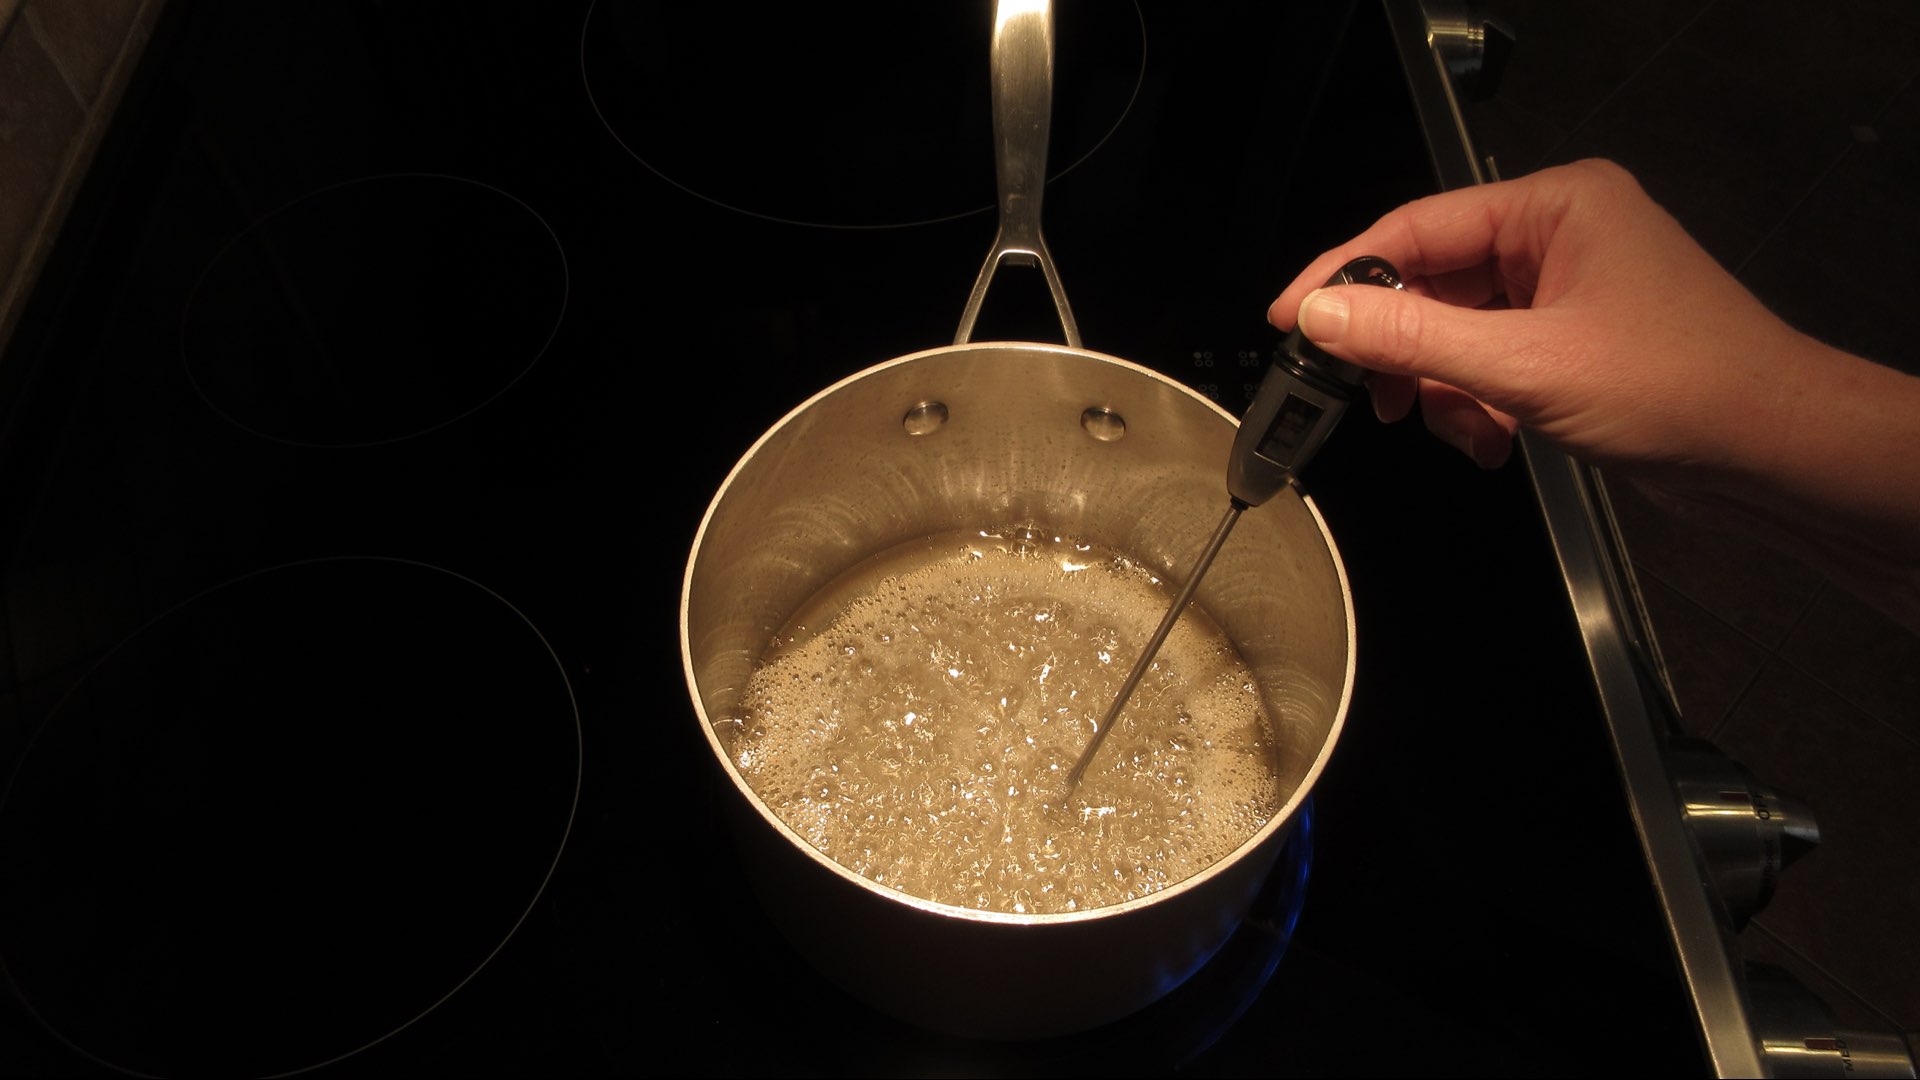
If you have a thermometer, 230F or 110C is ideal for many syrups. I recommend using one. If not, just boil another 4 minutes. Stay right by the mixture and adjust the heat if it begins to spatter.
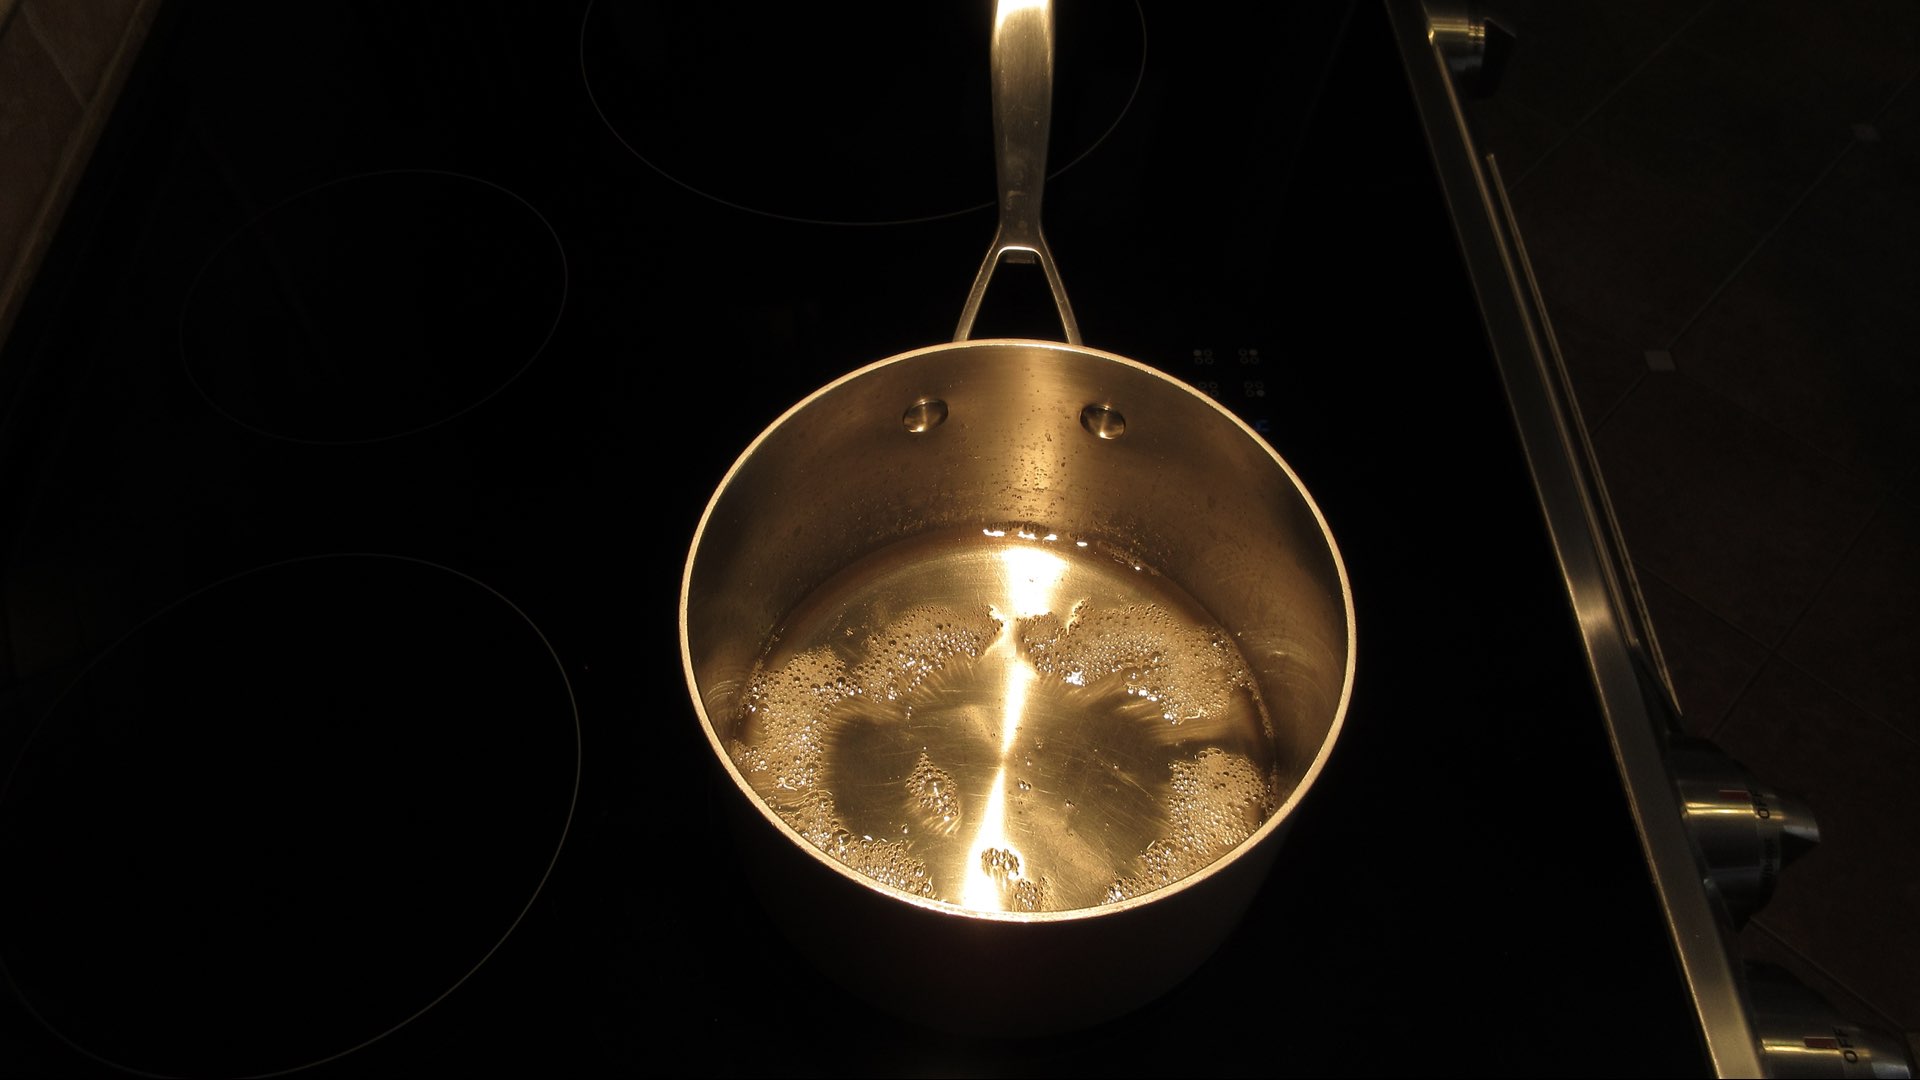
Once it is finished, remove carefully from the heat and cool in the pan before transferring to a container for storage. Do not pour hot liquid into glass for safety.
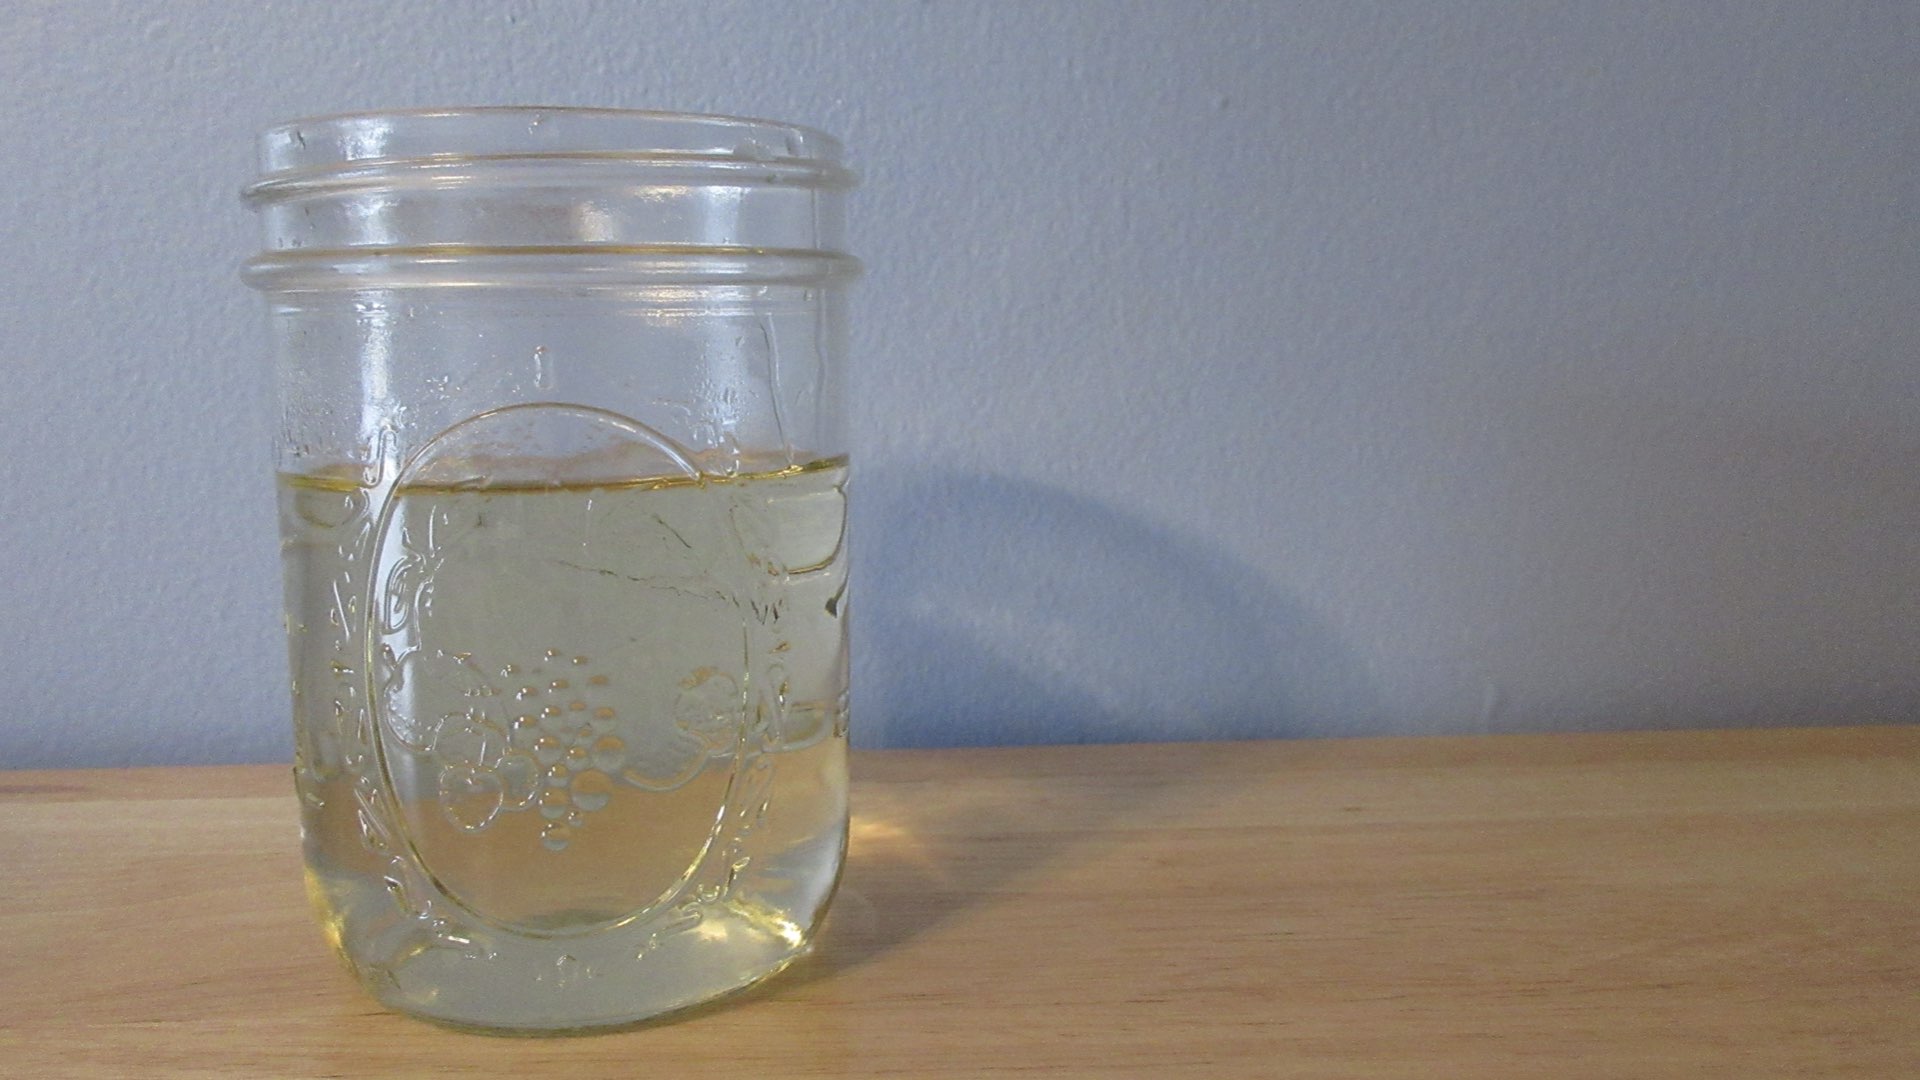
Pour into a glass jar once cooled and cover.
Tips and Tricks for Successful Syrup Making
Important! Sugar will be very hot so work with extreme caution!
- If sugar spatters onto an electric glass cooktop, it can permanently pit the glass. Refer to the owner’s manual for an informed decision before making these types of recipes. It is not recommended to make any syrup or candy recipes on these types of cooking surfaces.
- Do not pour hot liquid into a glass container. The difference in temperature can result in glass breaking or exploding. Let mixture come to room temperature in the saucepan to avoid thermal shock.
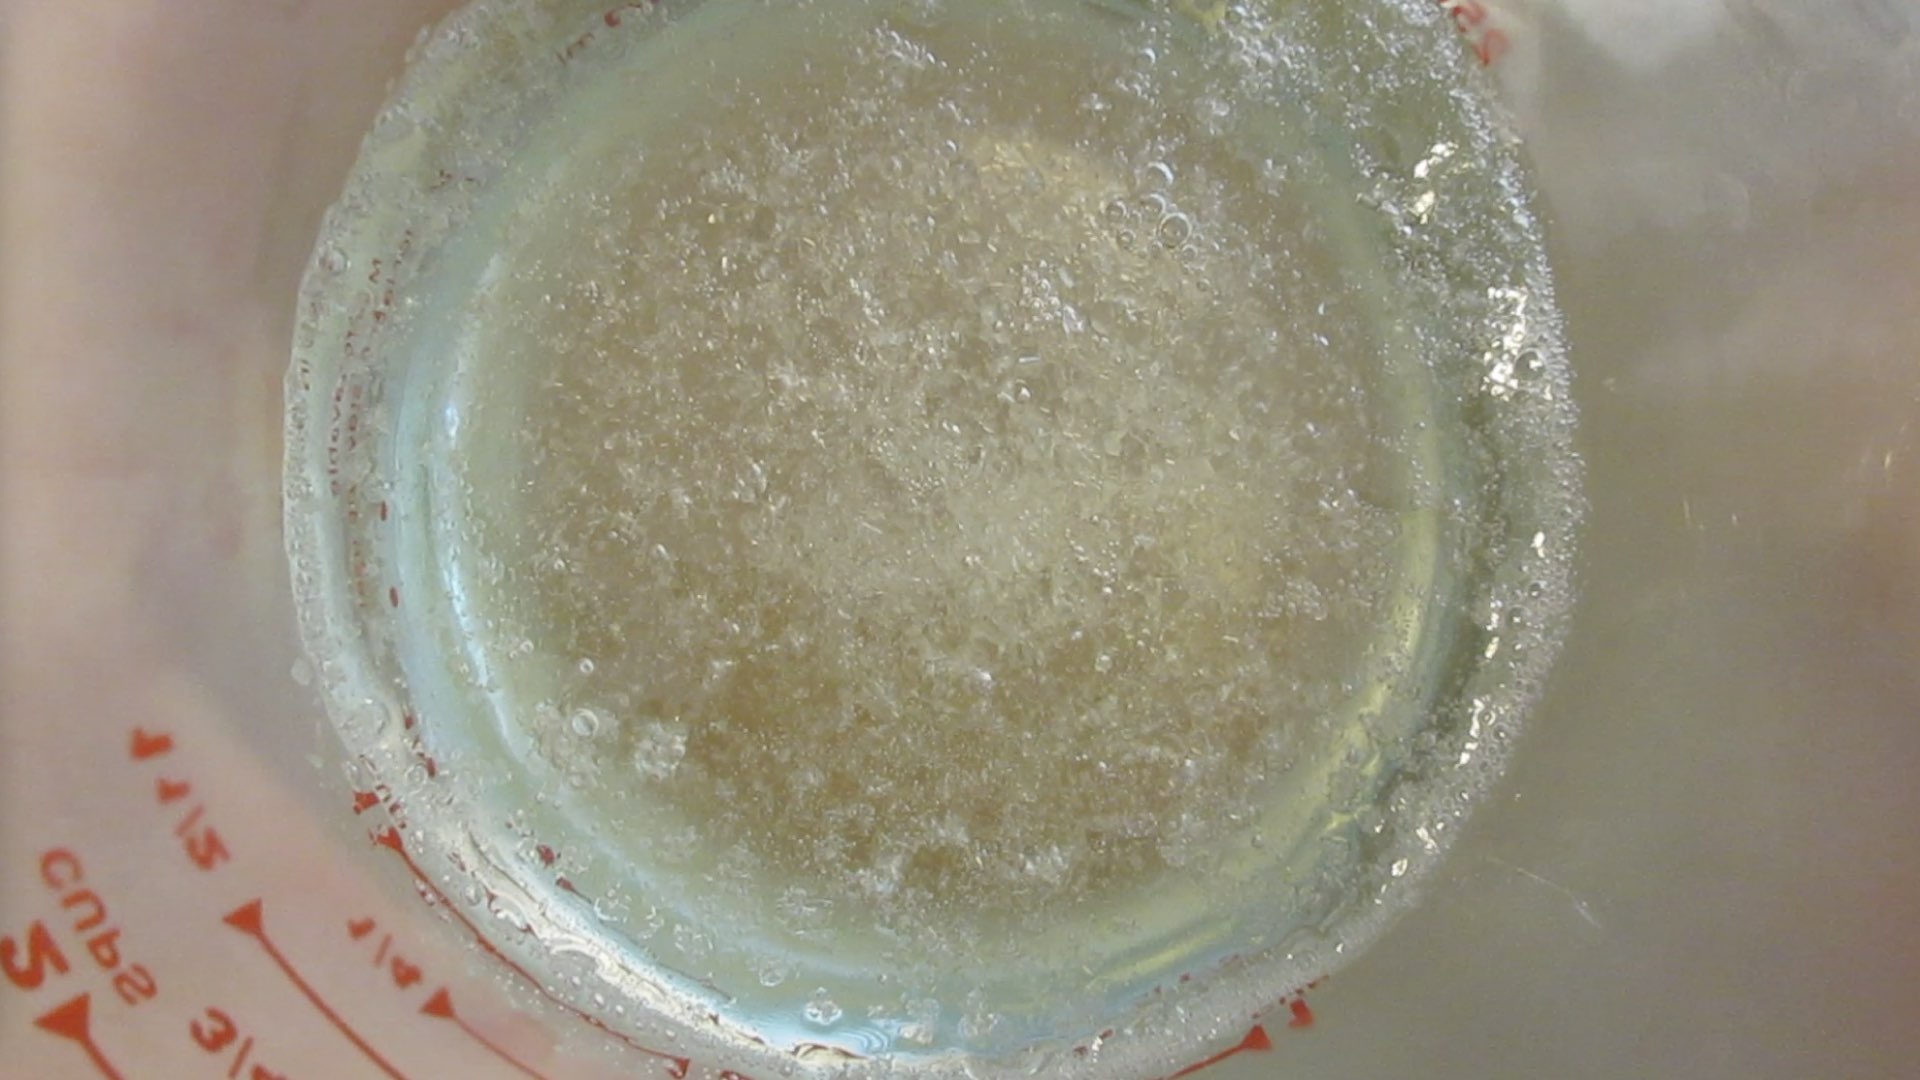
Occasionally, when you make syrups or hard candies, the sugar granules will not fully dissolve and it will begin to crystallize as it cools down. It only takes one single stray grain of sugar for this chain reaction to rapidly form. This happens to the best of chefs out there, so don’t fret. Not all is lost. Just simply return to the pan on a low to medium heat until the sugar crystals fully dissolve. Crystallization looks like the photo below.
General tips prevent crystallization:
- Do not stir after you remove the lid.
- Wash the sides down with cold water to remove undissolved crystals.
- Do not scrap the sides when pouring into container.
- You may want to add 1/2 tsp of white vinegar or lemon juice to help prevent crystals from forming. This may alter the taste to sensitive individuals.
- You may want to add 1 tbs of light corn-syrup or glucose syrup to the pan.
- If crystals do form, return syrup to the pan and heat on medium low until sugar dissolves fully.
Storage
Store in an airtight container for several weeks in the fridge. The rich syrup can last several months. It will be a thicker texture when cold. Bring to room temperature or heat for a thinner consistency.
When Does the Syrup Go Bad?
Like all food, syrups can eventually spoil or go bad. Here are some common signs to watch out for before consumption.
- Discard if the surface has any form of mold. Discard immediately and throughly wash the container. This is very cheap to make. Don’t eat mold.
- If the sugar begins to crystallize or go cloudy. This doesn’t mean it has went necessarily went bad, it just means the syrup will be gritty. If it happens immediately after making, you can return it to the stove and dissolve the sugar. If it happens after a week or longer, discard and start fresh.
- Discoloration, an unpleasant odor or taste. This can happen if not stored in an airtight container. The syrup will be sensitive to strong odors in the refrigerator like onions or garlic.

Simple Syrup Recipe
Ingredients
- ¾ cup (150g) granulated sugar
- ½ cup + 2 tbs (150mL) water
Instructions
- In a heavy bottom saucepan, add sugar and water. Stir until mostly dissolved.
- Place pan on medium heat and continue to stir slowly until sugar dissolves. Once mixture begins to boil, cover with a lid and cook for 2 minutes. Carefully remove lid and continue to cook another 4 minutes or until temperature reaches 230F (110C.)
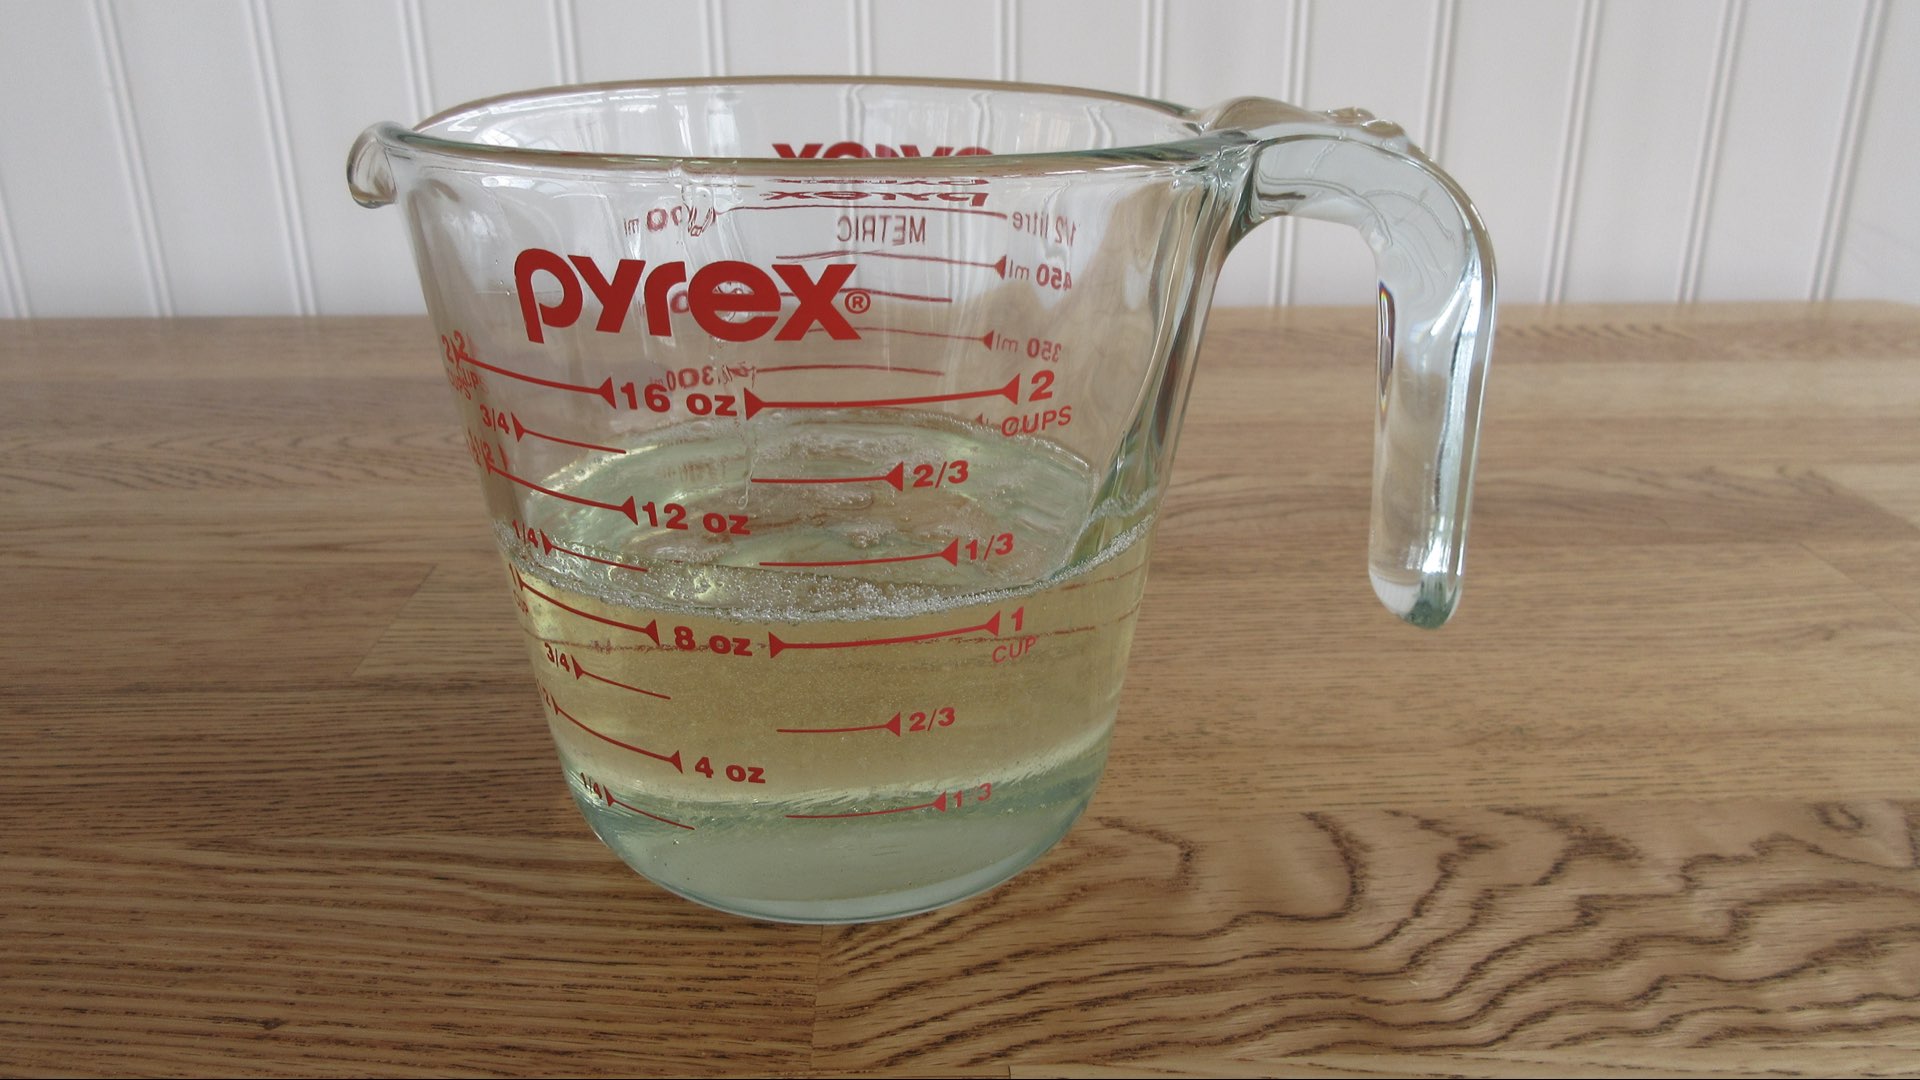
- Turn off and remove from heat and allow to cool before transferring to a heat-proof container. Yields approximately 2/3 cup (213g or 160mL) of syrup.
Notes
- If sugar spatters onto an electric glass cooktop, it can permanently pit the glass. Refer to the owner’s manual for an informed decision before making these types of recipes. It is not recommended to make any syrup or candy recipes on these surfaces.
- Do not pour hot liquid into a glass container. The difference in temperature can result in glass breaking or exploding. Let mixture come to room temperature in the saucepan to avoid thermal shock.
- Do not stir after you remove the lid.
- Wash the sides down with cold water to remove undissolved crystals.
- Do not scrap the sides when pouring into container.
- You may want to add 1/2 tsp of white vinegar or lemon juice to help prevent crystals from forming. This may alter the taste to sensitive individuals.
- You may want to add 1 tbs of light corn-syrup or glucose syrup to the pan.
- If crystals do form, return syrup to the pan and heat on medium low until sugar dissolves fully.
Hi so making the recipe with 150g sugar and 150ml water yields approximately 1 cup of syrup?
Hi Lauren. When you cook sugar and water together, some of the water will evaporate as it is boiling. You will end up with approximately 2/3 cup (213g) or 160mL of simple syrup. When you make 300g of sugar and 150 mL of water for a rich syrup, you will end up with approximately 1 1/4 cups (426g) or 300mL of rich syrup. The amount of time you boil, the temperature you use, what kind of heat you are using and whether or not you are using time or a thermometer will all play a factor in how much syrup you end up with as well as how much is left in the pan since you do not want to scrape the sides. Hope this helps!