Today we will learn how to make clarified butter. In the last few weeks, we learned how to melt butter on the stovetop which was an easy process to do. By taking a little more time, we can clarify butter! What is the purpose of clarified butter? Glad you asked! When you cook with butter, it only has a smoke point of 302F (150C) which isn’t that high. Compare that to vegetable oil that has a smoke point of 428F (220C.) In this situation, which one is ideal for cooking at high temperatures based on these figures? What if we could cook with butter but at a higher temperature? Well, we can!
Why Clarify Butter
Ever left butter simmering happily in a pan only to find the pan burning and now smoking within seconds? That’s because every type of fat we cook with such as butter, oil or lard has a smoke point. This is a temperature in which the fat stops shimmering and gliding in the pan and starts smoking and burning. Go higher than the smoke point and you will not only ruin the butter and the taste of your dish, but you risk your own safety! We want to avoid dangers in the kitchen. By knowing and respecting the smoke point of the type of fat you are using, you will always have great tasting food safely made.
The act of making clarified butter frees it from the milk solids and water that crackle, sizzle, pop, burn and smoke during higher temperature cooking. By removing the impurities, it develops a higher smoke point than regular butter. Instead of 302F (150C), we now have a smoke point of 482F (250C) which allows you to cook with that buttery flavor at much higher temperatures safely.
Not only does clarified butter have a higher smoke point, but it also lasts longer and tastes great. By removing the water and milk solids, you are also reducing the risk of rancidity and lengthening the life of the butter. When done correctly, you can leave safely leave clarified butter at room temperature for months and in the fridge for practically a year.
General Tips When Clarifying Butter
Start with the best butter you can afford. Don’t worry if it’s not the top shelf or generic. Since it all clarifies, don’t break the bank. While a good quality butter is always ideal, generic results in a little less butterfat in the end. A typical generic or name brand butter will give you about 80% butterfat whereas some of the top shelf varieties will give you 82% or more. Personally I recommend saving that top shelf butter for some delicious shortbread cookies or another recipe where butter is the star of the show instead.
Next, you’ll want to get a heavy duty sauce pan to melt your butter. You don’t want to scorch the butter along the way. Turn it on a medium low heat and just let it separate. Unlike melting butter, you don’t want to stir it back together, you want this separation of the casein, whey and water to occur from the butterfat. After all, clarified butter is simply the butterfat that is found in all butters and nothing else.
After it melts and begins to bubble, you want to turn off the heat. If you continued to bubble the butter and brown the solids, you’d end up with ghee. Ghee is basically clarified butter that takes on a nutty flavor from browning the milk solids. It’s also just as easy to make as clarified butter and even more delicious. But back to our task at hand.
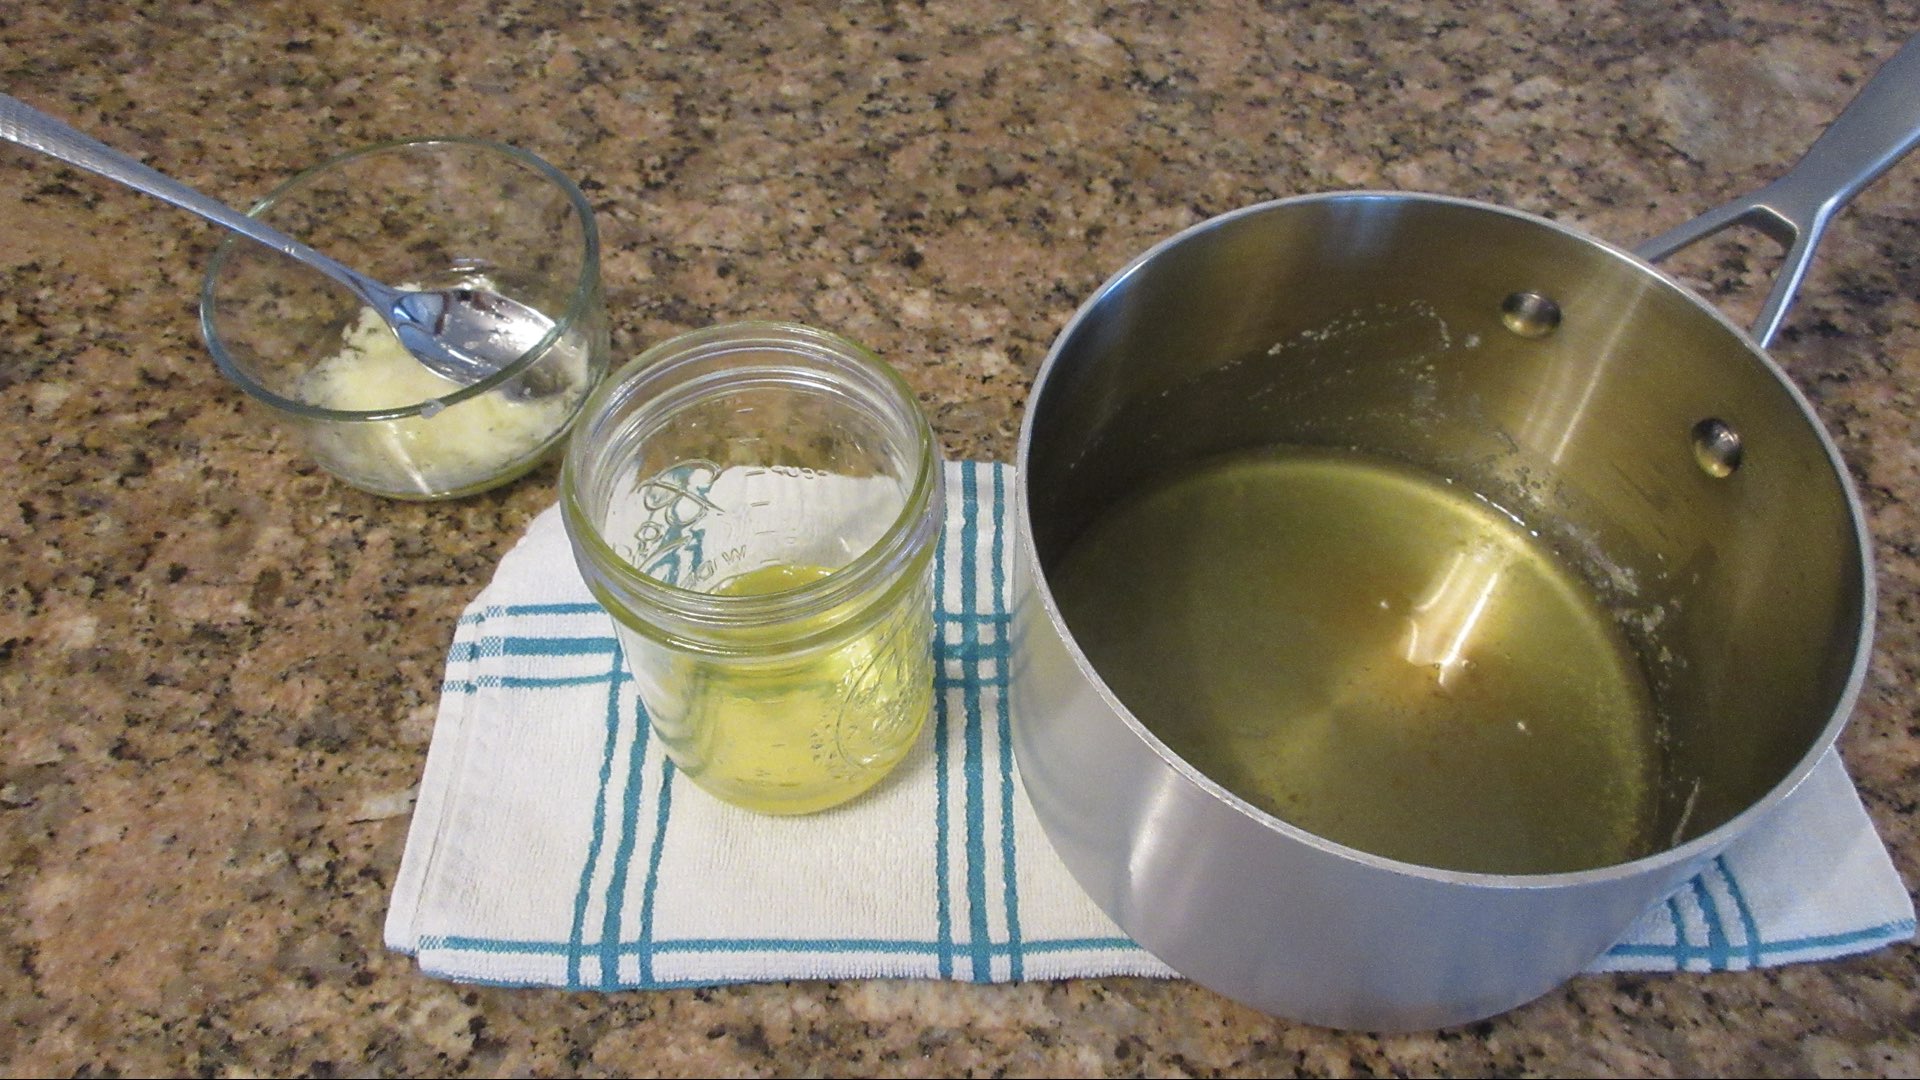
Remove the melted butter carefully from the heat. You should see some white foamy stuff on top of the butter. These are milk solids and need removed. Carefully skim them off with a spoon. Some people use the back of a strainer. Either way is fine!
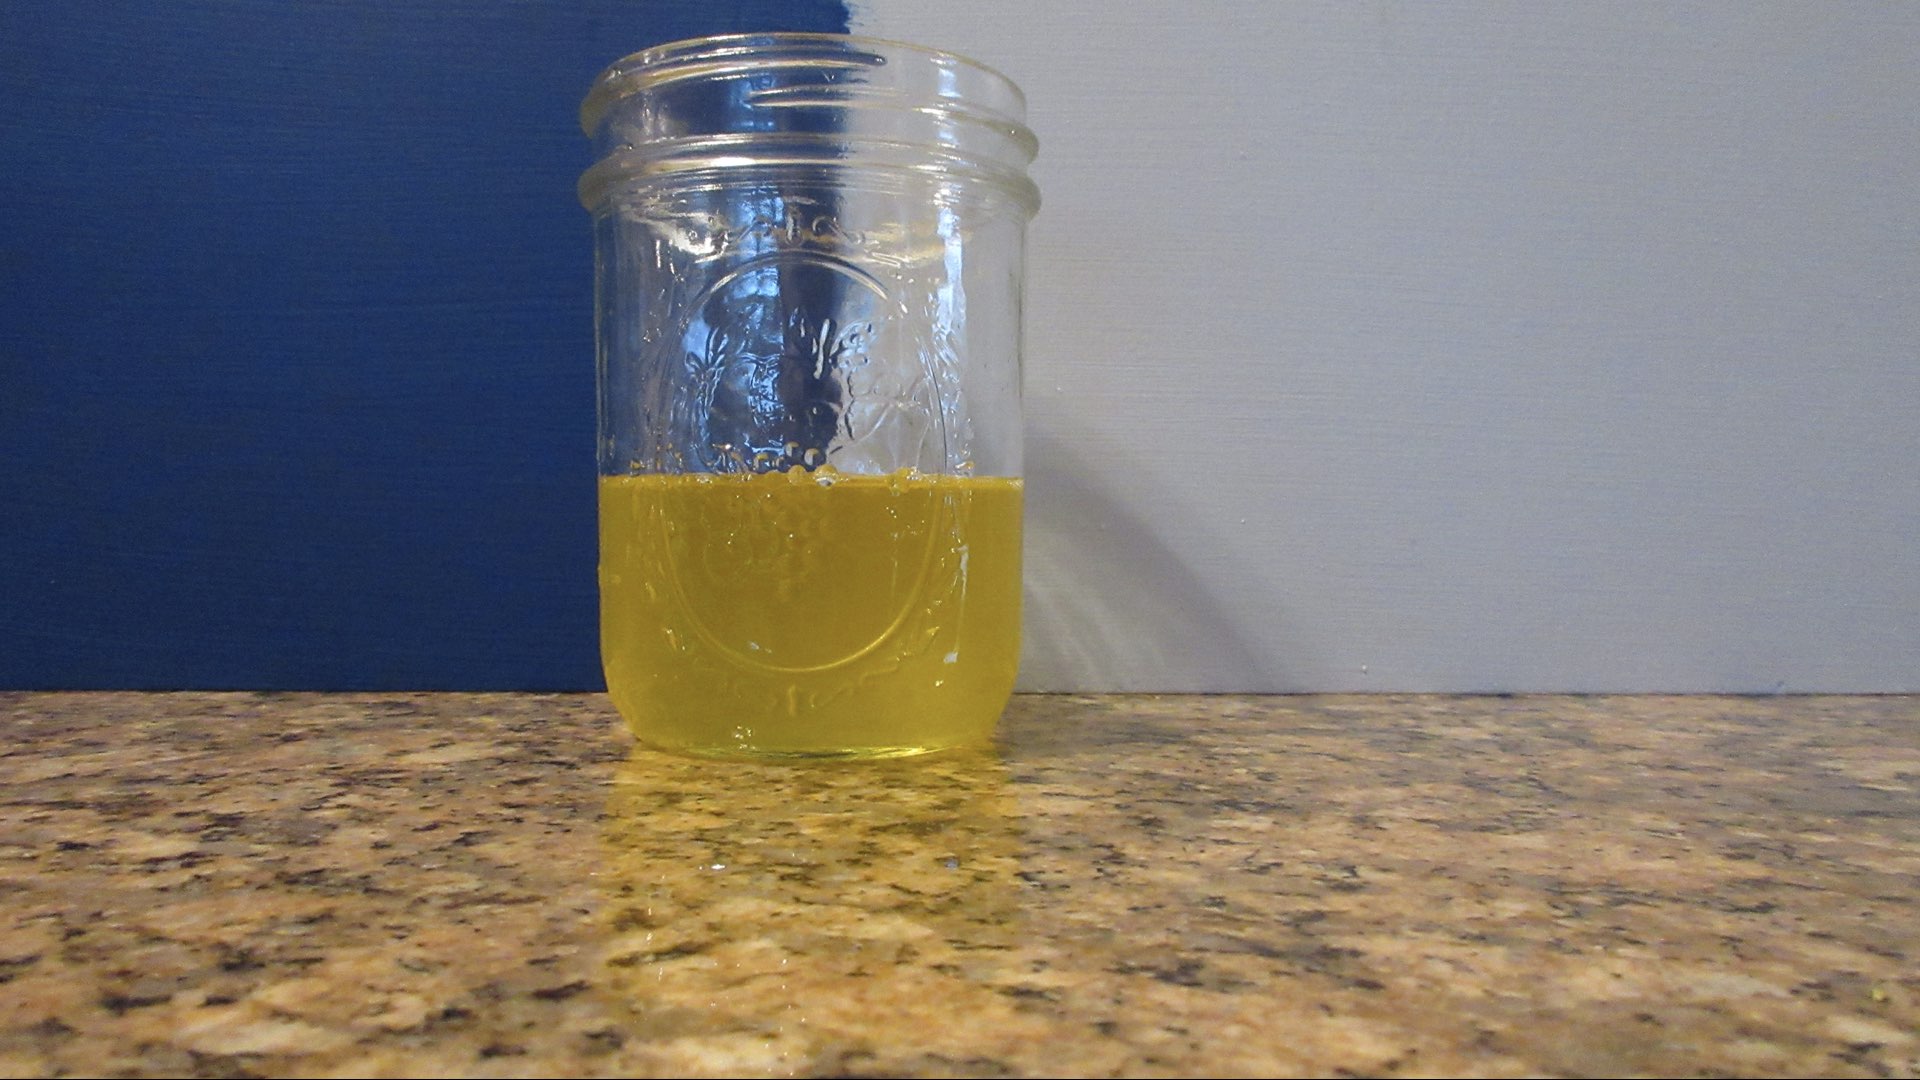
Once the foam is all removed, you’ll see a liquid gold goodness. This folks, is the butterfat. This is clarified butter. Congratulations. We are almost done. You want to carefully ladle this out into a clean jar or container that you want to store the delicious butter in. Avoid the solids at the bottom. You can strain it using a bit of cheesecloth if you wish. That’s all you have to do. Now you can start baking!
Step-By-Step Instructions
Perhaps you would also like to see this done in photographs? Well you are in luck. Let’s look at the process below. It really is as simple to clarify butter as it looks.
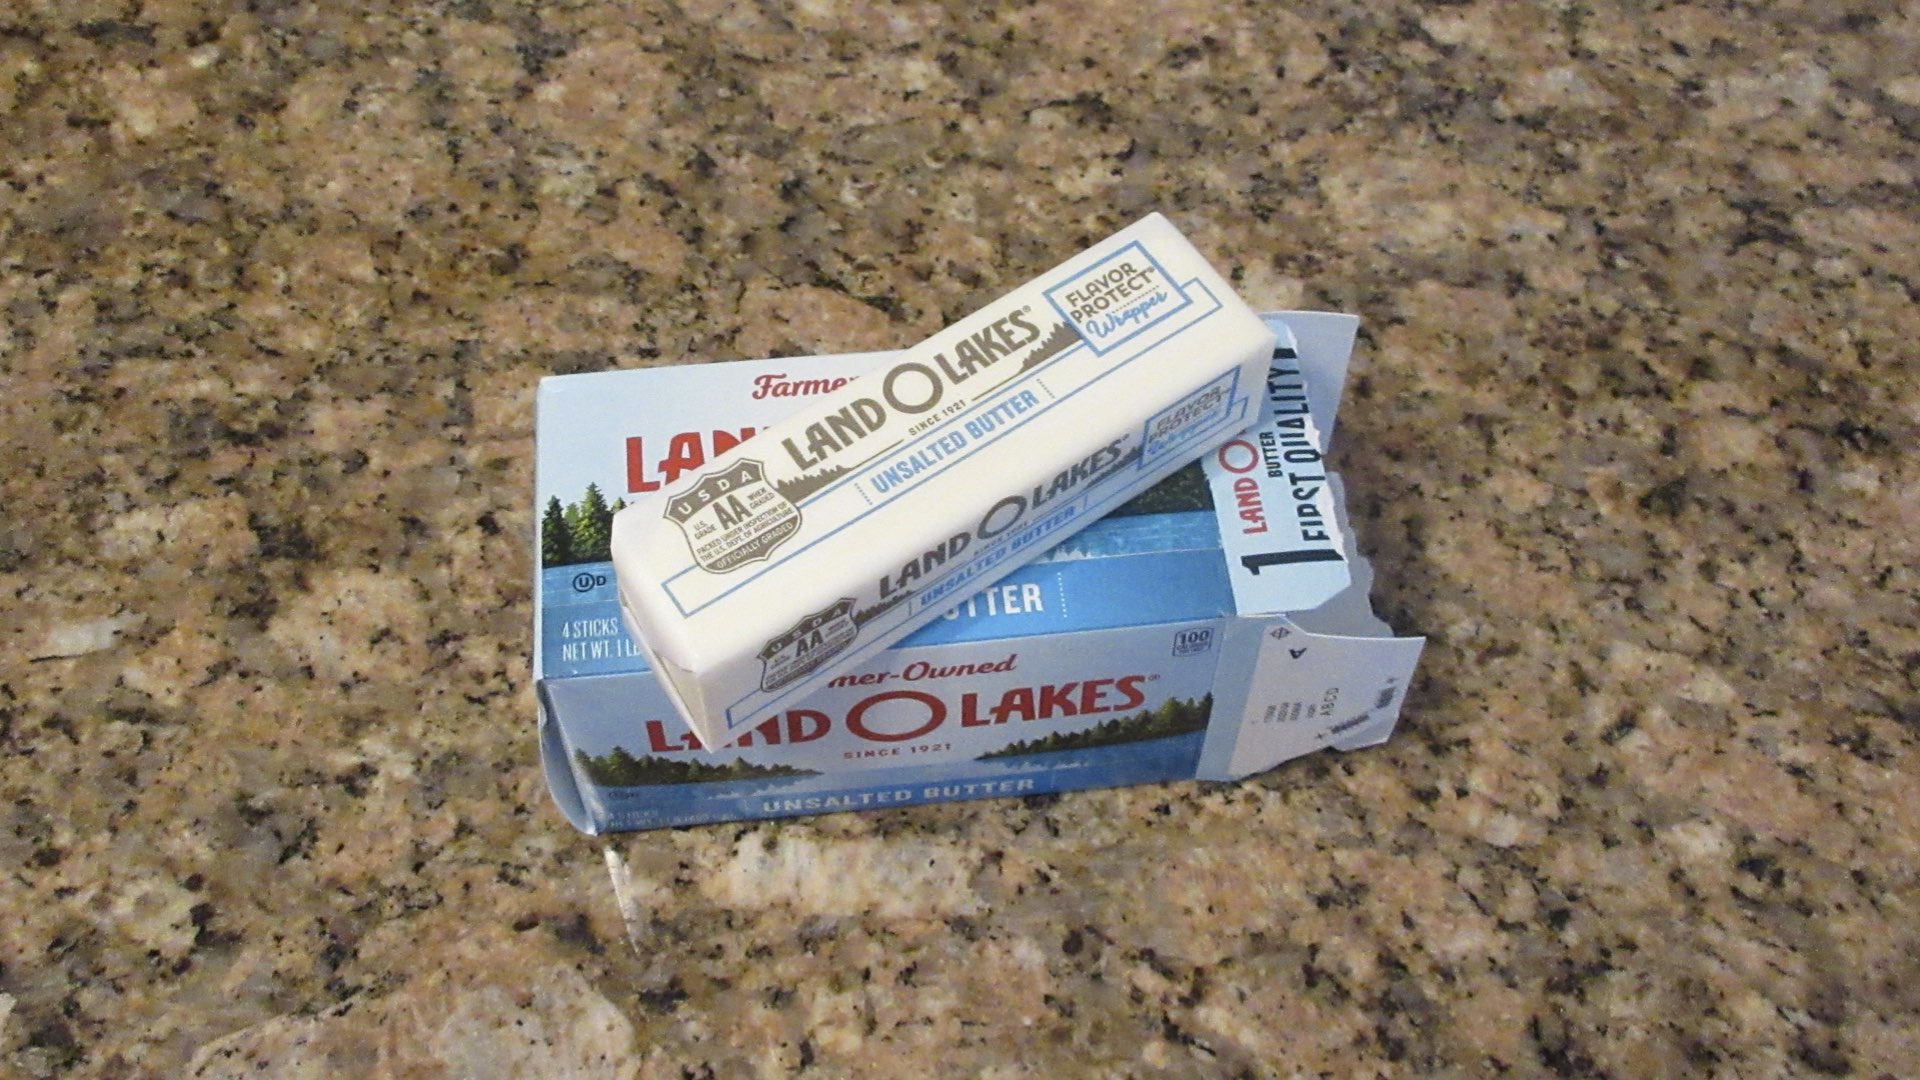
Step 1: Buy Some Butter
That’s pretty simple, right? Don’t worry if it’s a cheap generic or a common name brand. They will all clarify nicely.
Step 2: Melt the Butter
Melt the butter in a heavy sauce pan over a low to medium-low heat. Do not stir and allow the milk solids, water and butterfat to separate.
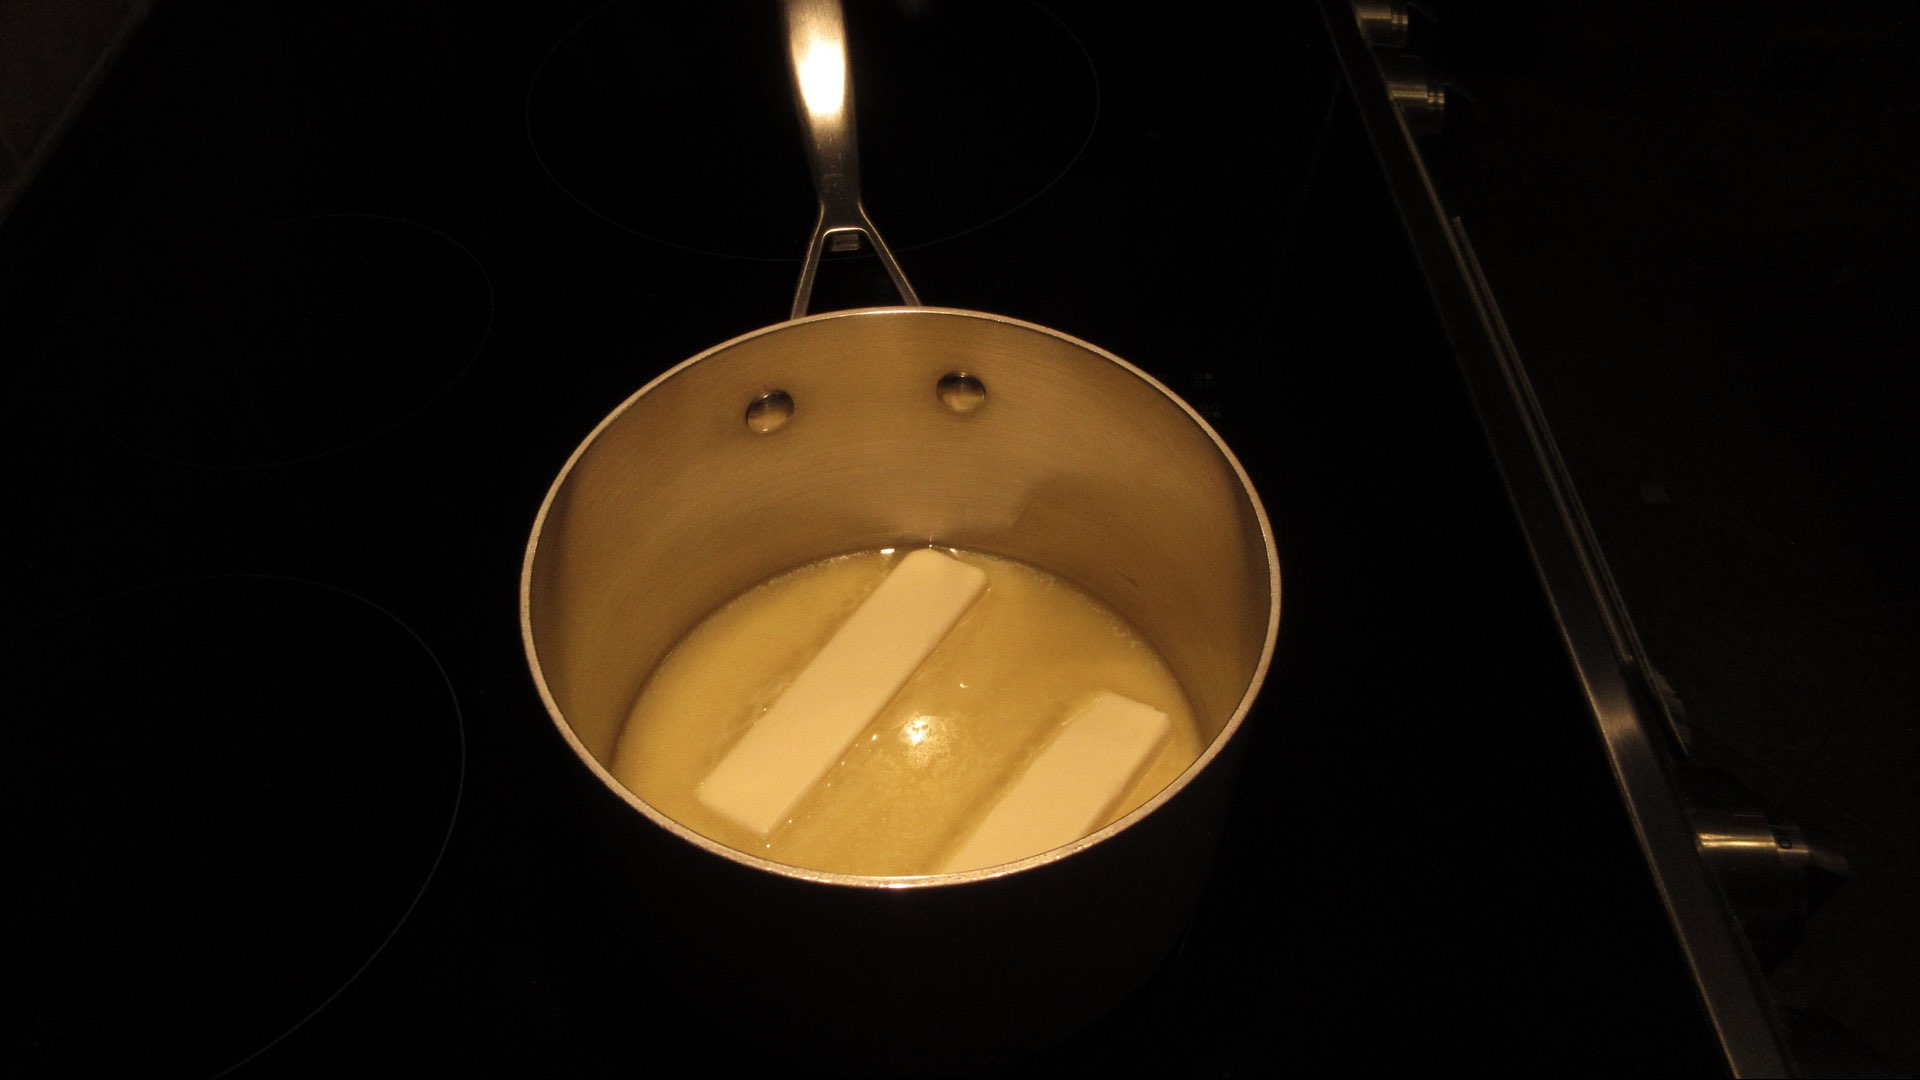
Don’t walk away from the pan, this goes pretty fast! You’ll soon see the butter sticks start to disappear into the butterfat.

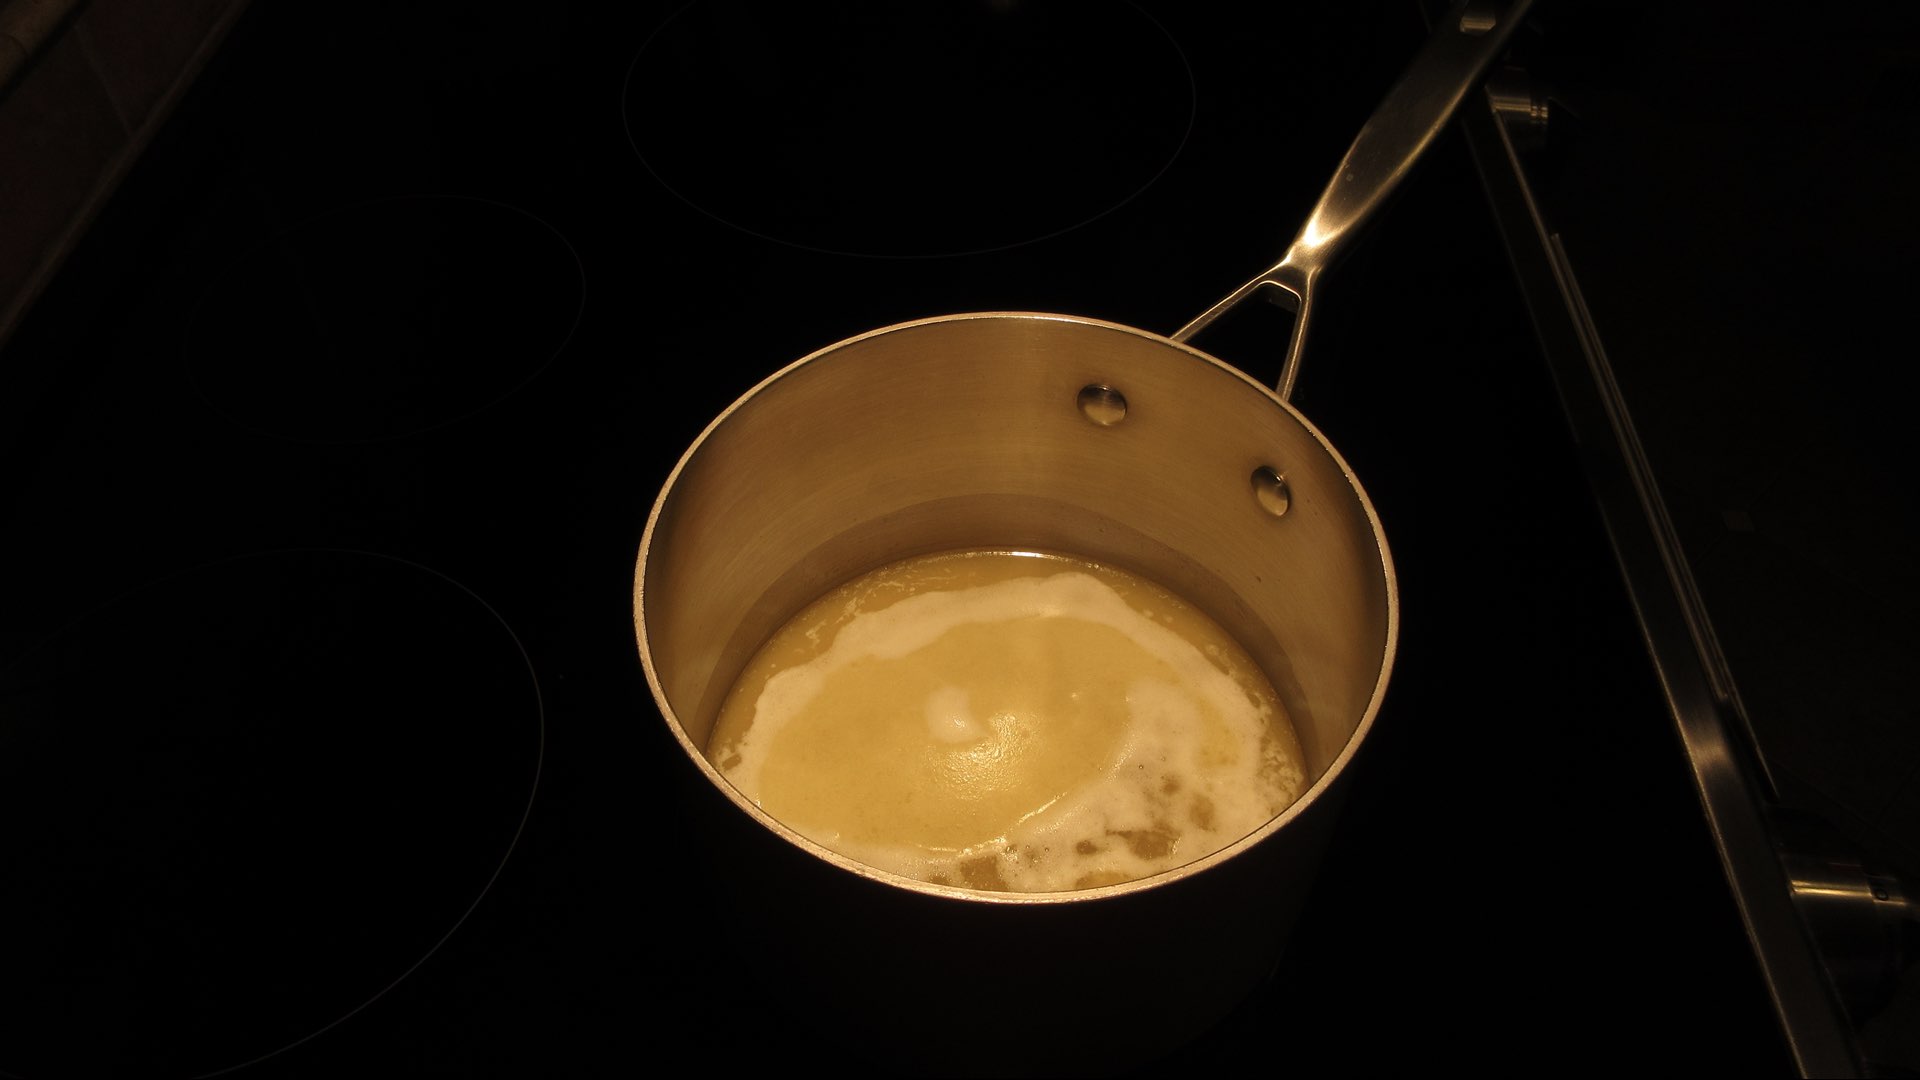
Once the butter is fully melted, if the burner is left on, the melted butter will start to bubble and spatter. Turn off the heat and remove it from the burner. If you continued this process, you’d be making ghee.

Once the heat is turned off, you should see a layer of foam on top of the melted butter. This separation is desired and is part of the process.
Step 3: Skim Off the Milk Solids
The foam that was created is mostly milk solids such as whey and casein. There’s some water trapped in this as well. You want to carefully remove the foam by skimming it off the top and placing into a container. Some find a strainer works well, but a spoon does a great job. Don’t discard these milk solids, they are fabulous on things like pasta, popcorn or toast.

Take your time with this step. You may be tempted to stop when you see a small amount left. Continue to skim off the solids to lengthen the life of your clarified butter. It is these solids and the water content that causes butter to go rancid.
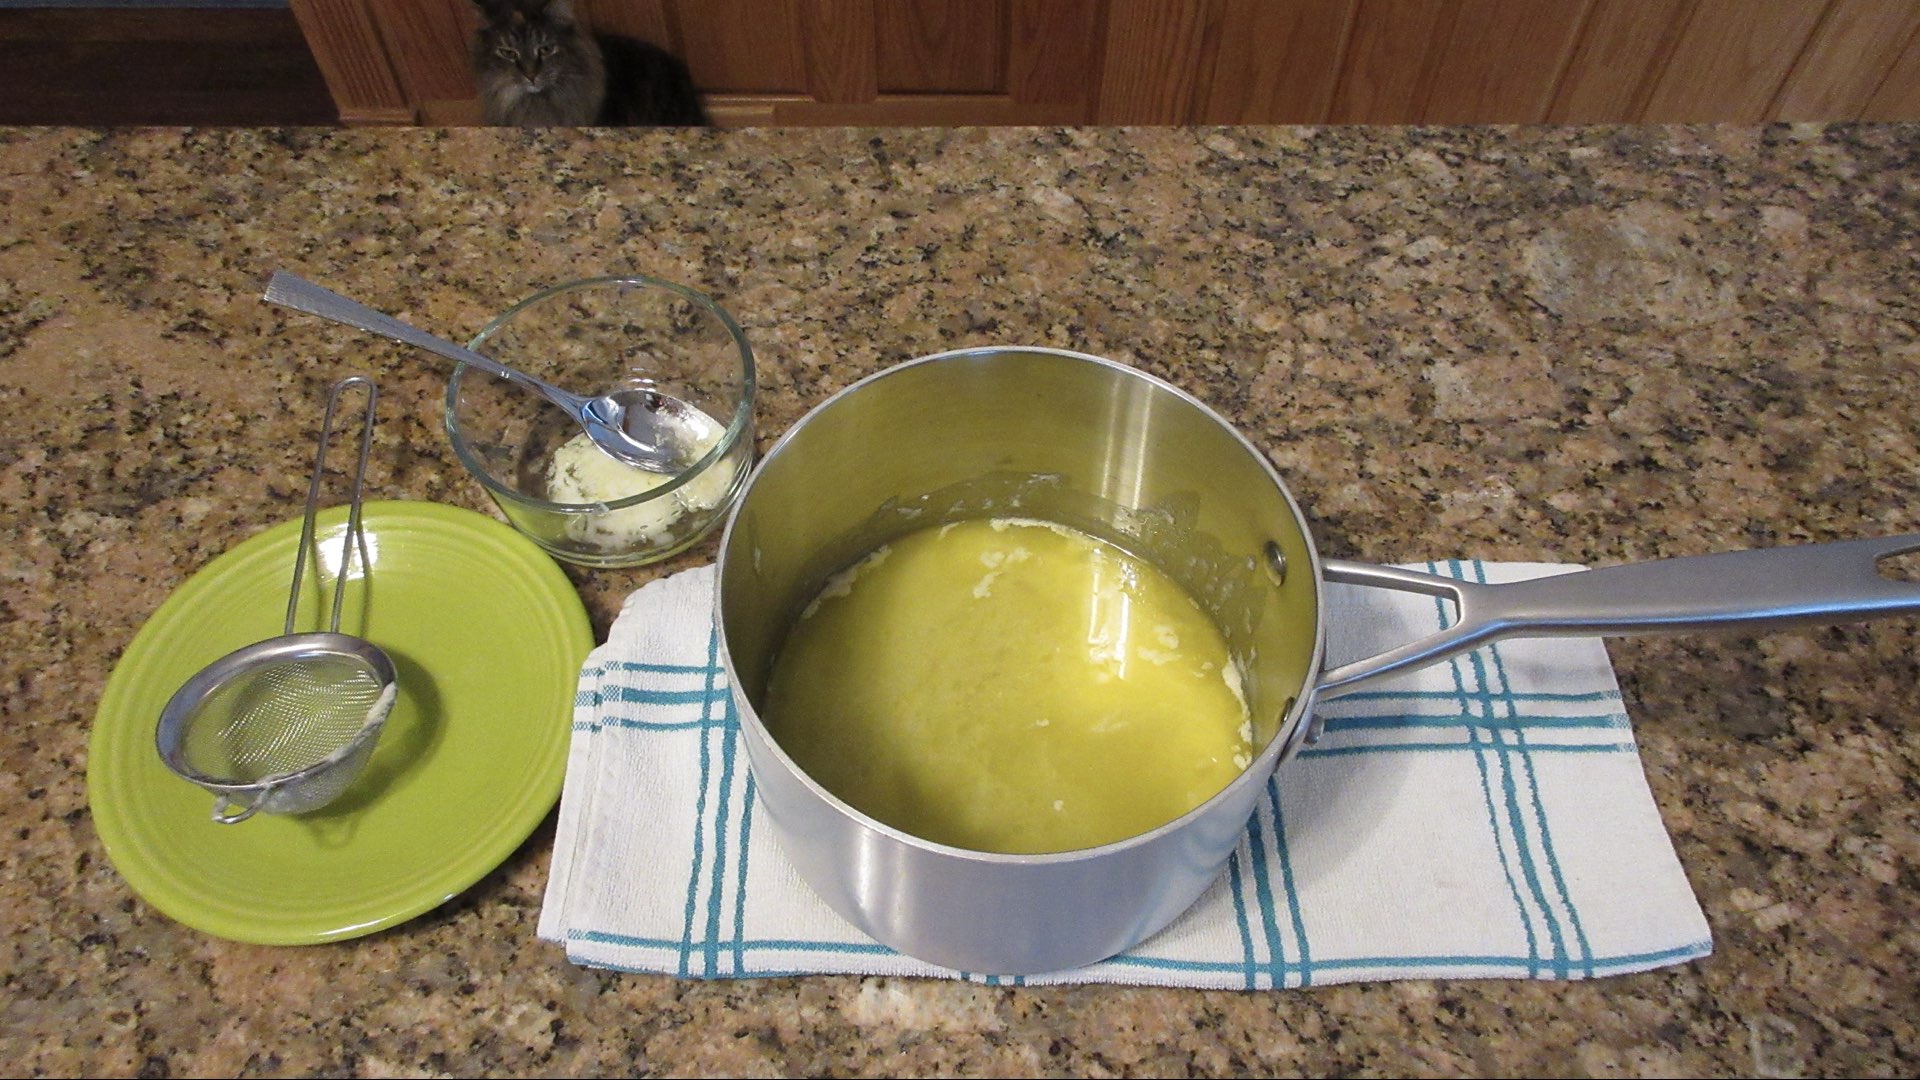
Step 4: Spoon Out the Butterfat
Next, you want to carefully ladle out the golden liquid into a clean jar or container. Some of the milk solids will have sunk to the bottom. Be careful not to scoop them out. Once again, take your time with this step. You are scooping out the clarified butterfat.
Once you get as much of the butter fat out without any solids, you can then run it through a strainer or cheesecloth to remove any stray milk solids. This step is optional. Use the milk solids and the remaining butter in the pan within a day or two or discard it if you must. This part will go rancid quickly after a day or so.

Storage
Store in an airtight container for several months. It will last even longer in the refrigerator. When stored in the fridge, it will be very hard and difficult to scoop, so keep that in mind when choosing a container. You can bring it up to room temperature or even melt it.
When Does Clarified Butter Go Bad?
Since it is a food substance, clarified butter can indeed spoil or go rancid. Here are some common signs to watch out for before using your liquid gold.
- The surface has any form of mold. Look for blue, black, white, red or orange. Regardless of the type of mold, discard and don’t use it. This means you didn’t get all the water or milk solids out when clarifying the butter. Or perhaps you spread some on a slice of bread and redipped the knife.
- There is a peculiar or odd smell. If it doesn’t smell like butter, then it may have just absorbed the smell of onions in the fridge or it could be going rancid. Why chance it? Make more!
- There is a bitter or unpleasant taste. Again, this could mean you stored it next to strongly flavored food. But it’s also sign of the butter being rancid.
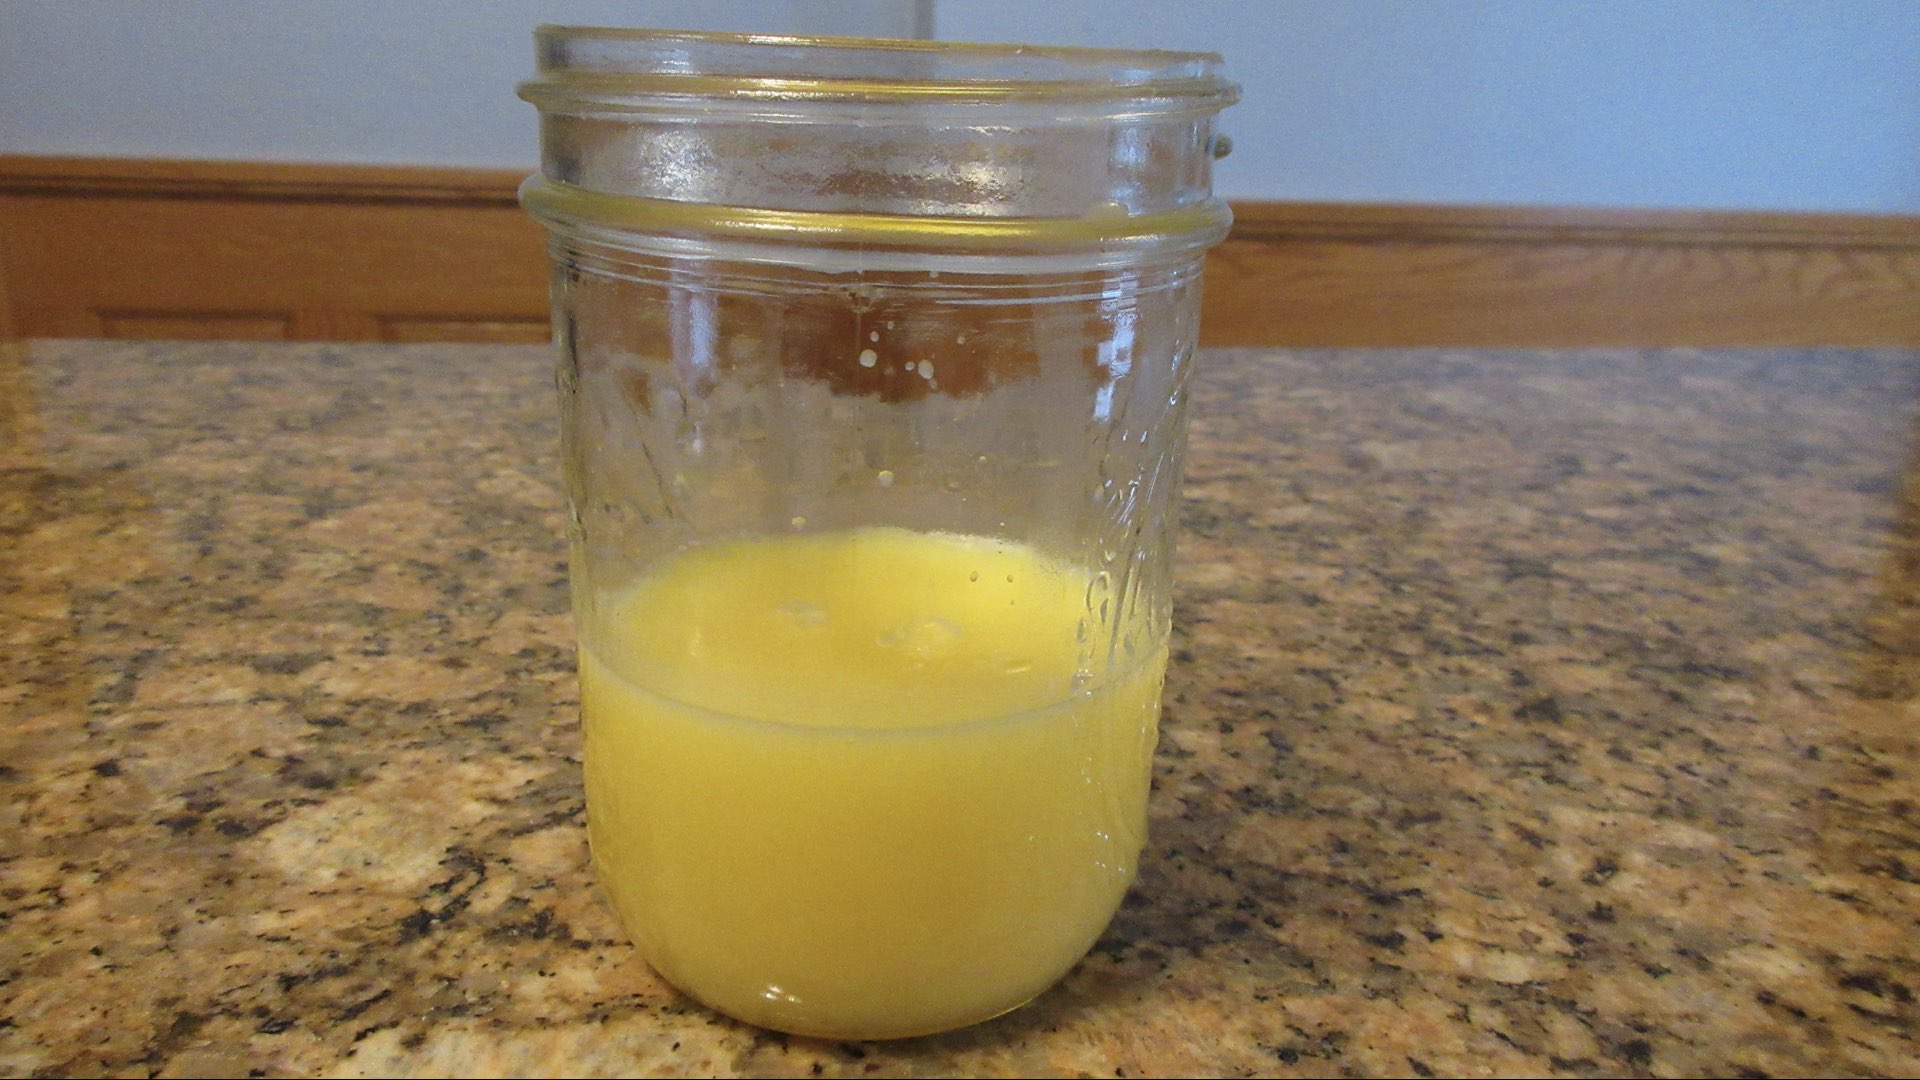
- It’s white in color. A very pale yellow after it has cooled is normal and is still safe for consumption. However, if you’ve had it a while and it’s turned white, the butterfat is likely rancid.
This is clarified butterfat that has been cooled completely. Notice that it takes on a solid form and is a paler yellow than earlier. This is completely normal.
Clarified Butter Recipe
Ingredients
- 1 cup (226g) butter
Instructions
- In a heavy saucepan, add butter.
- Place on burner and turn to medium low heat. Do not stir. Turn off the heat once the butter is completely melted and it just starts to bubble. Remove from burner.
- Carefully skim off the foam from the top and discard. Ladle the golden butterfat from the saucepan into a clean jar or container. Leave any solids in the bottom of the pan. If desired, pour through a cheesecloth to remove any fine particles you may have missed.
- Let cool, then transfer to a sealed container. For best longevity, refrigerate until ready to use.
0 Comments