A Little Background on this No-Bake Lemon Meringue Pie Recipe
It all started when my husband began putting whipped cream on top of a lemon square. When I asked what he was doing, he replied “You should make a lemon meringue pie. They are great.” So as I have done in the past, when someone wants me to bake them something new, I pull out my mother’s old cookbook. It took quite a bit of work, but in the end, a beautiful lemon meringue pie was enjoyed….by him. You see, I’m allergic to corn. And the ingredients in this pie needs cornstarch. A lot of it. I took one small bite and loved every bit of it but was sick for days after. That’s when my search for a lemon meringue pie without cornstarch began.
Unfortunately, there are not a lot of recipes out there without corn in them. Actually, I only found one. And it was rubbery, claggy and so cloyingly sweet the pie was inedible. I tried it a few more times thinking perhaps I did something wrong. Apparently not. That’s when I decided to start learning how to make my own lemon pudding or some sort of filling. And it took nearly nine months of tinkering around to end up with a silky smooth, light and tangy lemon filling.
Then came the issue with baking the meringue to food safety guidelines. When baking meringue pies, it’s easy to go from just right to weepy, chewy, fallen meringues in just a few moments. To get the just right consistency of a meringue pie, you couldn’t get anywhere near the recommended 160°F (71°C) temperature. The egg whites would start to coagulate between 144° F and 149° F (62°C – 65°C) and by the time you would reach 155°F (68°C) or higher, it often lead to a layer of clear liquid weeping between the layers of meringue and lemon filling.
If you added more sugar to the meringue to slow down the coagulation, you’d often see the moisture forming large syrupy beads of liquid on top of the pie as it cooled overnight. Pie after pie, there were either structural or physical imperfections. Most were edible despite the flaws, but few looked or tasted as great as the ones with a gently toasted meringue.
Sadly, those recipes written nearly 50 years ago aren’t temperature safe. The newer recipes tell you to bake a set amount of time or until you reach 160°F. Despite following the recipes carefully, none of them reached the temperature. It was much closer to the original meringue. To reach safe temperatures, you had to bake sometimes 3 times longer than suggested. And then the meringue was horrible.
You could use pasteurized eggs to combat this issue, but they are often in short supply these days or not affordable for the casual baker. Another option would be to use powdered meringue or egg whites, but they don’t have the same pillowy texture in the end. They also became difficult to find as the egg shortages increased nationally. Since we didn’t want to advise people to eat undercooked egg whites as they do pose a credible risk for contracting salmonella, e-coli and other nasty microbes that could dangerous or deadly for those with weak or immunocompromised immune systems, we couldn’t share the original recipe or the others we tried that were successful. Not one of them came close to 160°F (71°C.)
In addition, there was the lemon filling drama. If by chance, you could get the meringue with the right texture, taste and to safe temperatures, the lemon filling would begin to break down by being cooked too long. It would either become quite fluid, rubbery, weepy or a sweet lemon scrambled egg pie. Not very appetizing. So we tabled the idea of creating a lemon meringue pie recipe.
That is, until today. Thanks to a conversation about macarons with my friend Christine in Germany and the recent request from Karen for a no-bake cheesecake, an idea was sparked. What if we made a no-bake lemon meringue pie with Swiss meringue and skipped the oven entirely? After all, we are in the middle of a heat wave and I didn’t feel like baking much. And that, my friends is how this recipe was born. We love getting inspiration from our viewers turned into baking friends. So let’s get to making this delicious new dessert!
Step-By-Step Instructions to Make a No-Bake Lemon Meringue Pie
Below, we will teach you how to make this delicious no-bake lemon meringue pie recipe. Please read over the instructions carefully prior to making this recipe. Failure to do so can lead to a ruined pie at best and a bad burn at worst. Trust me on this one. I’ve experienced ruined pies, scalds and burns by being careless along the way.
There are four separate parts to this no-bake lemon meringue pie recipe. First, you will make the crust. Next, you will prepare the meringue. Following the meringue, you will make the lemon filling and finally, you will assemble the lemon pie.
None of these steps are particularly difficult, but they do take some time. Prepare to spend a few hours of your day in the kitchen from start to finish. You can make parts of the pie in stages or on different days to break up the time into more manageable portions. For instance, you could make the crust several days earlier, make the filling one day and then make the meringue and assemble the following day.
Part 1: Prepare the Crust
Of all the steps for making this no-bake lemon meringue pie recipe, this step is the easiest. You can either go out and buy a ready-made graham cracker crust like the ones from Keebler or you can make your own. We promise to look away if you want to go the easy route. We’ve done it ourselves over the years. Otherwise, read below on how to make your own.
Step 1: Crush the Graham Crackers
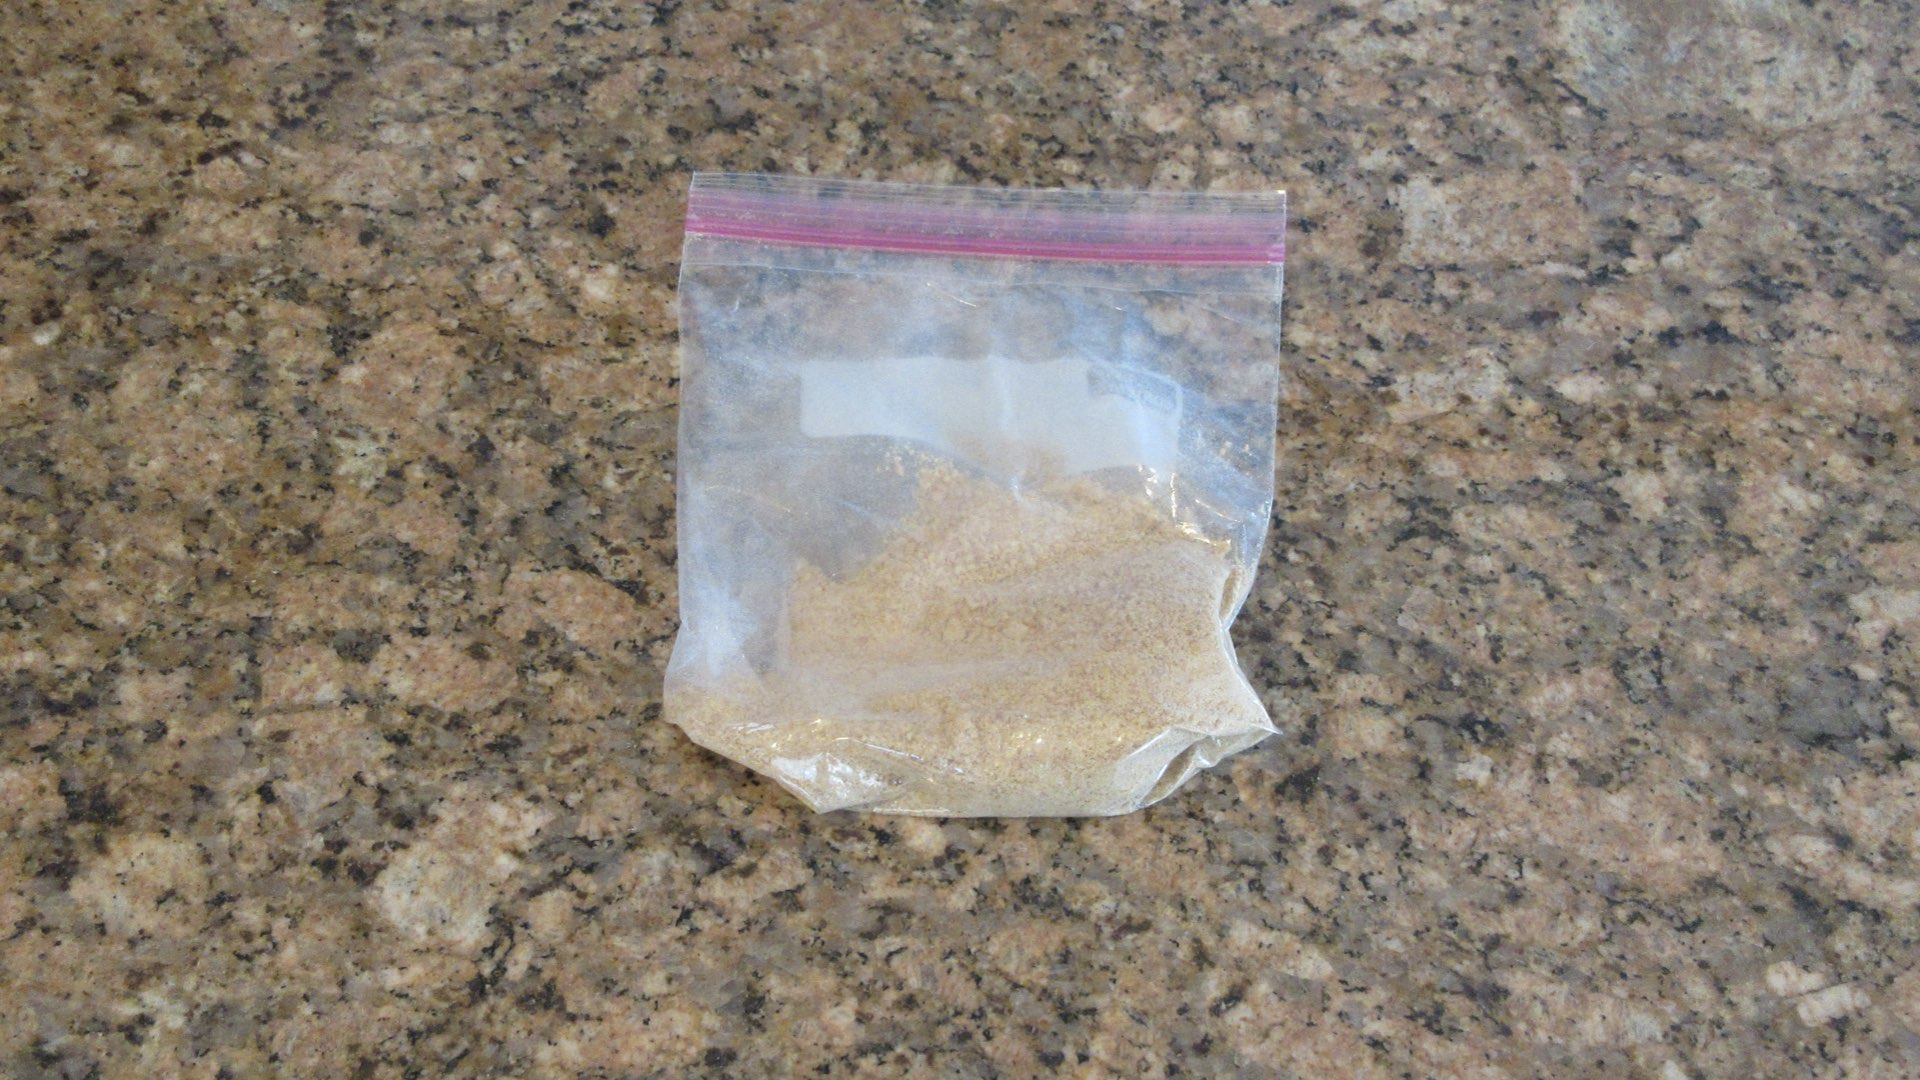
You have a few options when it comes to crushing graham crackers. One, you can use a bag like pictured and crush them with a rolling pin, your hands or a heavy object such as bottom of a drinking glass. You can use a blender or a food processor which will take seconds but takes longer to clean up after. Or you can use a bowl and crush them against the bottom and sides with a spoon. Be sure the graham crackers are finely crushed.
Step 2: Melt the Butter
You will need to melt your butter either using a saucepan on low heat or using the microwave. Either is fine by us.
Step 3: Combine the Ingredients
Next, you want to place the graham crackers into a medium sized bowl and stir in the butter until all the crumbs are evenly moistened.

Step 4: Form and Chill the Crust
Using a 9″ (23cm) pie pan, spread the moistened crumbs across the bottom and up the sides of the pan. Press the graham cracker crumbs down firmly and gently until they are a uniform thickness. Chill for at least 20 minutes or overnight until the crust becomes firm. Leave in the fridge until you begin making the lemon filling for best results.
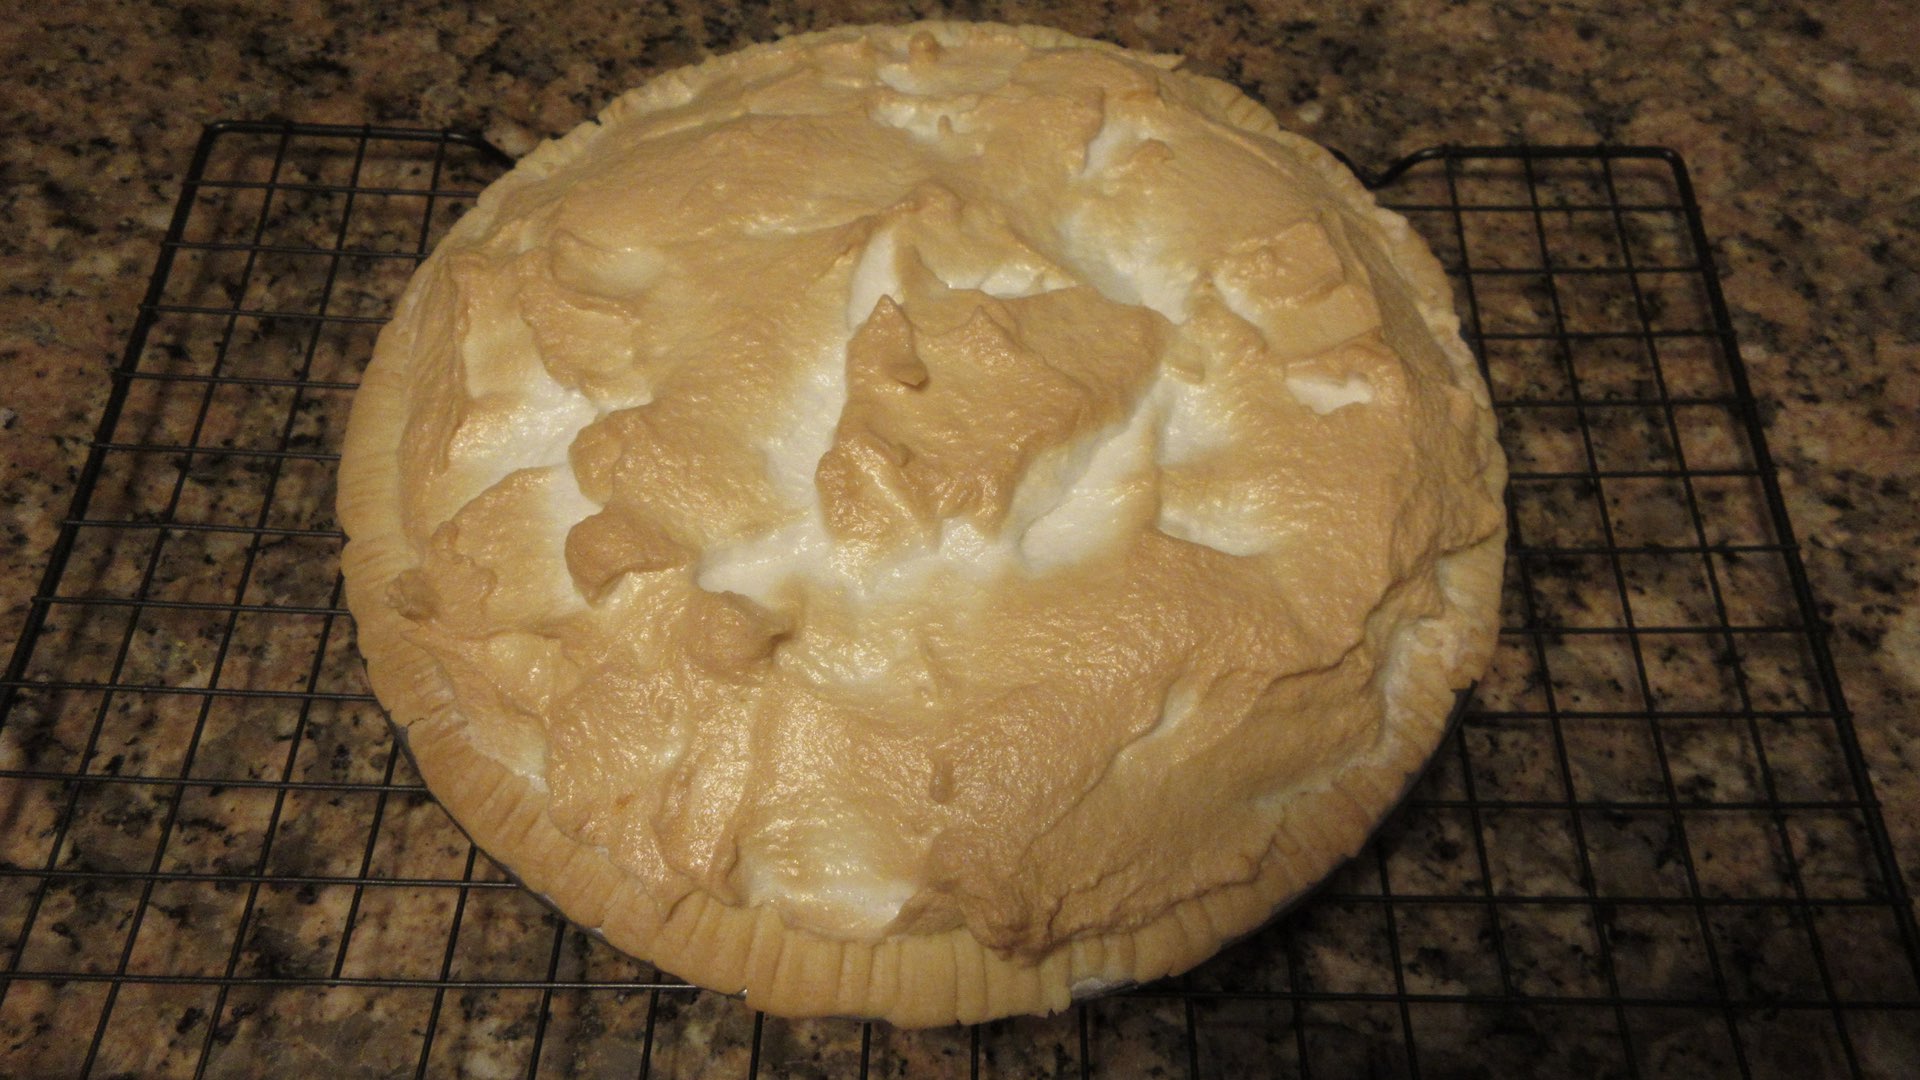
If desired, you could toast the graham cracker crust in the oven like you see here, but then it’s no longer a “no-bake lemon meringue pie.” But the depth of flavor you receive toasting the crackers may be worth it to you. For us, we wanted to avoid turning on the oven at all costs and it tastes great skipping this option.

Part 2: Make the Swiss Meringue
For this to be a temperature safe no-bake lemon meringue pie, we are going to show you how to heat the egg whites using the Swiss meringue method. The egg whites and sugar is gently heated over a bain marie also known as a double-boiler to avoid over cooking the eggs. If you don’t have a double-boiler, we will show you how to mimic one with a bowl and a saucepan. We chose the Swiss meringue over the Italian meringue method as the Italian meringue doesn’t always bring the temperature of the egg whites up to 160°F (71°C) and we want this dessert to be accessible to all.
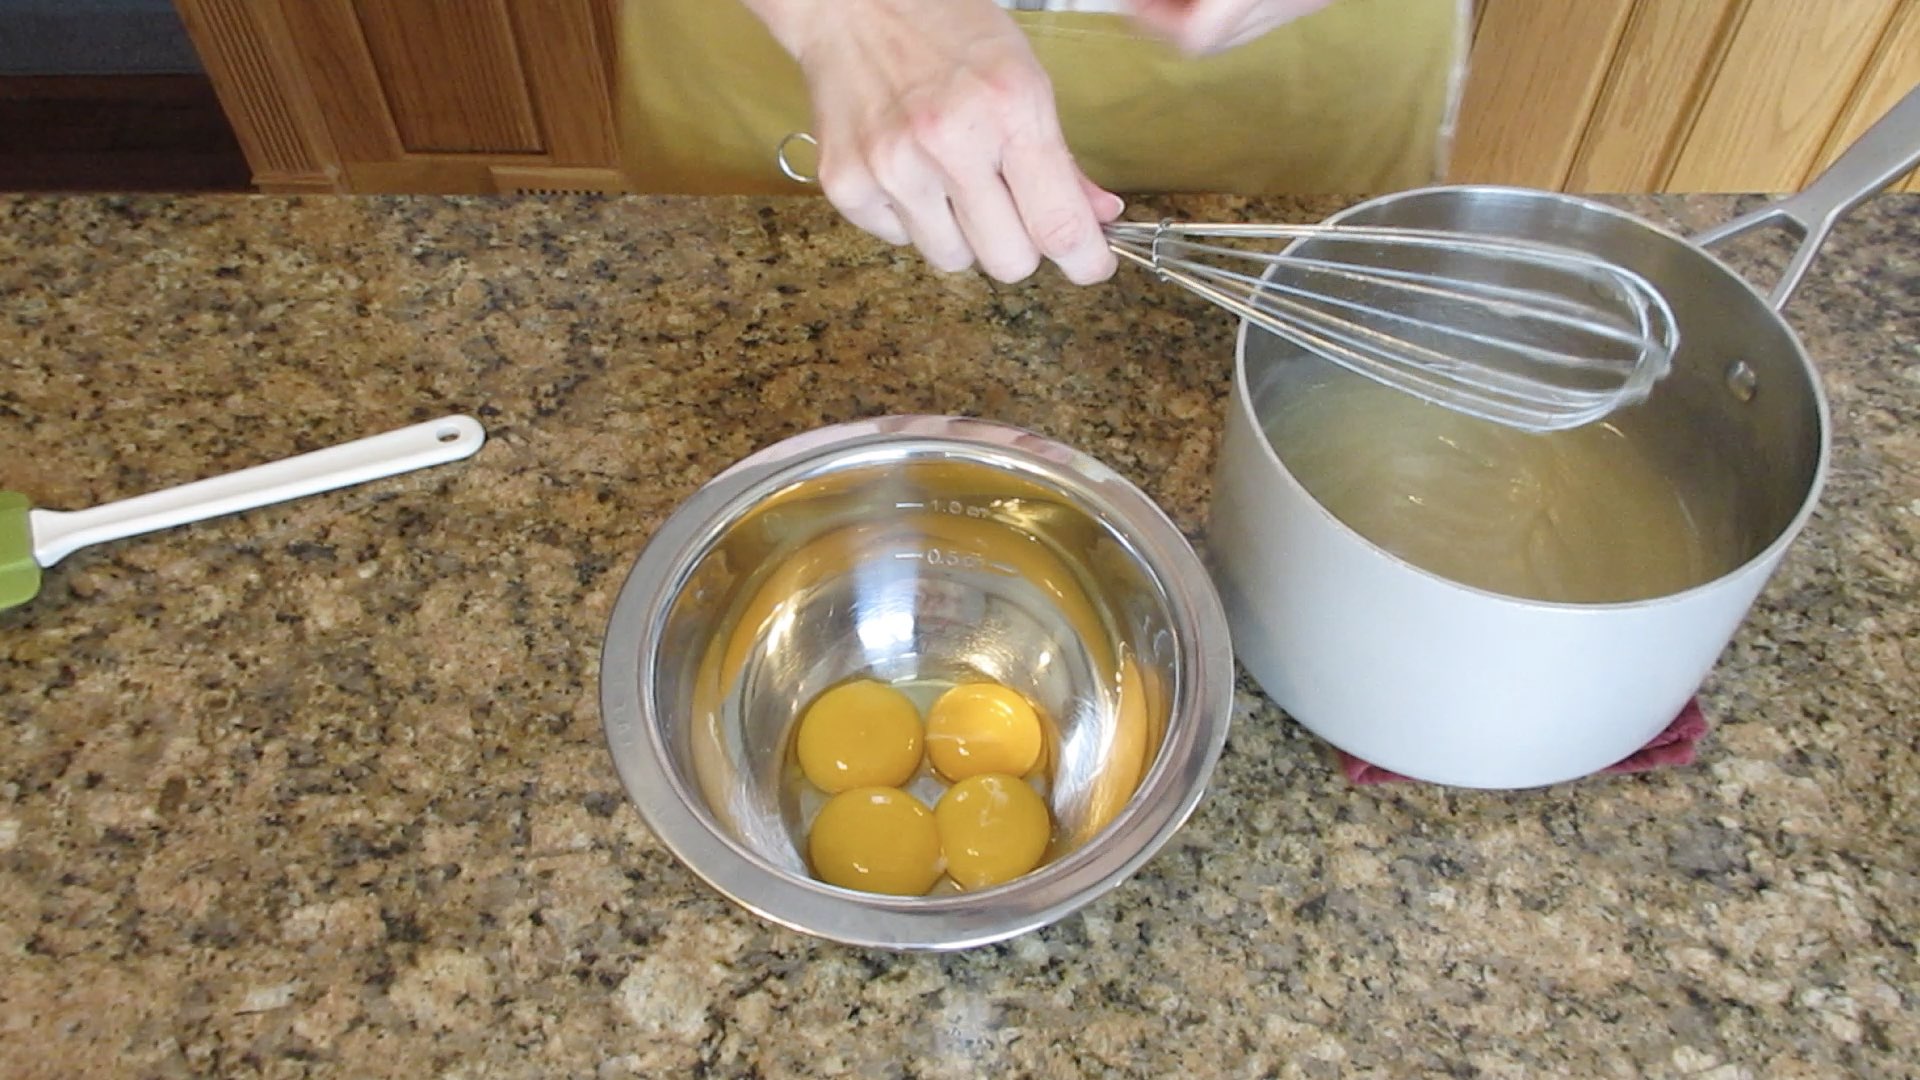
Step 1: Separate the Eggs
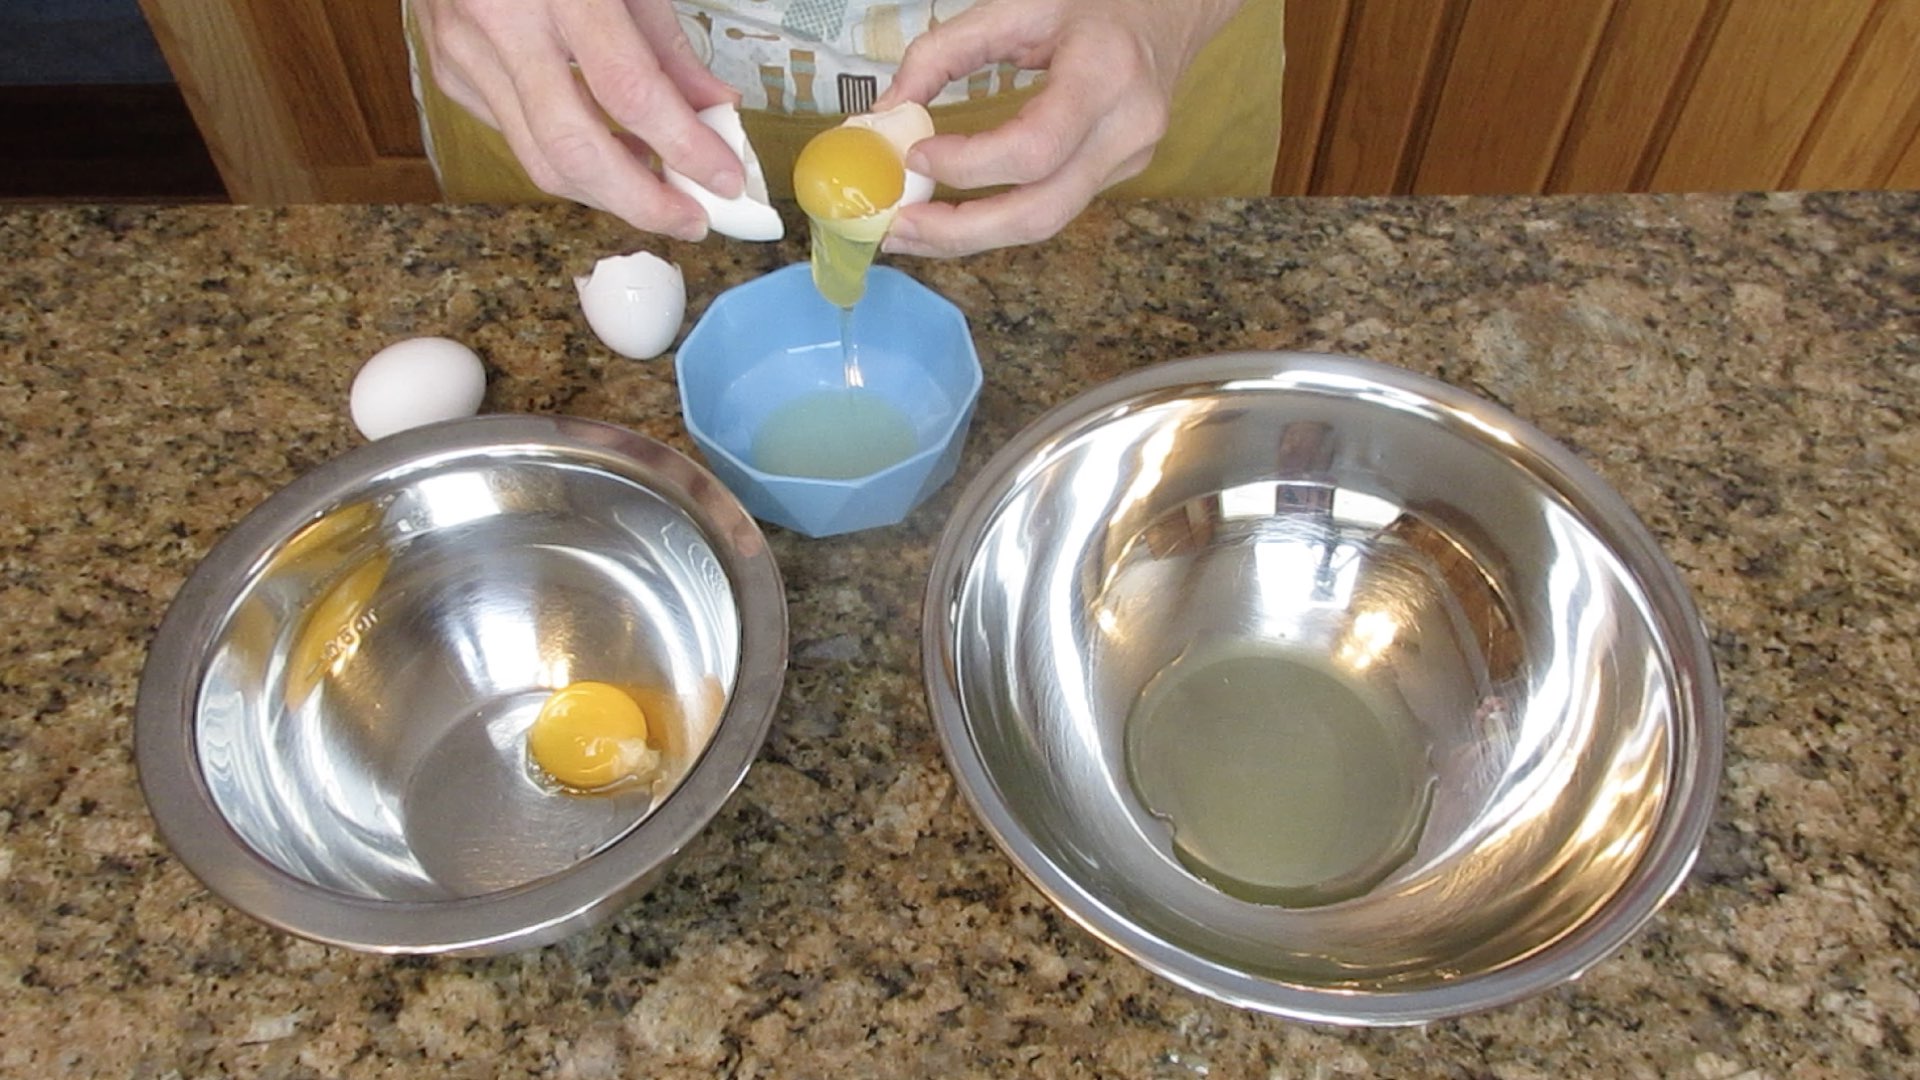
Next, you will need to separate egg yolks from the whites of 4 large eggs. Cold eggs are easier and faster to separate. Use a different bowl to separate the eggs. If even a speck of yolk gets into the egg white, use it for another recipe. Whereas french meringues are more forgiving to a bit of fat, Swiss meringues are not and just a small speck could prohibit the egg whites from whipping up properly, or at all. Place the egg yolks in a heat proof bowl and do the same for the egg whites. The bowl for the egg whites should be large enough to fit over top of a small or medium saucepan.
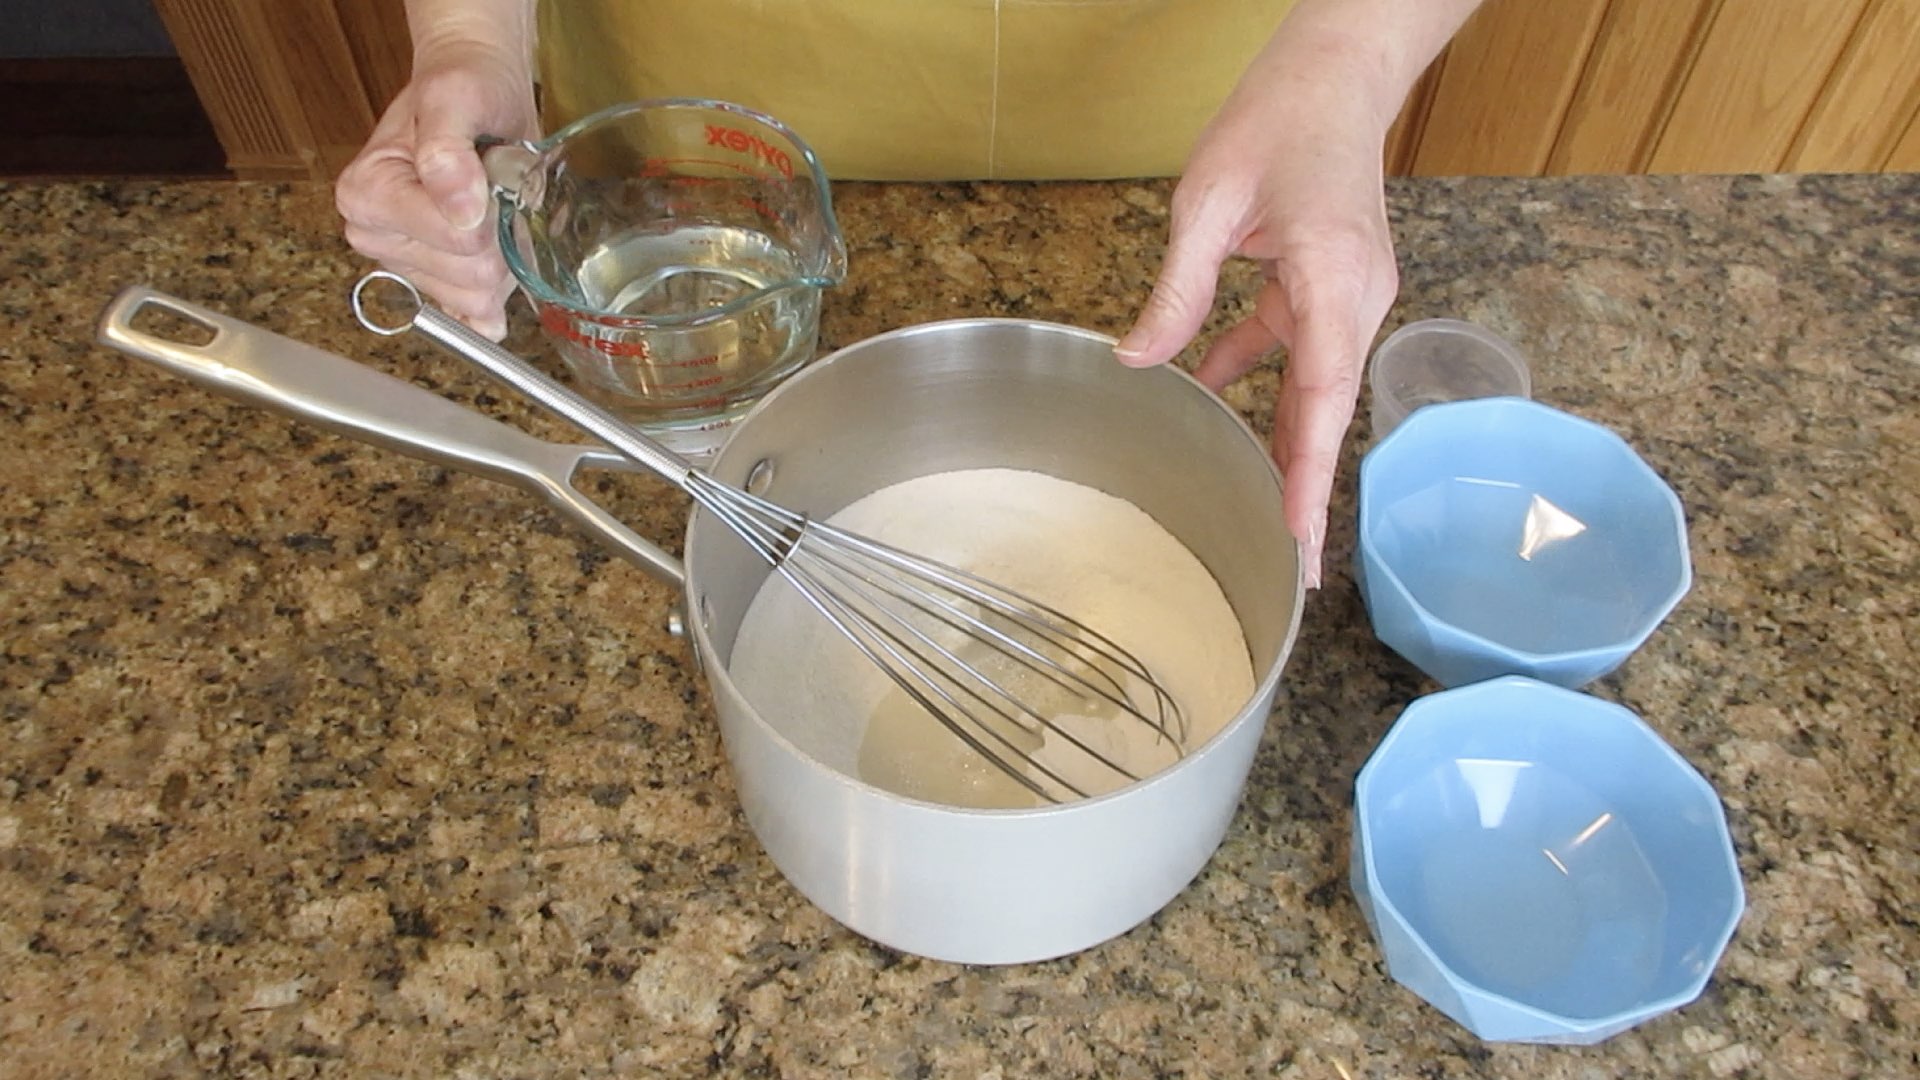
Step 2: Prepare the Dry Ingredients
In a medium saucepan, whisk together the sugar, flour and salt. The sugar will help break up any lumps in the flour.
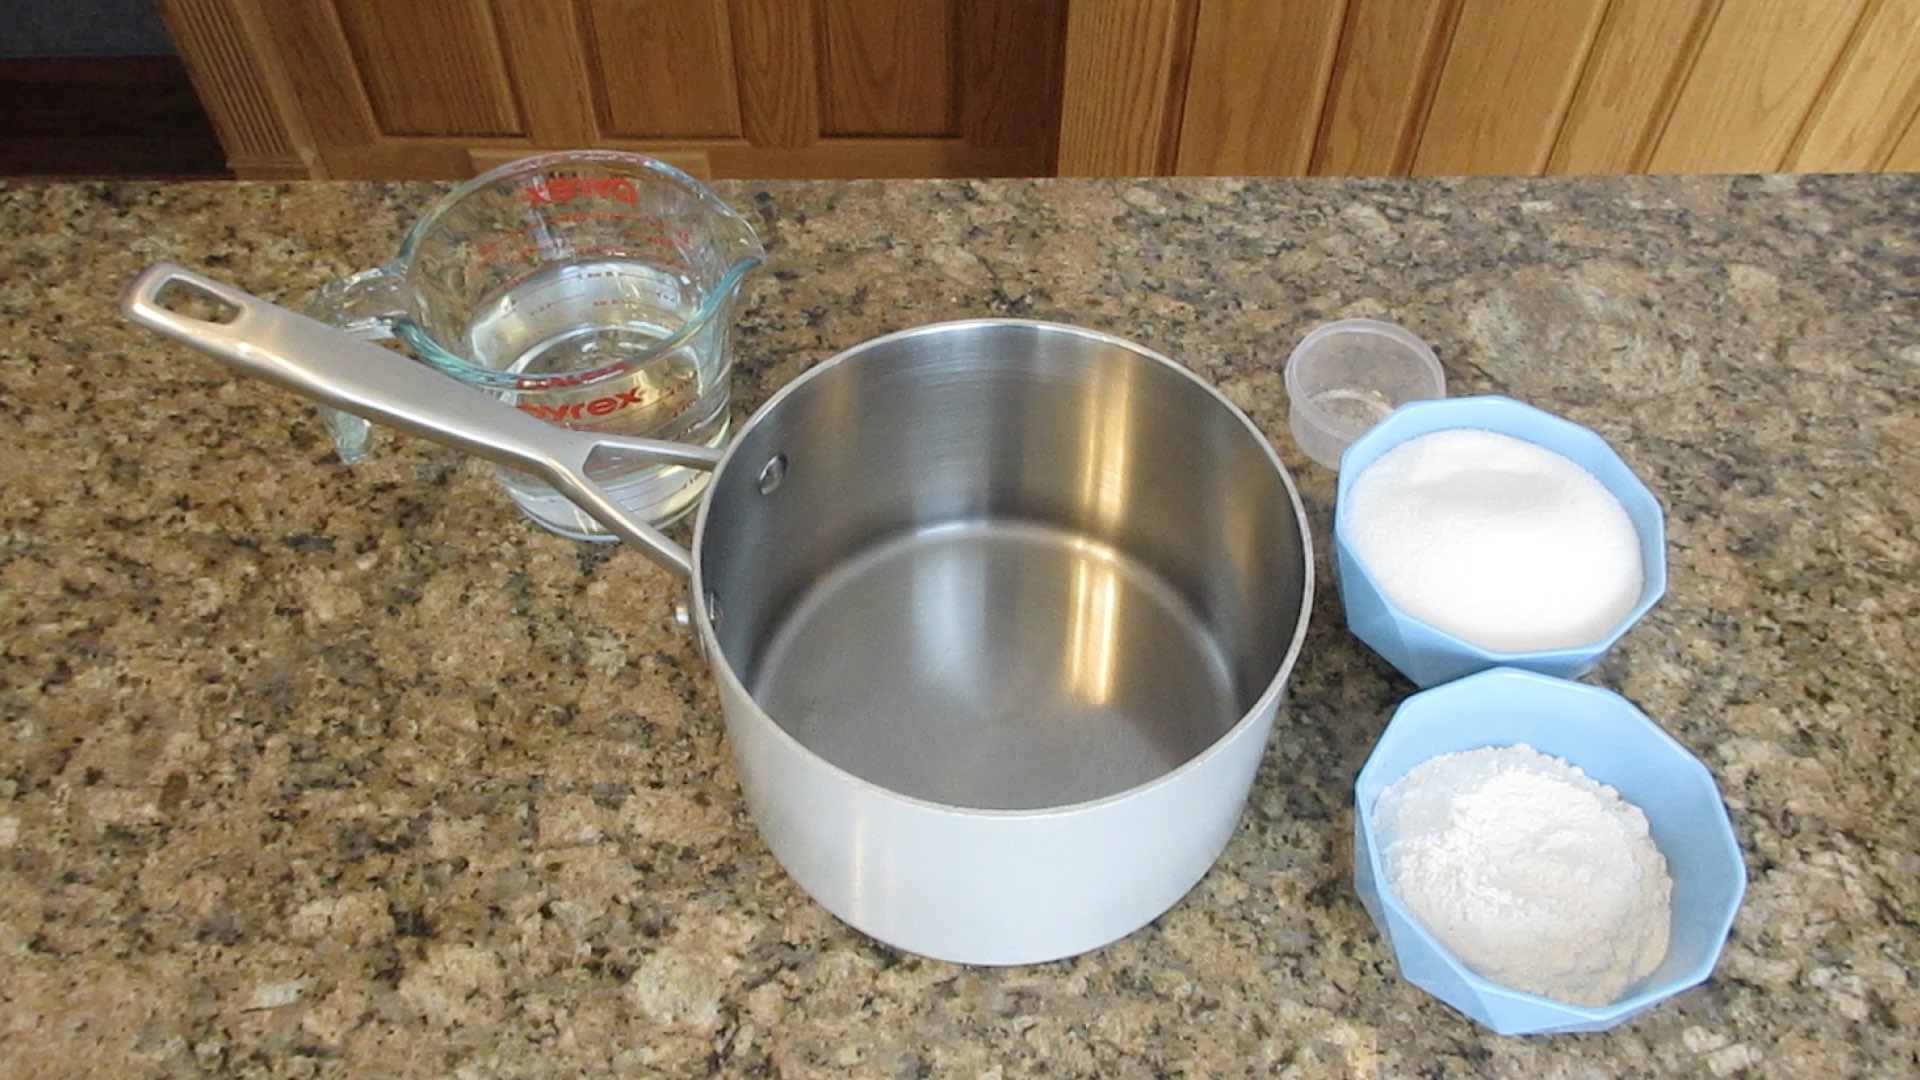
Gradually add the water, about 1/4 cup (60mL) at a time and whisk between additions to ensure the filling will be smooth. Set this pot aside. We will come back to this mixture a little later.
Step 3: Bring Water to a Simmer
In a medium saucepan, bring water that is about 1″ (2.54cm) deep to simmer. We have found if you can get the temperature to no greater than 185°F (85°C) that you’ll have the best chance for success. If at any time the water begins to boil while heating the egg whites, turn down the temperature to prevent the eggs from overcooking.

Step 4: Create a Bain Maire or Double Boiler
Use a heat proof bowl and set it on top of the saucepan. The bottom of the bowl should not touch the water. You only want the steam to gently cook the egg whites. If the bowl touches the water, it will scramble the eggs and you’ll be left with a sugary breakfast. So either use a larger bowl or remove some of the water from the saucepan to ensure the bowl does not come in contact with the water.

Step 5: Cook the Egg Whites and Sugar
Add the egg whites and sugar to the bowl. If desired, you can whisk them briefly together before placing the bowl on the saucepan to lessen the chance of cooking the egg whites too soon as the sugar will start to break up the proteins and absorb into the egg whites.

Hold the edge of the bowl with a dry towel or oven mitt to steady the bowl while whisking continuously until the sugar is dissolved and the temperature reaches at least 160°F (71°C) but no more than 169°F (76°C.) This will ensure the egg whites are at a safe temperature to consume.

The egg whites will become quite foamy and the mixture will be smooth if cooled and rubbed between your fingers when ready. Turn off the heat and carefully remove the bowl with a dry towel or oven mitt.

Step 6: Whip the Egg Whites
For best results, carefully pour the heated egg whites into a clean heatproof bowl without scraping the sides of the original bowl. This will minimize the chance of having the meringue weep due to undissolved sugar crystals and if there were any overly cooked eggs on the sides of the bowl, they will not be transferred to your meringue.
Starting with the lowest speed on your mixer, begin to beat the egg whites. Do not increase the speed for a minute or so in order to allow the egg whites to cool to a safe temperature before increasing the speed to medium or medium high. Beat the egg whites until they cool and reach a medium to a stiff peak. This can take quite a while. For cheap hand mixers, you can be mixing up to twenty minutes. This is the time I do say a stand mixer comes in handy. On average, expect it to take a good 8 – 10 minutes.
If the egg whites aren’t whipping up or have increased in volume but are runny and not forming peaks after a solid 20 minutes, then you either over heated the egg whites to above 180°F (82°C) or fat has somehow gotten into the egg whites during the preparation. This could be a bit of egg yolk, some lemon zest, or grease from the bowls if they weren’t fully cleaned or prone to holding onto greasy residue like plastic often does. If this happens, you have to start over. There is no saving this meringue. However, you don’t have to pitch it. You can add in a lot of softened butter and have a lovely swiss meringue buttercream.
Once the egg whites are at medium to stiff peaks, set the meringue aside. We are now going to prepare the lemon filling.

Part 3: Prepare the Filling
As you perhaps learned in our lemon filling recipe, we are making this lemon meringue pie without corn starch. This is because of a personal food allergy, but we have found over the years that many of our viewers like to avoid corn products for a variety of reasons. Whereas you could use corn starch or corn flour for this recipe, we have found it is more prone to weeping and doesn’t keep as long as the filling made with ordinary all-purpose flour. An added bonus of using plain flour is the fact it’s much cheaper than corn starch. So you get to save some of your money as well.
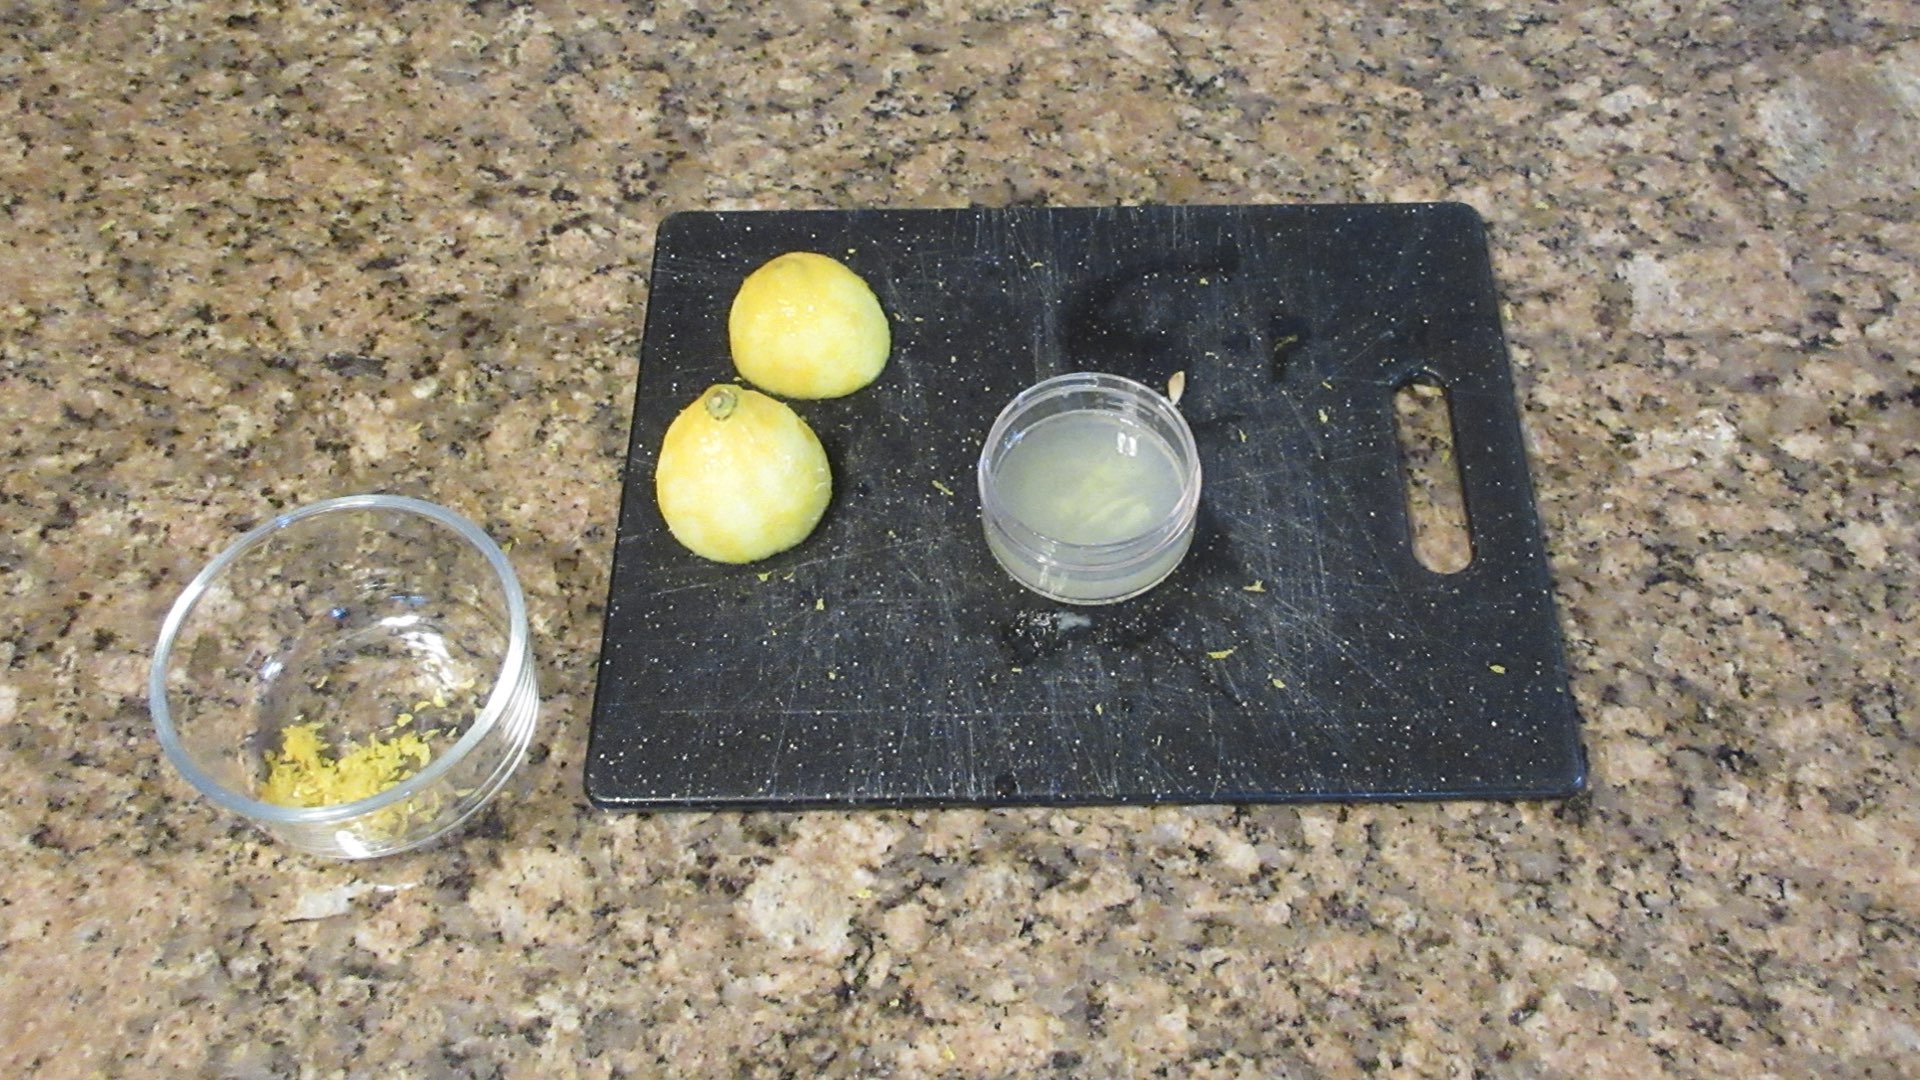
Step 1: Prepare the Lemons and Butter
First, run your lemons under cool water for 30 – 60 seconds to wash off any residue. Dry, then zest the lemons. After you have zested your lemons, cut the lemons in half between the points and squeeze the juice out of the with your hands or a juicer. Remove any seeds and discard. You will need a total of 1/2 cup or 240 milliliters of lemon juice for this recipe and 1 tsp or 1 gram of lemon zest. This will take between 2 – 3 lemons depending on the size and whether or not the lemons are ripe and in season. You can reserve any extra juice and zest for other recipes by storing in the refrigerator or freezer.
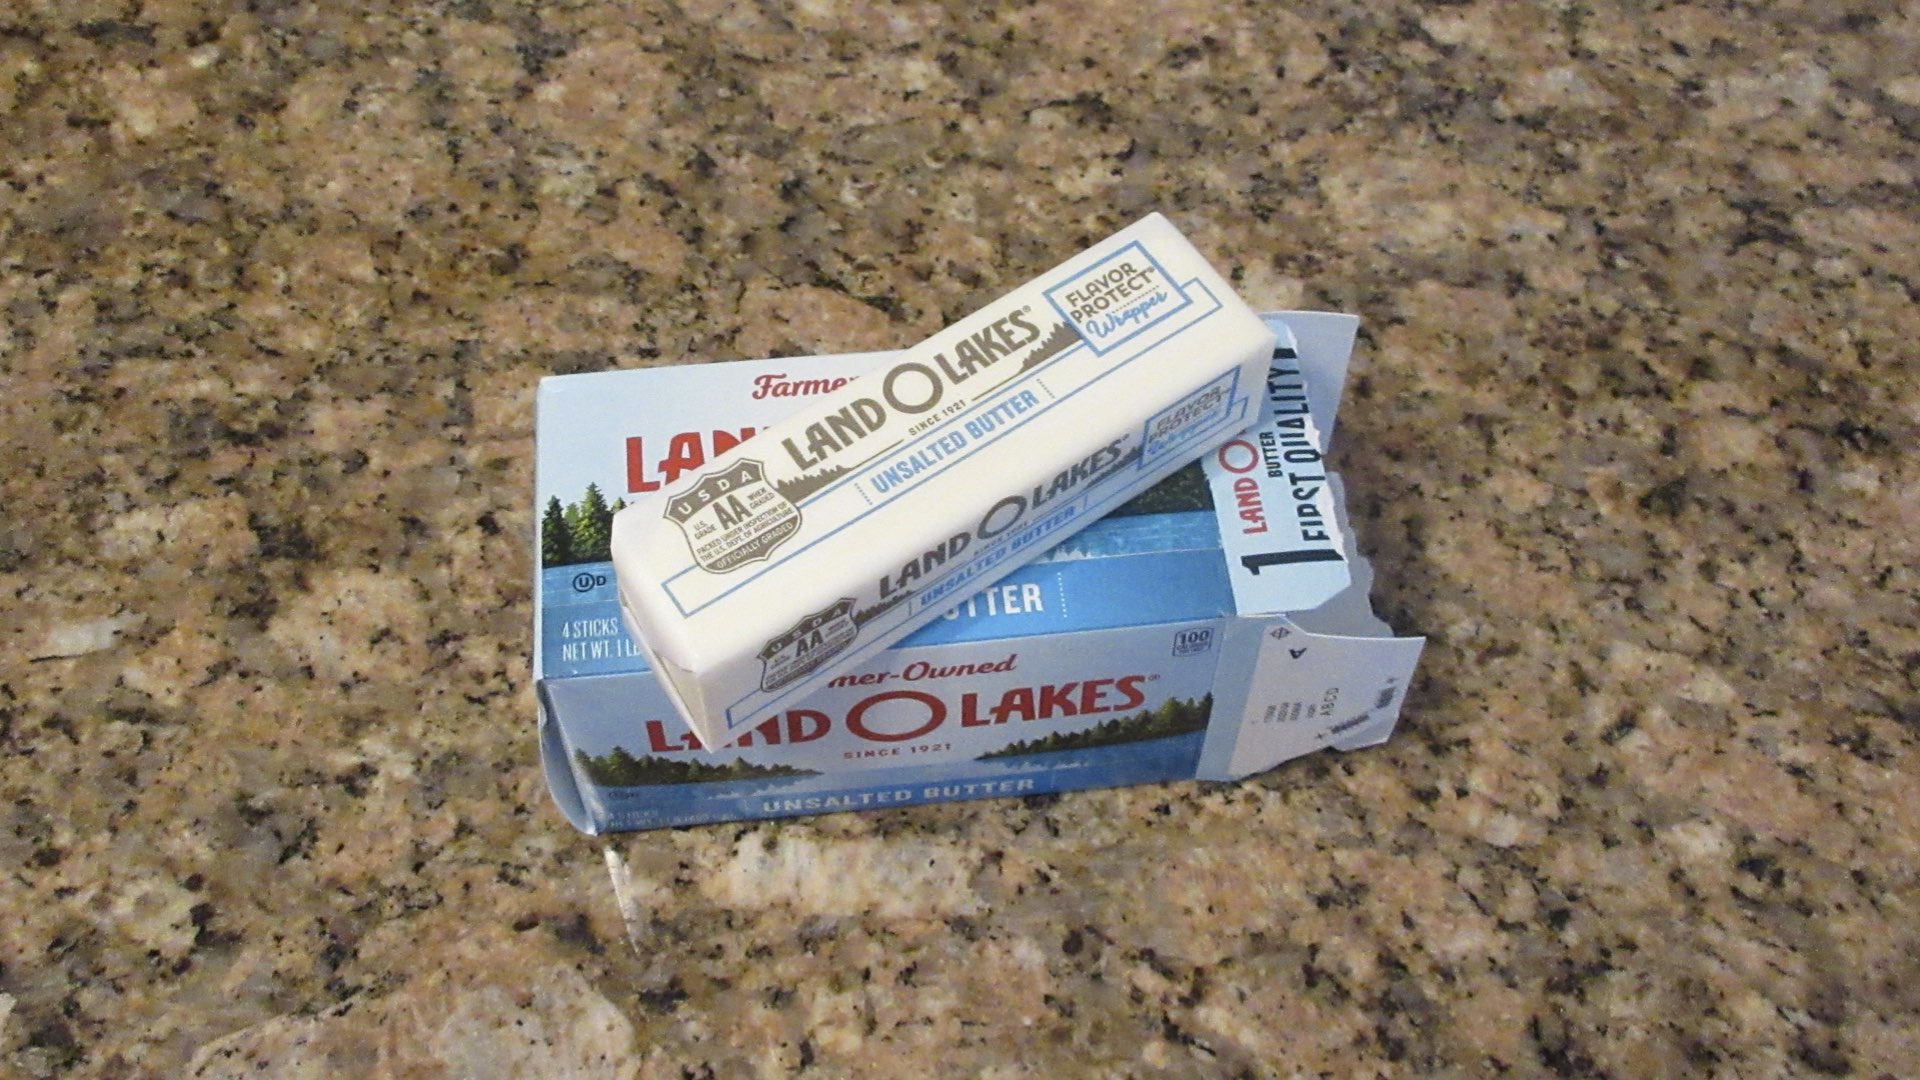
At this point, you will also want to get out your butter, margarine or vegetable oil spread. Which one you want to use is up to you. They all work well in this recipe. You will only need 1 tablespoon or 14 grams of butter. Place the butter on a small plate or dish and set aside with the lemon juice and zest. You can do these steps several hours or even days in advance and leave them chilled in the fridge until you are ready to start.
Step 2: Heat the Mixture
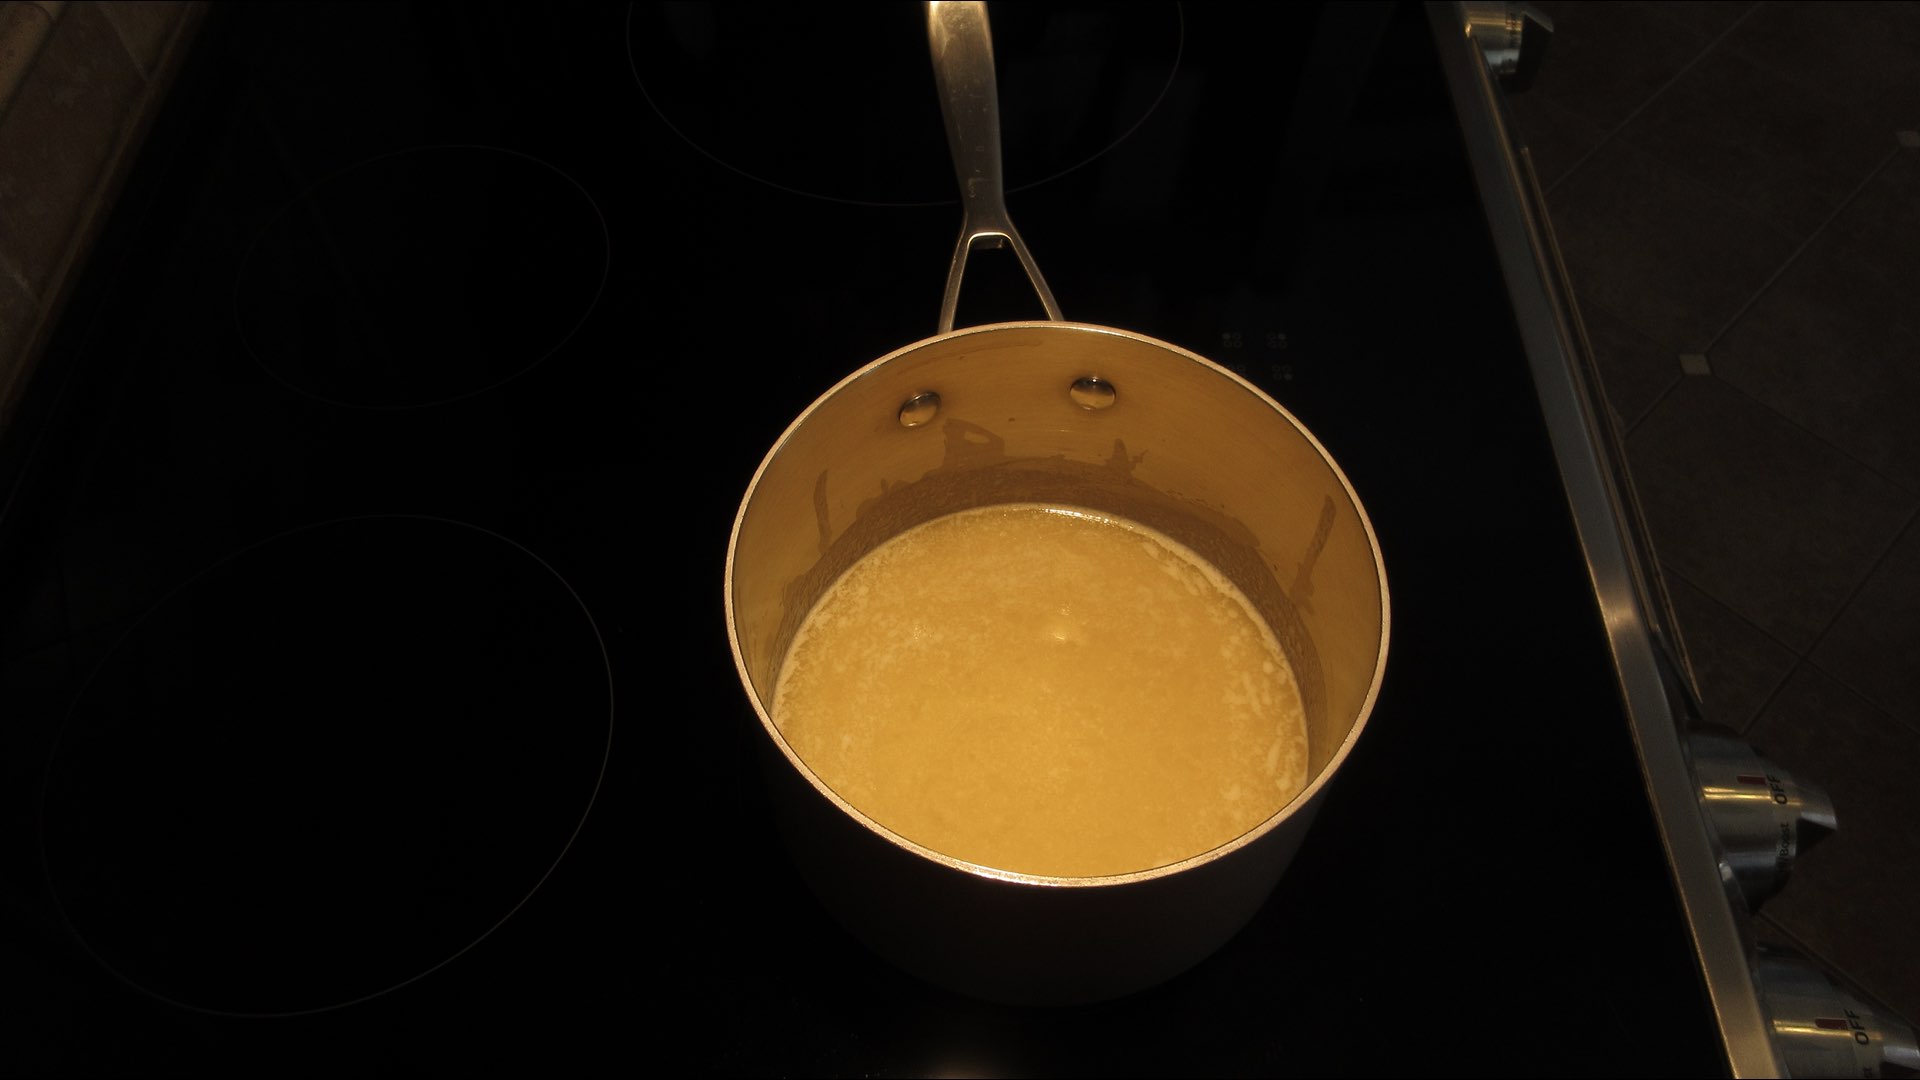
Place your saucepan on the stovetop and cook medium to medium high, whisking continuously. At first, the mixture will be quite thin and the sugar will not want to dissolve.
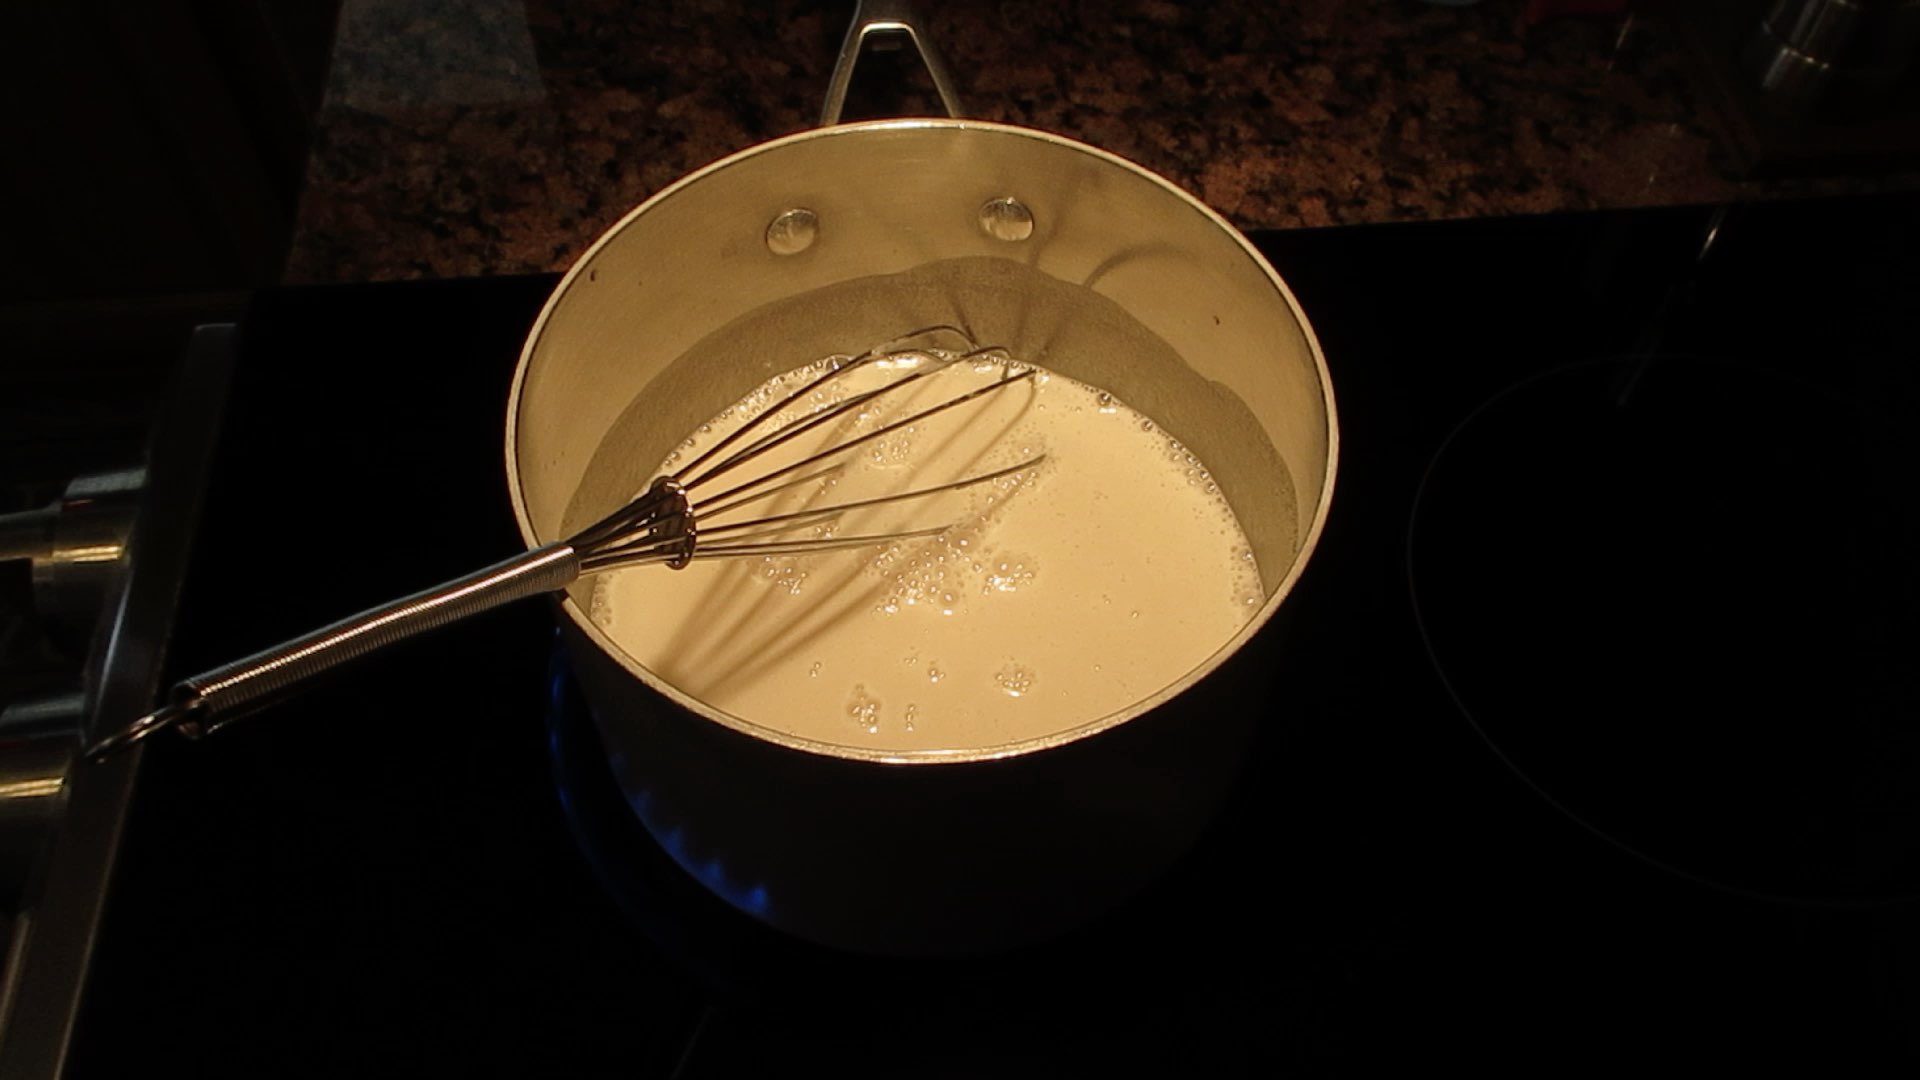
As it heats up, the mixture will begin to turn opaque and thicken. Continue to whisk.
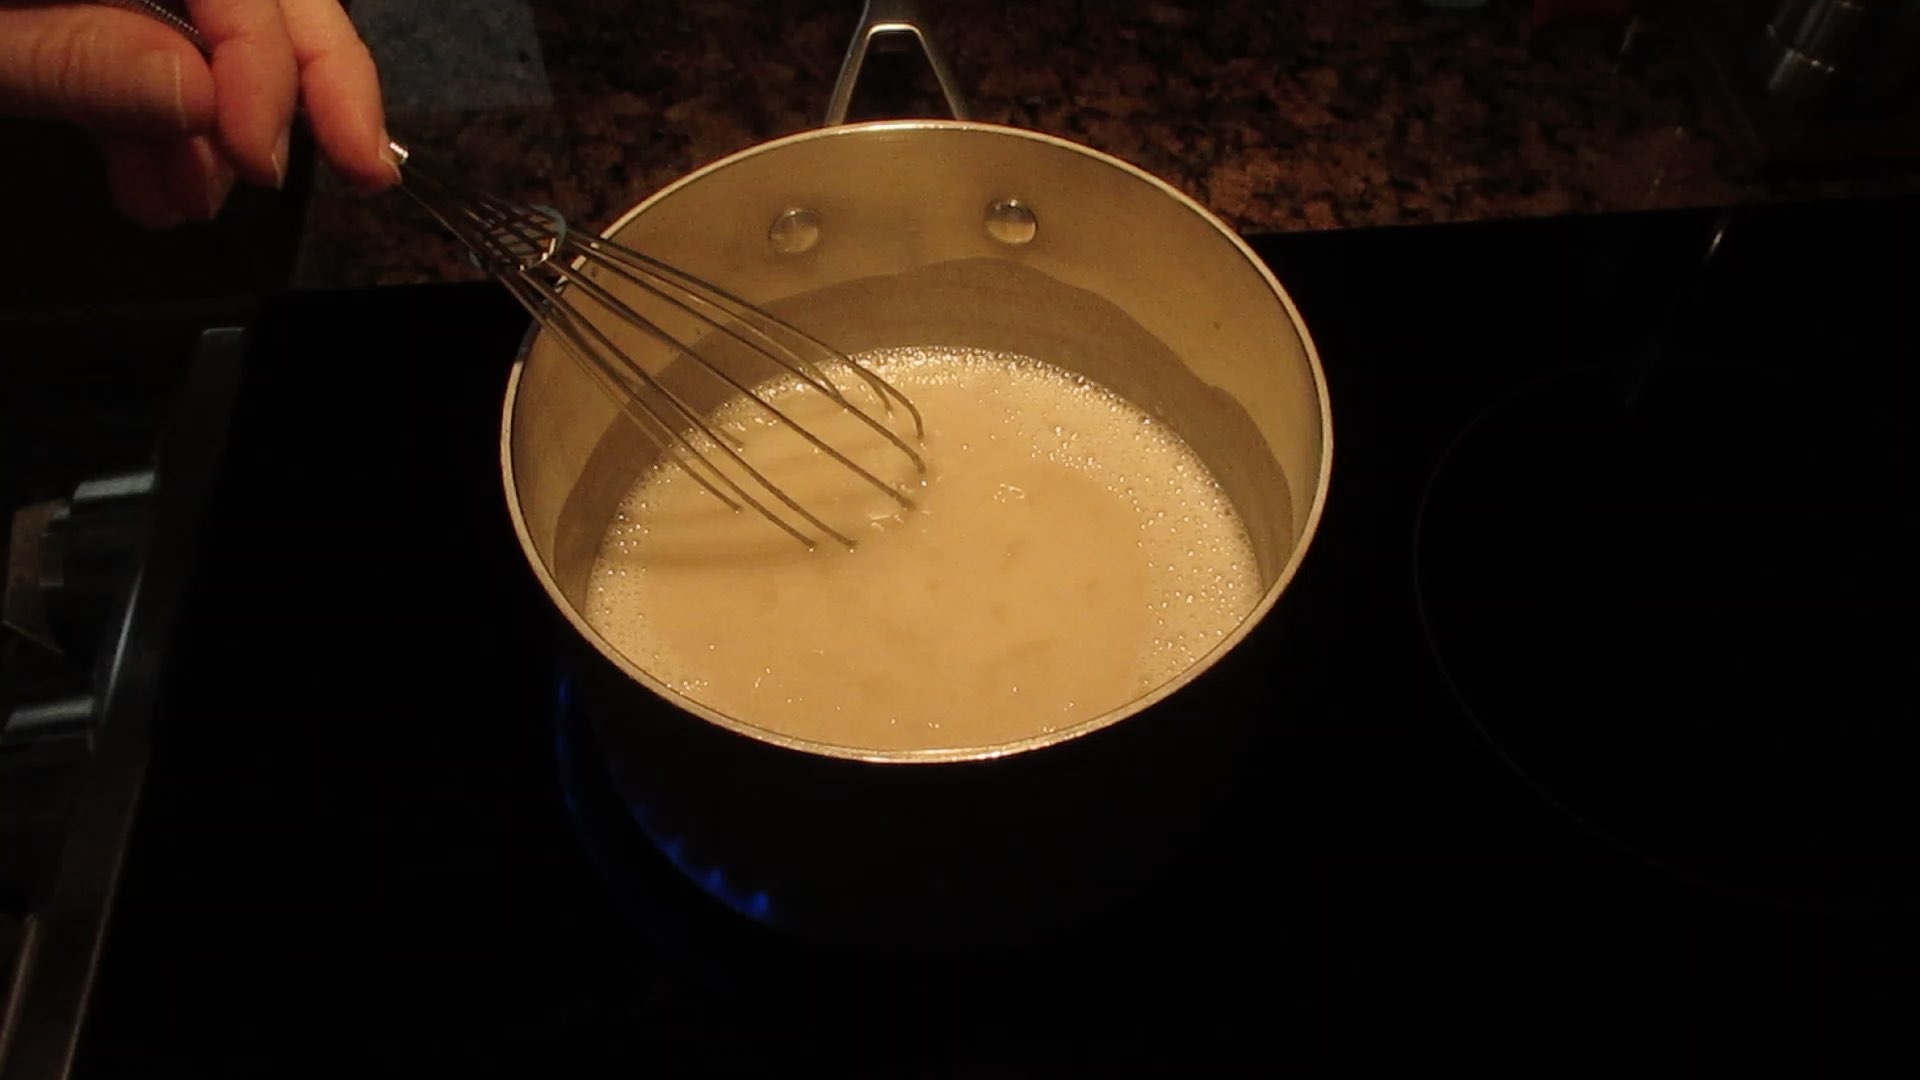
Once the mixture starts to bubble, cook for 2 minutes or until the mixture reaches 185°F (85°C) and immediately remove it from the heat. It will be quite thick and glossy.

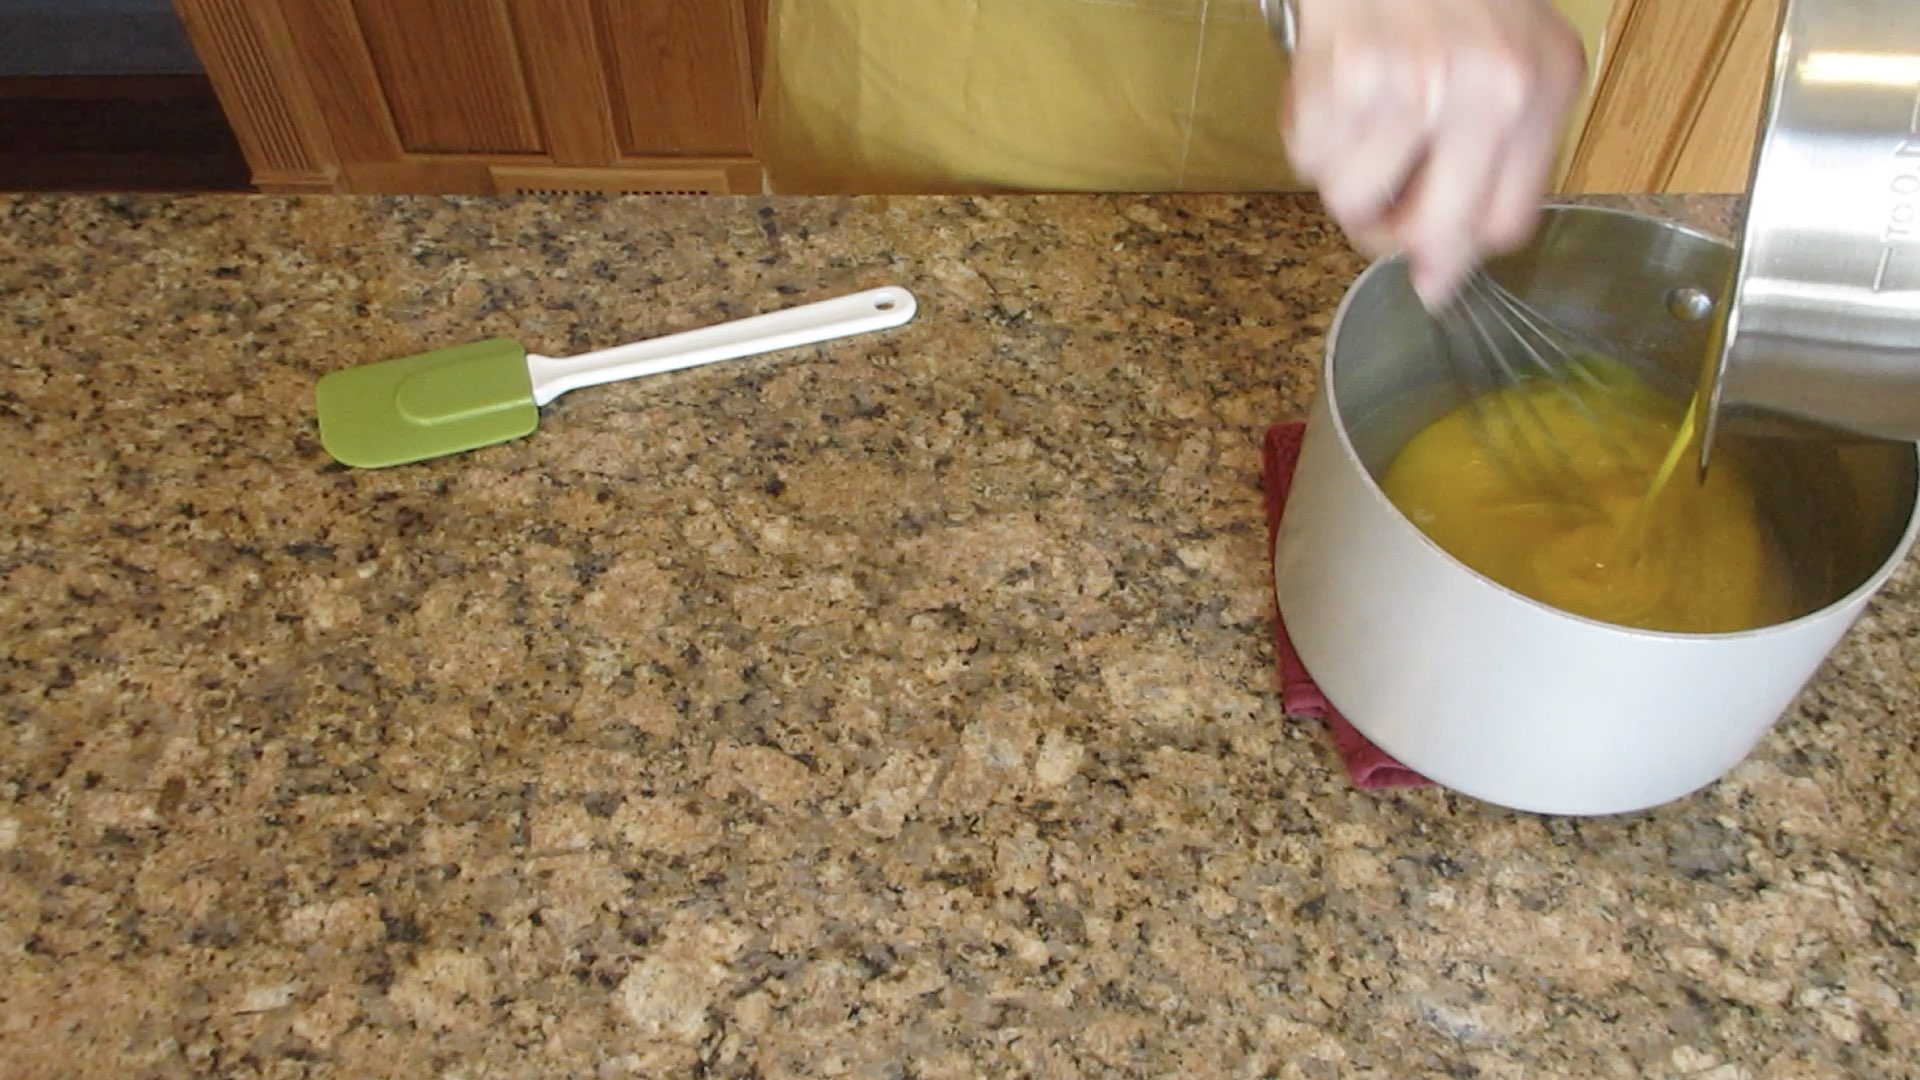
Step 3: Temper the Egg Yolks
We now need to temper the egg yolks. If you don’t do this step, you risk cooking the eggs and ruining the dish. By tempering, you slowly bring the egg yolks up to a moderate temperature and this allows the egg yolks to be heated without the risk of curdling the mixture. Do this step carefully! You can get burned if you aren’t aware of the placement of your hands and it isn’t pleasant.
Slowly and carefully pour a small amount, about 1/4 cup (80mL) of the heated sugar mixture into the egg yolks while whisking the eggs continuously. Gradually add about 1/4 of the mixture into the egg yolks while still whisking.
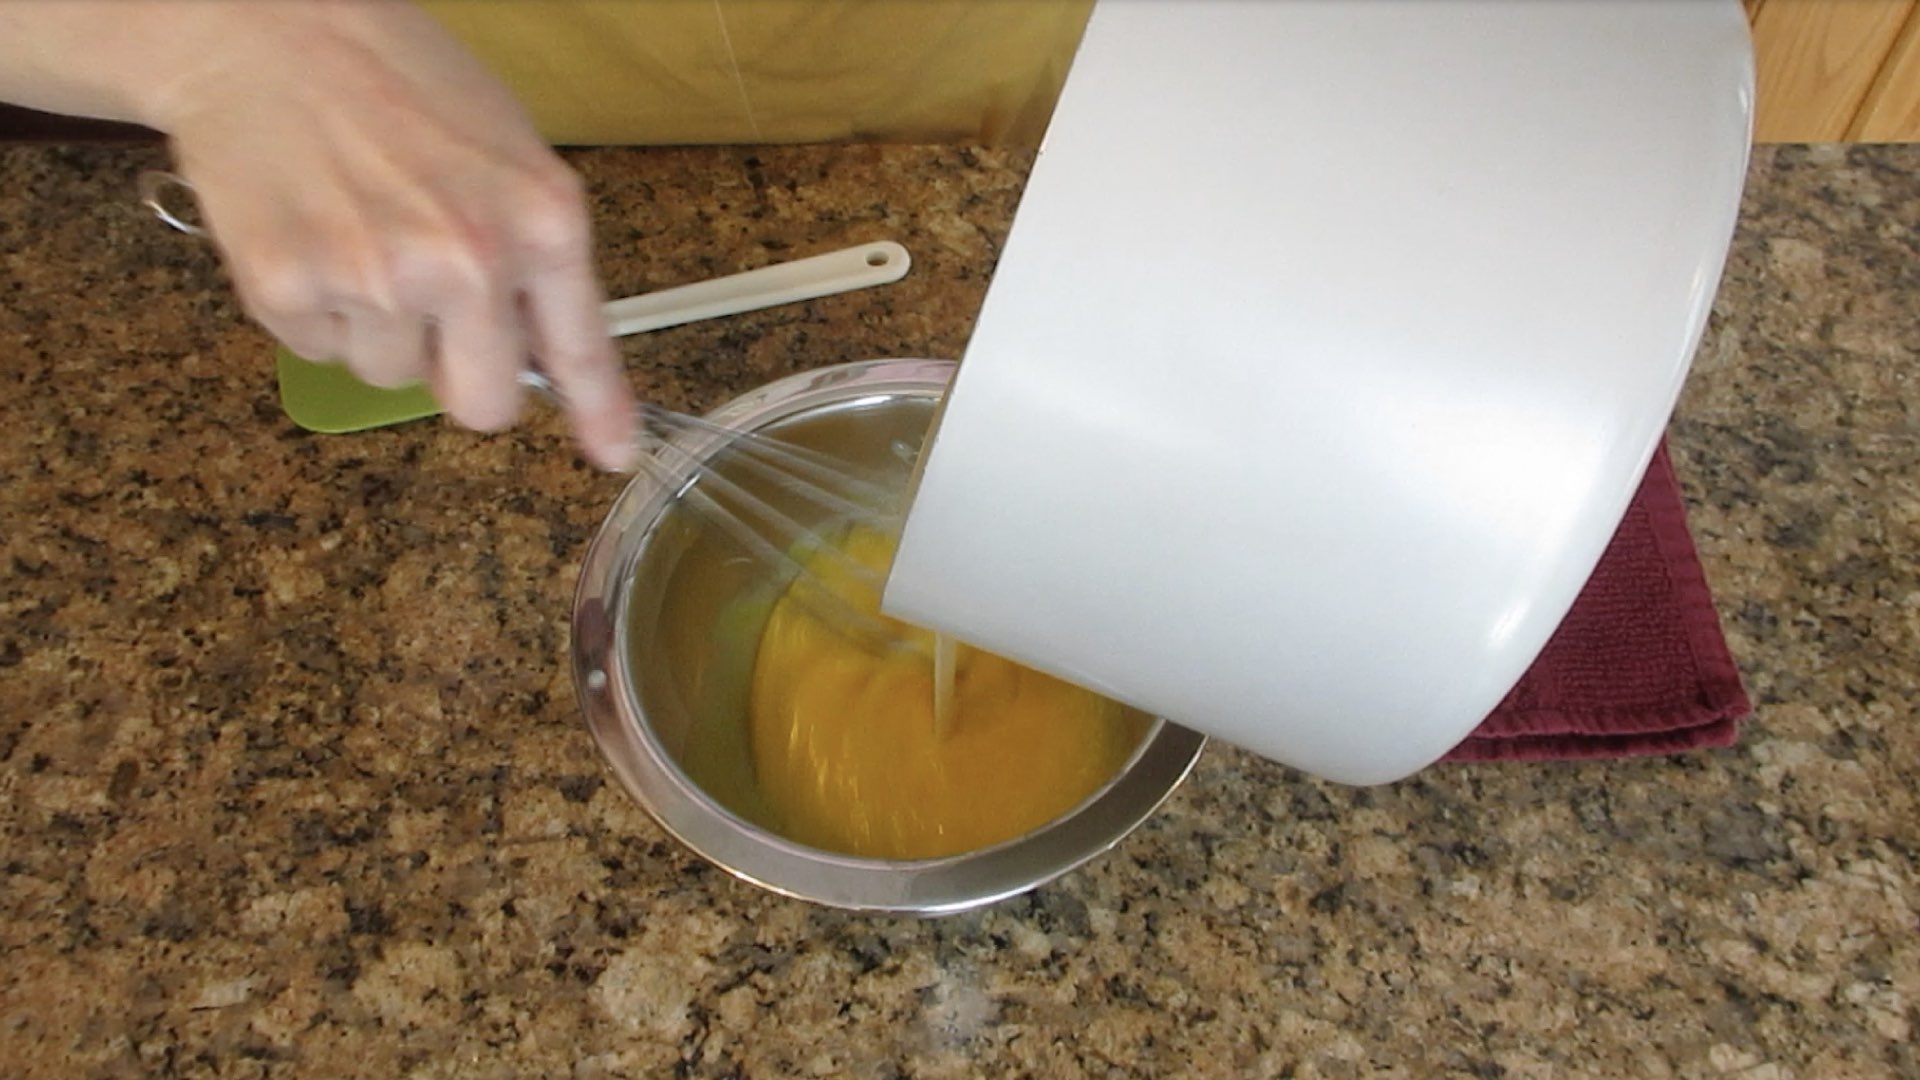
Transfer all of the egg yolk mixture back into the saucepan. Be careful as the egg yolks are now hot.
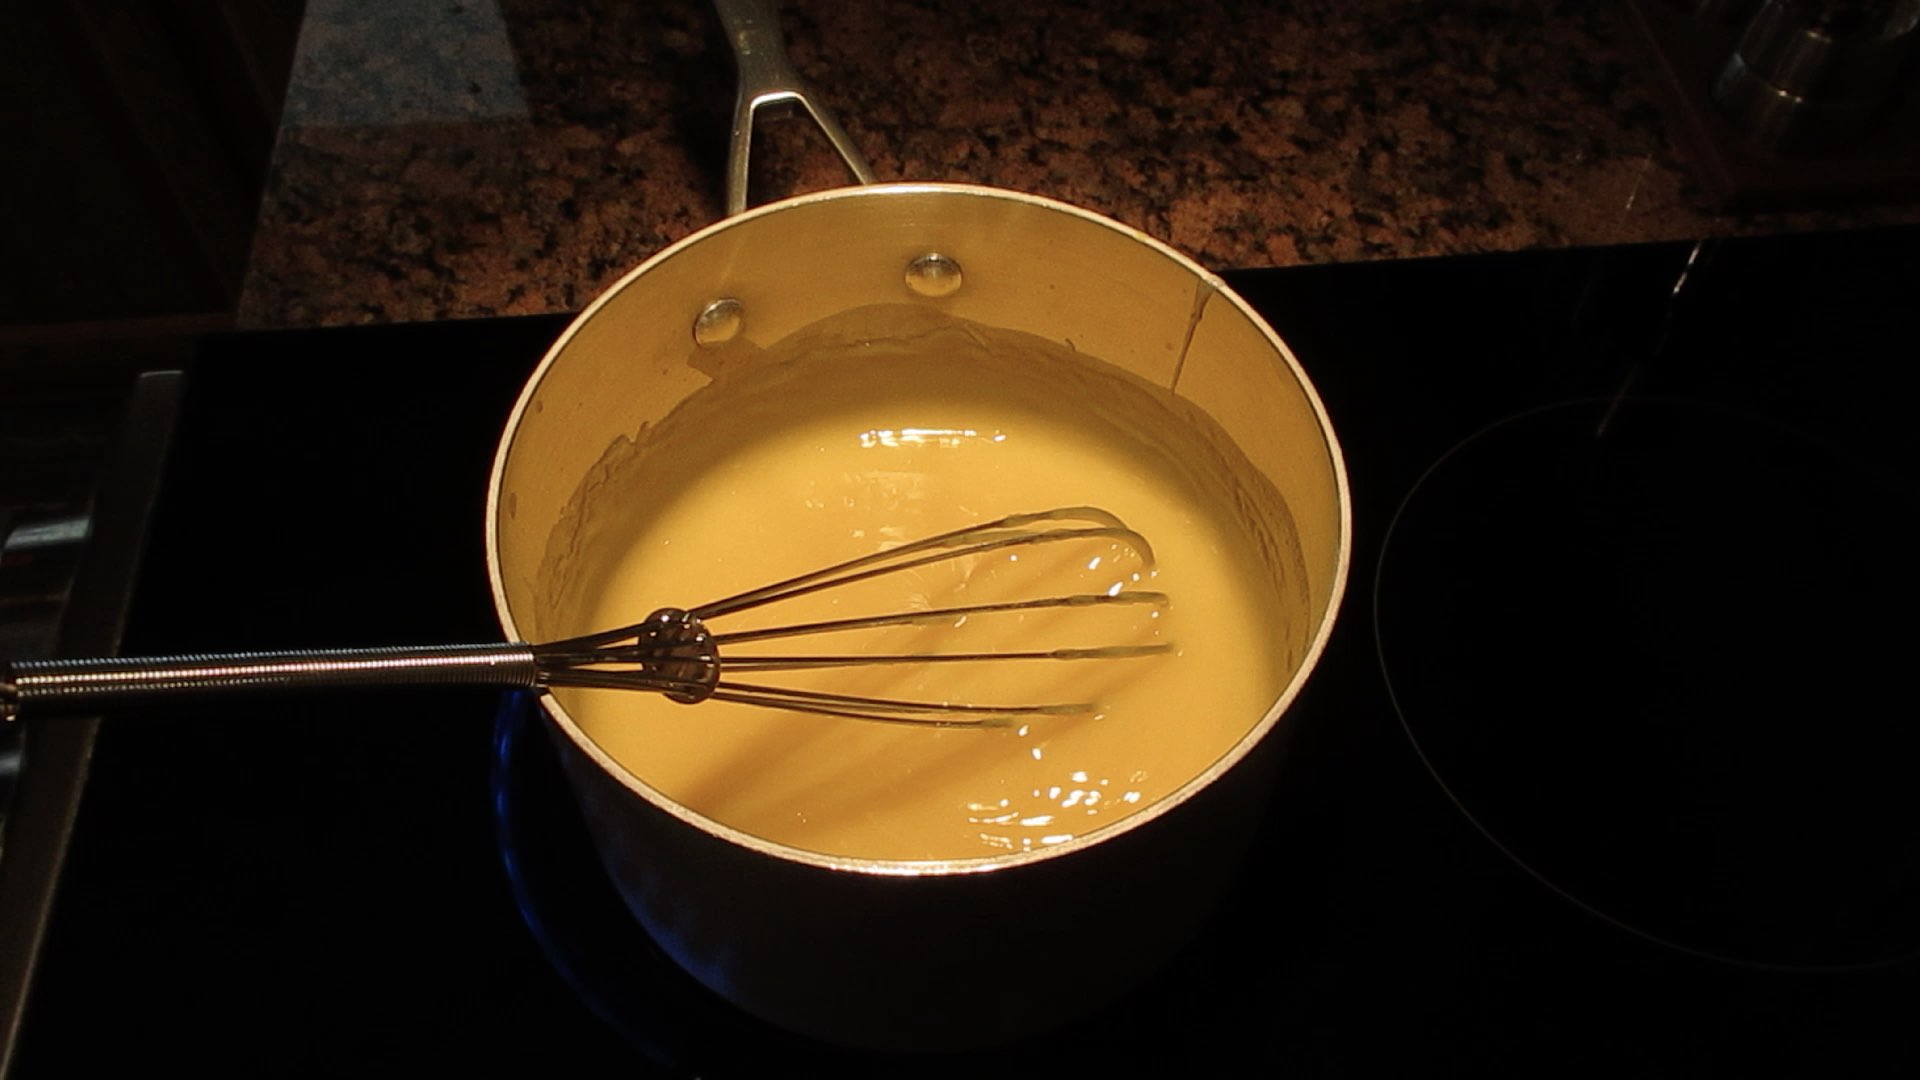
Step 4: Continue Cooking the Filling
Now that we have tempered our egg yolks, you want to return the saucepan to the burner, turn the heat back to medium and whisk continuously. When the mixture begins to form large bubbles, whisk for 2 minutes or until the mixture reaches 185°F (85°C) and is pulling away from the sides of the pan. Remove from heat and turn off the burner. It will be shiny, yellow and thick.
Step 5: Add the Butter, Lemon Zest and Lemon Juice
Add in the butter and whisk gently until the butter melts into the lemon filling. Next, whisk in the zest.
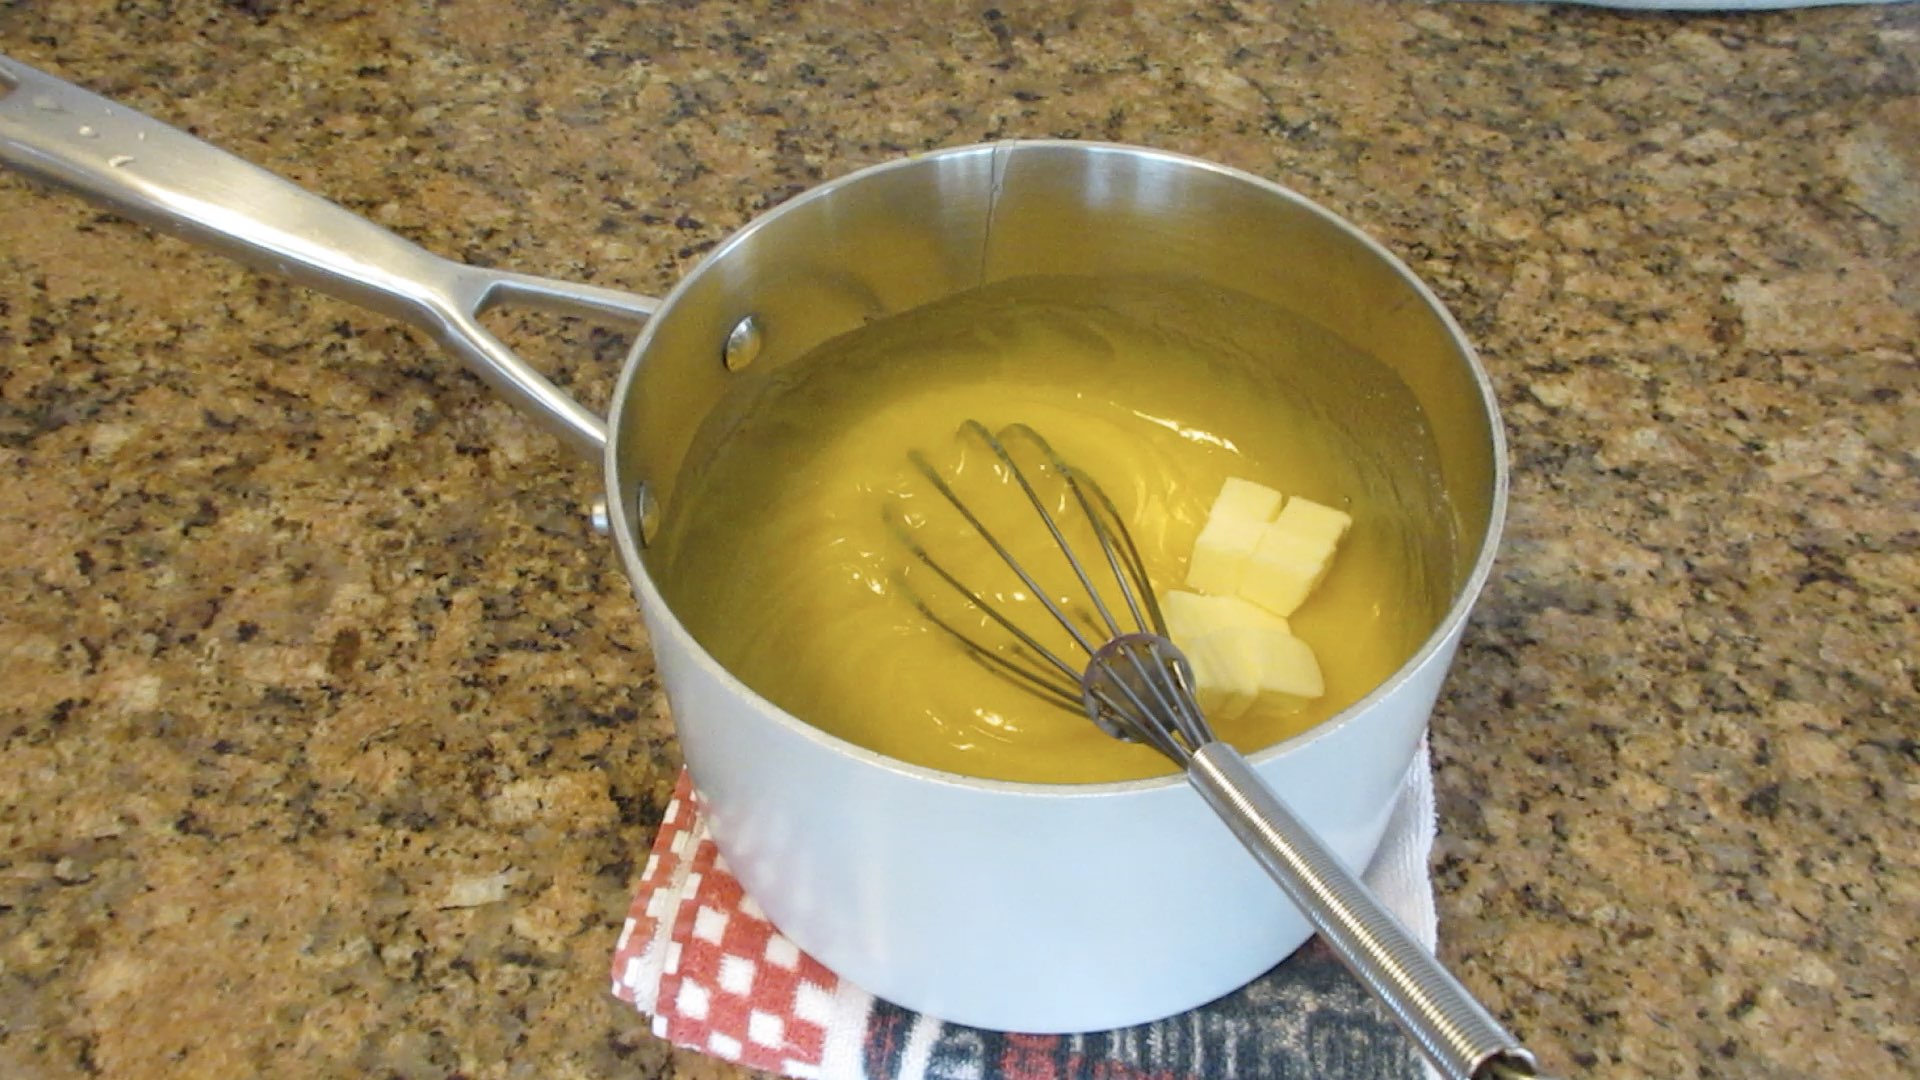
Gradually whisk in the lemon juice. Do this slowly as the mixture is still quite warm and you don’t want to splash yourself.

Part 4: Assemble the No-Bake Lemon Meringue Pie
Whew. That was a lot of steps! I bet you were wondering if you’d ever get to making this lovely pie. Well, my friends, we have reached the finish line. Let’s assemble everything together.
Step 1: Add the Lemon Filling.
Pour the filling into the chilled pie crust. Spread it out evenly. The lemon filling will come to the top or close to the top of a standard 9″ (23cm) pie pan.

Step 2: Add the Meringue
Once you have the filling spread out as evenly as possible, immediately top with the meringue. Start with a small amount and spread it out to cover the filling quickly. This will both prevent a skin from forming on top of the filling and will seal the meringue to the filling so it doesn’t slide off the pie when slicing.
After you have spread out a thin layer, pile the rest of the meringue on top of the pie and creates swirls with the back of a spoon or lift up to create peaks.

Cool and Chill Prior to Serving
For the very best results, we recommend chilling the pie for 2-4 hours or even overnight. This will marry all the flavors together and result in the best tasting pie. However, we recognize sometimes you don’t want to wait. That’s perfectly okay! Wait until the pie comes to room temperature and then slice into your dessert. Happy no-baking!

Substitutions and Tips
Here are some common substitutions and tips for this no-bake lemon meringue pie recipe.
- If desired, you can toast the graham cracker crust for 5 – 10 minutes in a 350°F (180°C) preheated oven. This will give an additional depth of flavor. If toasting the crust, you will want to slightly cool the crust before filling to avoid it from becoming soggy.
- Not a fan of graham crackers? Use a pre-baked pastry pie shell or another cookie such as vanilla wafers.
- The graham cracker crust and filling can be made the day or even a couple days before assembling the pie.
- Never cook lemon or acidic foods in an uncoated aluminum or cast iron pan. The acidity of the lemon juice will react to the these metals and can give a weird metallic aftertaste to the filling. For best results, use a stainless steel or coated pan.
- Instead of egg whites, top the lemon filling with whipped cream or whipped topping for a new twist to an old classic.
- When separating egg yolks from the whites, use a separate bowl for the separation. If even a speck of egg yolks or fat gets into the egg whites, they will not whip up properly or at all. Whereas this isn’t as true for a french meringue, heated meringues are more sensitive to fats prohibiting the rise of the egg whites.
- Avoid using glass for heating the egg whites. Today some glass pans are made with soda lime and are prone to cracking, breaking, splitting or even exploding due to temperature swings.
- Do not allow the water to come to a boil when heating the egg whites. Allowing the water to get too hot can not only be dangerous, but will overcook the eggs within seconds.
- When heating the egg whites, lift the heated whites away from you to avoid getting scalded from the steam. Also use a towel to hold onto the bowl for safety.
- Never use a whisk on non-stick pans. It will mar the surface and make the both the filling and pan unsafe if the coating is scratched off.
- If you do not have access to fresh lemons, bottled lemon juice works splendidly for this recipe. Simply use equal amounts of juice and omit the lemon zest from the recipe.
- If you want a sweeter filling, you can add up to 1 1/2 cups (300g) of granulated sugar. This particular recipe is meant to be just sweet enough to allow the tartness of the lemon to shine through.
- For a more tart lemon filling, add all the lemon zest from the lemons zested. The more lemon zest added, the more zippy the filling will become.
- The butter can be omitted entirely or you can substitute it with margarine or vegetable oil spread. If omitting the butter, it will be slightly more thick after chilling. If using vegetable oil spread, it will be more fluid.
- For best results, a thermometer is recommended. If you do not have a thermometer, cook the mixture for the full 2 minutes after the mixture begins to “plop” large air pockets.
- Stir continuously while the lemon filling is being heated. Failure to do so can lead to scorching, burning or separating.
- After you have chilled the pie, you could lightly blow torch the top to toast the meringue.
Storage
This no-bake lemon meringue pie must be kept chilled in the refrigerator until ready to serve. The pie keeps up to 5 days when properly chilled. After cutting the pie, place in an airtight container for optimal results.
A note about pudding pies in general. As this lemon pie ages, a synergistic interaction begins to happen with the citrus and sugar within both the lemon filling and meringue. The acidity in the lemons can draw out the moisture of the pie and will cause the filling and egg whites to begin to separate or “weep.” This is where you will see a liquid forming on the surface of the filling, around the edges of the pie or between the layers of the filling and meringue. For best results, store any leftover slices in an airtight container to slow down this process.
For best results, do not freeze. As the pie defrosts, it can tend to weep and separate due to the reaction described above. This no-bake lemon pie is best eaten within the first few days of making the dessert.


No-Bake Lemon Meringue Pie
Ingredients
For the Graham Cracker Crust
- 1 ¼ cups (140g) crushed graham crackers, about 9 full sheets
- 5 tbs (70g) melted butter
For the Lemon Filling
- 1 ½ cups (360mL) water
- 1 cup (200g) granulated sugar
- ½ cup (120mL) lemon juice
- ½ cup + 1 tbs (84g) flour
- 4 large (80g) egg yolks
- 1 tbs (14g) butter
- 1 tsp (1g) lemon zest
- ⅛ tsp (.625g) salt
For the Swiss Meringue
- 4 large (120g) egg whites
- 1 cup (200g) granulated sugar
Instructions
For the Graham Cracker Crust
- Crush up 9 full sheets of graham crackers in a baggie or blender until you have 1 1/4 cups (140g) of fine crumbs. Stir in melted butter until well coated. Press crumbs into the bottom and sides of a 9" (23cm) pie pan. Chill 30 minutes or until firm.
For the Swiss Meringue
- Separate the egg yolks from the whites using 4 large eggs. Place the yolks in a heat proof medium bowl and set aside. The bowl for the egg whites should be large enough to fit over top of a small or medium saucepan.
- In a medium saucepan, add water that is 1″ (2.54cm) deep. Use a heat proof bowl and set it on top of a the saucepan. The bottom of the bowl should not touch the water. You only want the steam to gently cook the egg whites. If the bowl touches the water, it will scramble the eggs and you’ll be left with sugary breakfast. So either use a larger bowl or remove some of the water from the saucepan to ensure the bowl does not come in contact with the water.
- Bring the water to simmer, about 185°F (85°C.) If at any time the water begins to boil, turn down the temperature to prevent the eggs from overcooking.
- Add the egg whites and sugar to a heat proof bowl. Hold the edge of the bowl with a dry towel or oven mitt to steady the bowl while whisking continuously until the sugar is dissolved and the temperature reaches at least 160°F (71°C) but no more than 169°F (76°C.) This will ensure the egg whites are at a safe temperature to consume. Turn off the heat and carefully remove the bowl with a dry towel or oven mitt.
- Carefully pour the heated egg whites into a clean heatproof bowl without scraping the sides of the original bowl. Starting with the lowest speed on your mixer, begin to beat the egg whites. Do not increase the speed for a minute or so in order to allow the egg whites to cool to a safe temperature before increasing the speed to medium or medium high. Beat the egg whites until they cool and reach a medium to a stiff peak. This can take quite a while, so be patient.
- Once the meringue is ready, set aside and make the lemon filling.
For the Lemon Filling
- Rinse and dry lemons. You will need 2 – 3 medium lemons for this recipe. Zest the lemons. Next, juice the lemons and remove all the seeds. Measure out 1/2 cup (120mL) of the juice and 1 tsp (1g) of the zest. Set aside.
- Place 1 tbs of butter on a small plate and set aside.
- In a medium heavy bottom saucepan, whisk together sugar, salt and flour. Slowly whisk in the water to avoid any lumps in the mixture. Place saucepan on the stovetop and turn heat to medium – medium high, whisking the mixture constantly. The mixture will begin to thicken slightly and begin to take on a shiny texture. When you see the mixture starting to form large bubbles, turn down the heat slightly and whisk continuously for 2 minutes. The mixture will reach 185°F (85°C) and be thick and opaque when ready. Turn off the burner and remove from heat.
- Slowly and carefully pour a small amount, about 1/4 cup (80mL) of the sugar mixture into the egg yolks while whisking the eggs continuously. This is called tempering. Gradually add 1/4 of the mixture into the egg yolks while whisking. Transfer all of the egg yolk mixture back into the saucepan. Return the saucepan to the burner, turn the heat back to medium and whisk continuously. When the mixture begins to form large bubbles, whisk for 2 minutes or until it reaches 185°F (85°C) and is pulling away from the sides of the pan. Remove from heat and turn off the burner.
- Whisk in the butter until it melts, then whisk in the lemon zest. Gradually whisk in the lemon juice.
To Assemble the Pie
- Immediately pour the lemon filling on top of the graham cracker crust and spread out evenly.
- Once you have the lemon filling spread out as evenly as possible, immediately top with the meringue. Start with a small amount and spread it out to cover the filling quickly. This will both prevent a skin from forming on top of the filling and will seal the meringue to the filling so it doesn’t slide off the pie when slicing. Add the remaining meringue and swirl a pattern with a back of a spoon or lift straight up to form small peaks.
- Allow the pie to come to room temperature. For best results, chill for 4 – 6 hours or even overnight to further develop the flavors. Pie must stay chilled until ready to serve. Immediately refrigerate any leftovers in an airtight container. Stays fresh up to 5 days.
0 Comments