A Little Guide to Making Jammy Biscuits
This Jammy Biscuits Recipe is made with a shortcrust pastry dough to have a short and tender crumb structure and has a jammy center of your favorite flavored jam. Raspberry is the most popular as it has a bit of bite to balance out the sweetness of jams and jellies. The biscuits should snap when well baked but melt in your mouth. They should have a firm, yet delicate structure to them. The cookies themselves are very lightly sweetened to help balance out the sugary centers of jam or jelly. Jammy Biscuits are sometimes erronously referred to as Jammie Dodgers, a famous linzer biscuit that is a shortcake filled with strawberry or raspberry jam. Although very similar, these jammy biscuits are made with a shortcrust pastry dough and is missing that iconic almond flavoring. This is a bonus for those that cannot eat nuts as you can get a close cousin to those lovely British biscuits. Here in the States, these are often called sandwich jelly cookies or jam filled butter cookies recipe. Kind of a boring name compared to Jammy Biscuits, isn’t it? Let’s get started making these delectable delights.
Step-By-Step Instructions
Below, we will teach you how to make this jammy biscuits recipe with a few simple steps. As with all good recipes, it starts with butter and sugar.
Step 1: Cream the Butter and Sugar
You can make these by hand, with an electric hand or stand mixer, or even a food processor. We recommend making shortbread and shortcrust pastry doughs by hand whenever possible. It will ensure you have a tender cookie that snaps under pressure and melts in your mouth. You want to cream together the butter, sugar and salt until well blended. You do not want to create a lot of air for this recipe. That’s another reason I prefer to make these by hand.

Step 2: Separate an Egg
You’ll only need the egg yolk for this recipe. The egg white would make the cookie chewy like a sugar cookie not like the shortbread or shortcrust texture we are after. You can use the egg white to make an omelette or try your hat at meringue kisses.
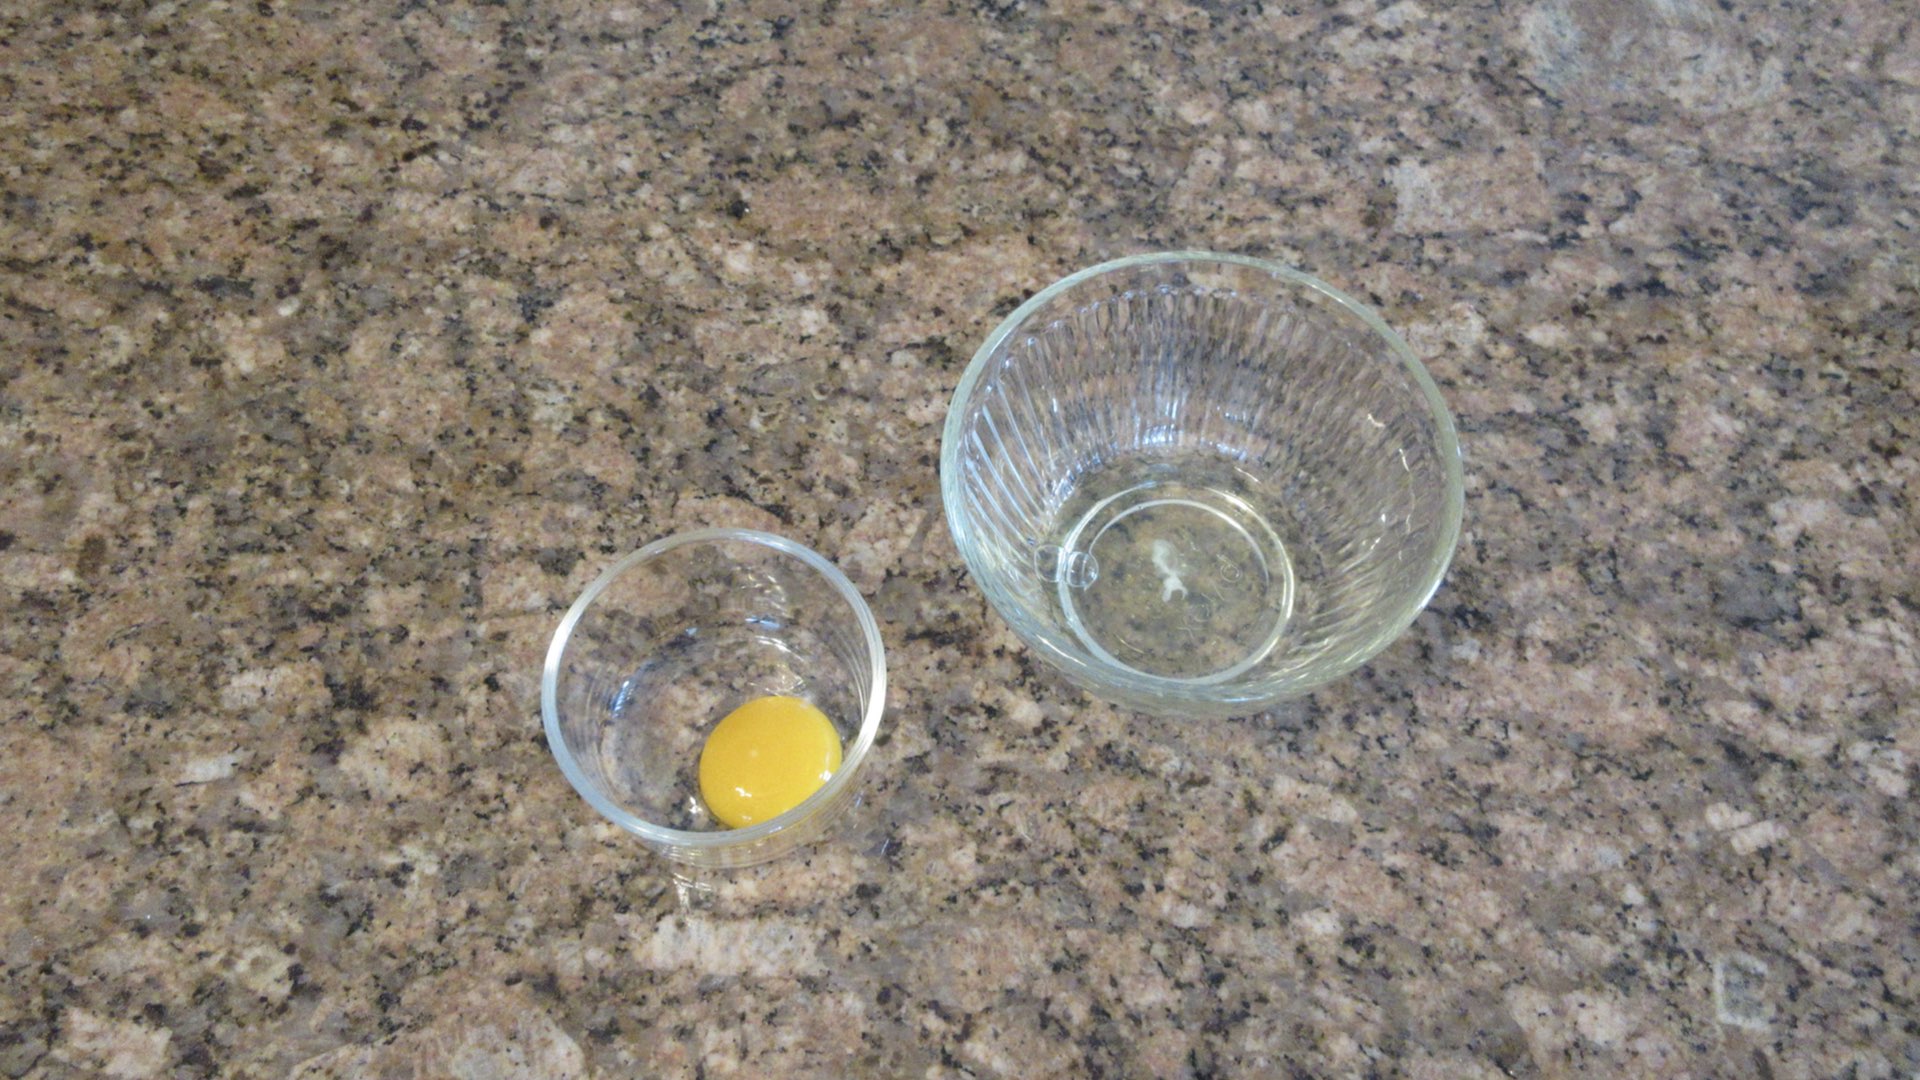
Step 3: Combine the Remaining Wet Ingredients
Next, we will beat in that egg yolk until it is smooth and the batter no longer looks curdled. Then you mix in the vanilla. Not too bad so far, right?

Step 4: Add in the Dry Ingredients
There’s only one for this recipe: the flour. Pour it all in at once and be prepared to use some muscles. Stir until you get a mixture that resembles wet sand or breadcrumbs. It should hold it’s shape easily when squeezed together and still crumble under pressure. Stop mixing at this step. If you are using an electric mixer, use a low speed until you see the same results.
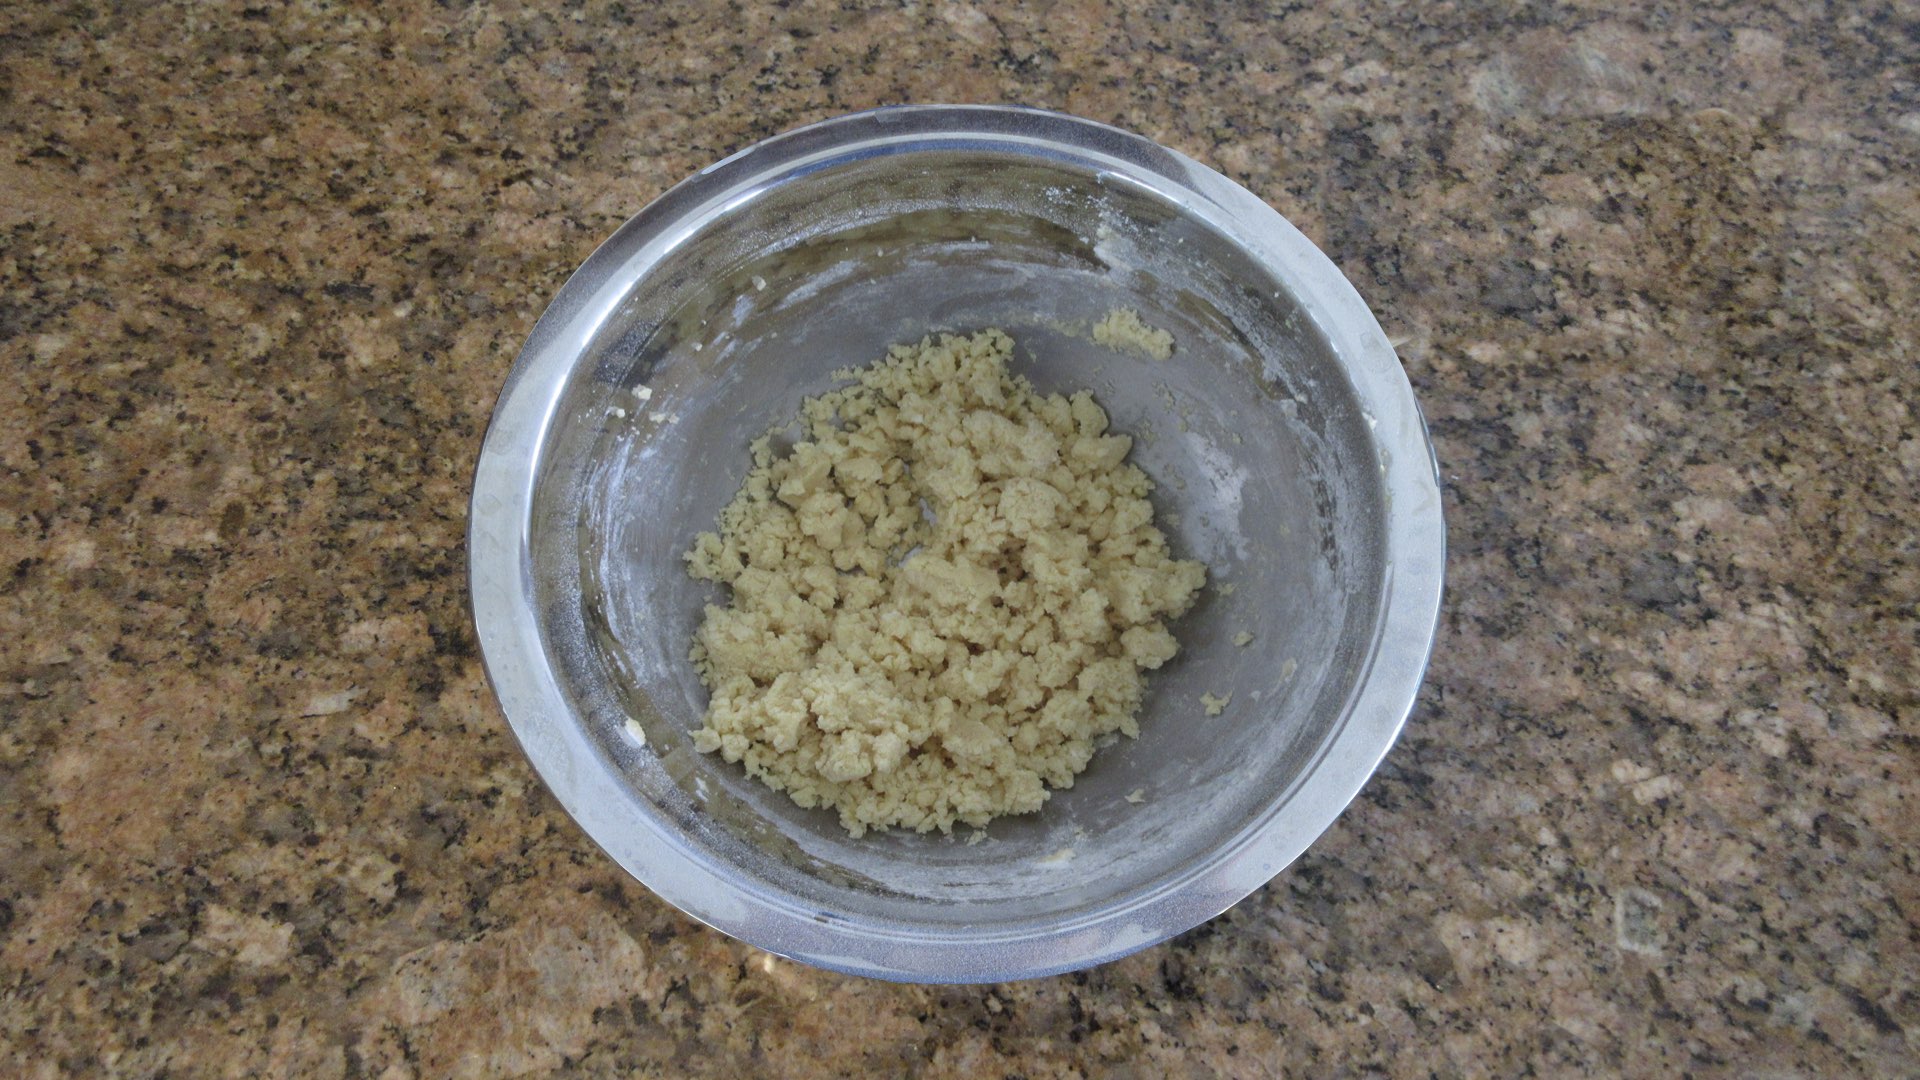
Step 5: Chilling the Dough
Turn the dough onto a clean work surface. You will see various sizes at this stage.
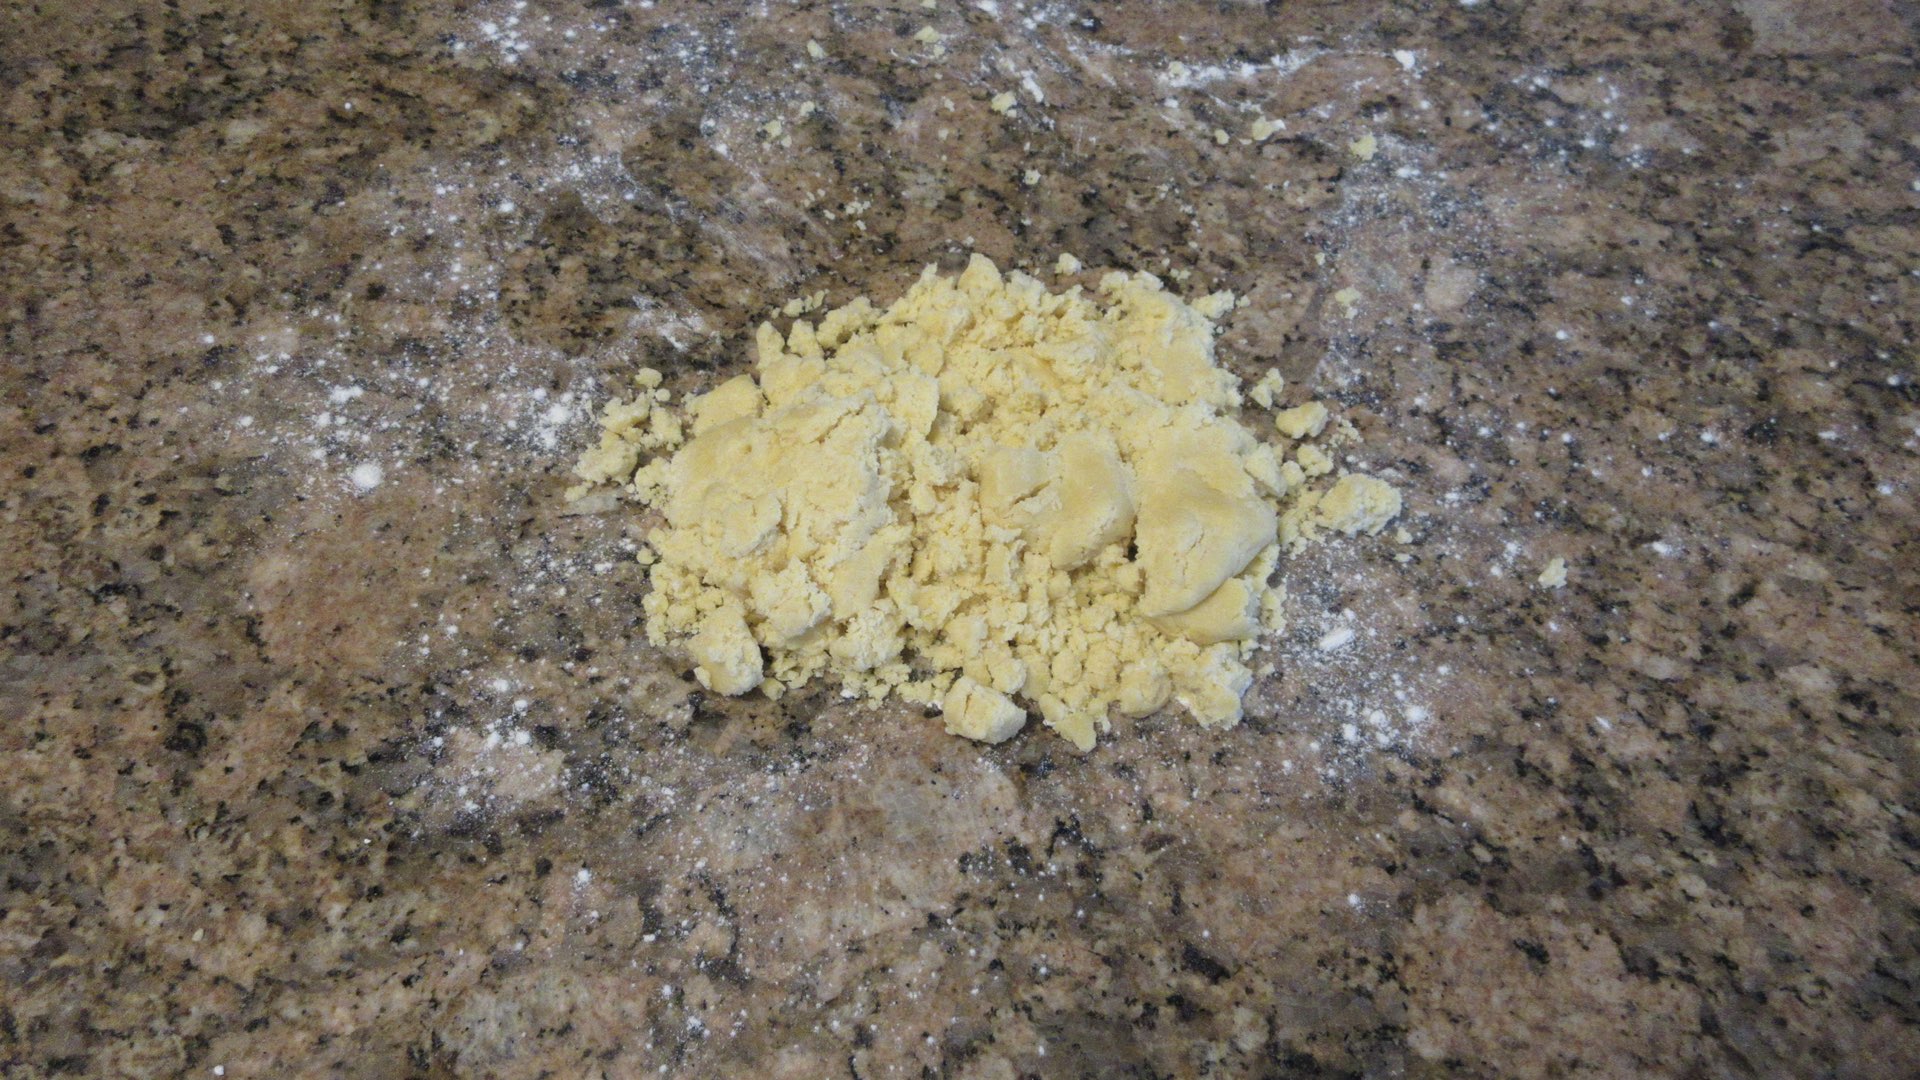
Now begin to squeeze the dough together until it forms a ball. Flatten the dough into a round disk about 1″ (2.54cm) tall and wrap in plastic wrap. You now need to chill the dough at least 2 hours or until firm. If you have the time, overnight is ideal for this recipe as it will develop the flavors.

Step 6: Roll out the Dough
Bring the chilled dough to just below room temperature. Start with a clean work surface. Sprinkle about 1 teaspoon (3g) or so of flour on your surface. Add more flour as needed to prevent the dough from sticking to the counter.
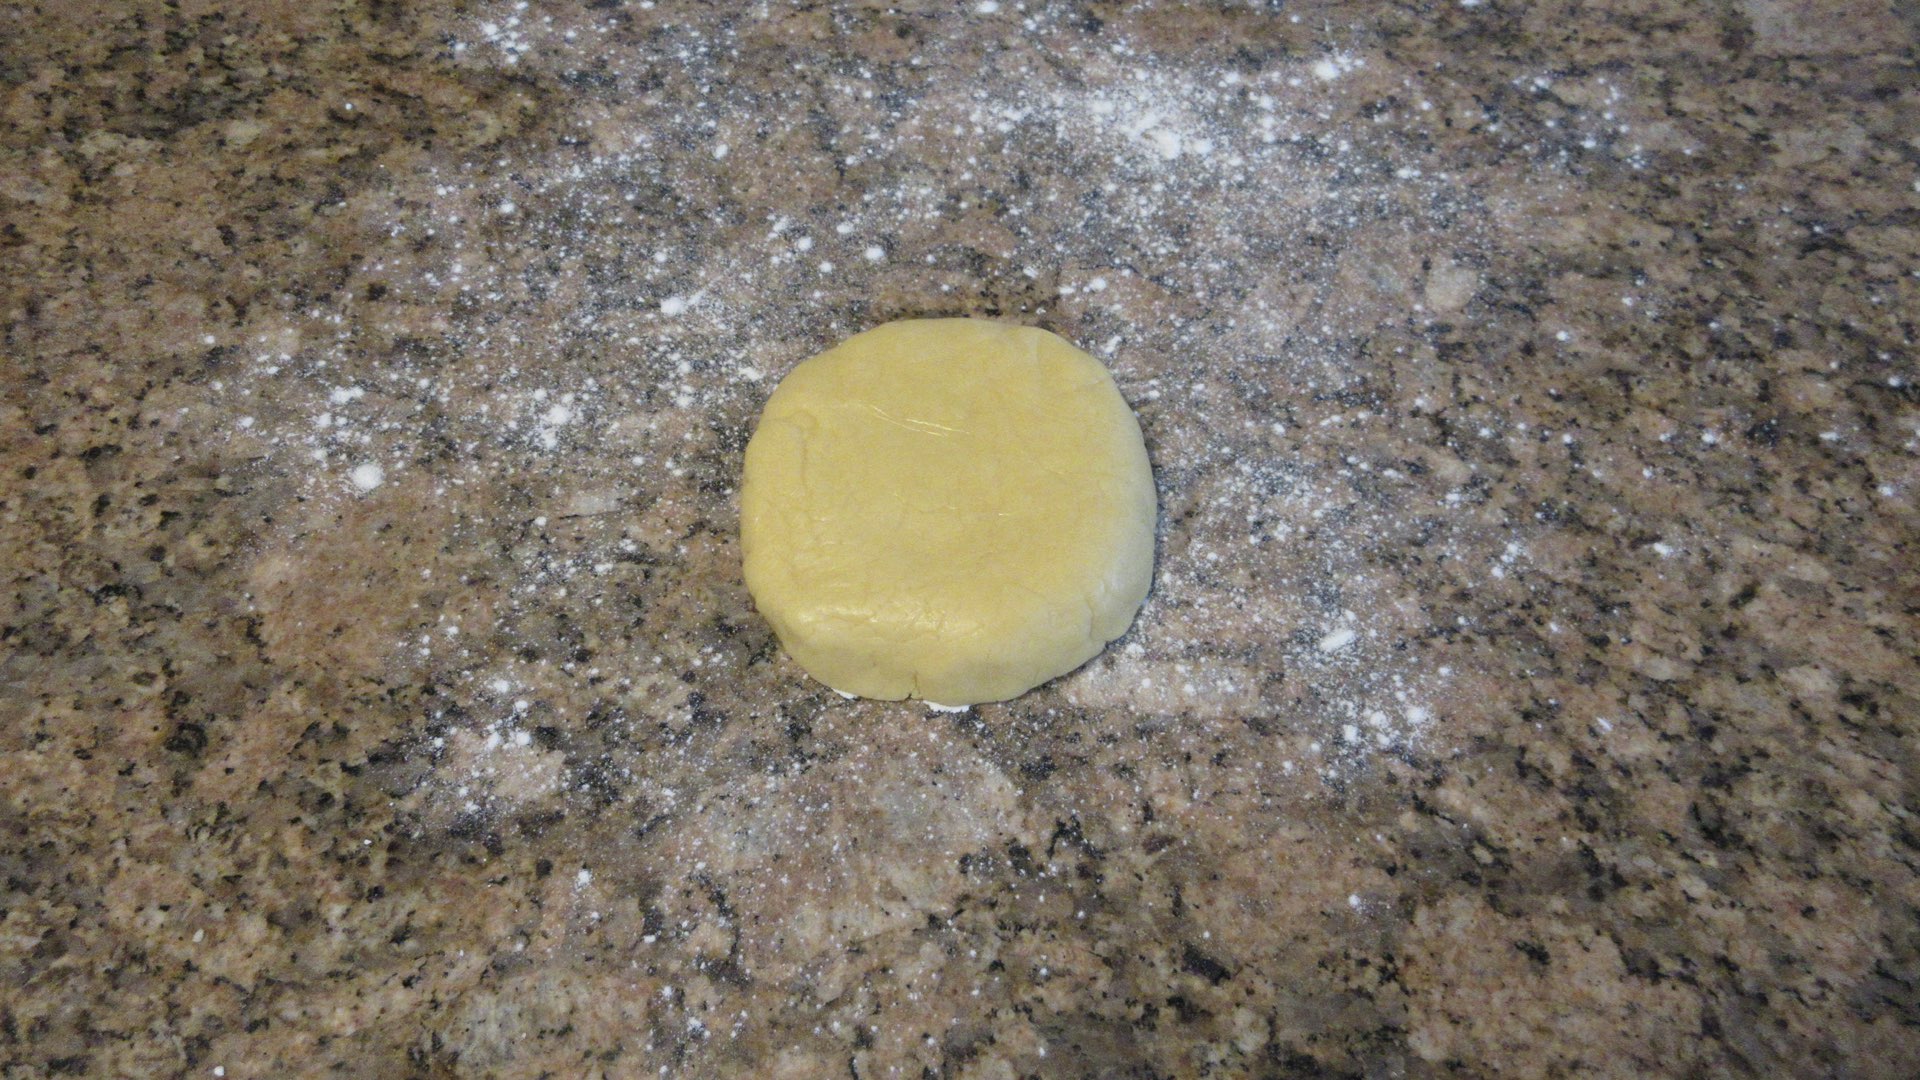
Roll dough out 1/8″ (3mm) thick. Using a 3″ (8cm) round cookie cutter, cut out dough.
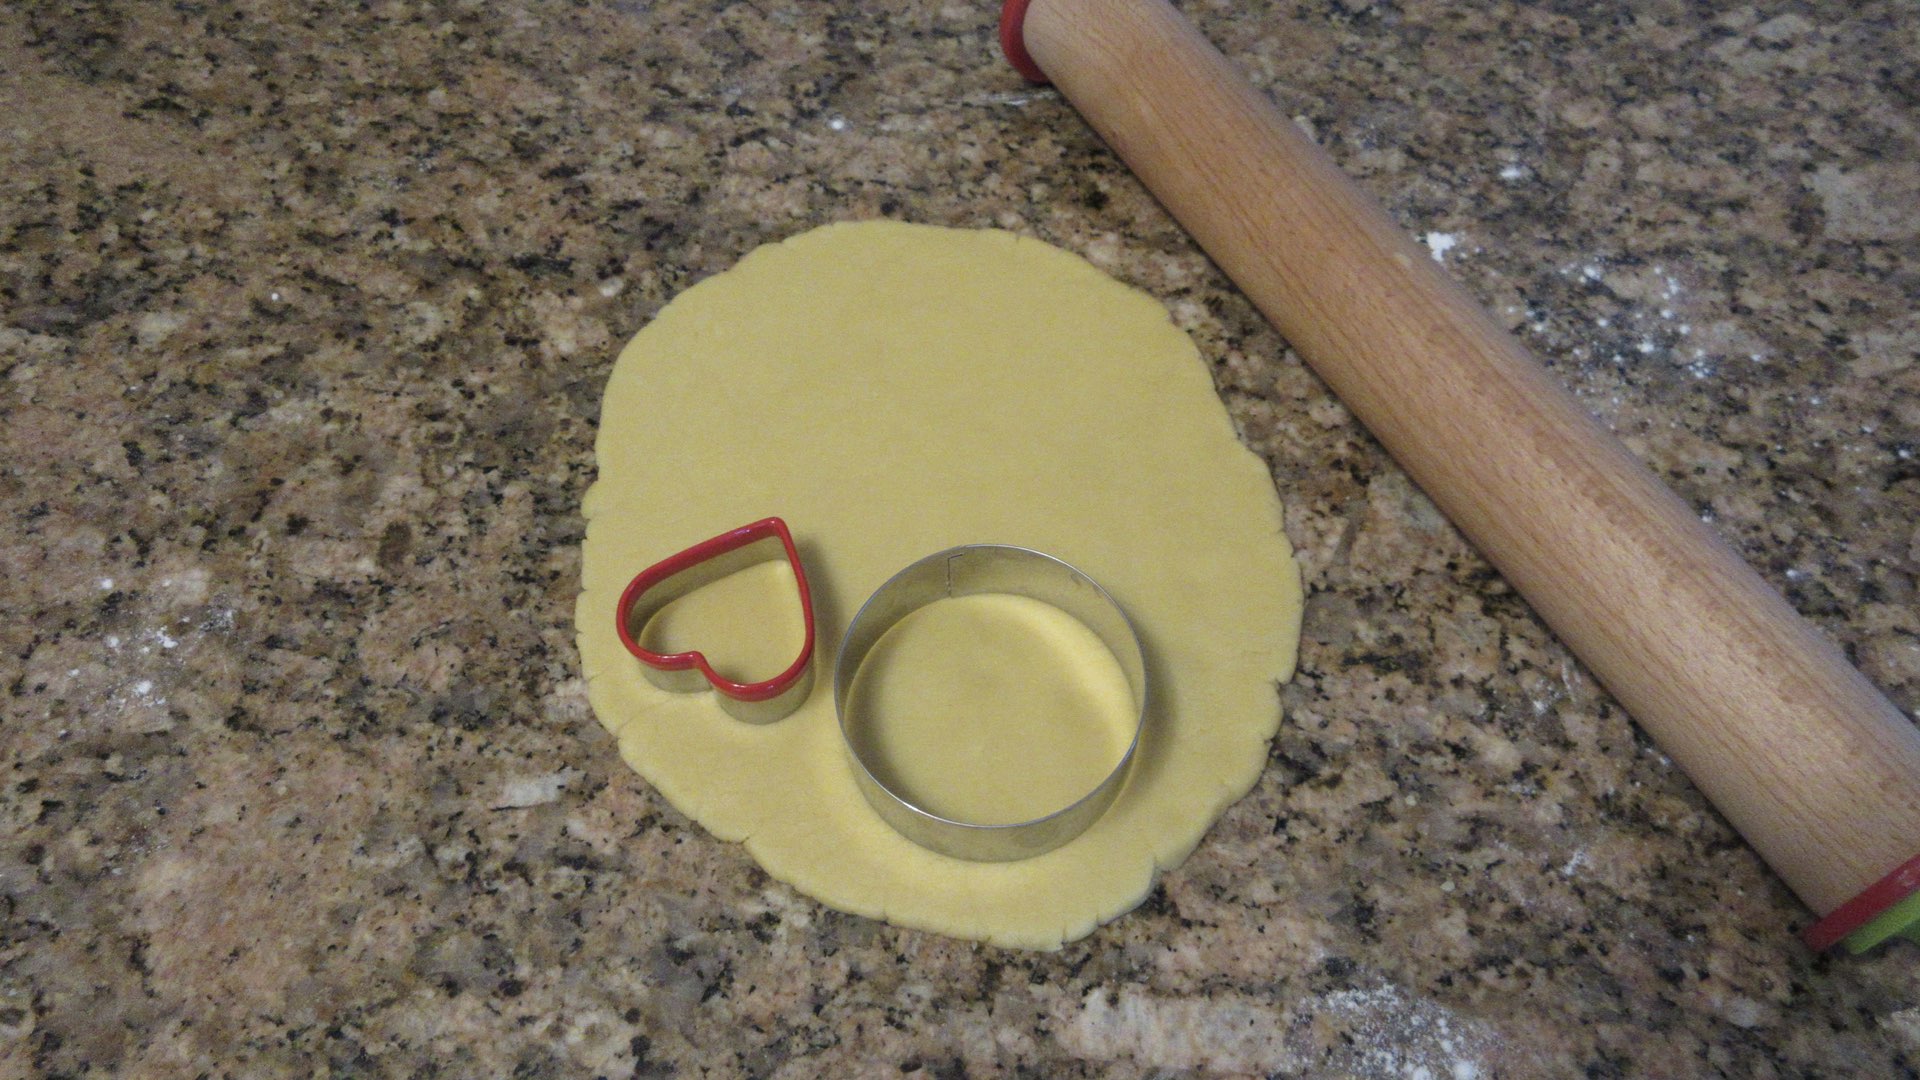
For half the rounds, use at least a 1″ (2.54cm) cookie cutter to cut out the center.
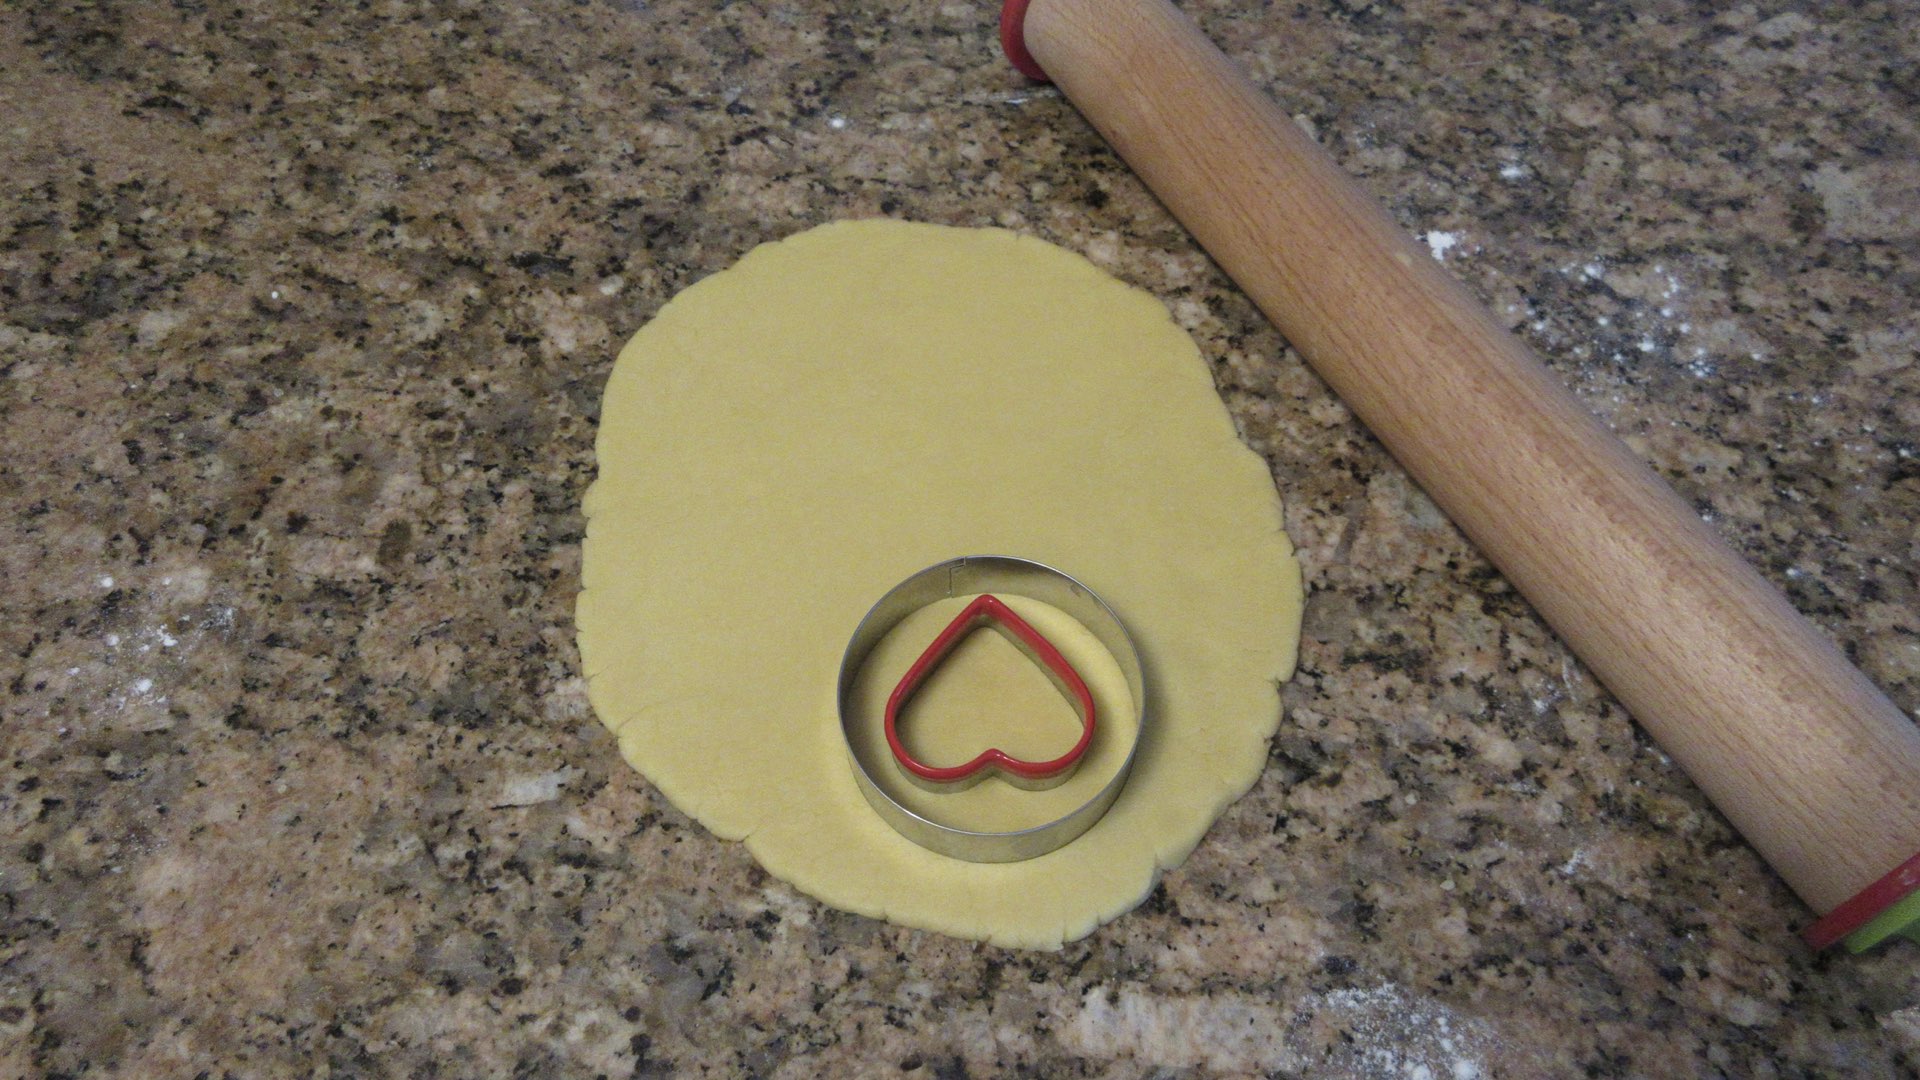
It will look like this. You can use any shape or size you like for the center. The larger the shape, the more jam will show through and the fewer calories the cookie will have!
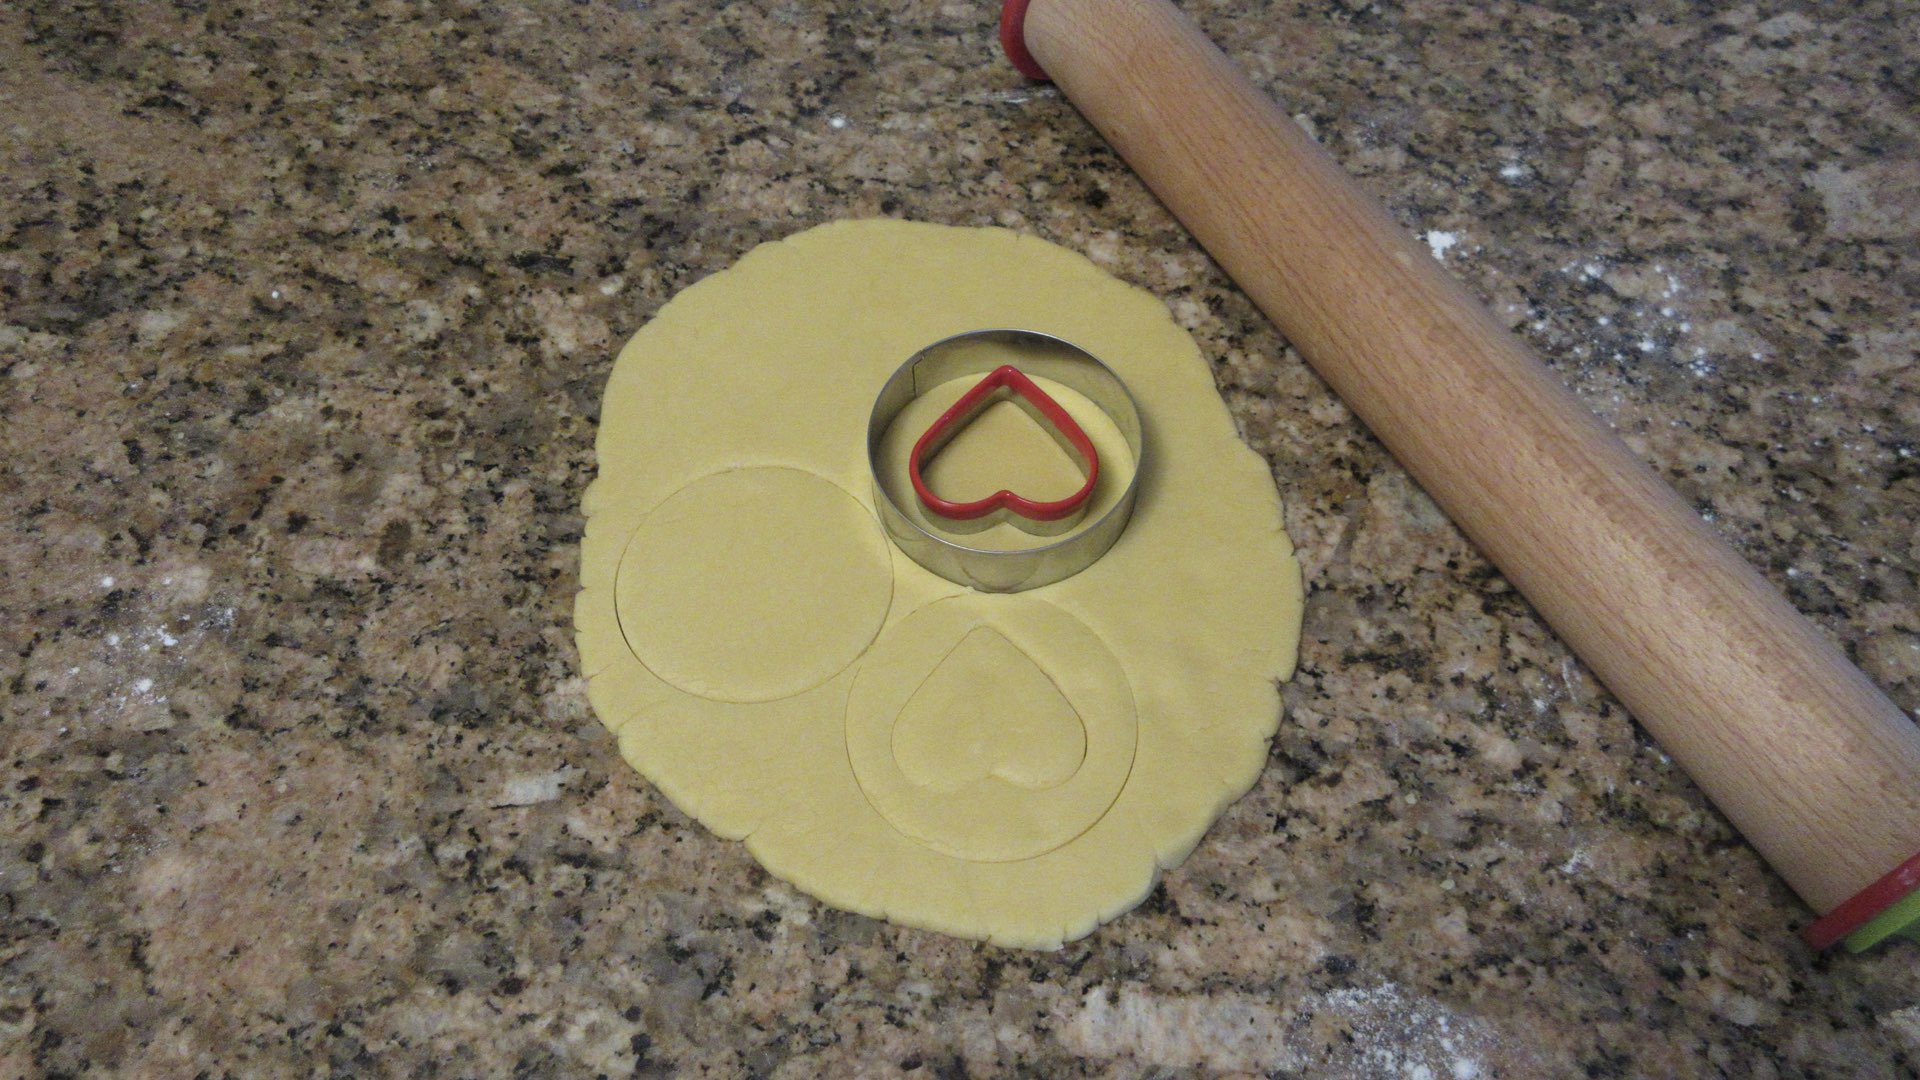
Repeat this process until you run out of room for the cookie cutter.
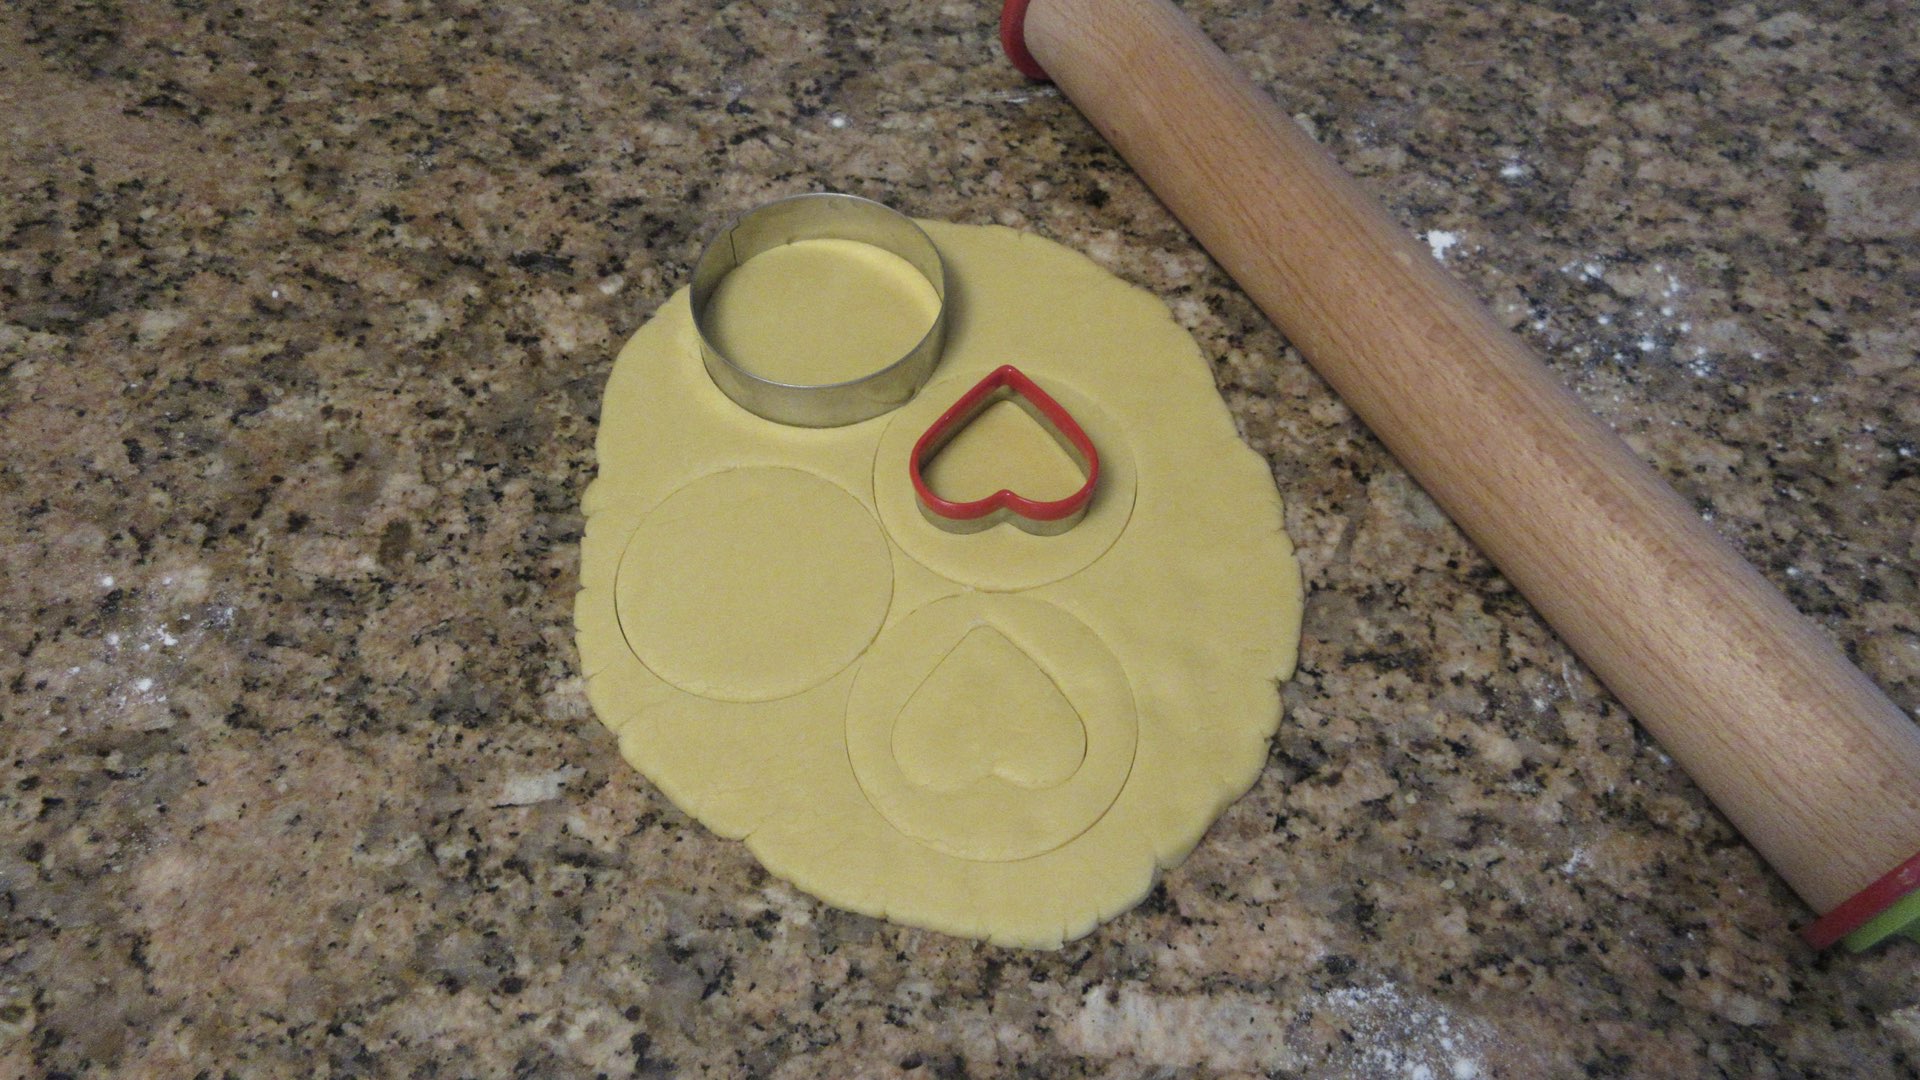
Gather up the scraps, shape into a ball, roll out and continue to cut out cookies until you run out of dough. If the dough becomes too soft or sticky to work with at any time, cover and chill for 15 – 30 minutes.

Step 7: Bake and Cool
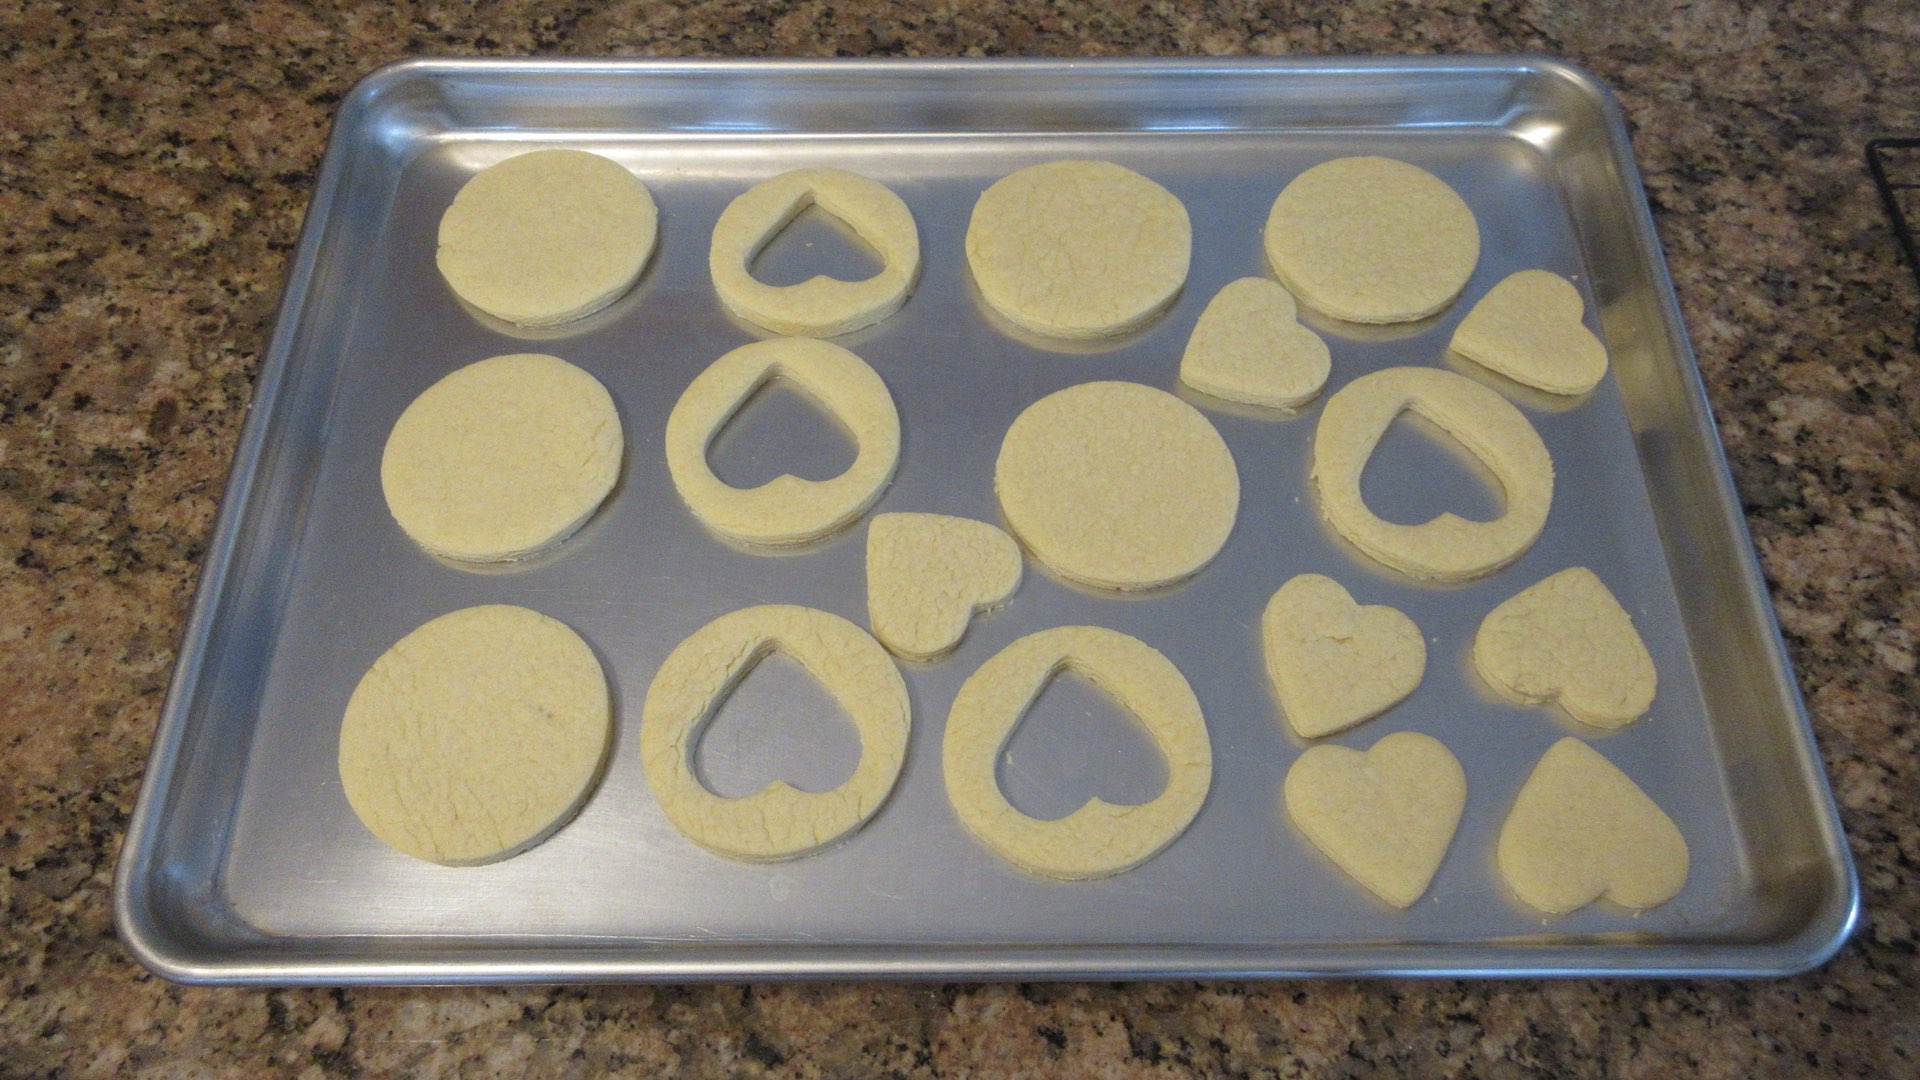
These won’t spread much at all, so you can place the cookies pretty close together. Go ahead and bake the cut out shapes as well. They will be delicious, too!

Bake them until they are a light golden color and you just start to see some browning creeping along the edges. You don’t want these to get too brown.
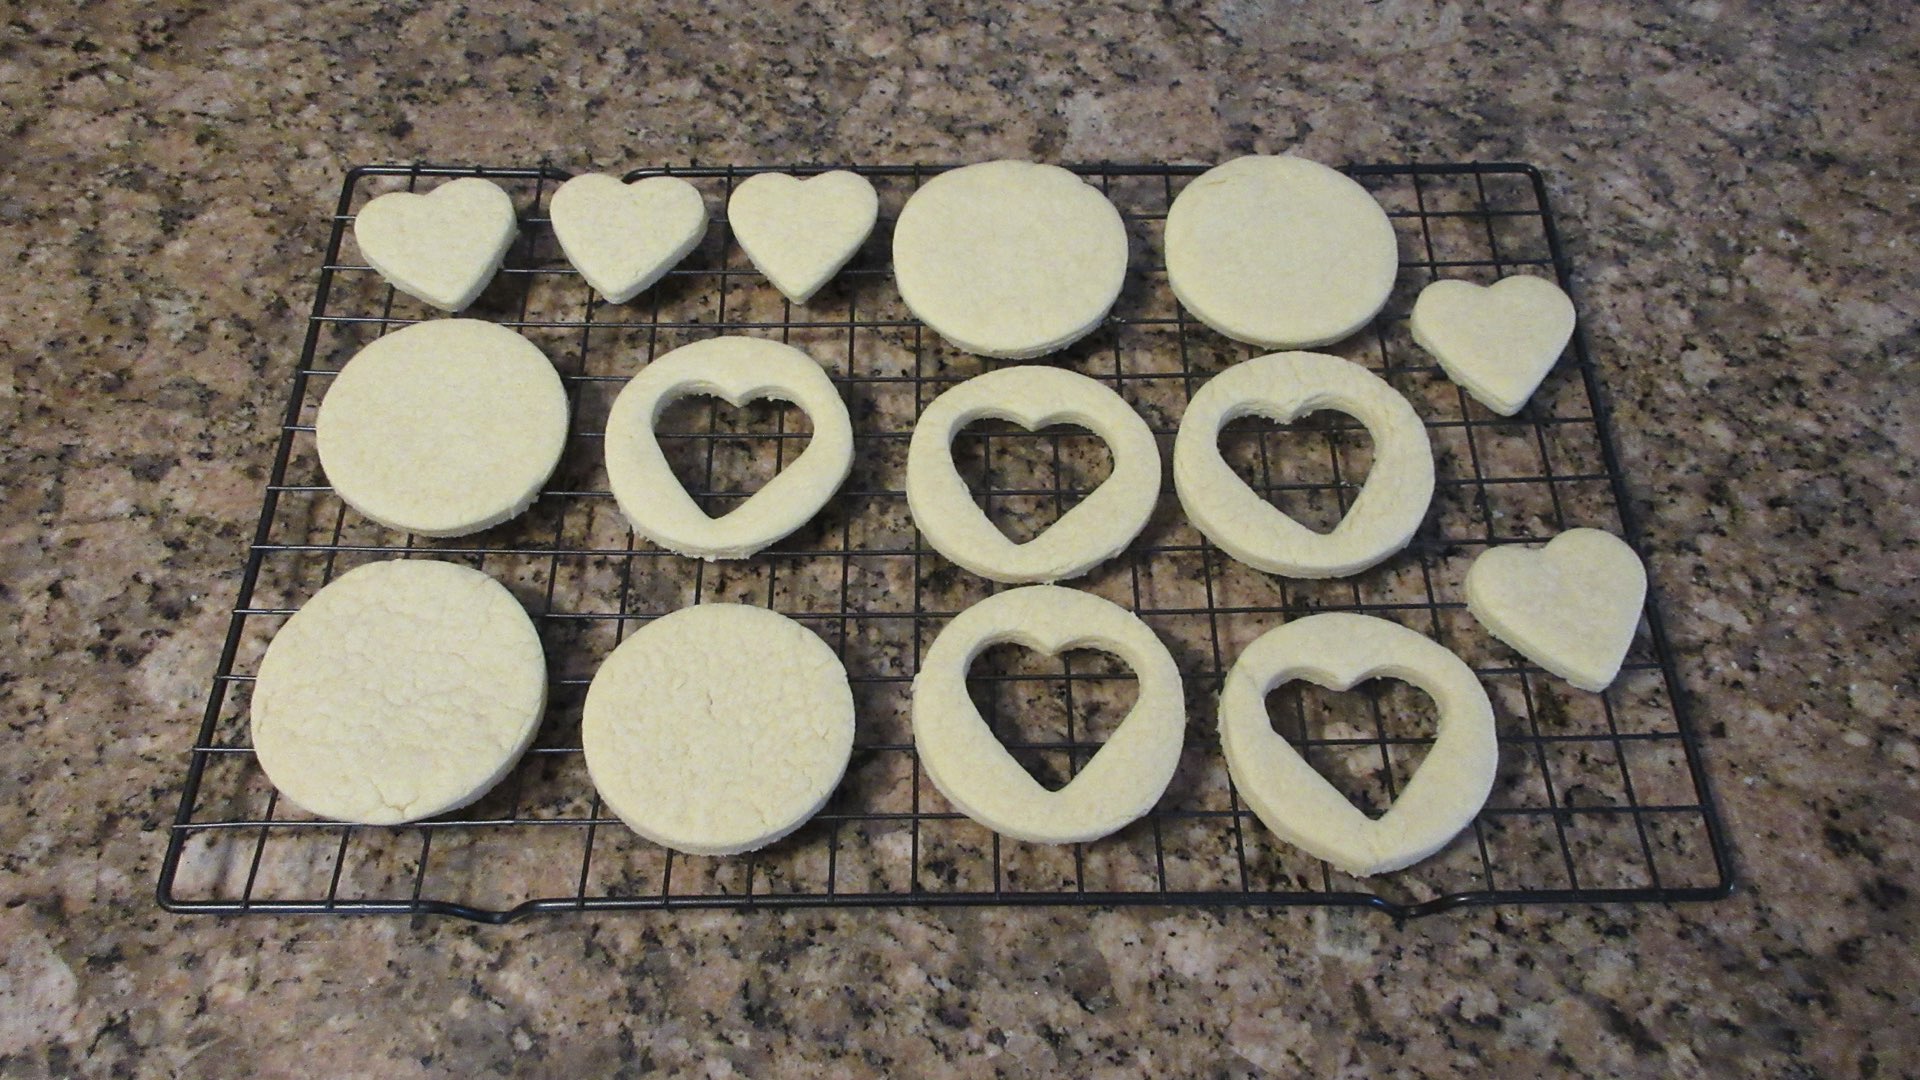
After you have let the cookies set for a couple minutes, carefully move them to a wire rack to finish cooling. The cutout tops of the cookies will be very delicate and prone to breaking, so be gentle.
Step 8: Decorate
Make sure the cookies have completely cooled. You want to spread out a thin layer of jam on the solid cookie. Stop about 1/8 – 1/4″ (3- 6mm) from the edges. That way the jelly won’t seep out on the sides and make a mess.
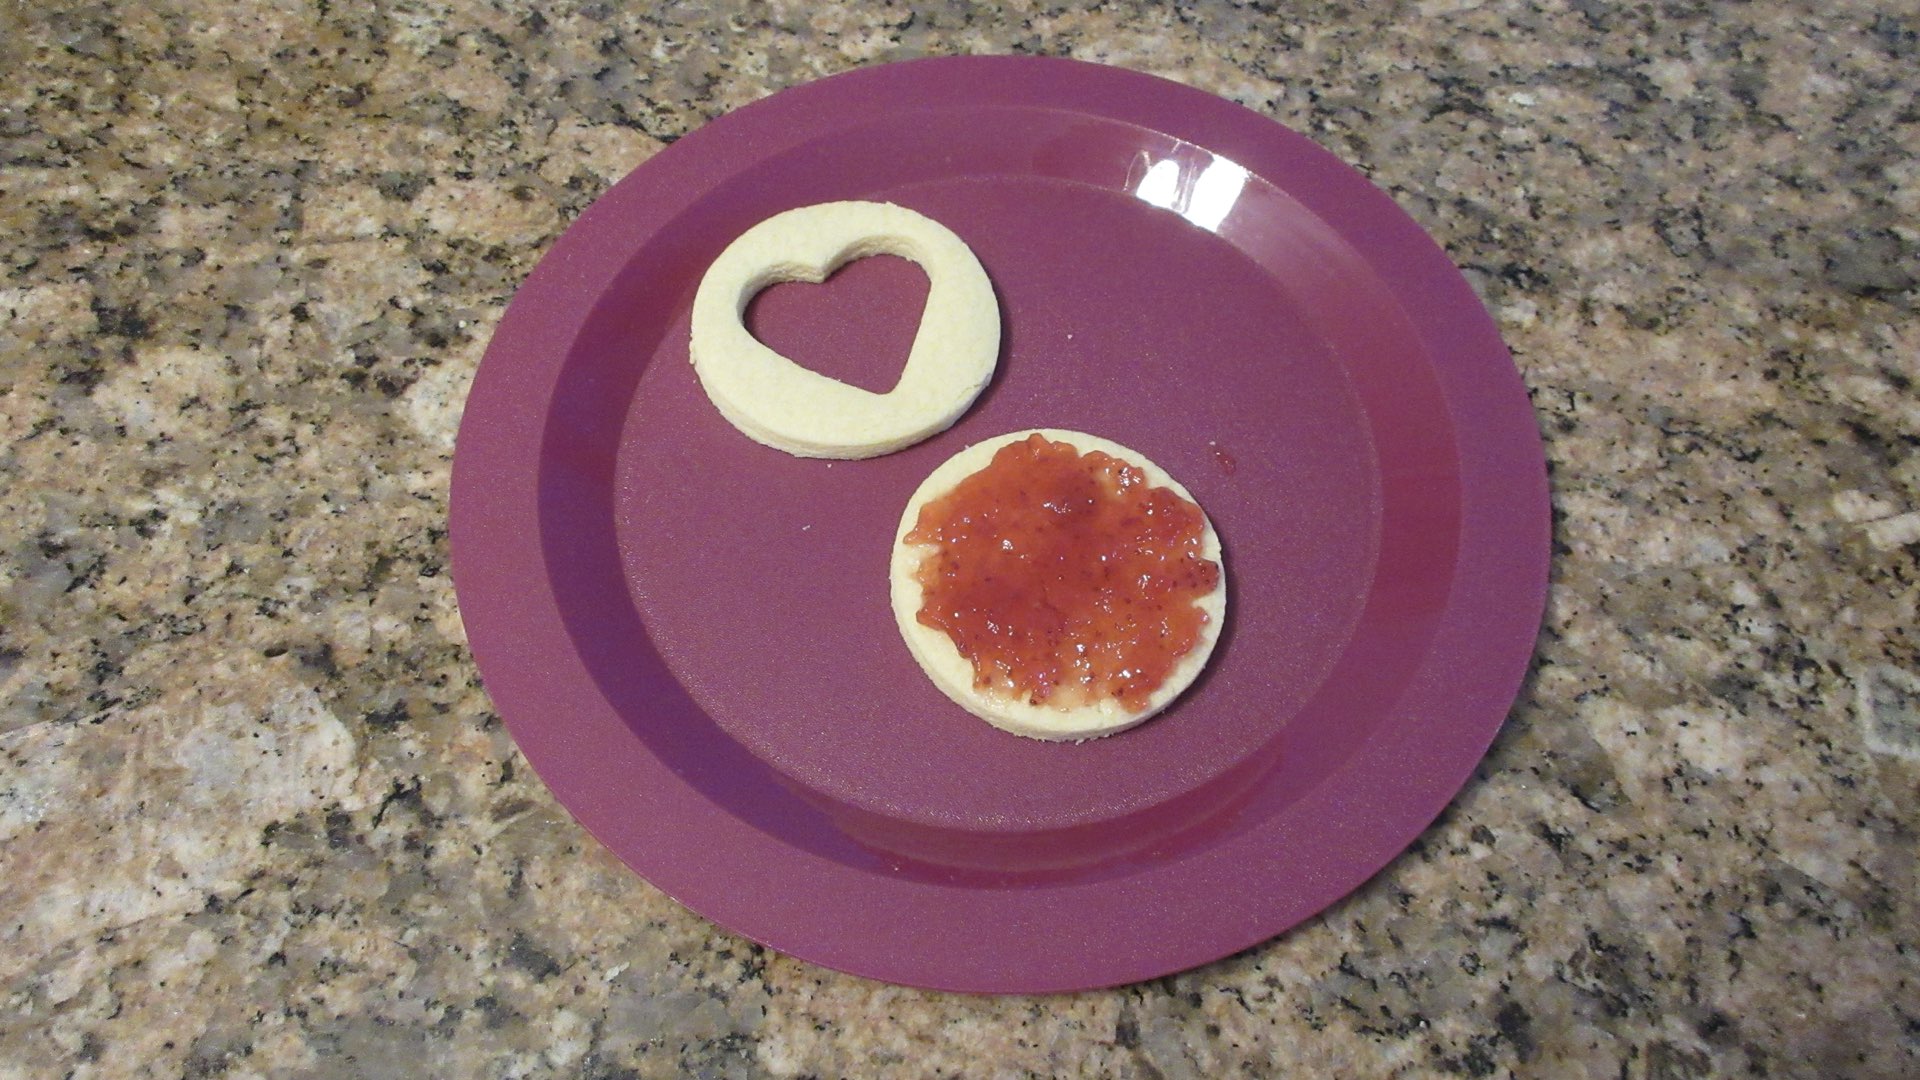
Carefully place the cutout cookie on top. Because you cut out a shape, this will be a fragile cookie. Don’t press too hard or it may snap into pieces.

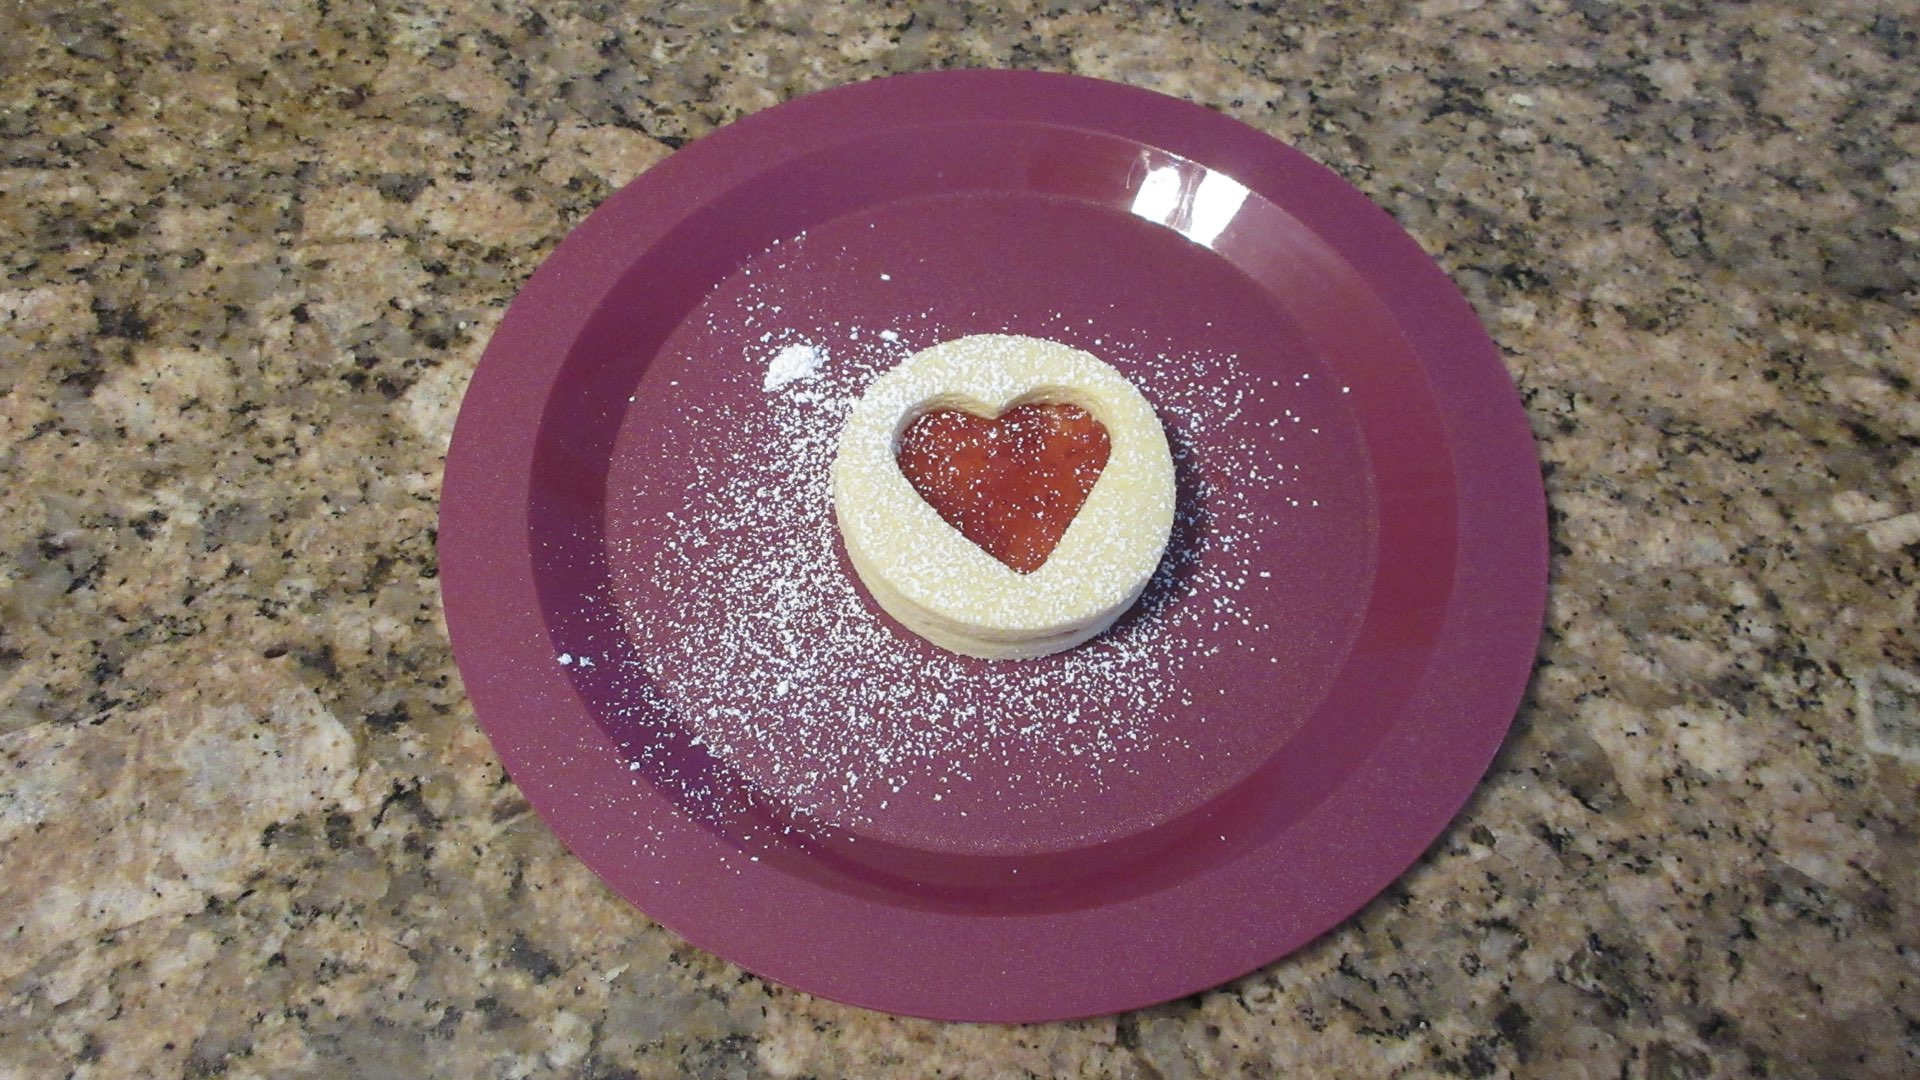
If desired, sprinkle the tops with powdered sugar. The powdered sugar will absorb into the jam and disappear. This will leave just the cookie dusted with the sugar.
Substitutions and Tips
Here are some common substitutions and tips for this jammy biscuits recipe.
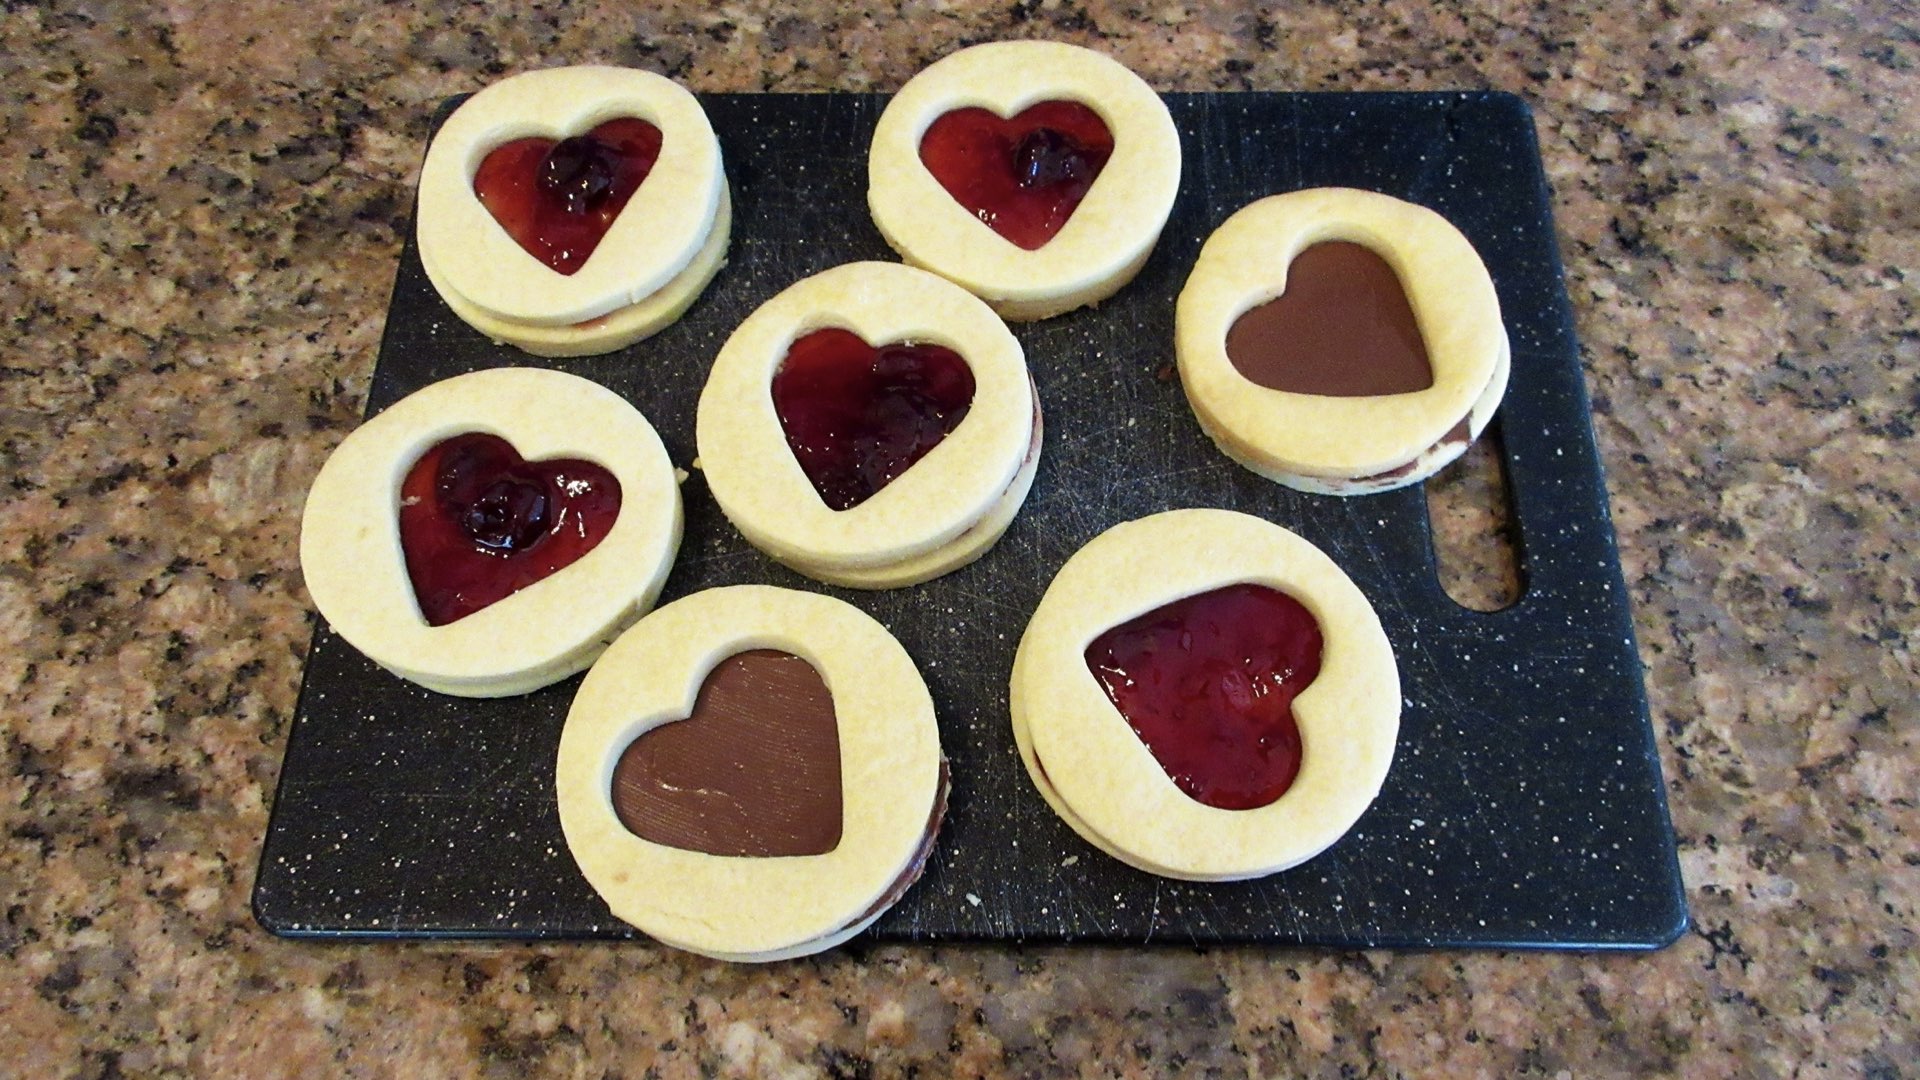
- Instead of jam, try nutella, peanut butter or another nut butter of your liking.
- For a rich and decadent cookie, try filling with chocolate ganache. Or perhaps your favorite buttercream frosting.
- Use any type of jam or jelly you like. Perhaps even a lemon curd would be a refreshing alternative.
- Margarine can be used in place of the butter. Do not use vegetable oil spread. You need at least 80% fat for these to turn out pleasant.
Storage
These jammy biscuits really taste best eaten within the first day, but sometimes you need to store them for future use. Store for 3-5 days in an airtight container. These cookies tend to become soggy in the center and crumbly with age, so we recommend enjoying them within a couple days. Even though these cookies do have jam or jelly in the center, the consensus is it is safe to store them at room temperature due to the high sugar content of most jams and jellies. If in doubt or using a homemade jam with less sugar content, store them in the refrigerator in an airtight container and bring to room temperature to serve.
Jammy biscuits should be frozen prior to filling with the jam. Store in an airtight container and freeze for up to 3 months. Defrost for several hours in the container on the counter. Once the cookies are fully thawed, fill with your favorite jam or jelly.

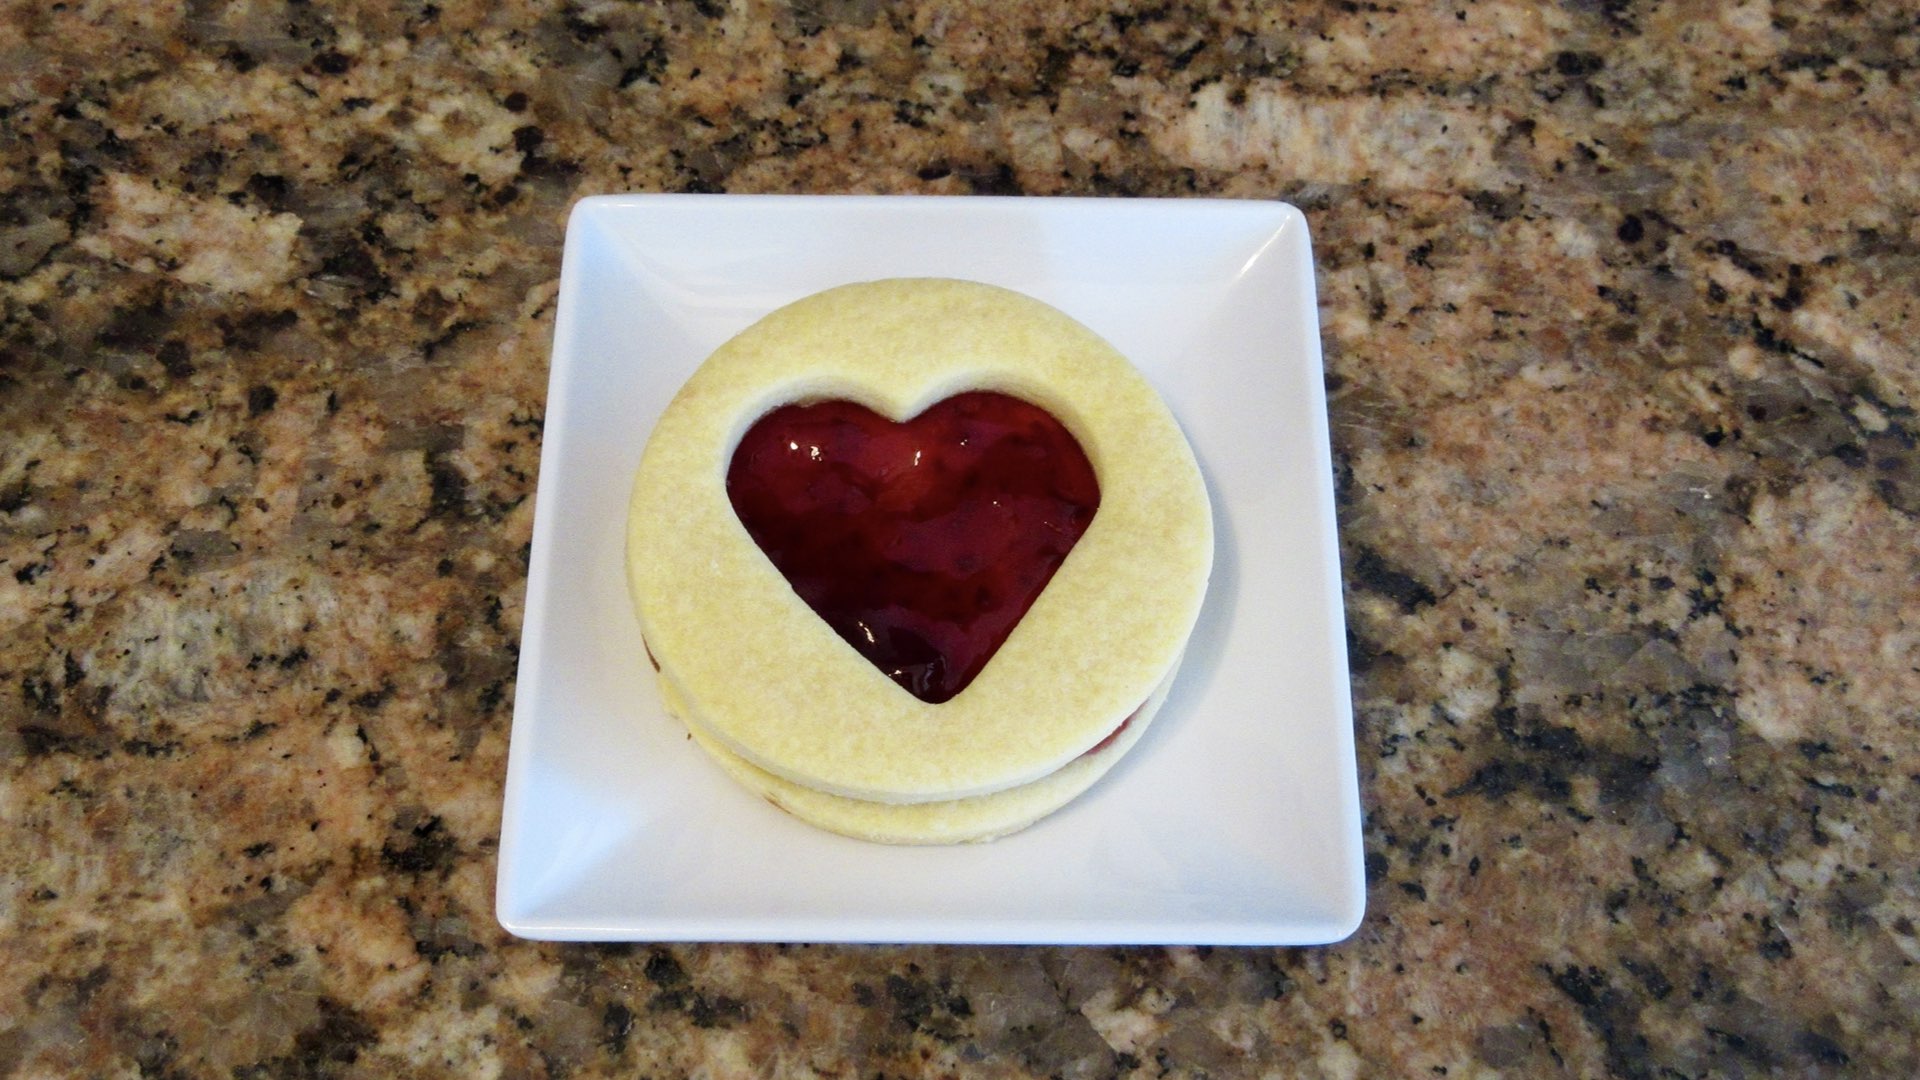

Jammy Biscuits Recipe
Ingredients
- 1 cup + 2 tbs (168.75g) flour
- ⅓ cup (42g) powdered sugar
- ½ cup (113g) softened butter or margarine
- 1 large (20g) egg yolk
- ½ tsp (2.5mL) vanilla
- ⅛ tsp (.625g) salt
- ¼ cup (80g) jam
Instructions
- Cream together softened butter or margarine, sugar and salt.
- Beat in egg yolk and vanilla until smooth.
- Add in flour mixture. Mix until a soft dough begins to form.
- Pat into a round disc about 1" (2.54cm) thick. Wrap in plastic wrap and chill until firm, about 2 hours or overnight.
- Bring dough to slightly below room temperature. Roll dough out 1/8" (3mm) thick. Using a 3" (8cm) round cookie cutter, cut out dough. For half the rounds, use at least a 1" (2.54cm) cookie cutter to cut out the center.
- Place cookies on an ungreased baking sheet about 1/2" (1.27cm) apart. Next, chill 15 minutes or until firm.
- Bake 12 – 16 minutes or until edges are lightly golden brown. Let sit in pan for 2 minutes and then carefully remove to wire rack to finish cooling. Cool completely before filling.
- Stir up jam with a spoon to make it more fluid. Carefully spread on one of the solid rounds, stopping 1/4" (6mm) from the edges. Carefully place the round with the center cut out on top.
0 Comments