
Learning how to shape dough for a bread loaf can be daunting. I’ve had a lot of sadly shaped loaves over the years. Mostly because I never learned how to properly shape loaves. It’s not a difficult task once you’ve practiced it a few times.
So you recently learned how to make bread and you made a lovely sandwich bread but your loaves are not as pretty as you’d hoped. What do you do? Give up and start buying tasteless, gummy bread again? No! Just keep practicing. This basic tutorial should help. Pretty soon you’ll be the one teaching others how to shape dough for a bread loaf.
Step 1: Prepare your Bread Pan and Flatten the Dough
The most important step is to prepare your bread pan. If your pan doesn’t have a non-stick coating, you will need to grease and flour or spray the inside with non-stick baking spray. Failure to do so will cause your bread to adhere to the pan after has baked. So don’t skip this step. Next, flatten out your risen dough and start shaping it into a square.
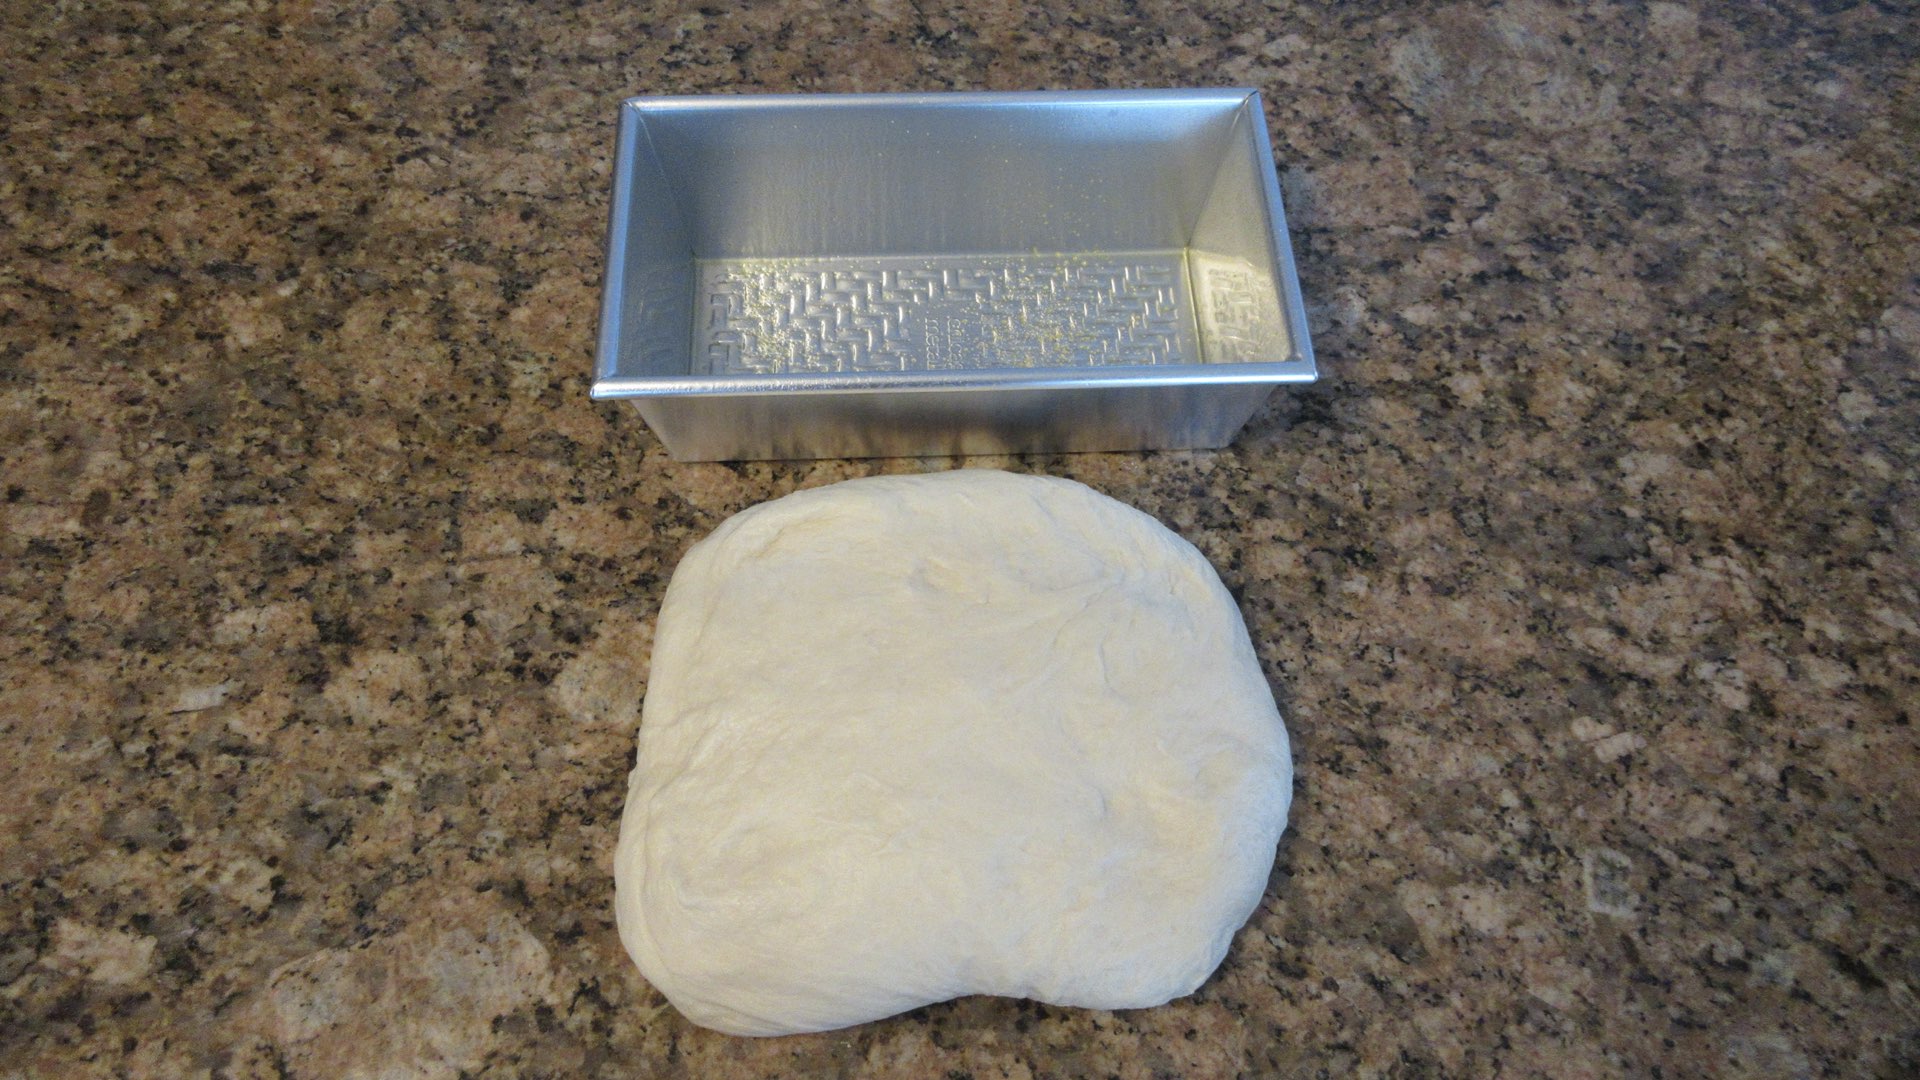
Step 2: Shape the Dough
Using the length of the pan as your guide, stretch or pat the dough into a rough rectangle. If the dough is sticking to the counter, you can sprinkle a tiny amount of flour down, but don’t use too much. Just enough to let it scoot around without getting glued to the work surface.
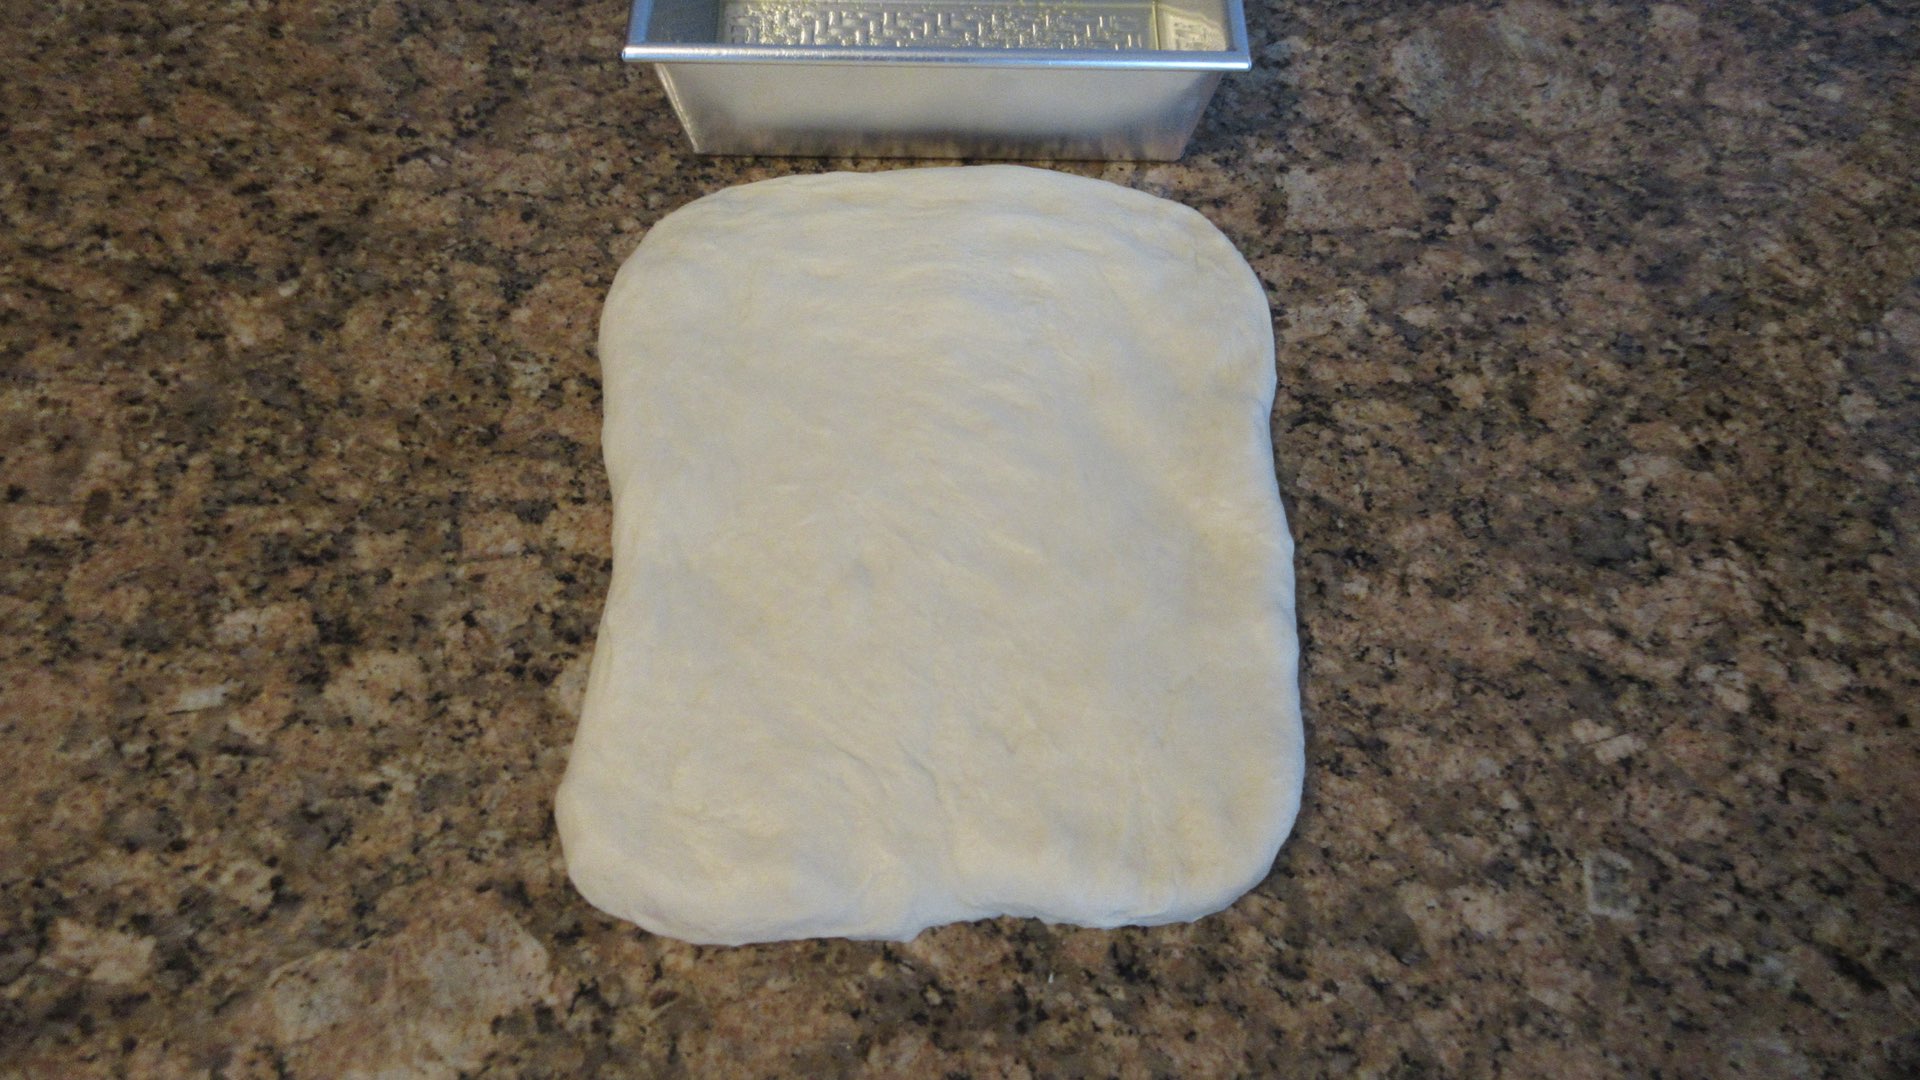
Next, you want to fold in the sides of the rectangle smaller than the length of your bread pan. Flatten the folded sides down. As you roll up the dough, the width will expand.
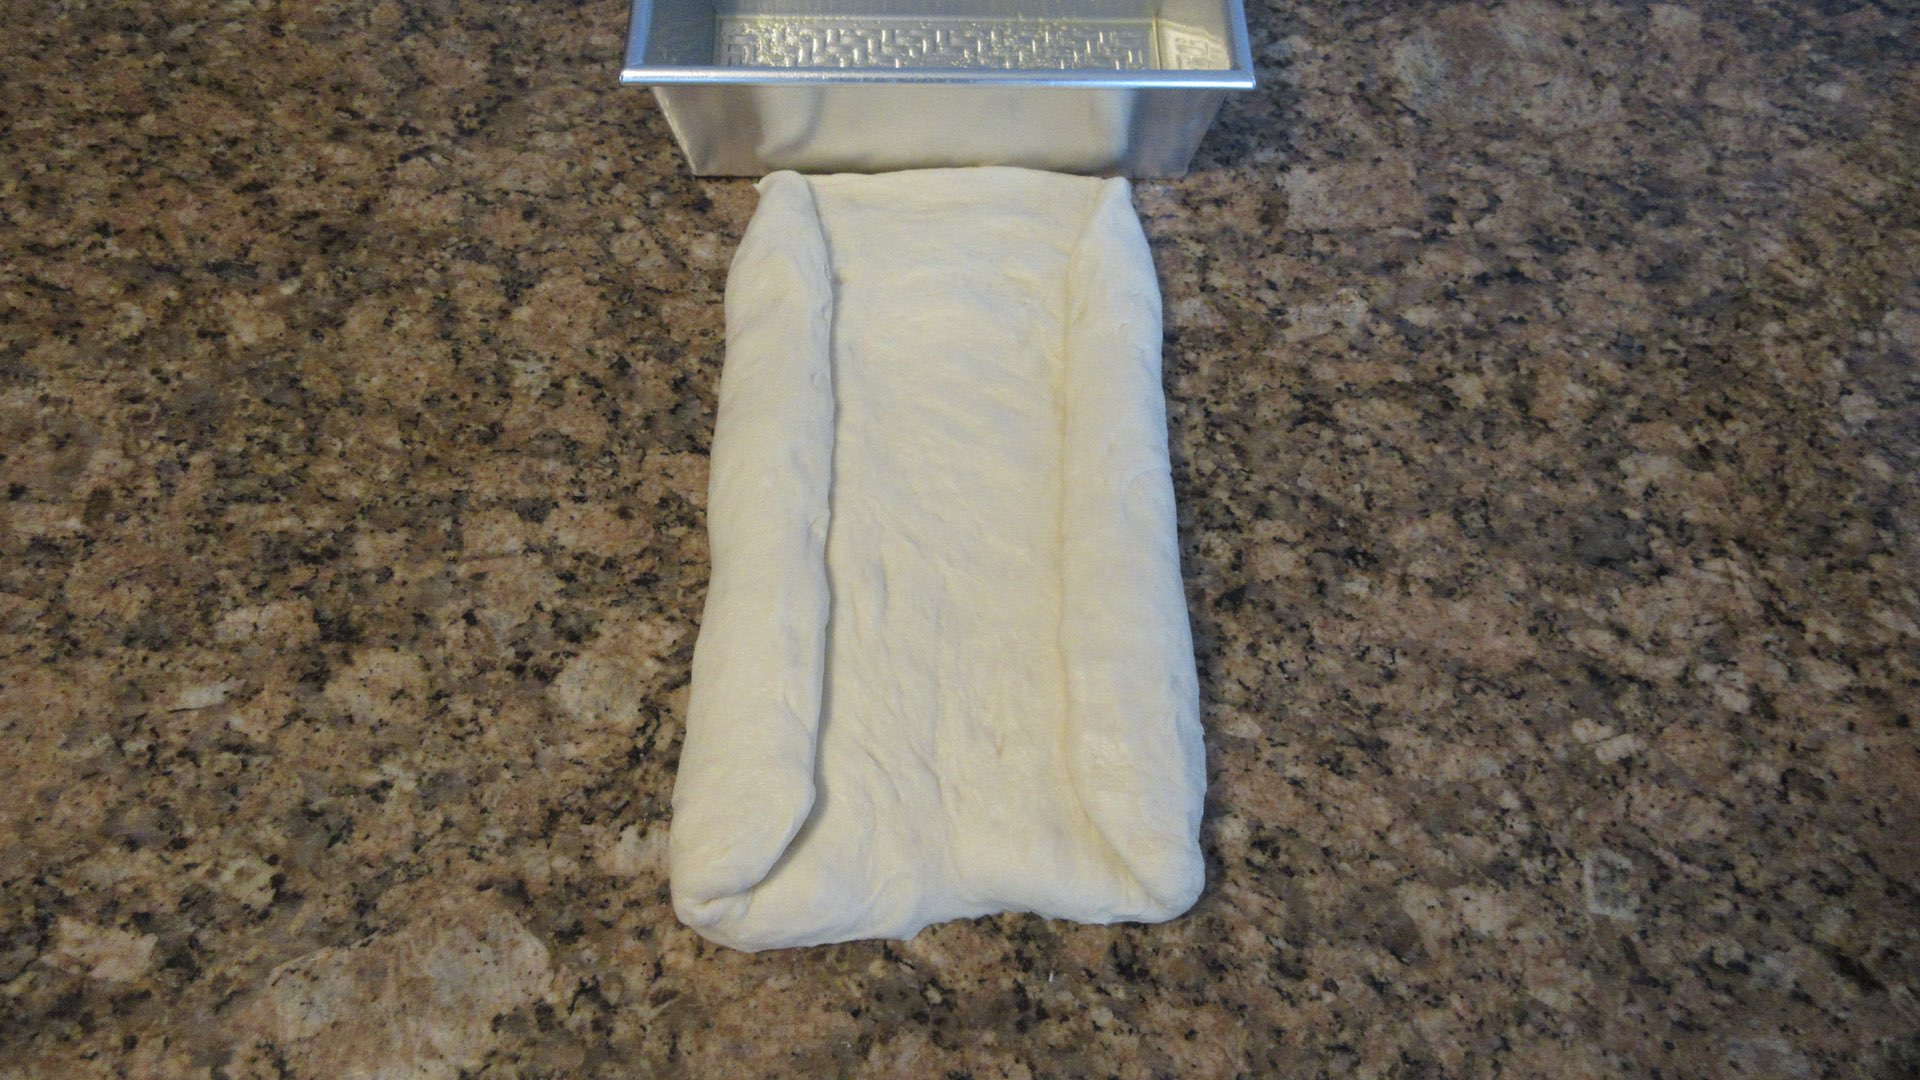
Now, start rolling the dough up firmly to create some tension. This will help it rise better. You can start from the top or bottom. Whichever way suits you best.
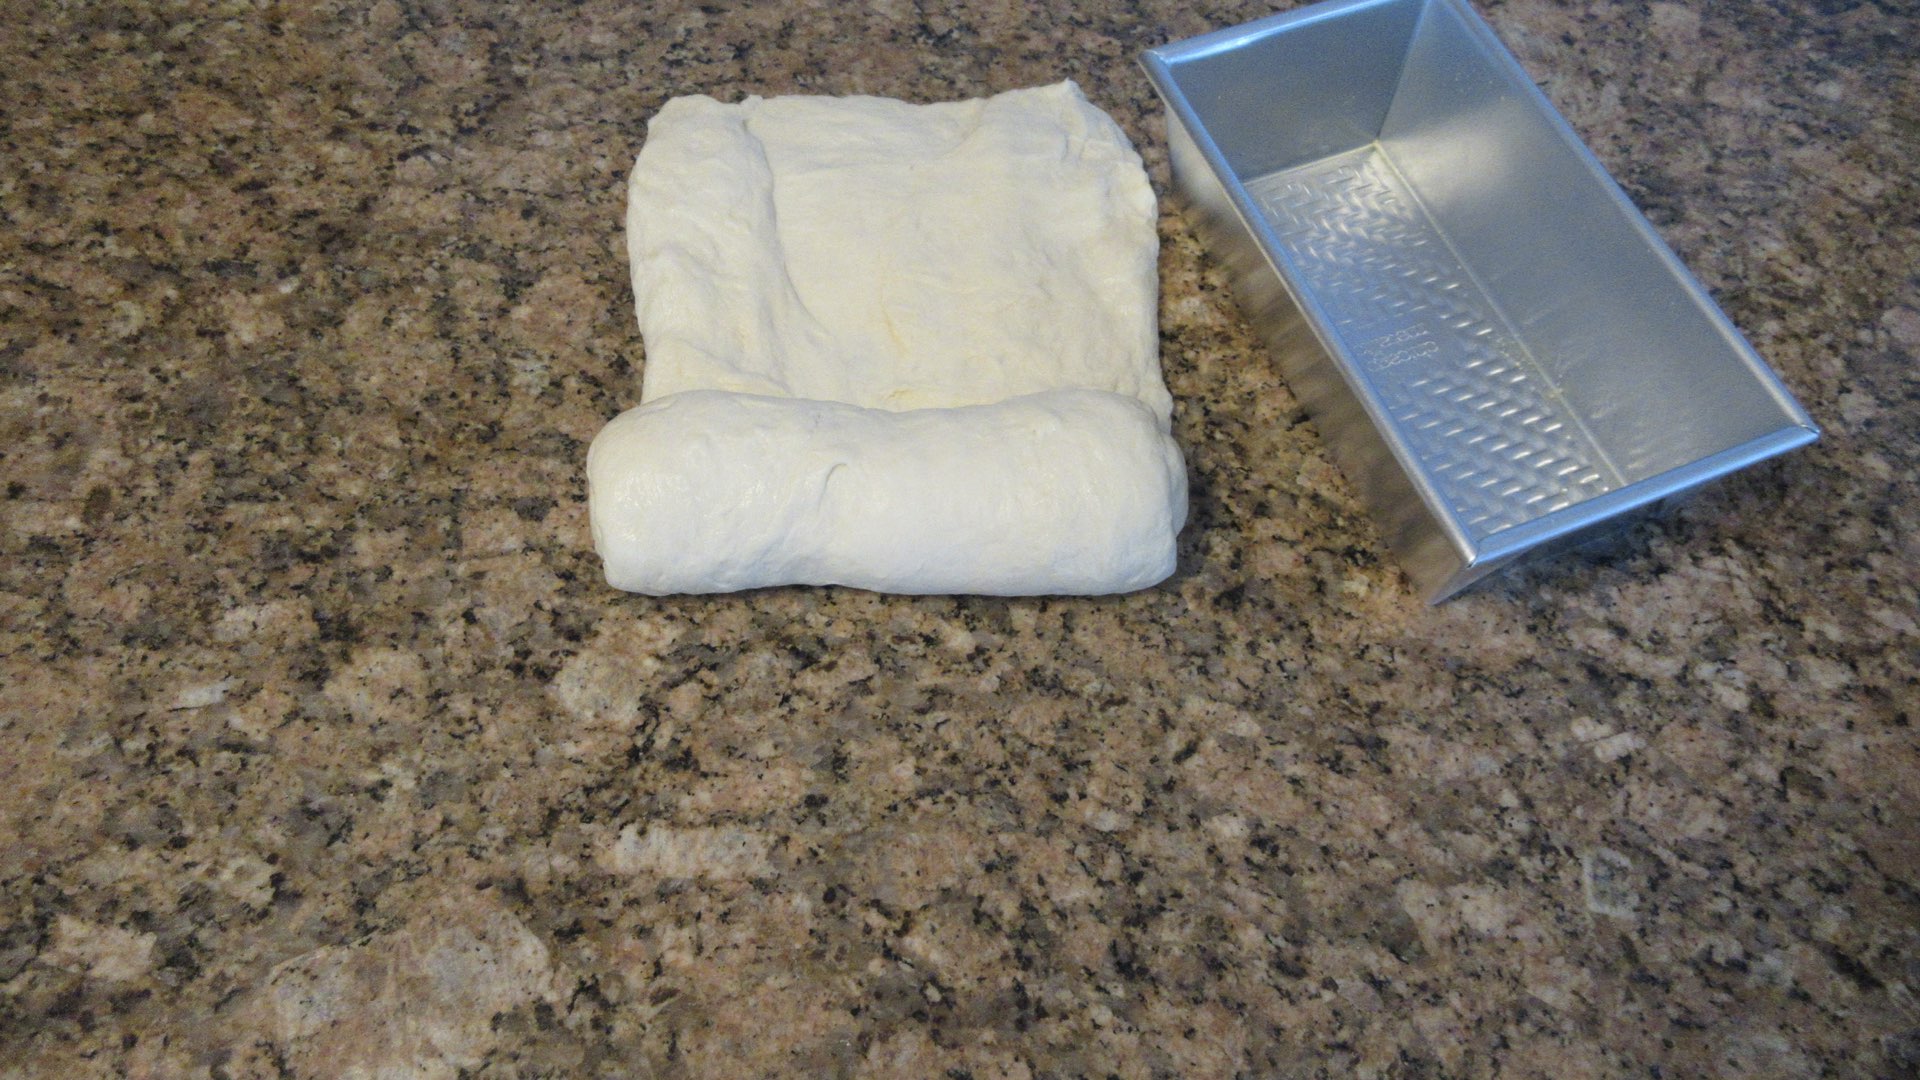
Continue to gently, yet firmly roll up the dough. Try to keep the tension.
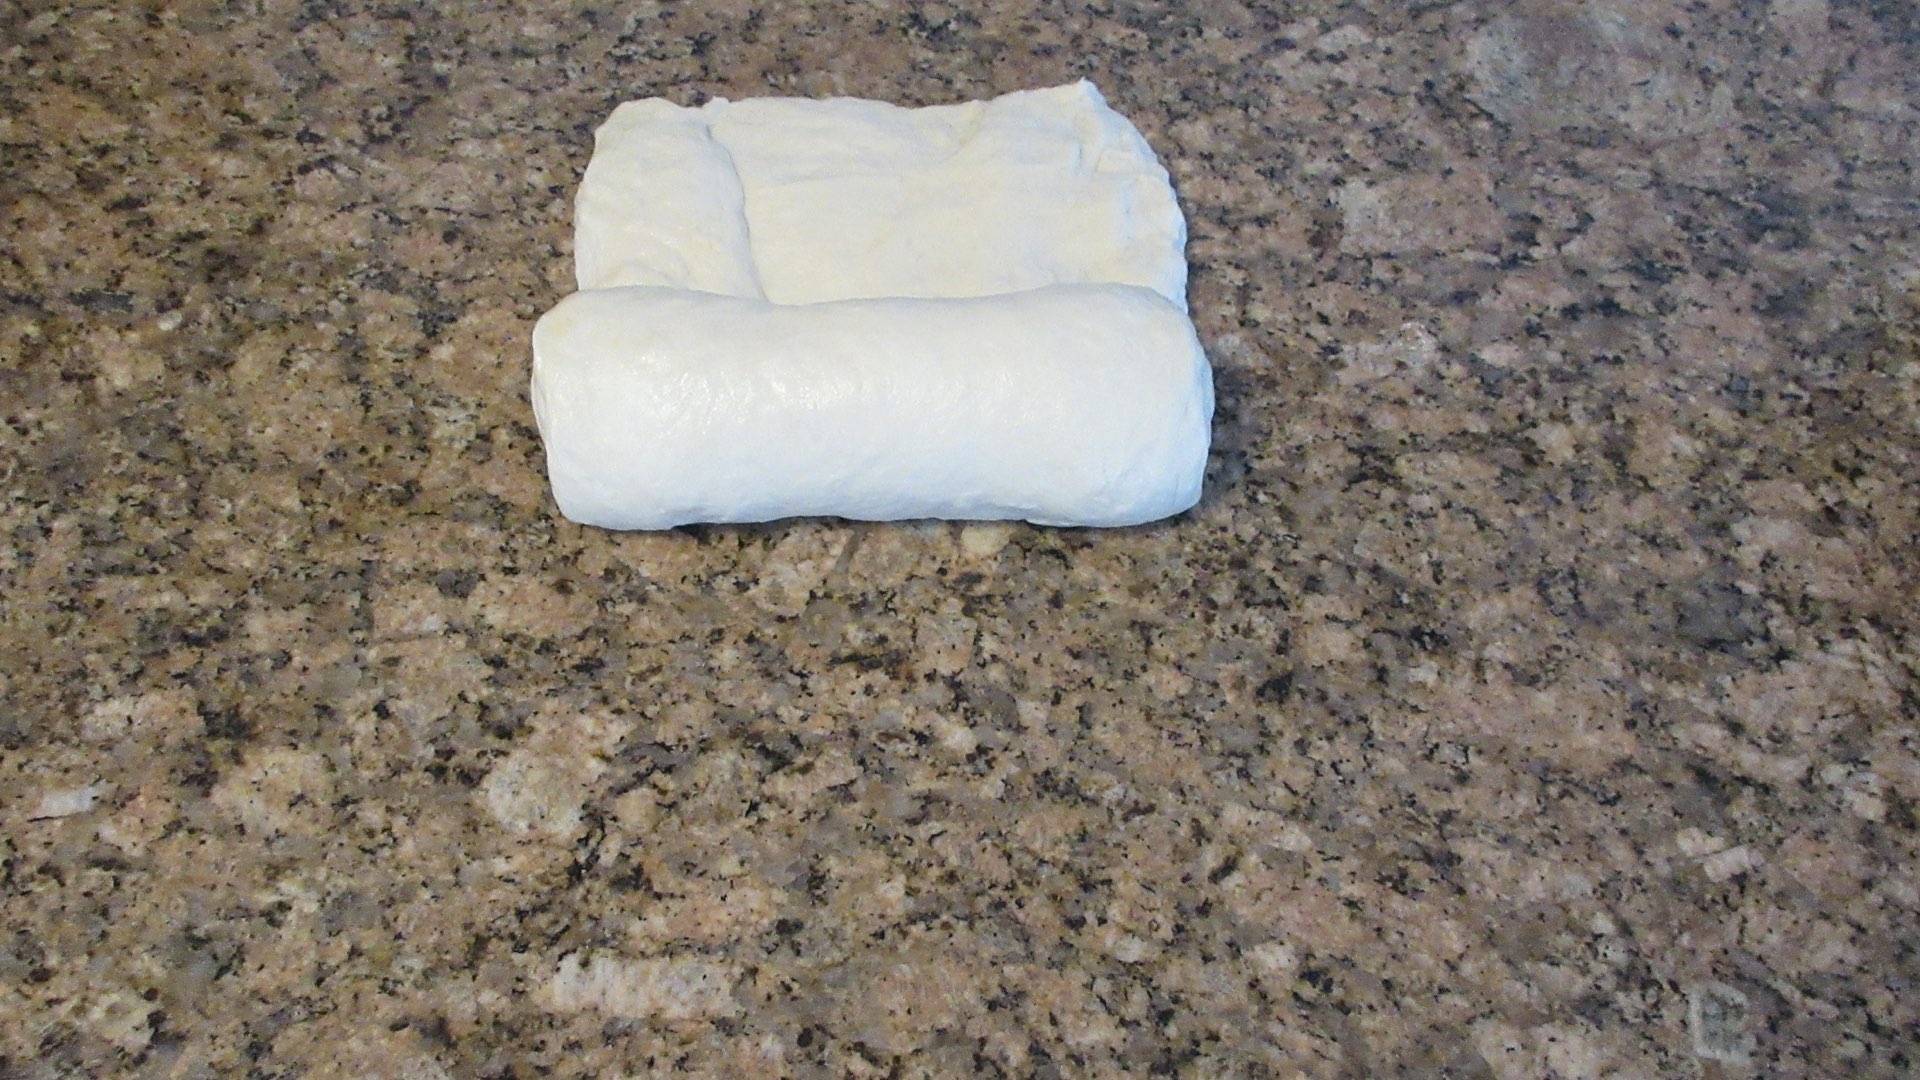
After you roll up the dough, places the seam side down so that the nice side is facing up. It may not fill in the entire pan. That’s okay. It will expand on the second rise and again in the oven.
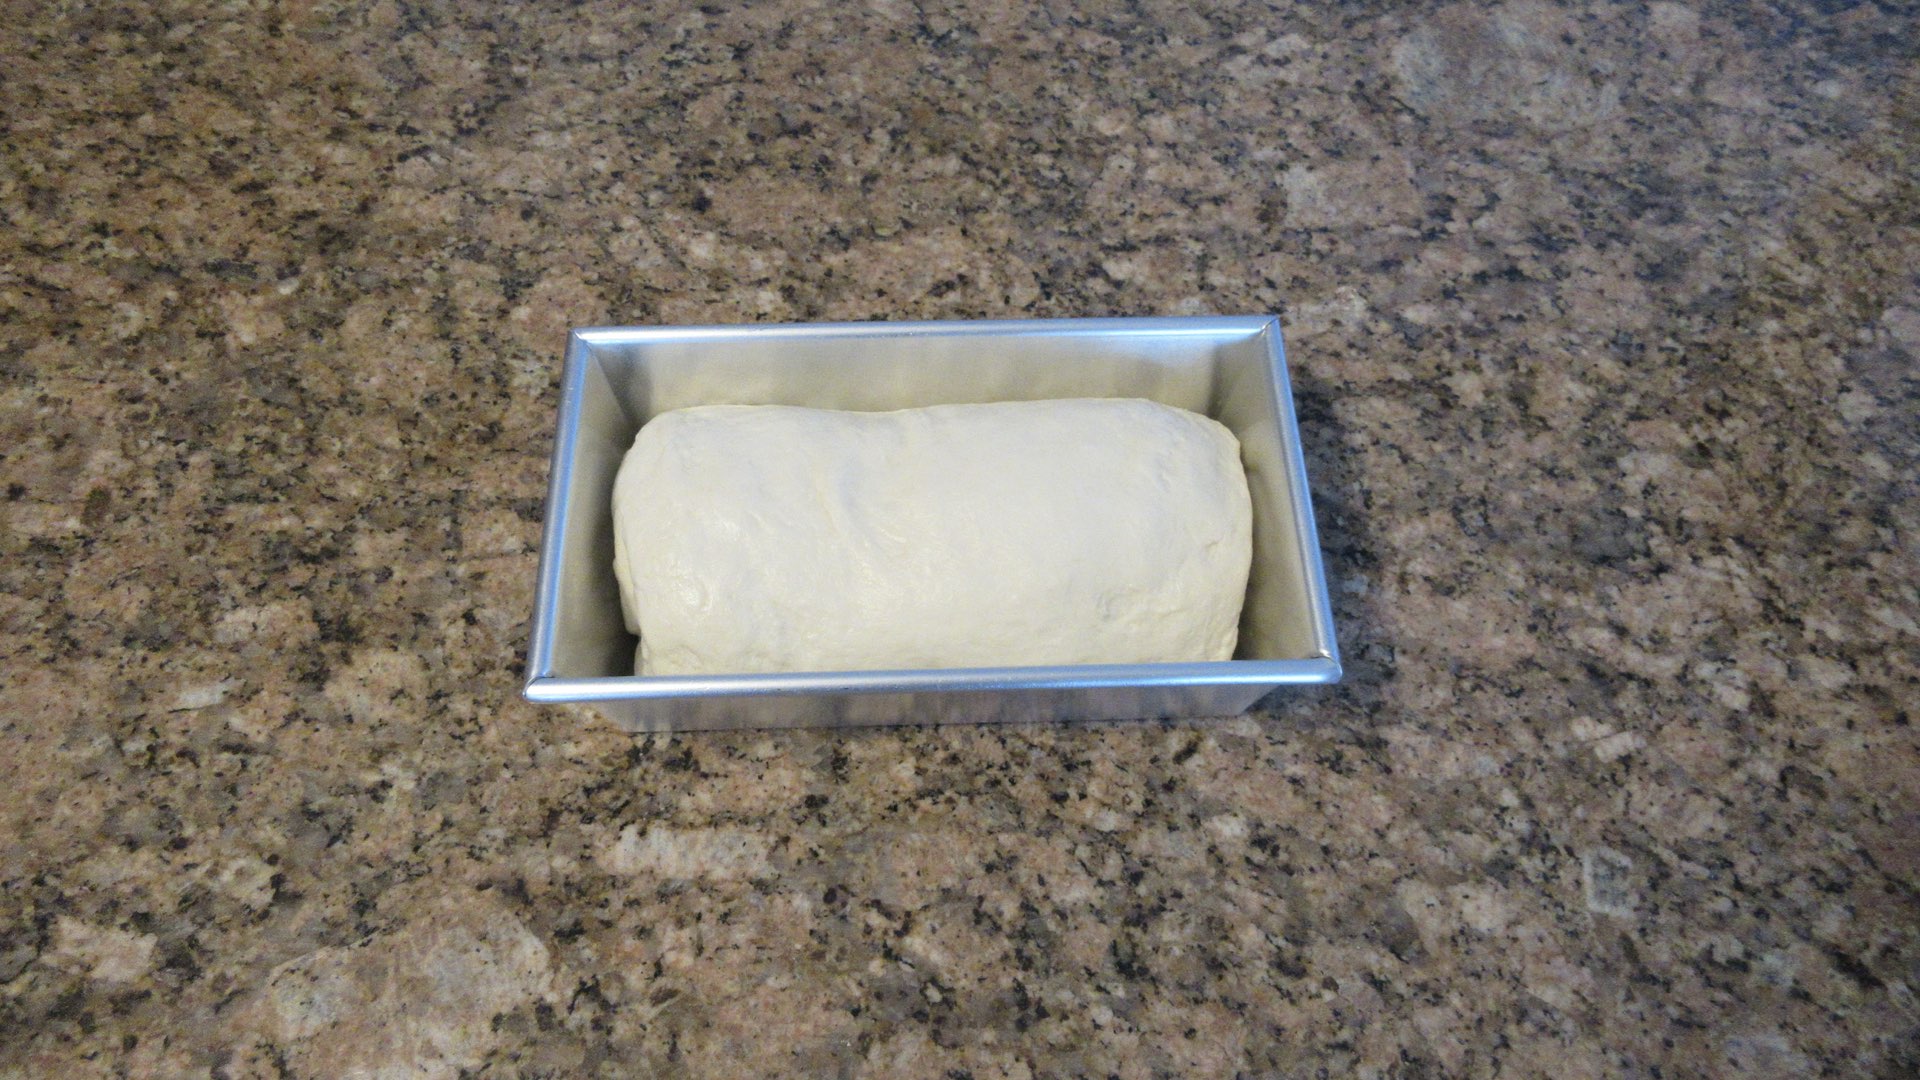
Step 3: Rise and Bake the Bread
Cover the top with plastic wrap coated with oil or non-stick spray and allow it to rest as directed by the recipe.
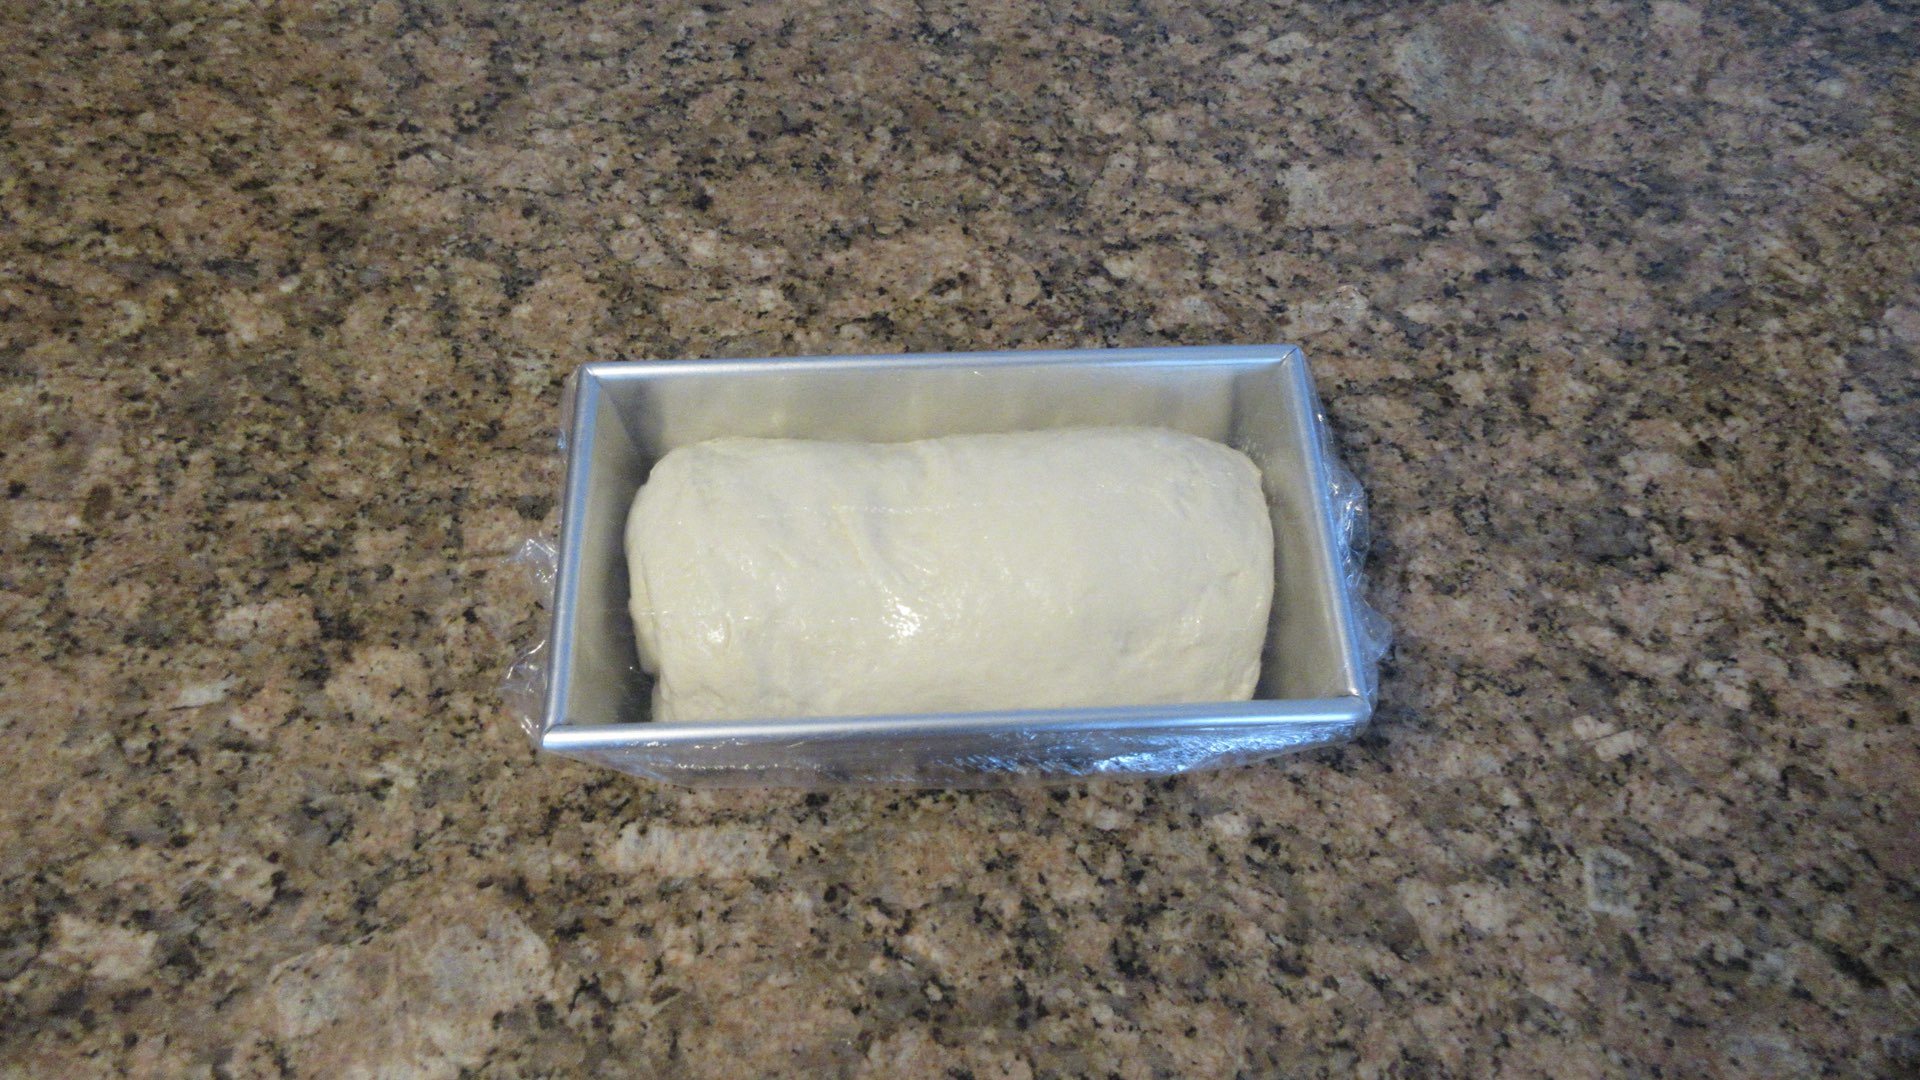
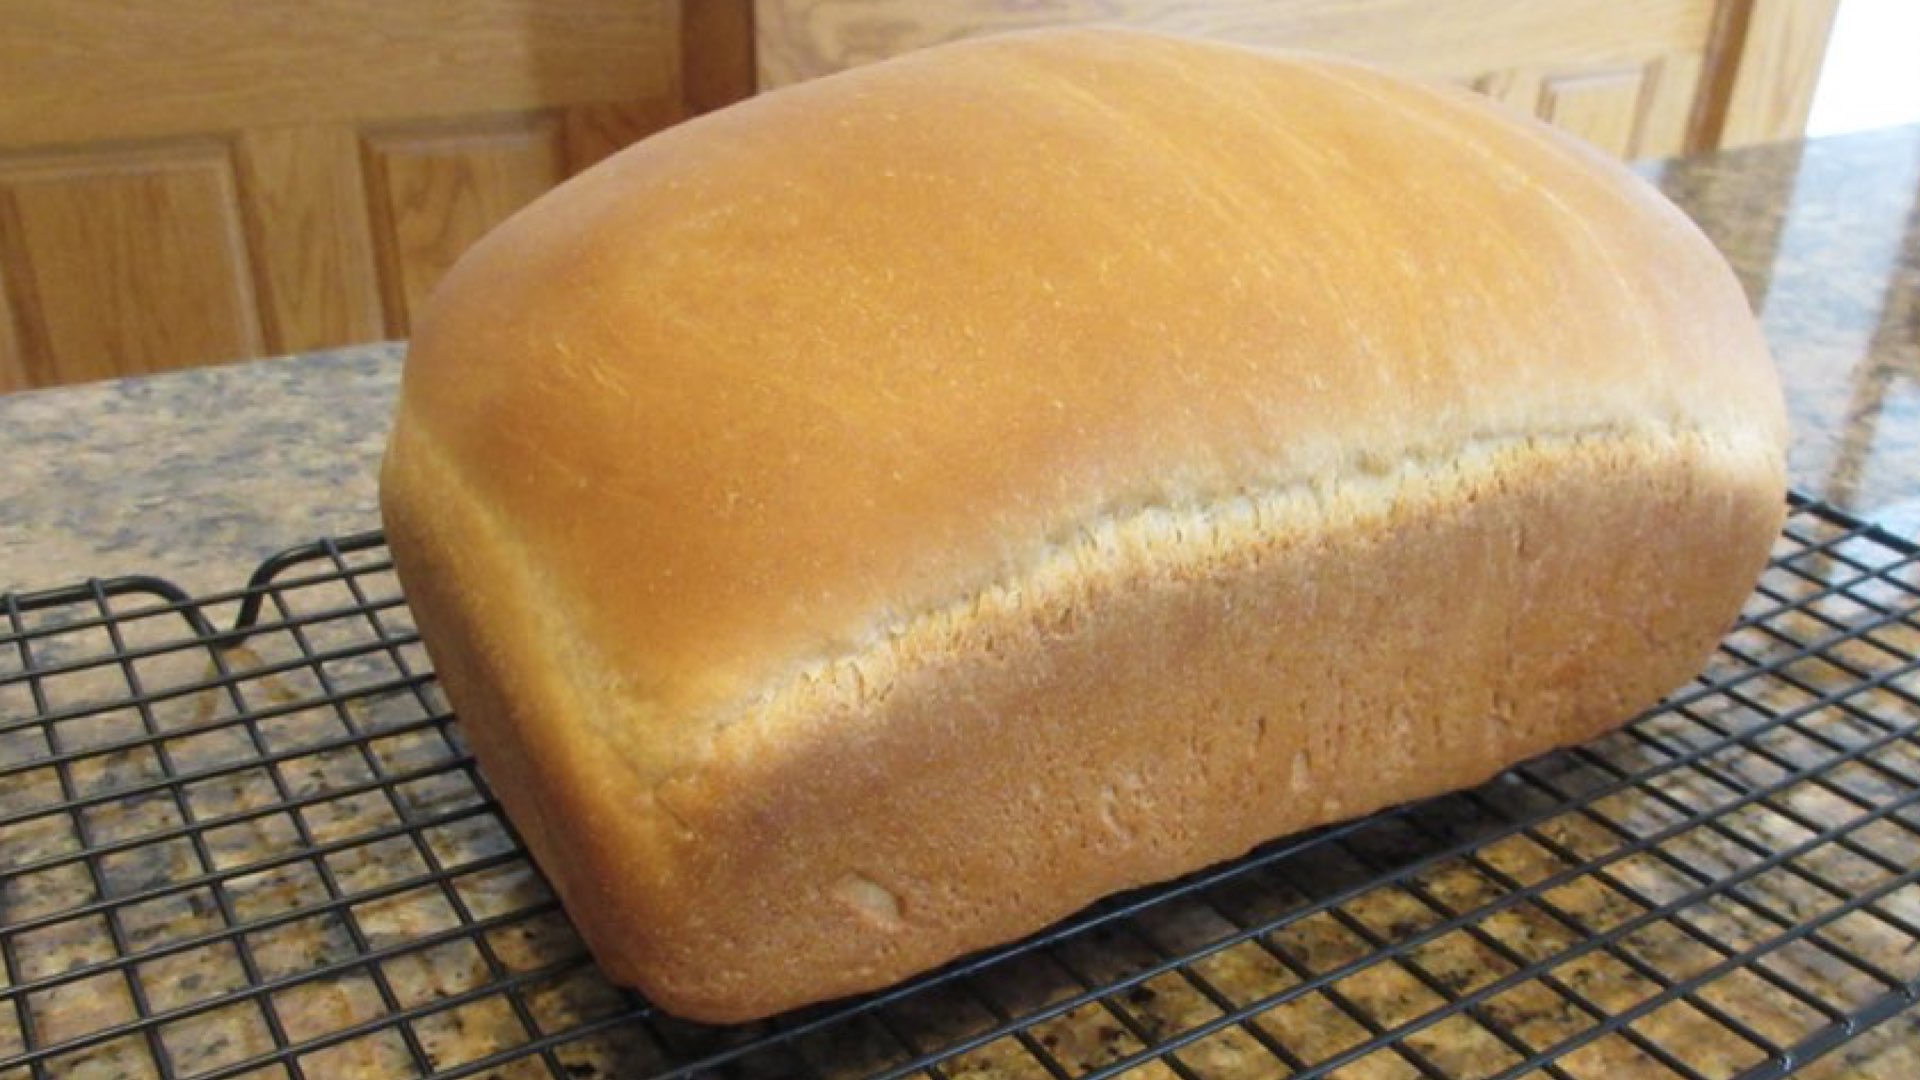
See how well the dough has risen just with a little bit of time and filled out that pan? Let’s see what it looks like baked.
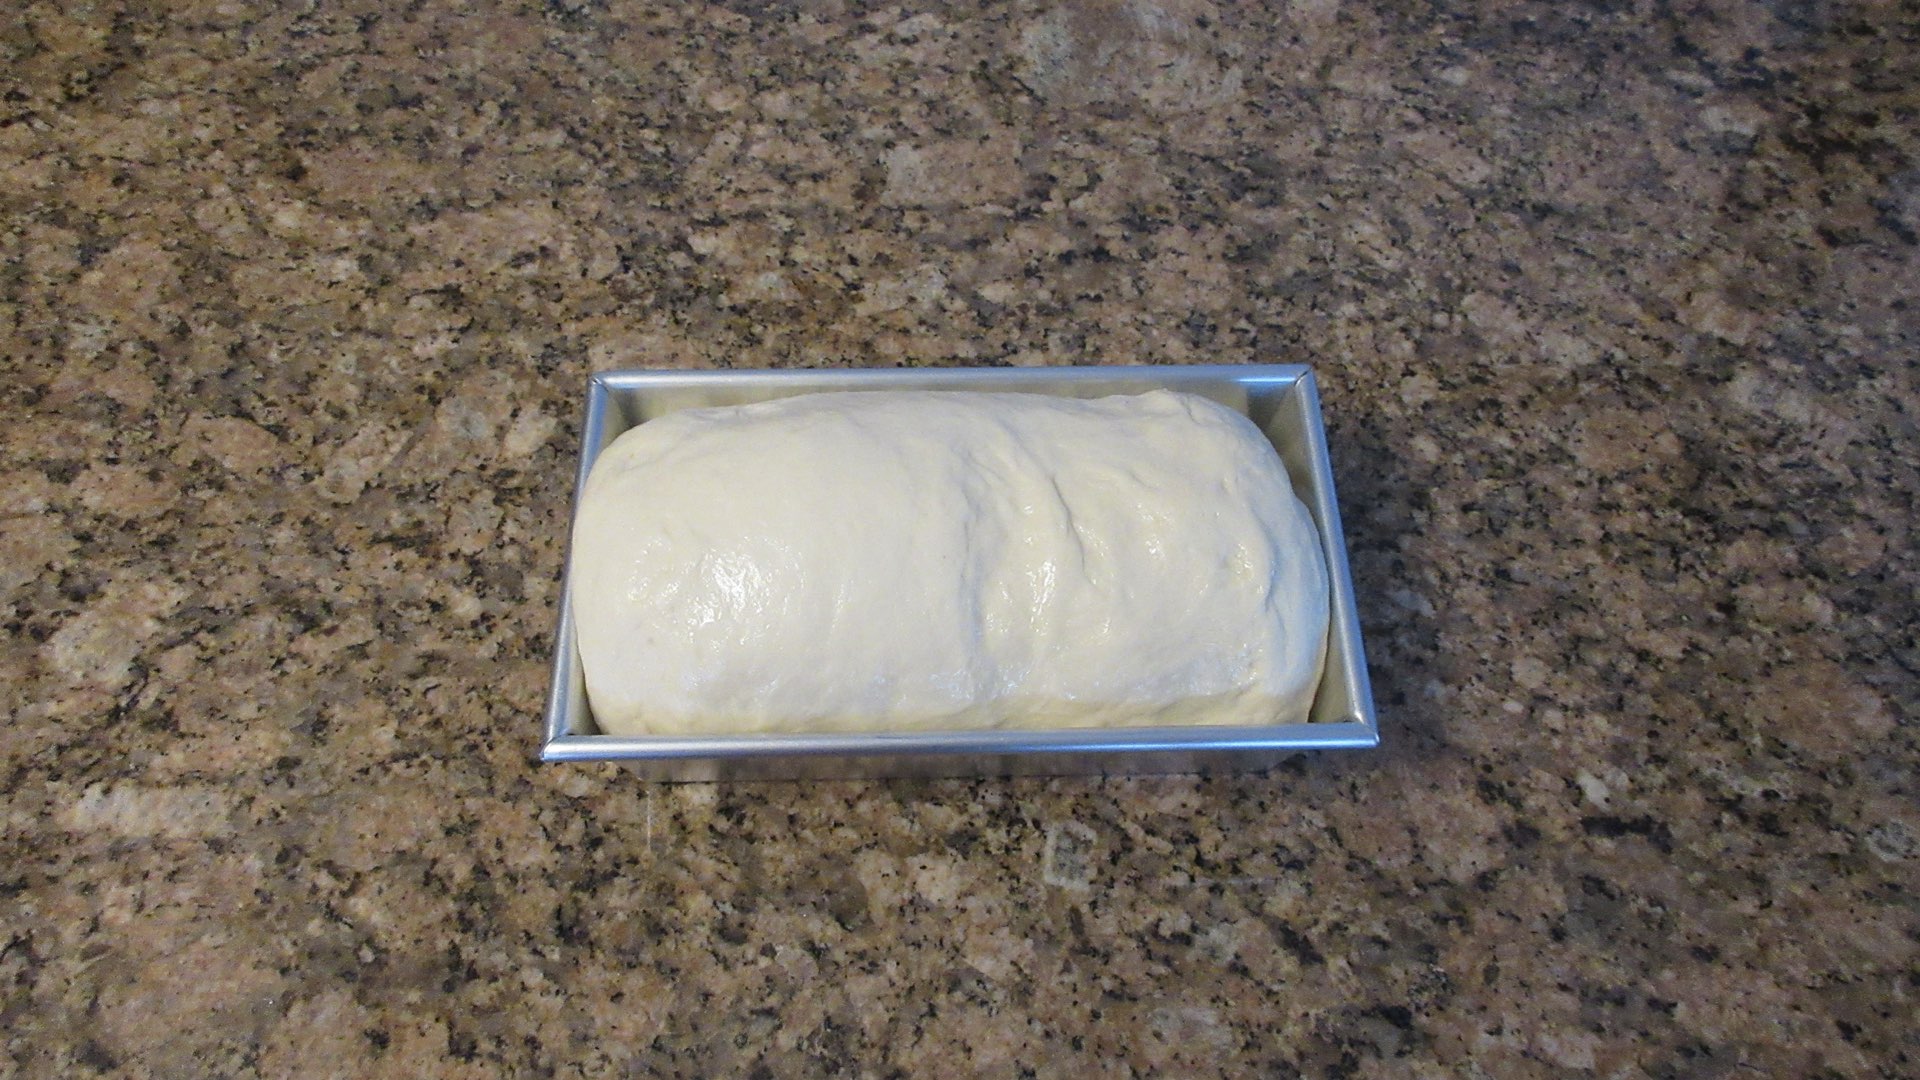
This looks really great! Perfect for all your sandwiches for the next few days. Happy baking!
0 Comments