If you want to learn how to make old-fashioned caramels through the caramelization method and not milk caramels, look no further. We finally conquered our fear of caramel by making sauce a few days ago. It was a bit scary, but we did it!
Once that was over and I survived the molten mess, I decided to go a step further and try out caramels! I decided to pick and chose from a variety of people, but based the cooking method off of this one in particular. Of course, I decided to reduce the sugar and fat as normal.
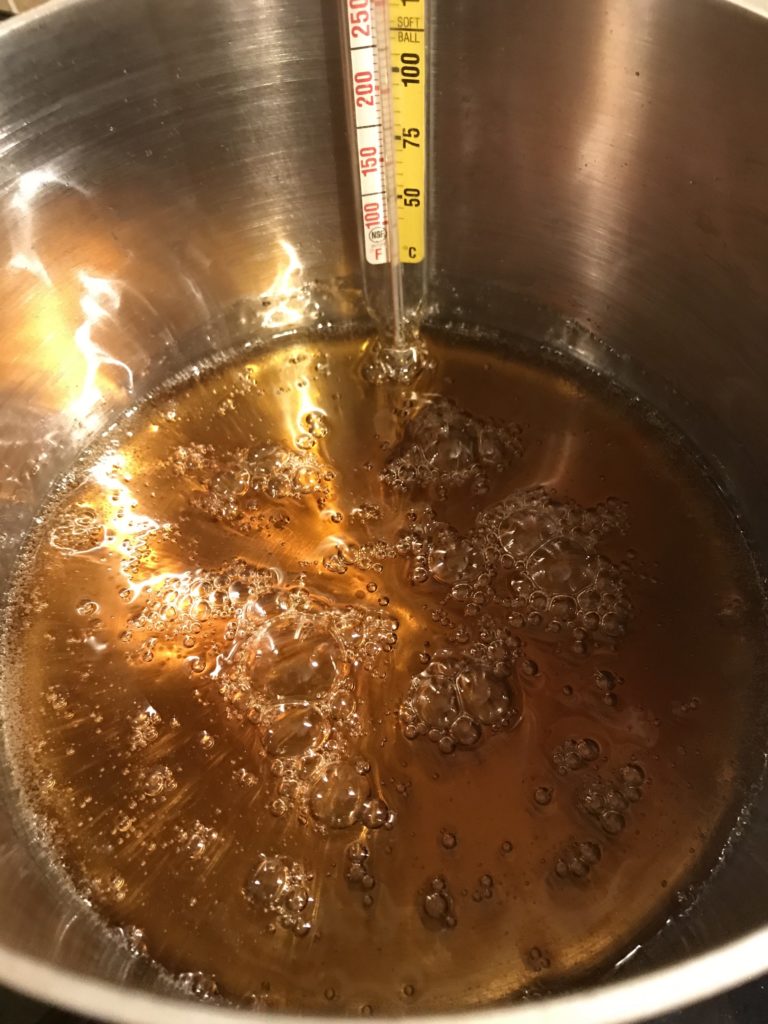
I was so thrilled! No crystallizing, a lovely color was forming and things were trucking along.
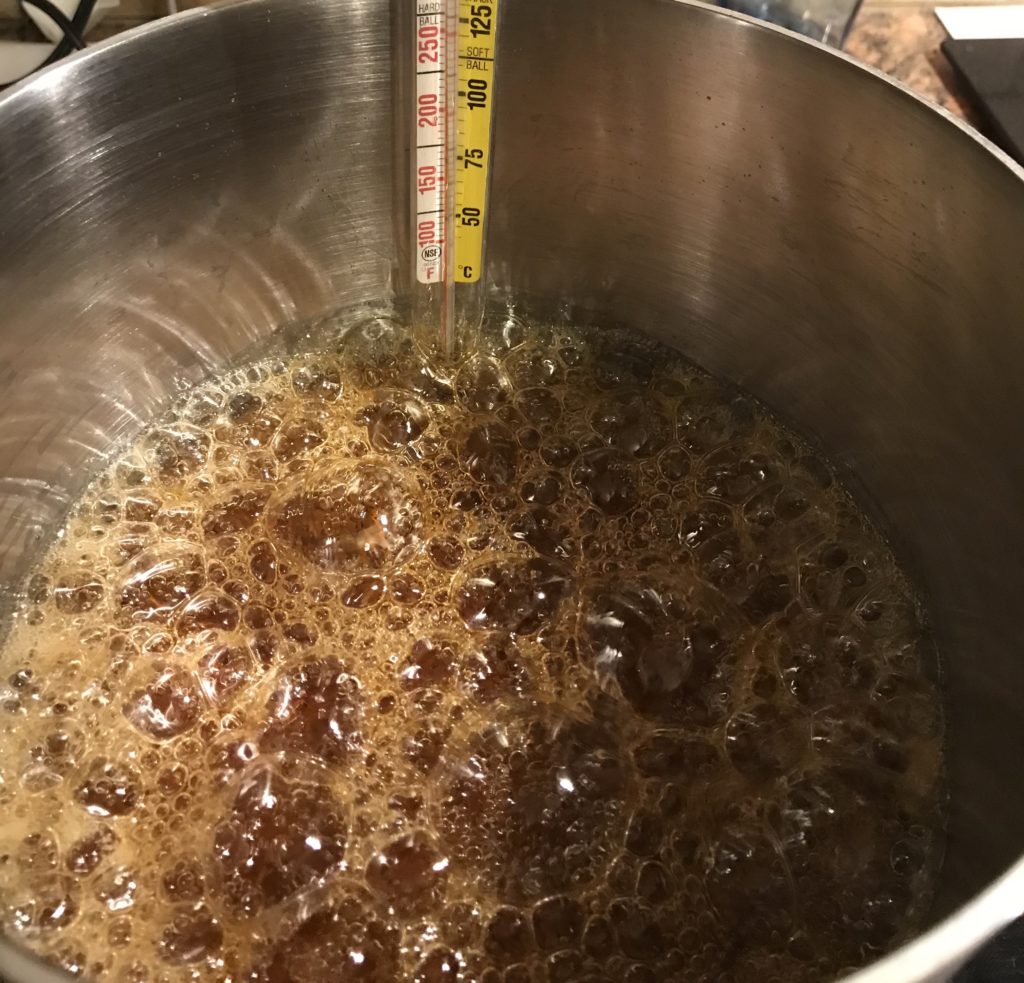
Boy, it really bubbles up when you add the milk like they tell you. It happens very fast!
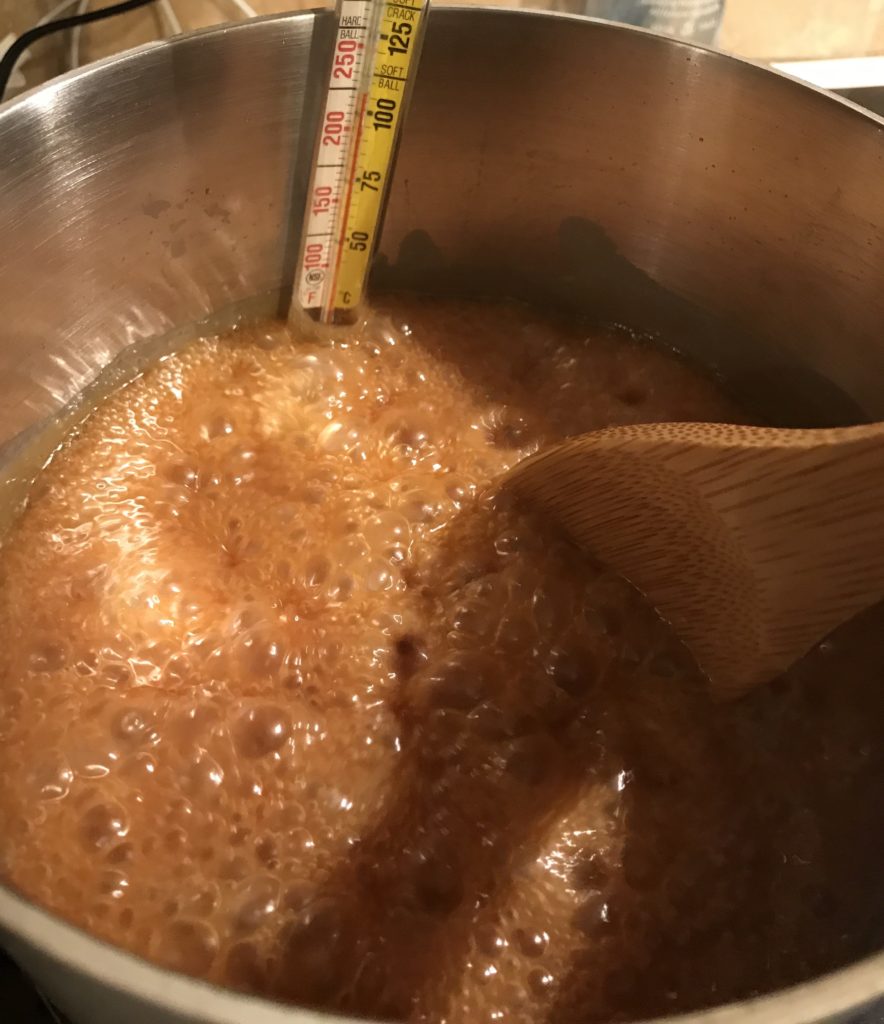
So following the recipe, I turn it off and pour the mixture in the pan. Check.
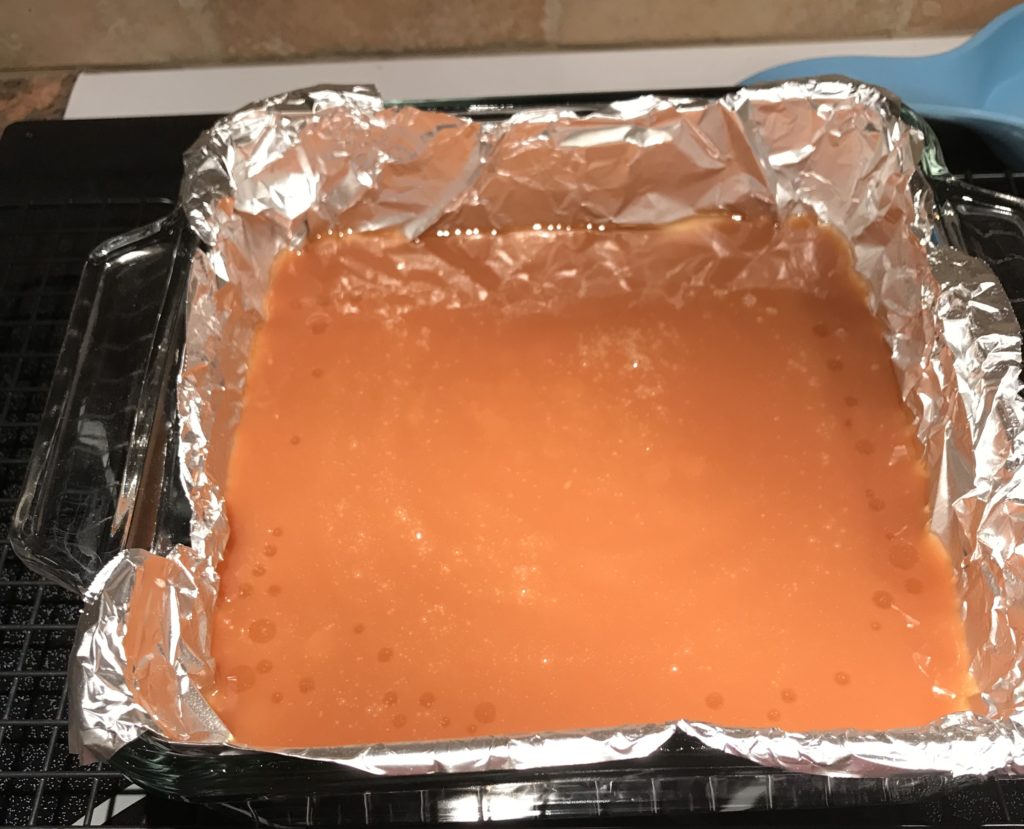
And I waited.
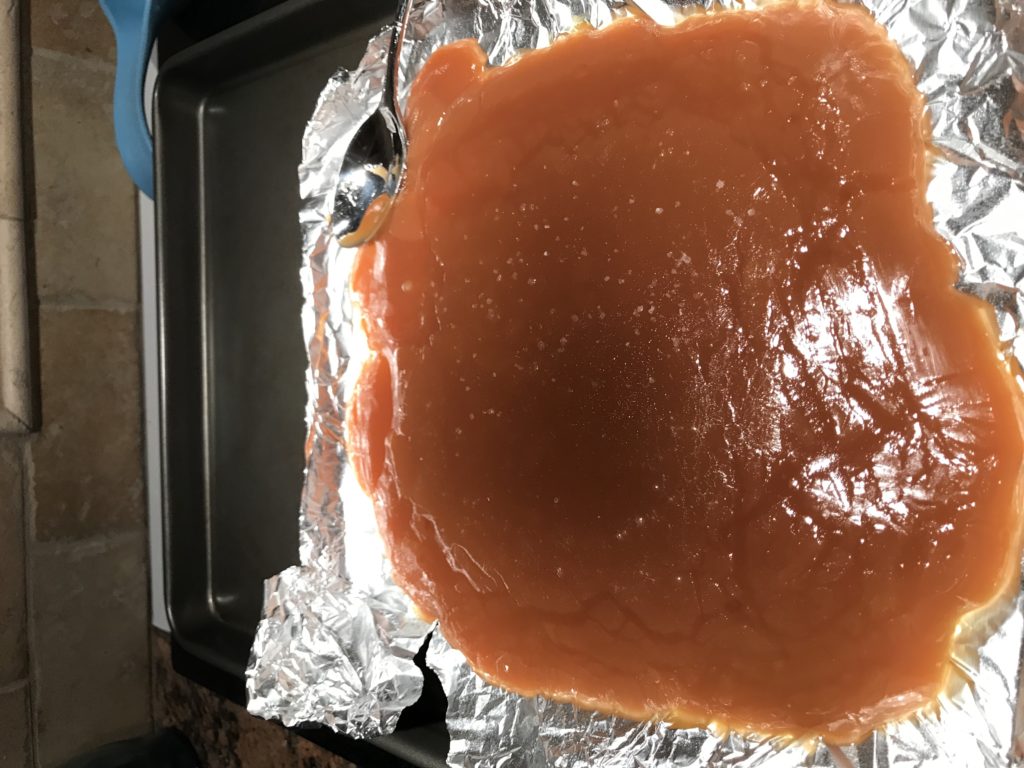
Waited some more. What happened?!?
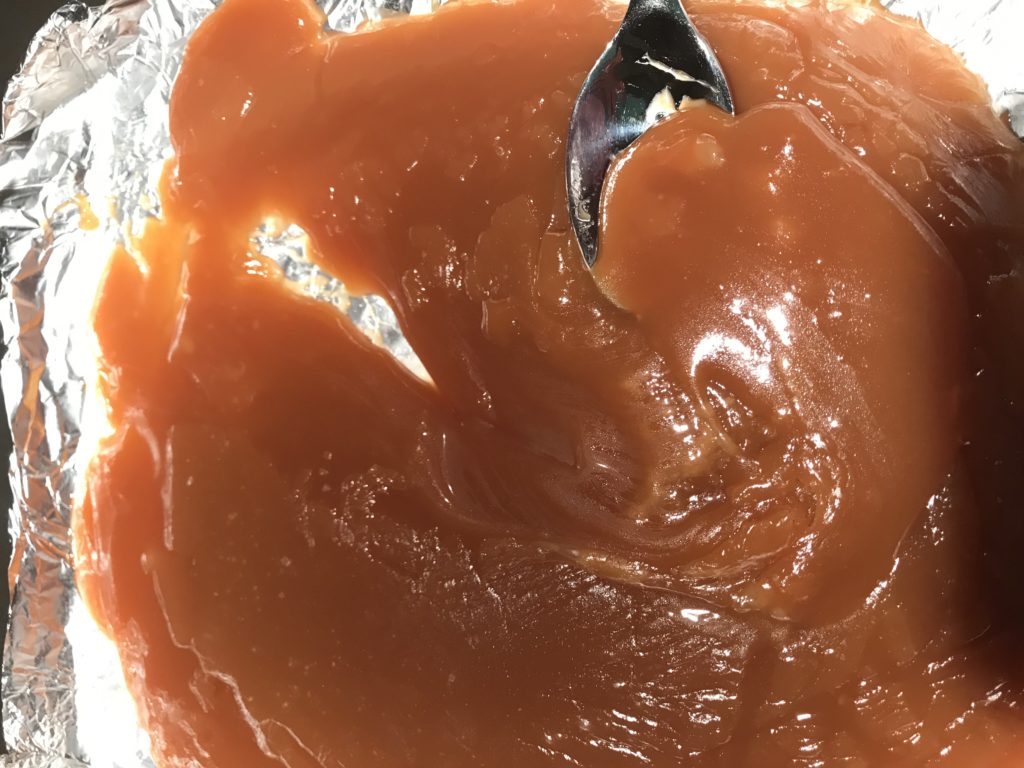
It never firmed up. It was a nice sauce, though.
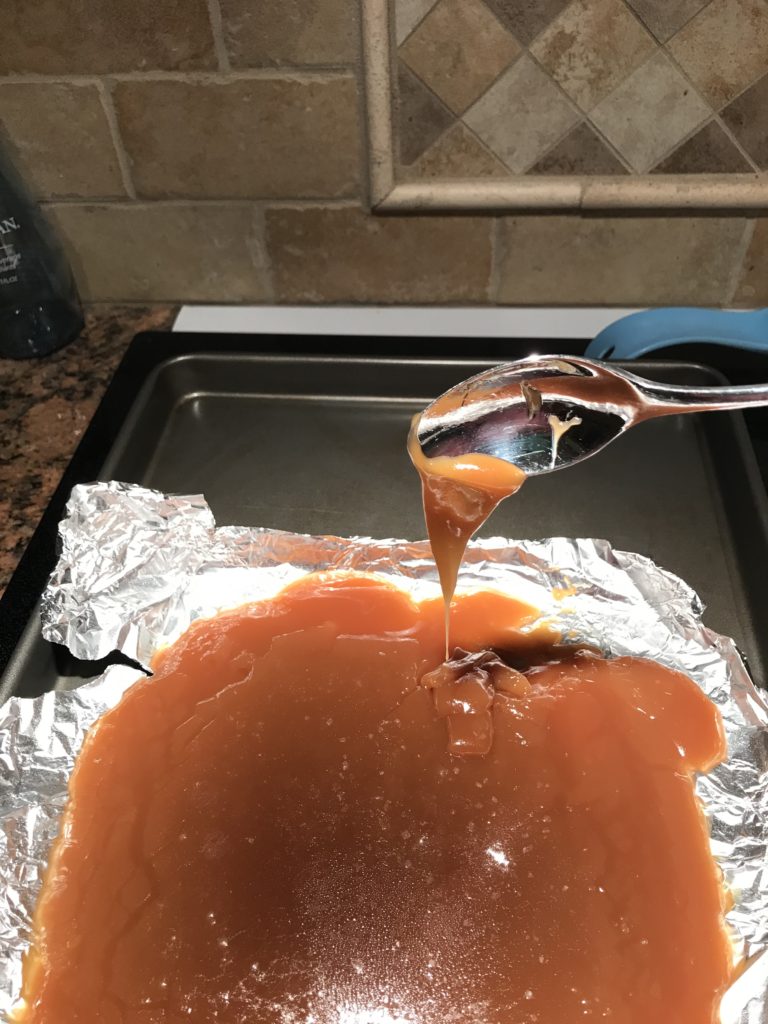
Apparently this is way too soft. It was gloppy and not thin enough for sauce and too thin for caramels. A quick search online said 240F (116C) is a super soft caramel. So I put it back on the heat and heated caramel up to 245F (118C.) And back into the pan.

And I waited. It’s caramel!
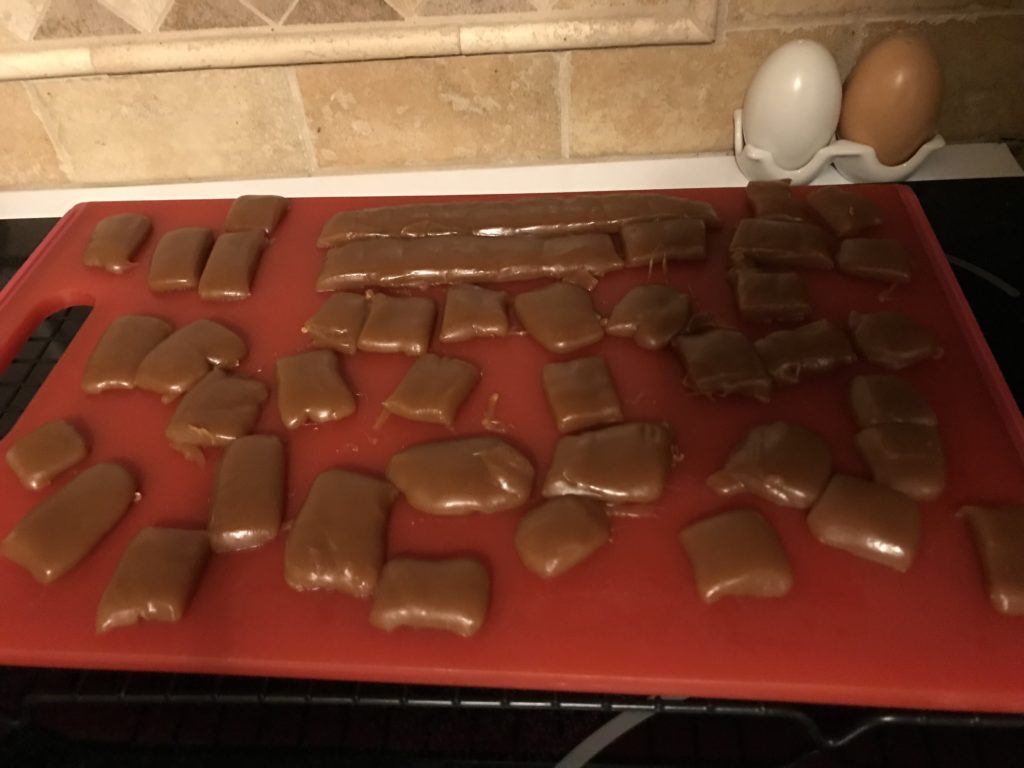
And boy is it hard to learn how to cut caramel. It’s slippery, sticky and scary.
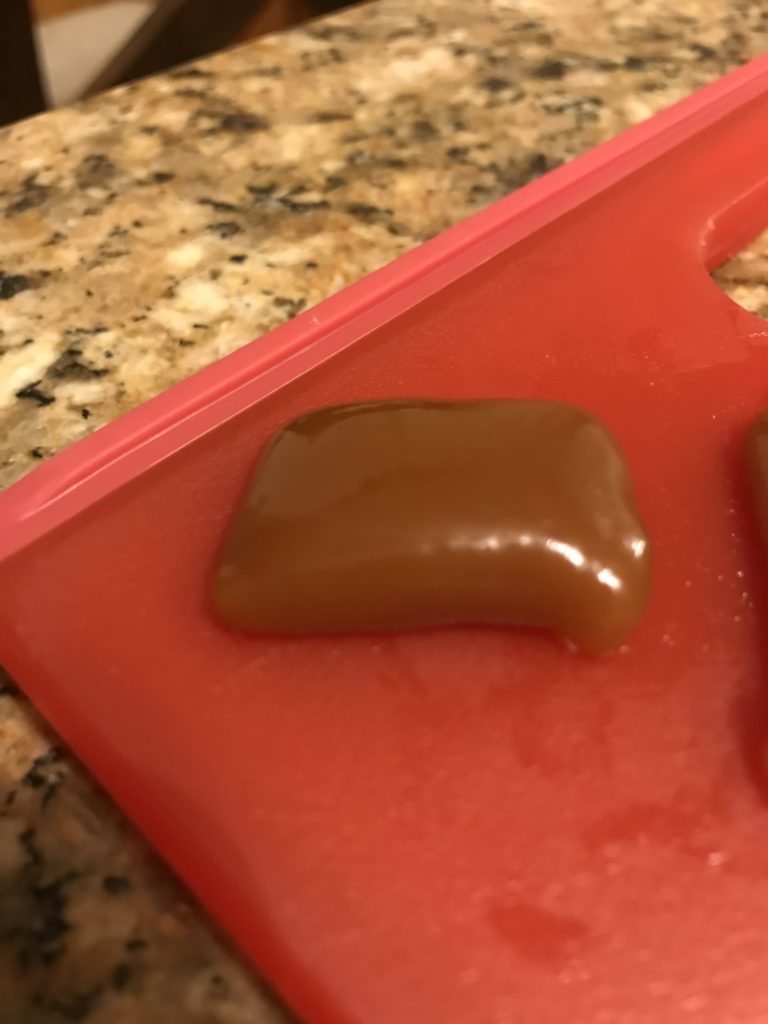
But once you get the hang of it, it’s not too bad.
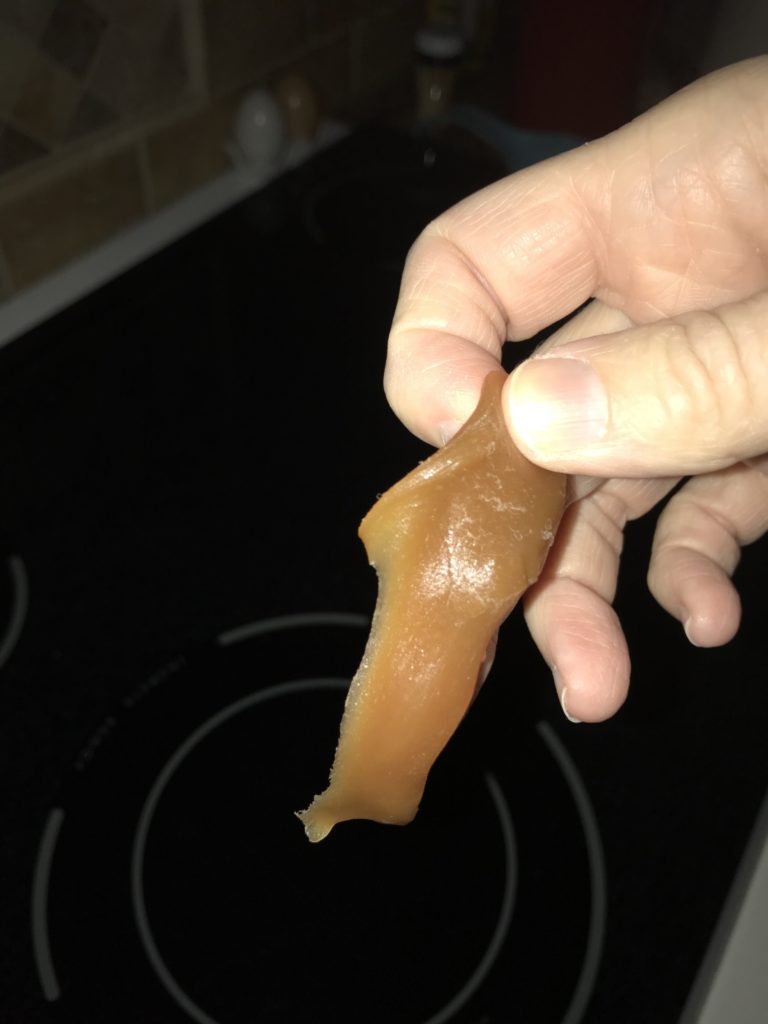
The texture is still quite soft and wants to flatten out a bit. It’s also very stretchy and melting quickly.
Next time, we shall push the temperature to 248F (120C.) But that is for another day. And with a different recipe. If you want to try your own, below is the recipe I followed on how to make old-fashioned caramels.
Ingredients
- 1 cup (200g) granulated sugar
- ¾ cup (180mL) heavy whipping cream
- ¼ cup (60mL) water
- 2 tbs (28g) butter
- ½ tsp (2.5g) salt
Instructions
- Prepare an 8×8 heatproof pan (20cm) by lining with aluminum foil and spray with pam or grease with butter. Set aside.
- Pour water and sugar into a heavy based, 3 quart sauce pan.
- Do not stir! Let the mixture simmer at medium low heat until all the sugar is absorbed (it will look clear and not grainy.) Turn heat to medium high.
- The water will begin to boil rapidly and then slow. This means the water is nearly all boiled off and this is where you watch carefully. Bring the mixture up to a golden amber color or 325F (163C.)
- Turn off heat and immediately add in the butter slowly stirring constantly with a heatproof spoon. It will bubble up and produces a lot of steam so do so cautiously. Slowly add in the cream, return heat to medium. Using a heat tolerant spoon, stir constantly until you reach 248F (120C.)
- Carefully pour mixture into the greased pan and let cool completely, approximately 1 -2 hours before cutting. Wrap in wax paper and store in an airtight container.
Notes
- Shortcut method:
To speed up the cooking process and cut the time in half, make the following changes to the above ingredients: Replace cream with 1 can (14oz) sweetened condensed milk
Reduce brown sugar to 1 1/2 cups (339g)
Reduce corn-syrup to 1/2 cup (120mL) - Non-stick pans are notorious for causing sugar to crystalize when making candy. A good stainless steel pan with a heavy bottom is ideal.
- If you don’t have a thermometer, you can test it by dropping a small amount in cold water. Wait several moments to allow syrup to cool before handling. A ball should form and easily flattened when removed and pressed with your fingers.
- Caramel is very hot. Never leave the pan unattended and take extreme care when working with heating sugar.
- Make them butterscotch! Replace the white sugar with brown sugar in equal amounts.
- Adjust the heat as necessary. Do not allow the mixture to boil over, especially on glass stovetops. Hot sugar syrup and milk products can damage glass surfaces. Electric glass stovetops are not recommended for making candies.
- Do not touch or taste hot caramel. Use oven mitts and let the caramel cool completely before handling or consuming. You will be burned if you fail to heed this advice.
0 Comments