A Little Background on This Pancake Syrup Recipe
Have you noticed that all pancake syrup now has either corn syrup or high fructose corn syrup in the ingredients? What if you didn’t eat corn or even worse, are allergic to corn? Do you have to eat pancakes without syrup or use maple and expensive boutique syrups out there? What if I told you that you didn’t have to, and you could make a syrup that tastes better than the syrup in the stores for just pennies on the dollar? Whatever the reason you are here, we will teach you how to make the most straightforward pancake syrup yet the most delicious.
Step-By-Step Instructions
Below, we will teach you how to make a delicious pancake syrup recipe without the addition of corn syrup. It is cost effective to make your own syrup and fun to learn but a bit time consuming. So make this on a lazy afternoon.
Step 1: Equipment Matters
When it comes to making this pancake syrup recipe, you want to use a heavy saucepan if possible, and it should be as large as possible. A 3-quart pan with a lid is ideal. If you use a smaller pan, you risk not only burning yourself as the syrup boils and spatters but also the syrup.

If you have access to one, a candy or high temperature reading thermometer will make this process much more manageable. You will always get the exact temperature range you need using the thermometer. There is no risk of burning your sugar mixture, and there’s no more guesswork. If you plan to do a lot of cooking, a thermometer is one of those pieces of equipment I consider essential.
When making syrup, candies and fudges, please be aware that they can permanently etch glass stovetops. This is in most manuals, but you usually don’t read and find out until after the fact, as I did many years ago with my brand-new electric glass stovetop when milk boiled over and permanently damaged my stovetop. It is also not under warranty and can eventually lead to the stove top shattering, cracking, or breaking. For this reason, I will never recommend using an electric glass countertop stove unless you are willing to take that risk. Instead, I recommend that you purchase a hot plate that you can use specifically for making candy, syrups, and fudges. Now, this only seems to be a problem with the glass
electric stove top, not the induction glass stove top. However, I have not confirmed that personally, so I always recommend you read your manual whenever you are in doubt.
With that disclaimer out of the way, you also need a wooden spoon or a heatproof spatula. Plastic spoons will melt and metal ones can cause burns as heat transfers easily through conductive metals.
I also recommend having a bowl with cool water on hand when working with syrup as it can prevent a burn if you dip your hand in it after receiving a spatter. A pair of oven gloves could also be useful in protecting your hands. Regardless of the equipment, take your time, adjust your stovetop temperature as you go, and be careful and mindful of your actions.
Finally, when working with any hot sugar, never, never, ever, ever, leave the pan; unattended sugar goes from boiling to burnt very quickly in stages. You cannot put this on low and walk away from it. You never want to work with distractions when cooking with hot sugar.
Step 2: Gather Your Ingredients
When making this pancake syrup recipe, you only need three essential ingredients: two types of sugar and water. However, to be successful, I highly recommend these three additional ingredients: salt, vinegar, and vanilla extract.

Salt cuts down on the sweetness and helps balance out all the sugar. Just a pinch of salt brings a depth of flavor you cannot get without it.
The vanilla extract gives flavor to the sugar syrup. Without it, you are just eating sugar melted in water. It’ll be delightful, but it won’t have much of a flavor complexity to it. You can use either pure vanilla or imitation vanilla. Most of the pancake syrup today uses either imitation vanilla or a blend of both; if you would like, you could substitute it for any other type of extract like maple or rum. The sky is the limit, and it all comes down to flavor, taste, and preference.
The vinegar is for two reasons: one, it will help lower the acidity in the syrup and make it last longer, and two, it helps prevent crystallization.
Crystallization is when sugar wants to return to its natural state, which is a dry form. When this occurs, the sugar syrup will become crunchy and cloudy by using just a hint of vinegar. You prevent this from happening entirely. Don’t worry. The syrup will not taste like vinegar. The vinegar cooks out, and you will no longer smell or taste as the sugar water reduces into a lovely syrup.
Step 3: Step three prepare your mixture
In a 3-quart saucepan, add one half cup of brown sugar that is 113g and 1/2 cup of white sugar that is 100g. To that, add in your optional salt, vanilla and vinegar. Slowly pour in 1 1/4 cups (300ml) water.

Step 4: Cook the Mixture
Place on your burner and turn the dial to medium or medium-high, stirring very gently to avoid splashing the sugar onto the sides of the pan. Stir gently without allowing the mixture to boil until the sugar dissolves. If necessary, turn down your temperature to prevent boiling during this step.

Once the sugar has dissolved, stop stirring and allow the mixture to come to a steady boil. Never bring the temperature above medium-high heat in an attempt to hurry the process. This will prevent burning the sugar or worse, yourself. For the best results, do not rush these steps.

Once the sugar-water mixture has reached a rolling boil, turn the heat down slowly until it is still boiling, put the lid on top, set a timer for two minutes, and allow it to boil with the top on. Do not leave the stove top unattended. At this point, adjust the temperature as needed.

If the water starts to boil over after two minutes have passed, remove the lid carefully by lifting it away from your face and hands, as steam could burn you. To show you how much steam comes out, I lifted my lid precariously to illustrate the point for you. Scalds are not fun! Be careful at this step.

Now continue to cook this mixture, letting it boil until the steam subsides and the boil slows down. The bubbles are bigger and less vigorous, and the mixture visibly thicker. You must be patient. This can take anywhere from 8 to 20 minutes, depending on your stove.

You can periodically test the mixture for thickness by spooning a small amount carefully into a container of ice water. When the sugar syrup hits the cold water, it should be thick and stringy like syrup. If it hits the water and turns into a cloud, it is not yet ready; however, if it becomes very thick or even brittle, it has cooked too long.

If you have a thermometer, now is the time to use it. The ideal temperature is 225°F (107°C) as it will have a nice syrup consistency both in and out of the refrigerator. In contrast, at 220°F (104°C), it will be much thinner at room temperature and the right consistency in the fridge. A lot of the cheaper syrups will cook to this level as it contains more water and is therefore cheaper to make. Now at 230°F (110°C), the syrup will have the consistency of honey in the fridge and pancake syrup at room temperature. If you cook it below 220°F (104°C), it’ll be much too thin and can make your pancakes soggy and unpleasant to eat.
You can use the cold water method by putting a small amount into ice cold water and looking for the mixture to form threads, but the variation of temperatures makes it a bit of guesswork. This is why I highly recommend using a thermometer for this recipe. You will have a completely different consistency with just a few degrees of variation. Cooking and baking are not hard if you have the right equipment to start.

Step 5: Cool the Syrup
Turn off the stove, carefully remove the syrup from the heat, and let it cool completely in the pan. Do not attempt to pour it into a glass until it is completely cool. This can take up to an hour, depending on the temperature in your room and the size of the pan you’re using.

Waiting before pouring is a bit of a controversial topic—and it shouldn’t be. It’s interesting, and it’s what people fight about these days. Let me explain the background, and you can decide for yourself.
There are two types of glassware today: soda lime and borosilicate. Where borosilicate glass can handle wide temperature swings, soda lime can only take about 100° or so before it cracks, shatters, or even explodes. Unfortunately, most glass today is made from soda lime unless you know otherwise. This is because soda lime glass is much cheaper to make. However, with the tradition of using borosilicate glass and having recipes passed down from generation to generation, people do not always know that soda lime glass is very prone to thermal shock. Shock is where extreme changes can lead to a sudden explosion, implosion, cracking, or shattering of glass in the best-case scenario.
Nothing happens is the best case scenario. But never let anecdotal comments online cause an accident that sends you to the emergency department. Too often we get caught up in who is right and wrong and ignore the safety aspects. When it comes to baking, I always err on the side of caution, and I will never apologize for that. So many disclaimers for such a simple recipe, isn’t it?
Now that your syrup has cooled, carefully pour the cooled syrup into a container to avoid spilling. Do not scrap the sides of the pan to avoid any undissolved sugar. I find it easier to pour into a measuring cup with a spout and then any leftovers into a container after using the syrup.

Bubbles may form on the surface. You can skim these off or leave them. It will not affect the syrup either way.

To remove the bubbles, slowly skim the surface with a spoon, laddle or even a fork. All my spoons were dirty.

Troubleshooting
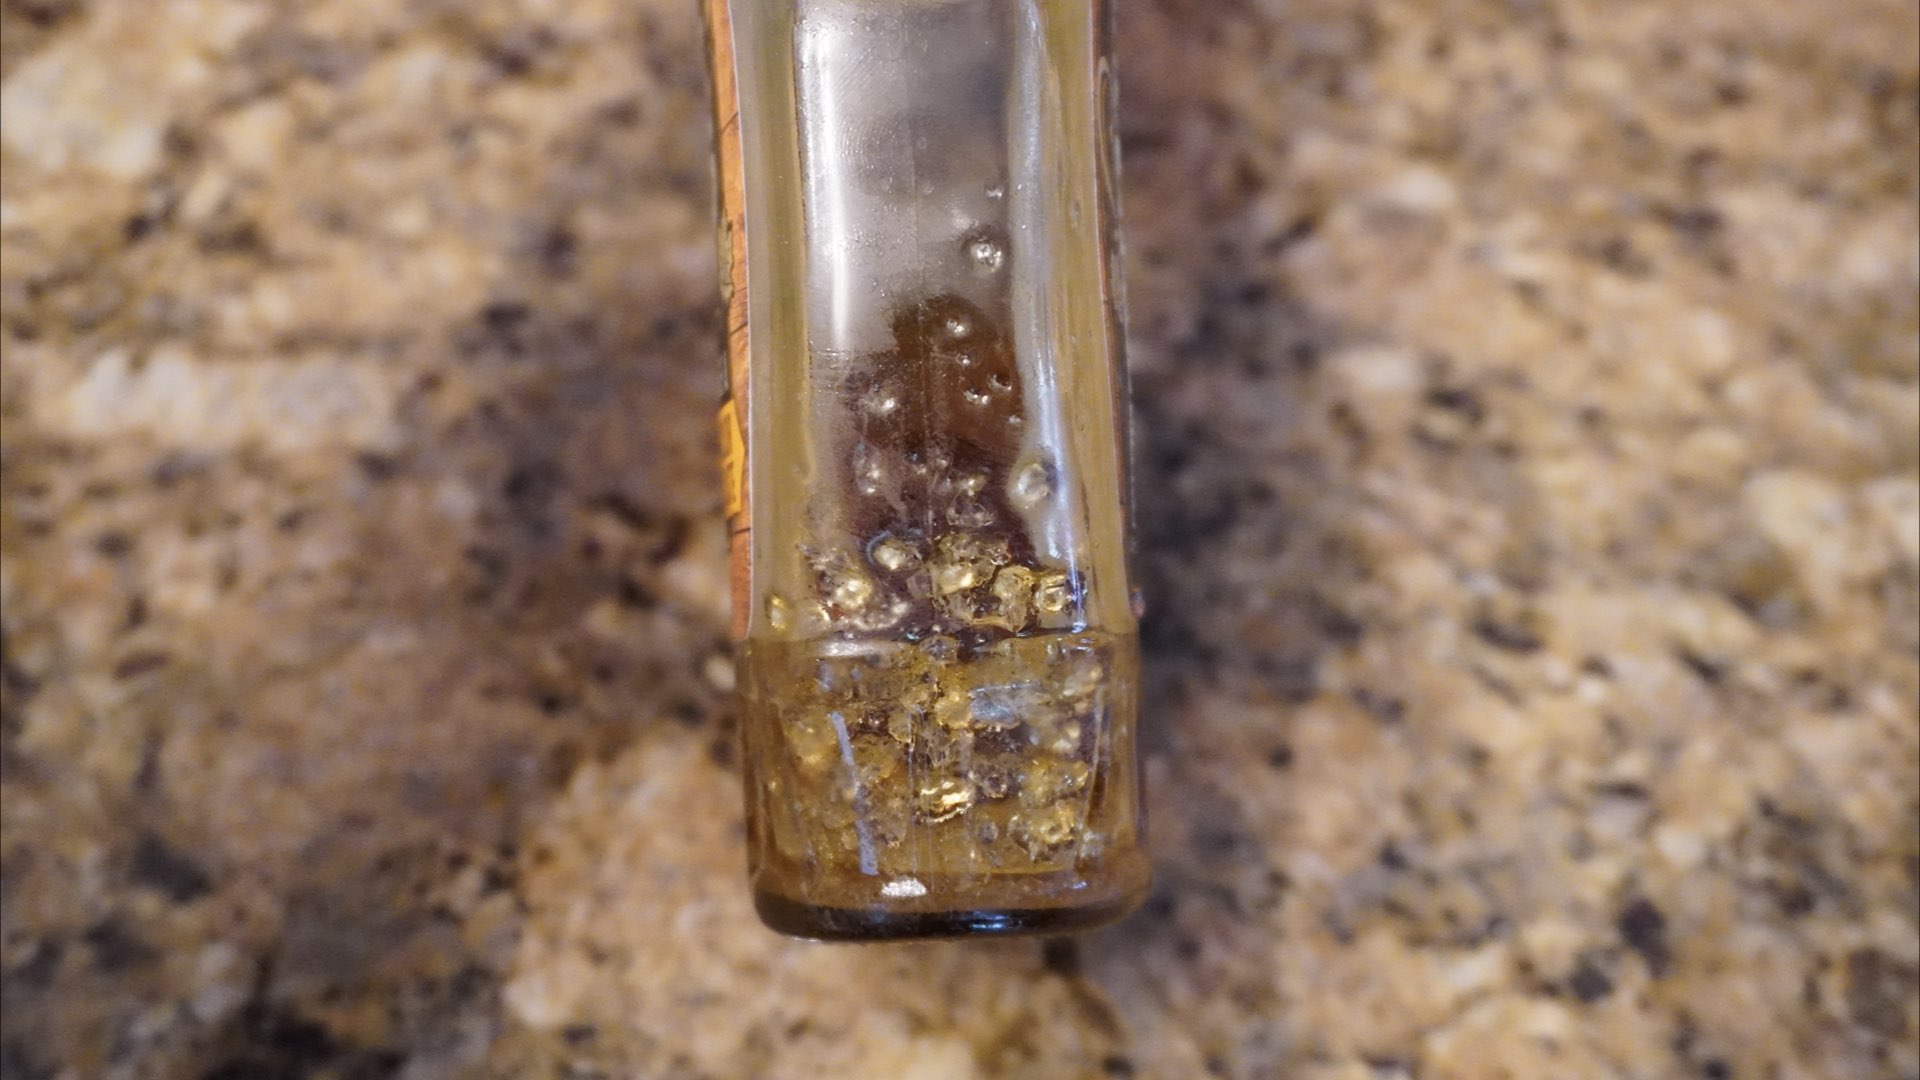
The number one issue you will have with making any syrup is crystallization. Crystallization is where undissolved sugar wants to go back to its original form. If you have even just one stray sugar crystal on the sides of the pan, it could form a chain reaction and the next thing you have is gritty syrup. If this happens, you can gently reheat the syrup on a medium low heat until all the sugar has dissolved.
However, prevention is best. By ensuring all the sugar has been dissolved prior to boiling, you help keep sugar from forming a chain reaction. This is also why we add the vinegar and use a pan lid when it first begins to boil. By adding a lid, you will wash down any stray crystals that may have not dissolved through condensation. By adding vinegar, you are adding an acid. Acidity also helps delay and hopefully prevent crystallization from happening. All this is done because we are making pancake syrup without corn syrup. In case you didn’t know, one of the reasons corn syrup is added to syrups, candies and fudges is to prevent crystallization from occurring. Without the addition of another type of sweetener such as corn syrup, you are more likely to experience crystallization.
Storage
Store the pancake syrup in an airtight container such as an empty syrup bottle or a canning jar. Pancake syrup can last an exceptionally long time. When it comes to cooking your syrup, you have two options: leave it on the counter or in the refrigerator. When chilled, it will become thicker than when it is out on the counter, so keep that in mind when choosing which temperature to cook your syrup. Whereas cold will thicken, heating your syrup will thin out the consistency.

Also, when you store syrup in the refrigerator, it can crystallize faster, which means they revert back to their natural state of sugar crystals. This can lead to gritty syrup over time. However, when you leave it on the counter, you are more susceptible to introducing mold. It should stay good for several weeks as long as the syrup hasn’t been introduced to any pancake crumbs or other contaminants while making this syrup.
When made correctly, the syrup will last a very long time. However, always look for signs of spoilage prior to use. If the syrup becomes grainy, cloudy in appearance, molded, or has an off smell, discard it and make a new batch.
Substitutions and Tips
Here are some common substitutions and tips for this pancake syrup recipe.
- You can wash down the sides of the pan carefully with cool water and a pastry brush if sugar crystals are forming at any stage.
- You can substitute all the white sugar for brown sugar and vice versa. However, this combination does give the best flavor.
- Dark brown sugar can be a substitute for light brown sugar. It will deepen the flavor.
- Imitation vanilla is often preferred over pure vanilla extract because many company makers use imitation vanilla in their syrups.
- You can omit the vanilla, salt, and vinegar entirely.
- Feel free to change the vanilla with another flavor, such as maple extract
- Low and slow are best. The faster you heat the sugar mixture, the more likely it is to burn.
- If the mixture crystallizes, you can add more water and dissolve the crystallized sugar as long as it isn’t blackened and burnt.

Appalachian Pancake Syrup Recipe
Ingredients
- 1 ¼ cups (300mL) water
- ½ cup (113g) light brown sugar
- ½ cup (100g) granulated sugar
- 1 tsp (5mL) white vinegar
- 1 tsp (5mL) vanilla
- ⅛ tsp (.625g) salt
Instructions
- In a 3 qt or larger saucepan, combine sugars, vinegar, vanilla and salt. Gradually add water.
- Place pan on stovetop and turn knob to medium to medium-high heat. Stir the sugar gently until all the sugar is dissolved. Do not allow mixture to come to a boil while dissolving sugar, adjust heat up or down as needed. Stop stirring when all the sugar is dissolved.
- Once the sugar is dissolved, turn back up the heat if necessary and bring to a boil. As soon as the mixture comes to a boil, place a lid on the pan and let the mixture boil for 2 minutes. Do not leave unattended.
- Carefully remove the lid after the 2 minutes has passed by tilting the lid away from your hands and face, as steam will escape. Continue to boil for 10 – 20 minutes or until the bubbles slow and the syrup visibly thickens and begins to take on a syrup smell. Syrup should reach between 220°F (104°C) – 230°F (110°C) for best results. For a great consistency both at room and chilled temperatures, aim for 225°F (107°C.)
- Turn off the heat and carefully remove the pan from the burner and allow to cool completely before attempting to eat or store. Once cool, pour into a container with an airtight lid. Stores up to 2 months. Does not need refrigeration.
0 Comments