Artisan White Bread, No Kneading Just Patience Required

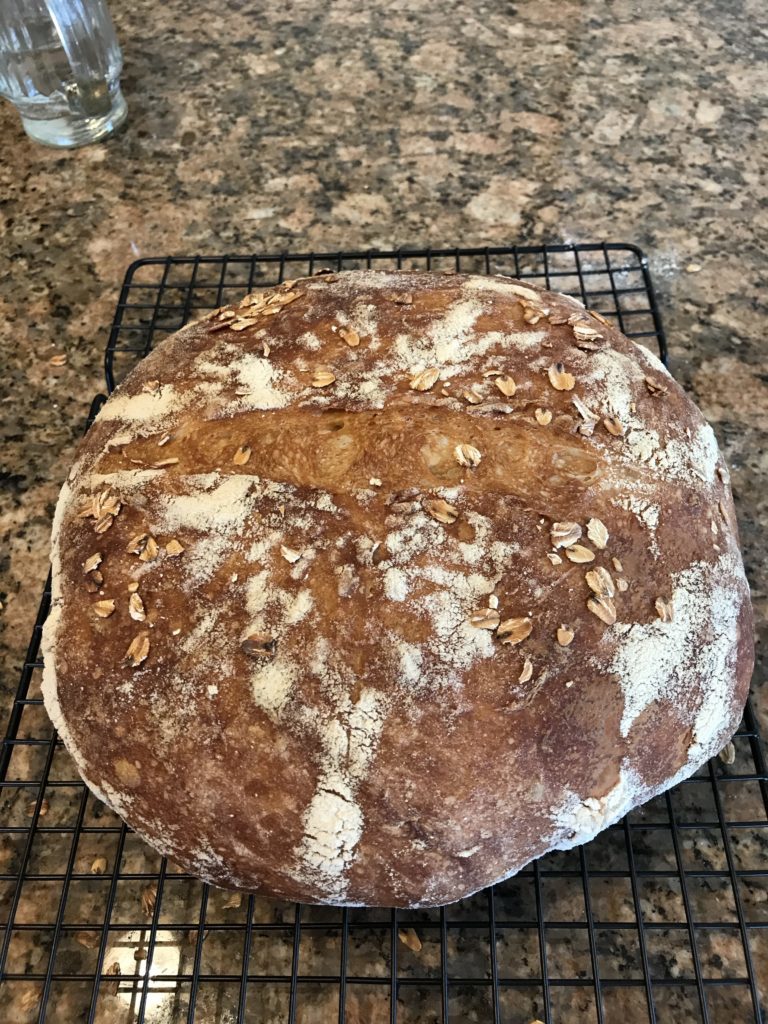
Who’s ready for a simple no knead bread recipe? You can easily make artisan white bread with a little time and very little effort. It is delicious and has a nice pleasant taste thanks to the long fermentation process. Let’s get started right away!

I’m trying to make sourdough and it isn’t going well. The mother or starter is taking longer to make than I every anticipated. Instead of stressing about it, I persevere. In the meantime, I decided to move on and make a high hydration bread. It’s very simple and a confidence builder. Plus, it’s extremely tasty and reminds you of sourdough.

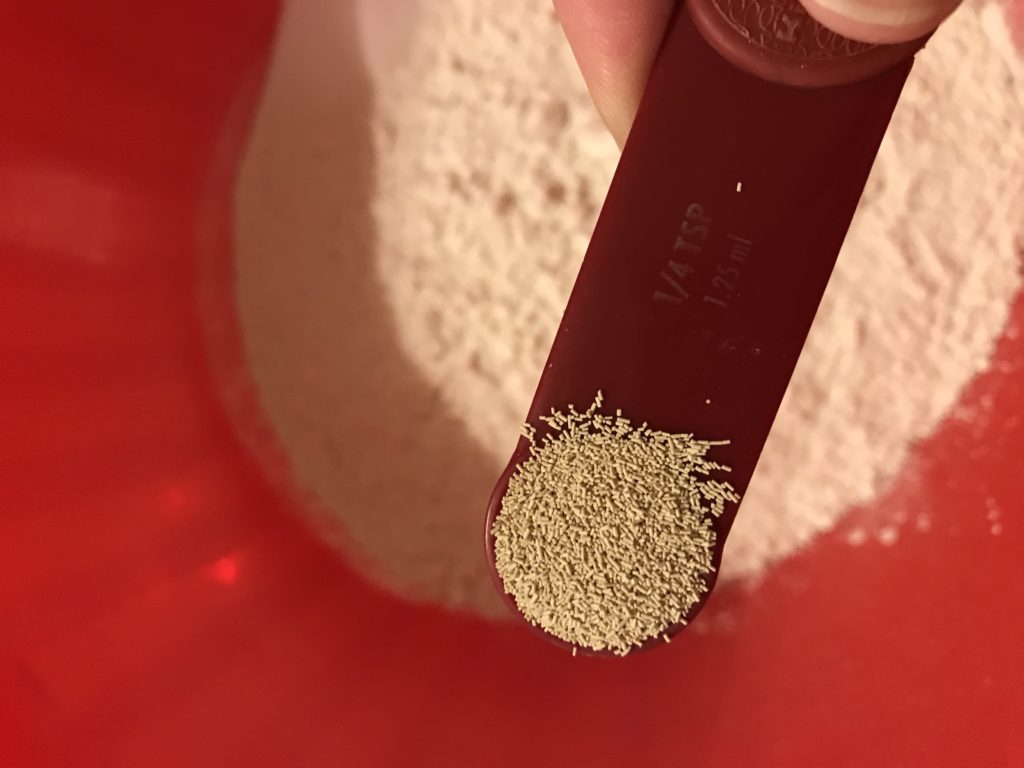
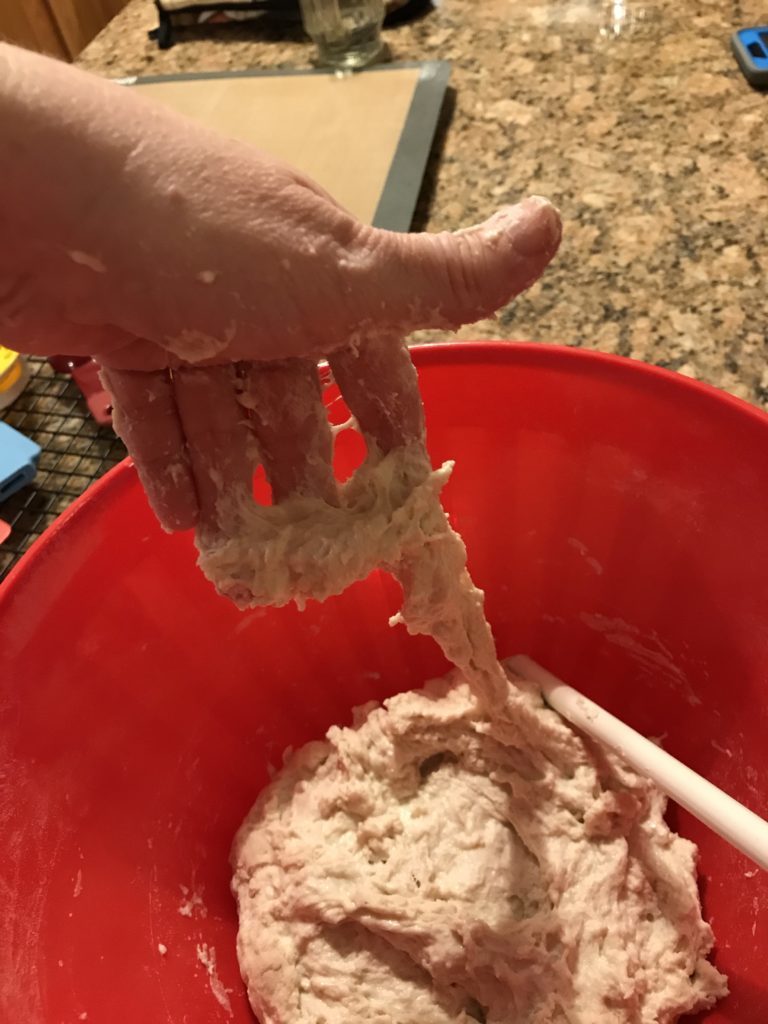
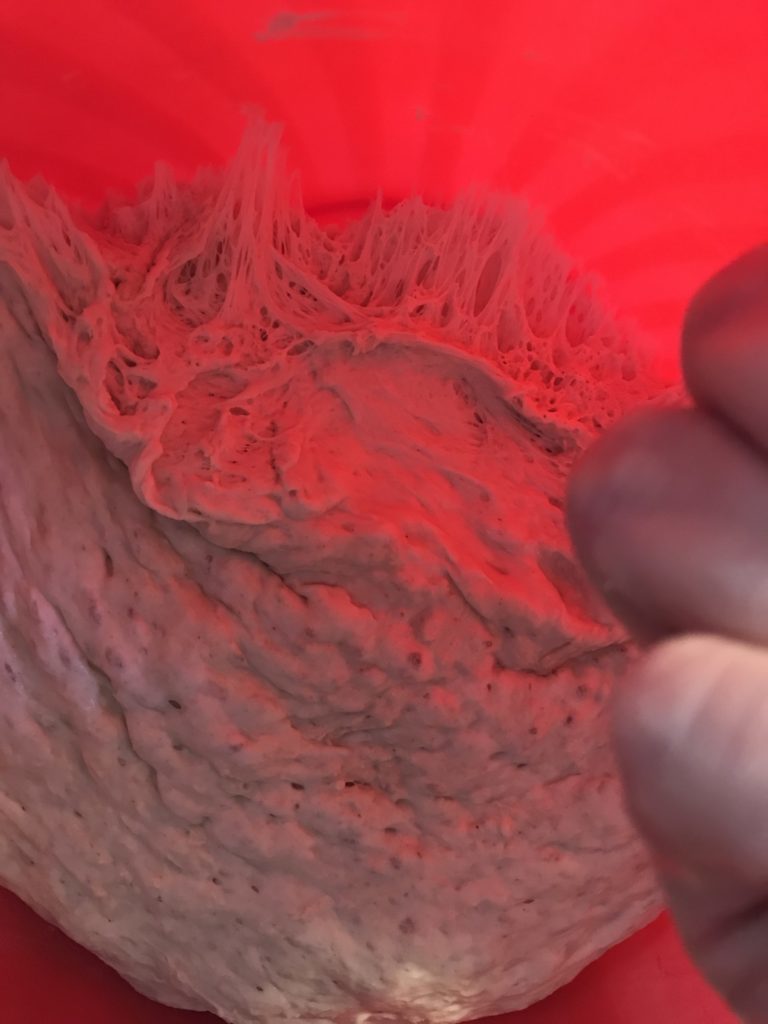
“Sourfaux” as my husband coined it last night. It is a high-hydration, no-knead dough. For this to work, you use just a tiny amount of yeast and a lot of time. You basically let the yeast and time create the gluten for you.

Sorry, learning how to make artisan white bread isn’t possible with gluten-free flour. You can make lots of other nice loaves of breads without gluten, but this isn’t one of them. Also, this ratio is intended for white bread only. Heavier breads like wheat, rye, spelt will need a much higher water ratio. Substituting flour without increasing water will result in a more dense, unpleasant loaf. For a whole wheat version, try this recipe instead.

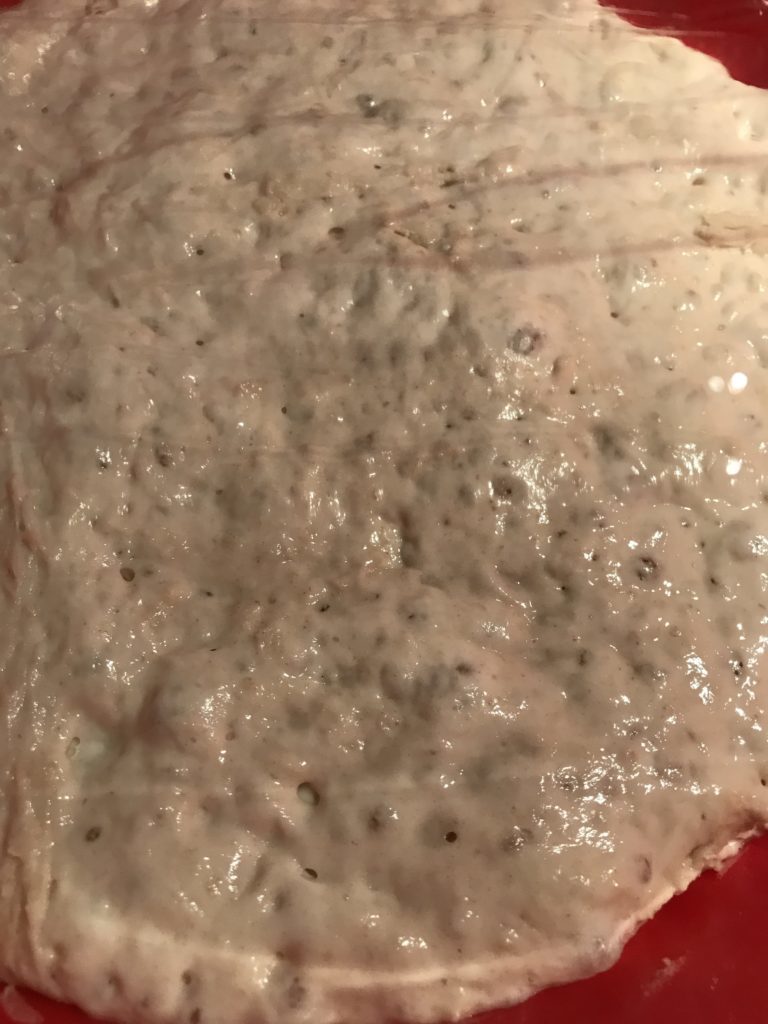
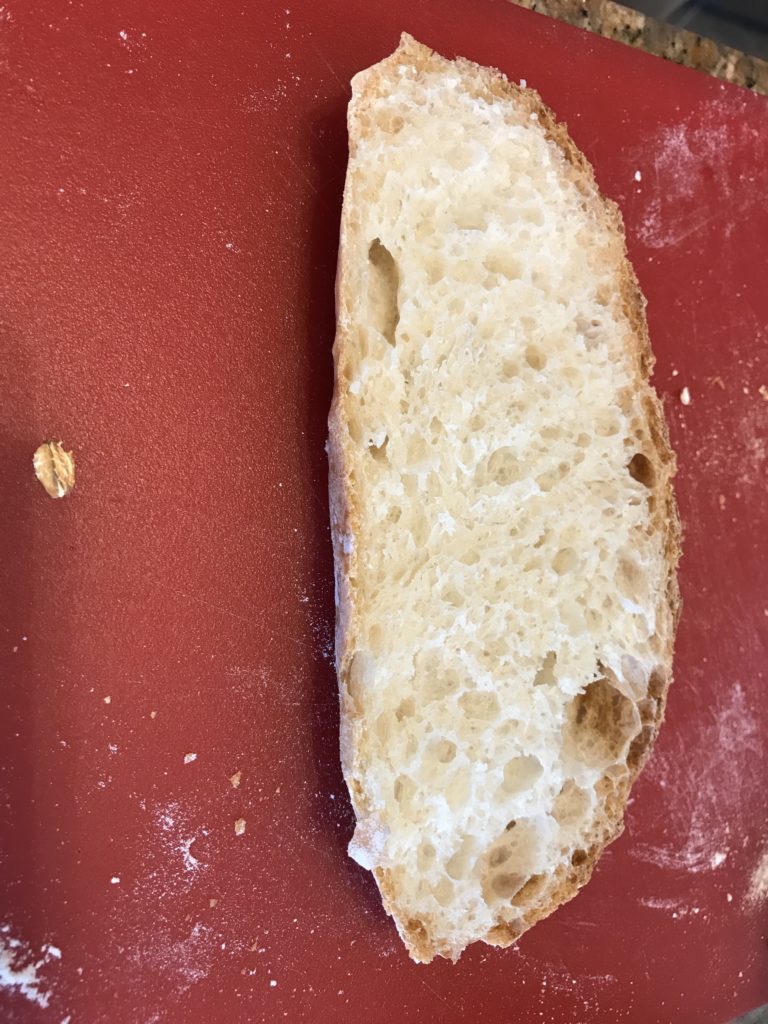
To make this loaf, I highly, highly recommend digital scales that weigh grams. Grams are used most often because they are easier to divide and find the hydration rate. The higher the hydration rate, typically the better the bread as it creates an airy quality and nice tender crumb. A bagel is a lower hydration rate dough. Think about how chewy and dense it is. It’s wonderful, but sometimes you want a bread like a ciabatta.

If you don’t own scales, you can look at the individual flour bag for the grams in cup measurements and use the liters part on your measuring cup for a better result, but you still won’t ever get to amazing levels of baked bread without weighing your ingredients. You will be that baker that continuously adds flour and wonders why your bread is so dense sometimes and great others. I was that baker. I’ll provide cup measurements with the caveat: I weigh everything. Flours weigh differently, so look on your bag and try to use the gram measurements.

Enough talking. Let’s do a pictorial explanation on how to make artisan white bread and then the recipe. Side note: If you click the jump to recipe at the top of each page, you can bypass my ramblings. 🙂

make artisan white bread
Add 500g flour to large bowl (you can also do this on a counter)
Pour in salt
make artisan white bread
Just a tiny amount of yeast! Don’t be so American and throw in a ton of yeast!
make artisan white bread
Add water
make artisan white bread
Stir until the sides are clean
make artisan white bread
It won’t have any gluten and will break easy. It’s super sticky, too. That’s what it’s supposed to look like.
How to Make Sensational Sourdough Bread for Beginners
Cover and let rest overnight
make artisan white bread
Next day admire all that gluten that developed while you slept.
Find an 8″ colander or round dish
Line with a towel. I like flour sack ones as they are lint free.
make artisan white bread
Dust liberally with flour. Now dust some more
Making bread easily with a disability
On the last hour, you get to decide how long to ferment the dough. If you are using store bought yeast, this could be an hour or if using sourdough, it could take overnight.
Tip and gently tease it our with damp hands
make artisan white bread
Keep a dish of water next to you and keep your hands damp or you’ll have dough sticking everywhere. Pick up a section on the edge and bring it toward you.
make artisan white bread
Working in a circular pattern, pick up the adjacent side and pull it toward you
make artisan white bread
I pick up a small piece and drag it to the middle
make artisan white bread
The damper your hands, the more stretching you can do!
Continue to work around the dough in a clockwise pattern.
You’ll eventually get a circle!
Place in the dusted towel. If it is sticking to the work table, just slightly dampen your hands and gentle pull it up. Generously dust the seem side with more flour.
Cover and let rest 1- 2 hours
make artisan white bread
It will climb up the towel and grow in size when it’s ready.
Remove the top section of the towel, Place a baking tray on top
Like this.
make artisan white bread
Now flip it over. Don’t be forceful, treat it like flipping over a baby, not a 50 pound rock.
make artisan white bread
Remove the bowl
make artisan white bread
Gently remove the towel, stop if it starts to stick!
Have a bowel of cool water nearby
make artisan white bread
Dampen your hands if the towel is sticking anywhere (dust more next time!) and gently dampen the area it is stuck. It will release
You can either leave on the flour for decoration or brush some of it off gently with a pastry brush. I left it.
make artisan white bread
Sprinkle with a tablespoons of oats and quickly slice the top with a sharp knife or razor blade
make artisan white bread
It’ll look like this
make artisan white bread
On the bottom rack, the water you added before preheating to 400F will be steaming, be careful opening the door. Add bread and don’t open it again for at least 30 minutes to develop that crust.
make artisan white bread
Bake 45 minutes and cool at least one hour before serving.
Make Artisan White Bread
Isn’t it pretty?
Make Artisan White Bread
Very tasty!

One note of caution should be addressed when making overnight bread, especially at room temperatures for more than 8-10 hours. Cleanliness is essential. You can introduce bad bacteria and despite popular beliefs, the yeast does not inhibit these growths. Rather, studies have shown the bacteria to grow starting at the 4 hour mark. So please work on clean surfaces and with clean equipment and supplies.


make artisan white bread

Artisan White Bread

A basic artisanal loaf to give you the feel for working with wet dough also called high-hydration.  It’s a fantastic way to learn how to make a nice airy bread with a chewy crust with minimal effort.
Print Recipe
Prep Time15 minutes
Cook Time45 minutes
Rest Time18 hours
Total Time19 hours
Servings12
Calories 111

Ingredients

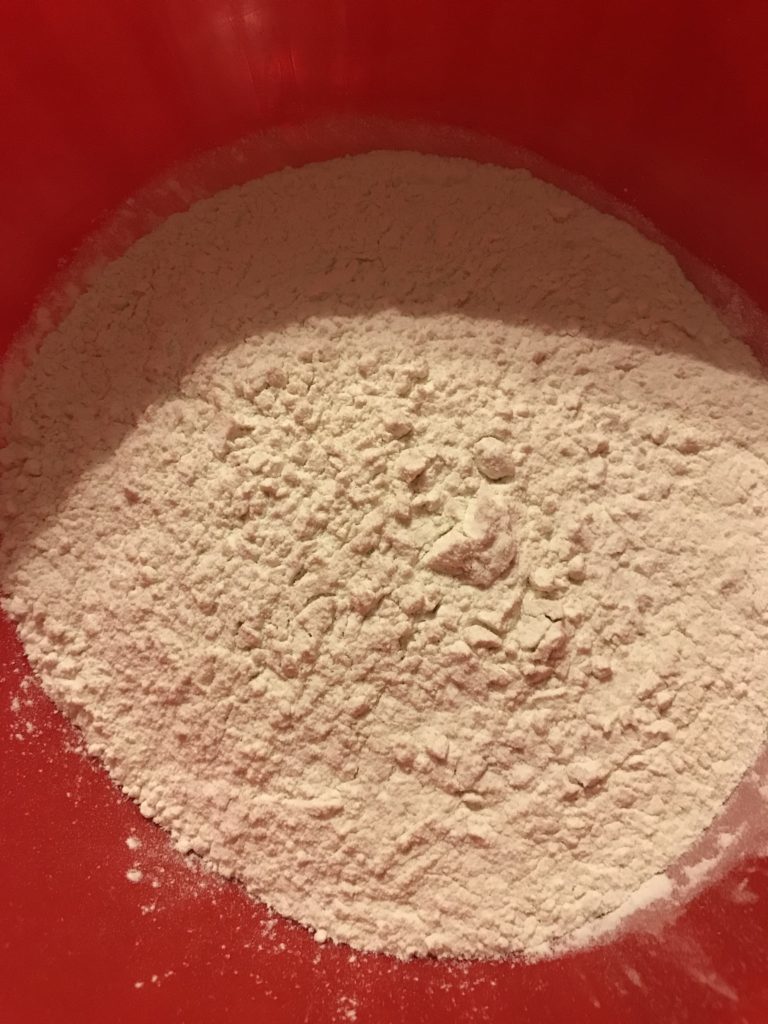
  • 3 ⅓ cups (500g) flour
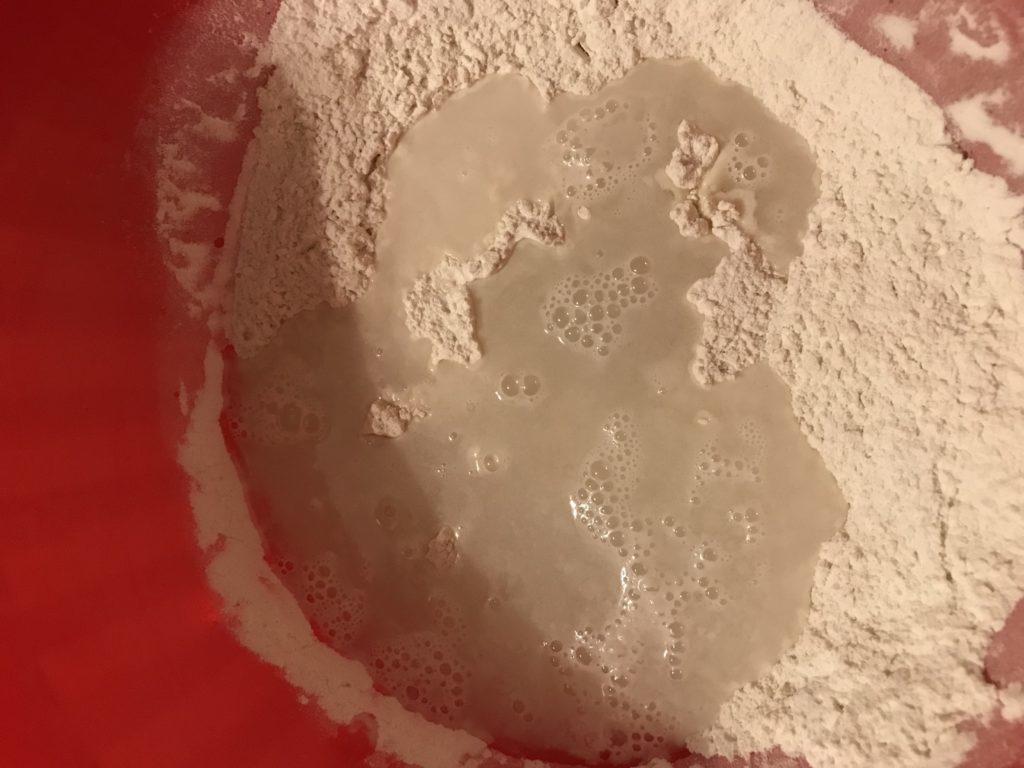
  • 1 ½ cups (360mL) water
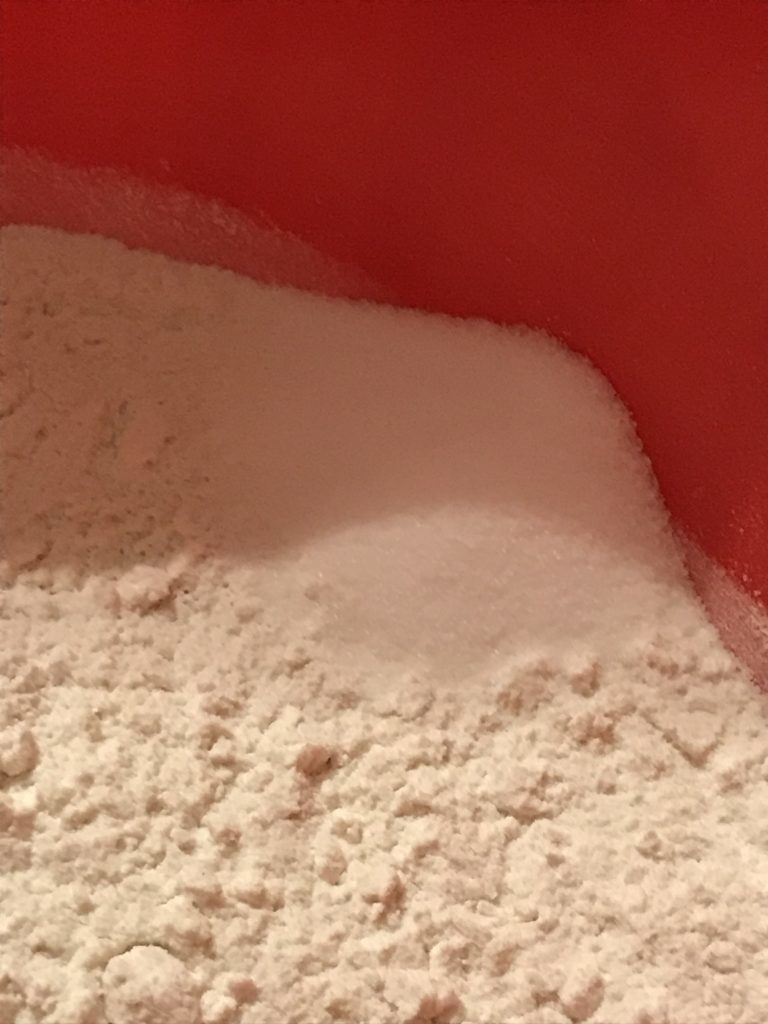
  • 1 tsp (5g) salt
  • ¼ tsp (1g) yeast

Instructions

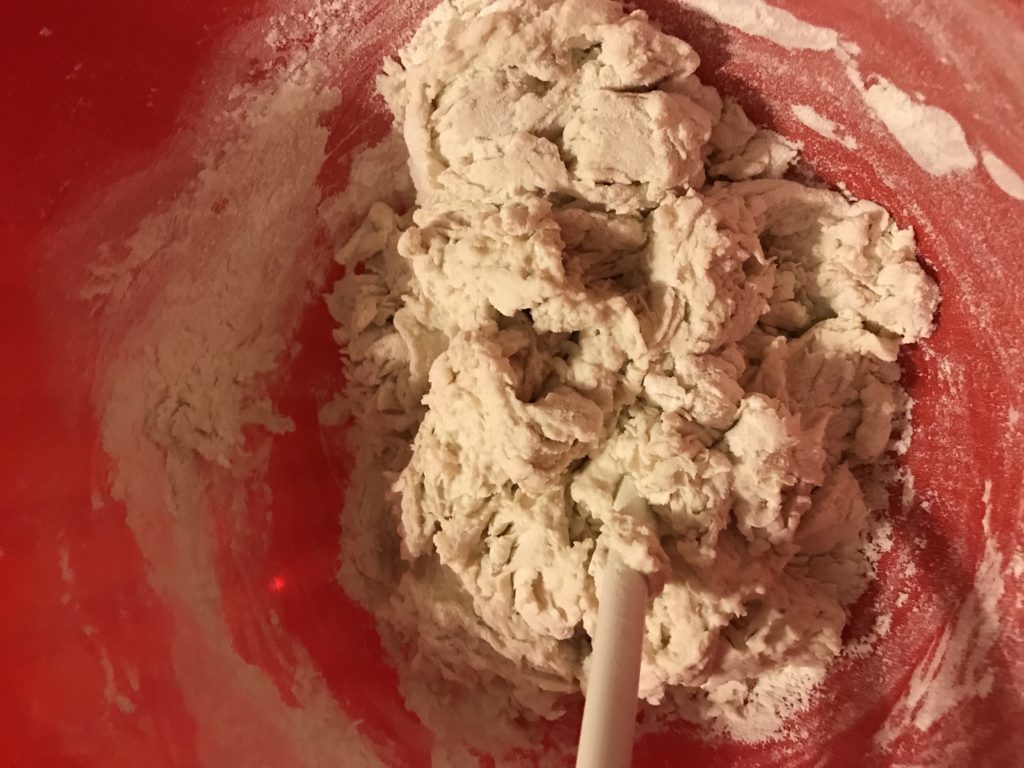
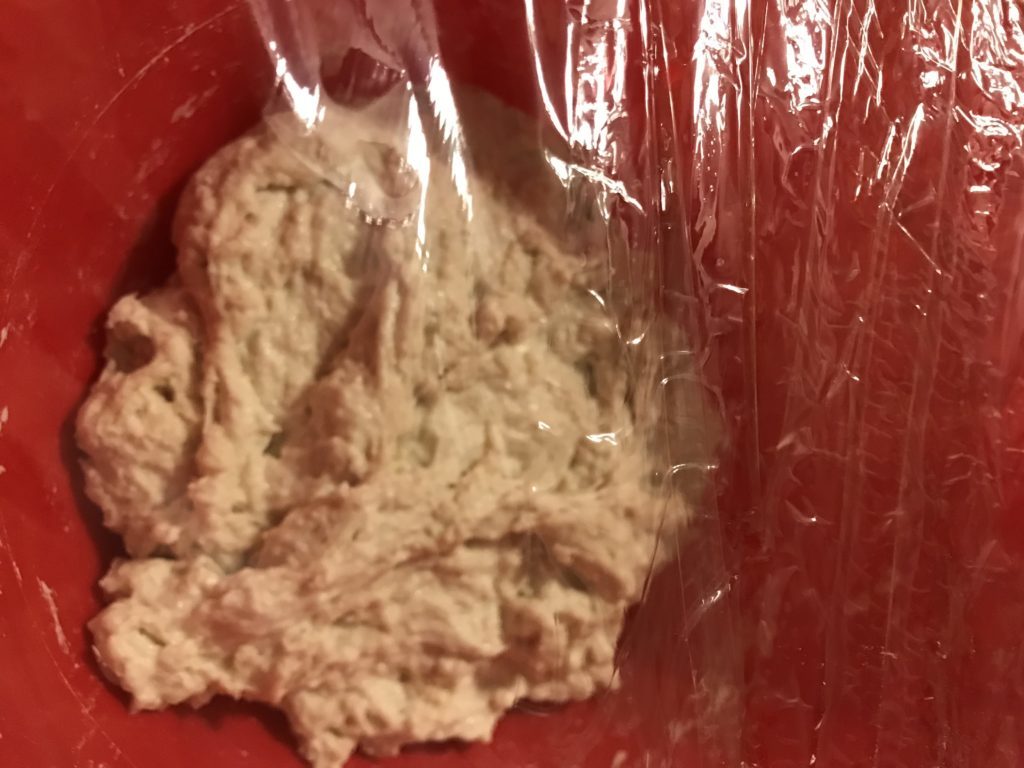
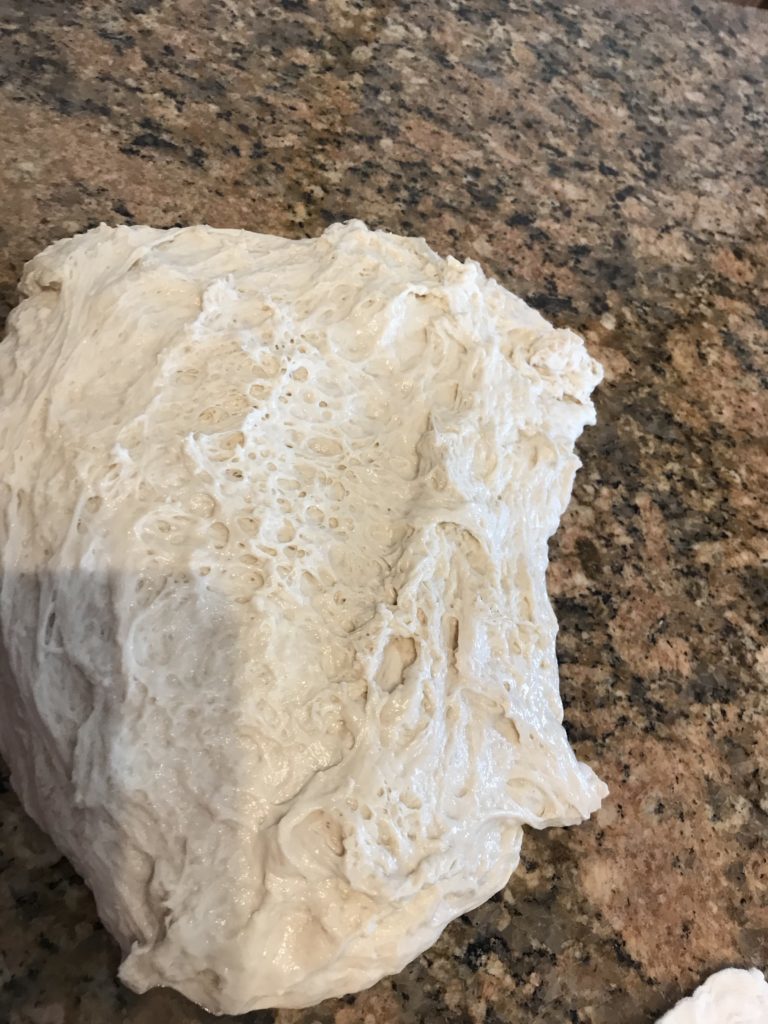
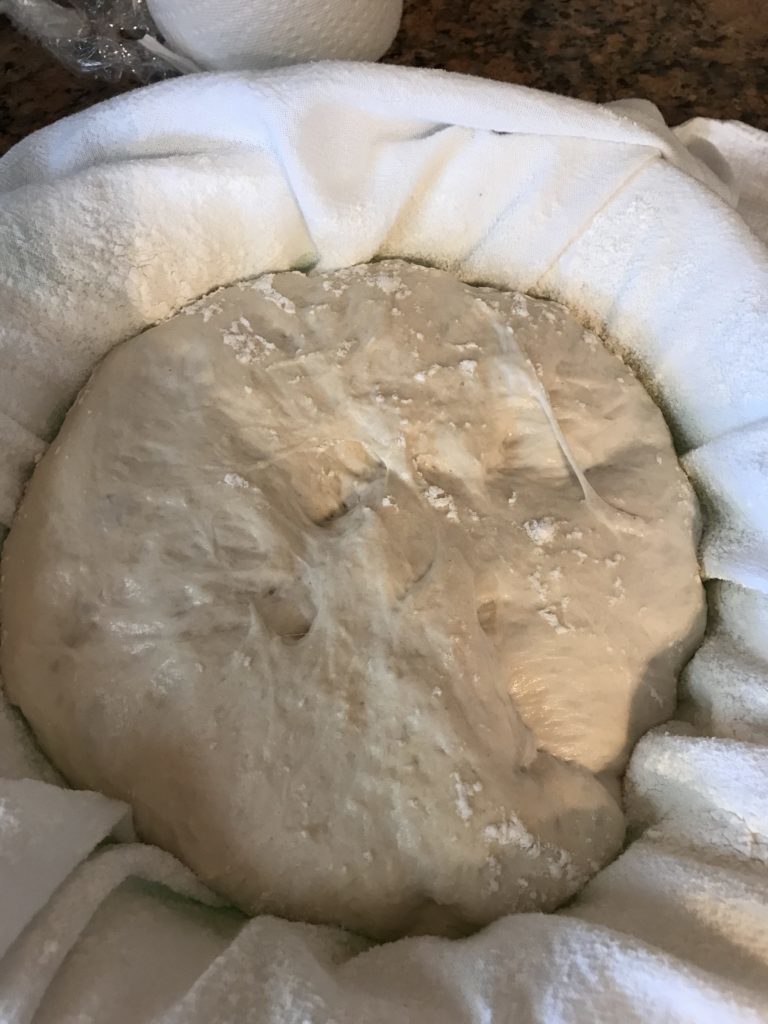
  • In a large bowl, add flour, water, salt and yeast. Stir together with the back of a spoon until a shaggy dough forms. Cover and let side overnight at room temperature.
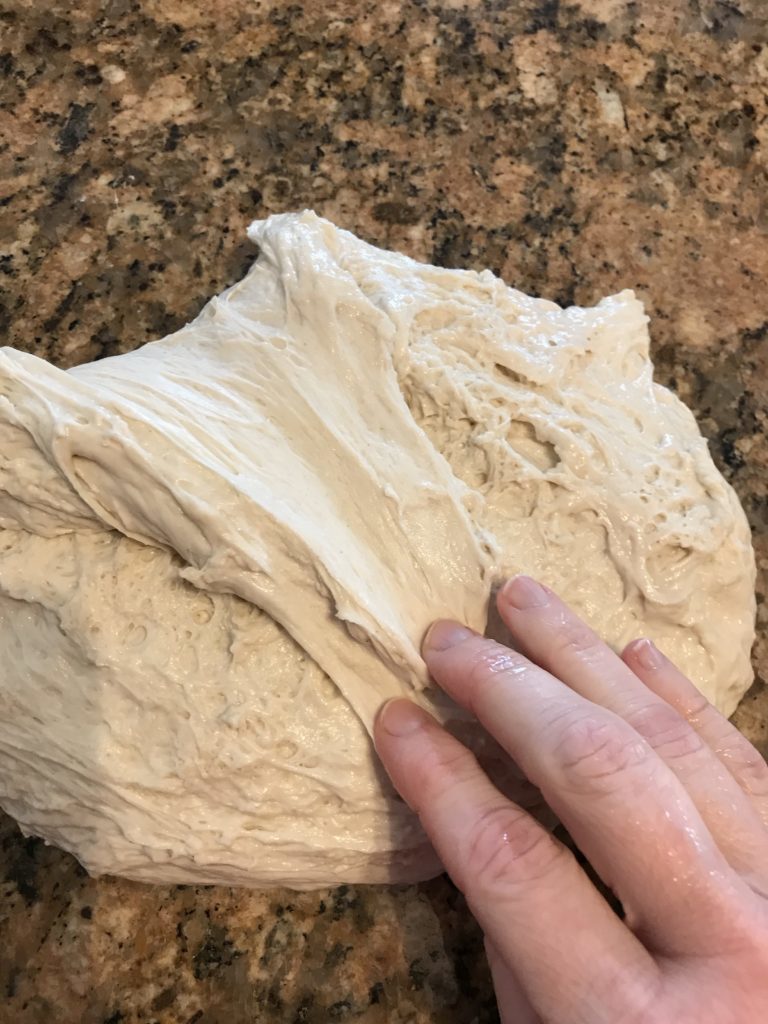
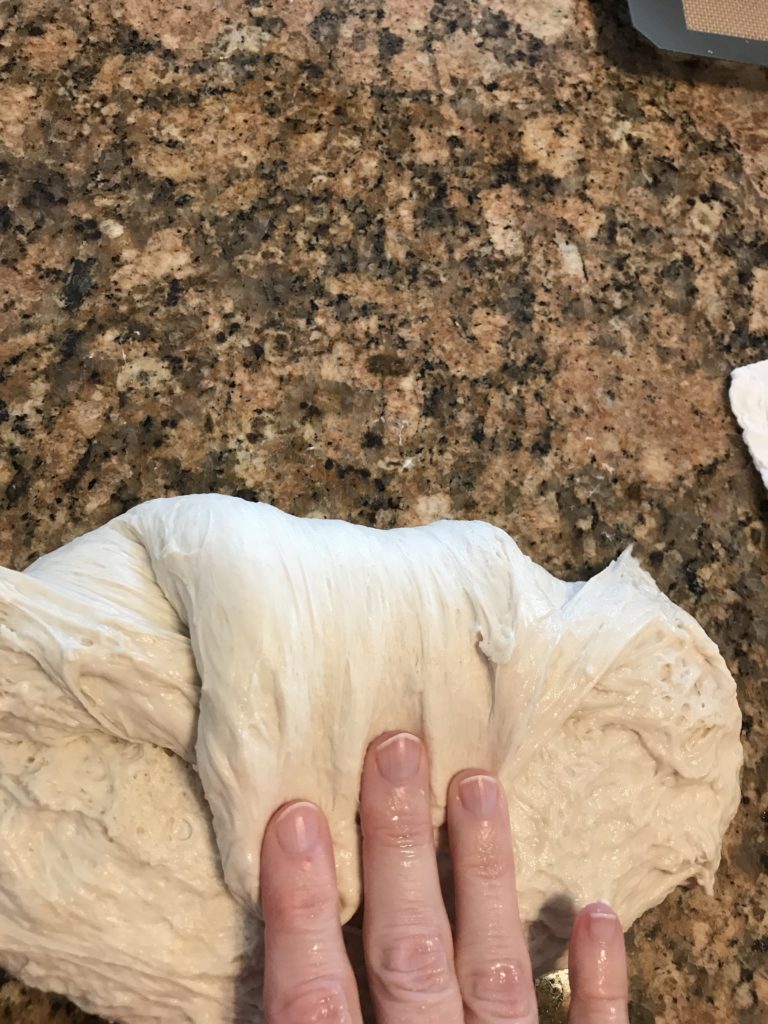
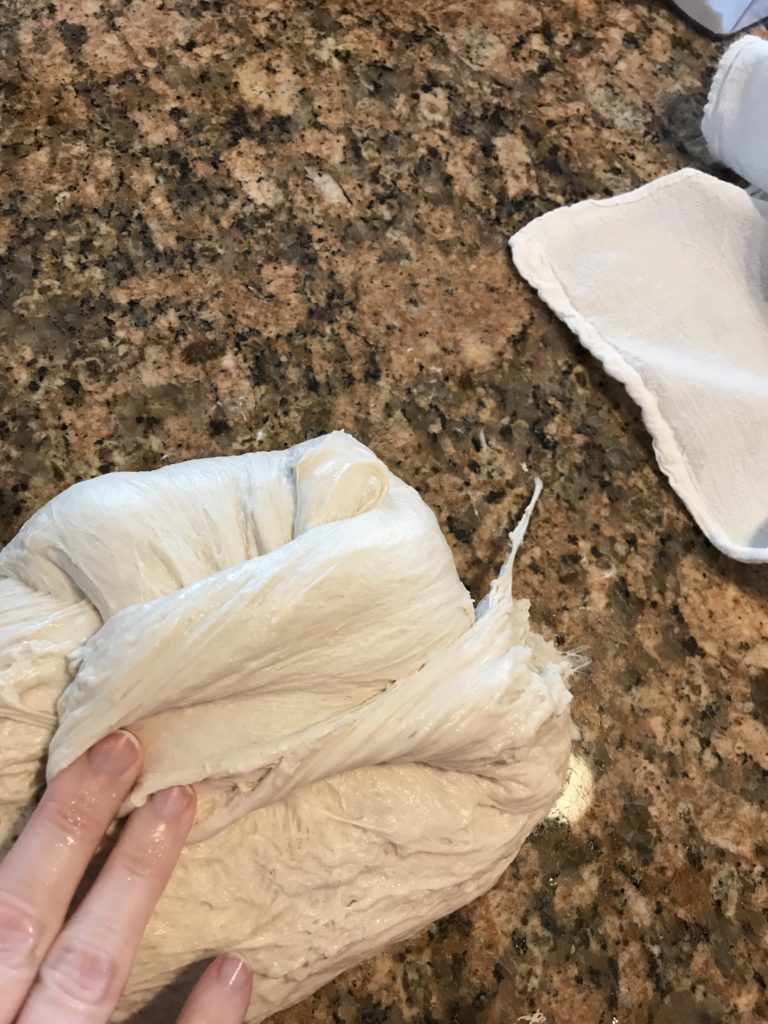
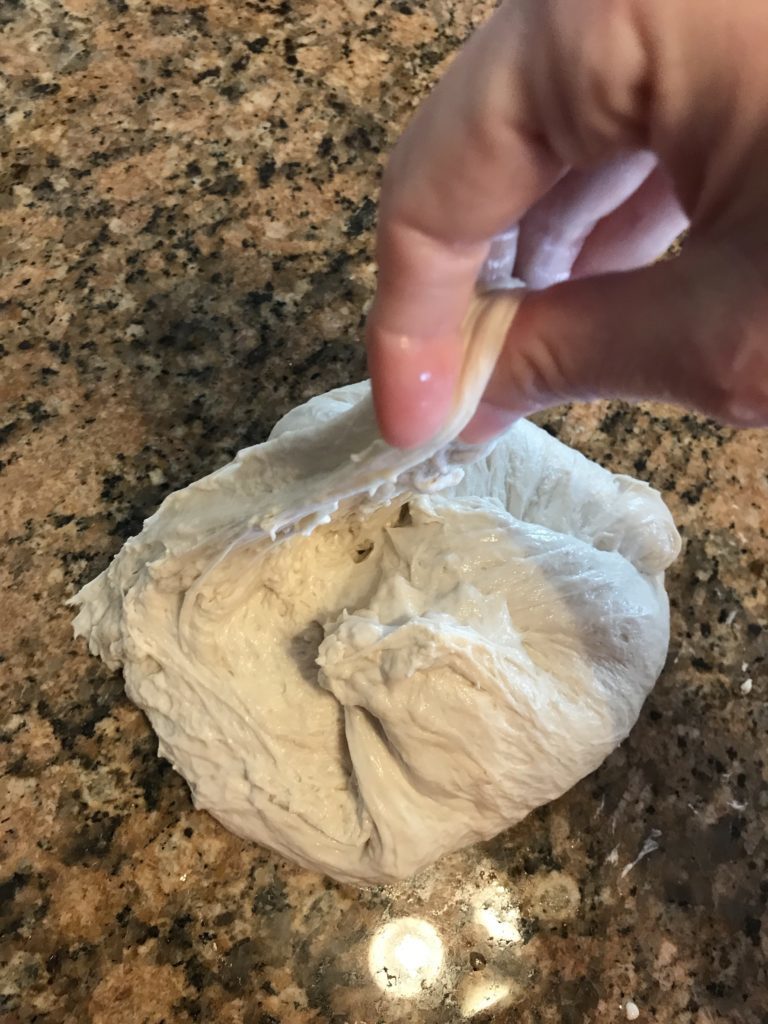
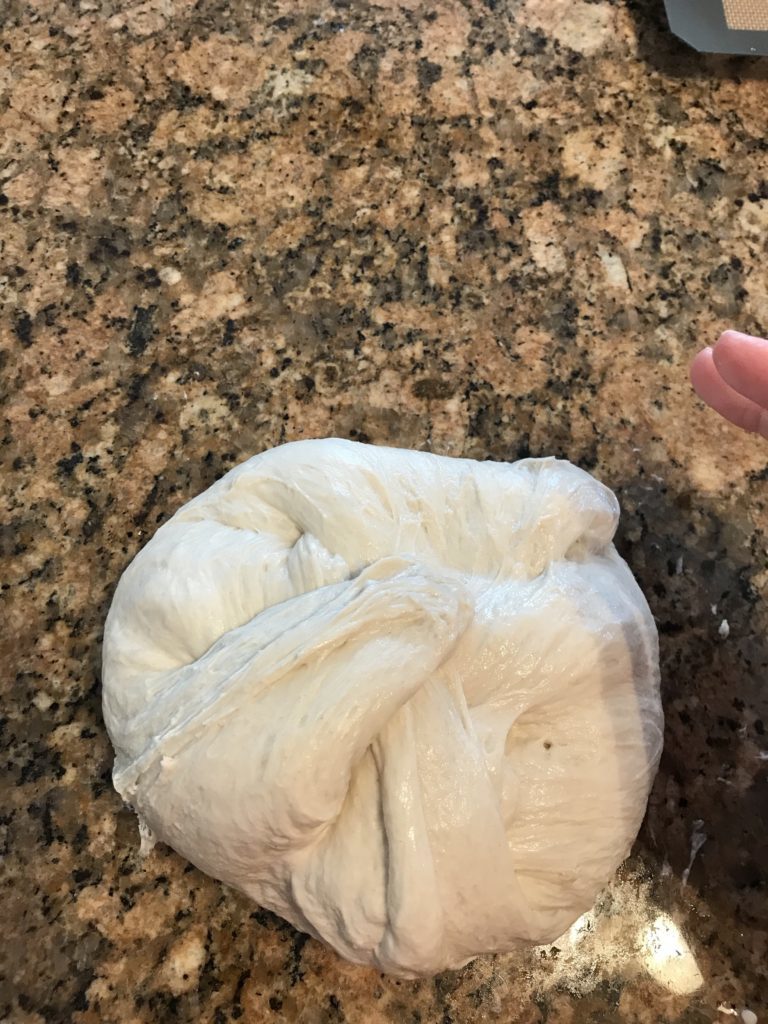
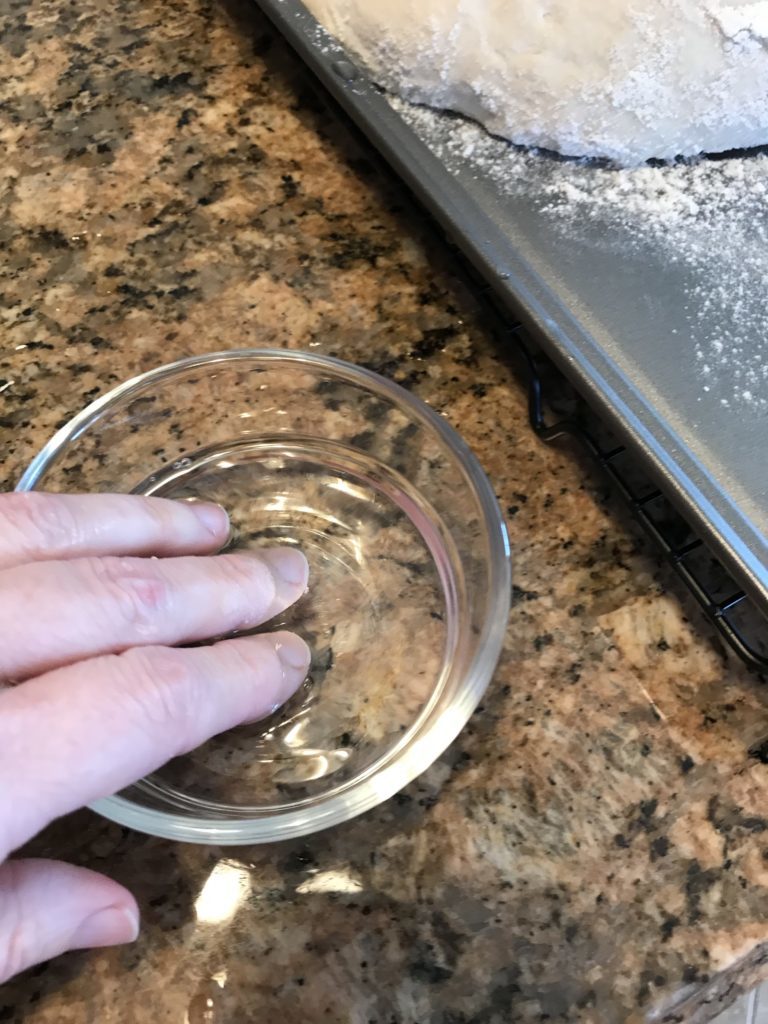
  • The next day, wet your hands. Gently remove the dough from the bowl onto a clean work surface.Using damp hands, grab a top section of the dough. Stretch and bring it to the opposite side. Do this for each side. This will create tension.
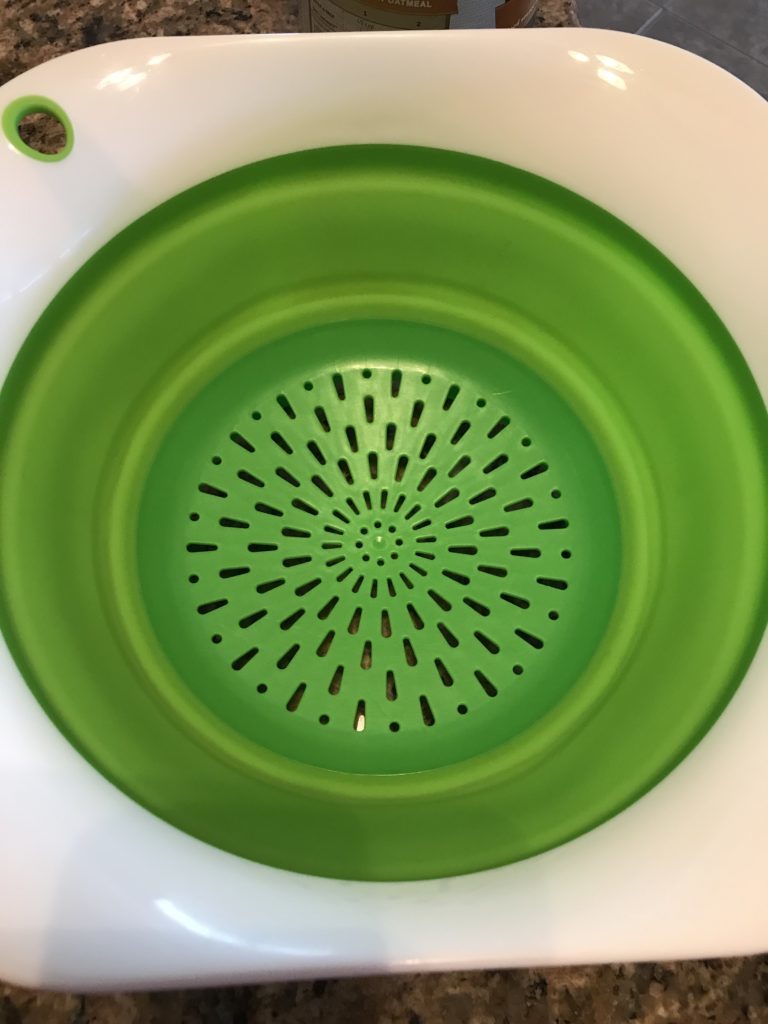
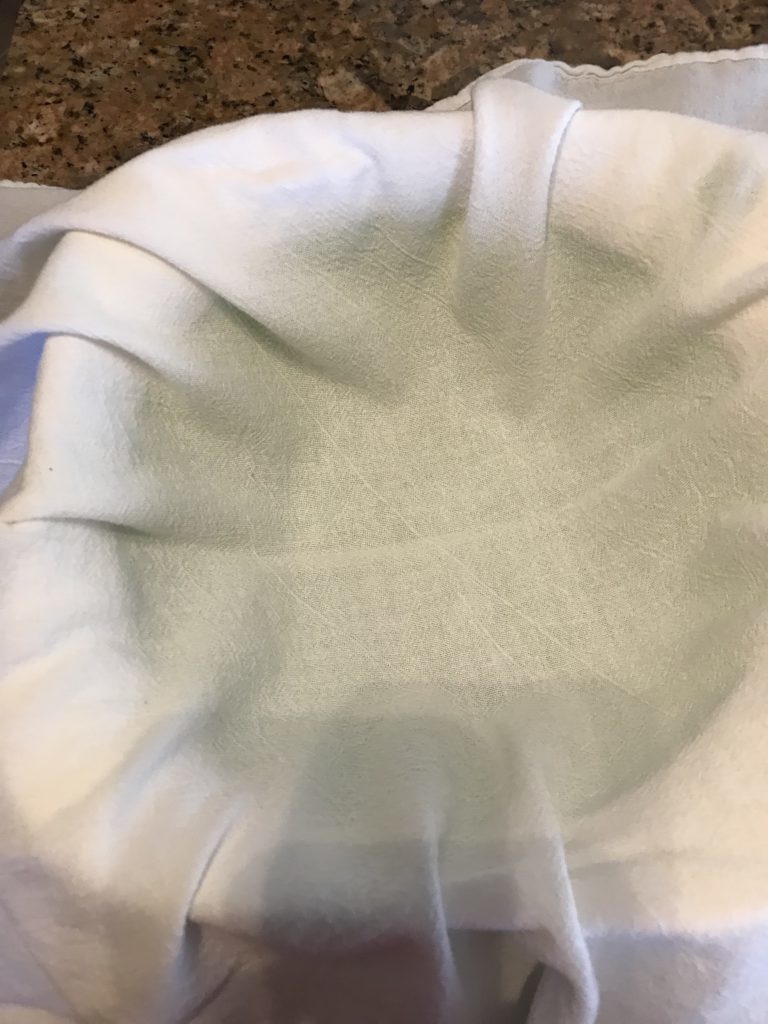
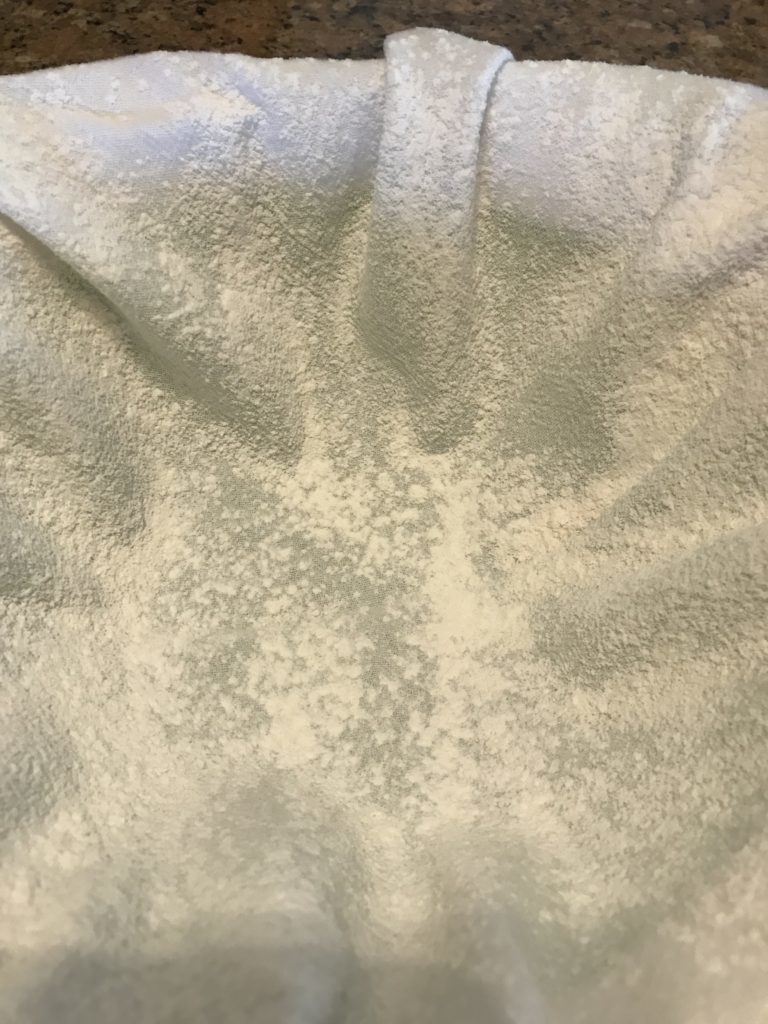
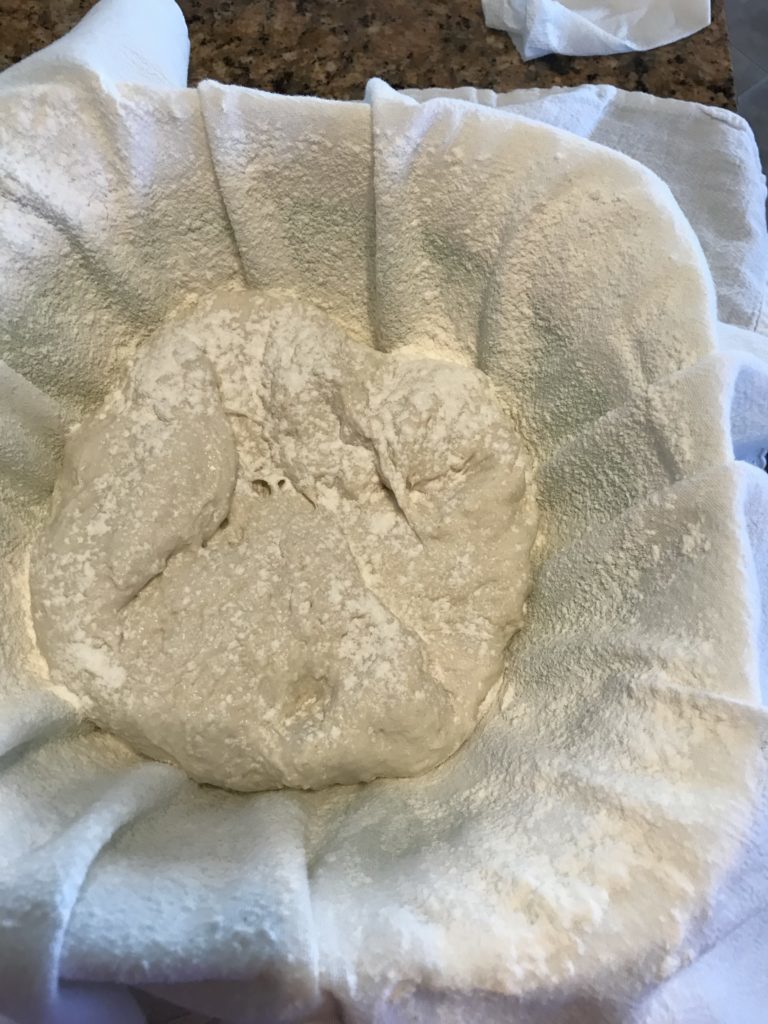
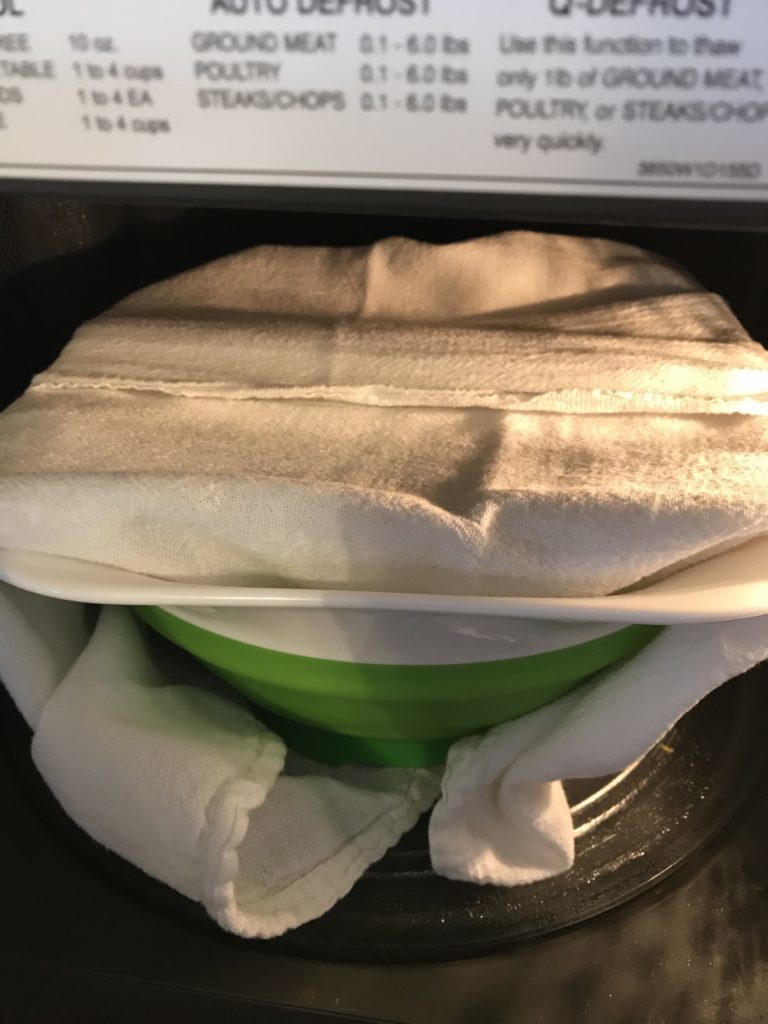
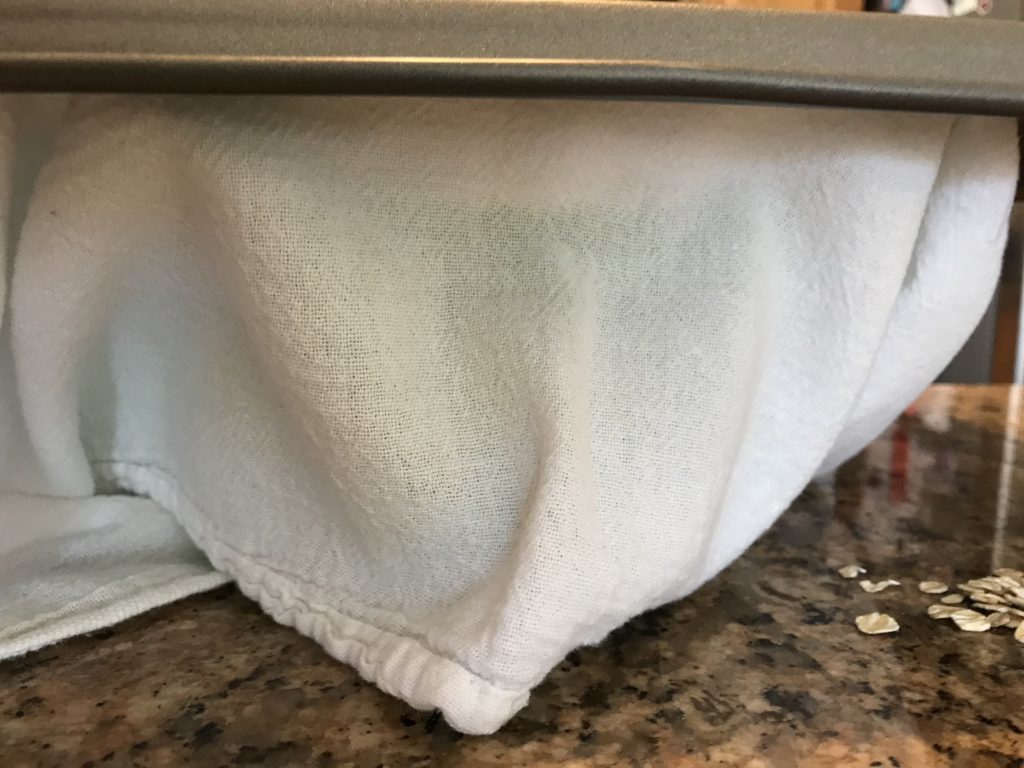
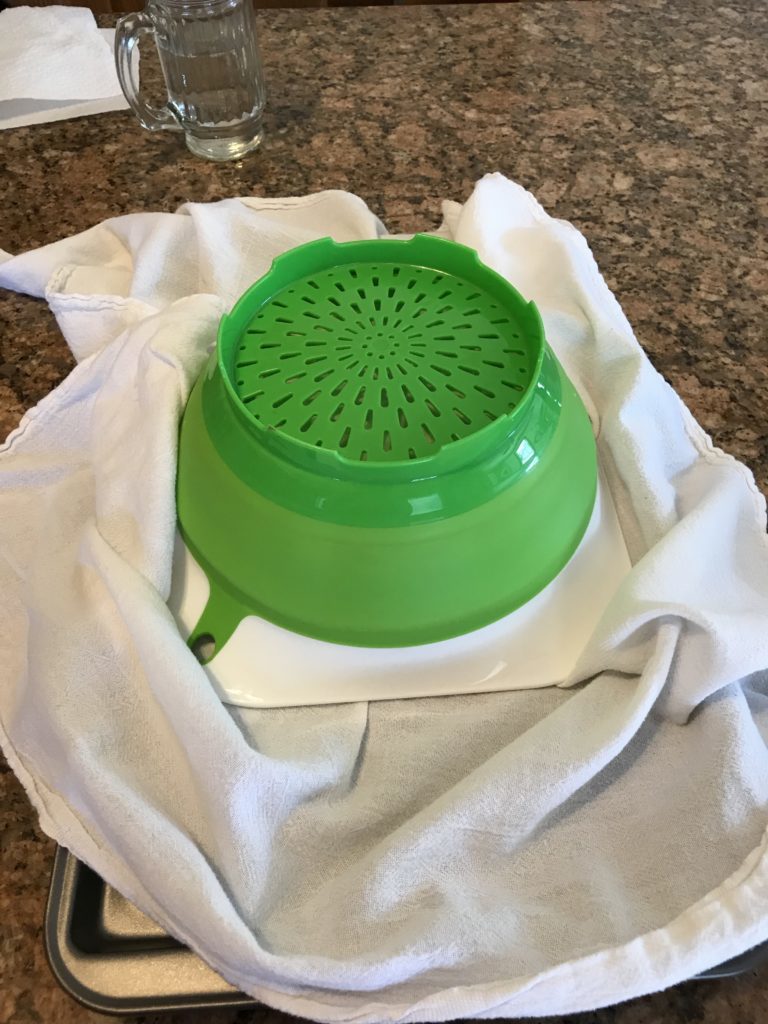
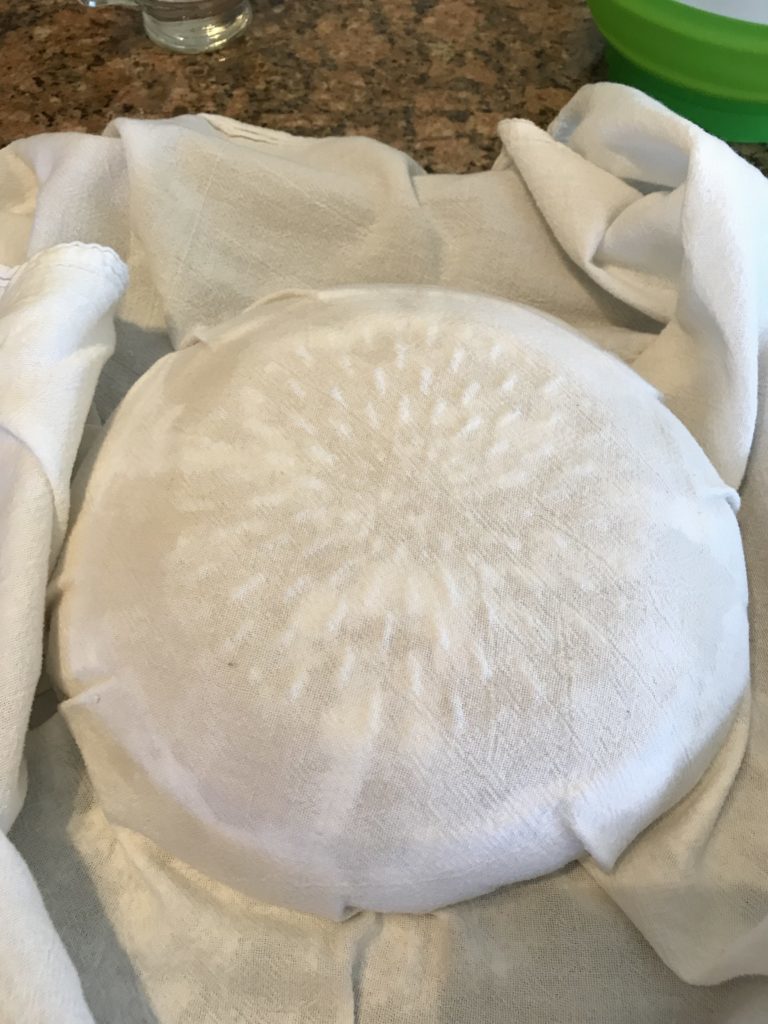
  • Line a colander or a bowl with a lint-free clean towel. Dust the towel liberally with flour. With damp hands, pick up the dough and place it seem side up in the container. Dust the top and fold the towel over. Leave for approximately 1-3 hours or until double in size.
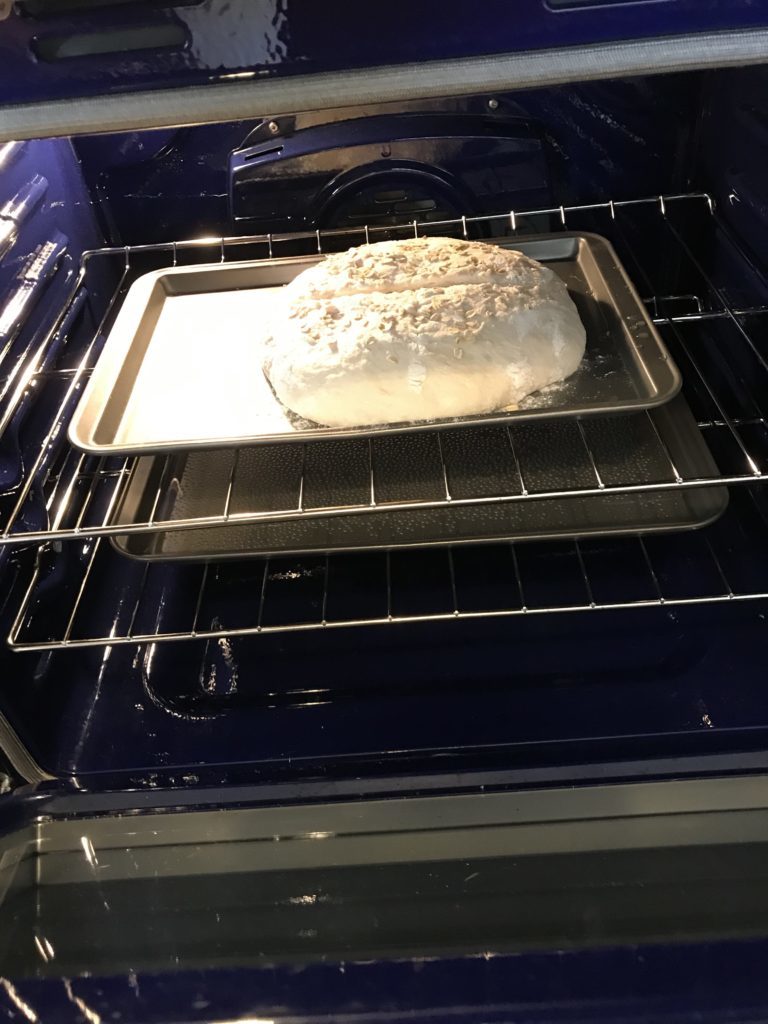
  • Place one rack in the middle of the oven and the second rack as close to the bottom as possible. On the bottom rack, place a pan filled with 1/2" (1cm) of water. Do not use a glass container for the water as it could break or shatter due to thermal shock. Preheat oven 450F (230C.)
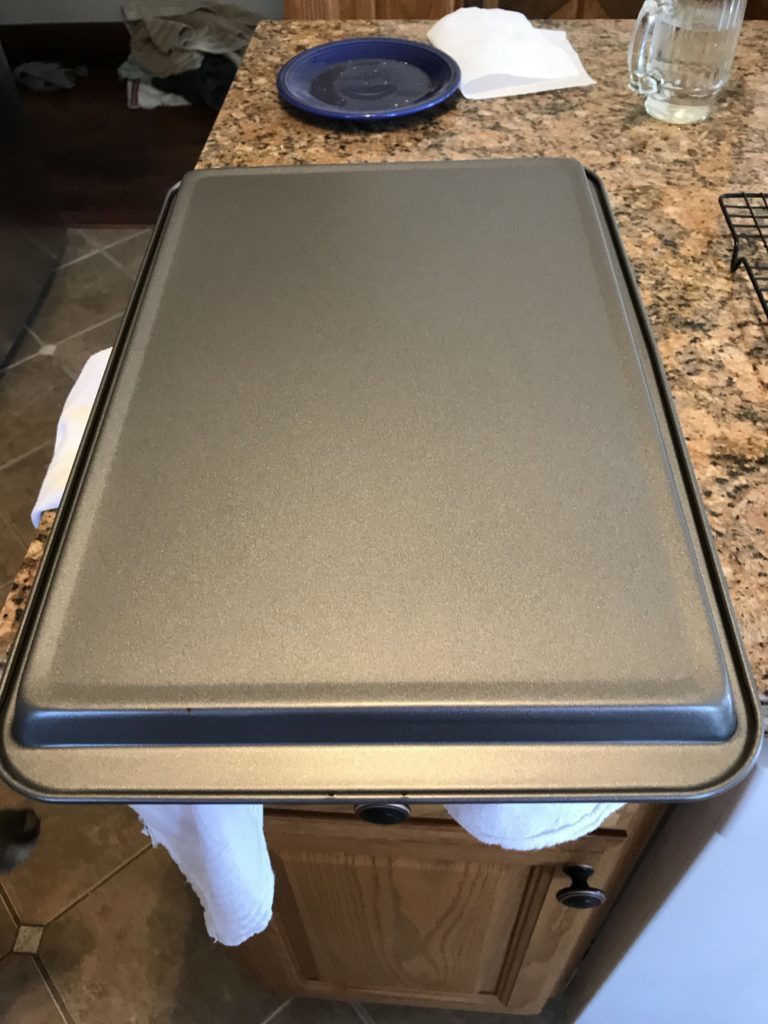
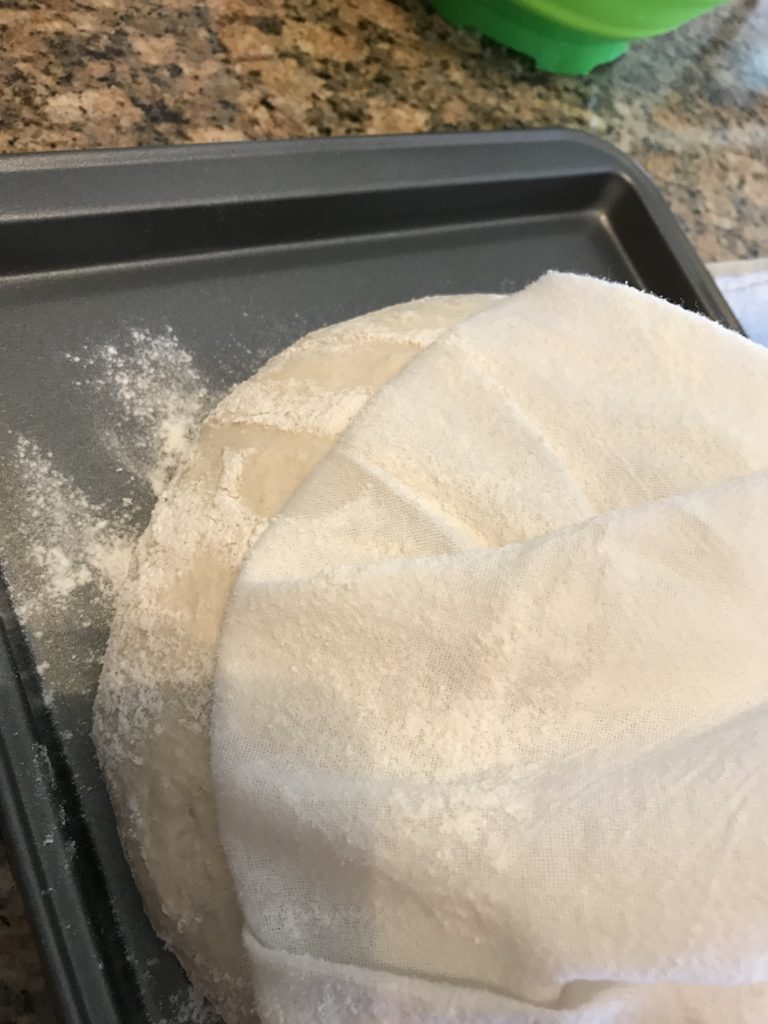
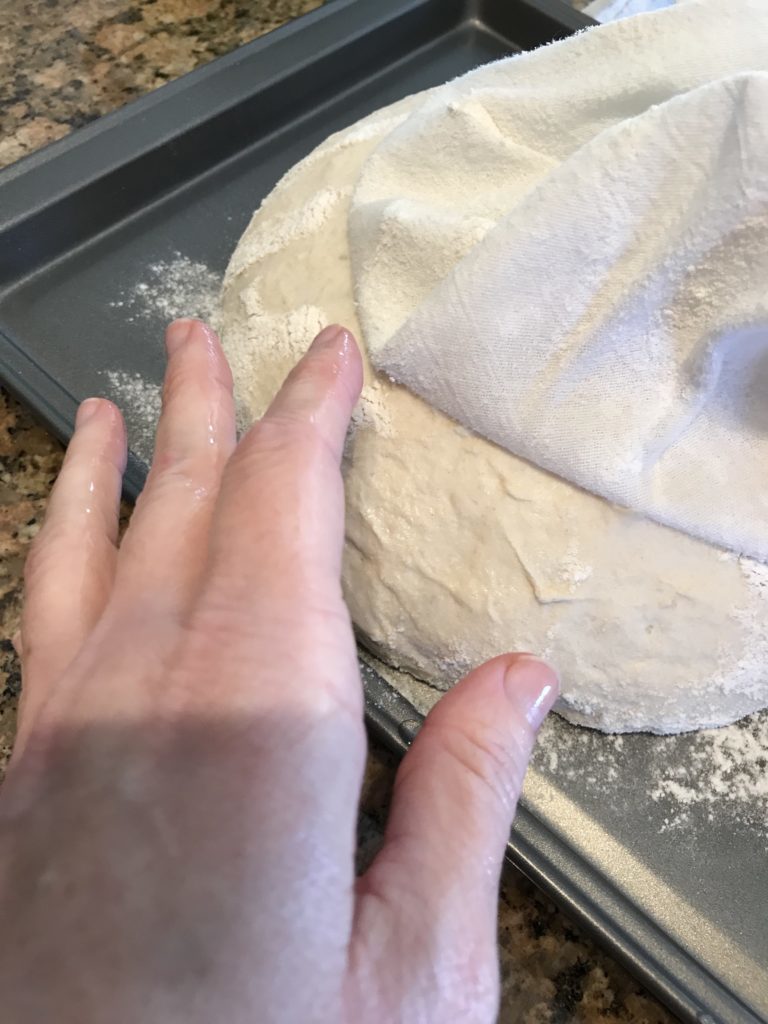
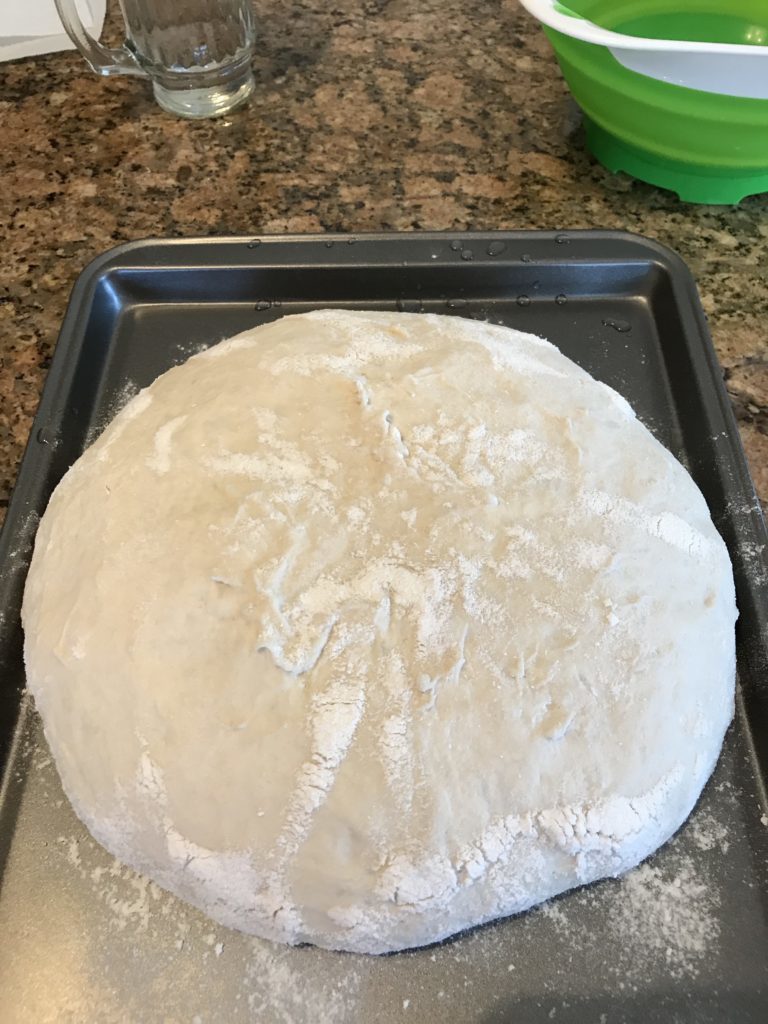
  • Gently remove the top towel and invert the dough onto a baking sheet in one swift movement. If the towel sticks, wet your fingers and gently pull the towel away while pressing on the dough.
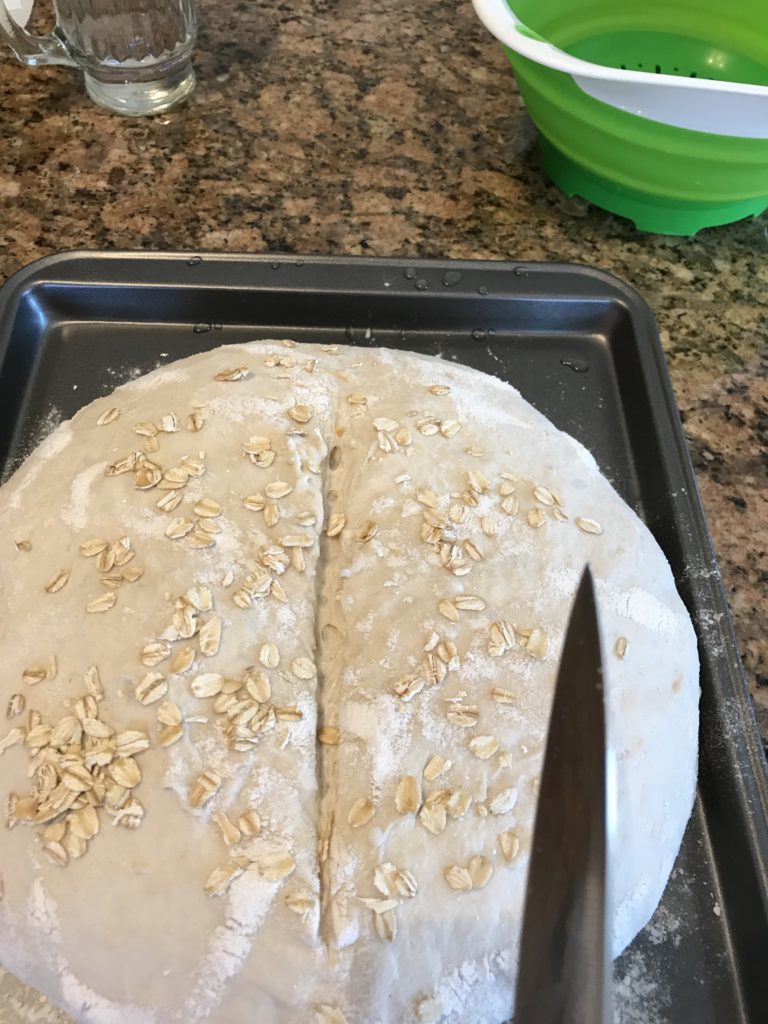
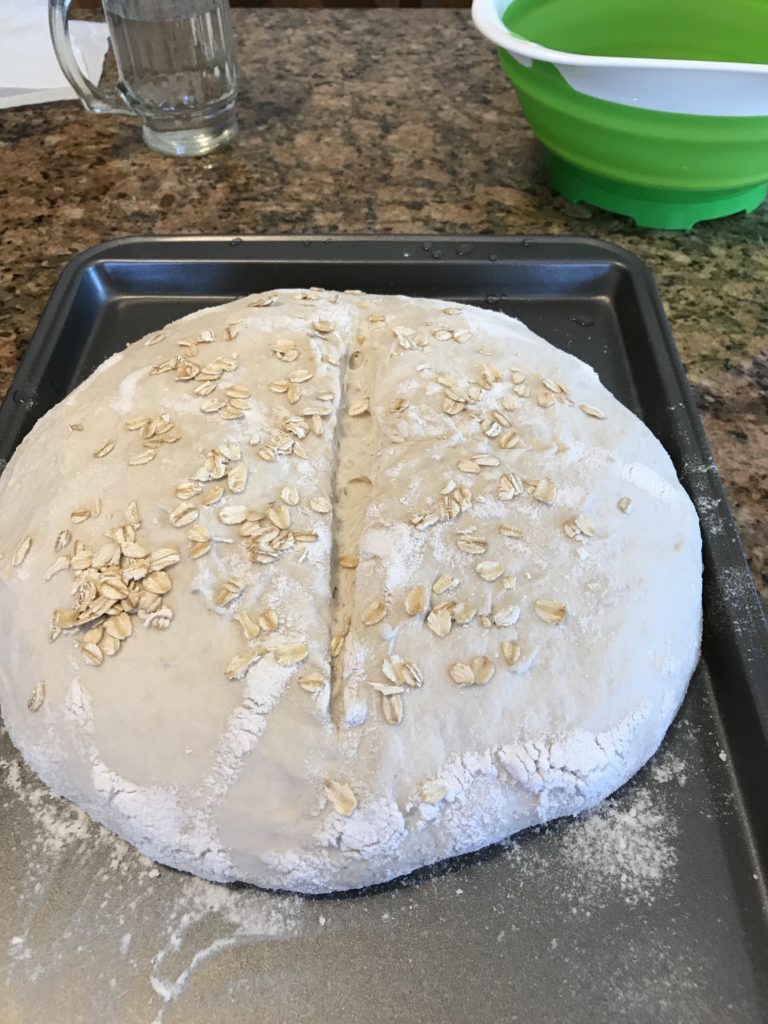
  • Slice the top with a sharp knife quickly about 1/8" (3mm) deep and the length of the bread.
  • Open the stove carefully, as the steam could burn you.
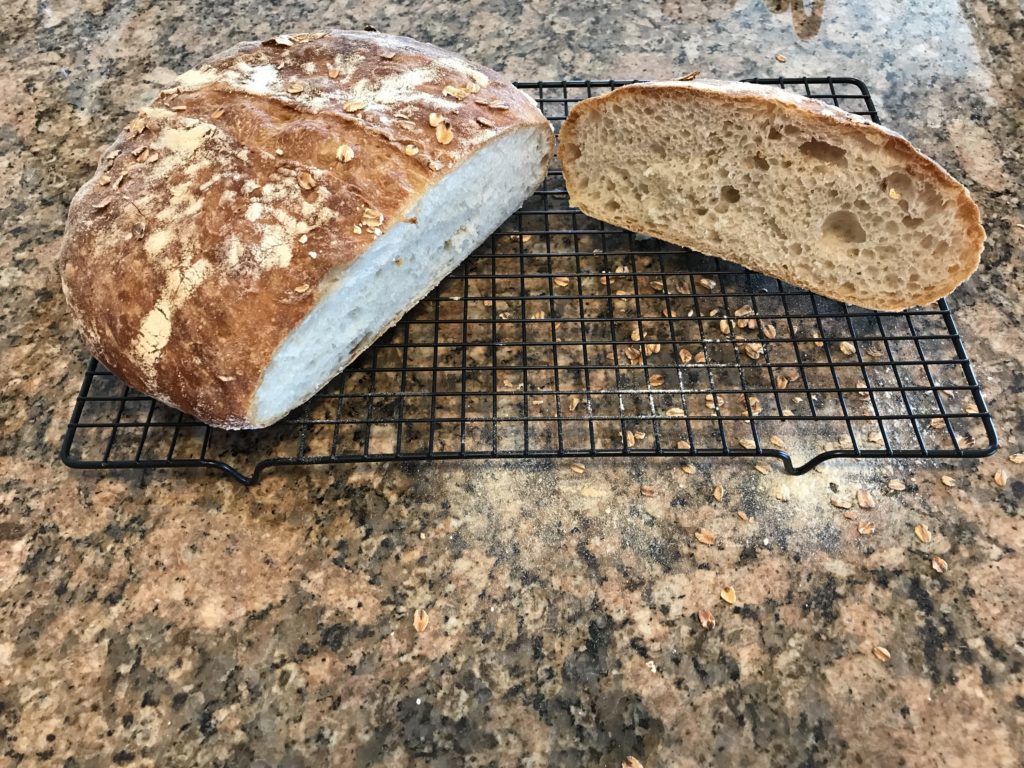
  • Bake 40 – 45 minutes. Center of bread should reach 212F (100C.)
  • Let bread cool completely on wire rack before serving.

Notes

An important note on dry yeast: Instant dry and active dry yeasts are not the same.  If using active dry yeast, you must activate the yeast according to the manufacturer’s instructions in order for the dough to rise properly.  You typically need to activate or “bloom” the yeast by adding it to warmed liquid for several minutes. 
Instant dry yeast can be added to the dry ingredients and typically does not need to be activated prior to use.  However, some brands of dry yeasts still require adding warm liquids, so be sure to read the label. Rapid, quick and fast acting dry yeasts will rise much faster than instant and active dry yeasts.  For best results, always read and follow the instructions provided on the packet as the rising time varies widely between manufacturers. 

Nutrition Facts
Artisan White Bread
Serving Size
 
1 slice
Amount per Serving
Calories
111
% Daily Value*
Sodium
 
193.8
mg
8
%
Carbohydrates
 
24.4
g
8
%
Protein
 
4.4
g
9
%
* Percent Daily Values are based on a 2000 calorie diet.
* Calories provided as a courtesy and not guaranteed.

You May Also Like:

Simple Angel Food Cake Recipe for Beginners

Now that you have learned the basics of meringue making, let's make what some people think is a difficult dessert: an angelic angel food cake. It really isn't difficult when you learn that most recipes steer you wrong. When learning to make this dessert, I have to...

Bakery-Style Classic White Frosting Recipe

If you have ever been to a birthday, wedding, reunions or even an office party, chances are you have had a cake with this classic white frosting. This is the icing you find on cakes and cupcakes in grocery store delis and small bakeries. How do I know this? My mother...

The Lighter, Healthier Side of Life Cinnamon Roll

I love cinnamon rolls. But they are addictive and can be dangerous for the health conscious. So I often send them to friends and family and don't eat them. One day, I thought "could I make a lighter cinnamon roll that is under 150 calories and not so full of saturated...

Follow Us:

0 Comments
Submit a Comment

Your email address will not be published. Required fields are marked *

Recipe Rating


Pin It on Pinterest