
Ever want to enjoy a candy, cookie or cake but find out it has milk in it and you are lactose intolerant? Today is your lucky day. You will learn how to make lactose-free caramels with this comprehensive guide. I came up with this recipe after making several batches of delicious caramel and not being able to enjoy it due to dietary restrictions.
Since I had some leftover fat-free lactose-free milk and decided to give it a try. Not wanting to waste a lot of ingredients if it didn’t turn out, I stuck with small measurements of sugar and milk. The thought of fat-free, lactose-free caramels made me take a pause and wonder if they would taste okay. It turned out delicious and think you all will enjoy it, too.
First, I got out 1 cup of sugar and added about 1 cup of milk. I stirred gently to try and avoid hitting the sides of the pan. I wanted to try and avoid crystallization as much as possible and still haven’t felt comfortable enough to try dry caramel. Also, I washed down the sides before even turning on the heat.
Once the mixture started boiling, I carefully clipped on a thermometer and continued to wash down the sides when sugar crystals formed on the pan. I also stirred continuously and gently to avoid burning the milk.
This is where I got worried. It was VERY watery. Like hot cocoa watery. For a long time. I kept stirring to prevent it from burning and I started to think “All I have sugar flavored milk!” And then at 225F, something magical started to happen.
It began to boil rapidly and sputter, the color began to turn a light amber and thicken. I thought the mixture was going to explode out of the pan when I slowed down stirring. But then, at 230F, it calmed down. Then the mixture began to thicken and started boiling slower. Thankfully. Once it is close to the softball stage, the syrup will turn from milky white to bits of caramel. You need to start stirring rapidly at this point to avoid burning the caramels.
If you don’t have a thermometer, bits of the mixture can be dropped into cool water to check for doneness. You then want to wait several seconds before removing it to avoid getting burnt. When the caramel hits the water, you want will see little candy balls forming that quickly loses it shape if you press down. This is what they mean by softball. This is 235F. Around 250F, or hardball stage, the boiling picks up again. When the candy hits the water, you will see little candy balls forming that is tough to push down. This is what they mean by hardball.
Then I hit 235F, softball stage. Finally, it was caramel! It’s working. I pushed the heat to 240F for a soft and chewy caramel.
And I waited until it calmed down again. Into a dish. After a few more minutes of cooling, I sprinkled on the sea salt. Generously. Now to wait a few hours to see if it worked.
I did it! I made up my very first recipe of fat free, lactose-free caramels. And….they tasted freaking awesome. I’m super pleased.
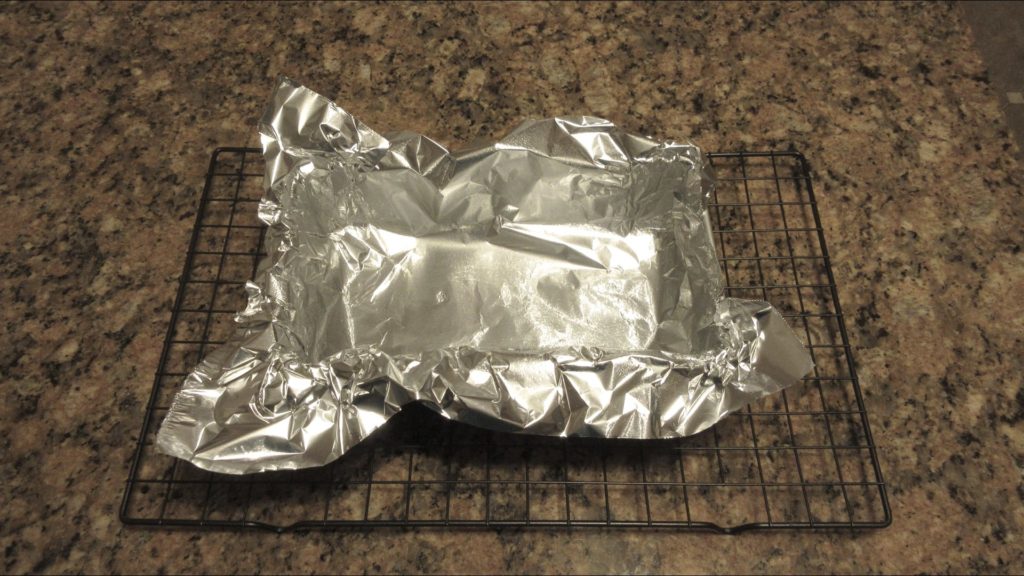
Grease and line a small pan. 
Have a cool glass of water ready. 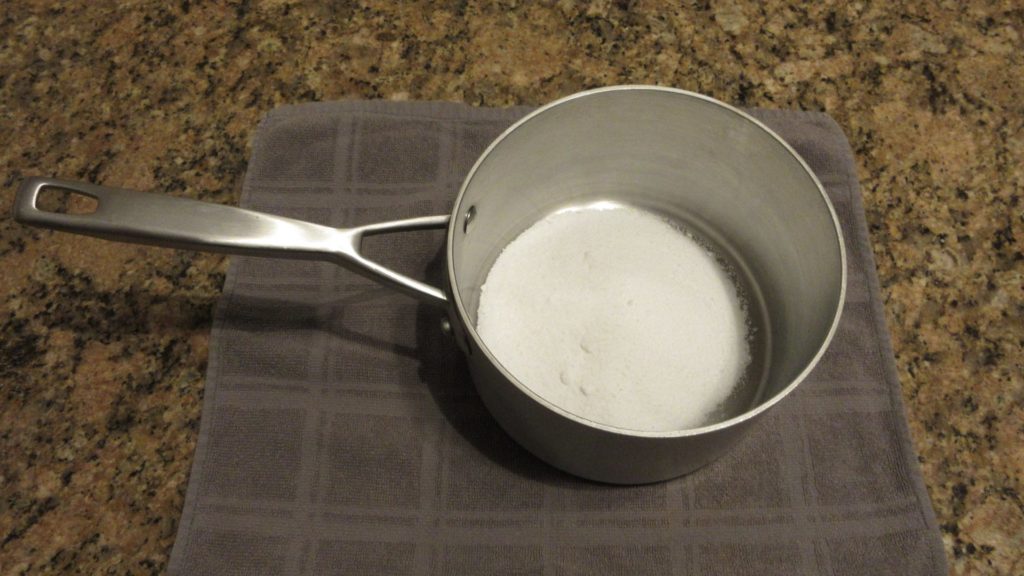
Pour in the sugar. 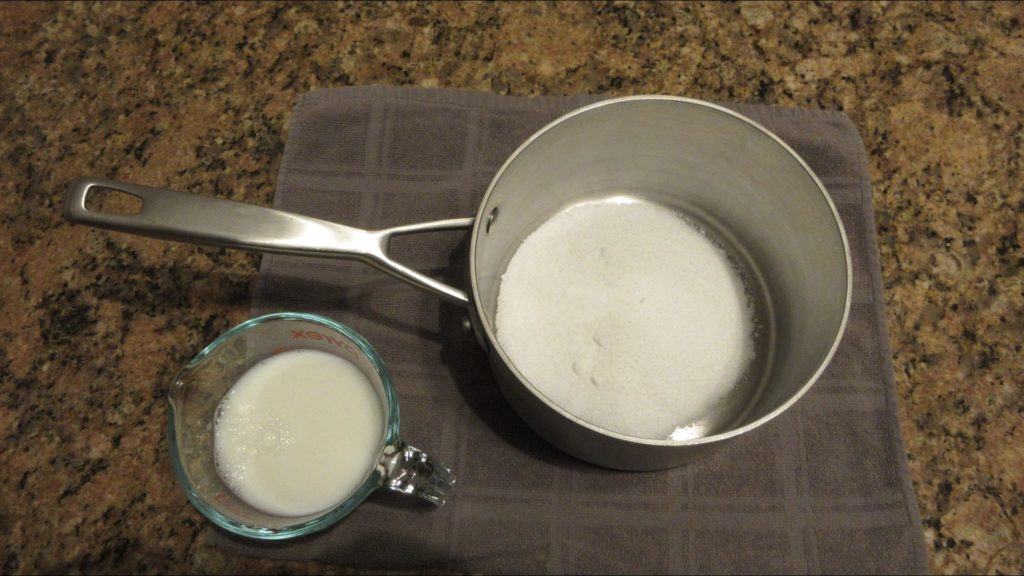
Measure out the milk. 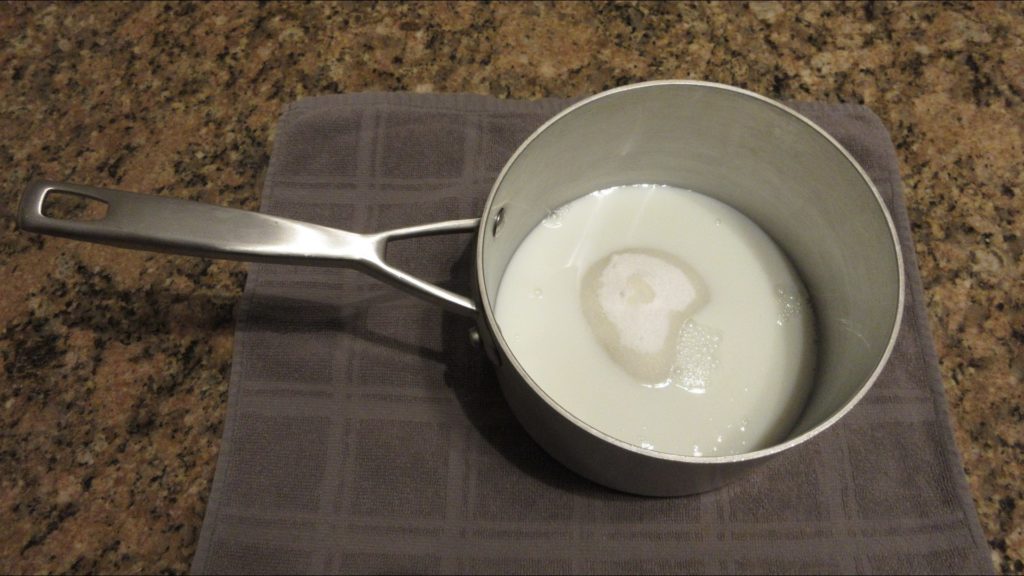
Dissolve the sugar in the milk. 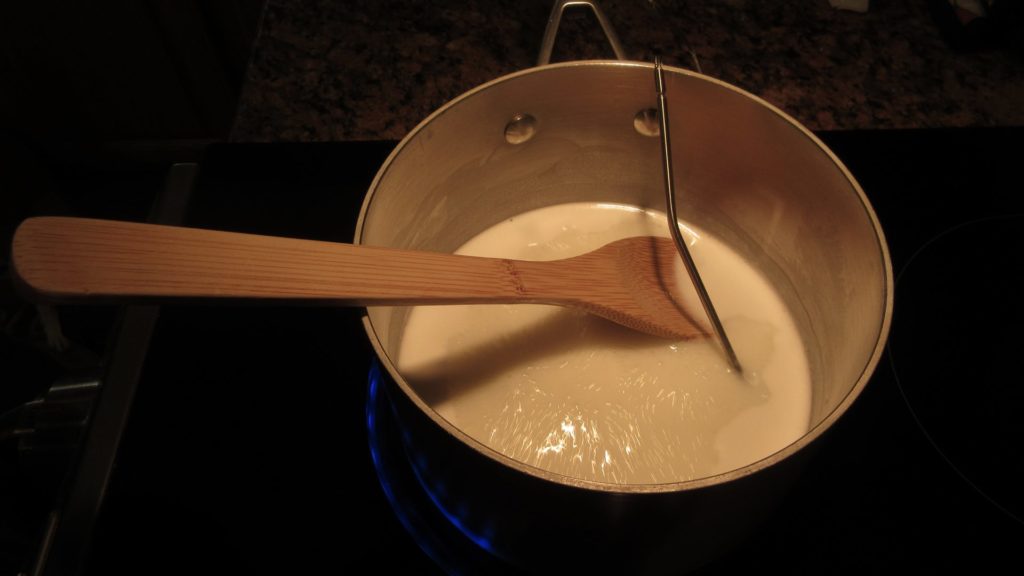
Slowly bring to a boil. 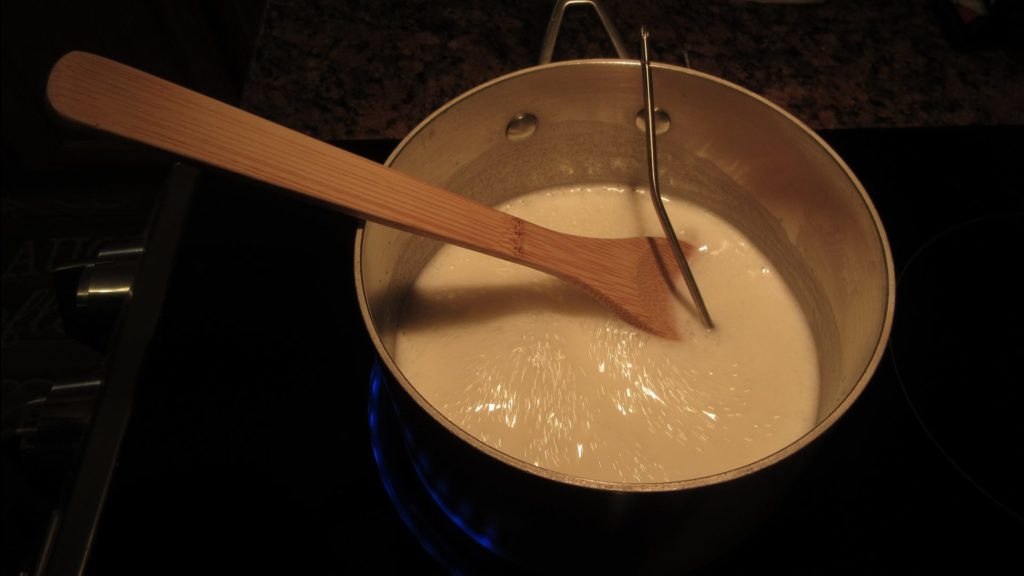
Wash down the sides. 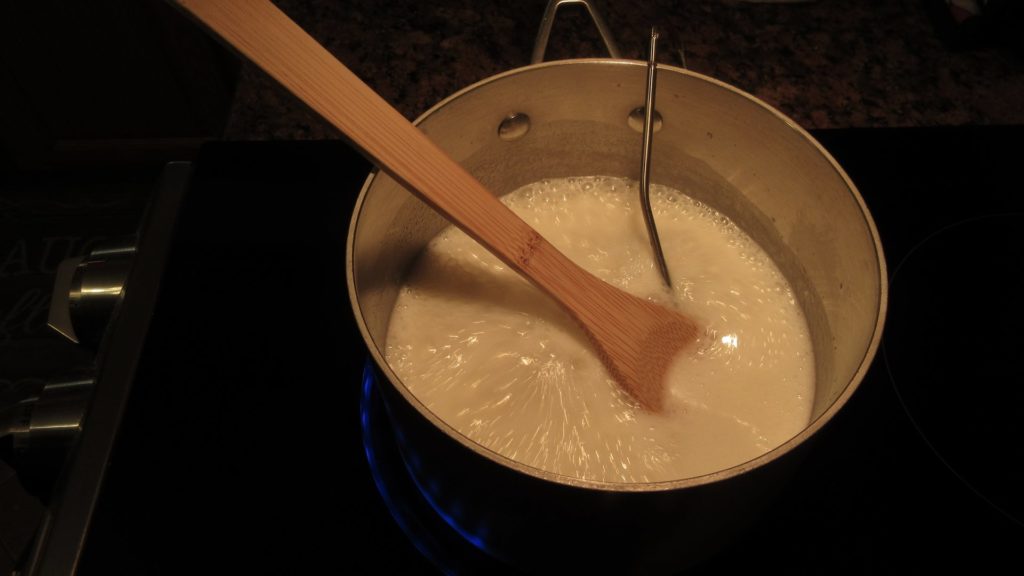
It will start to thicken. 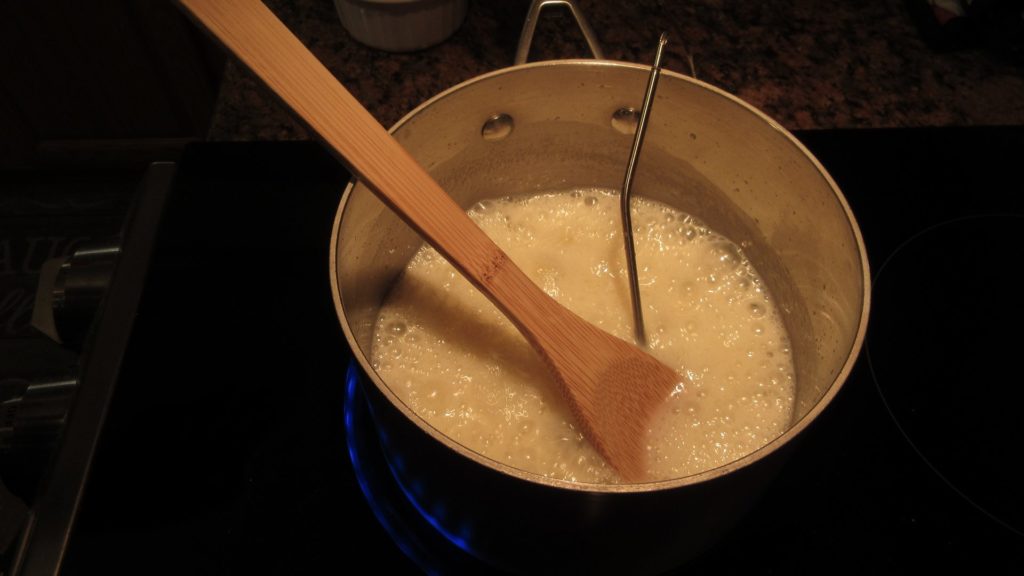
Then it will turn amber. 
Once you see bits of caramel appear, stir vigorously to prevent burning. 
Turn off the heat once it’s at this stage. 
Now carefully pour into pan. 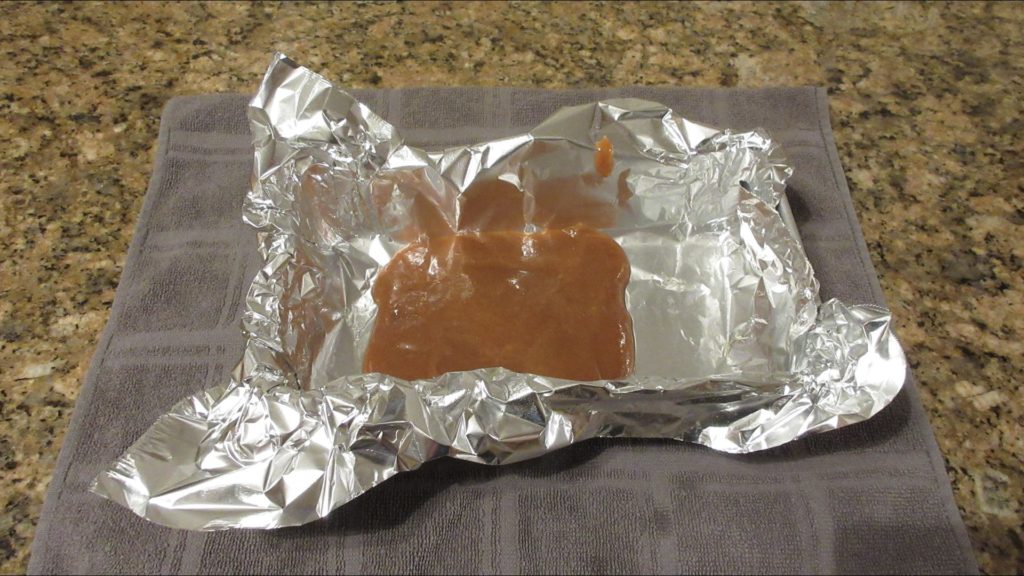
It will be a small batch. 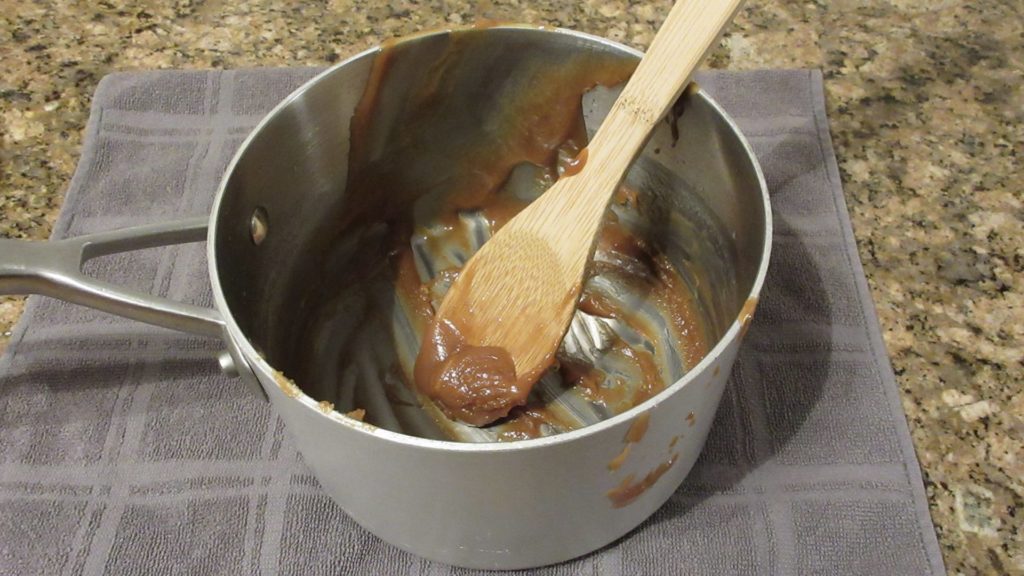
Don’t scrape down the sides! 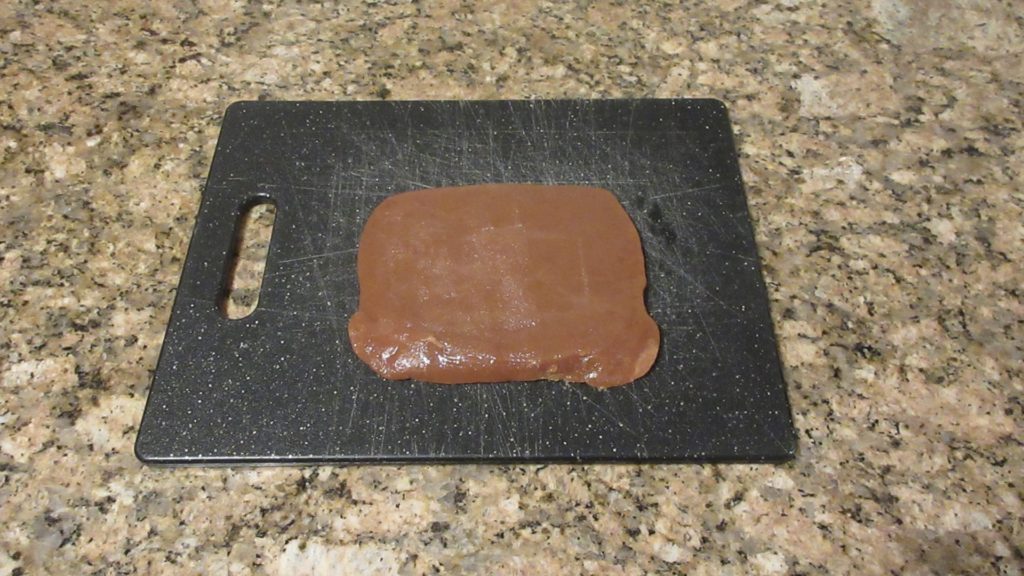
Let cool completely before touching! 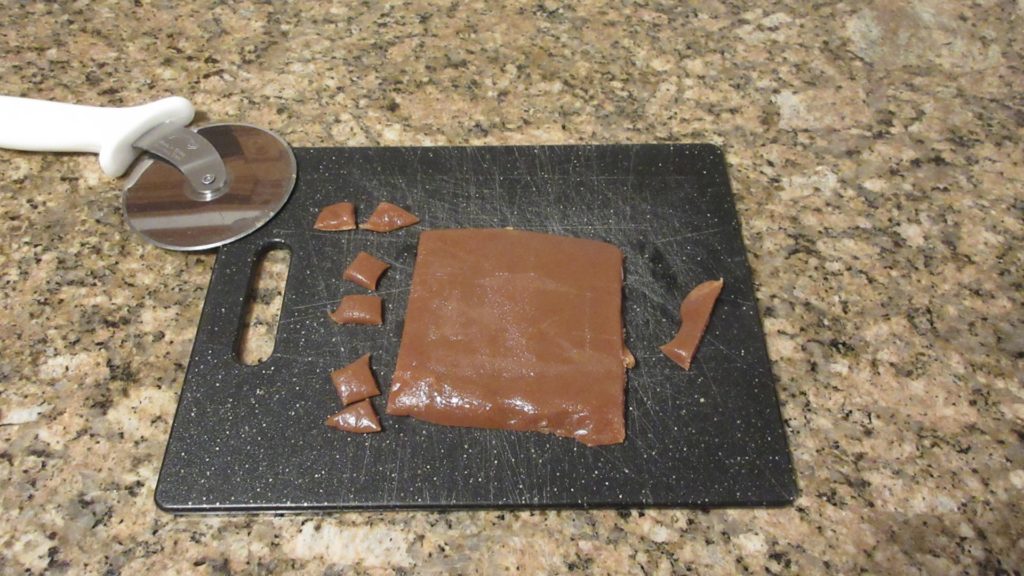
Cut into squares. A pizza cutter is handy. 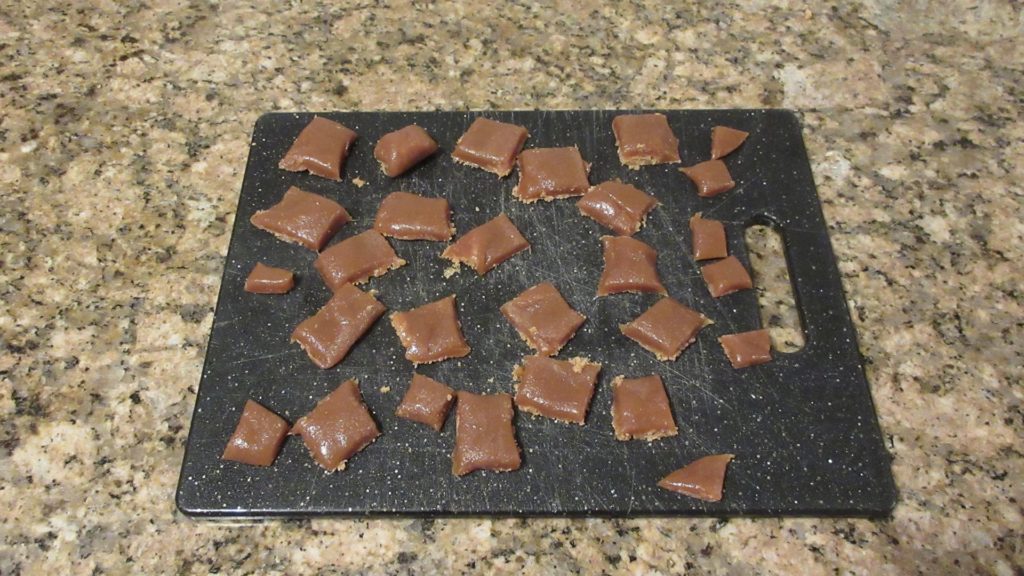
Serve or wrap in wax paper. 
Enjoy your lactose free caramels! 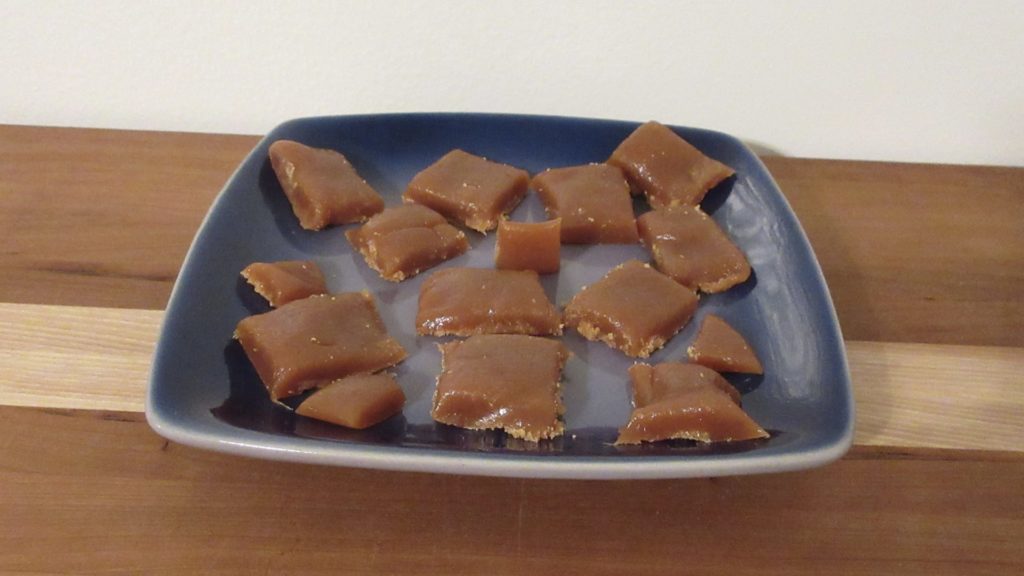
Happy baking!

Lactose-free Caramels
Ingredients
- 1 cup (240mL) lactose-free milk*
- 1 cup (200g) sugar
- ½ tsp (2.5g) salt
Instructions
- Line a small cake or 9×5 loaf pan (23x13cm) with aluminum foil and spray with non-stick spray or oil generously. Set aside.
- In a 3 quart heavy saucepan, stir together salt, milk and sugar gently. Bring to a slow boil over medium low heat.
- If any sugar gets on the sides of the pan while cooking, carefully brush down with cool water carefully using a pastry brush. This will help prevent crystallization.
- Stir continuously. The mixture will thickened and start turning brown. Constantly stir at this point to avoid scorching the caramel. Continue cooking mixture until it reaches 240F (115C) for a soft, chewy caramel. If you want a harder caramel, cook to 245 – 250F (112 – 116C.)
- Remove from heat, let the mixture stop boiling and carefully pour into the pan. Do not scrape the sides of the pan in case any sugar crystals formed.
- Allow caramel to cool complete before handling or cutting into bite sized pieces. This can take 1-3 hours.
- Wrap individually in wax paper and store in an airtight container.
Notes
- Recipe was created using fat-free lactose-free milk. You may use any percentage of milk you desire (1%, 2%, whole milk.)
- If you are having trouble with the candy turning grainy, add 2 tbs (42g) of corn-syrup or honey to the mixture before cooking. This will aid in preventing crystallization.
- Non-stick pans are notorious for causing sugar to crystalize when making candy. A good stainless steel pan with a heavy bottom is ideal.
- If you don’t have a thermometer, you can test it by dropping a small amount in cold water. Wait several moments to allow syrup to cool before handling. A ball should form and easily flattened when removed and pressed with your fingers.
- Caramel is very hot. Never leave the pan unattended and take extreme care when working with heating sugar.
- Adjust the heat as necessary. Do not allow the mixture to boil over, especially on glass stovetops. Hot sugar syrup and milk products can damage glass surfaces. Electric glass stovetops are not recommended for making candies.
- Do not touch or taste hot caramel. Use oven mitts and let the caramel cool completely before handling or consuming. You will be burned if you fail to heed this advice.
0 Comments