A Little Background on Thumbprint Cookies
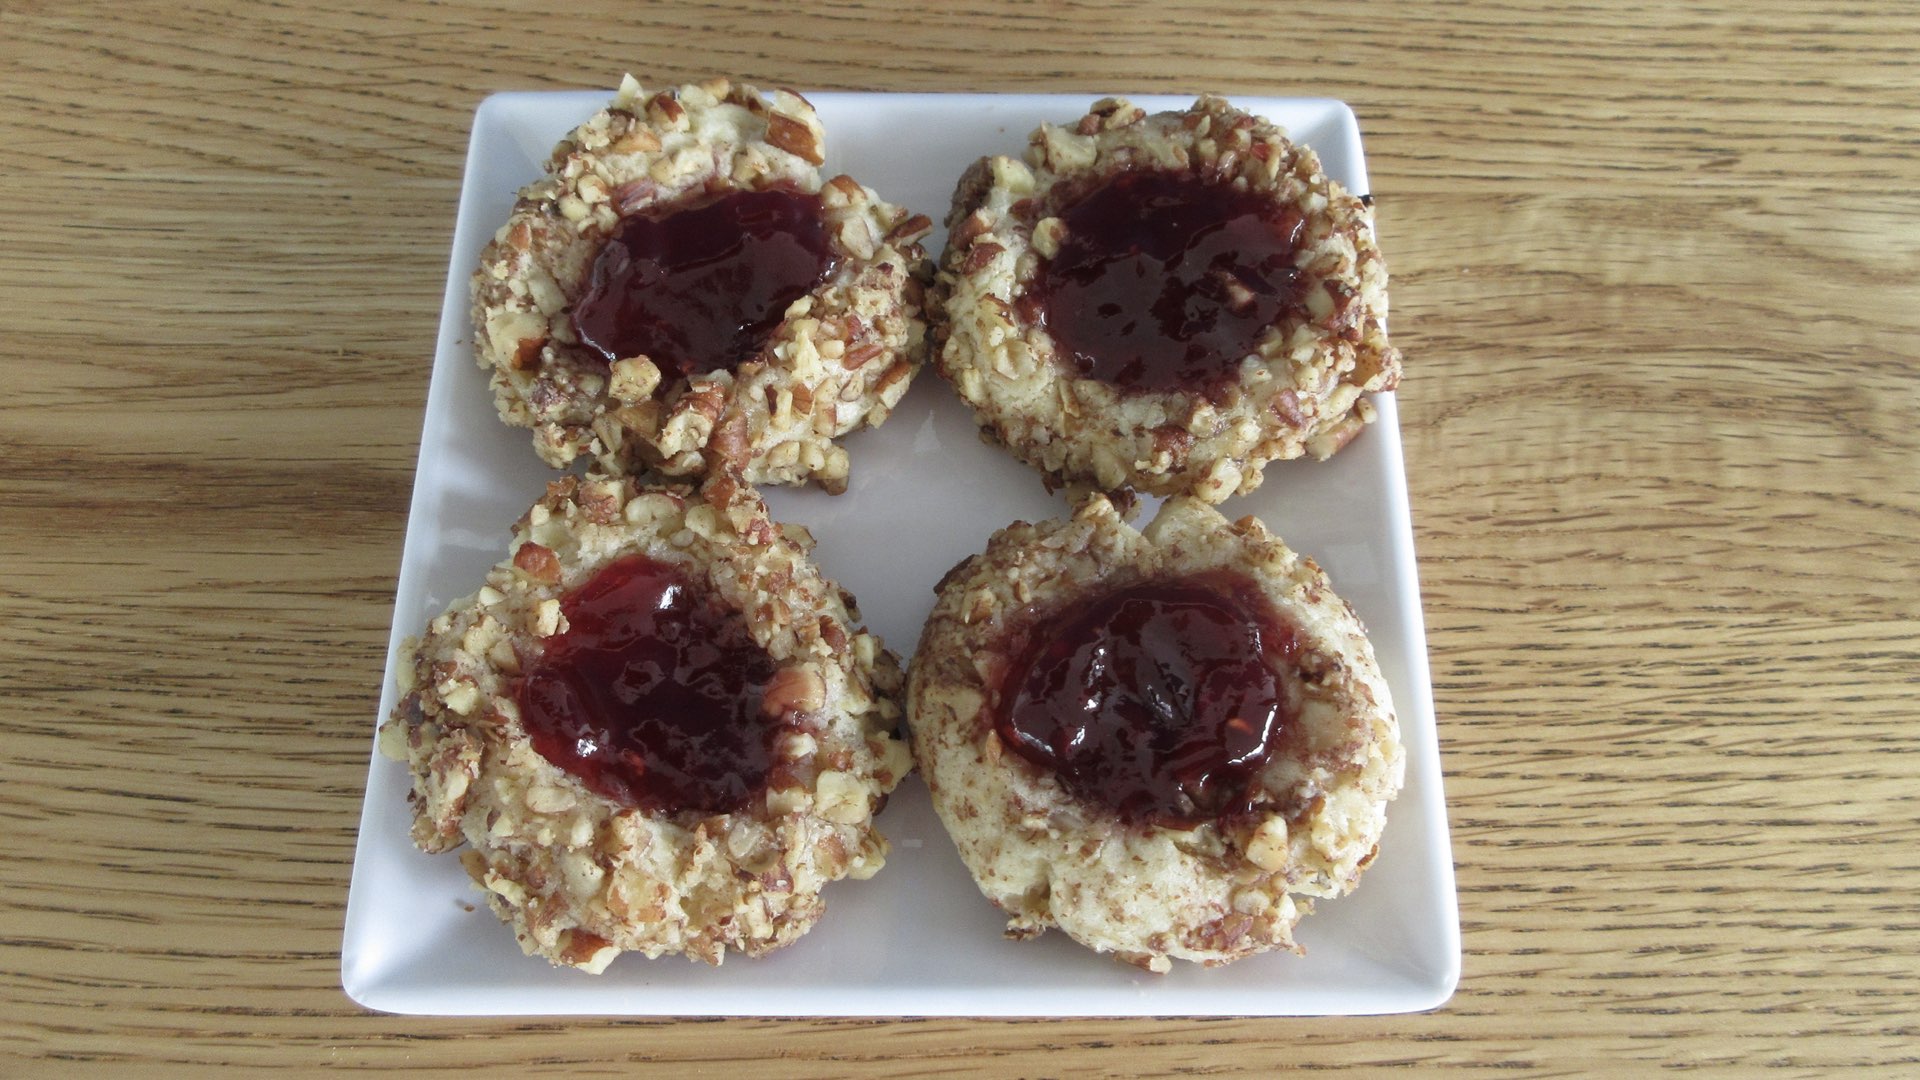
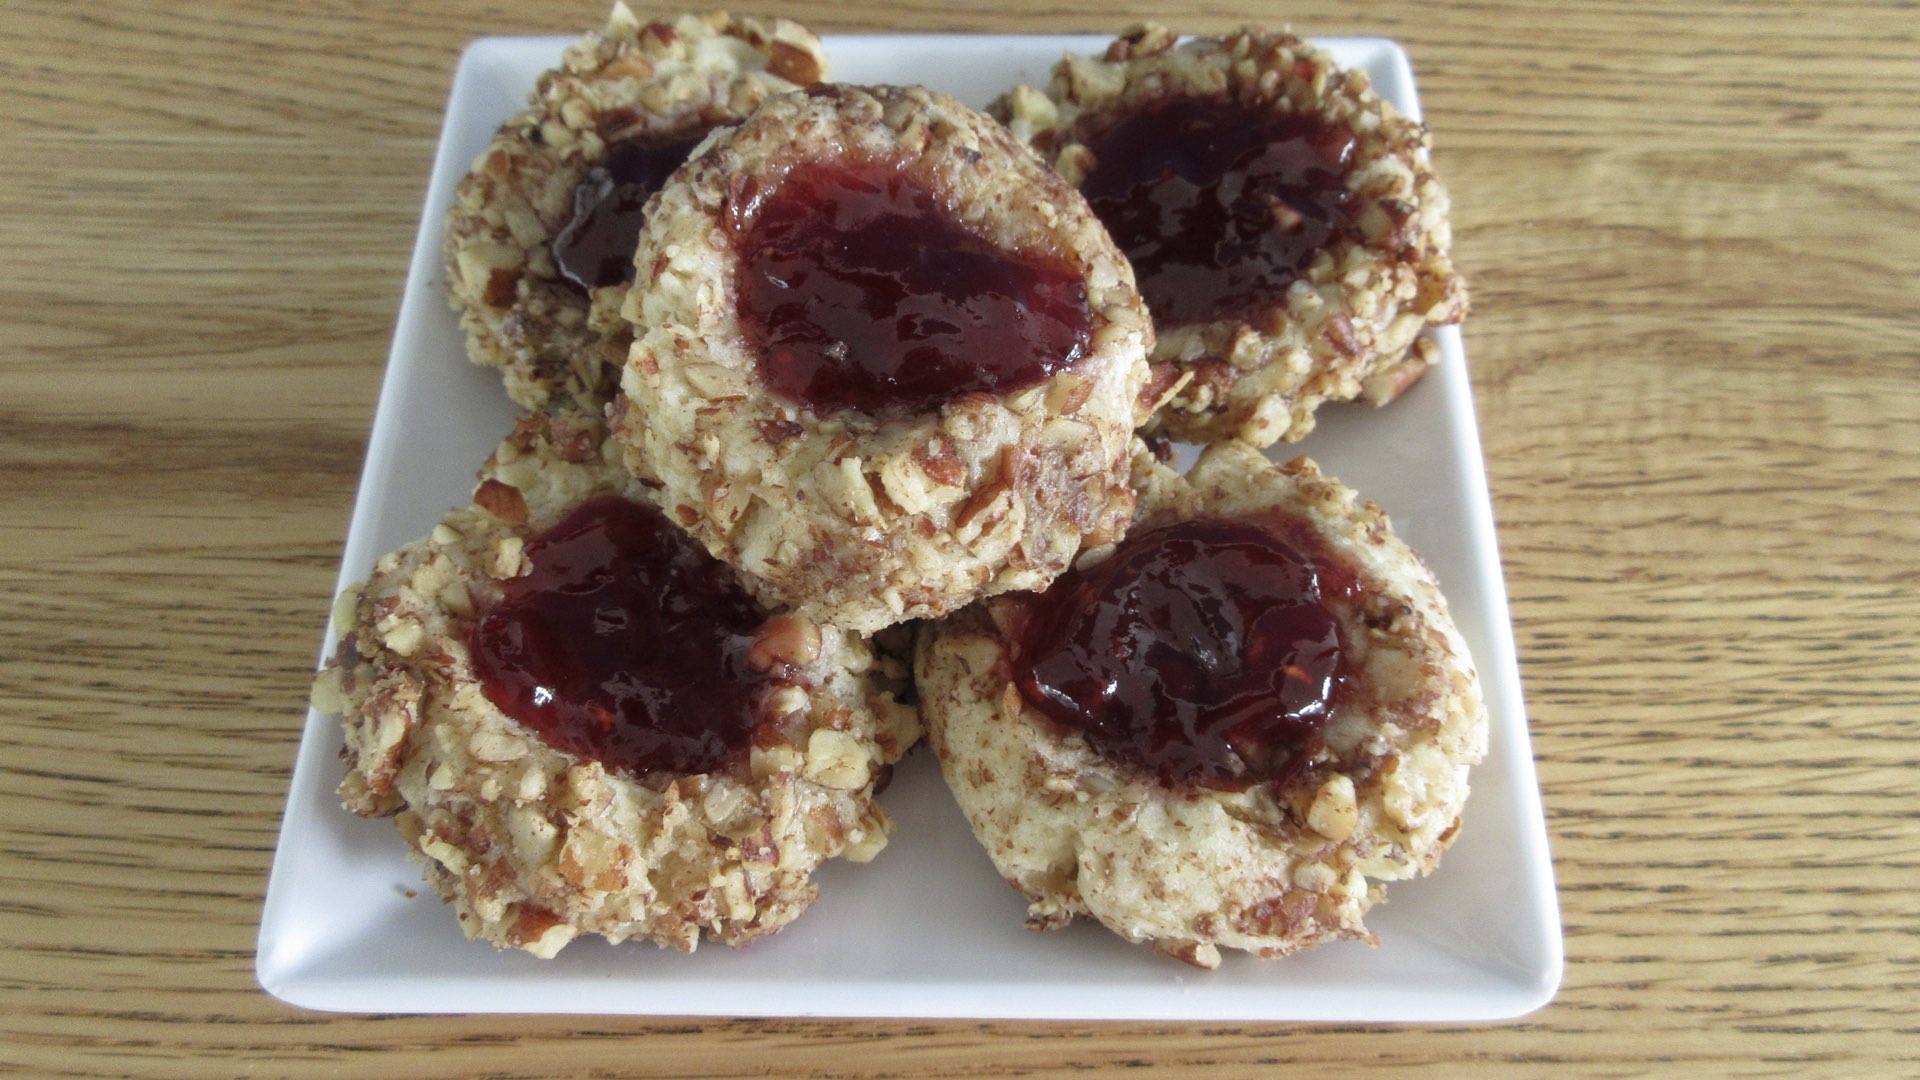
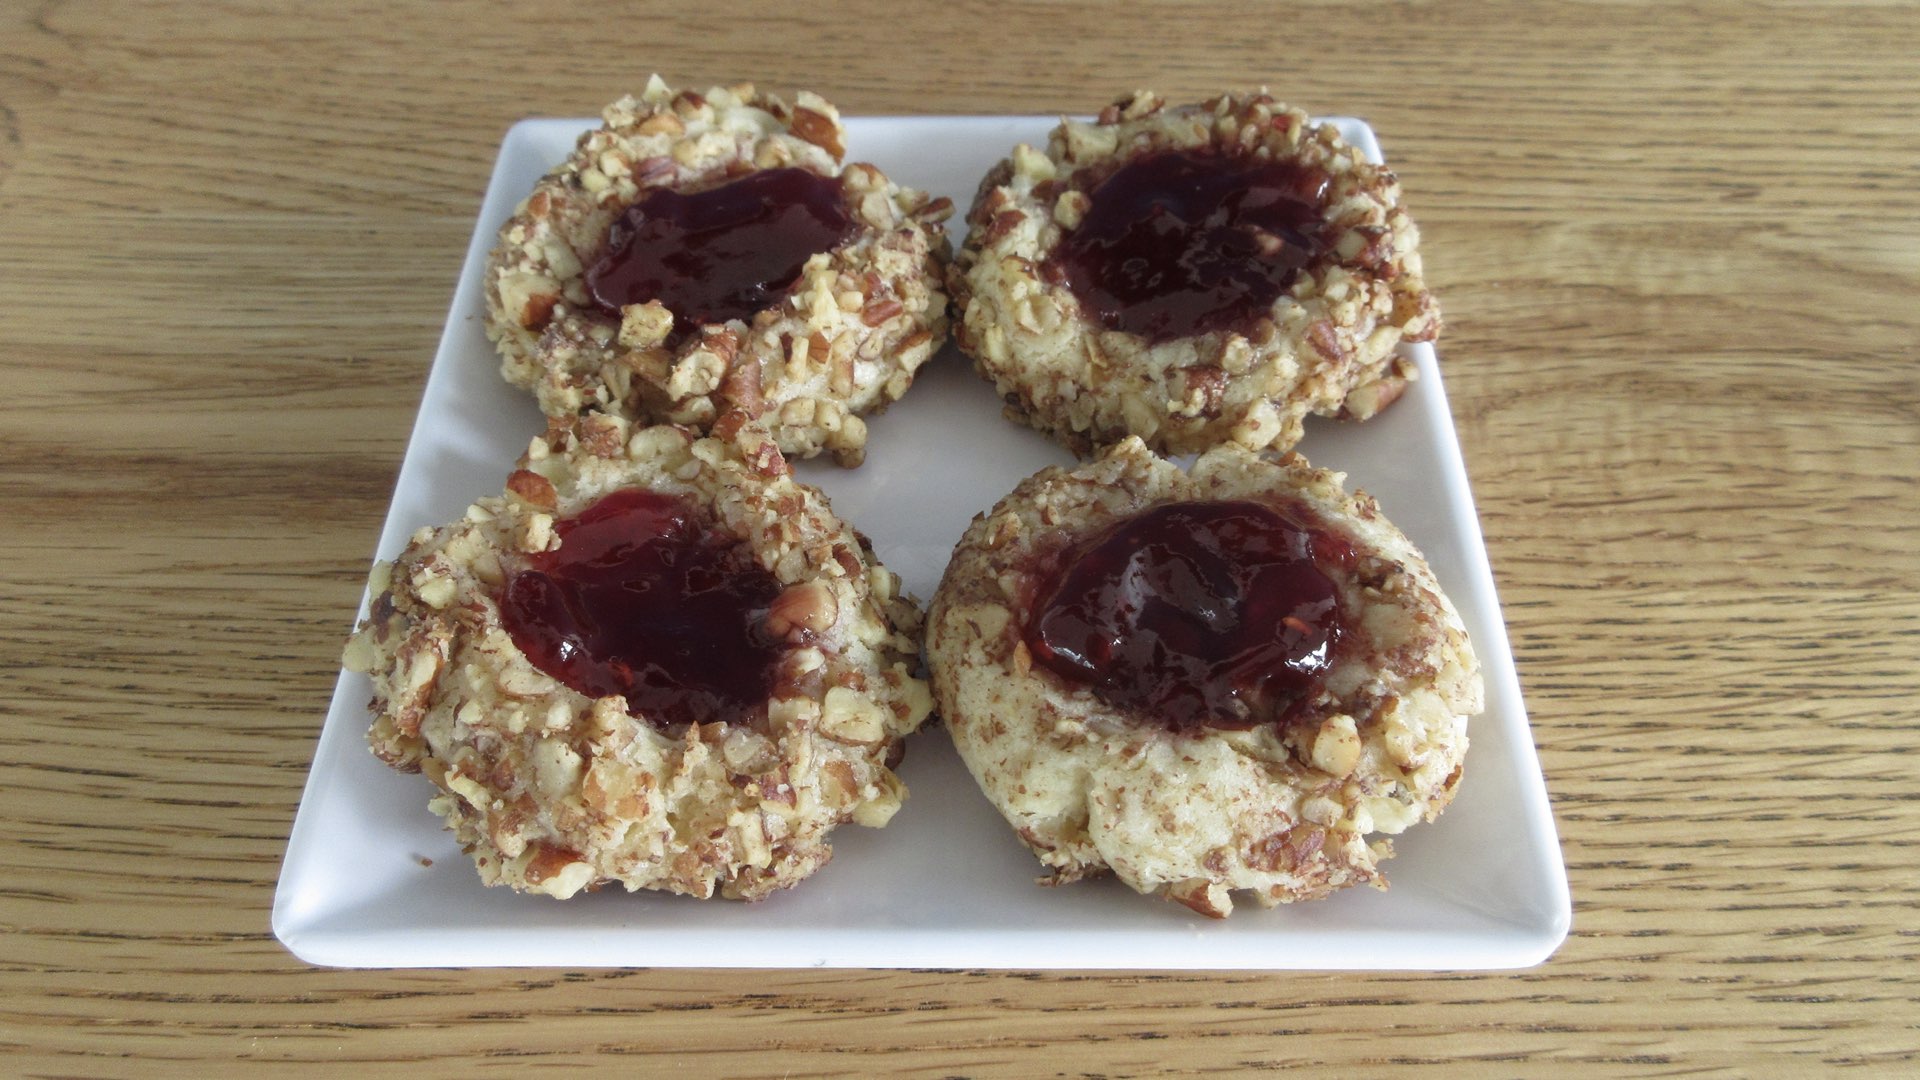
Thumbprint cookies are one of those old-fashioned yet classic recipes. It is a soft buttery shortbread cookie rolled in toasted chopped nuts and topped with a dollop of your favorite jam in the center. The cookie is not very sweet much like a traditional shortbread which helps balance out the sugar in the jammy center. These are what we used to call Grandma’s cookies as they tend to be favored more by those that aren’t sugar cookie fiends.
As we grow older ourselves, these have become a fast favorite of ours. They are more of a European cookie that doesn’t rely on sugar for flavor, but rather has nuances of rich butter, a crunchy nutty exterior and a sweet-toothed center. These are the perfect cookie for those that aren’t looking for a sugar high.
Step-By-Step Instructions
Below, we will teach you how to make these delectable thumbprint cookies. They aren’t difficult to master, but they do have a few steps along the way. Let’s get started baking.
Step 1: Toast and Chop Nuts
The first thing you will need to do is toast some nuts. What kind you want to use is entirely up to you. Traditionally, pecans or walnuts were often used depending on the region as they were plentiful and cheap. Nowadays with the access to all kinds, you may want to try out almonds, peanuts, hazelnuts or cashews just to name a few. However, for our tutorial we will use pecans. Lay them out in a single layer and bake them until you start smelling them. That’s when you know they are ready. You then need to let them cool completely before going on to the next step.

Next, chop the nuts into fine pieces. This will take a while by hand. A food processor, nut chopper or blender does this job in seconds with a few pulses. We like to take things slow. We find the process of making the cookies by hand soothing. Which method do you prefer? Slow and easy or fast and furious?
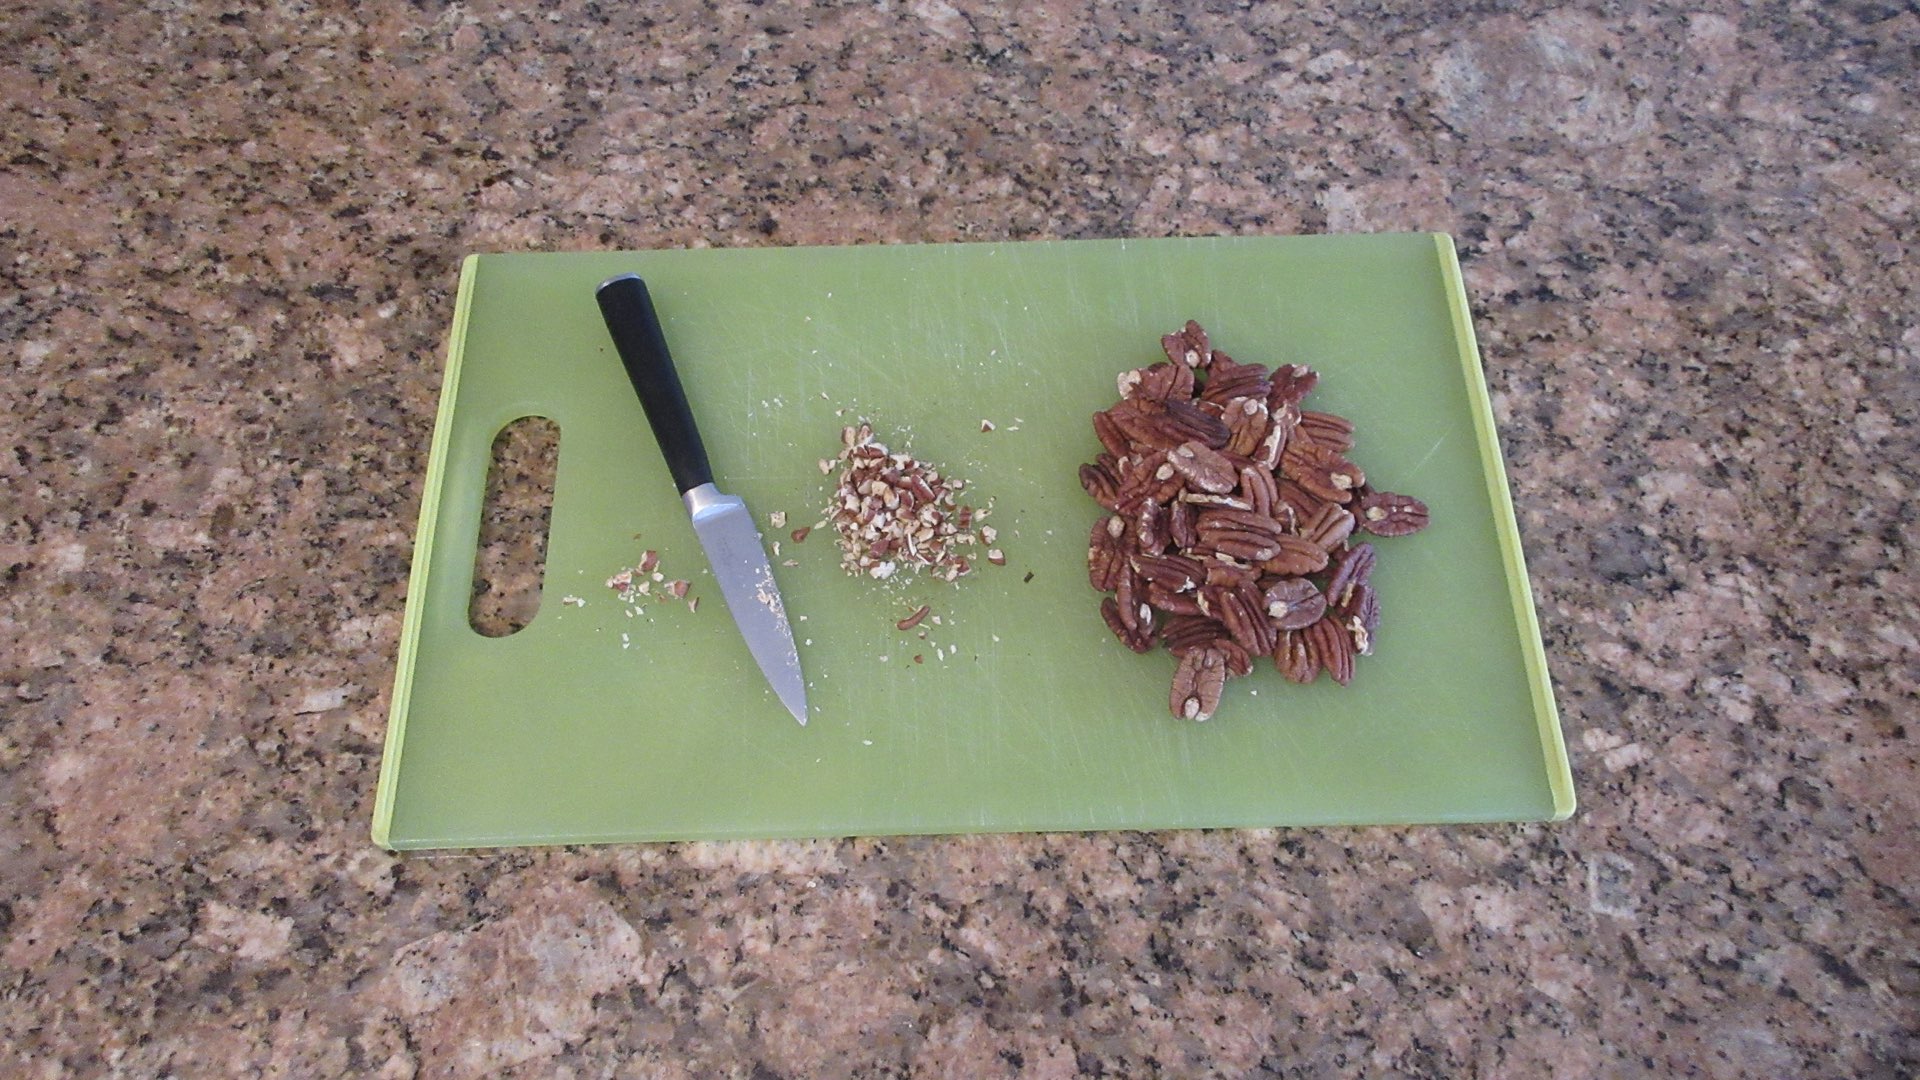
Whatever method you choose, the nuts should ultimately look similar to this when you are finished chopping them up. Some pieces will be slightly smaller than others and that is okay.

Step 2: Separate an Egg
Once you have the nuts all chopped up, set them aside and move onto the next step. We need to separate the eggs. Use a slightly larger bowl for the egg white. This part was easy.

Step 3: Cream Butter and Sugar
Now, we cream together the butter and sugar. Make sure the butter is soft and pliable but not greasy and melted. And you don’t want to put a lot of air into this recipe or the cookies will taste dry. This is a common mistake for beginners. A good way to ensure this is to make them by hand. If you want to use a mixer, that’s okay, just beat everything on a low speed.

Once the sugar and butter is combined, you want to add in the egg yolk and vanilla. Beat again until the mixture is smooth and no longer looks curdled. Don’t over-mix as you don’t want air in the batter; you just want it cohesive. It should look like the picture below.

Step 4: Add in the Flour
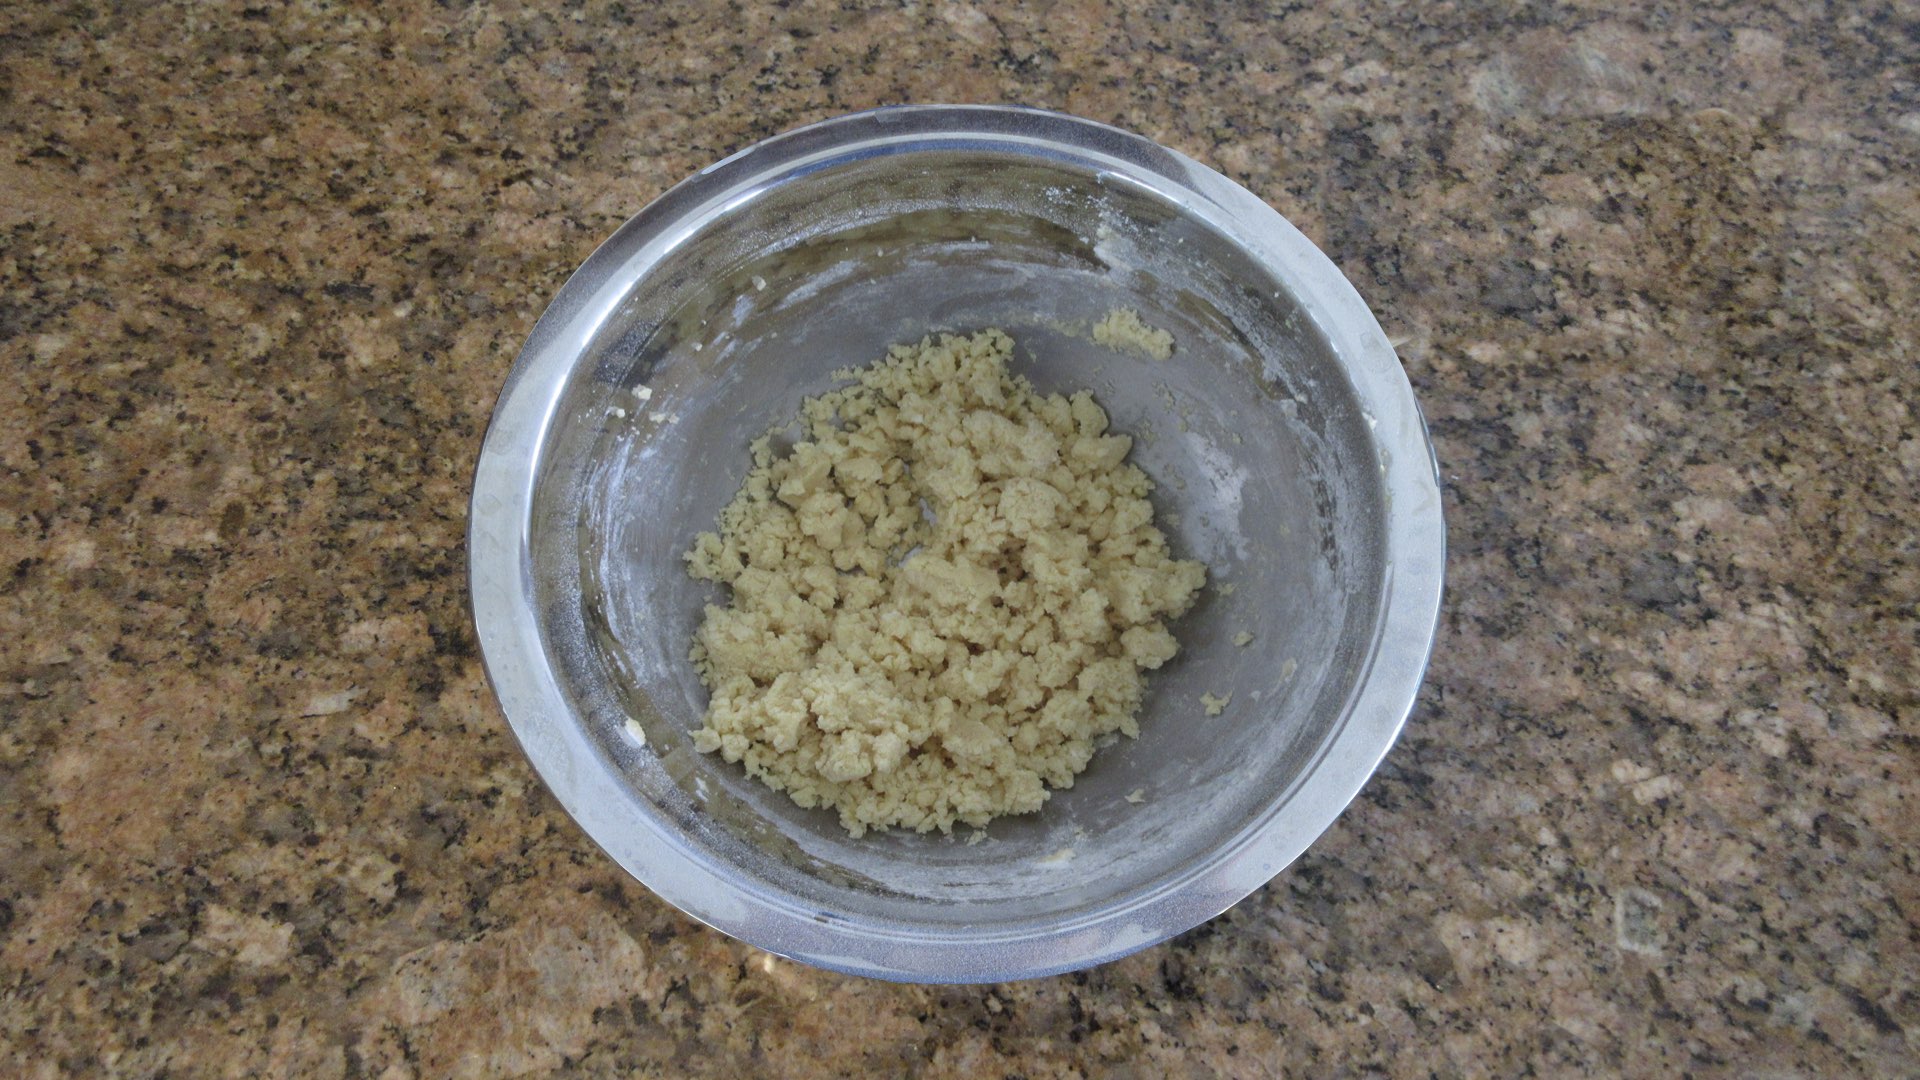
Now is the time to add in the flour. You want to mix it throughly until it begins to form a clumping dough, much like wet sand. Again, just mix until it comes together and at a low speed if you are using a mixer.
Step 5: Chill and Shape the Dough
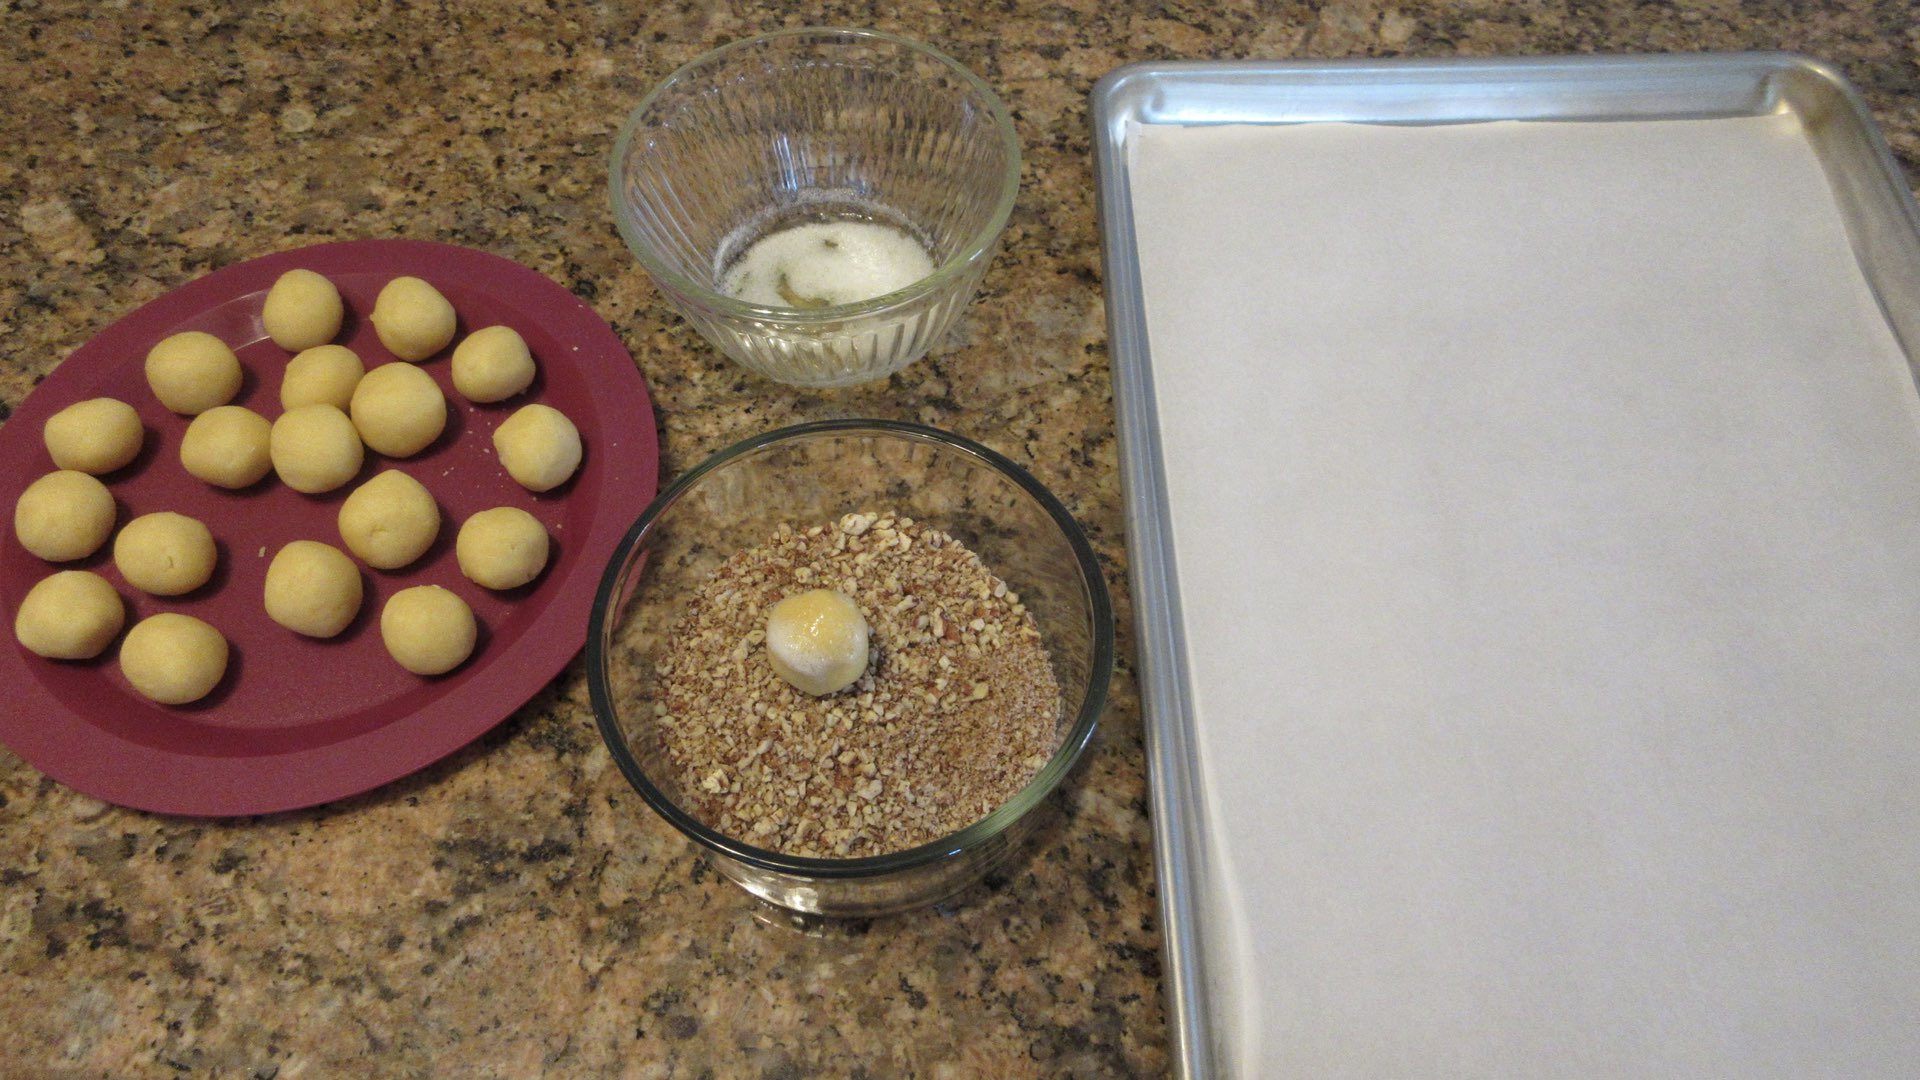
At this stage, you need to look at your dough. Did the butter get too warm as you worked and it looks a bit greasy? That’s okay. If the dough is too soft to roll, chill the dough covered for twenty minutes or until firm. You can even leave it overnight for the flavors to really develop. You want to roll a generous tablespoon of dough (approximately 18 – 19 grams) into a ball.
Step 6: Prepare the Cookies
Whisk the egg whites until they start to foam up with a fork. One at a time, dip each ball of cookie dough into the egg whites and then roll it into your chopped nuts.
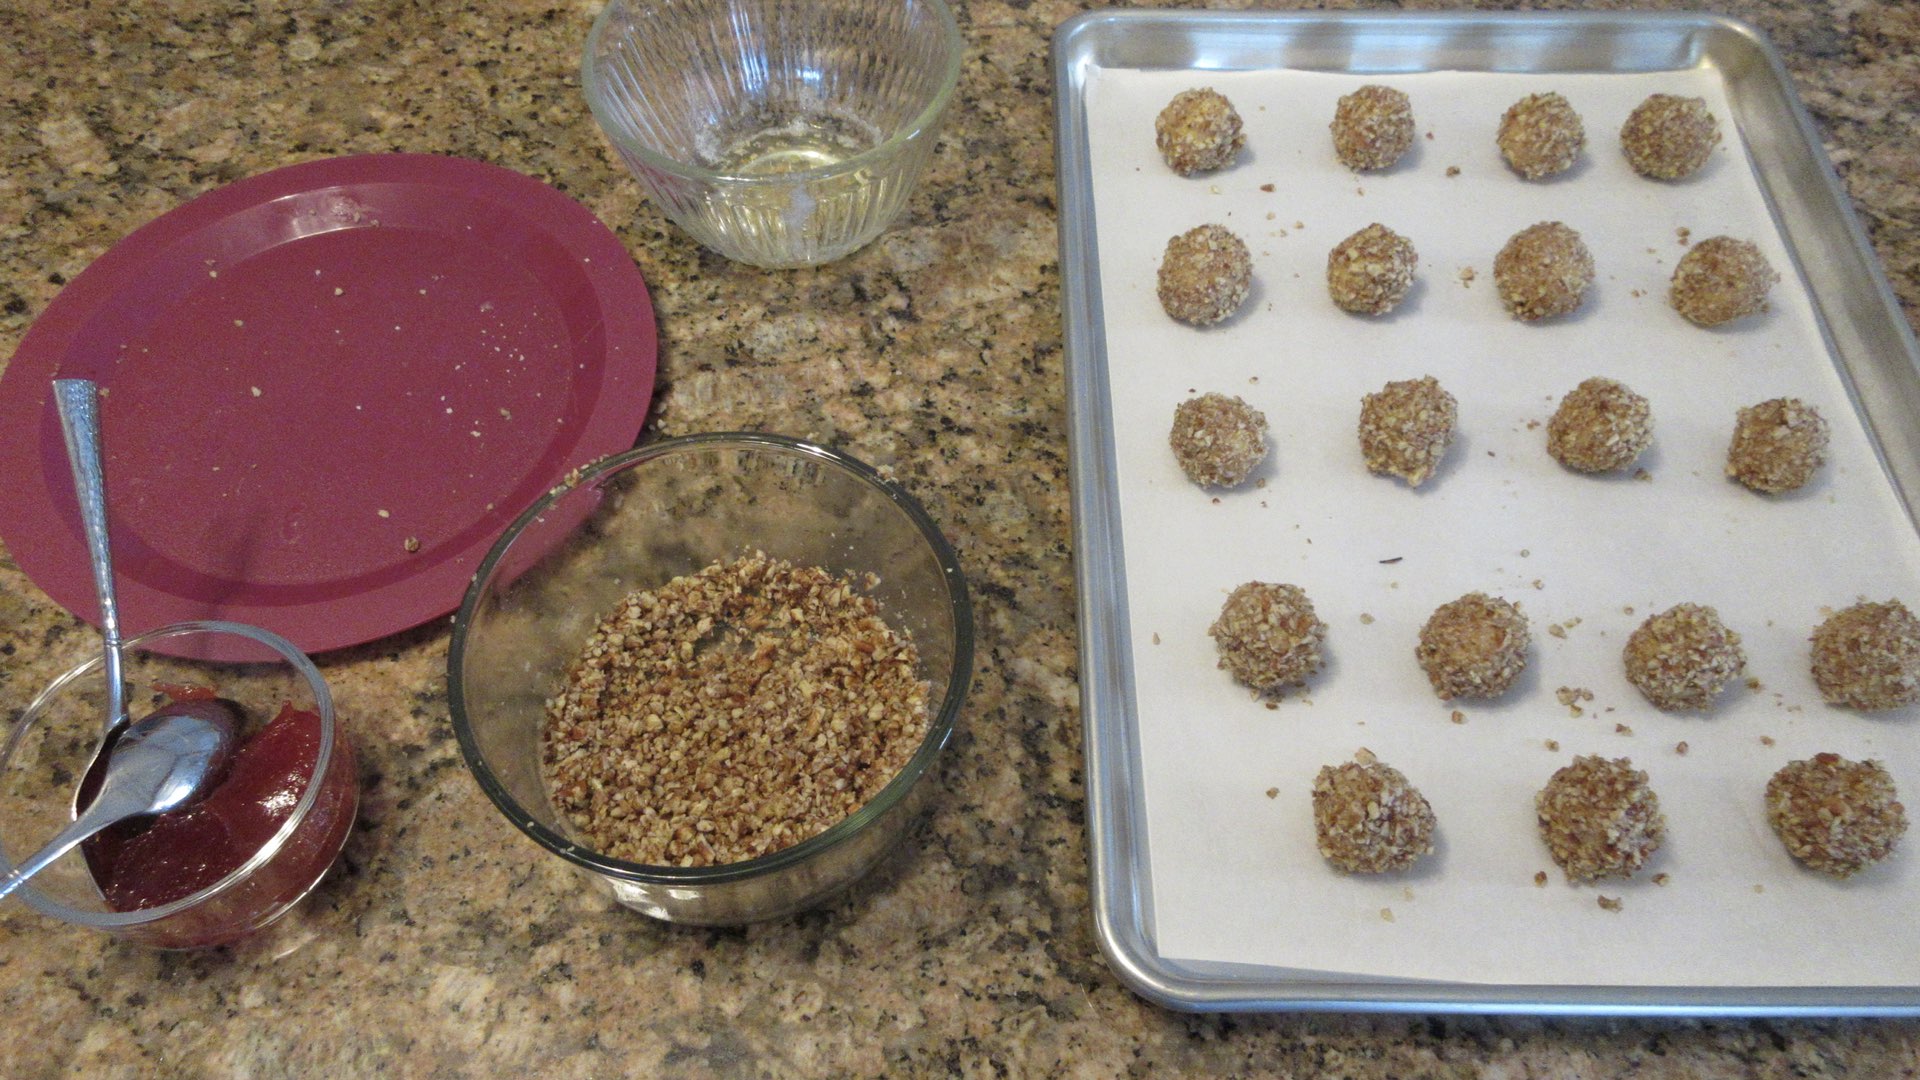
After you have all of your cookies rolled out and coated well, take your thumb and press down in the center of each ball of cookie dough. You can also use the handle of a spoon but the thumbprints make them special. This will form an indentation or a “thumbprint” well for the jam to nestle into nicely. Dollop a spoonful of your favorite jam into each little thumbprint.

Step 7: Bake
Once your oven has preheated and come up to temperature, you are ready to bake! You want to bake these cookies until the edges are a light golden brown and the center is set. If you are using a thermometer, the center of the cookie should read between 180 – 185F (82 – 85C.) The cookies will be buttery soft and flaky and the jam will be piping hot.

Step 8: Cool
Let the cookies rest for two to three minutes on the baking tray before removing them to a wire rack to finish cooling. These are best eaten after they’ve fully cooled as the flavor develops more. If desired, dust the tops with powdered sugar. The powdered sugar will eventually absorb into the jam and you’ll only see a dusting left on the edges.

And that is all there is to making thumbprint cookies! Aren’t they just darling to look at? These are one of our favorite classic cookies that you don’t see that often these days. Why not make them a tradition for your family?
Substitutions and Tips
Here are some common substitutions and tips for this thumbprint cookie recipe.
- Instead of pecans, you can use walnuts, peanuts, almonds, or any type of nut you enjoy!
- Toasted coconut is frequently used instead of toasted nuts for the outside.
- Use any type of jam or jelly you like. Perhaps even a lemon curd would be a refreshing alternative.
- Margarine can be used in place of the butter. Do not use vegetable oil spread. You need at least 80% fat for these to turn out pleasant.
- Brown sugar is often used in place of granulated white sugar. Try them both!
- Bake the cookies without jam. Let them cool completely and fill with ganache or buttercream frosting.
- Sometimes there will be extra nuts depending on how finely you chopped them. Instead of pouring all the nuts into your container, reserve 1/2 of them back and add more as needed. This way, you can use any remaining for future projects.
Storage
Most cookies taste best eaten within the first few days, but sometimes you need to store them for future use. Thumbprint cookies store for 3-7 days in an airtight container. They tend to become soggy in the center and crumbly with age, so we recommend enjoying them within a couple days or so. Even though these cookies do have jam or jelly in the center, the consensus is it is safe to store them at room temperature due to the high sugar content of most jams and jellies. If in doubt or using a homemade jam with less sugar content, store them in the refrigerator in an airtight container and bring to room temperature to serve.
Thumbprint cookies freeze best raw and prior to filling with the jam. Prepare the cookie dough as directed and stop after you have created the indentation with your thumb. Freeze the cookies on a tray lined with parchment or wax paper. Once frozen, transfer the raw cookie dough to a freezer bag or an airtight container suited for freezing. Store the dough in the freezer 1-3 months.
When you are ready to bake the frozen cookie dough, place the cookies on a baking sheet as directed and add the jam. You will need to extend the baking time 3 – 5 minutes for frozen cookie dough. For best results, thaw dough overnight in the fridge prior to baking.

Thumbprint Cookies
Ingredients
- 1 cup (150g) flour
- ¾ cup (85g) finely chopped nuts
- ½ cup (113g) softened butter
- ¼ cup (50g) sugar
- 1 large (50g) egg, separated
- 1 tsp (5mL) vanilla extract
- ⅛ tsp (.625g) salt
- 3 tbs (60g) jam
Instructions
- Preheat your oven to 350F (180C.)
- Separate one large egg. Set aside.
- Spread the nuts whole on a baking sheet and bake 8-12 minutes or until they are fragrant and a light golden brown. Cool the nuts completely and chop finely with a knife. You can also pulse the nuts in a food processor or blender until fine. Place the chopped nuts in a shallow bowl, on a plate, or in a plastic bag and set aside.
- In a large bowl, cream softened butter, sugar, and salt. If using salted butter, reduce the salt by half. Beat in egg yolk and vanilla until no longer curdled and smooth.
- Fold in the flour and mix until just combined. Roll a generous tablespoon of dough (18g) into a ball. If the dough is too soft to roll into balls, cover and chill dough 20 minutes or until firm.
- In a small bowl, whisk the egg white until foamy. Dip each ball of cookie dough, one at a time, into the egg white and promptly roll in the chopped nuts. Place them on a baking sheet approximately 2" (5cm) apart. Using your thumb, press down in the center of each ball of cookie dough until you form an indentation or well. There are 2 methods for making thumbprint cookies. For softer cookies, fill the indent with your favorite jam or jelly. Bake 14 – 18 minutes or until the nuts are golden brown and the jam takes on a mat appearance. For a more crisp cookie, par-bake prior to adding the jam. Bake for 10 minutes, remove from oven, then fill with jam. Return to oven to bake for another 4-8 minutes.
- The temperature of the cookie should read between 180 – 185F (82 – 85C.) Let cookies cool for 2 minutes on pan and remove to a wire rack to finish cooling.
I made christmas Jan that is what Iam going to use
That is a great idea, Susan!