
A Little Guide to Baking 6″ Cheesecakes
We love cheesecake! And this 6″ cheesecake recipe is the perfect size. We love our classic cheesecake recipe but has just become to be too much food as our lives have changed. There simply isn’t the need for larger sized desserts at this stage in our lives. Perhaps you find yourself in a similar situation or you want to make a smaller cheesecake for a friend for a special occasion or just because. Regardless of your circumstances, we developed this recipe by simply pairing down our original cheesecake and making it even easier to make!
After getting a lot of positive reviews on not using a springform pan, we decided to stick with this method for this 6″ cheesecake recipe. Whereas many people seem to love springform pans, we always found them prone to leaking, along with being finicky to clean, close and open. Over time, they get more fallible and they often need replaced. In addition, we just don’t have the room to store or the money to spend on all these speciality pans that are only used once or twice a year at best. However, our six inch cake pans are great for everything from batter breads, to small cakes, or this amazing cheesecake recipe.
This is a 6″ New York style cheesecake recipe that utilizes a water bath to ensure that velvety smooth center and lightly baked exterior. This cheesecake will melt in your mouth and make you want to eat the whole thing by yourself. But try to resist. This is one of those desserts that is indulgent and full of calories. They are worth every single bite, too.
Step-By-Step Instructions
Below, we will teach you how to make this 6 inch cheesecake recipe in detail. It’s not a difficult dessert to make, but it is time consuming and there are some tedious parts. The hardest part is waiting the hours it sits around chilling in the refrigerator.
Step 1: Prepare the Pan
Obviously, you will need a 6″ (15cm) cake pan for this cheesecake. If you can find one that is 3″ (7.6cm) tall, that would be ideal, but a 2″ (5cm) tall pan will work just fine with a little parchment paper. The cheesecake will rise and you need the parchment paper to prevent it from spilling over. It also helps you release the cake when it is ready to serve.
Cut two rectangular strips 1″ x 12″ (2.5 x 30 cm) of parchment paper. Cut one rectangular strip 3.5″ x 19″ (9 x 48 cm) of parchment paper. You may choose to cut two 3.5″ x 9.5″(9×24 cm) strips instead for easier placement. Trace the bottom of an 6″ (15 cm) cake pan and cut out a circle of parchment.
Melt the butter for the crust in a small bowl. With a pastry brush or your fingertips, coat one side of the strips of parchment and the inside of the cake pan. Lay one strip of the 1″ x 12″ (2.5 x 30 cm) parchment paper across the bottom of the pan and up the sides. About 1″ (2.5cm) of paper should extend from the top of the cake pan.
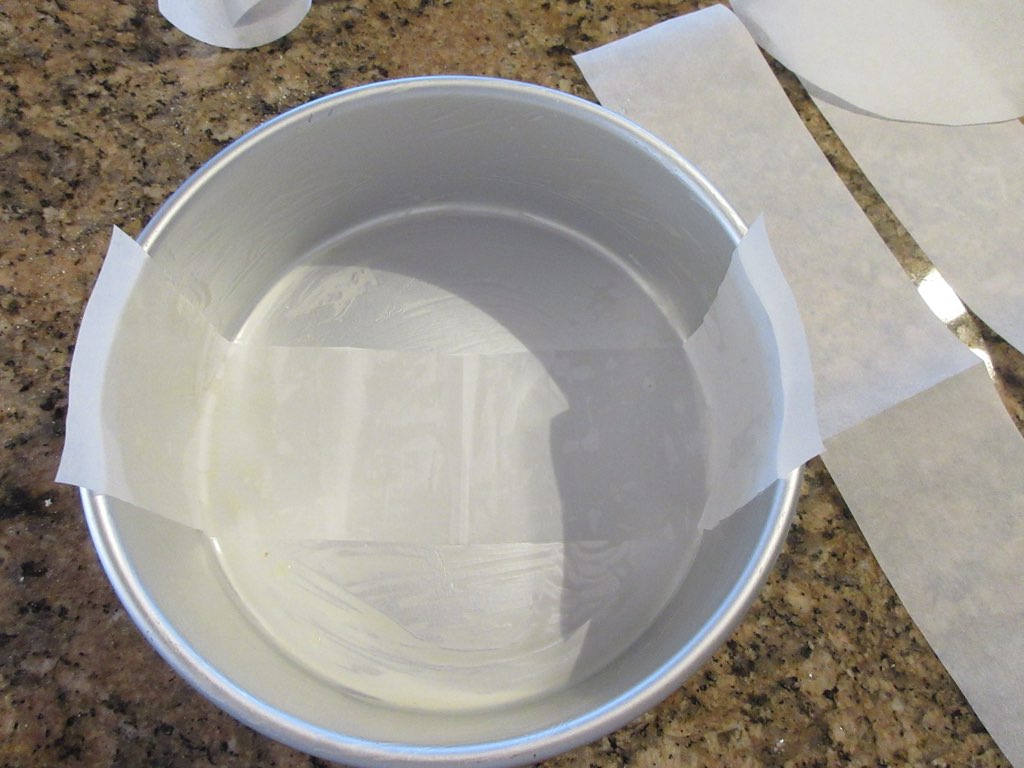
Lay the second strip of the 1″ x 12″ (2.5 x 30 cm) parchment paper across the bottom of the pan and up the sides in the opposite direction, forming a cross. Again, about 1″ (2.5cm) of paper should extend from the top of the cake pan.
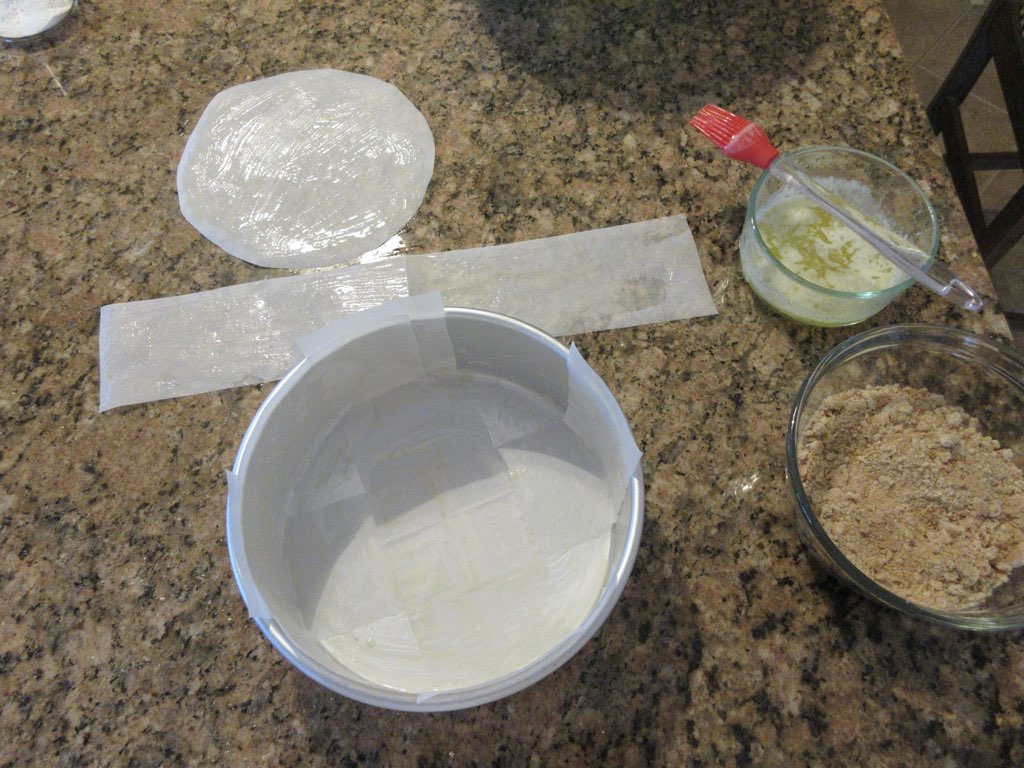
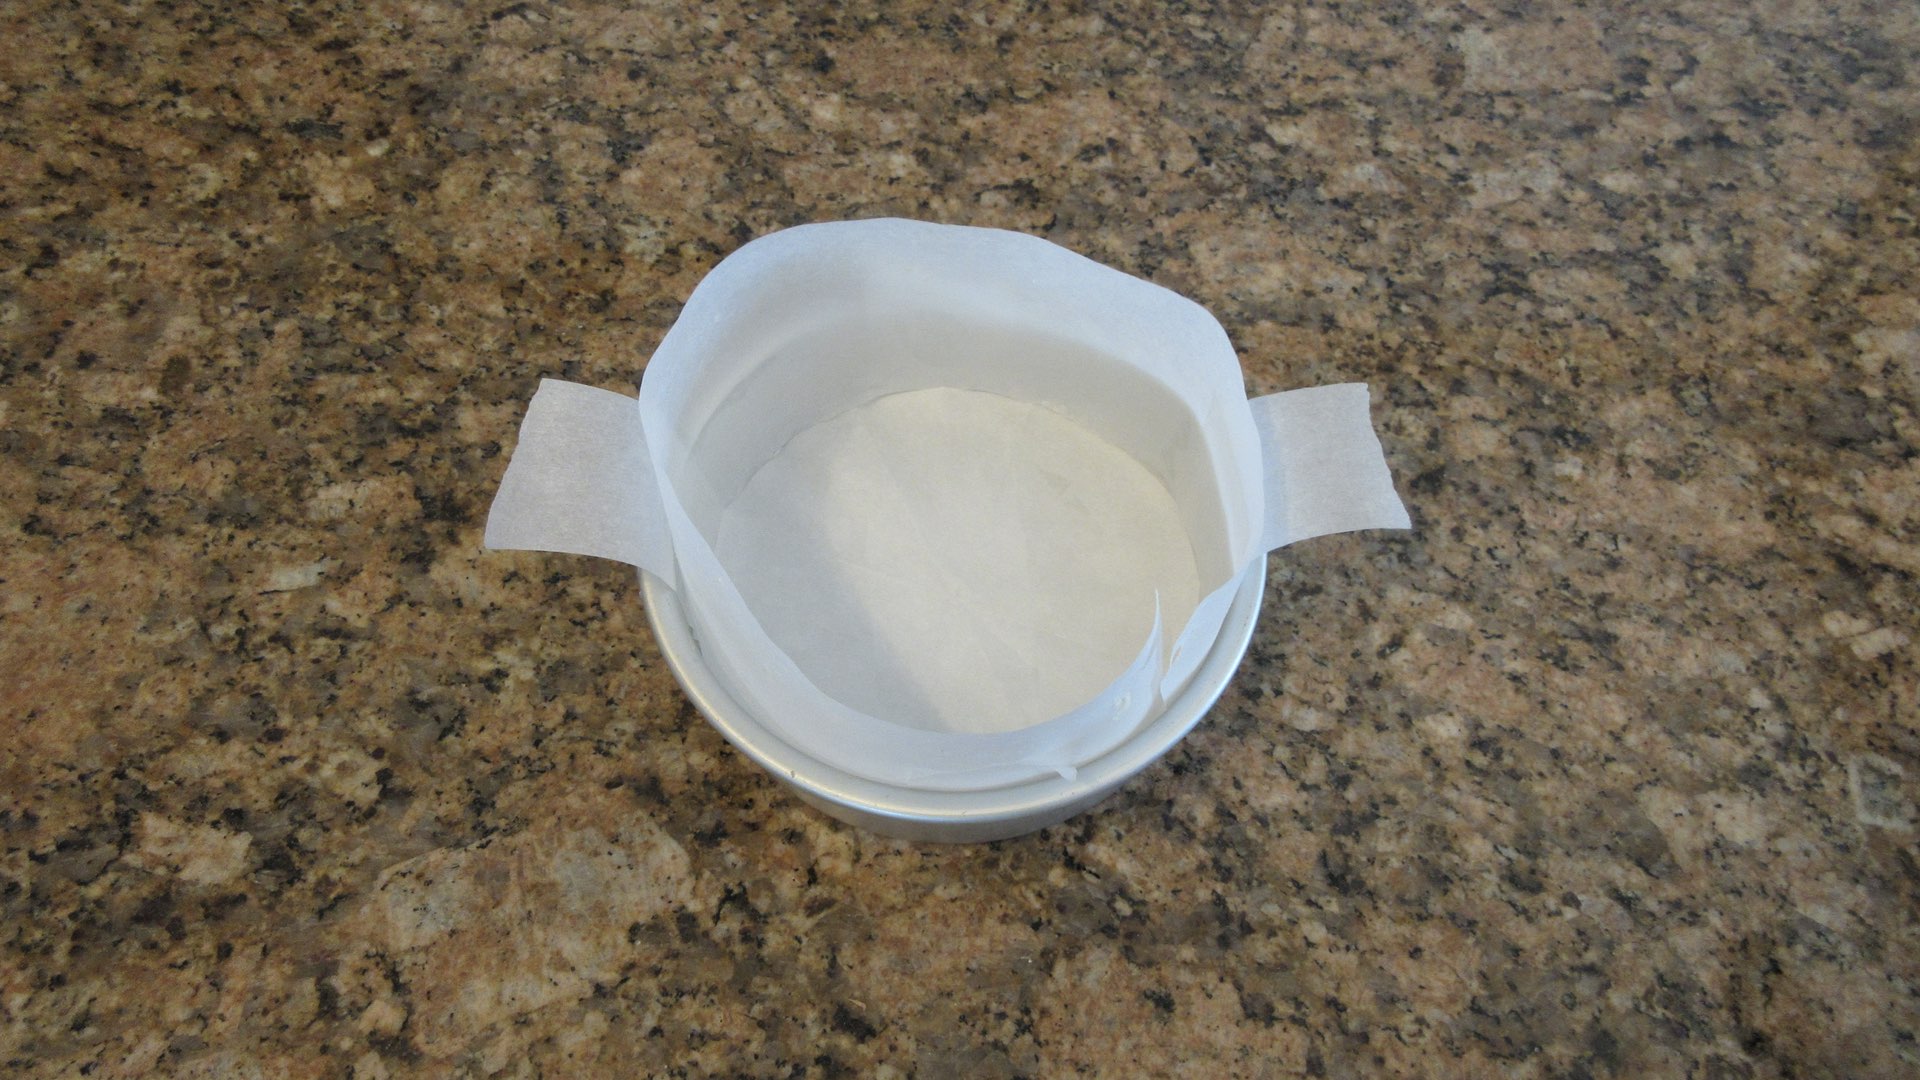
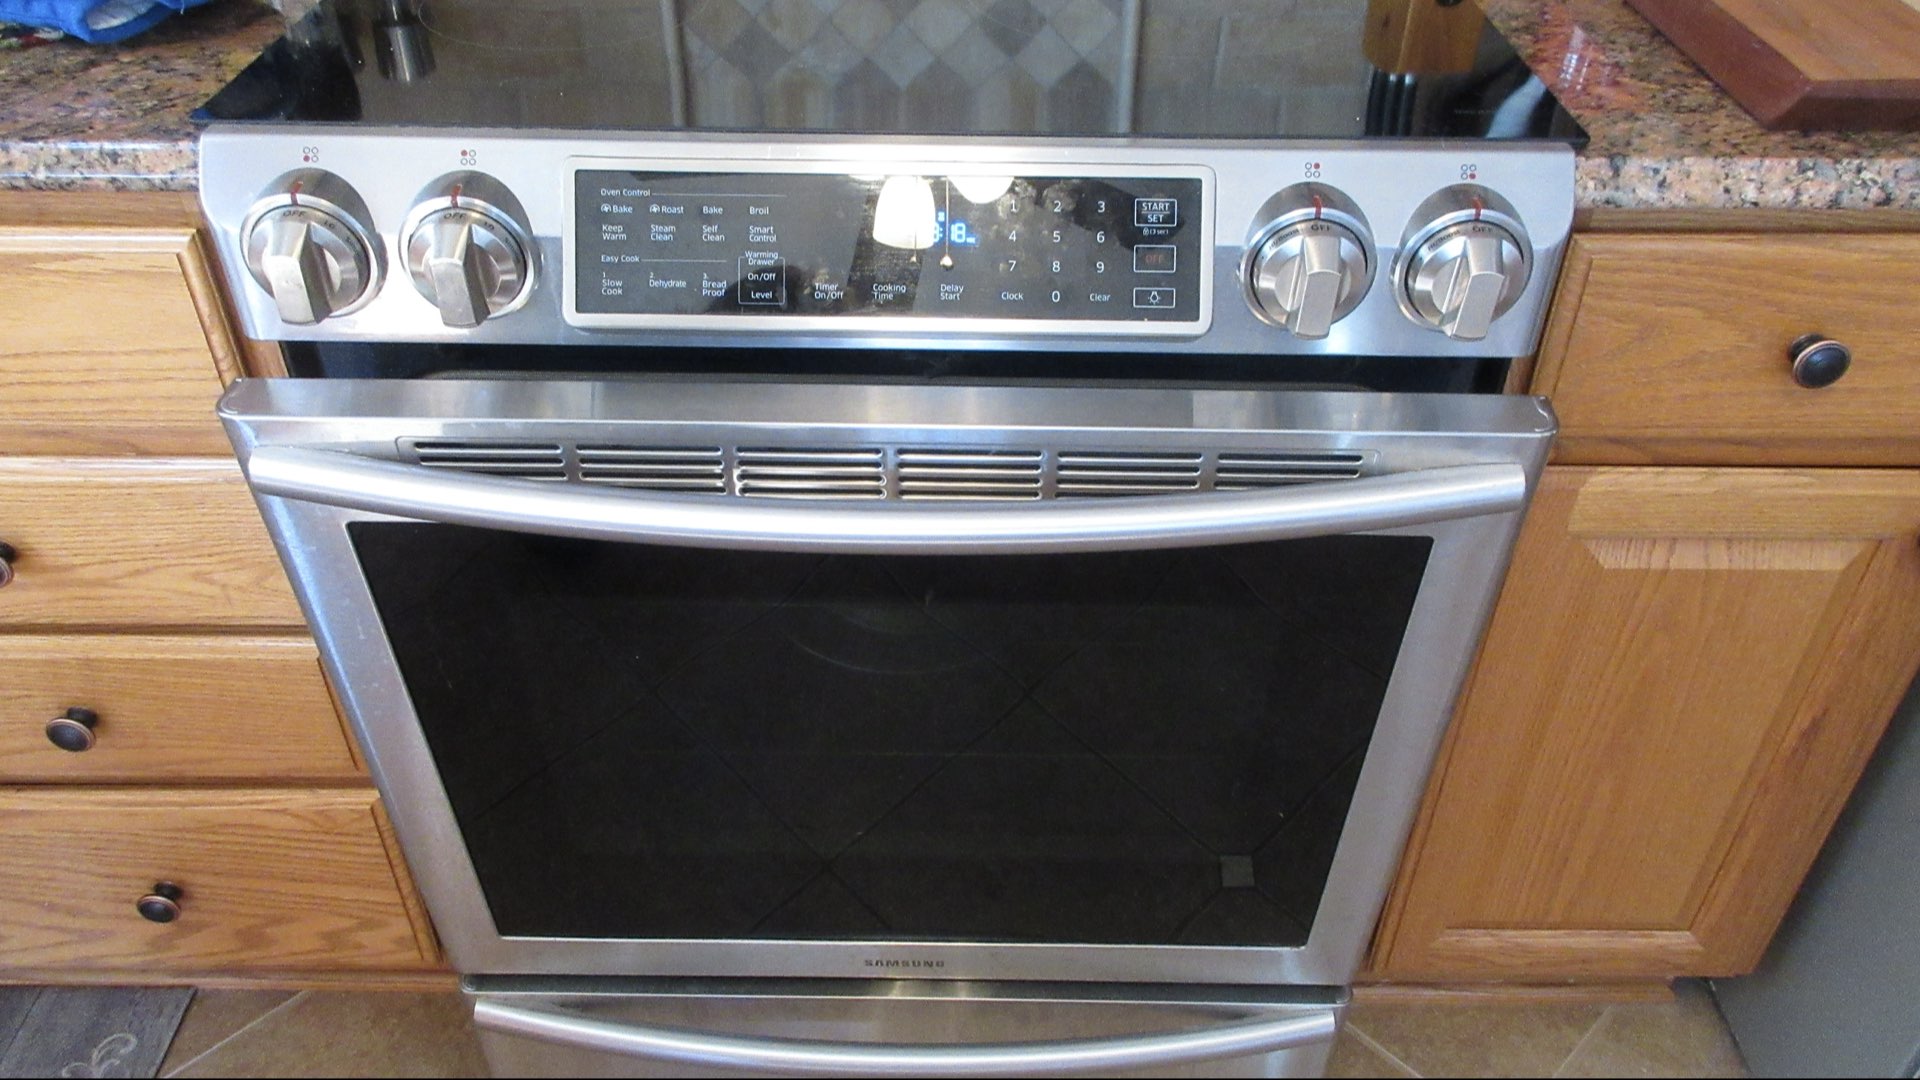
With the remaining 3.5″ x 19″ (9 x 48 cm) strip of parchment paper, wrap the greased side around the inside walls or sides of the cake pan, overlapping to form a circle. Place the 6″ (15cm) circle of parchment paper greased side down on the inside of the pan. Set aside. Place your oven rack on the lowest position in your oven and preheat your oven to 325F (160C.)
Step 2: Prepare the Crust
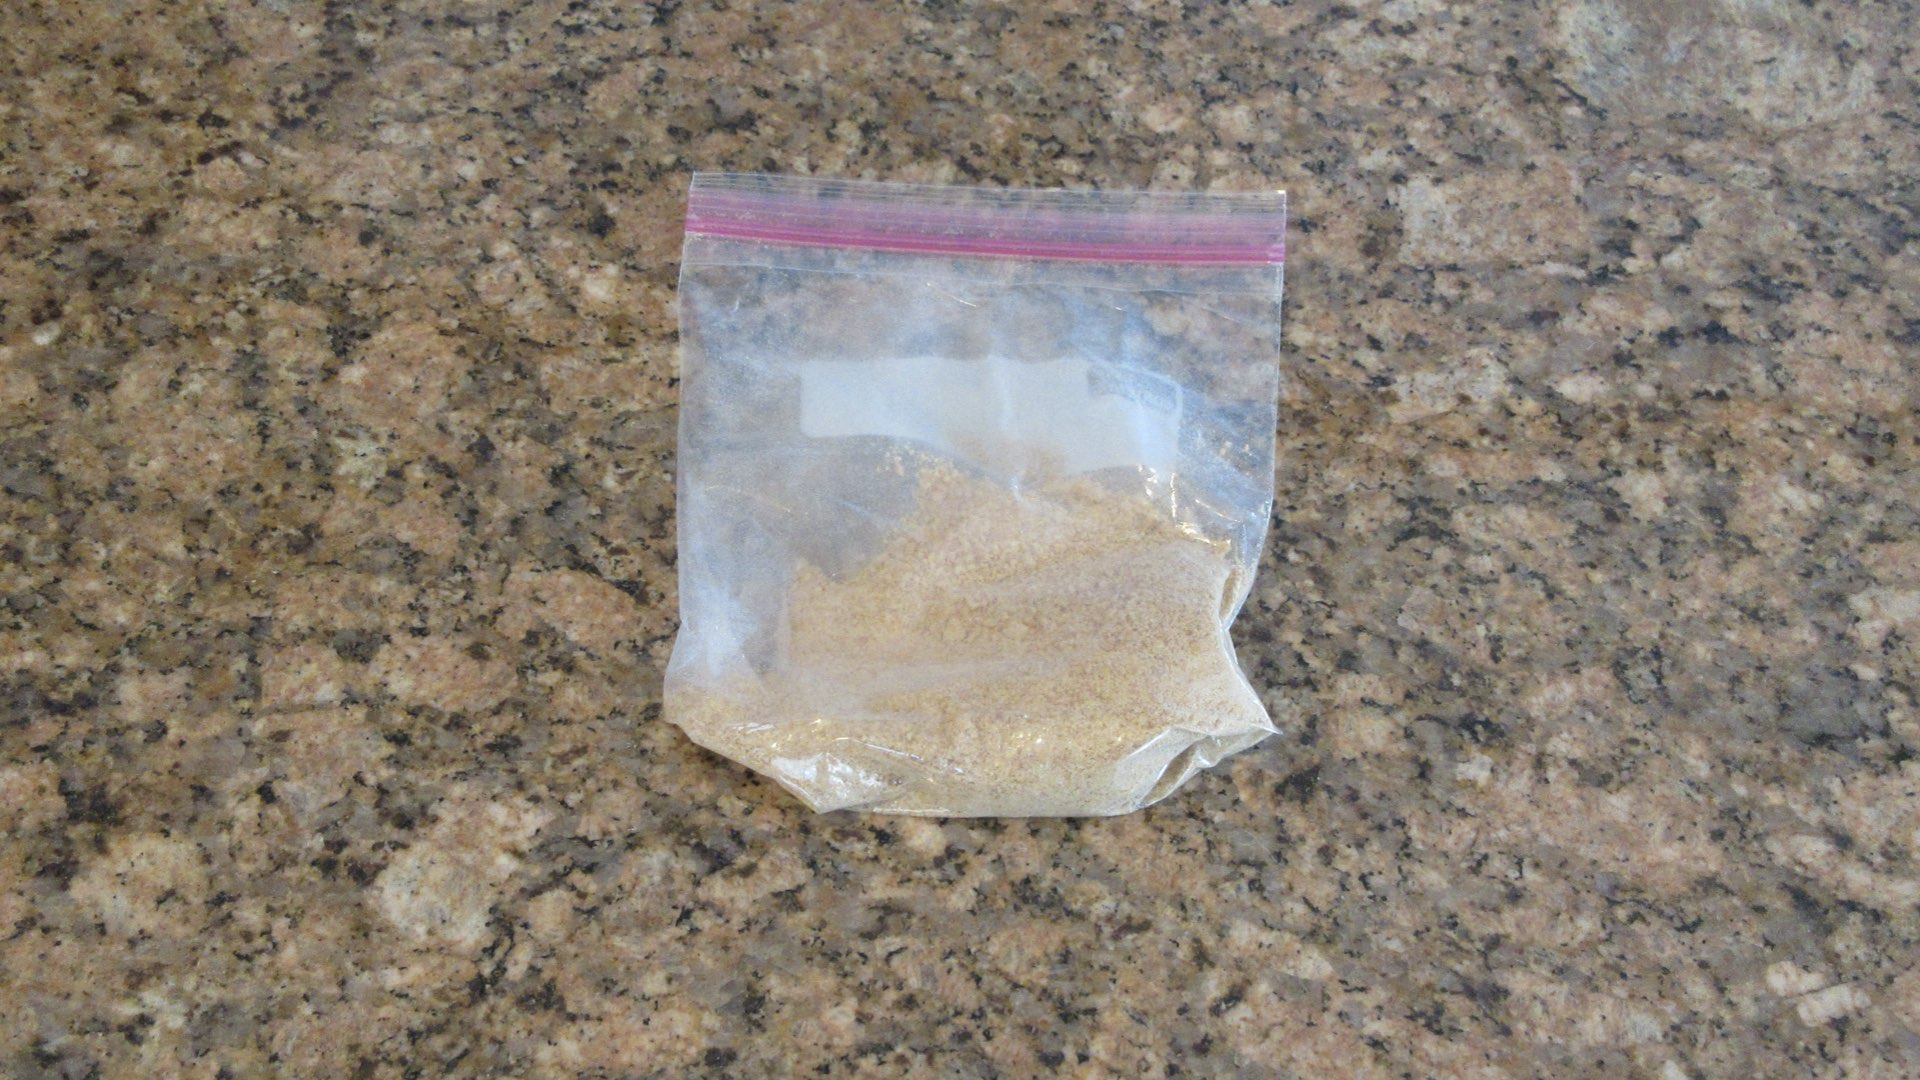
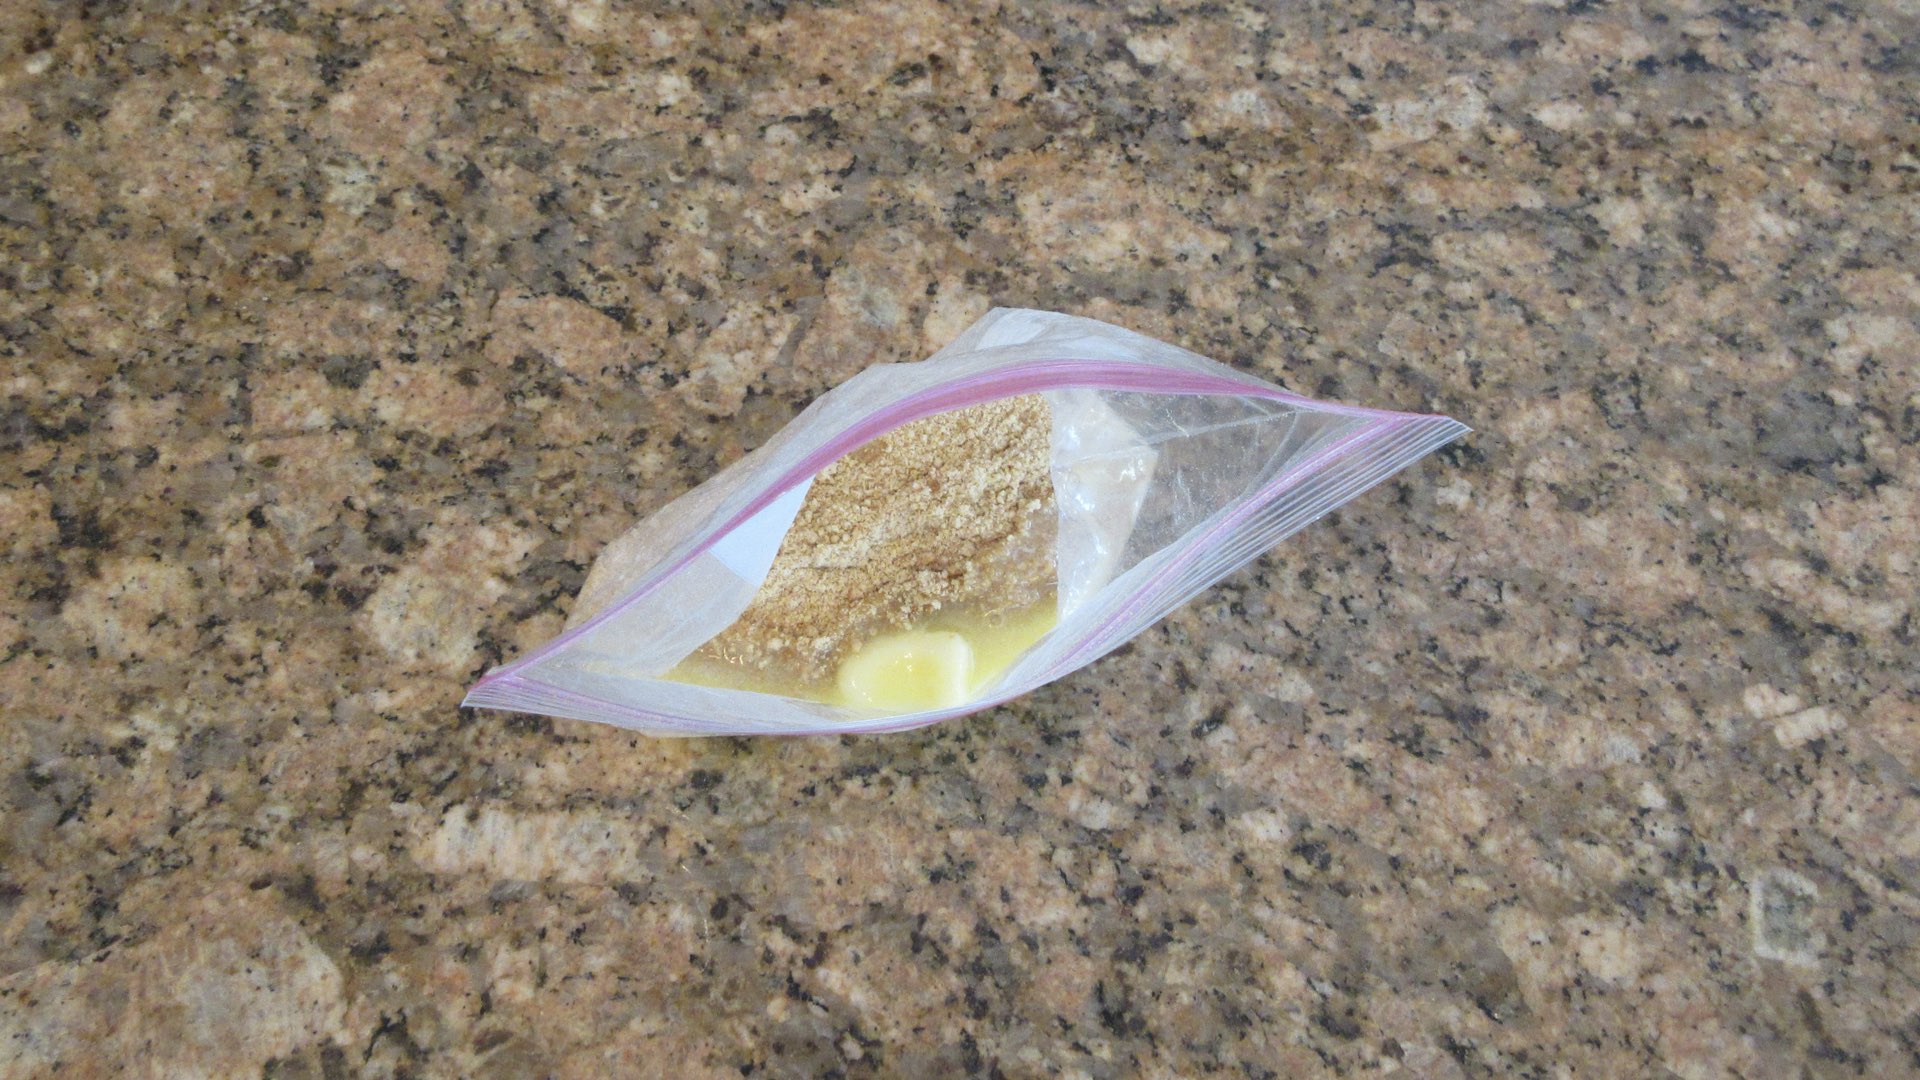
You will need to either purchase crushed graham crackers or do it yourself. Let me warn you, the pre-crushed crackers often have a peculiar taste. This extra step of making your own crumbs is worth it in our opinion. Place the crackers in a ziplock bag and tap with a rolling pin until they are a fine powder. You can also do this in a blender or food processor using the pulse function. Now add in your sugar and mix well.
Using the same bag or a bowl, add two tablespoons of melted or really soft butter.
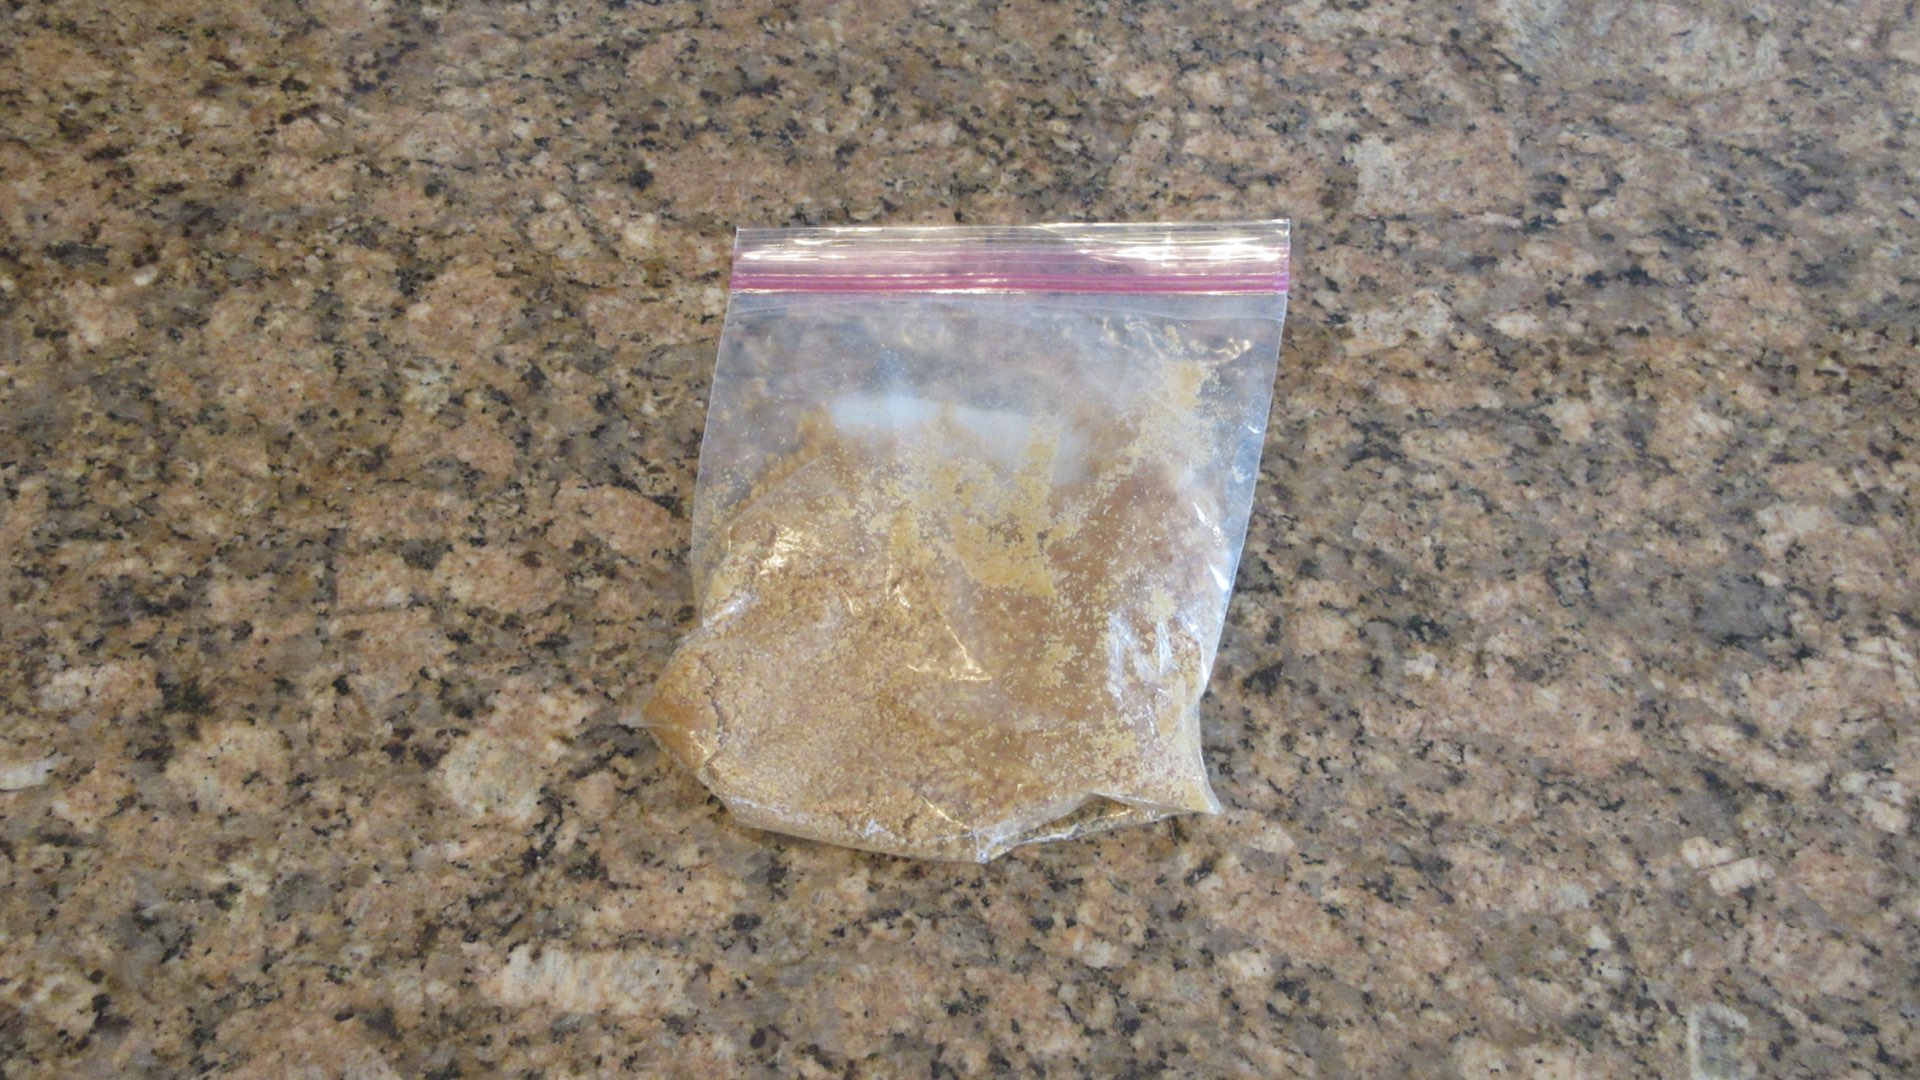
Mix until the crumbs are well coated. The bag comes in handy here as you won’t make a mess. And you can always wash it out and reuse it a few times.
Pour your graham cracker crumb mixture into the bottom of your pan.
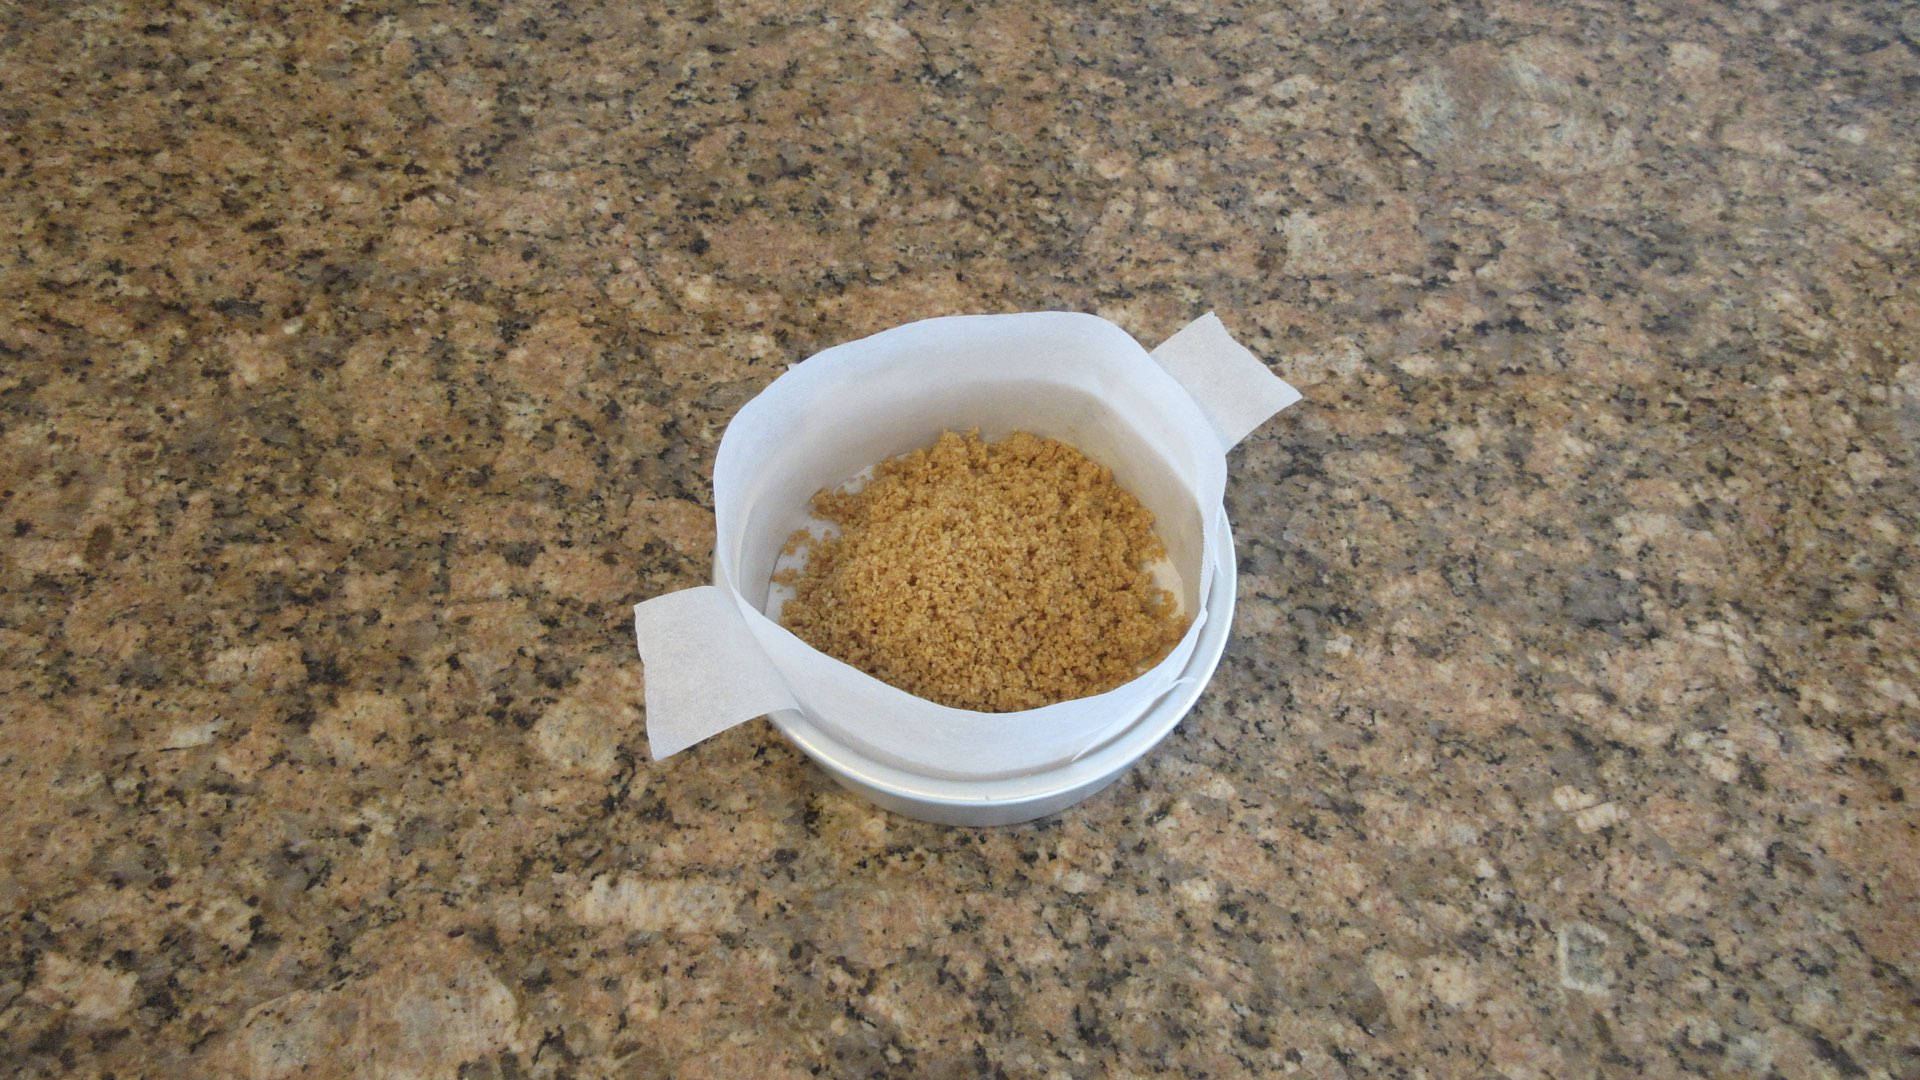
Using your hands, press down firmly. You can also use the bottom of a jar or glass lightly oiled to really compact the base of crumbs.

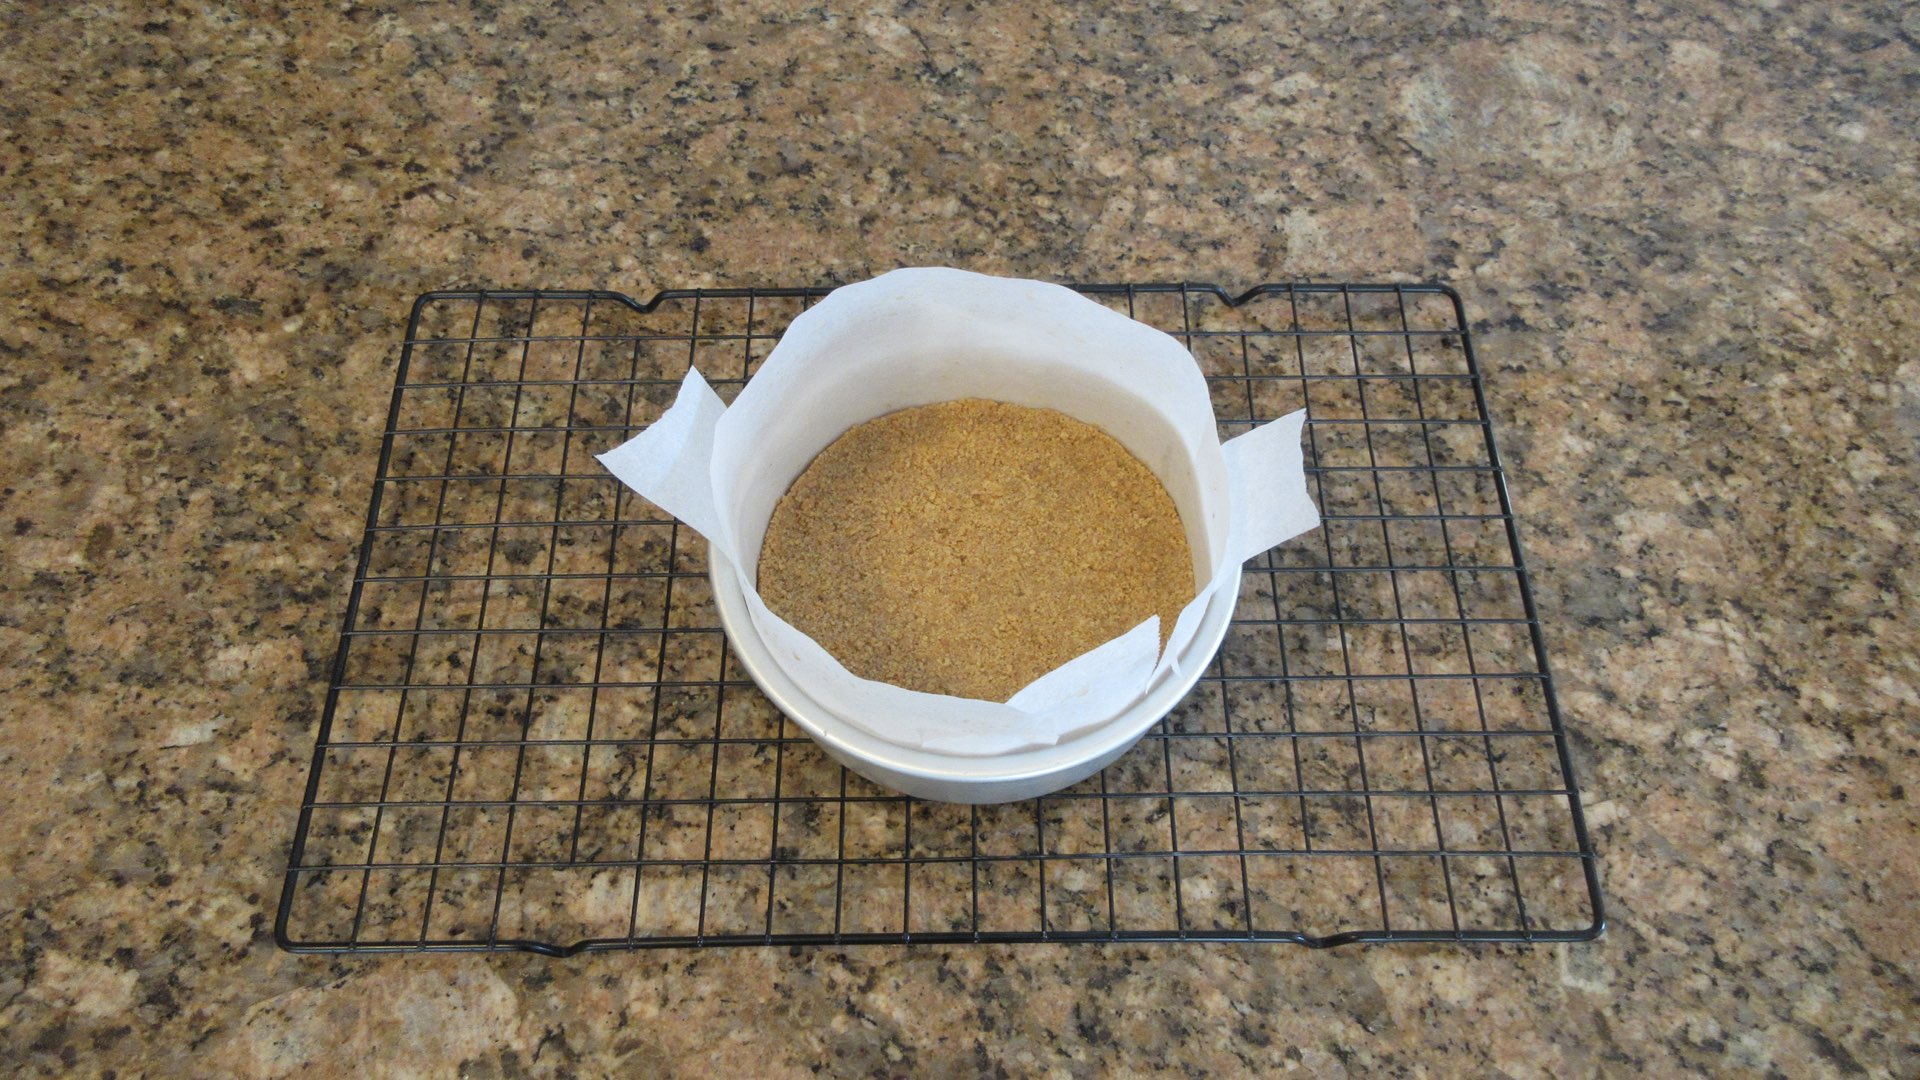
Finally, you want to bake the crust 5 – 10 minutes on the bottom rack or until you just start to smell the crust and it takes on a golden hue. Let the pan cool on a wire rack as you prepare your filling.
Step 3: Prepare the Filling
This is the time to be honest. Did you bring your ingredients to room temperature or a softened stage? Room temperature can be subjective and can vary region to region and whether or not you use artificial means to heat and cool your home. For the industry standard, room temperature means the items are cool to the touch and the center of the ingredient reads 65 – 68 F (18 – 20 C.) It’s on the cooler side of rooms. We like to refer to softened rather than room temperature as a result. You need this stage for the cream cheese to whip smoothly. Otherwise, you will end up with chunks of unincorporated cream cheese throughout your cheesecake ruining the taste and flavor. So don’t skip this step. It’s crucial to having a successful cheesecake!
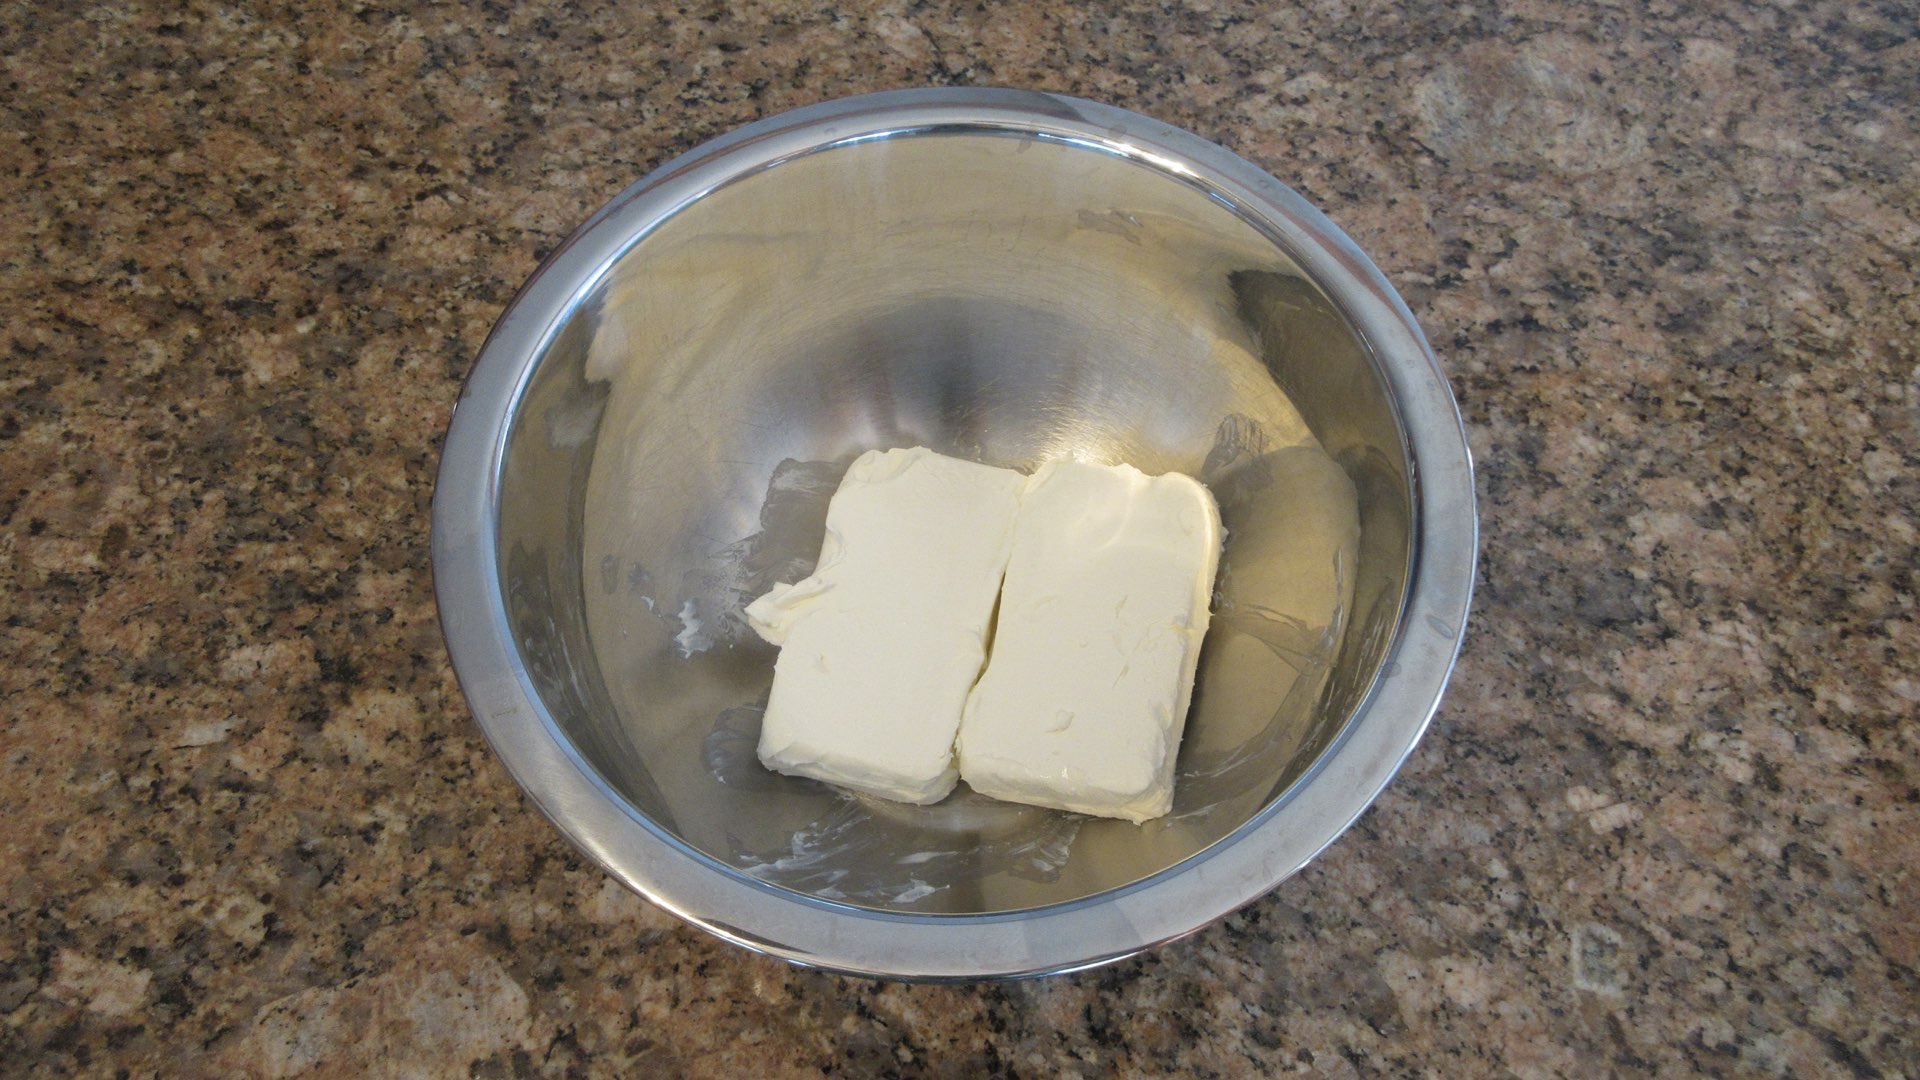
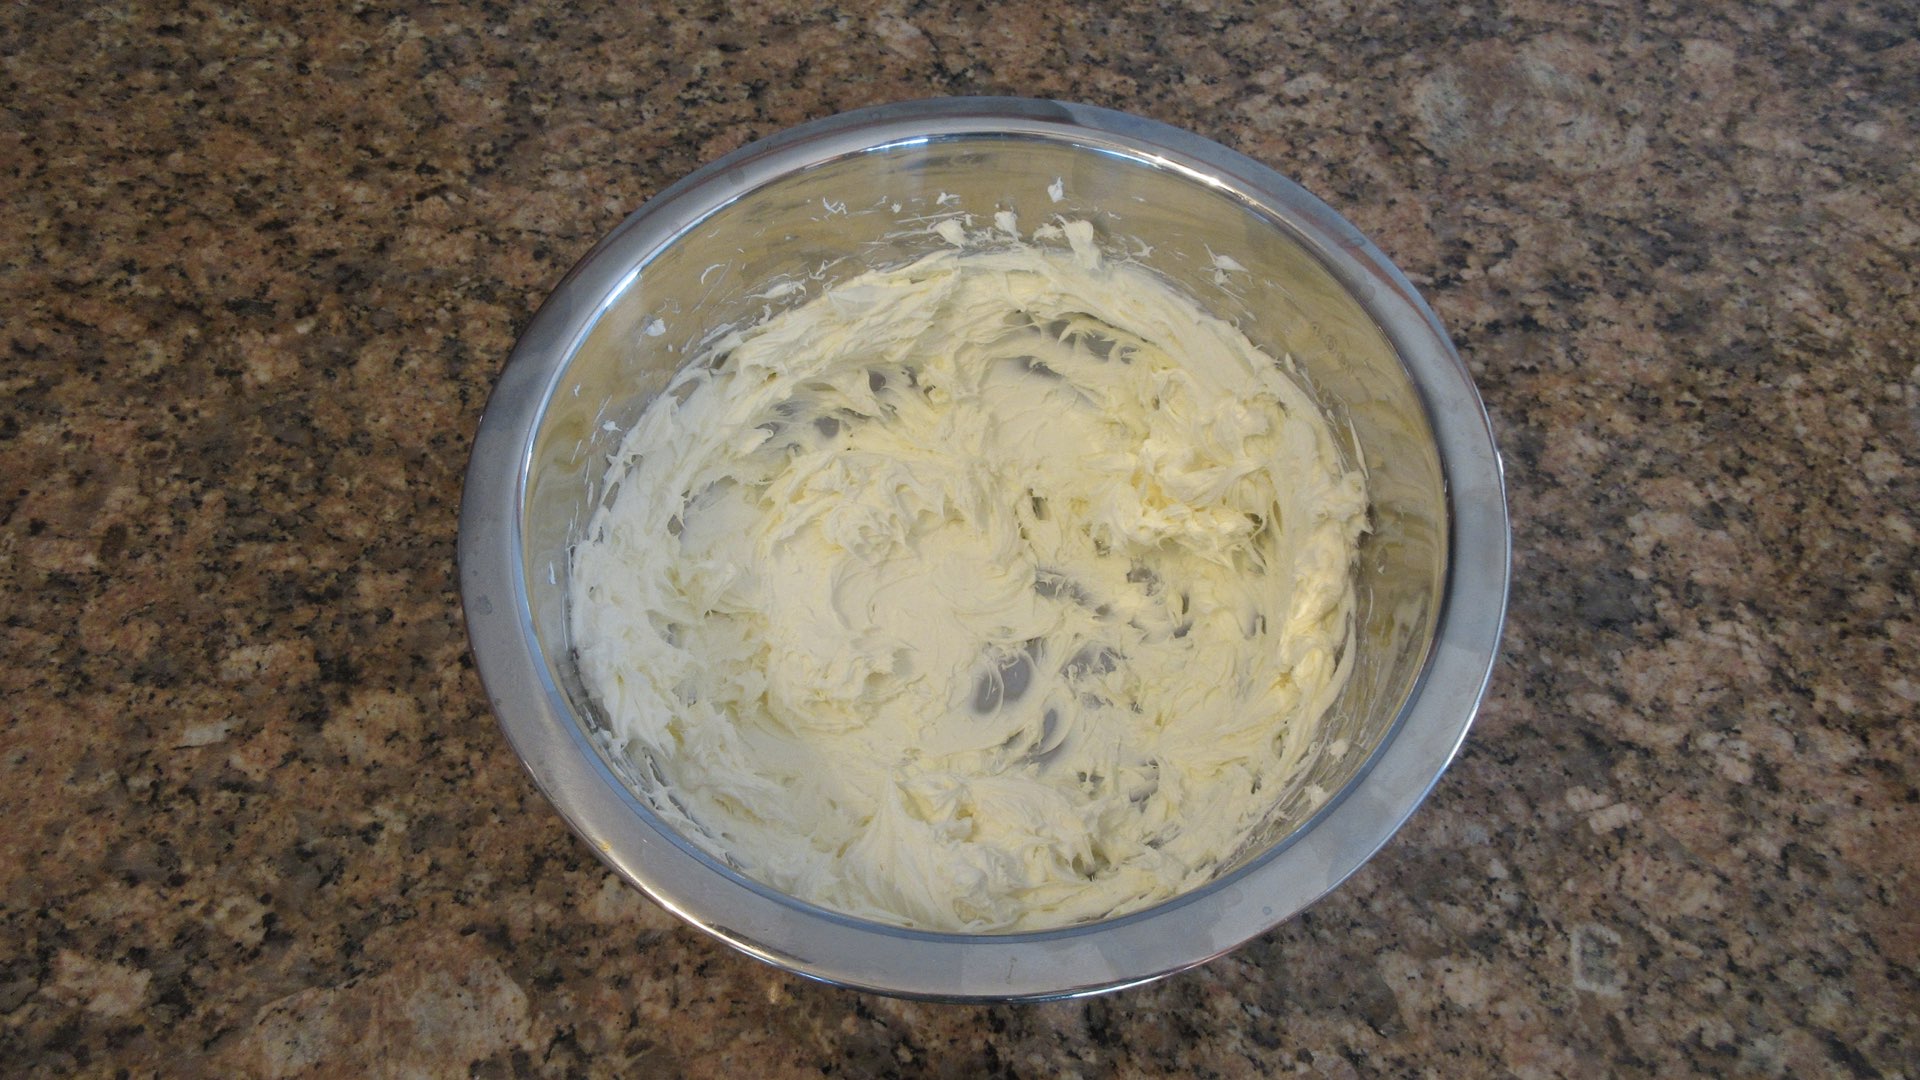
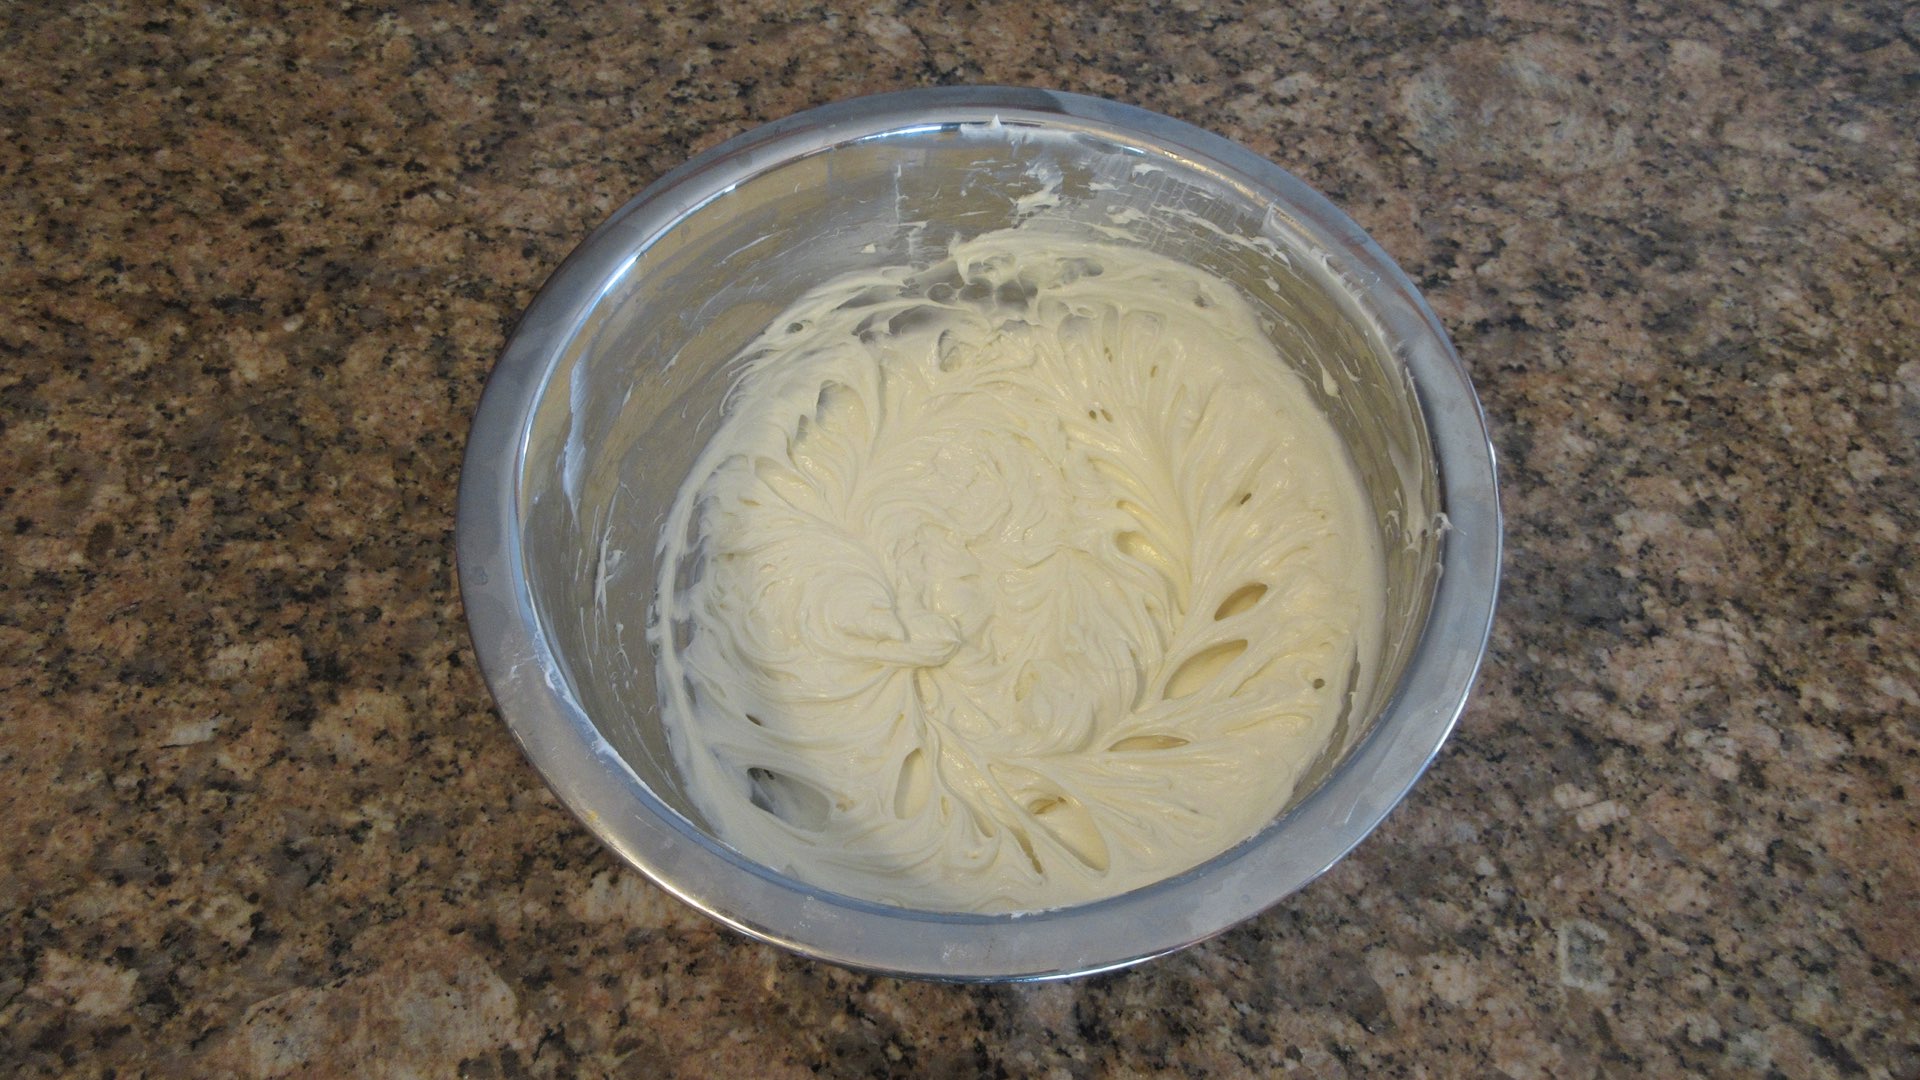
Once you have softened your cream cheese, blend it by hand or mixer until its nice and smooth like you see below. You don’t want to create air in the batter. You are just looking for a velvety smooth consistency. So mix with a low and steady speed.
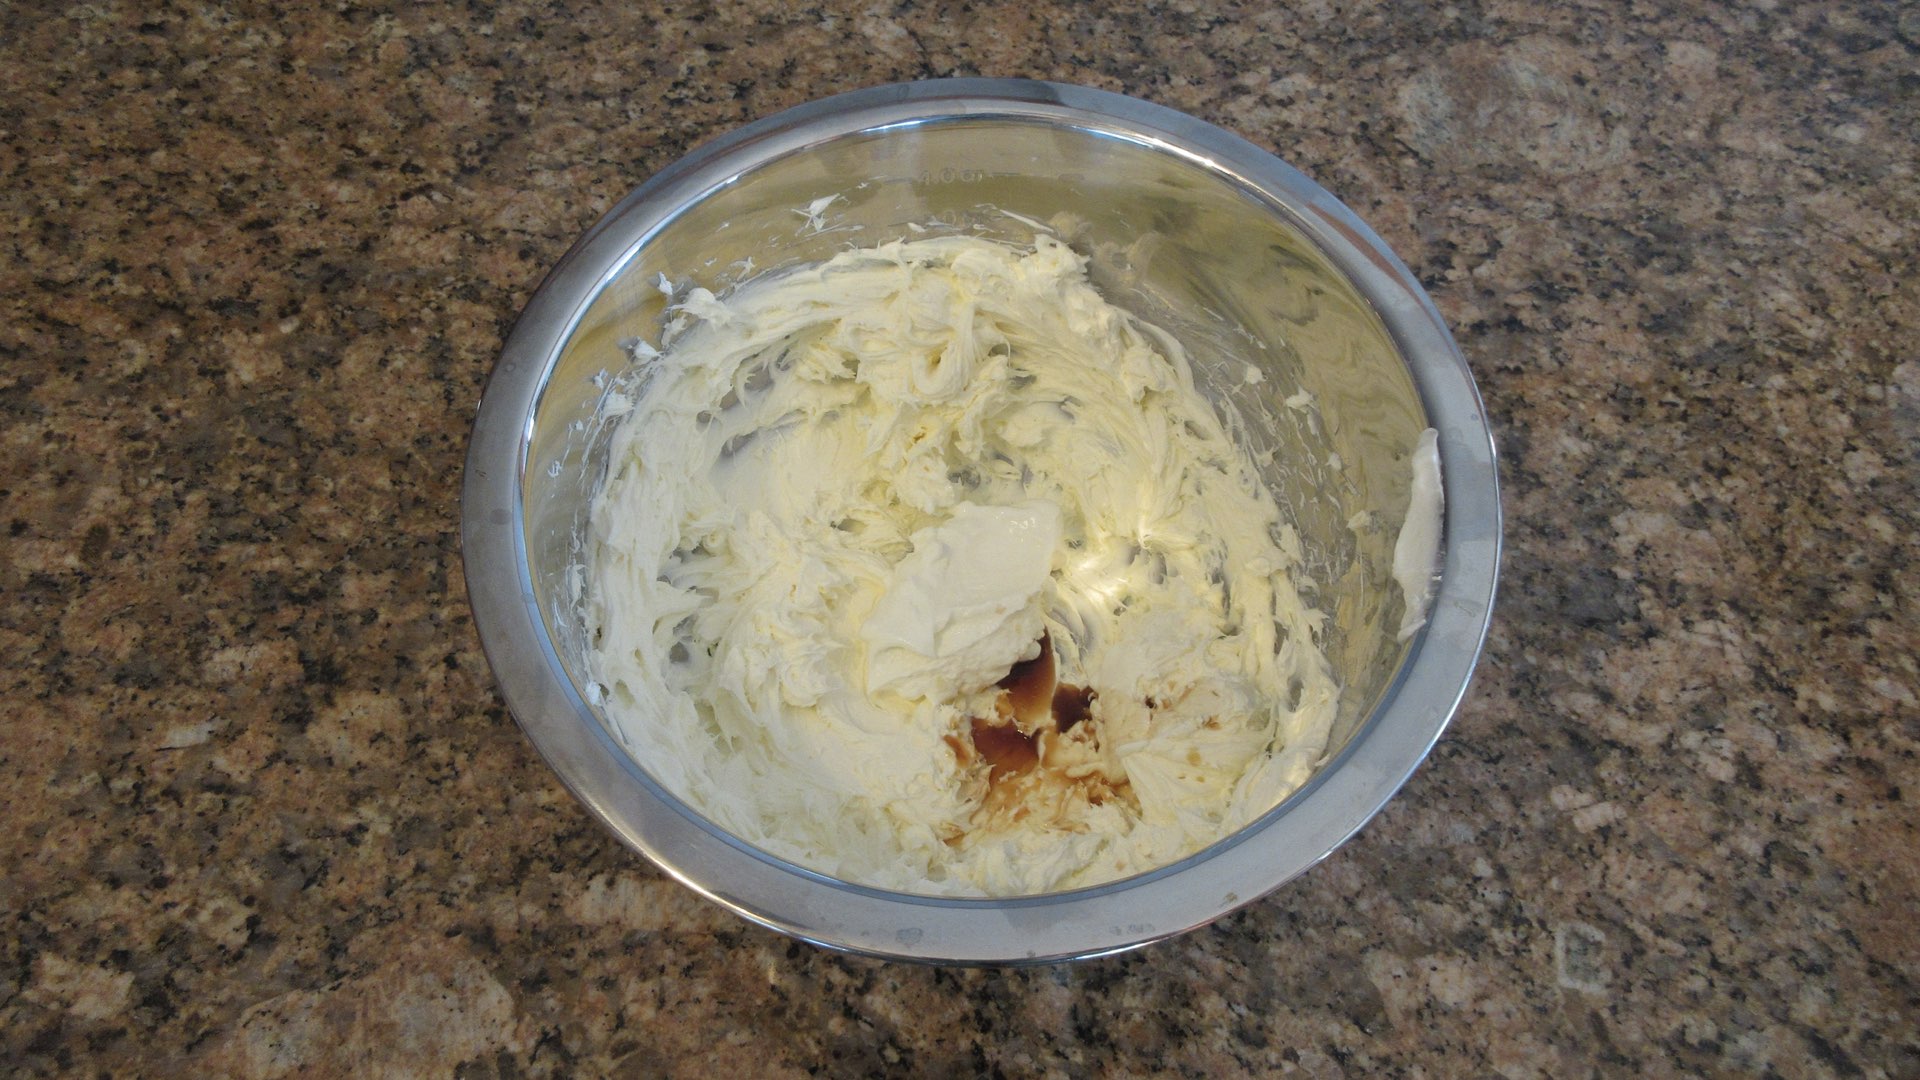
At this point, add in the yogurt or sour cream, vanilla and salt. We mix this in on a low speed as well until it’s smooth. The yogurt will save you fat and calories whereas sour cream is traditional. Both will have similar texture and taste in the end. You can chose which one you prefer.
The mix will still be quite thick at this point. Take the time to see if there are any lumps in the batter. Scrape down the sides and make sure everything is well blended. If you see any lumps, allow the batter to sit for 5 minutes and beat on low for 30 seconds. Once the batter is smooth, you can move onto the next step.
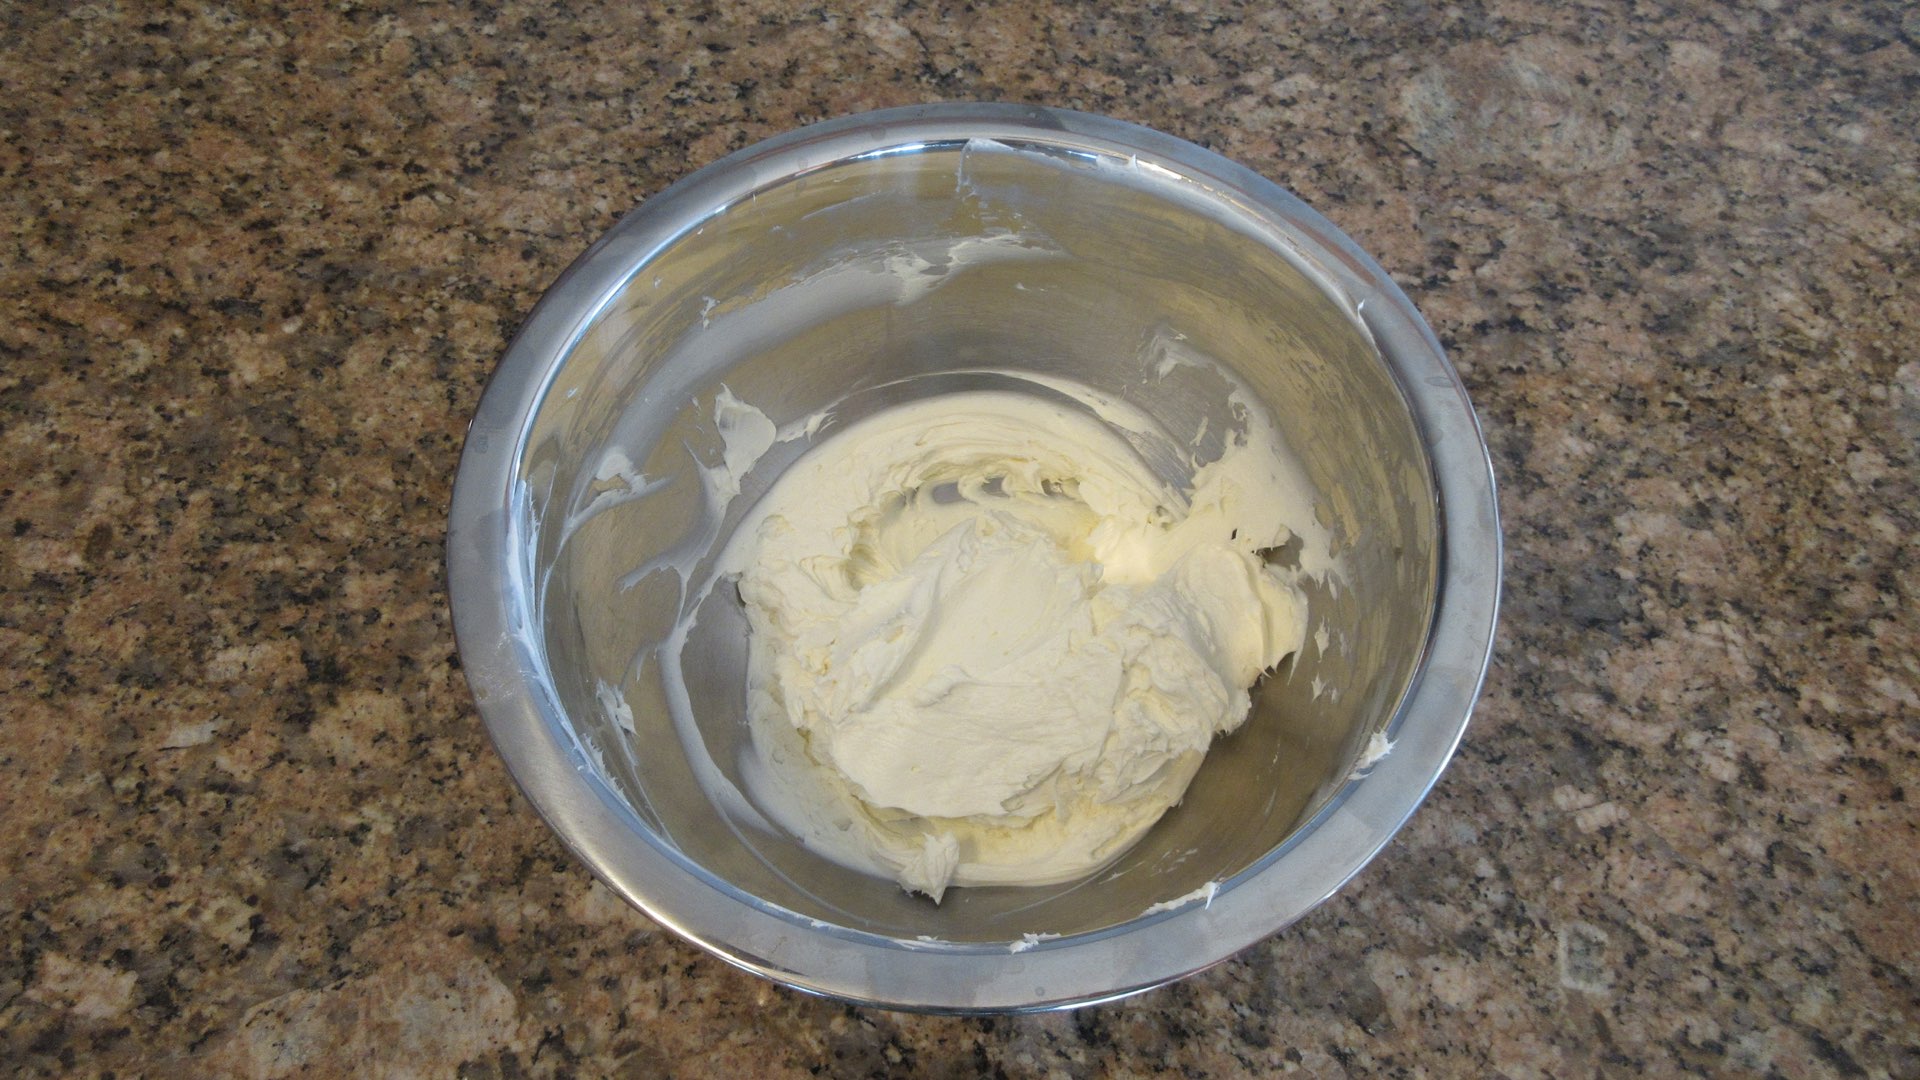
Now is the time to add the sugar. If you want to have a more tangy cream cheese, you can reduce the sugar to 1/2 cup (100g.) If you want a really sweet cheesecake where you can’t even really taste the sharpness of the cream cheese, you can up the sugar to 3/4 cup (150g.) We recommend trying 2/3 (134g) to start out with and adjust as you make more. Most people seem to prefer the recipe as it as written. However, there are those of us who either aren’t fans of sugar or that totally love sugar. And we wanted to mention that this recipe can be customized to your liking.
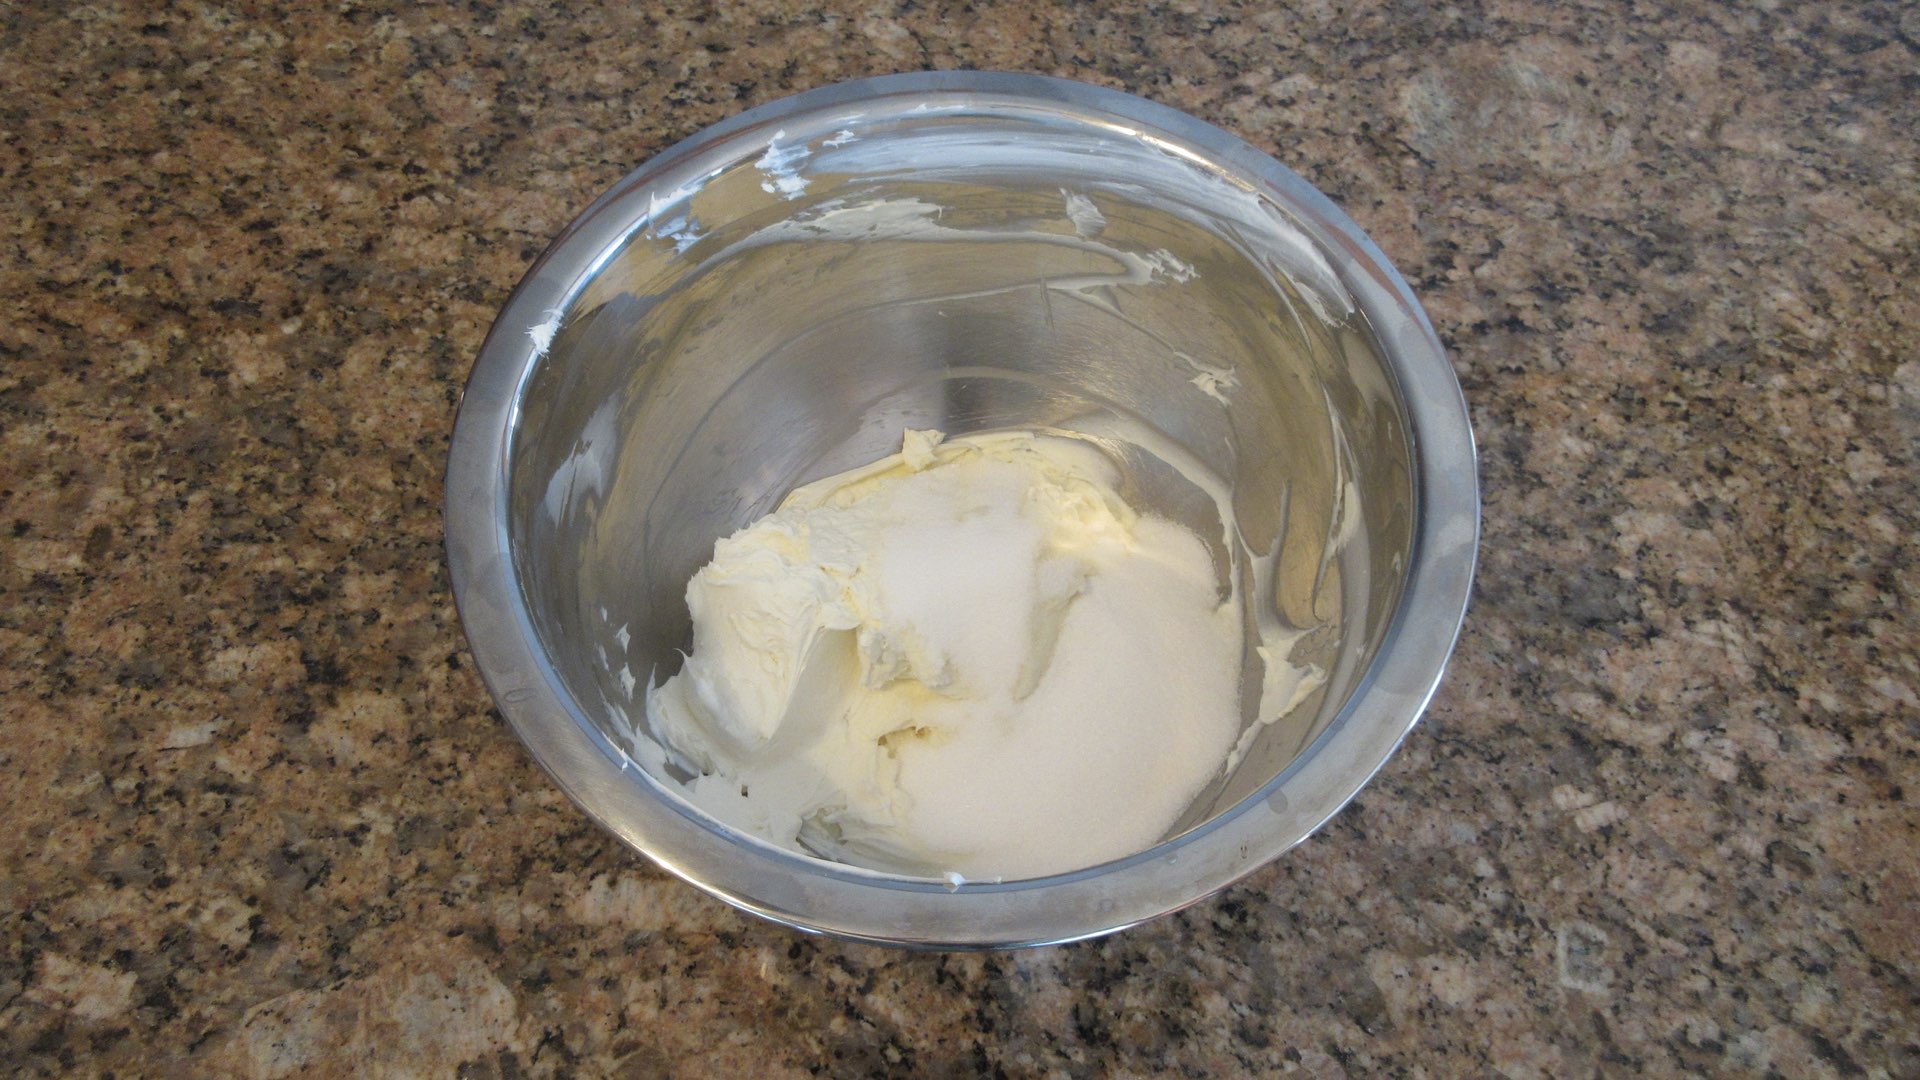
Before you add in the eggs, look at your batter. It should look like this. You can give it a little taste at this point and see how you are liking the flavor. Want more sugar? Add it before you go further! Want more vanilla? Splash some in! Otherwise, let’s move on.
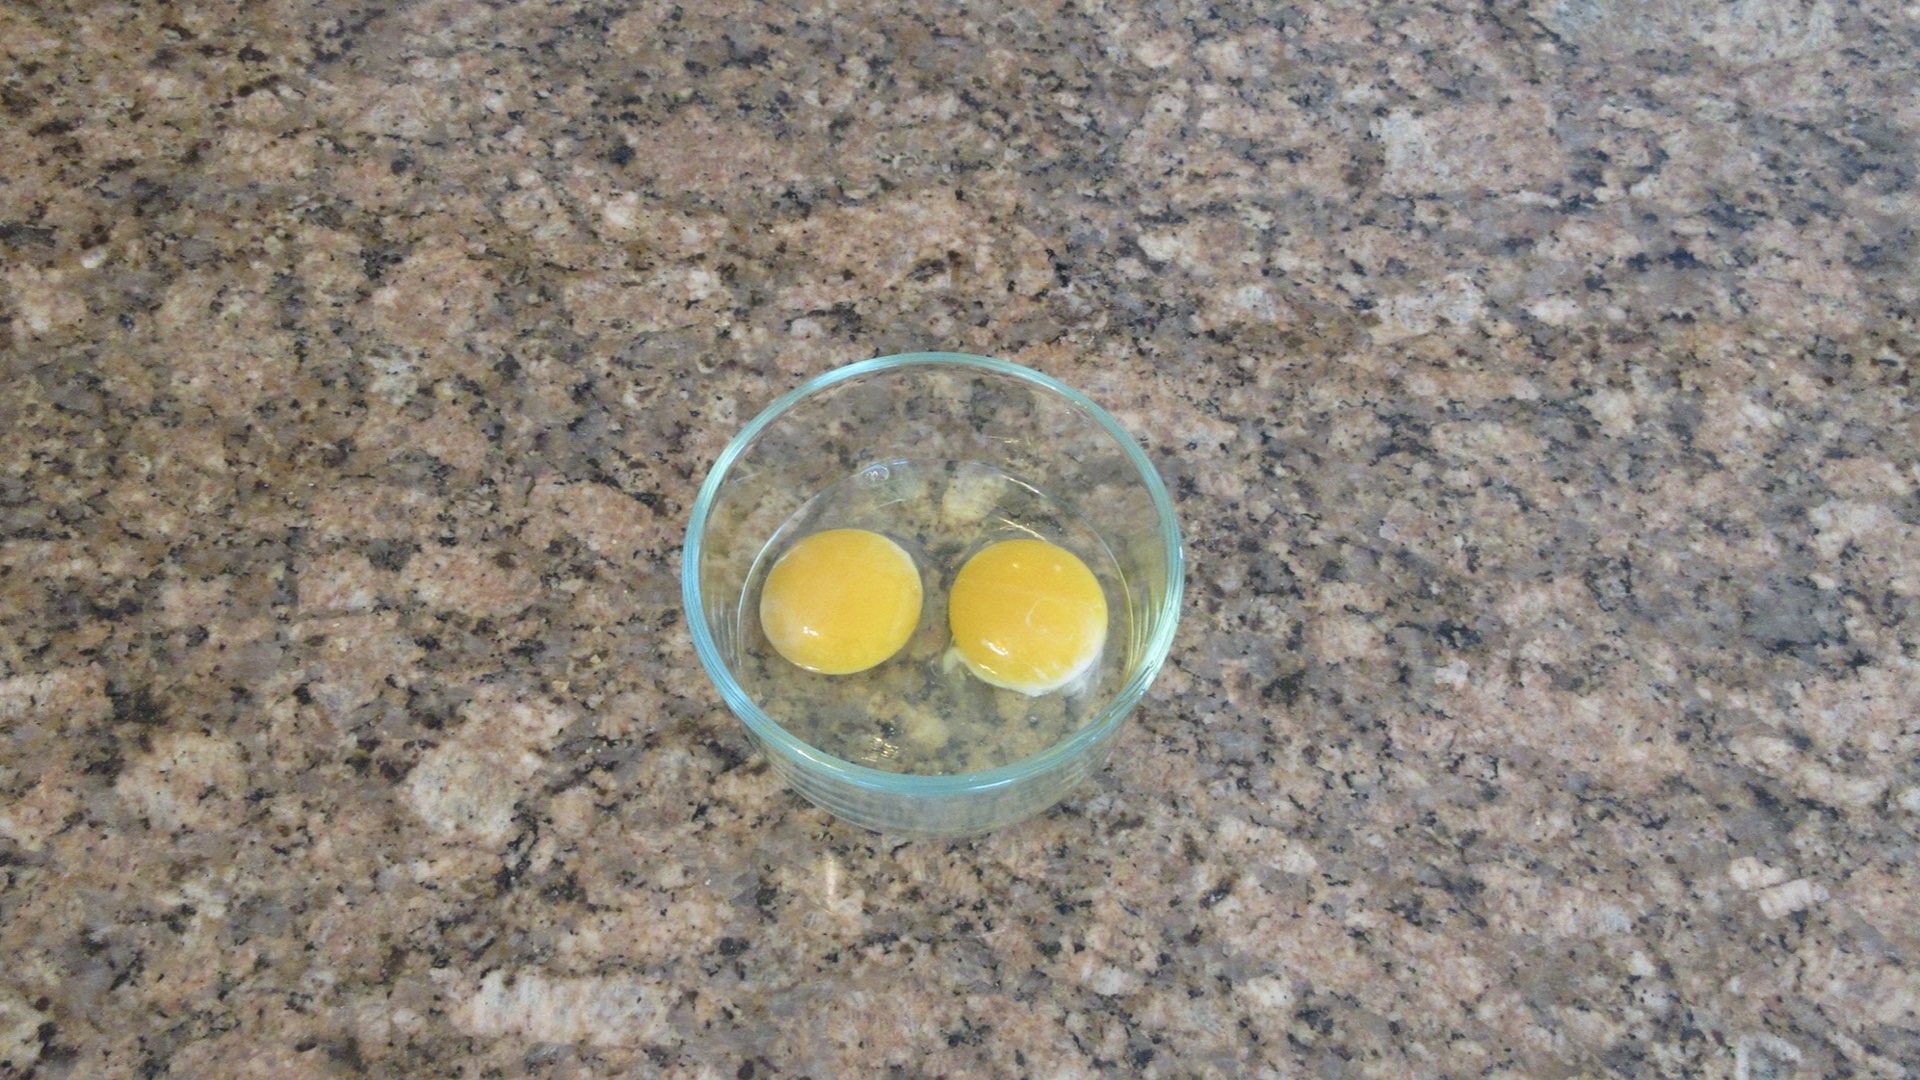
In a separate bowl, you’ll want to crack two large eggs. I hope you listened to me and brought them to room temperature. If not, before you crack them, sit the eggs in the shell in a bowl and cover them with hot tap water. Let them sit for 10 minutes and you will be good to go. Dry off the eggs and proceed.
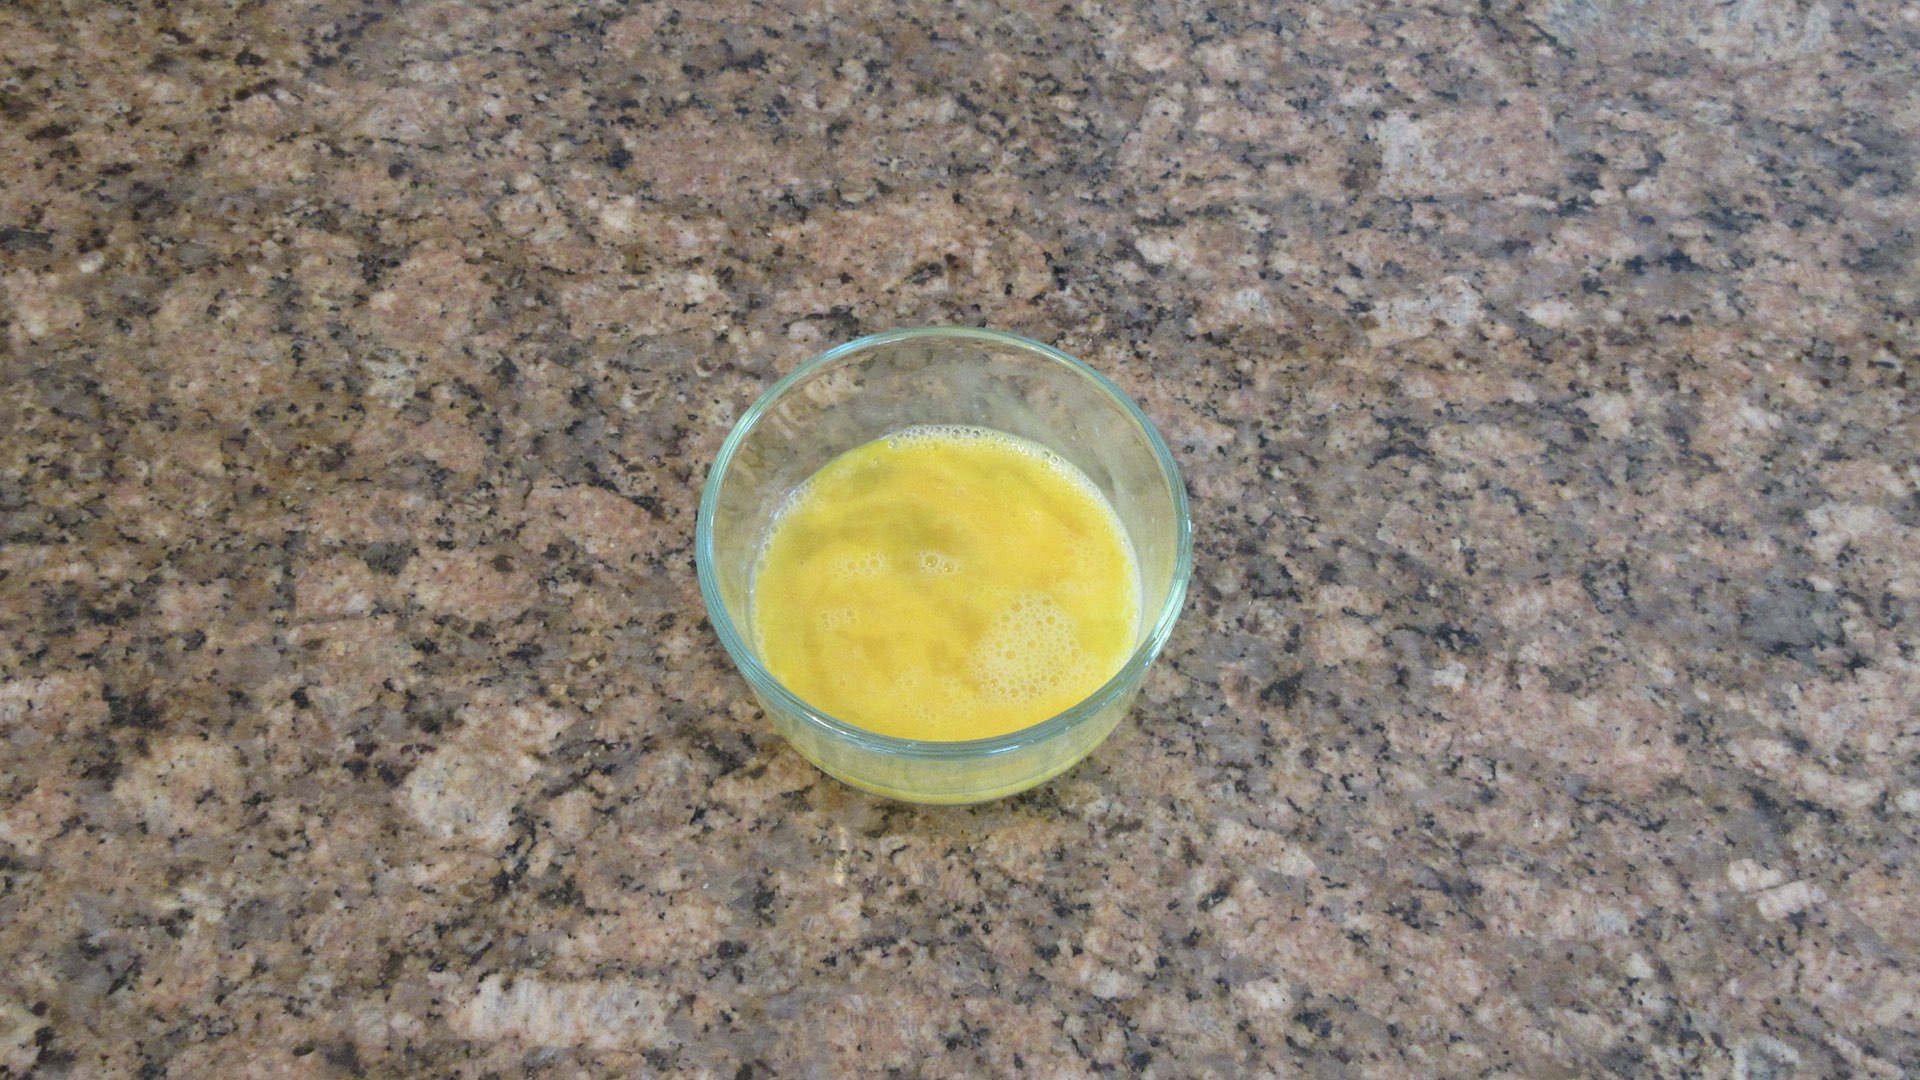
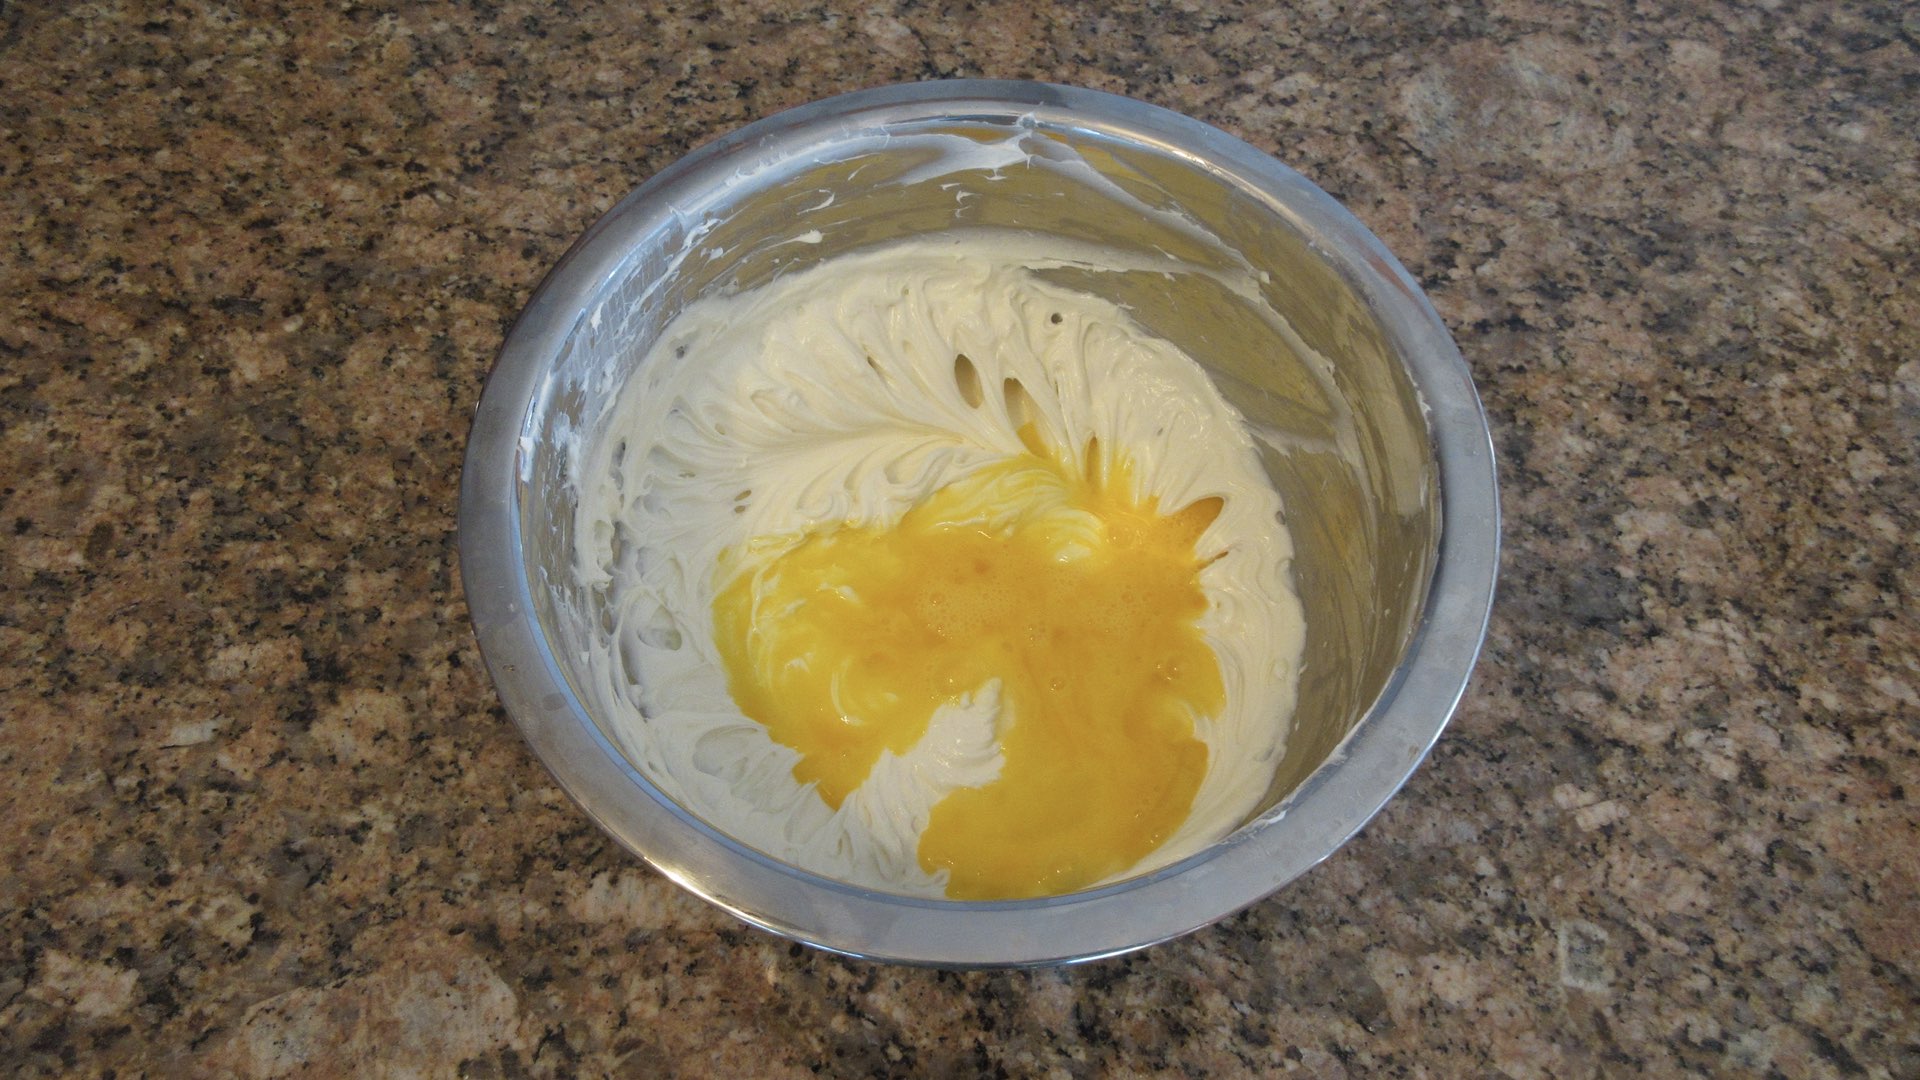
Beat the eggs slightly until they are scrambled like this. Don’t beat them too long as this can lead to sunken middles, soufflé tops and cracks. You don’t want to create too much air as it will create havoc in cheesecakes.
Now we add the eggs to the cream cheese batter and mix either by hand or using a mixture until just combined. Really take care not to over mix at this stage for the creamiest, silkiest cheesecake.
Scrap down the sides as needed to make sure it is well combined. The batter should look like the picture below. Smooth and creamy.
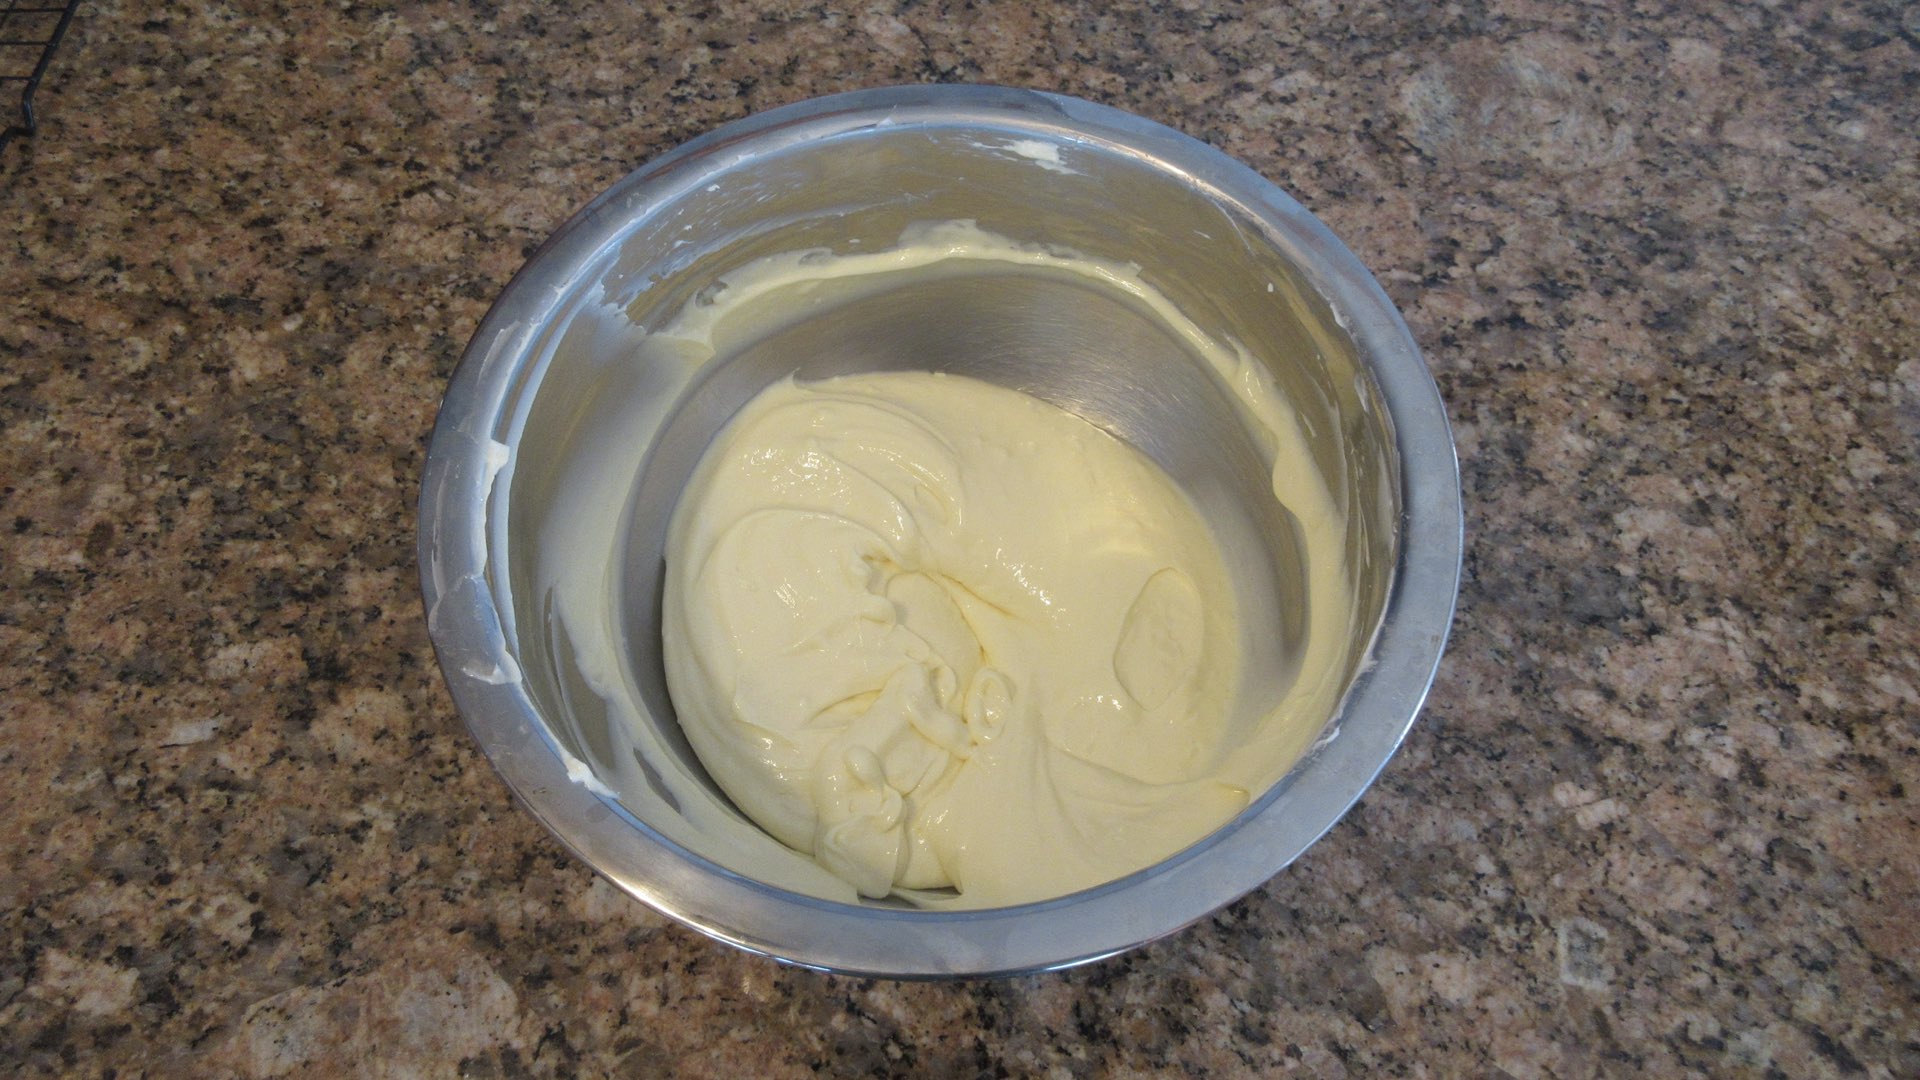
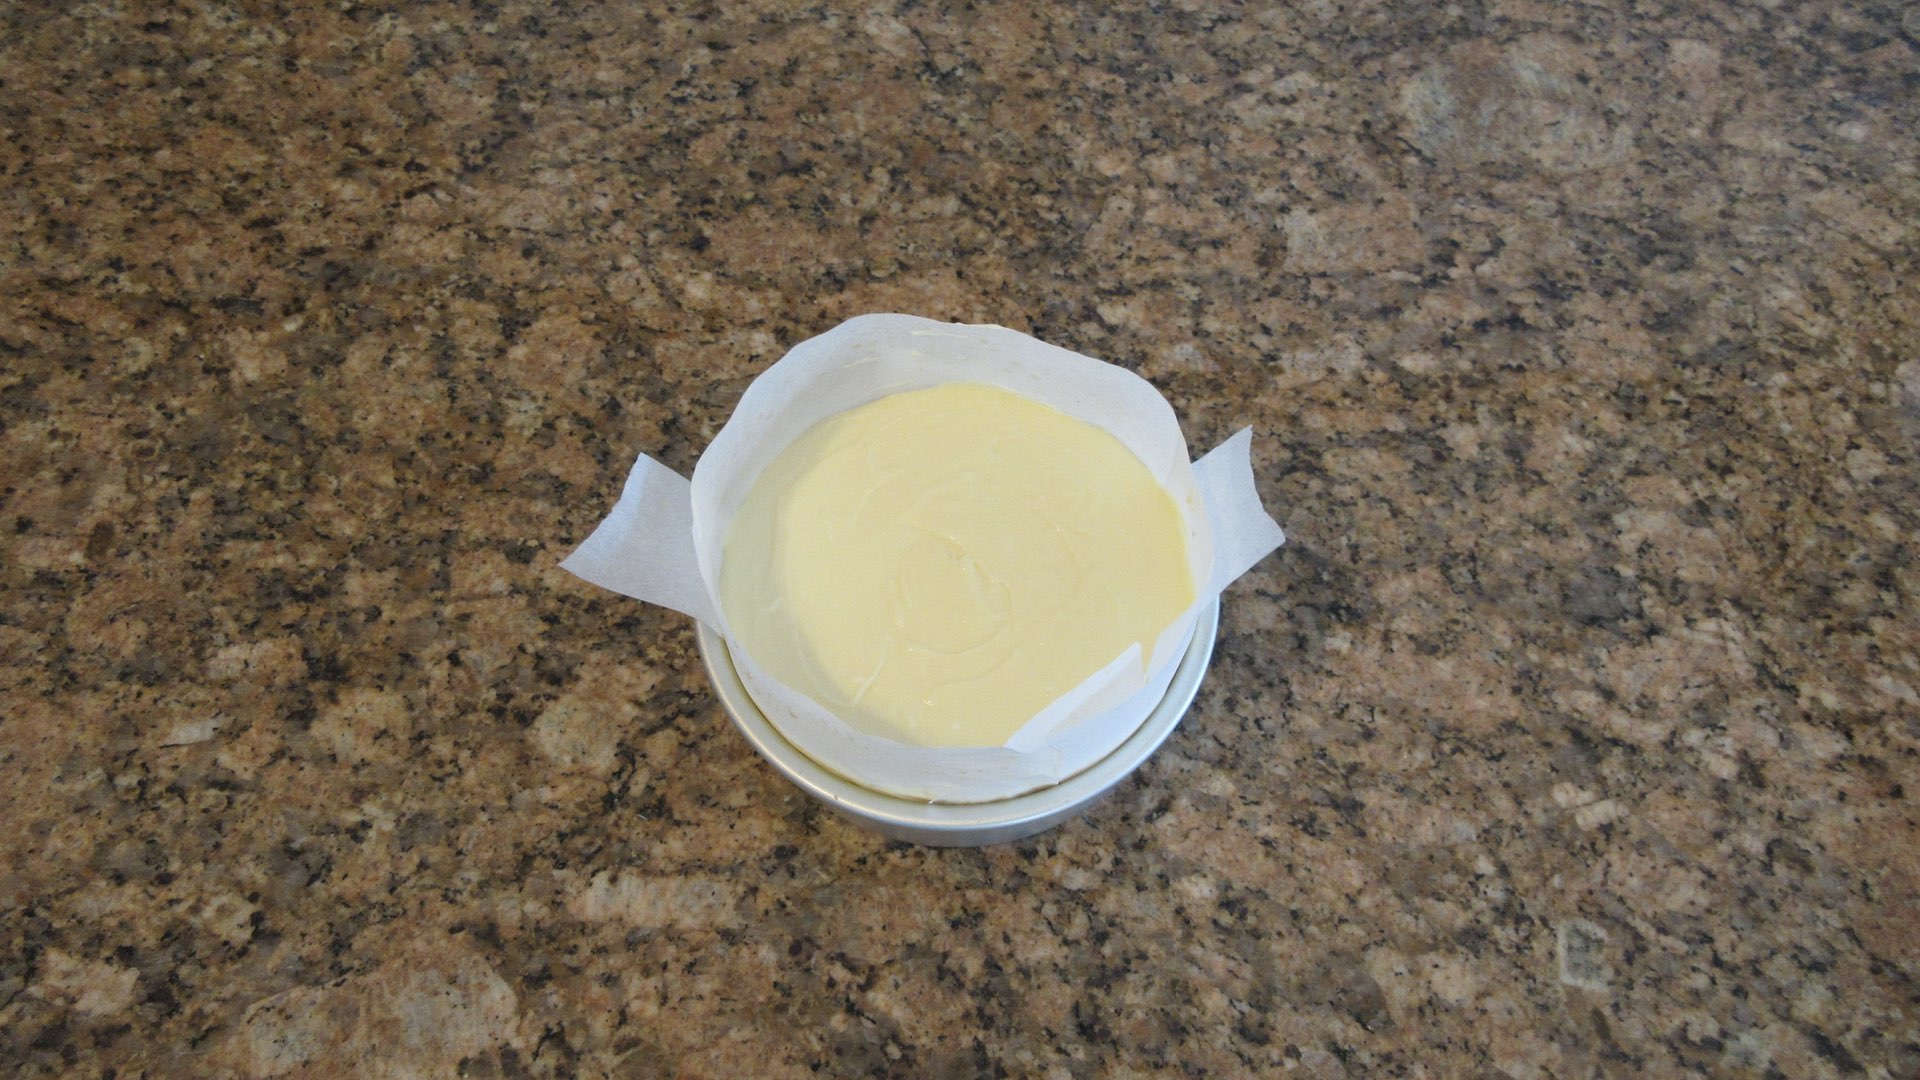
Pour and level the cheesecake batter into the prepared cake pan. Tap the cake pan against the counter a few times to get rid of any large air bubbles. Set aside.
Step 4: Create a Water Bath
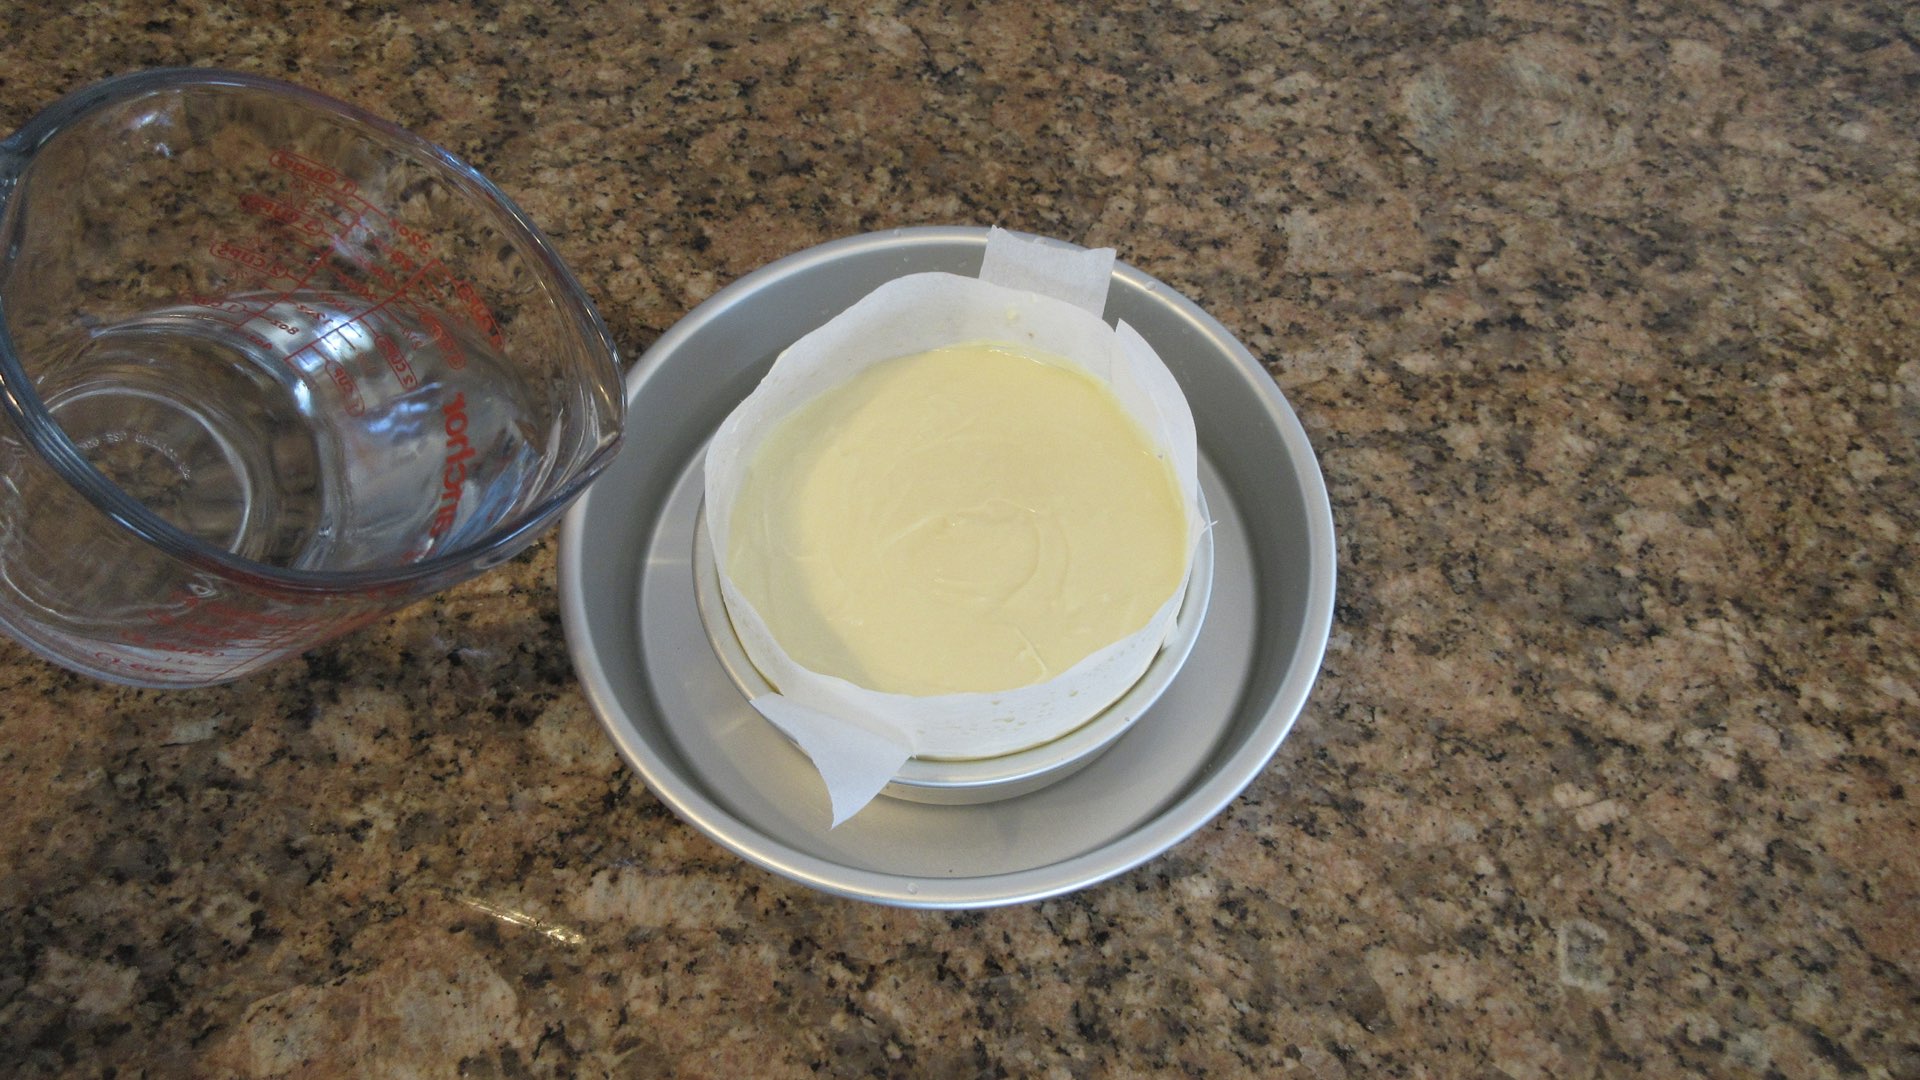
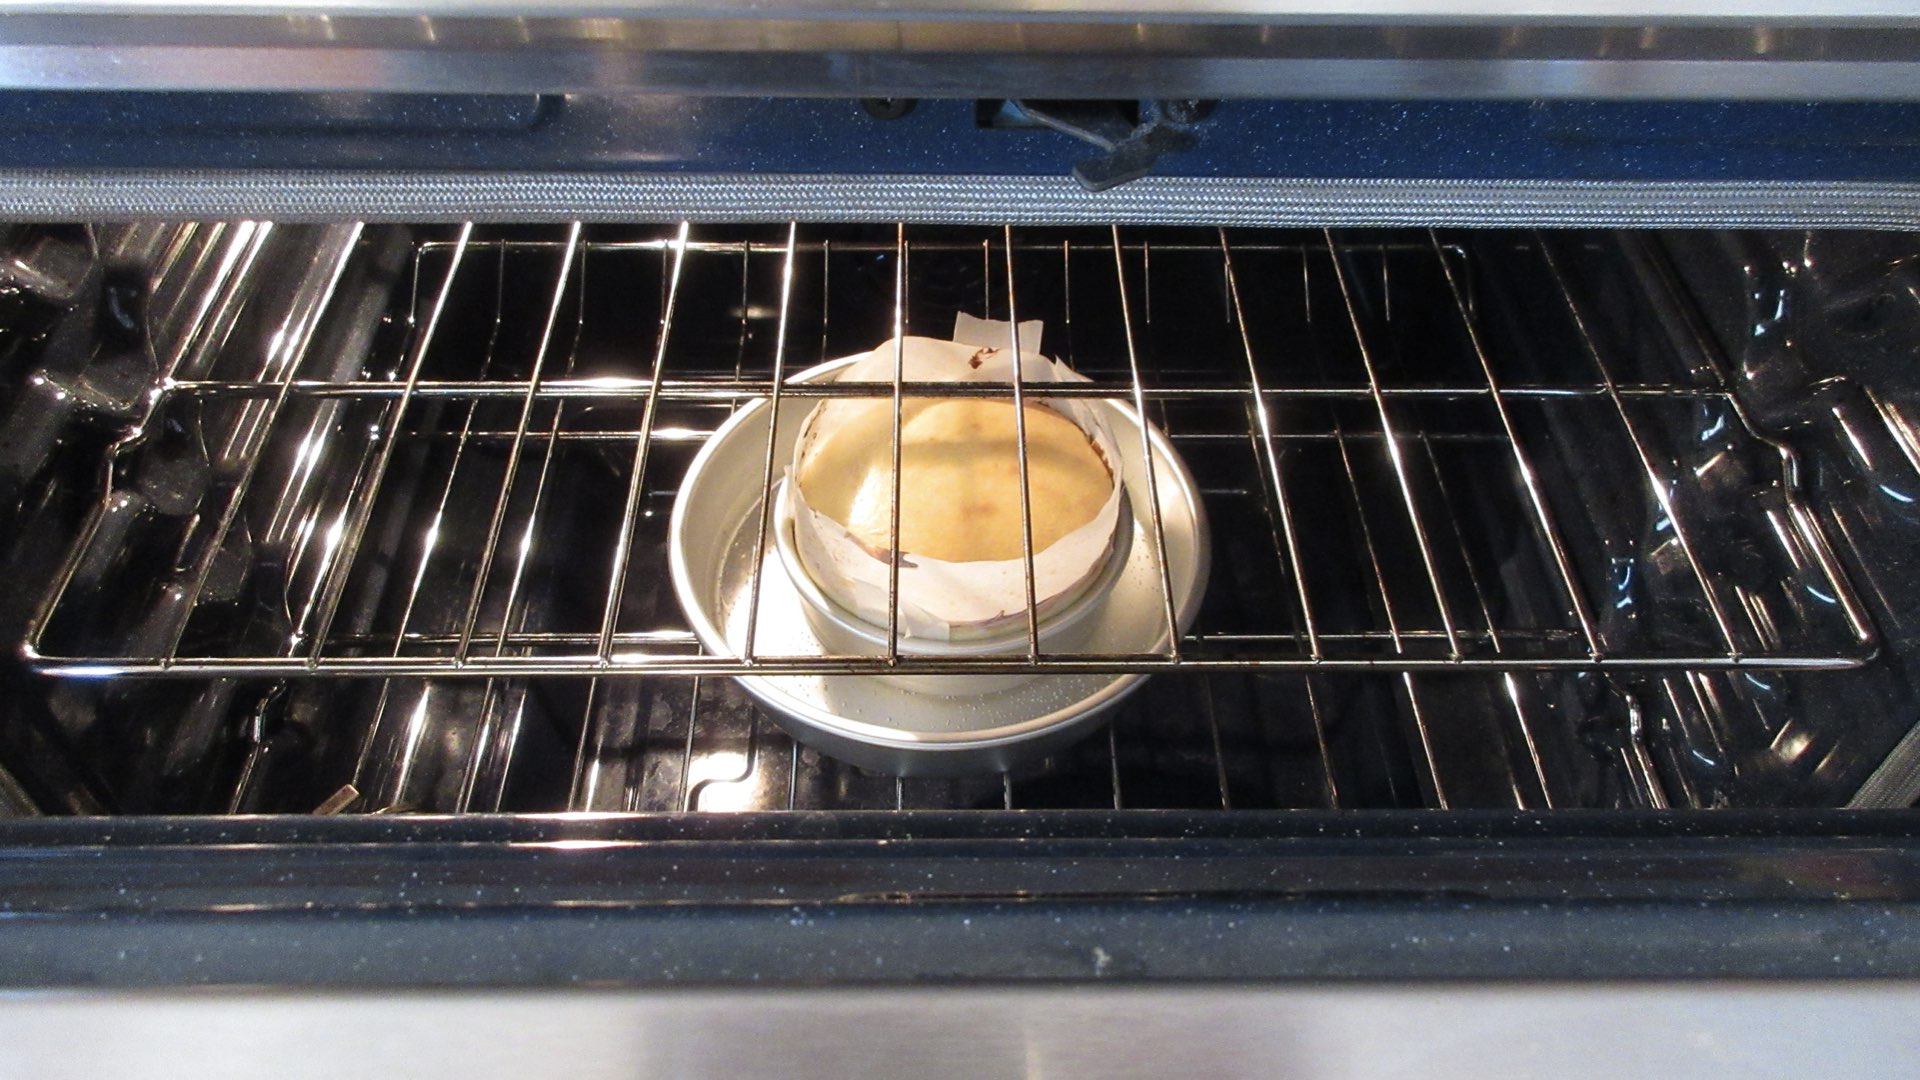
Now you will need a separate cake pan that is at least 2 inches (5cm) larger than your 6″ (15cm) pan. This will ensure a nice even baking. Here we are using a 9″ (23cm) cake pan. Place your cheesecake in the center and carefully pour hot tap water around into the larger pan. Do not pour it into the cheesecake pan and take your time so water doesn’t splash into the rim of the center pan. You need water to come up halfway of the sides of the cheesecake pan. This will take around 1 – 1 1/2 cups of water (240 -300mL.)
Step 5: Bake
Now, you want to carefully transfer the pans to your oven’s bottom rack. Do not slosh it around. Walk slowly so the water doesn’t spill into the cake or oven. You want to bake any 6″ cheesecake recipe low and slow to avoid over-baking or excessive browning. You will bake the cheesecake until the center just wobbles when shaken. The center temperature will reach 160 (71C) when it’s ready. Expect this to take at least an hour.
Step 6: Cool
Once the cheesecake is cooked, turn off your oven and prop open the door. Let it cool in the oven for 45 minutes. If you cannot do this step, then just bring it to the counter. The slow cooling down helps prevent cracks and sunken middles. This slow cooling is mainly for cosmetic purposes.
Now that you have cooled the cheesecake in the oven, remove it from the water bath and place on a wire rack to finish cooling.
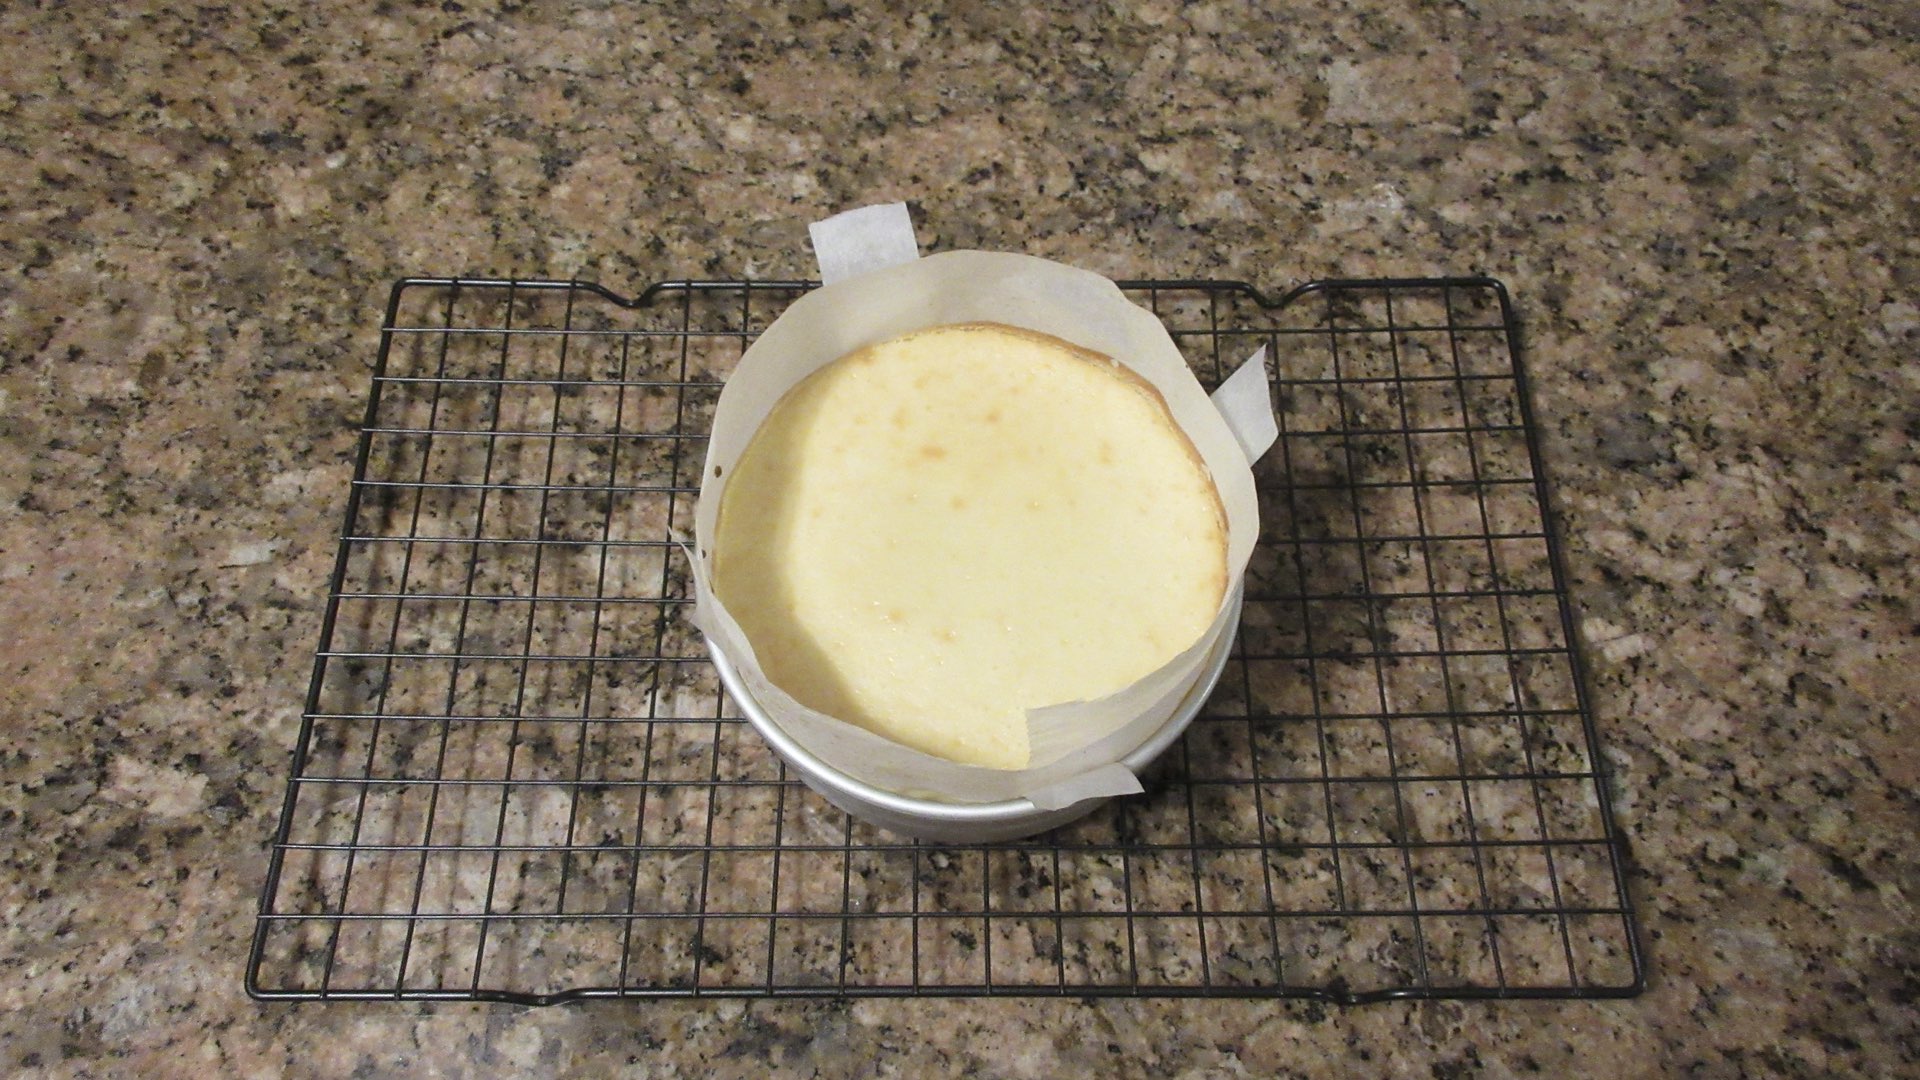
Loosely place a piece of plastic wrap on the top of the cooled cheesecake and leave it in the pan. Now you must chill down the cheesecake in the refrigerator for at least 4 hours, but preferably overnight. Yes, at least 4 hours. It is not negotiable as the cheesecake needs this time to fully set.

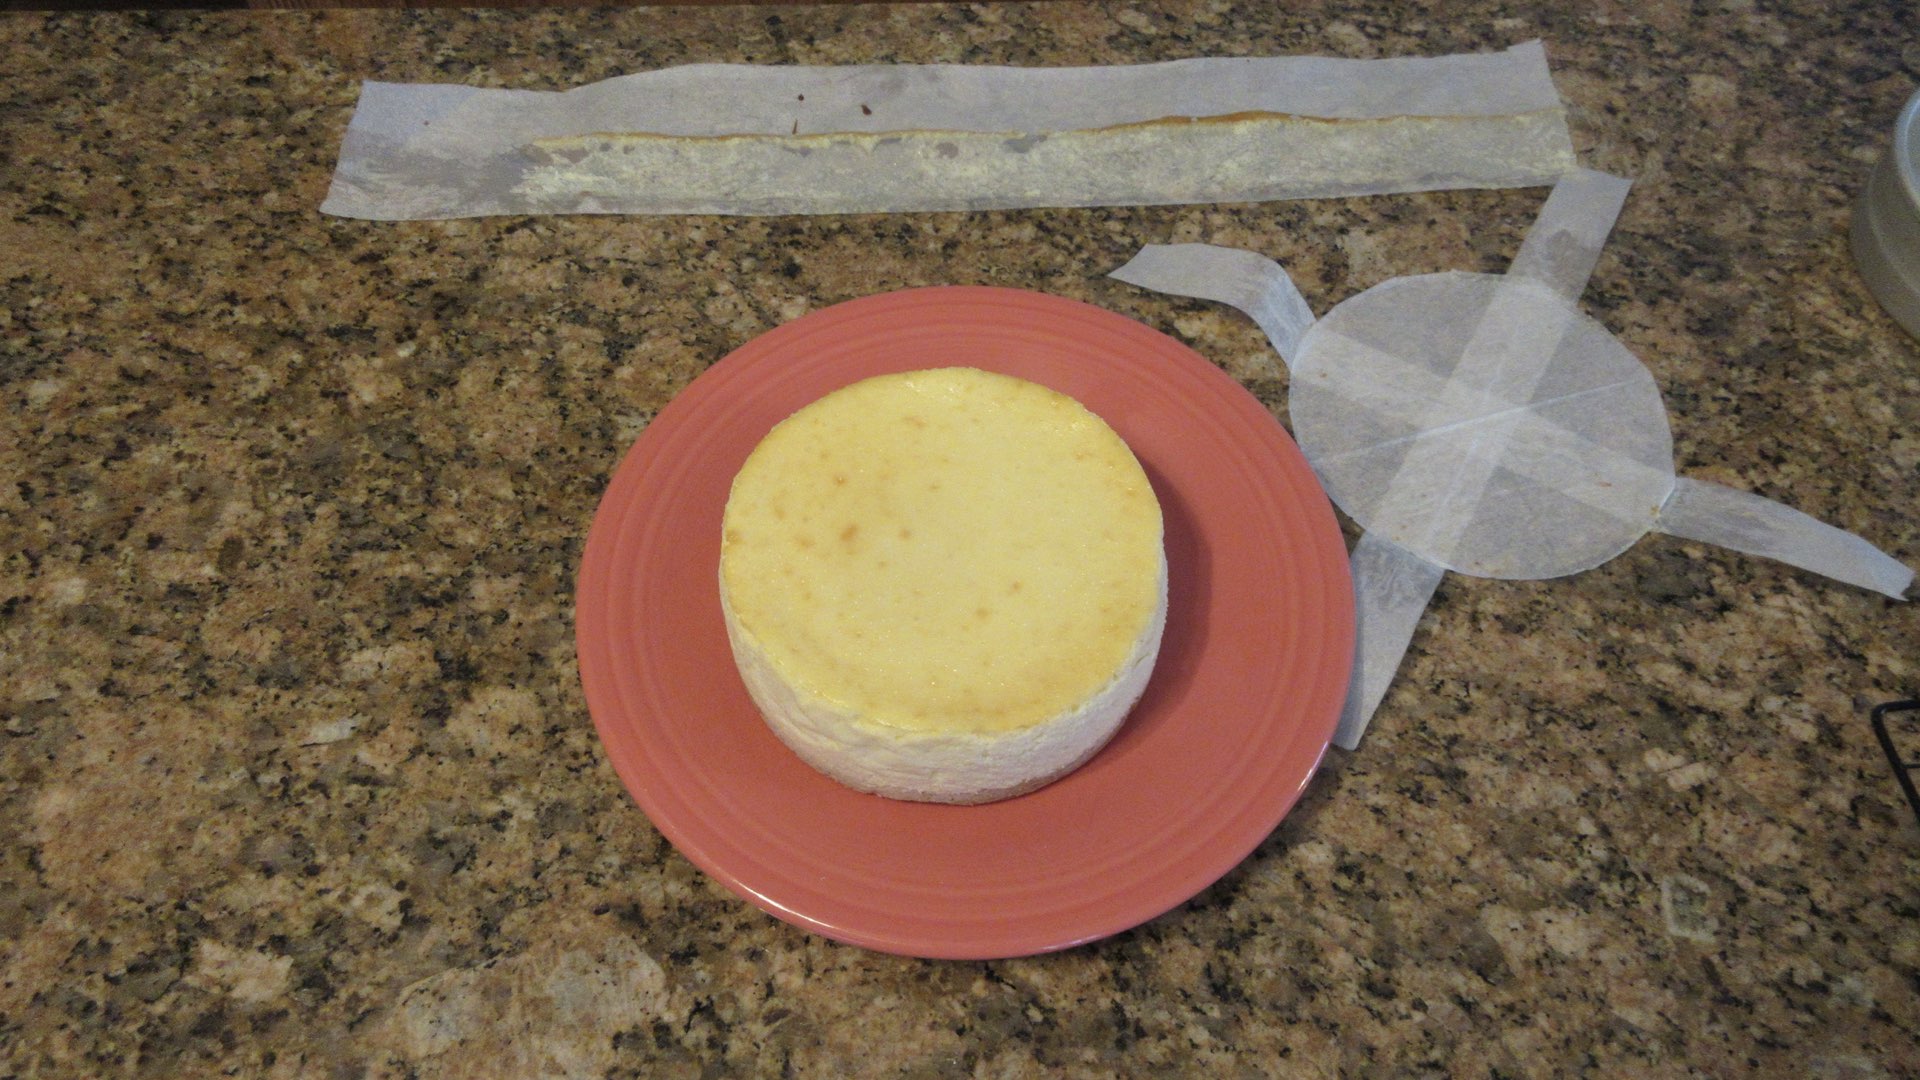
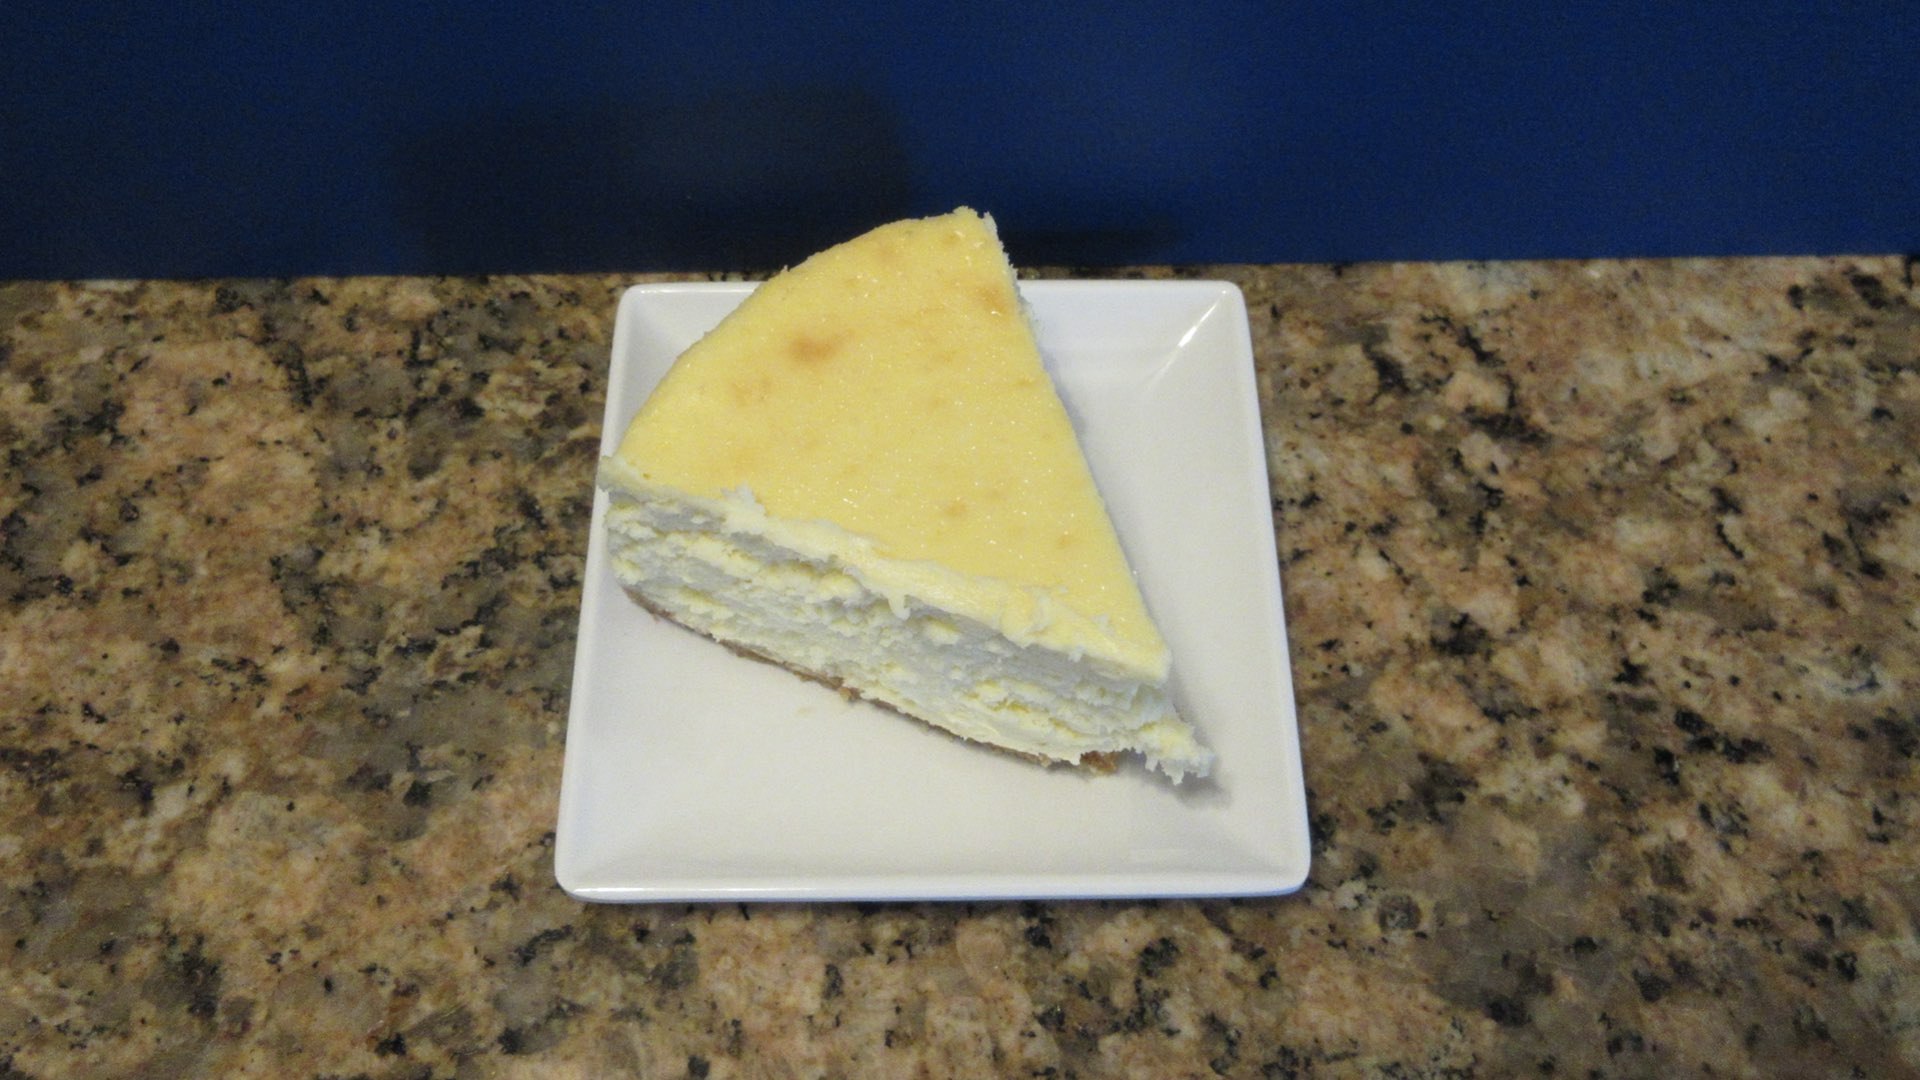
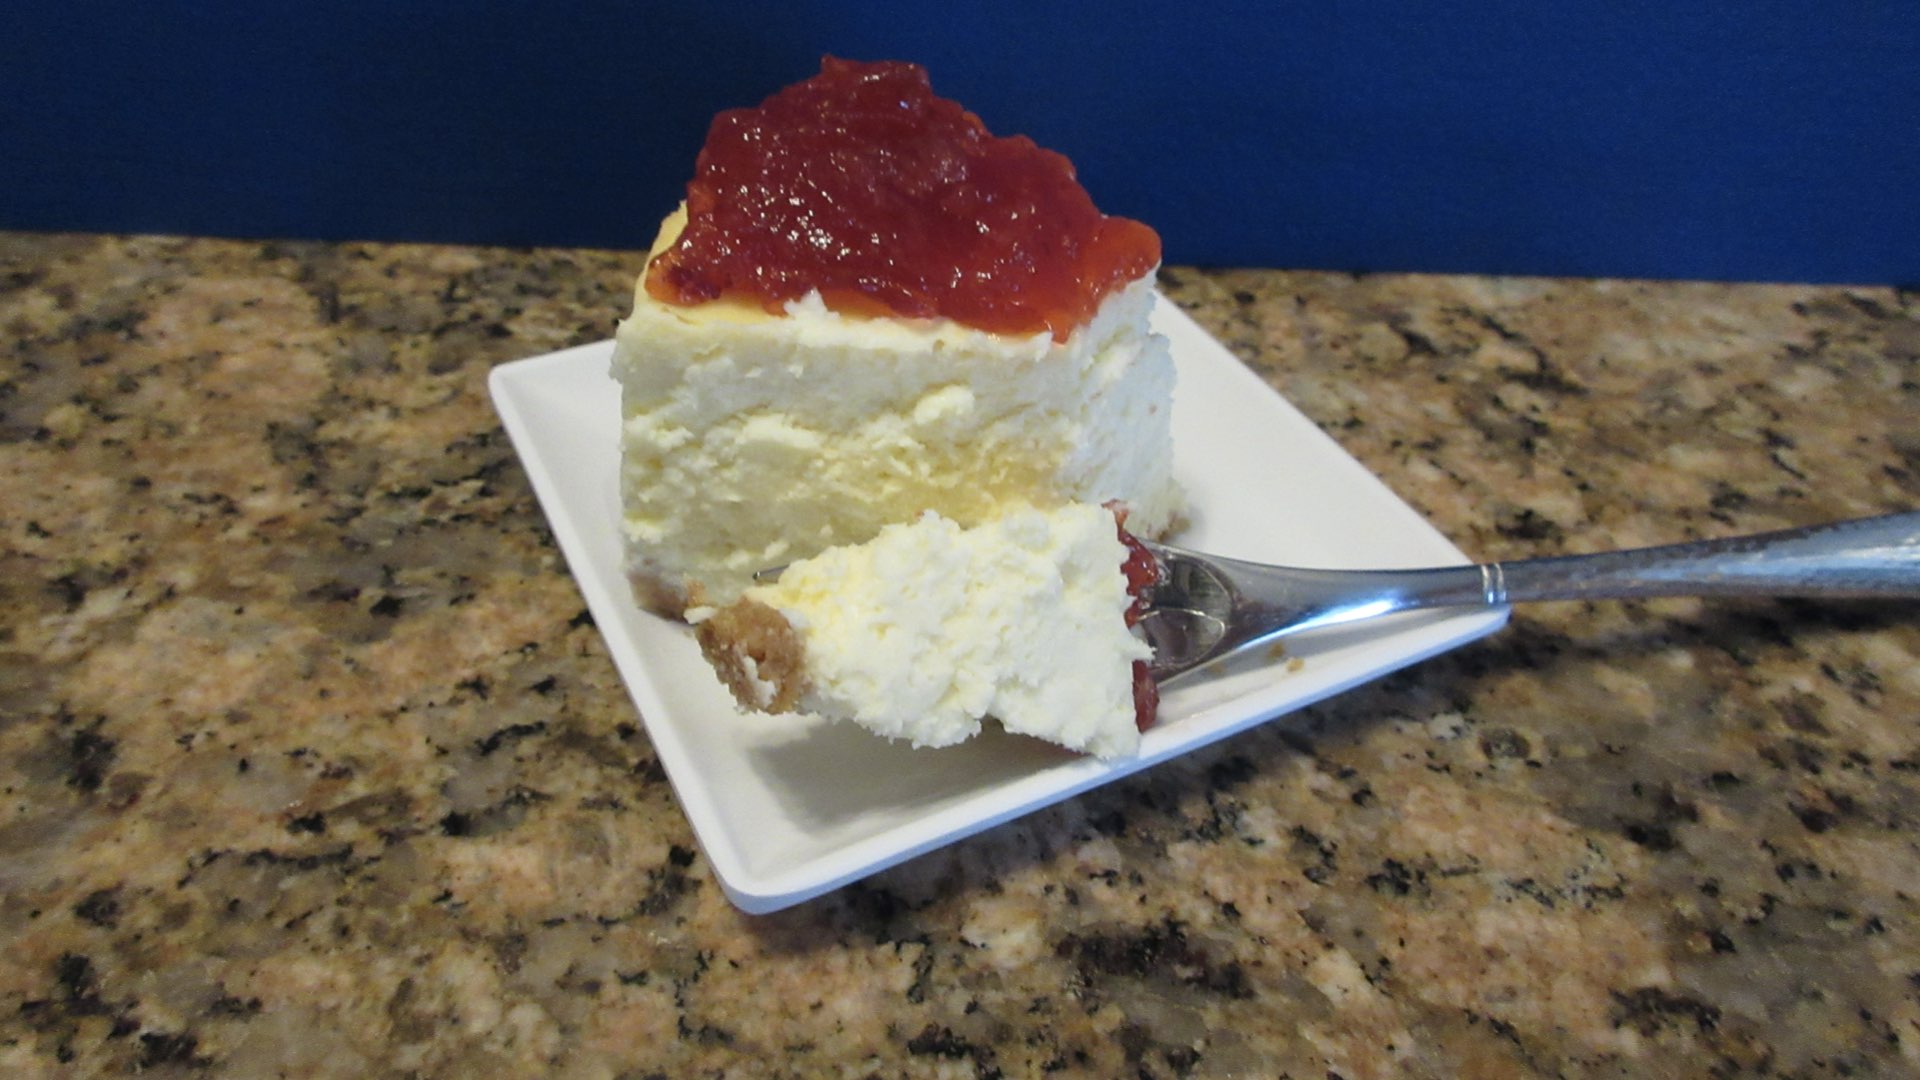
After it has cooled for several hours or overnight, gently run a knife around the inside of the pan and lift up on the tabs of parchment paper to release it. Carefully lift out the cheesecake and place on a serving platter. Remove the parchment paper. You are now ready to serve! Top with your favorite toppings or enjoy it plain.
Alternative Baking Method
Are water baths necessary to bake this 6″ cheesecake recipe? Well, no. Baking without a water bath will change the texture slightly (think pumpkin pie) and may cause cracks, especially as it cools. But it will taste lovely. The top will also be more prone to browning and splitting as it cooks much faster, so you have to watch it carefully. To use this method, raise the temperature slightly and bake for a shorter duration. You may need to tent the top if you choose this method. We highly recommend using the water bath method whenever possible. Below is a cheesecake without a waterbath. Notice the browning on the top and a that it also has a bit of a leathery look to it.

Substitutions and Tips
Here are some common substitutions and tips for this cheesecake recipe.
- Substitute graham crackers for your favorite shortbread type cookie or biscuit. Shortbread, vanilla wafers, digestive biscuits and oreo cookies without the filling are a few good examples. You need enough to end up with 1/2 cup (76g) of crumbs.
- Add some spice to your crumb base. Try 1/2 tsp of ground ginger or cinnamon.
- Using a water bath can sometimes etch or mar some pans or leave behind a chalky residue if you live in an area with hard water. This is to be expected. It is best to use an older or cheap pan with this realization.
- Instead of plain yogurt, you can try vanilla yogurt for a more intense vanilla flavor. This will also make the cheesecake sweeter so you may want to hold back some of the sugar and taste the batter prior to adding the eggs and adjust the amount of sugar as desired.
- Parchment paper is vital for this recipe. If you don’t have it, wait until you do. Without the parchment, the filling may spill out into the oven while baking and will not remove from the pan without falling apart.
- If using a springform pan, wrap the outside of the pan with two layers of heavy duty aluminum foil to prevent water seepage. Make sure to still use parchment paper for the walls of the pan so that excess doesn’t spill over as it bakes.
- Sometimes, the top can get a light browning like shown above. This can happen if you leave the cheesecake to cool in the oven a little too long, have placed it on an upper rack or bake it a tad too long. I forgot I was cooling my cheesecake and went on a long walk. This is only cosmetic and doesn’t affect the flavor. It is easily hidden with some whipped cream, fresh berries or compote.
Storage
Cheesecakes must stay chilled in the refrigerator until ready to eat and leftovers must be returned to the fridge promptly within 1 – 2 hours depending on the temperature for safety. Bring out cheesecake 20 – 30 minutes before serving.
For longer storage, wrap the cheesecake well with plastic wrap or use an airtight container and store cheesecake up to 5 days in the refrigerator or 2 months in the freezer. Do not store around foods with strong odors such as onions or garlic as cheesecakes tend to absorb smells and flavors of items around them. To bring cheesecake to room temperature from frozen, place frozen cheesecake in the fridge overnight for at least 8 – 12 hours.

6″ Cheesecake Recipe
Ingredients
For the Filling
- 2 pkgs (454g) cream cheese
- ⅔ cup (133g) sugar
- 2 large (100g) eggs
- ¼ cup (60g) plain yogurt or sour cream
- 1 tsp (5mL) vanilla
- ⅛ tsp (.625g) salt
For the Crust
- ½ cup (76g) graham cracker crumbs
- 2 tbs (28g) melted butter
- 1 tbs (12.5g) sugar
Instructions
- About 1/2 hour before starting, remove cream cheese, sour cream and eggs from the fridge. Bring to room temperature.
- Position the oven rack on the lowest position available. Preheat Oven to 325F (160C.)
- Cut two rectangular strips 1" x 12" (2.5 x 30 cm) of parchment paper. Cut one rectangular strip 3.5" x 19" (9 x 48 cm) of parchment paper. Trace the bottom of an 6" (15 cm) cake pan and cutout a circle of parchment.
- Melt butter in microwave or on stove top. Using a small amount of the melted butter, grease one side of the parchment paper and the inside of the cake pan. Lay out two of the strips in a criss cross pattern on the bottom inside of the pan and up the sides. Place the other two strips on the inside on the walls or sides of the pan. Place the circle on the bottom inside of the pan.
- Crush up 5 full sheets of graham crackers in a baggie or blender until you have 1/2 cup of fine crumbs. In a small bowl, mix together the crumbs and the remaining melted butter until moistened. Press the crumbs firmly into the bottom of the pan. If desired, you can press some up the sides as well. Bake the crust for 5 minutes and carefully remove to a wire rack to cool.
- In a large bowl, beat cream cheese until smooth on a low speed. Add in the yogurt or sour cream, vanilla and salt. Mix until just blended. Beat in the sugar.
- In a small bowl, beat together the eggs until combined. Add to the cream cheese mixture and beat on low until just mixed. Do not over mix.
- Pour mixture into the pan and level. Tap a few times to release any air bubbles.
- Place this pan in a larger pan and carefully pour hot water into the larger pan until it comes about 1/2 way up the sides.
- Bake 60 – 75 minutes or until center just wobbles and temperature reaches 160F (71C.) Turn off oven, prop open the door and allow it to cool slowly for 1 hour. Remove from oven and water bath and finish cooling at room temperature.
- Chill cheesecake in pan 4 hours or overnight in the refrigerator. For best results, leave it overnight or 8 hours. Carefully remove from pan and slice. Cheesecake must stay chilled. Store any leftovers in fridge within one hour.
0 Comments