
Do you ever have a lot of egg yolks leftover and don’t know what to do with them? For the longest time, I would freeze them until I could find a solution. Then, an idea was formed one day when separating eggs. What if tried making desserts without egg whites and just the yolks? What is the worst that could happen? I call this my Use Up Those Egg Yolks Cake recipe. It came about after I sat looking at dozens of egg yolks. There is just so many omelets and homemade noodles a person needs.
I became…obsessed with perfecting macarons last year. Failure after failure, I had so many egg yolks that I needed to come up with ideas. I did what everyone does and googled “egg yolk” recipes. There are just so many times you can eat custard, drink egg nog and make vanilla ice cream before you get sick of eggs. I needed another outlet.
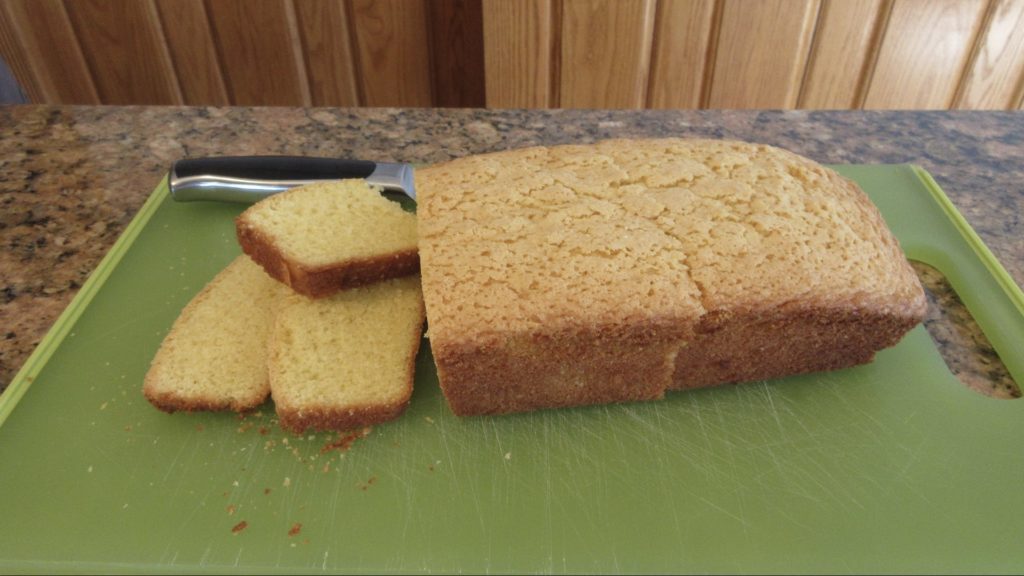
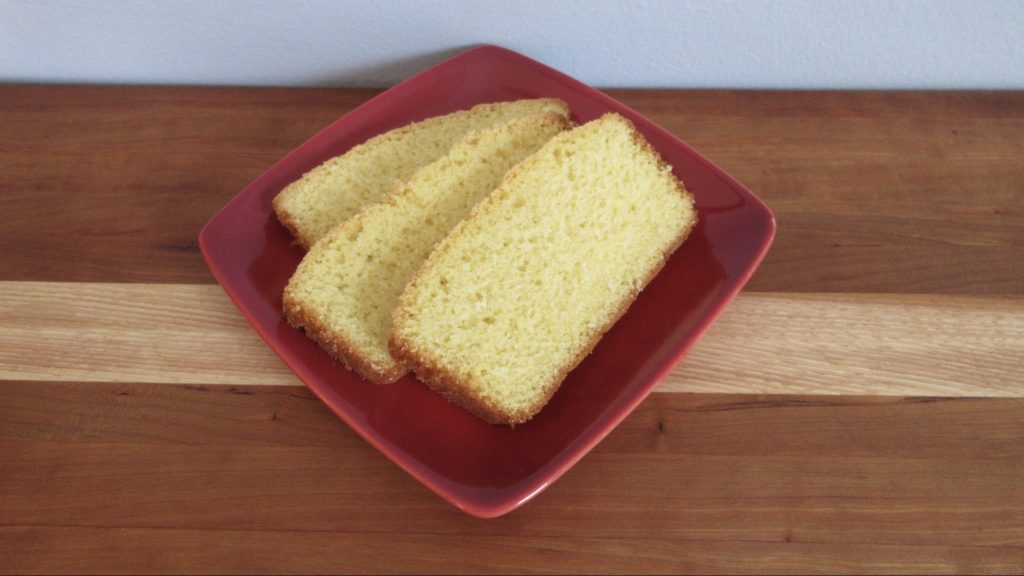
So I started making my favorite desserts such as cookies and cakes with just egg yolks to see what would happen. I quickly learned in some, you could just double the yolks and others, you needed more liquid and less fat. I decided to try water. And it actually works. Not as well as a whole egg, but think store boxed cake. If you like those boxed cake mixes, this is actually pretty close in flavor but better as we use real vanilla. Try out the Use Up Those Egg Yolks Cake and see what you think.
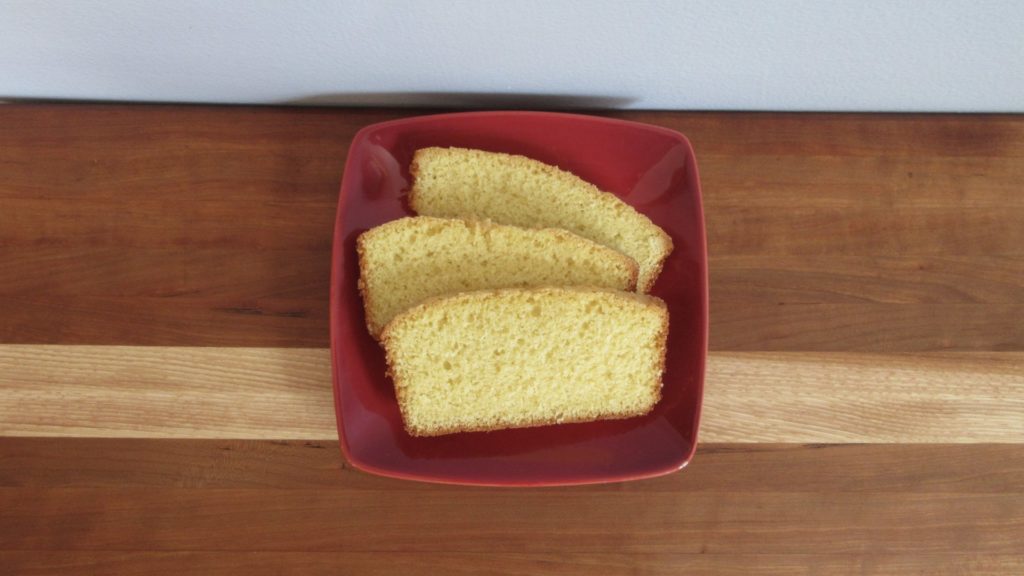

Use Up Those Egg Yolks Cake
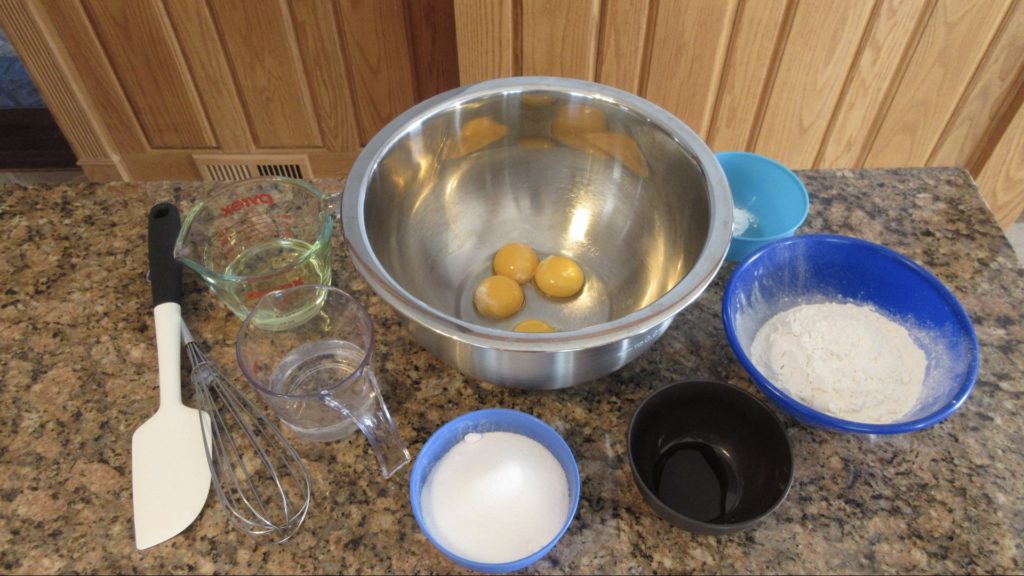
Ingredients
- 1 cup (150g) flour
- ¾ cup (150g) sugar
- ½ cup (120mL) oil
- ½ cup (120mL) water
- 4 large (80g) egg yolks
- 1 tsp (5mL) vanilla
- 1 tsp (4g) baking powder
- ½ tsp (2.5g) salt
Instructions
- Preheat oven to 350F (180C.)
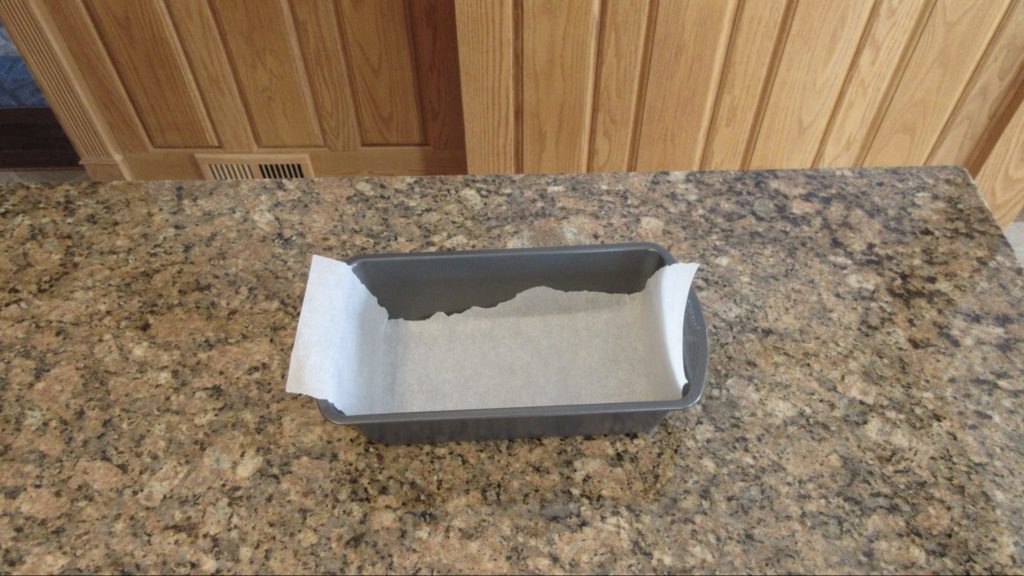
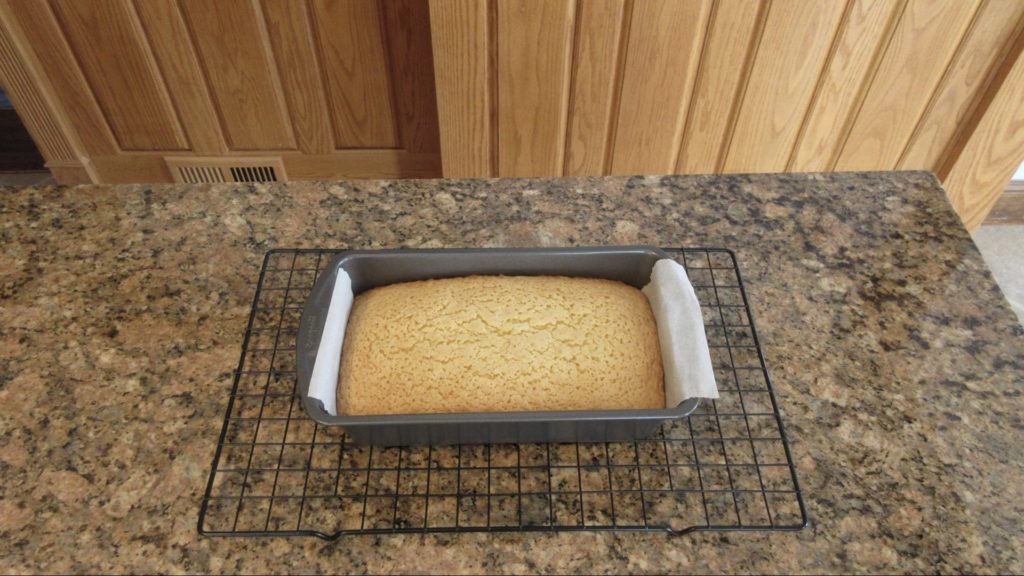
- Grease and flour or line with parchment a 9×5 (23x13cm) loaf tin.
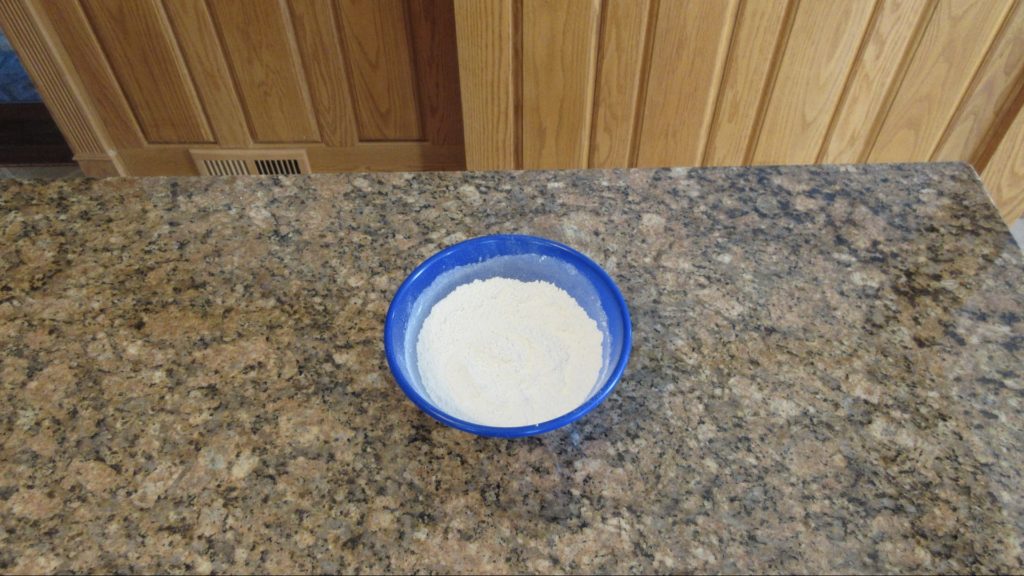
- Combine flour, salt and baking powder in a small bowl, set aside.
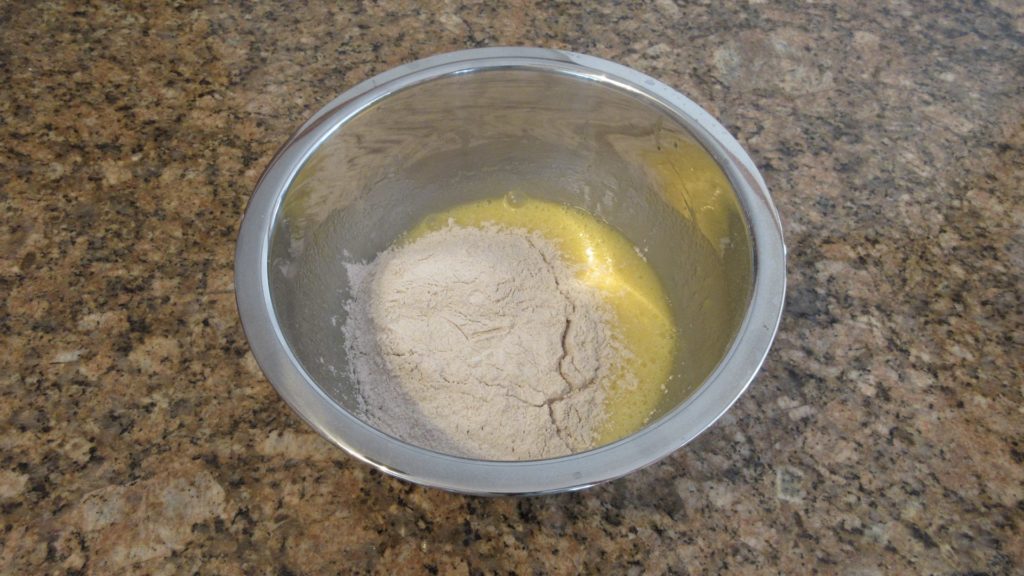
- In a large bowl, beat egg yolks, water and sugar medium speed until double in volume, about 5-10 minutes. Beat oil and vanilla until well blended. Add flour mixture and mix until you no longer see lumps, about 1 minute. Pour into prepared pan.
- Bake 45 – 55 minutes or until a toothpick inserted in the center comes out clean and cake separates from the sides. Center should read between 200F (93C) and 210F (99C.)
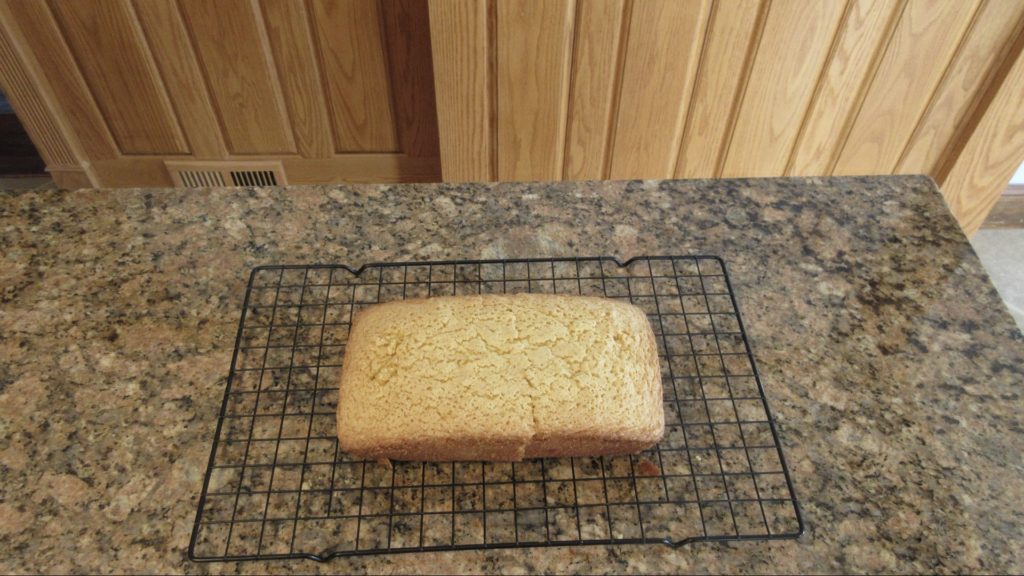
- Cool in pan for 10 minutes; remove to wire rack to finish cooling.
Thank you for your recipes. I have tried the “Egg Yolks Cake” it is an all time favourite in our family.
I am so glad you enjoy this cake, Sarah! Came up with this one when I was learning to make macarons and trying to figure out what to do with all those egg yolks. It can also be baked into cupcakes (16-20 minutes) which is something I often do as it bakes faster and stores well in the freezer.
One thing I thought I should mention additionally concerning noodle making, is the wear on a mixer. I would not want more than 2 total pounds of ingredient in a table top mixer due to the strain a chunk of dough placed on the mixer. Really may even be best to hand mix which is a chore but very possible to do. The recipe I gave was actually the same we used in a 60 qt mixer so reduce recipe down if you are thinking of trying it. Noodles are hard to ruin so many methods can work. Texture changes but flavor does not.
Awesome, thanks for the warning as mixers can be expensive to replace. I tend to make the thicker style noodles and drier breads like bagels by hand, so I think I’ll start there with a smaller portion to begin and see what happens.
Was reading about your egg yolks and needing to find something to use them with. When we used to make Angel Food cakes out of fresh eggs we would then take the yolks and make a very hearty tasting rich flavorful noodle out of them using Durham flour and water. The number of people who complained that we added food coloring to our bright yellow noodles was quite many. A few still would not believe they were without color added even after stressing that to them. Any way, that is a quick source for yolks. Some people dry the noodles others put them immediately in the freezer. A properly dried noodle will keep for many months with no preservatives.
Brilliant idea on homemade noodles. I’ve made the ones that are thicker and more like a dumpling style, very popular in my area, but I’ve always used the full egg. I’ll try this out as I bet it’s absolutely delicious. And I’m smiling at the food coloring comment as I get that often using backyard eggs. They are often naturally darker due to the variety of diet and I get that comment a lot. I can’t imagine what the noodles will look like now. I am wanting to learn how to dry noodles and make more traditional ones as we adore pasta. It looks very intimidating to me. I bet you could teach me a ton!
I was trying to recall from memory the recipe we used to make the noodles. We mixed the dough in a 30 at mixer so we used 1/2 gallon of yolks and added a cup of water to the yolks. (The water helped make them smooth to sight , and to touch) To the liquid we then added around 11 lbs of flour. Humidity in the room caused the amount of flour needed to vary by several ounces. So in summer we added extra flour, in winter we removed flour. As for the thickness, we ran our noodles through an Acme brand pizza sheeter we bought from a local Pizza Hut when they were updating. Shape the dough into a “log” then cut slices about 2″ thick to be rolled out into a long noodle. You will want to keep the width of the noodle no wider than your cutter if you have a pasta cutter. Take the wet floppy noodle and drape it over a clean rung on a clothes drying rack or some similar item. This is when you find out if you had enough flour in the dough. Too little flour will cause dough to be pulled apart by it’s own hanging weight on the drying rack. Noodles need moving air (fan) and low humidity (air conditioner or humidity below 45%) to dry quickly. Generally after 10 -15 minutes the noodles would feel dry and slick to the touch, and at that point they can go through the cutter without wrinkling the noodle or guming up the cutter. Too dry, and you will have to literally push the noodle into the cutter. I have wiped water over too dry noodles to re soften in such a case. Now that they are cut, spread out new /clean sheet or similar to place the noodles on and spread uniformly. You want no clumps and should see some sheet through the noodles. Put fan over noodles and after an hour or two, gently lift and “fluff” the noodles so that they are not laying flat on the sheet, this helps get air over them to dry quickly before mold spores get a chance to grow on your noodles. The most important step in noodle making if you are not planning on freezing them is to dry them until they are brittle to the touch. A noodle packaged with the least it of a wet spot in a clump will yield a green mass of mold in a few days or weeks. Carefully package noodles using a plastic pitcher with a handle and the bottom cut out of it. Slide an open plastic bag over the bottomless pitcher and fill the pitcher with noodles. Once you have the amount you believe the bag will hold, pull the pitcher out of the bag and you have successfully filled a plastic bag with sharp dry noodles without puncturing the bag. Enjoy. Durham flour noodles take longer to cook than most but do not break down or turn to mush. We like the texture, some people like the more traditional “soft” noodle. Hope this helps.
This totally helps, thank you for your kindness in sharing! I’ll break down the ratio for a smaller portion to try it out. I love the pitcher idea. I have an old pitcher stained from years of tea that would work well for this purpose. Now I just need to locate some durham flour locally. 🙂