A Little Background on Coconut Sandies
Learn how to make this coconut sandies recipe in a few easy steps. You can choose a few ways to prepare the cookies. By shaping and chilling them, you will have a thin, buttery cookie filled with coconut in every bite. Rolling them out and flattening them prior to baking will give you a crinkly texture and speed up the process. It’s up to you how you want to finish off the bake!
These coconut sandies will have a nice crisp cookie crumb. You can use all butter, margarine, shortening or a combination. It’s a very flexible recipe and each ingredient has its pluses and minuses when it comes to baking. An all butter cookie will be very pleasant, rich and easy to shape. All margarine will result in a similar texture but can make them a bit chewy. If you aren’t a fan of margarine, this isn’t the time to use it. Shortening and butter will make the coconut shine, but it will be difficult to slice the cookie dough without it crumbling. So if you use a combination it is best to roll the dough into a ball and flatten.
So why experiment with fats? Simply to see what happens to the cookie! The shortening produces a melt in your mouth cookie with a very short crumb and lets the coconut shine. When you use all butter or margarine, these types of fat can overpower the flavor of the coconut somewhat but is easiest to work with if you are new to baking.
Also, when it comes to toasting coconut, I recommend the stovetop method. It’s the easiest way to control the browning without burning the flakes. If you do not have access to a stovetop, try the microwave or oven. Alternatively, you do not need to toast the coconut at all for this recipe to taste great! It just makes the cookies look prettier and brings out a better depth of flavor.
Step-By-Step Instructions
Below, we will teach you how to make these delicious toasted coconut cookies in just a few simple steps. The hardest part of this recipe is waiting for the cookie dough to chill. But we will even give you an option to skip that step!
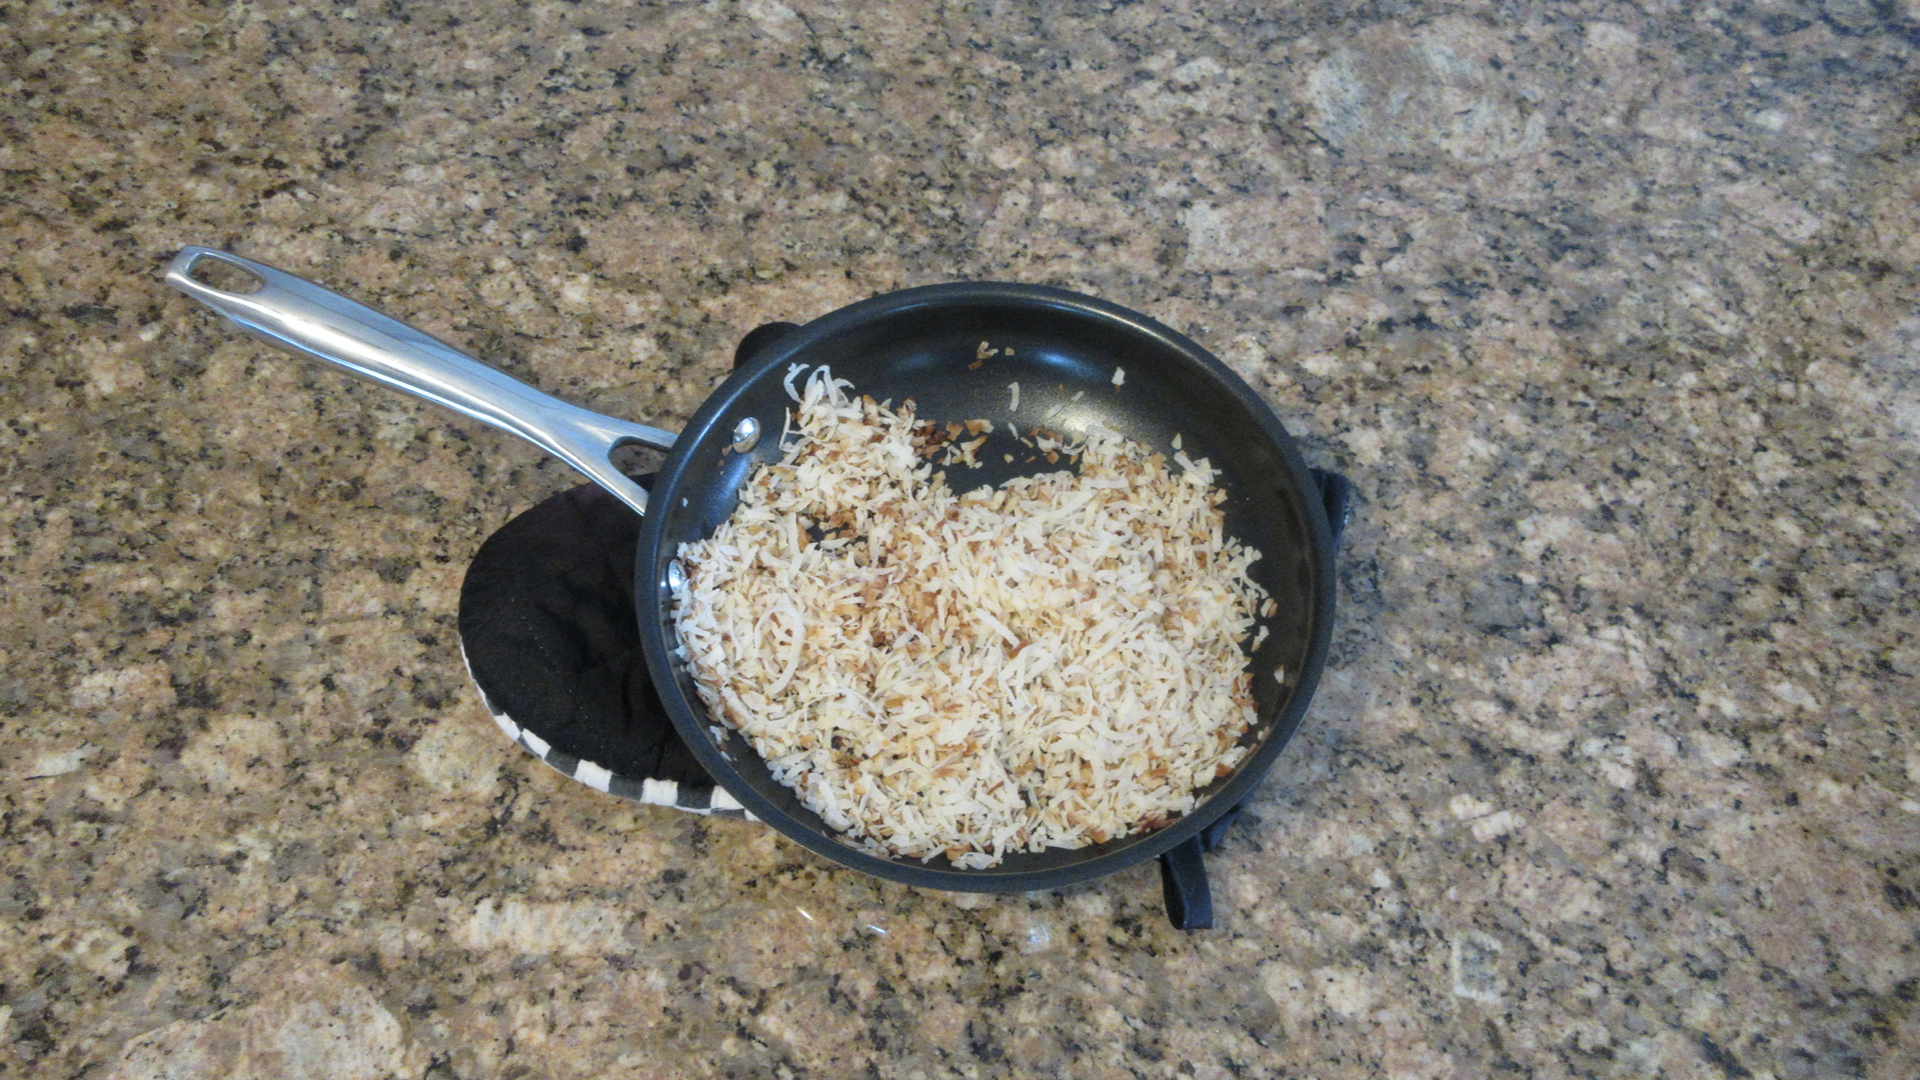
Step 1: Toast the Coconut
In a medium skillet, you will add one cup of coconut flakes and toast them on a medium heat. You want to stir them constantly for the next three to five minutes or until they are a golden brown on the edges like shown below. Turn off the heat and cool completely before moving to the next step. If you don’t cool the coconut flakes, the butter will melt and the cookies will not be as tender.
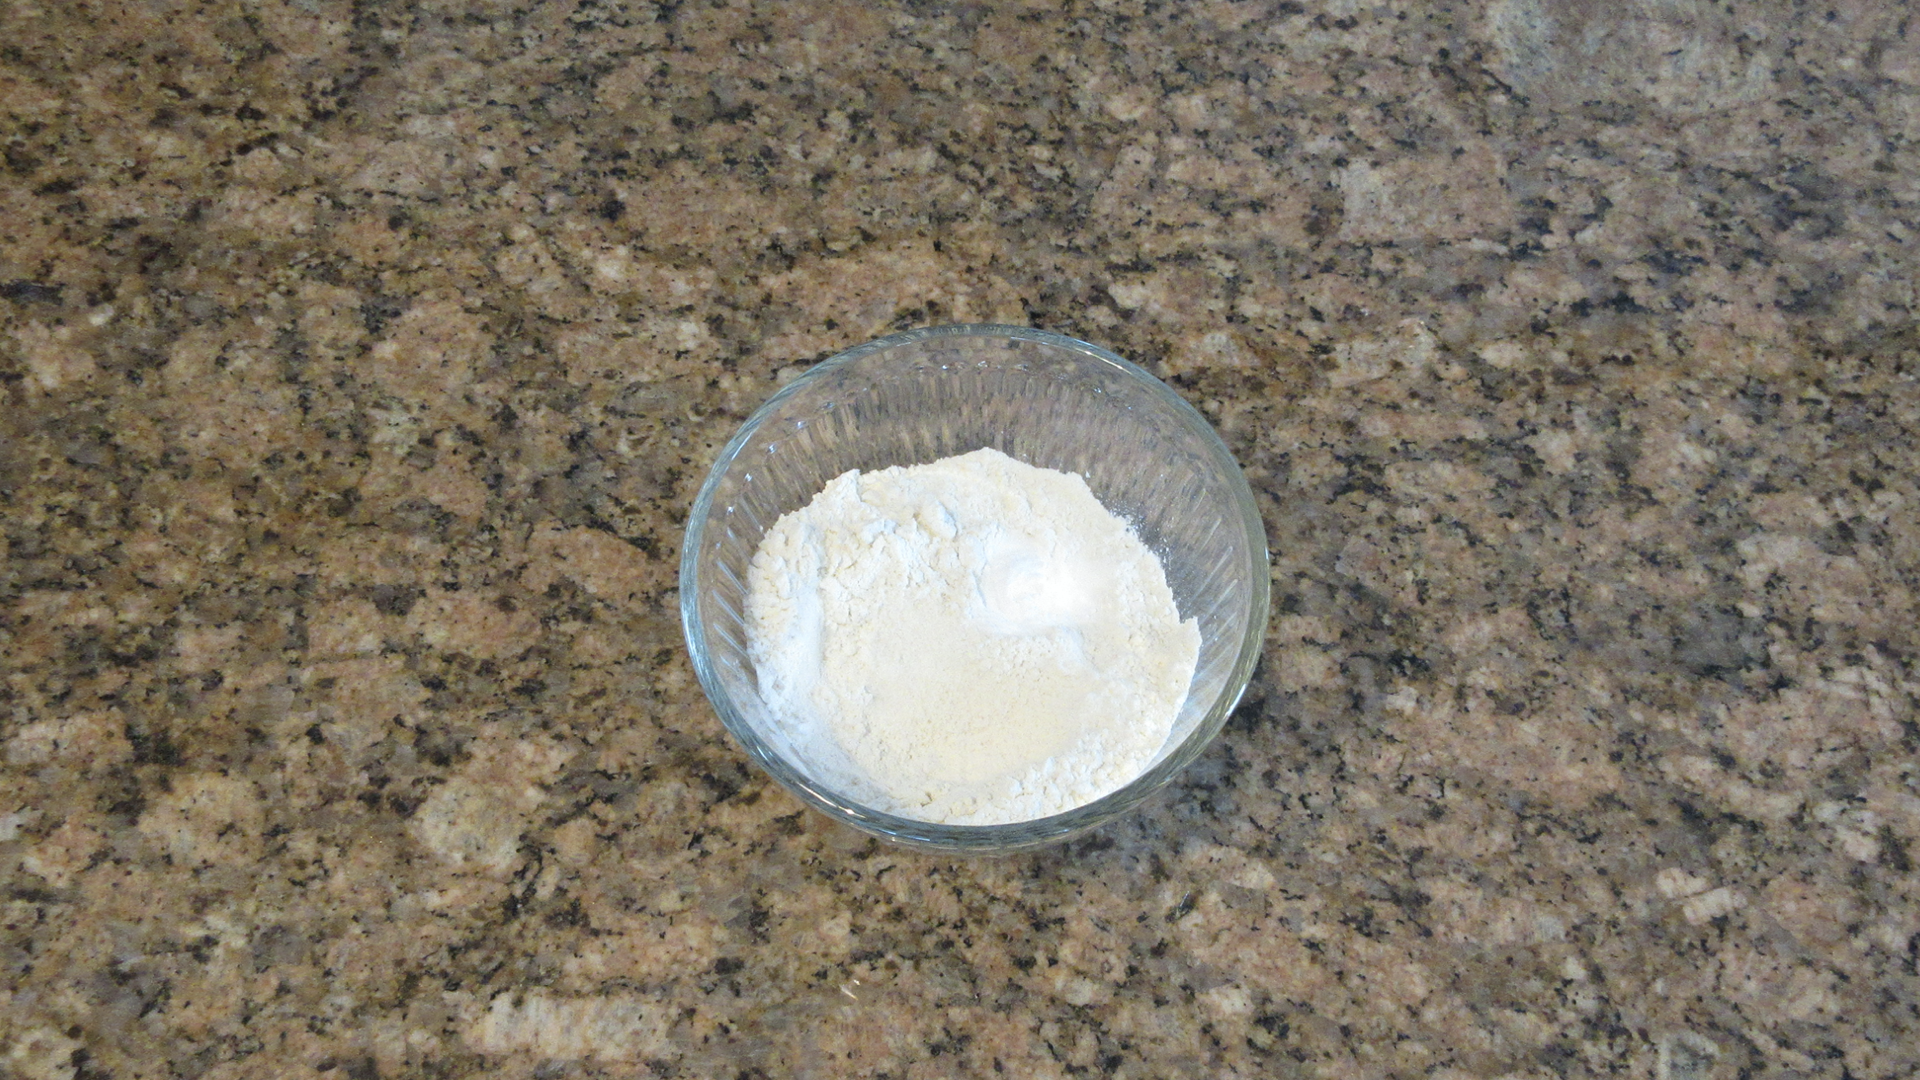
Step 2: Mix the Dry Ingredients
In a medium bowl, stir together the flour, baking soda and salt. If there are any lumps in the flour mixture, be sure to break them up with a fork, whisk or by sifting the flour.
Next, add in the cooled coconut and mix until well combined. If your coconut is not cooled, it will not yield the same results. This is your chance to let the coconut cool before moving forward. If you need to, place the bowl in the refrigerator to cool the coconut flakes down faster.
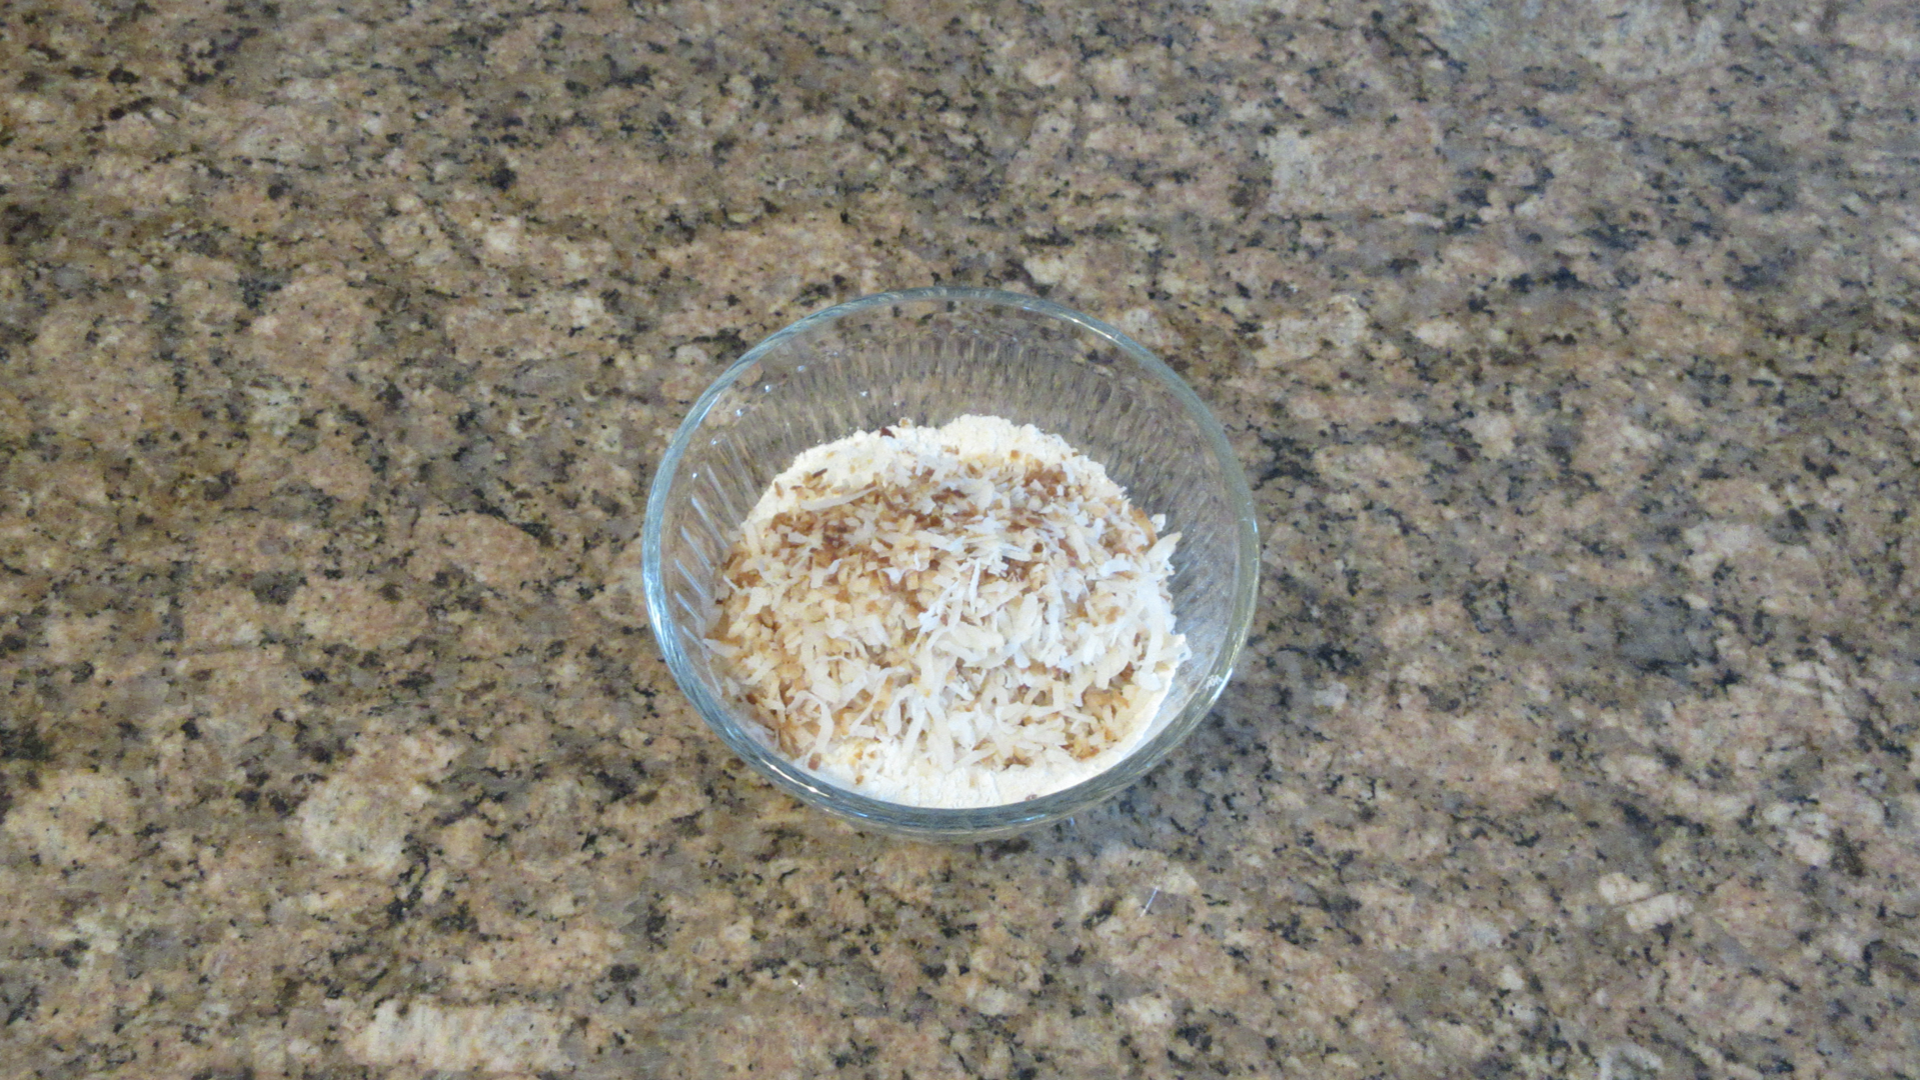
The coconut flakes should be well coated in the flour mixture and spread evenly throughout. If there are any clumps of coconut, break them up with a fork. Then, set this mixture aside.

Step 3: Mix the Wet Ingredients
Next, you want to cream together the butter and sugar. Add in the water and vanilla and beat until smooth. The mixture should be well combined.

Step 4: Add in the Dry Ingredients
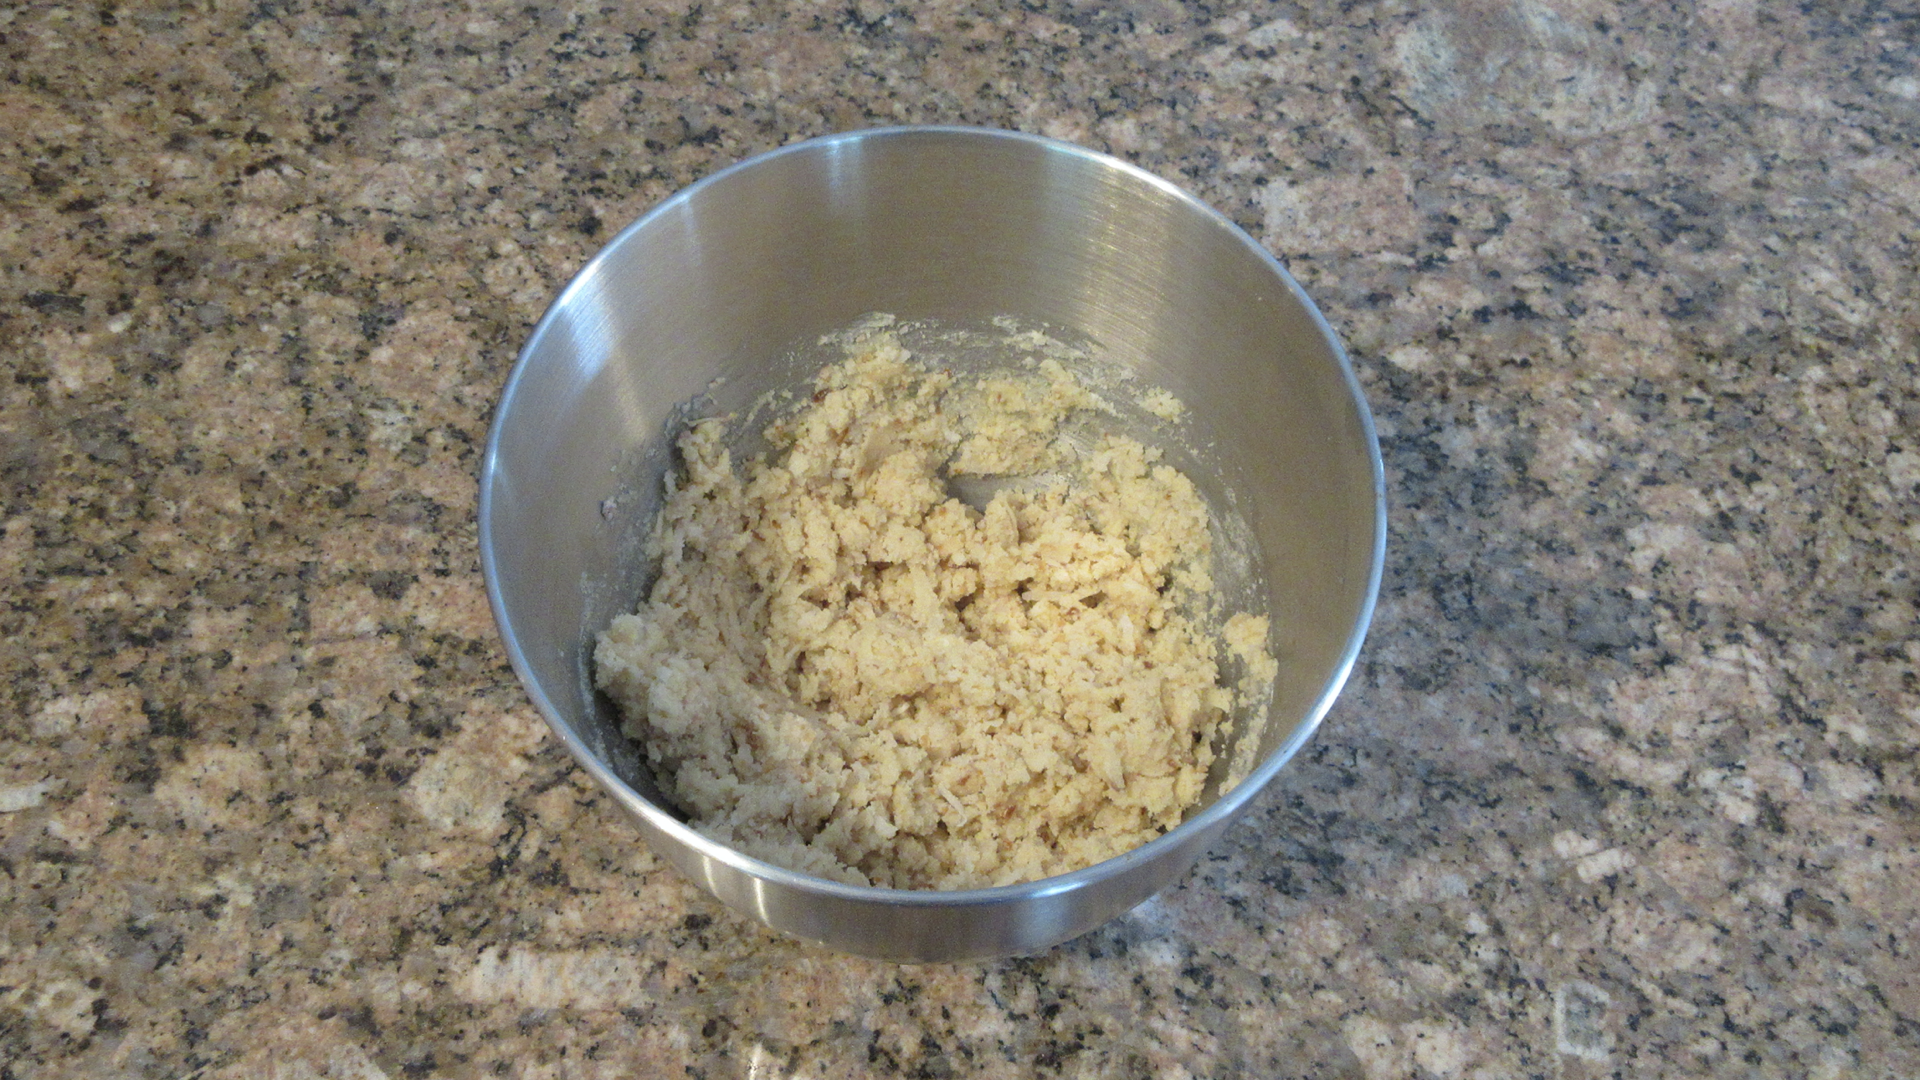
Once you have blended in the water and vanilla, you want to add your coconut flour mixture from earlier. Remember, that coconut should be cooled or it will melt the butter and result in a greasy and one tough cookie. We are repeating ourselves because we don’t want you to make that mistake!

You want to beat this by hand or with a mixer on low speed until it just starts to come together and forms a dough. Do not over mix the batter at this stage for super tender coconut sandies! The mixture should resemble wet sand. Hence, the name of the coconut cookies.
Step 5: Shape the Dough
Turn the dough out onto a clean work surface. If you find the dough sticking too much during the shaping process, sprinkle down a teaspoon or two of flour. At first the dough will be very crumbly and looks like it won’t come together.

Keep squeezing the cookie dough together with your hands and shaping. As it warms up, the dough will start to form fewer cracks and become more smooth.
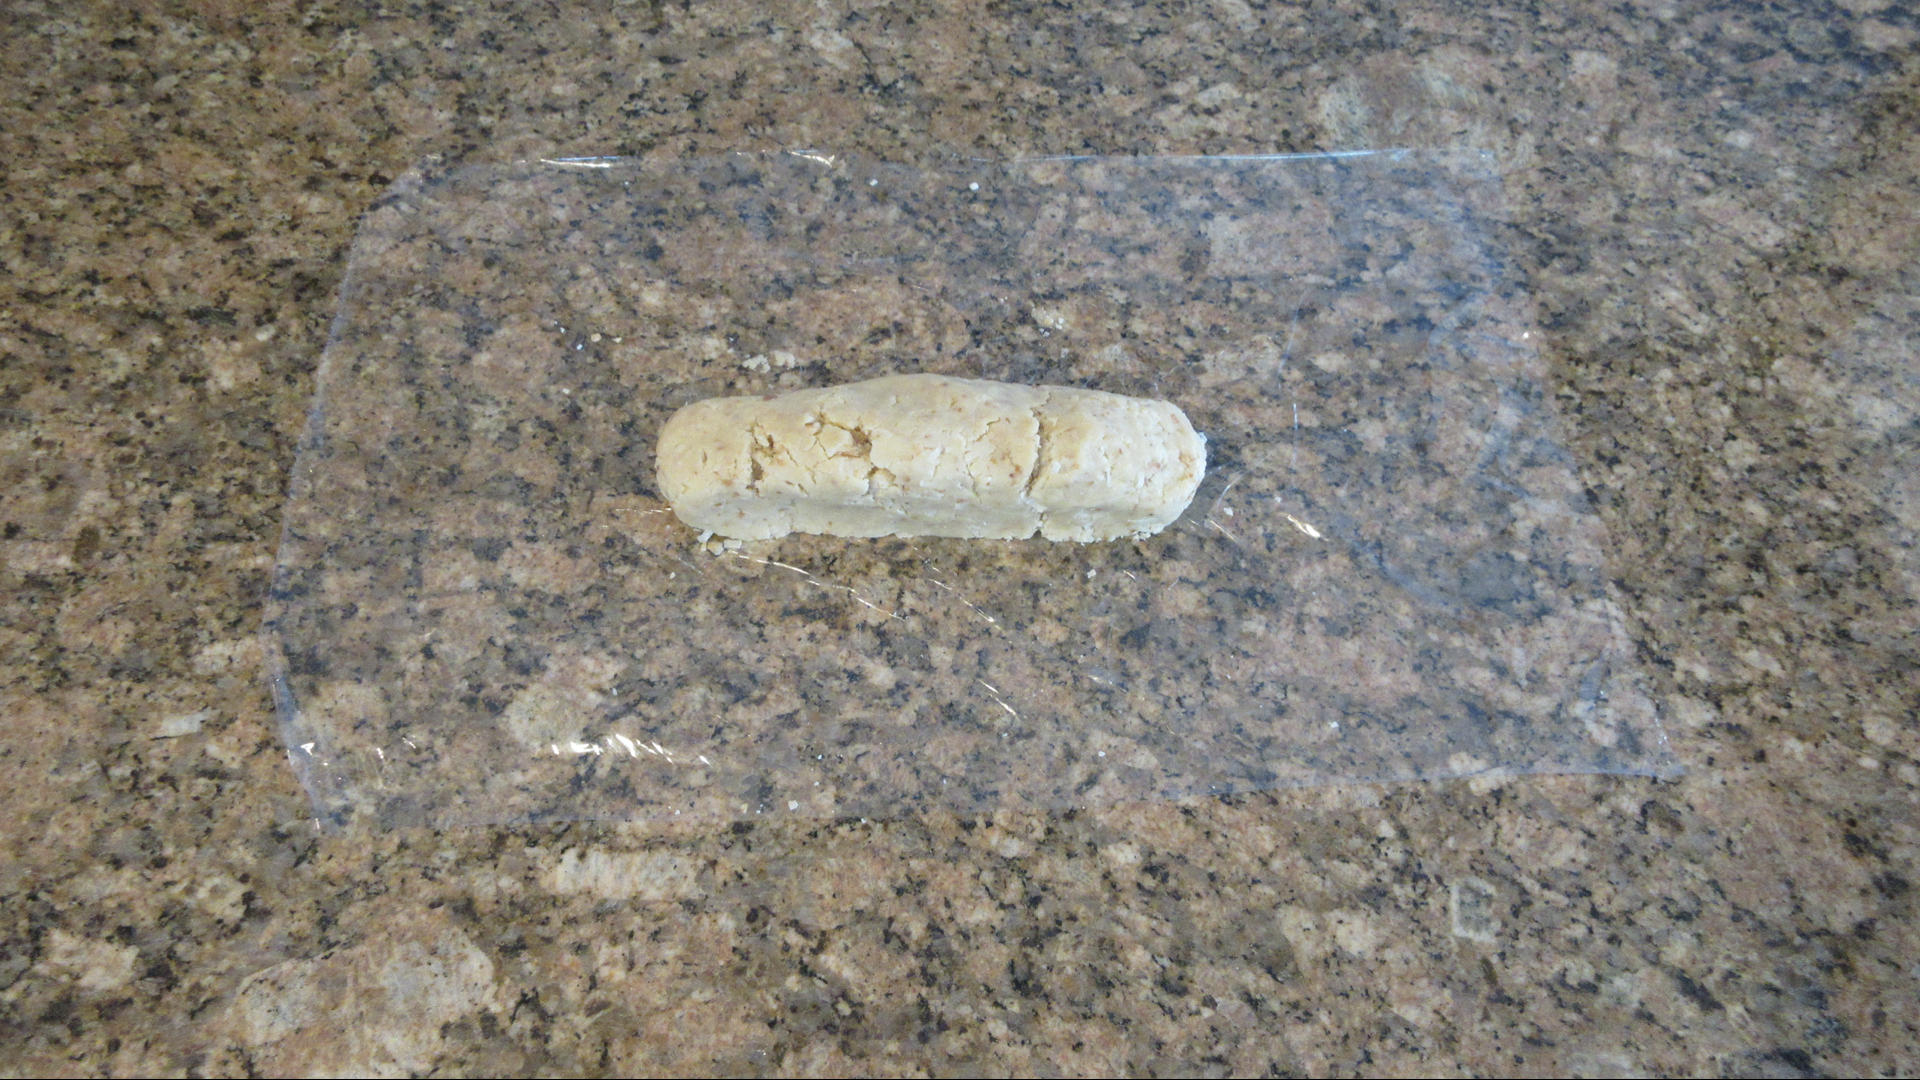
Shape dough into a smooth rectangle that is approximately 2×6″ (5x15cm) in size. You can also make it into a round log shape or squares. I’ll leave the shape up to you. We are doing a rectangle shape for an interesting cookie.
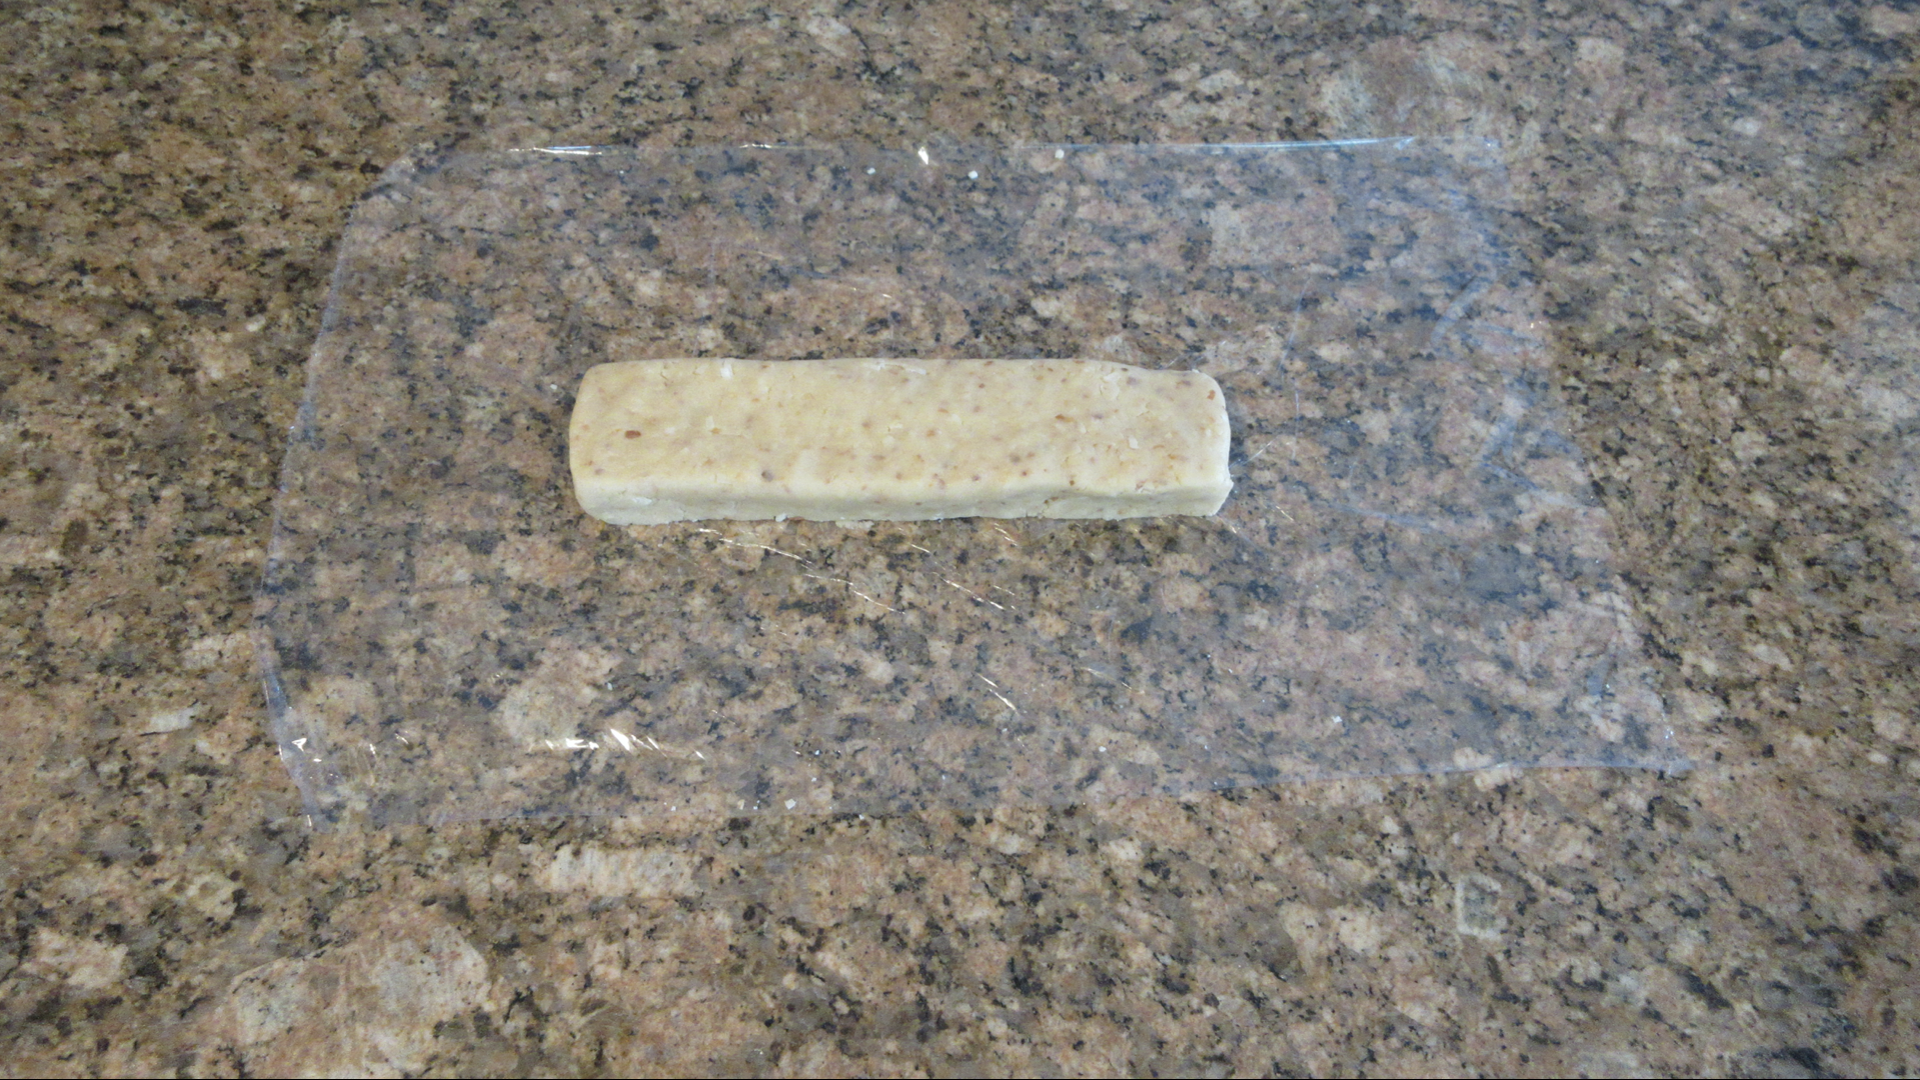
Step 6: Wrap and Chill the Cookie Dough
Once you have the desired shape, wrap the cookie dough in plastic wrap, wax paper, parchment or store in an airtight container. Placing the dough on a flat surface will help retain its shape as it cools down. You want to refrigerate the dough until firm, which can take about 2 hours. For best results, leave the dough overnight in the fridge as it will really develop flavors.

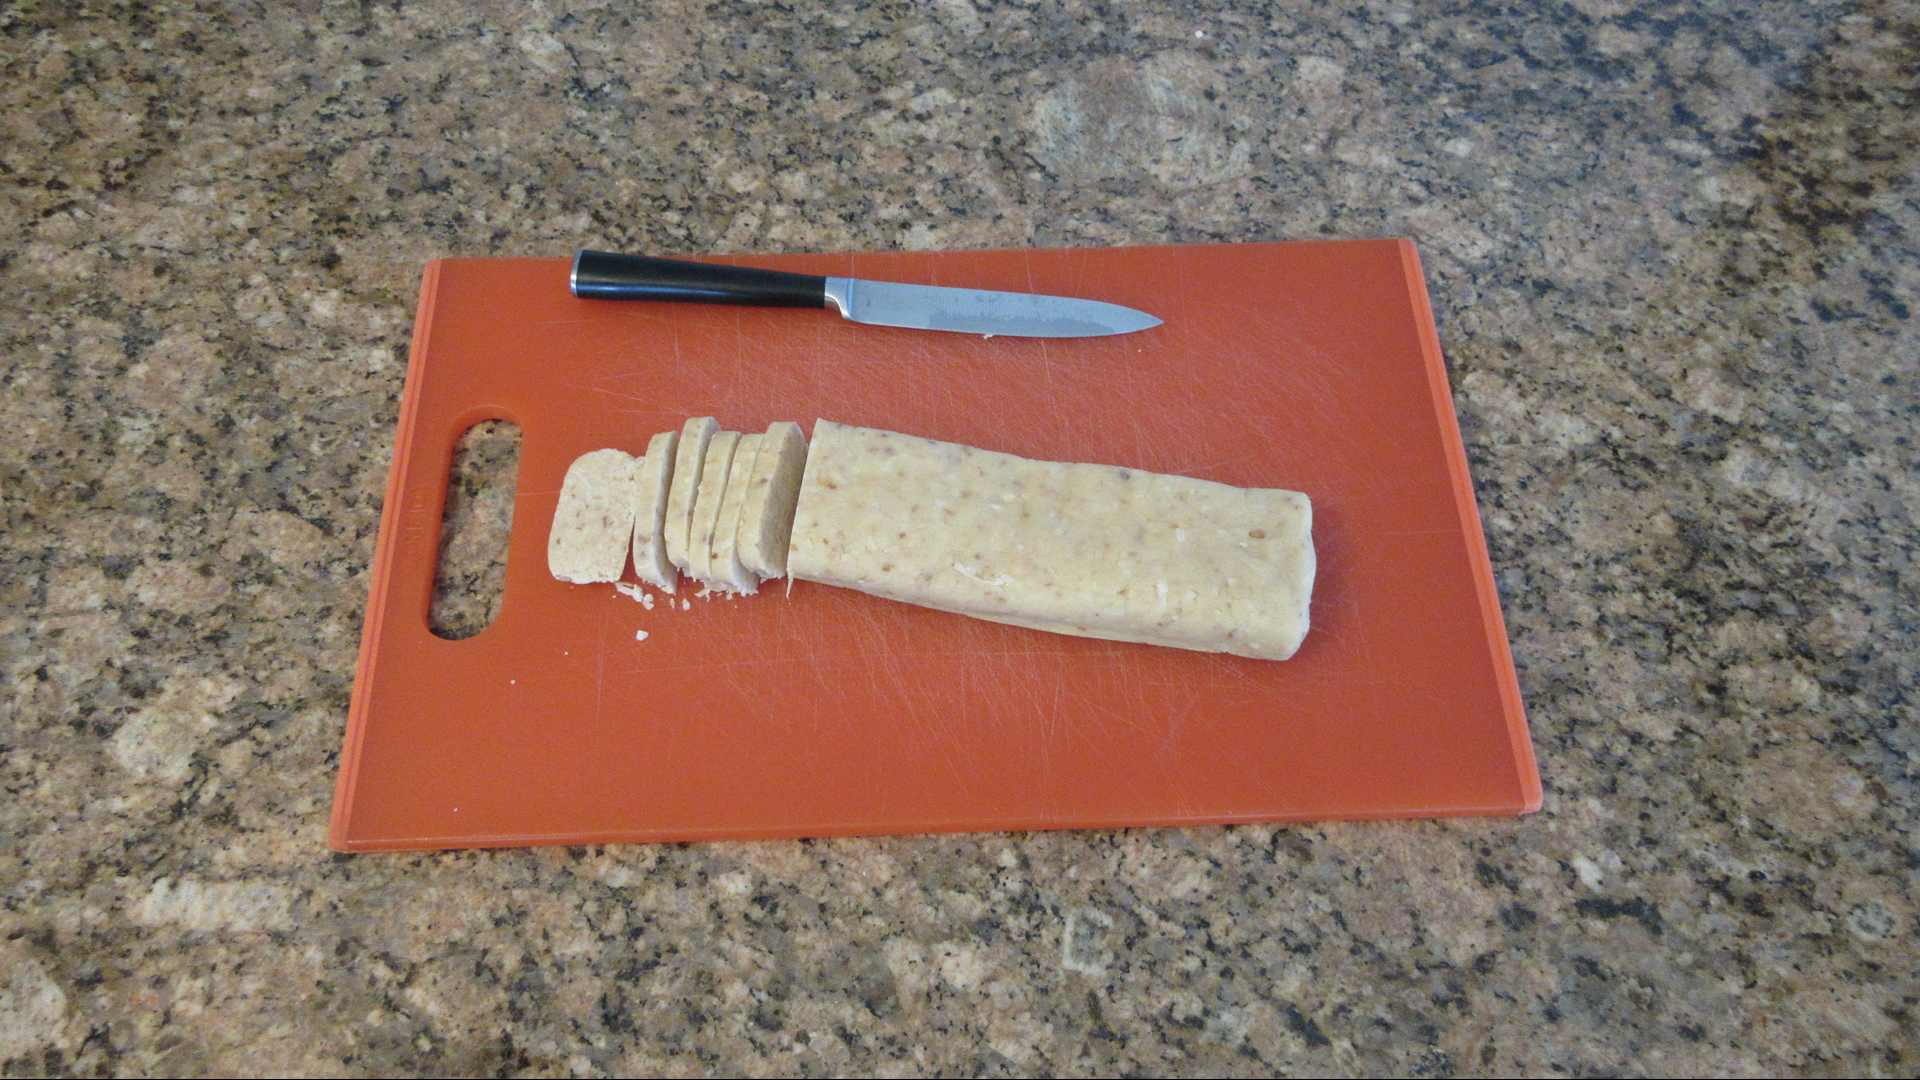
Step 7: Slice and Bake
Once the dough is firm, it is time to slice and bake the coconut sandies! Remove the plastic wrap and place on a cutting board. Carefully slice the chilled dough into 1/4″ (6mm) slices and place 2″ (5cm) apart on a baking sheet.
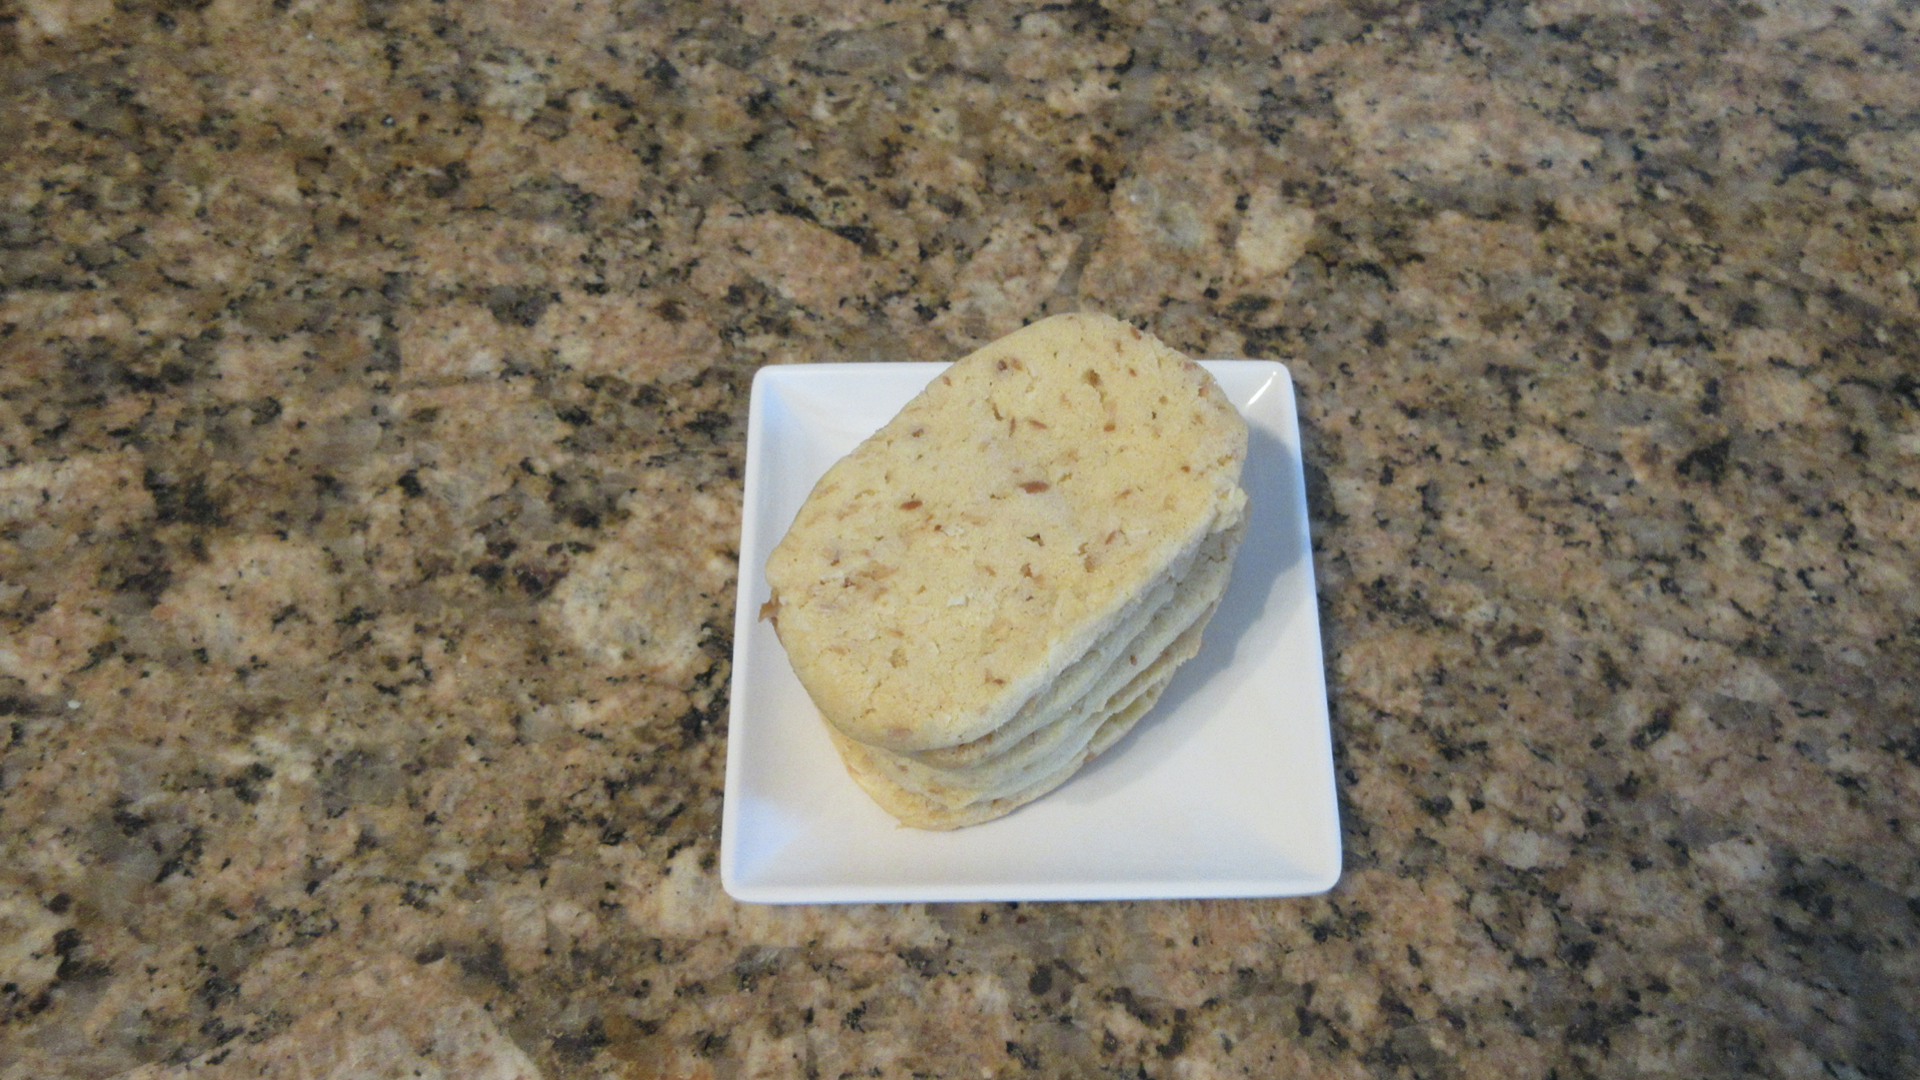
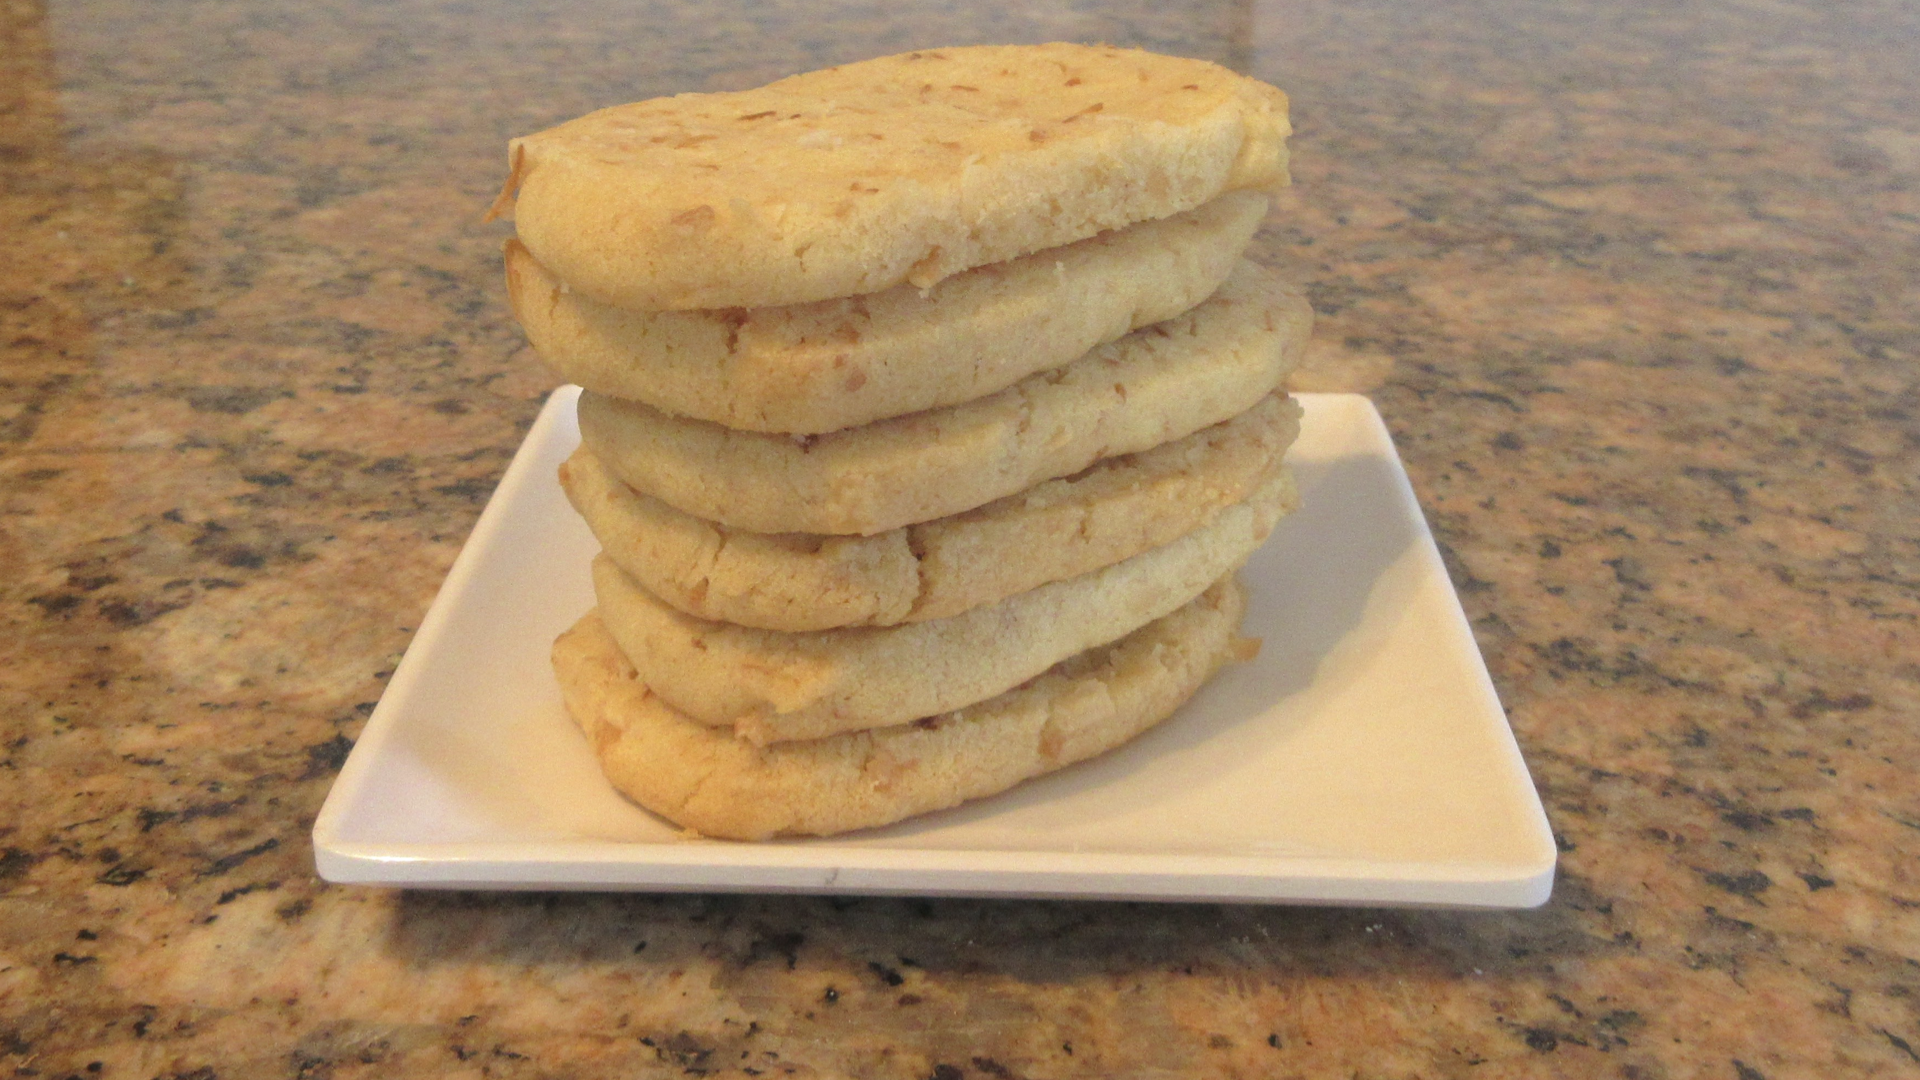
Aren’t these just amazing to look at? They have a depth of flavor with that vanilla and toasted coconut you will really appreciate. But wait! If the shaping and chilling seems like too much work, there is another option to enjoy this delicious coconut cookie recipe without so much of the work. Keep reading!
Alternative Baking Method
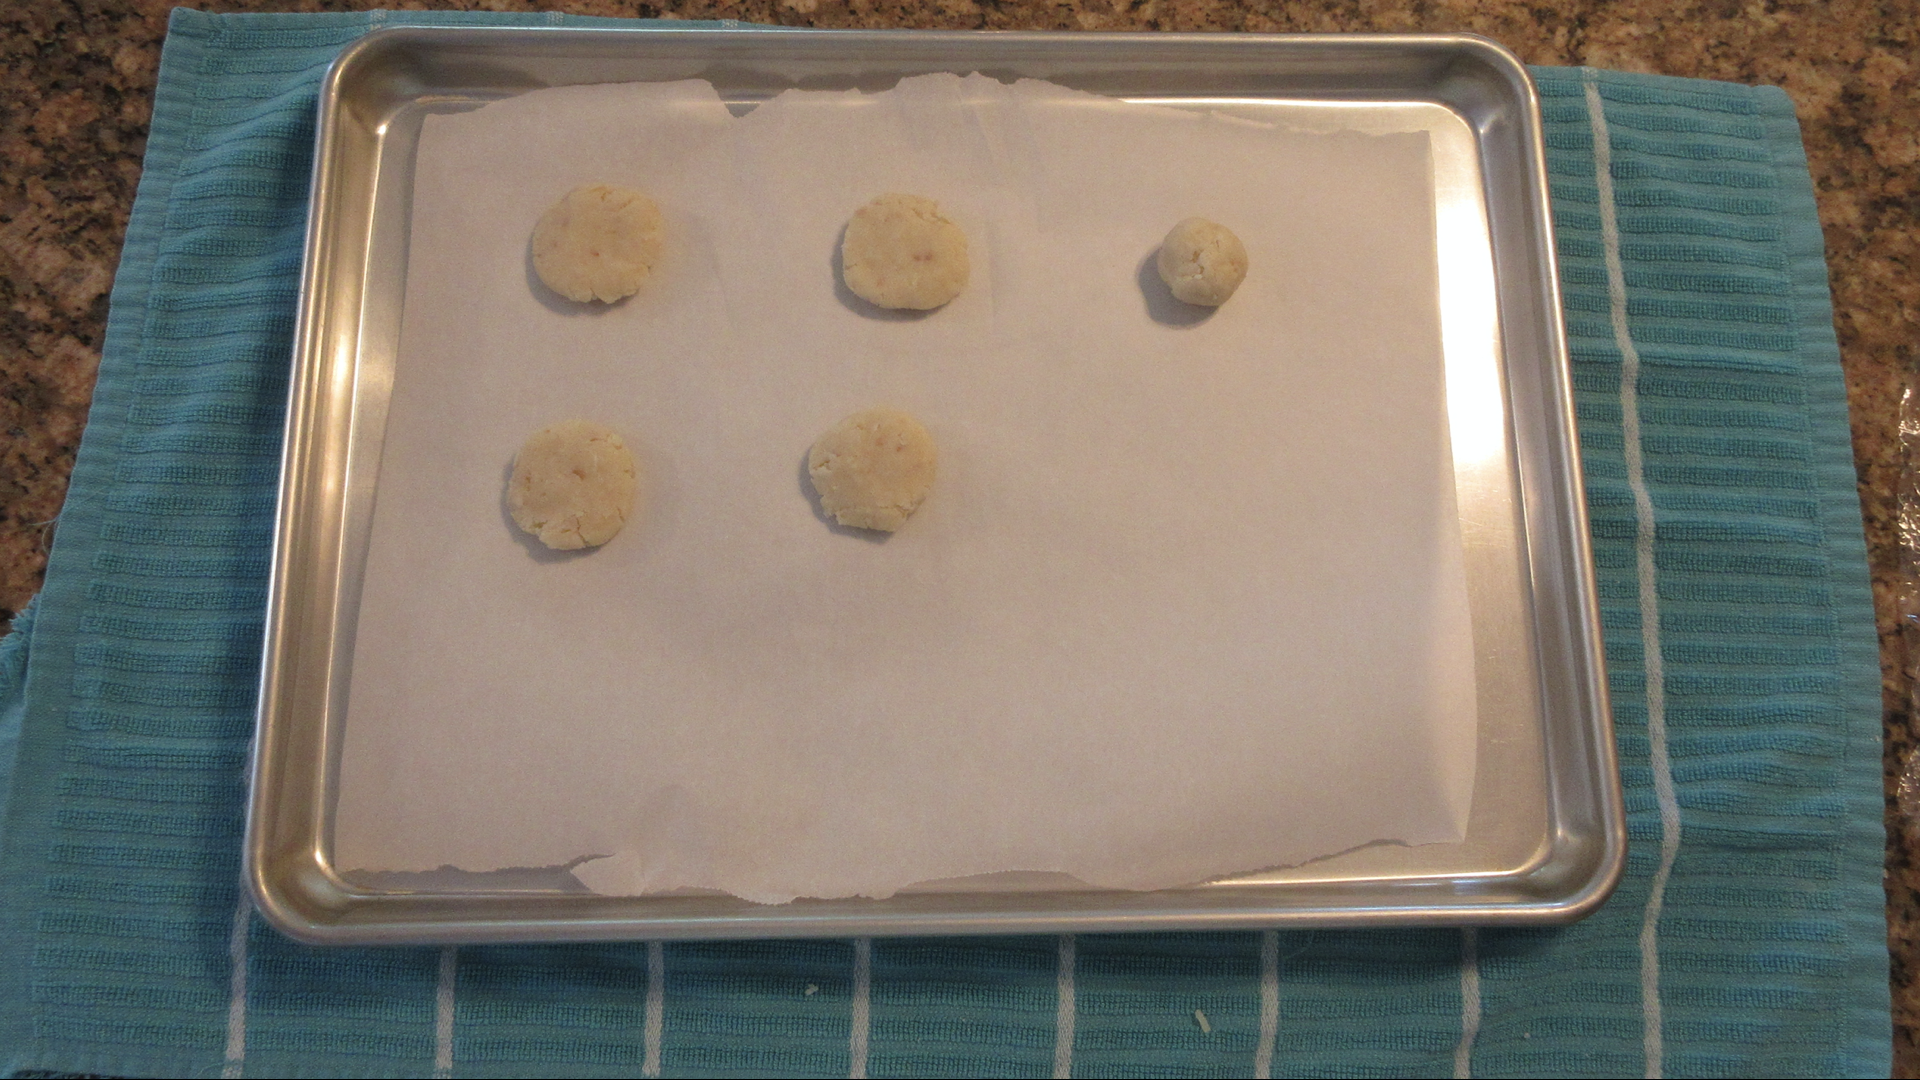
Don’t have time to wait around for the dough to chill? Well, you can make these cookies a different way! While they won’t taste exactly the same, they will be a close second and both are absolutely delicious and filled with toasted coconut flavor! Simply take 1 tablespoon of dough (about 15 grams) and roll it into a ball. Next flatten out the shape with the bottom of a glass or your finger tips. Bake them 2″ (5cm) apart. Parchment paper makes for easier cleanup but isn’t necessary.
Either way you shape the cookies, you will want to bake until golden brown on the edges. Cool them on the pan for a couple minutes and then move to a wire rack to finish cooling. If you move them too quickly, the cookies are so delicate they will fall apart. So wait two to three minutes before transferring to a wire rack.

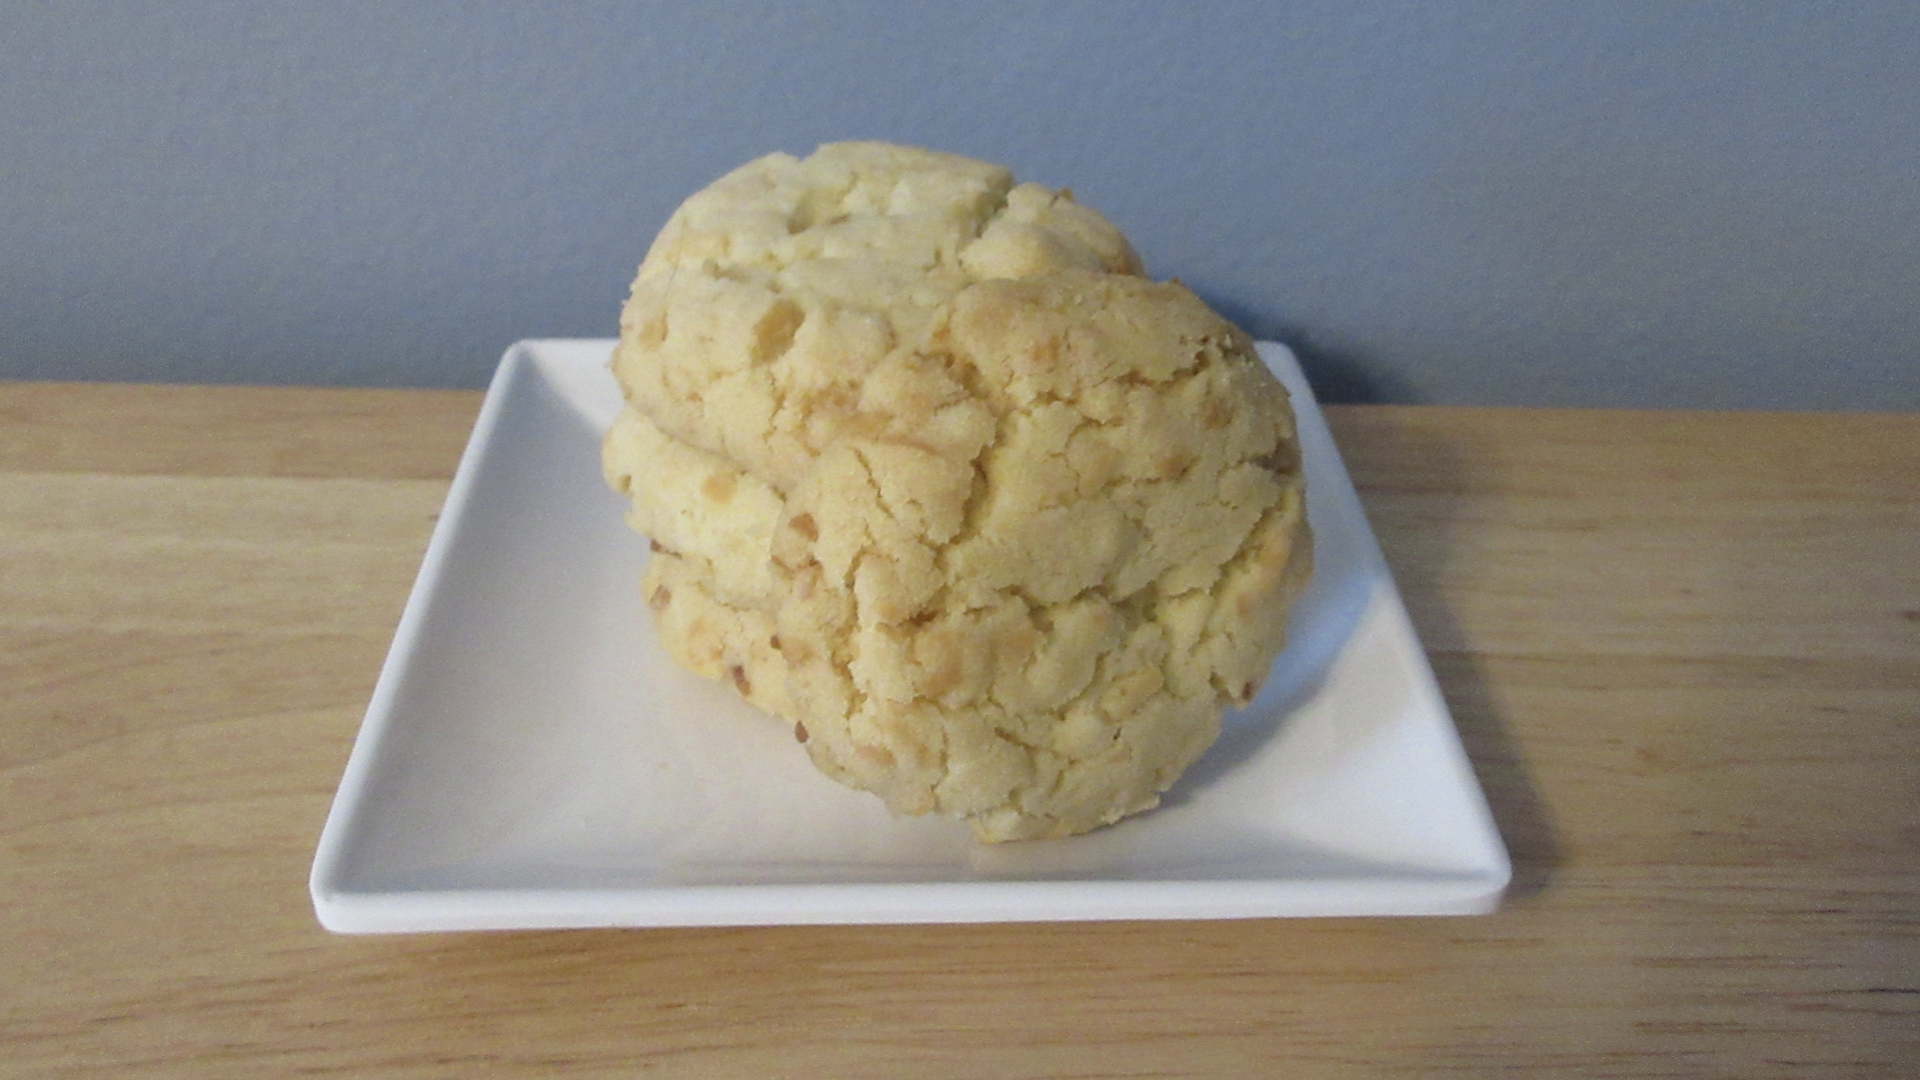
If you bake them using this method, the cookies will be crinkled and very crumbly as you bite into them. I suggest making them both ways and deciding which is best for you!
Substitutions and Tips
Here are some common substitutions and tips for this coconut sandies recipe.
- Unsweetened coconut flakes may be used in place of sweetened flakes to reduce sugar content. Simply toss the flakes in one teaspoon of the sugar to aid in toasting.
- Swap the vanilla extract for coconut extract for an even more tropical taste.
- Add the zest of a lime to brighten the flavor! Put the lime in the coconut, anyone?
- Margarine can be used in place of butter. Swap equal amounts. Vegetable spread is not recommended due to the low fat and high water contents.
- Instead of toasted coconut, use chopped nuts or dried fruit in equal amounts.
Storage
These coconut cookies store for up to week or more and seem to get better tasting with age! Make sure to cool them completely before storage so they will stay fresh longer.
Store in an airtight container for 5 – 10 days. When stored in an airtight container, make sure to store with similar cookies or they can soften if stored with chewier cookies like a chocolate chip cookies. The cookies may also be stored tightly wrapped in the freezer for up to 3 months.
Likewise, the dough can be stored in the refrigerator up to 3 days or in the freezer for 3 – 6 months when properly wrapped. Wrap tightly in plastic wrap and then store in an air tight container or freezer bag. For best results, thaw overnight in the fridge prior to baking. Or you can slice the cookies prior to freezing and add 3 -5 minutes to the baking time.
Chewy and Crispy Coconut Cookies
Ingredients
- 1 cup (150g) flour
- 1 cup (90g) sweetened coconut flakes
- ½ cup (113g) softened butter
- ½ cup (100g) sugar
- 2 tbs (30mL) water
- 1 tsp (5mL) vanilla extract
- 1 tsp (3g) baking soda
- ⅛ tsp (.625g) salt
Instructions
- Toast coconut in a small skillet on medium heat, stirring frequently until lightly golden brown. This will take 3 – 5 minutes. Let cool completely.
- In a small bowl, combine flour, baking soda and salt. Stir in coconut. Set aside.
- In a large bowl, blend together sugar, softened butter and vanilla.
- Beat in coconut flour mixture and water until just combined.
- Shape dough into a 2×6" (5x15cm) smooth rectangle. Cover and chill dough until firm, about 2 hours.
- Preheat oven to 350F (180C.)
- Carefully slice the chilled dough into 1/4" (6mm) slices and place 2" (5cm) apart on a baking sheet.
- Bake 10-14 minutes or until edges are golden brown. Cool on wire rack before serving.
0 Comments