
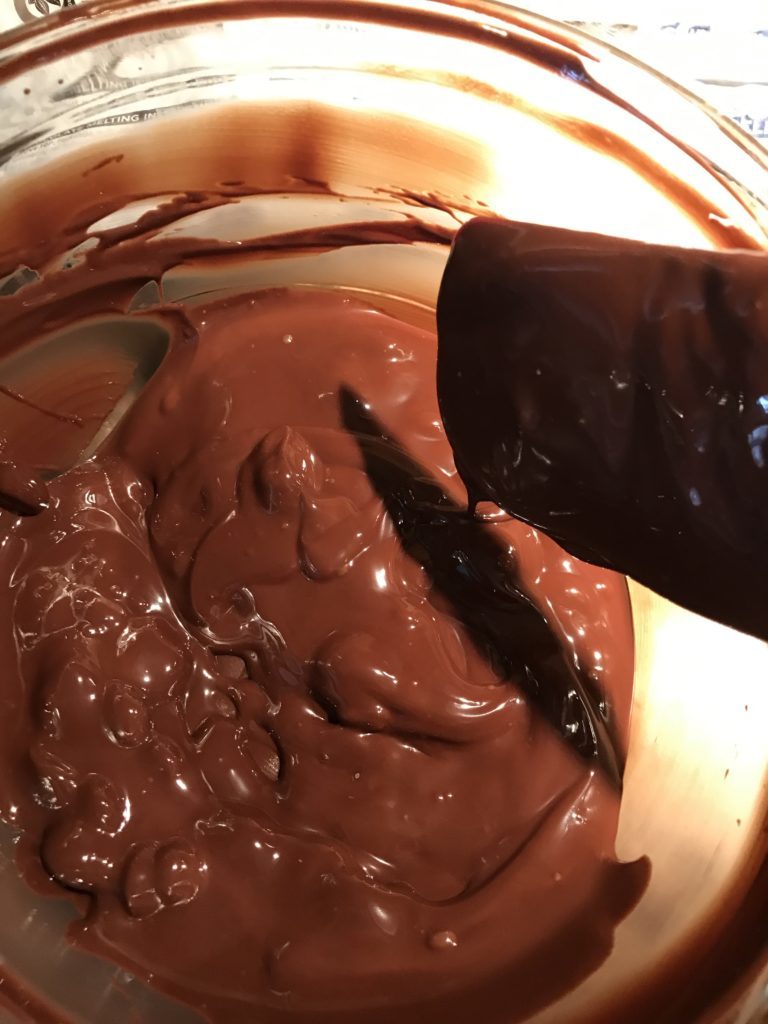
Tempering dark chocolate is the process of making chocolate smooth, shiny, durable and snappy. You can read more here. In the meantime, think about how sometimes you buy a chocolate bar and it’s streaked with white, is bendable and melts just touching it. That’s because the chocolate became too hot and when it reformed, it became out of temper. You are a little sad, but often eat it anyway.
So why is this even important? Most of the time, it doesn’t matter except when you want to make chocolate covered candy to give to others. You can cheat by keeping it in the fridge, but cold chocolate isn’t pleasant for most people.
Another quick way to never have to temper chocolate that is popular is to buy compounded chocolates like candy wafers, many chocolate chips and almond bark. These are made with oil instead of cocoa butter and hardens without tempering. This is a great alternative. Except it doesn’t taste the same, isn’t the best quality and in rare instances, can make some people ill.
If you follow along, you recently learn I had an allergic reaction caused by an ingredient in compound chocolates, those little wafers you find in craft stores and many larger grocery stores. And you’ll also learn how I was terrible at tempering chocolate. Since I still want to work with chocolate covered candy and didn’t really care for candy coating chocolates, I decided to try again. Follow along if you like.
After much research, they recommend starting with dark chocolates as it’s easier to temper. The milk solids are often what tend to seize and burn the most. So start with the highest chance of success. I didn’t. I tried to work with white chocolate, both burning and seizing the chocolate into an inedible goop.
This time around, I decided to listen. You can use a double boiler, a pan of hot water with a bowl on top or the microwave to melt the chocolates. I decided to work with the microwave since moisture is chocolate’s enemy and I continuously seized chocolate on the stovetop since my bowl doesn’t fit snuggly and creates steam that always seemed to find its way into the chocolates turning them into lumpy, unusable masses of sadness. If you are lucky and didn’t ruin it too far, you can through it in brownies or a cake mix. If you are like me, you take it to the pink burnt stage and it ends up in the garbage with a sad farewell.
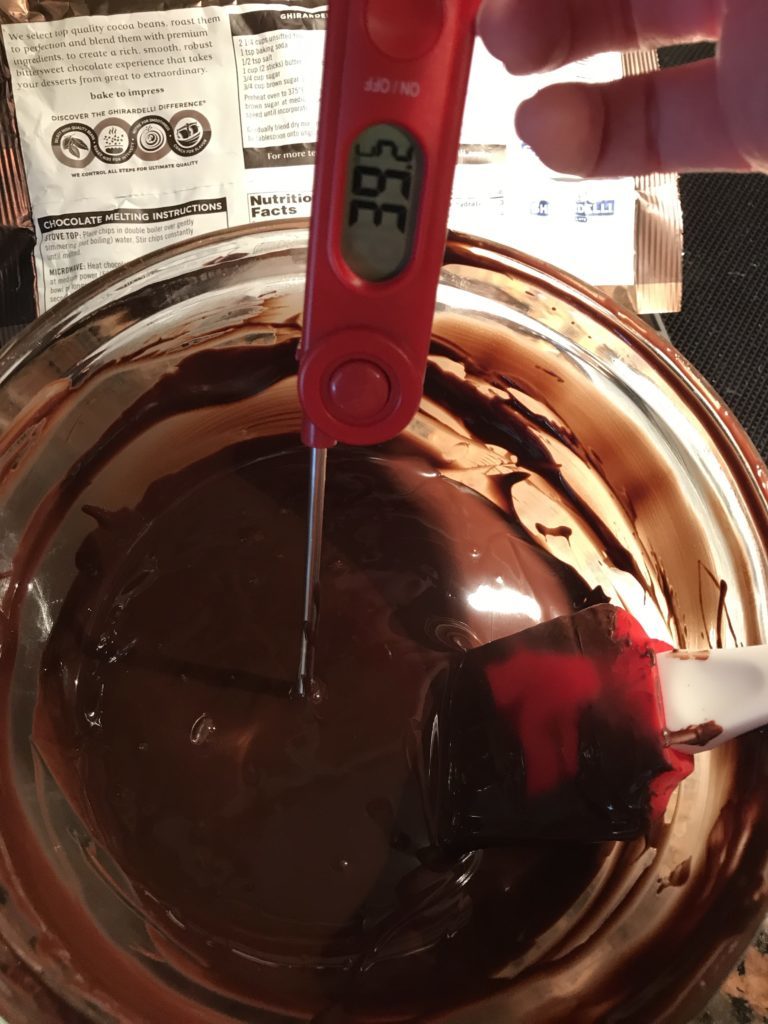
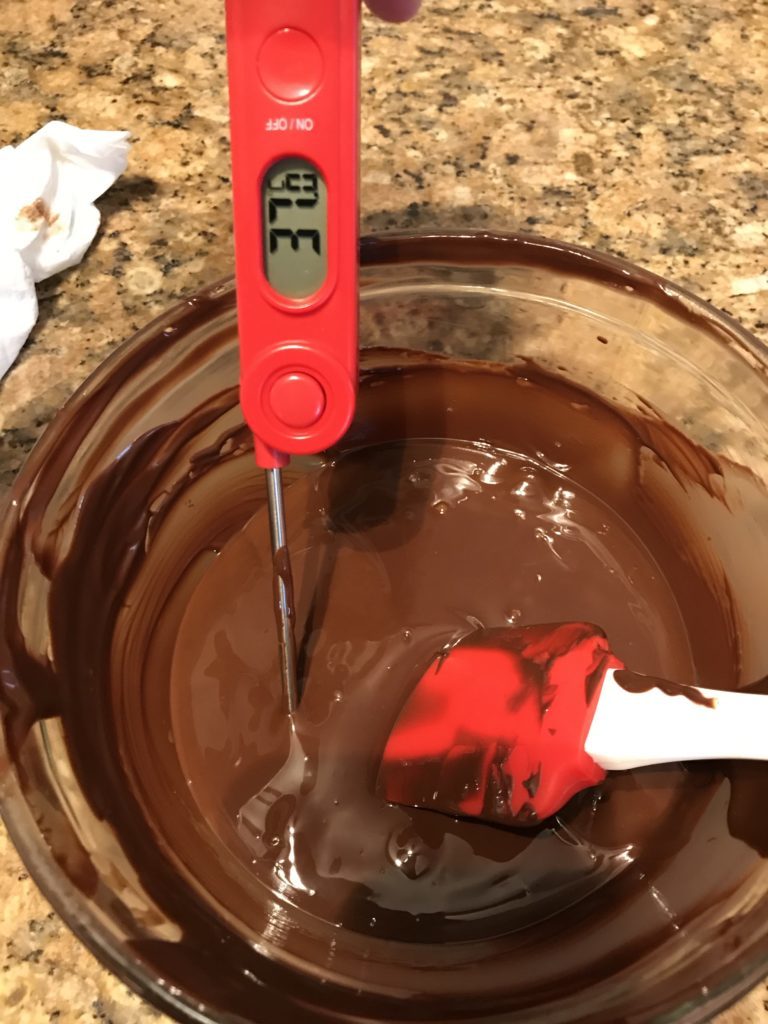
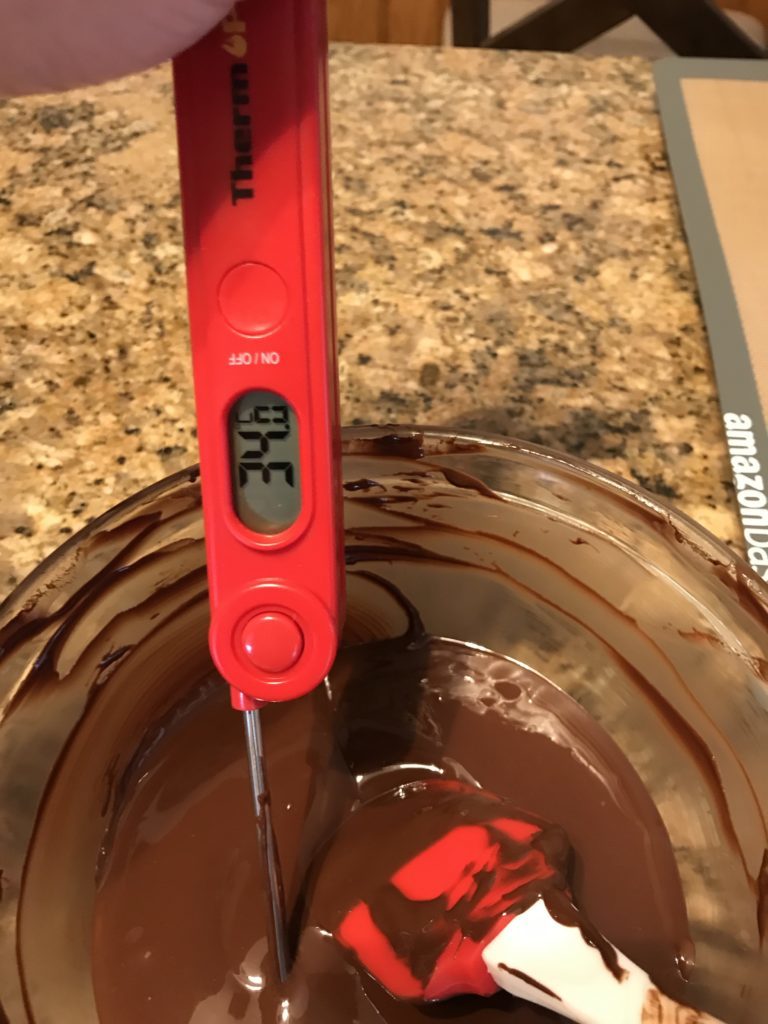
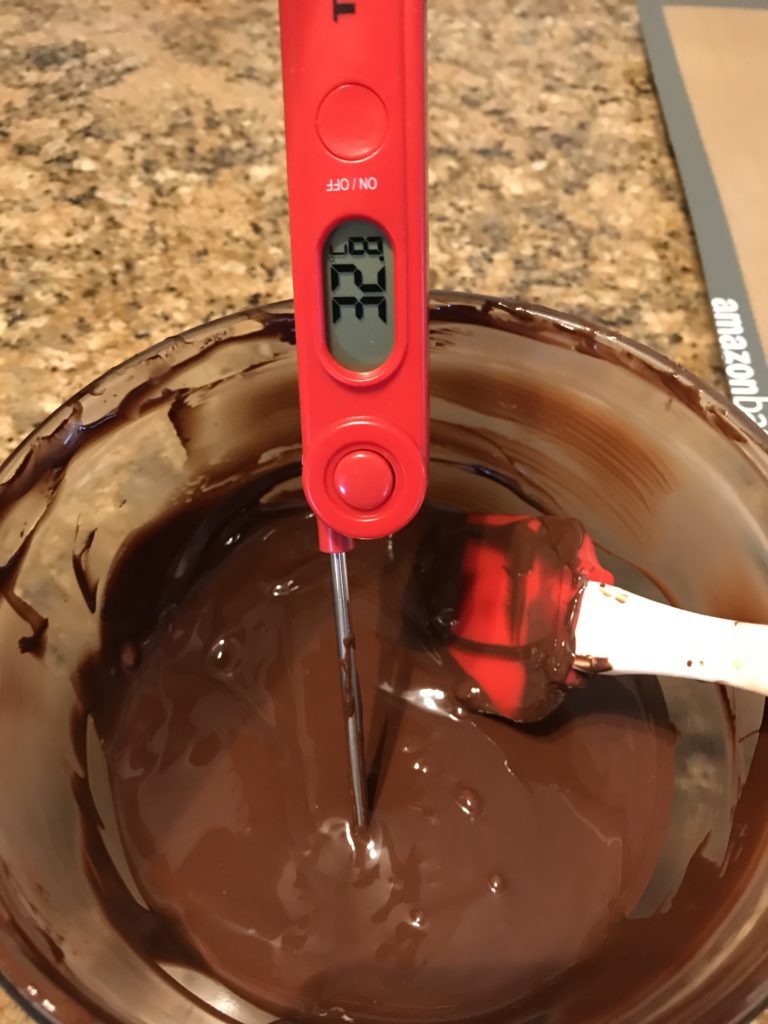
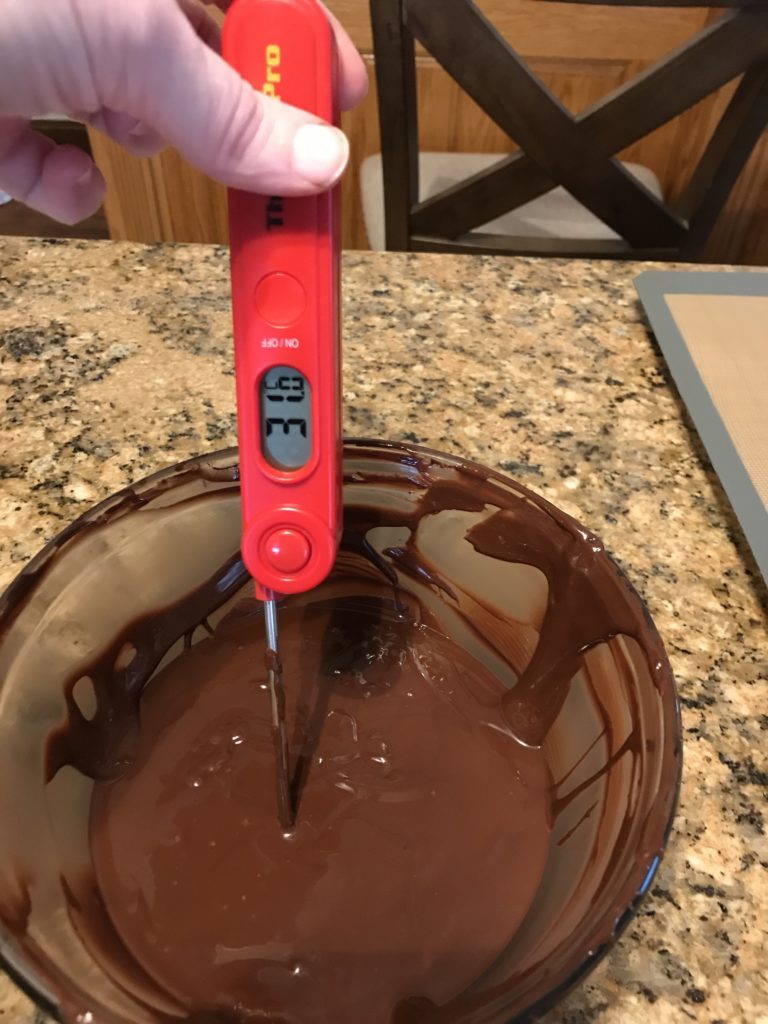
Fortunately, I don’t mind a challenge! So I started again with tempering dark chocolate. This time, I decided to follow the microwave method. For this you don’t need a thermometer they claim, but when I tried in the past, it never worked out. So invest a few dollars in a cheap digital thermometer and tested its accuracy by boiling water and a dipping it in. Also, I checked with a cup filled with ice water. I was right on the gauge!
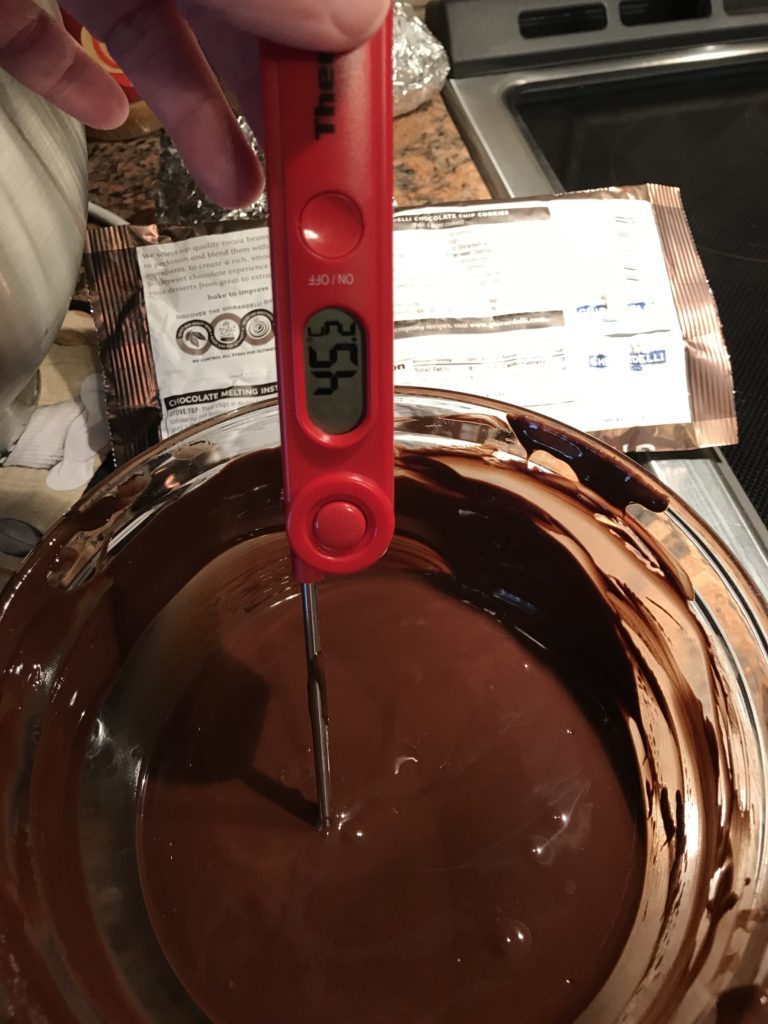
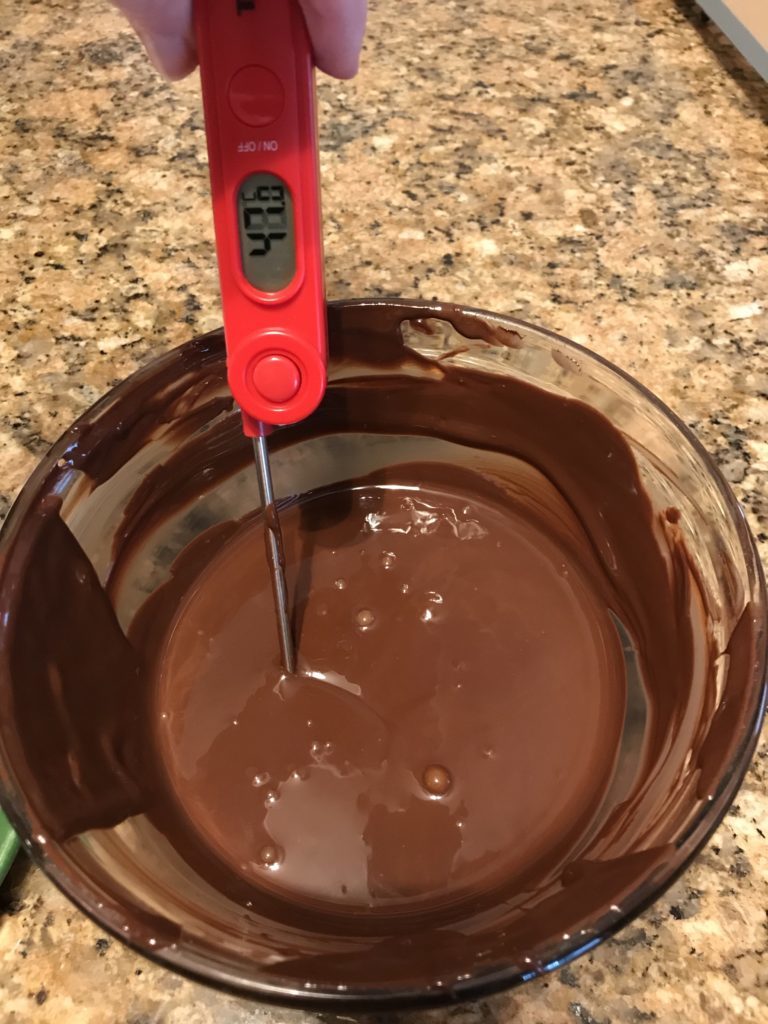
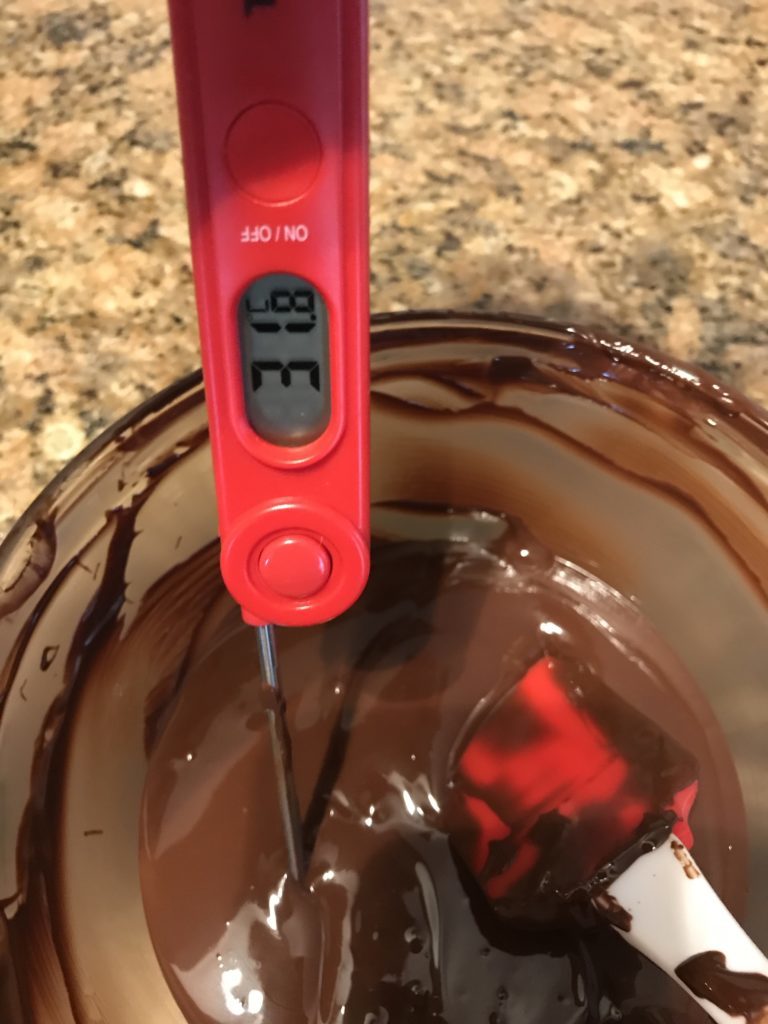
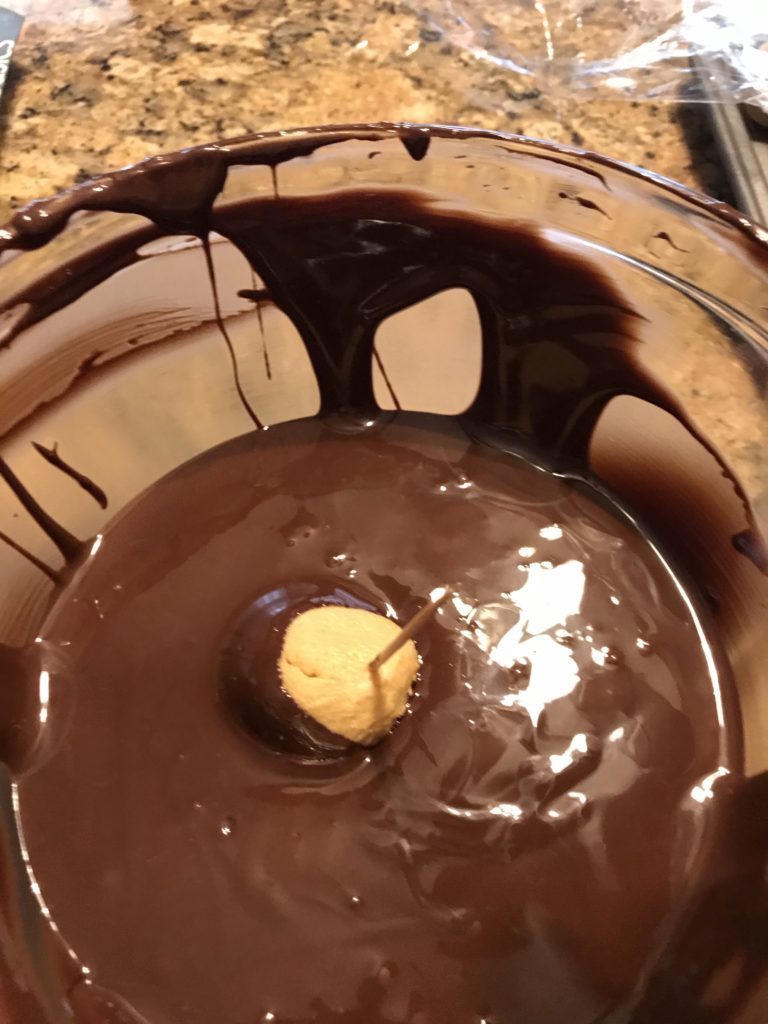
I do better with pictures, so I’ll post the process below with a brief description. The goal is to get up to 113F (45C) and then cool it back down to 88-89F (31C.) Since I first learned about tempering watching countless British and French baking shows, I often use Celsius as I remember it over the Fahrenheit. Most thermometers have both options.
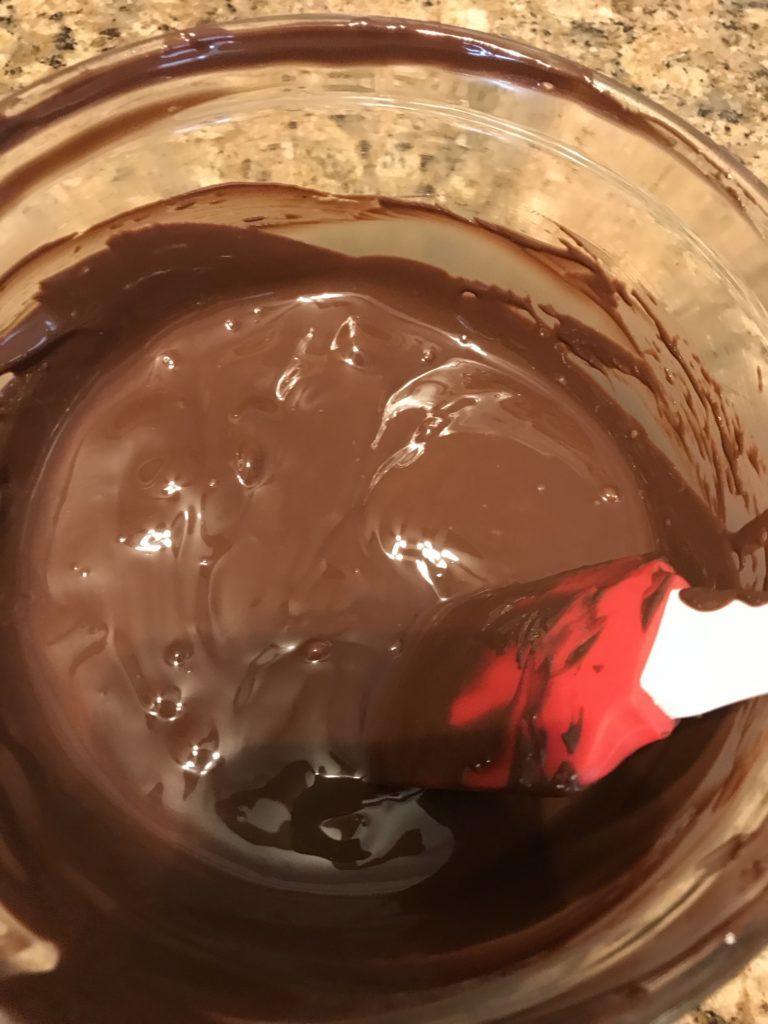
Things I learned: it’s easier than I realized and the chocolate takes longer to drop in temperature (about 10 minutes) than I thought if you use a heat retaining bowl like glass. Since I was dipping over 40 pieces of chocolate, I appreciated this. As it cools, it will get thicker and harder to work with. Tempering dark chocolate can be done over and over again, so you can reuse leftovers.
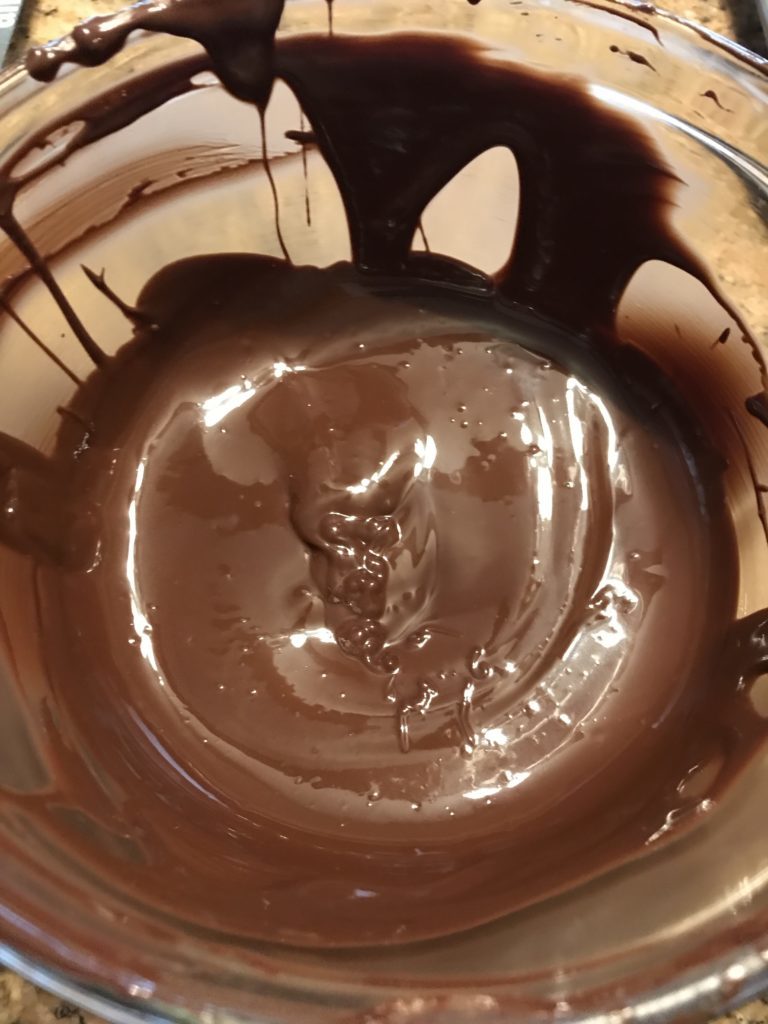
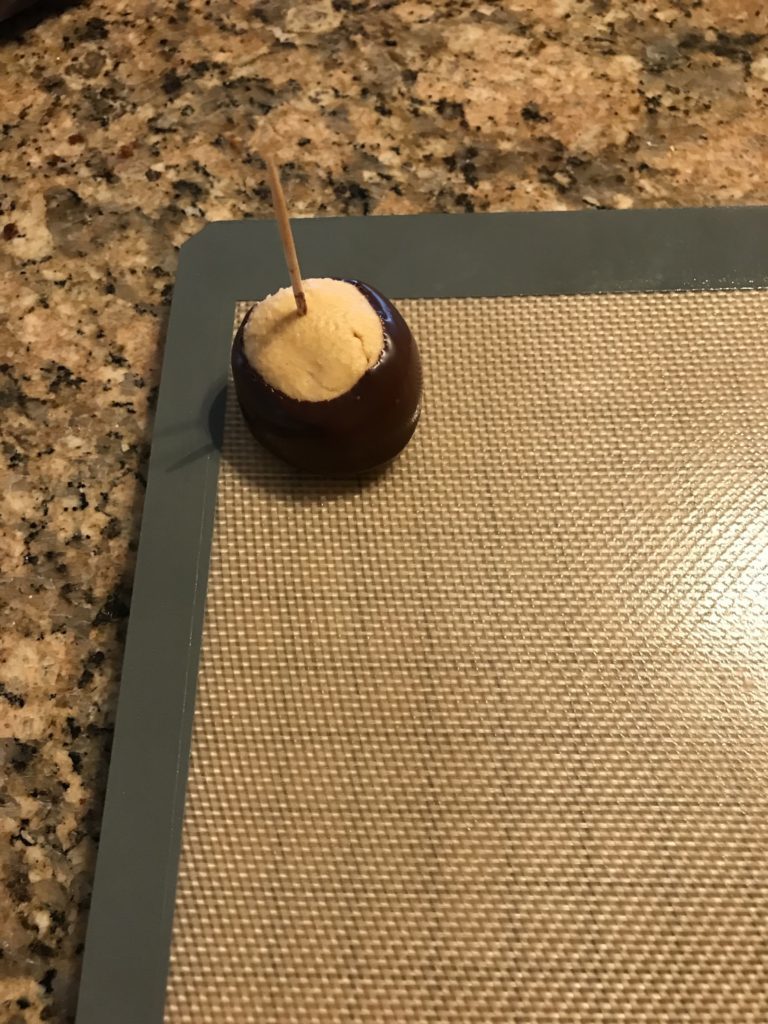
I tend to store it in the fridge since it came in contact with perishable ingredients. Pour any excess onto a sheet of parchment paper or silicone mat. Let it cool, break into pieces and store in the bag to use again. If you make it with peanut butter, make sure to label the container to avoid cross contamination for those with allergies.
Ingredients
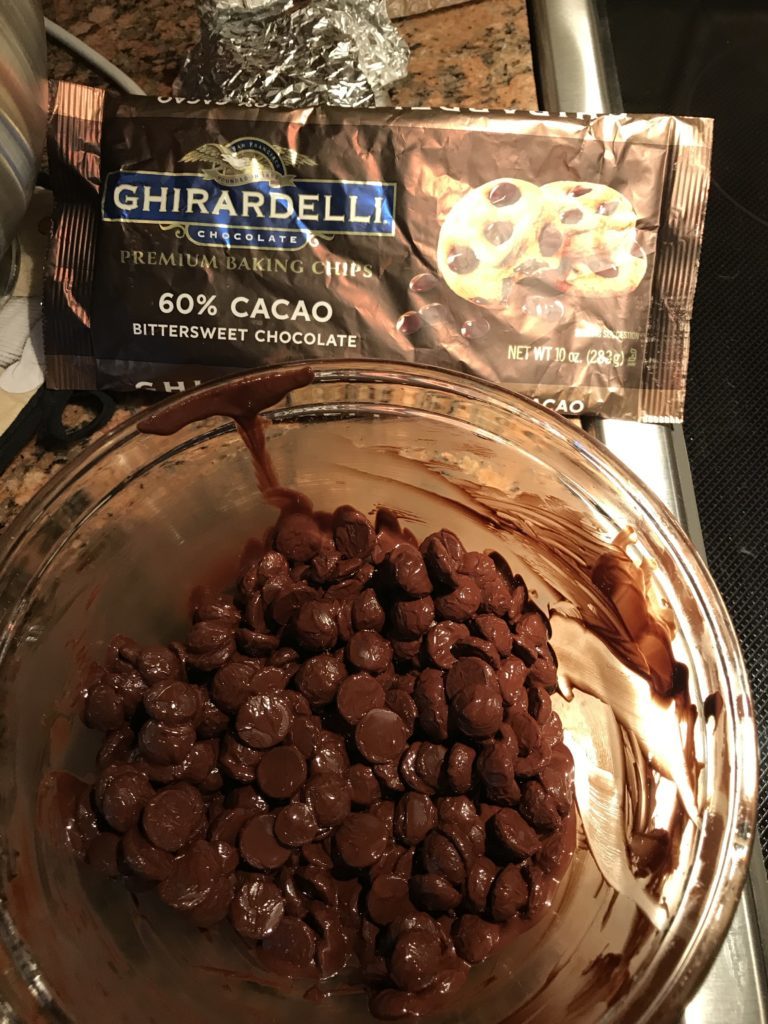
- 8 oz (226g) dark chocolate
Instructions
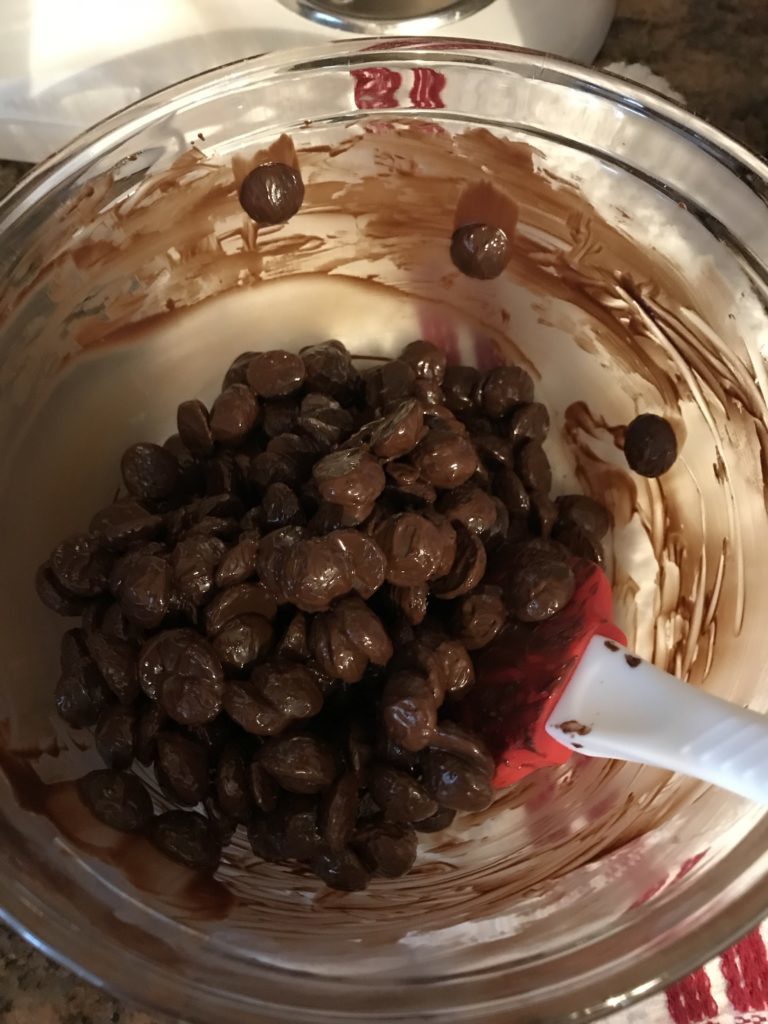
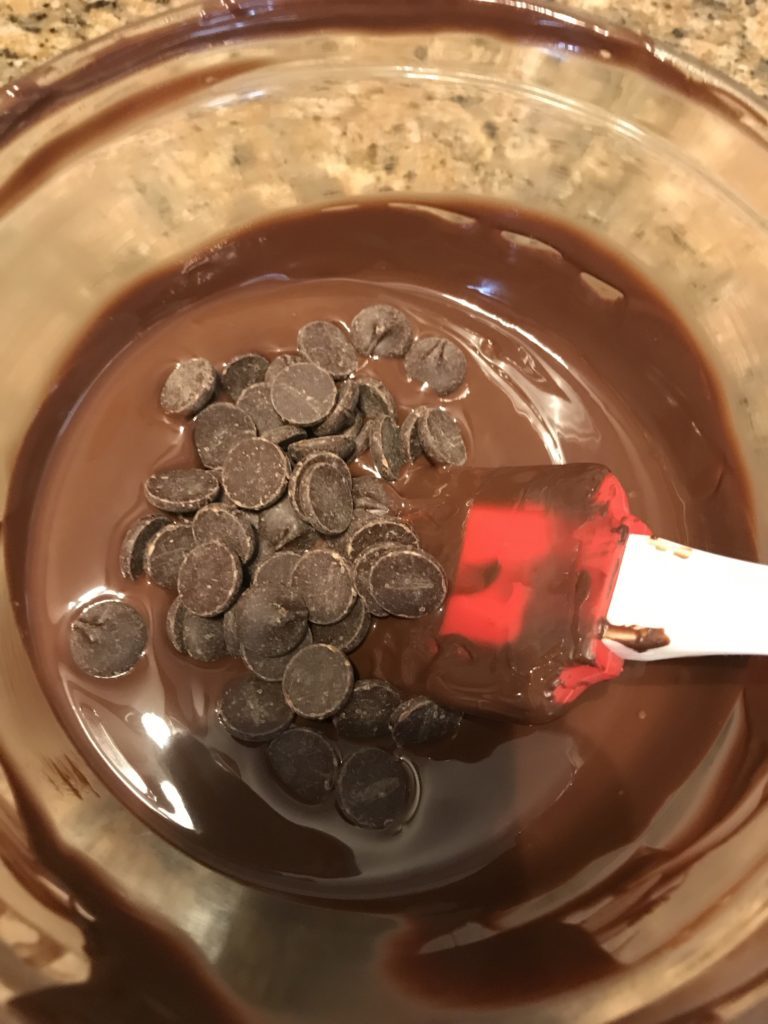
- In a microwave safe bowl, heat 3/4 of chocolate for 20 seconds and stir.
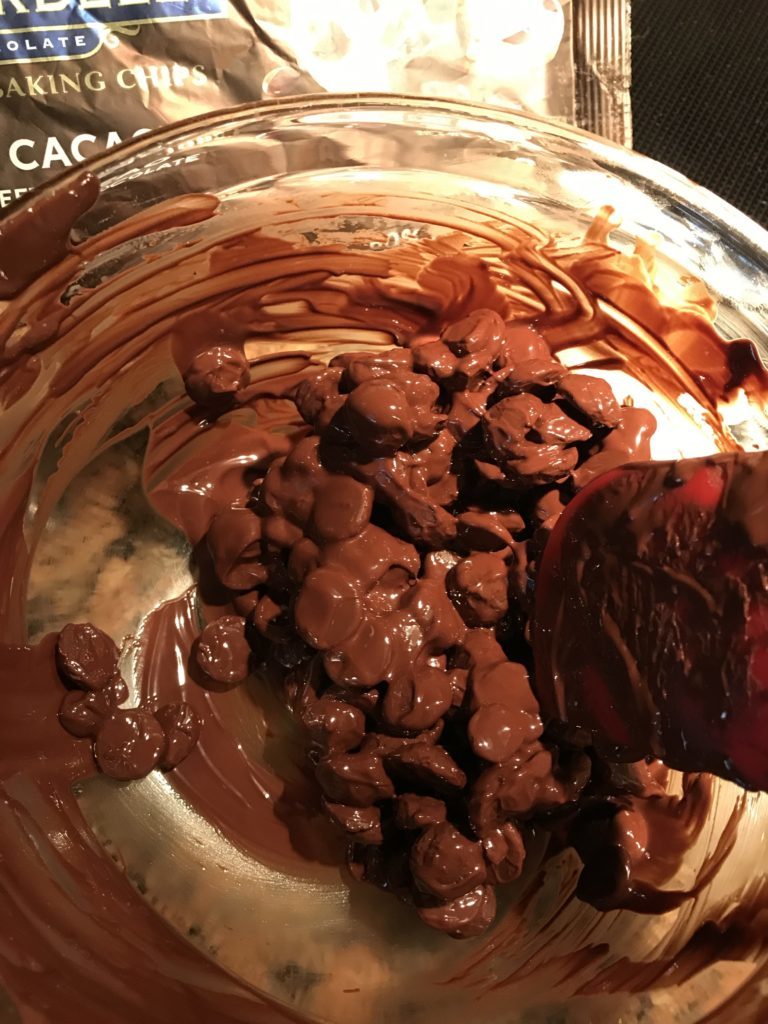
- Repeat this step until most of the chocolate is melted. Check the temperature. If you are close to 114-118F (46-48C) start heating in 5 second intervals, stirring between each cycle and rechecking temperature as it can heat quickly in the end stages and burn.
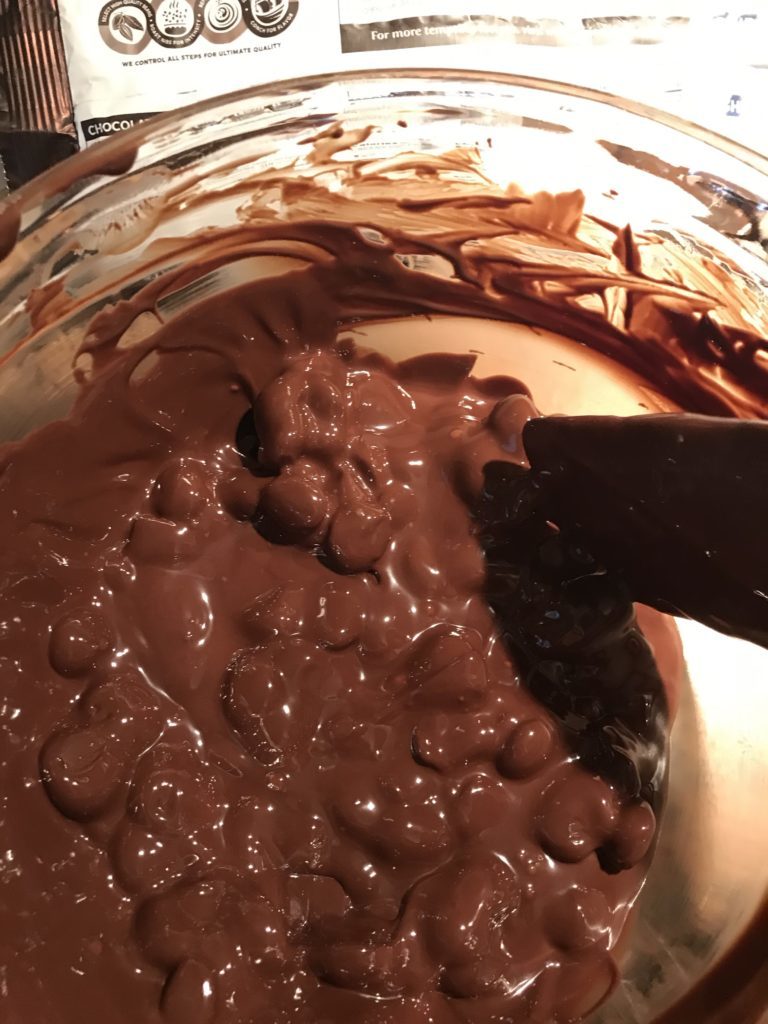
- Add in the remain chocolate. Continue to stir until the temperature drops to 88-89F (31C.) Your chocolate is now in temper and ready to use.
0 Comments