If you want to use the microwave to temper chocolate, this post that goes into depth on how to temper for each of the various chocolates. However, if you do not own a microwave, or you are having overheating issues trying that method, this tutorial is for you! It will also so you how to fix bloom on chocolate.
Tempering chocolate is basically the process of making your candy firm, snappy and excellent for making coatings or various shaped candy bars.
Basically, you want to heat the chocolate to melt all the crystals then cool it back down to the temperature where the desired crystals live. If you want to read more in depth, go here. Otherwise, follow along.
I melted chocolate in the microwave the other day. Problem is, I overheated the mixture. This is common when getting used to using one for tempering as it can be difficult to remove the chocolate at the right time which will often lead to the chocolate getting a little too hot too quickly.
If you catch it in time, you simply let the chocolate cool and start over. If you don’t, you’ll have not so pretty chocolate. It’s completely edible, but not very pleasing to the eye and the texture is sometimes chalky. You often see this in candy bars that got overheated and later cooled down or if you store it in extreme temperatures like the freezer.
This causes the chocolate to create a whitish tint. In time, you’ll often also get a chalky residue, especially in humid conditions. This is bloom. But don’t worry, you can learn hot to fix bloom by simply remelting the chocolate in these instances.
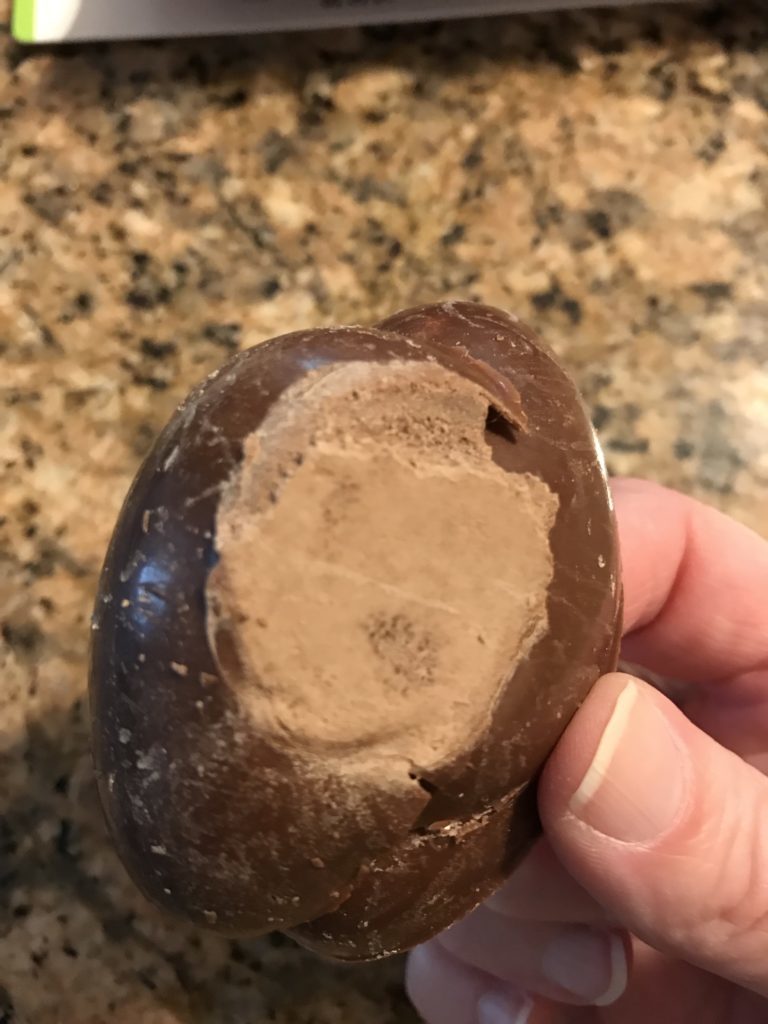
Bloomed chocolate 
White even with a shine and crisp shell 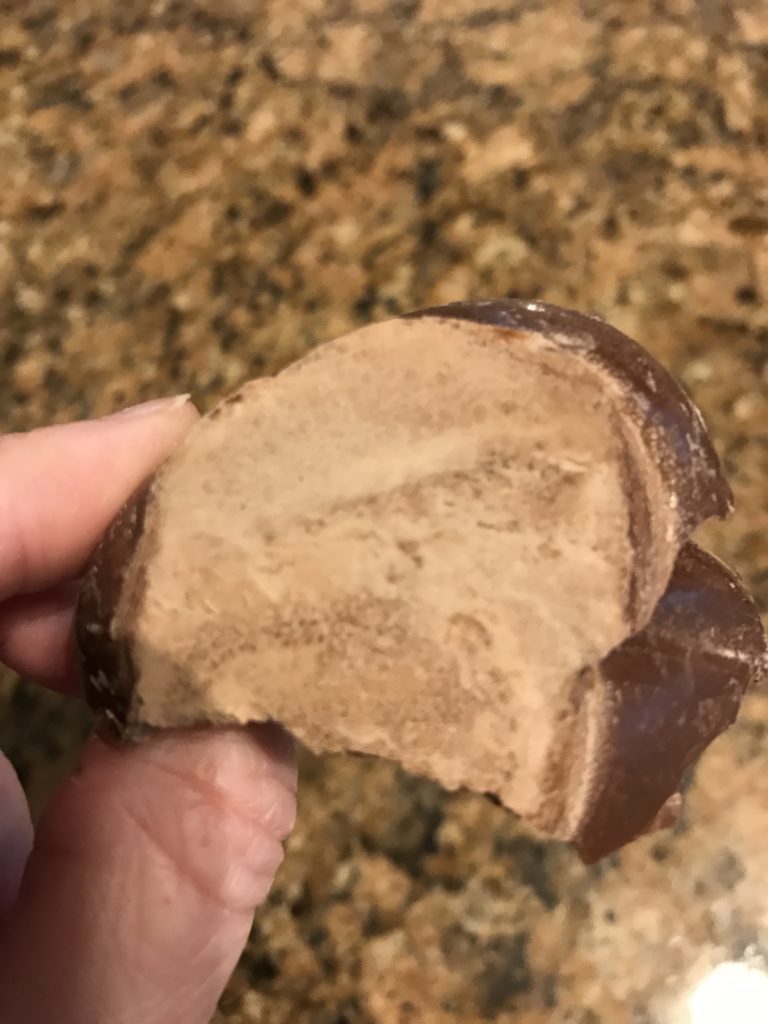
Feels very gritty 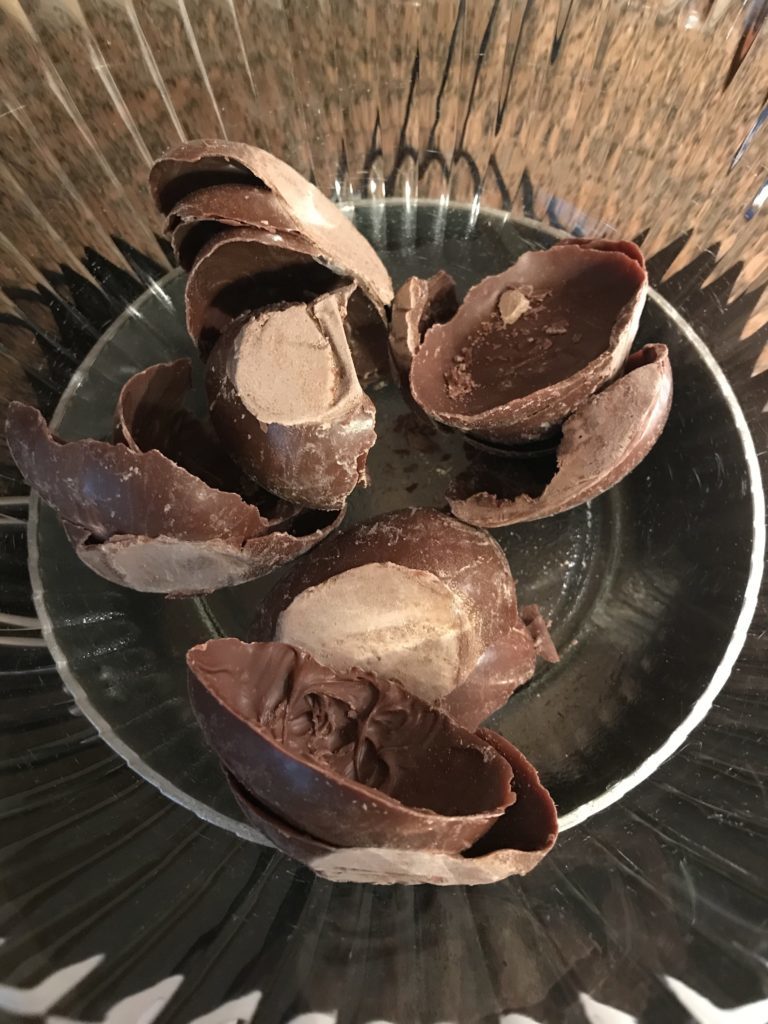
Place a small heat proof bowl on top of a saucepan of simmering water. You don’t want the water to touch the bowl, just about 1/2 inch or so of water will do. 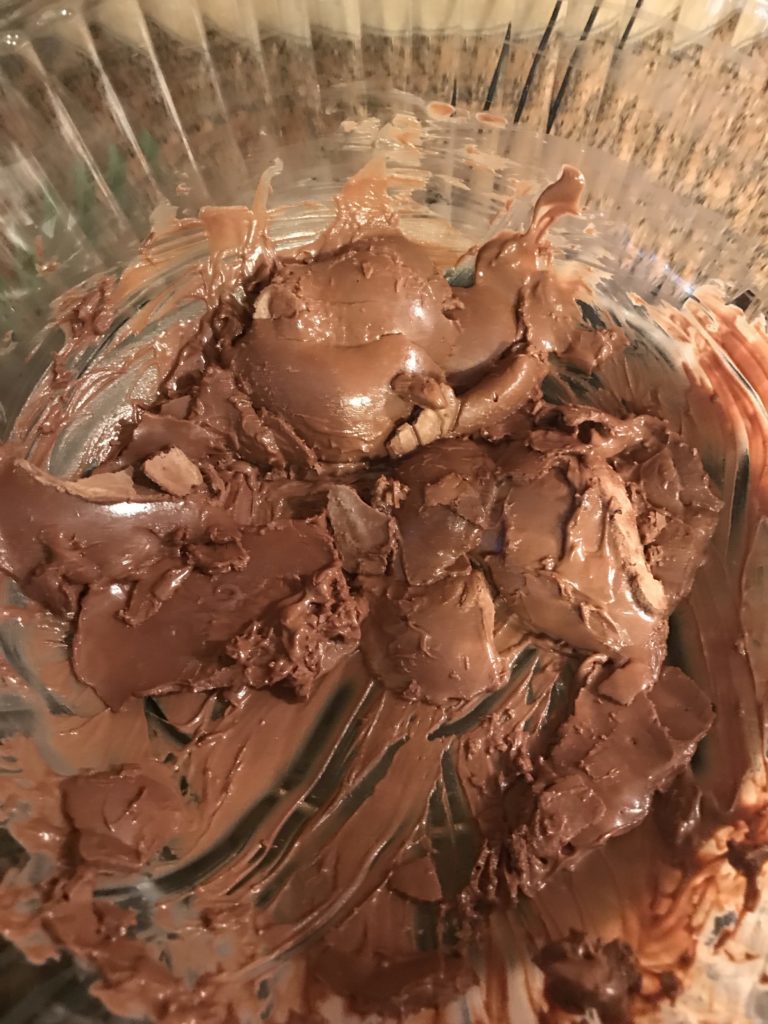
It melts slowly at first, don’t be tempted to turn up the heat 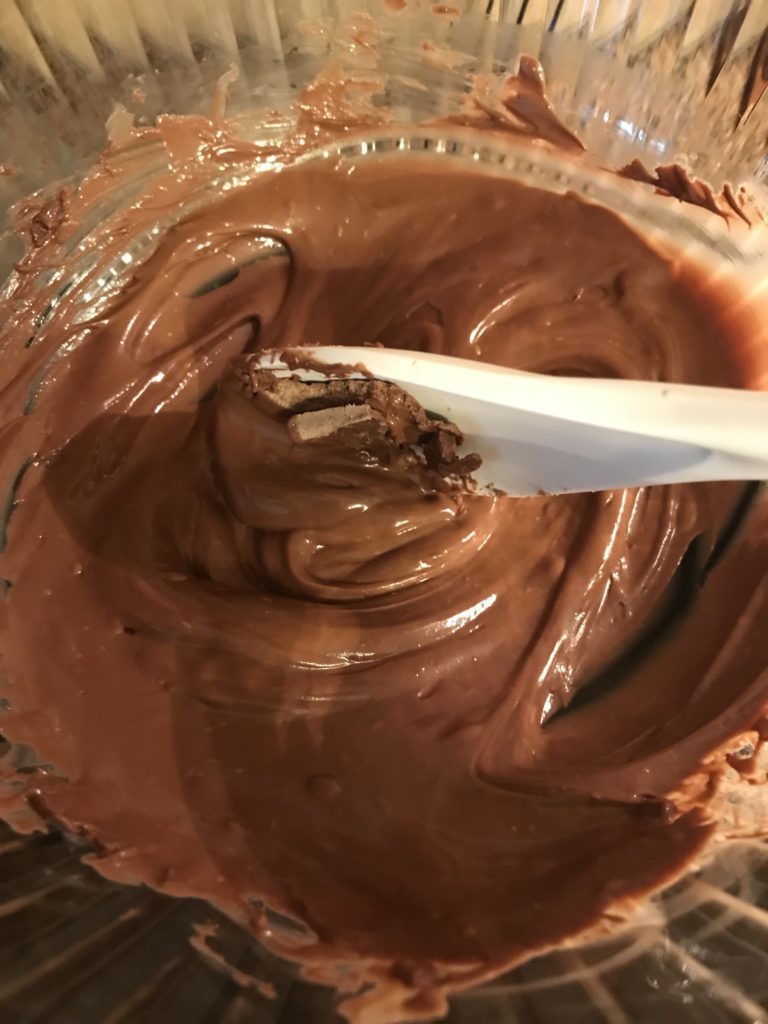
Stir often to prevent burning 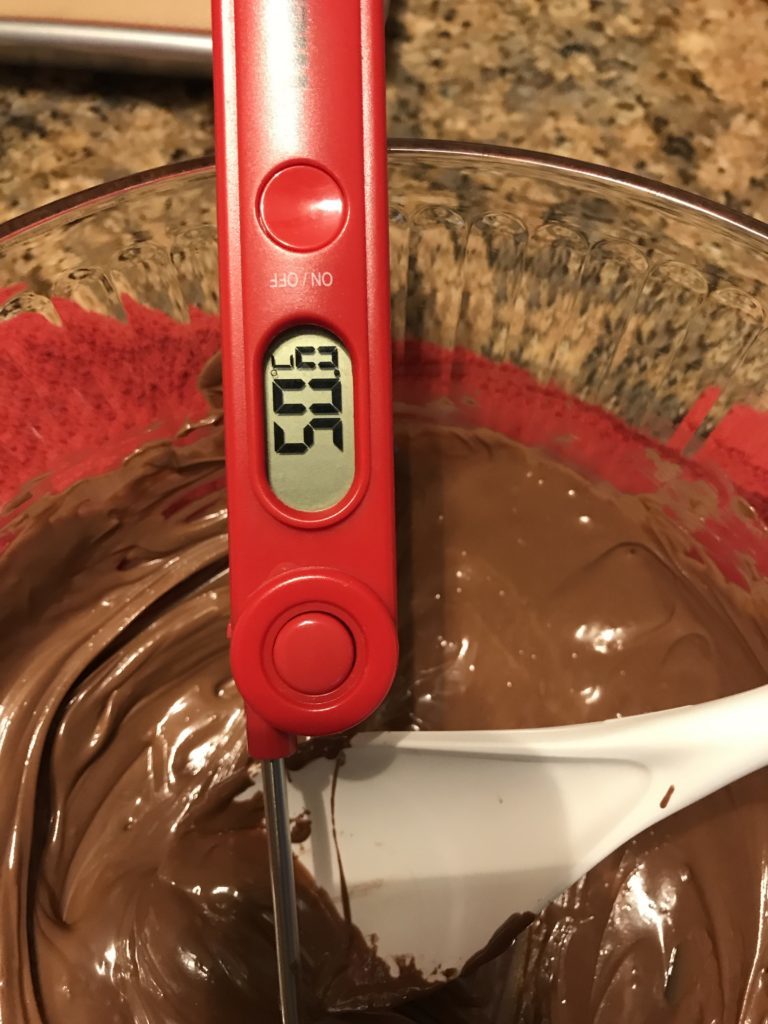
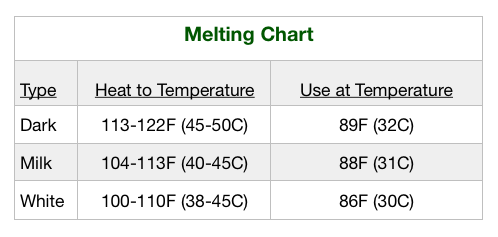
Check for the appropriate temperature for the type of chocolate (this is dark) 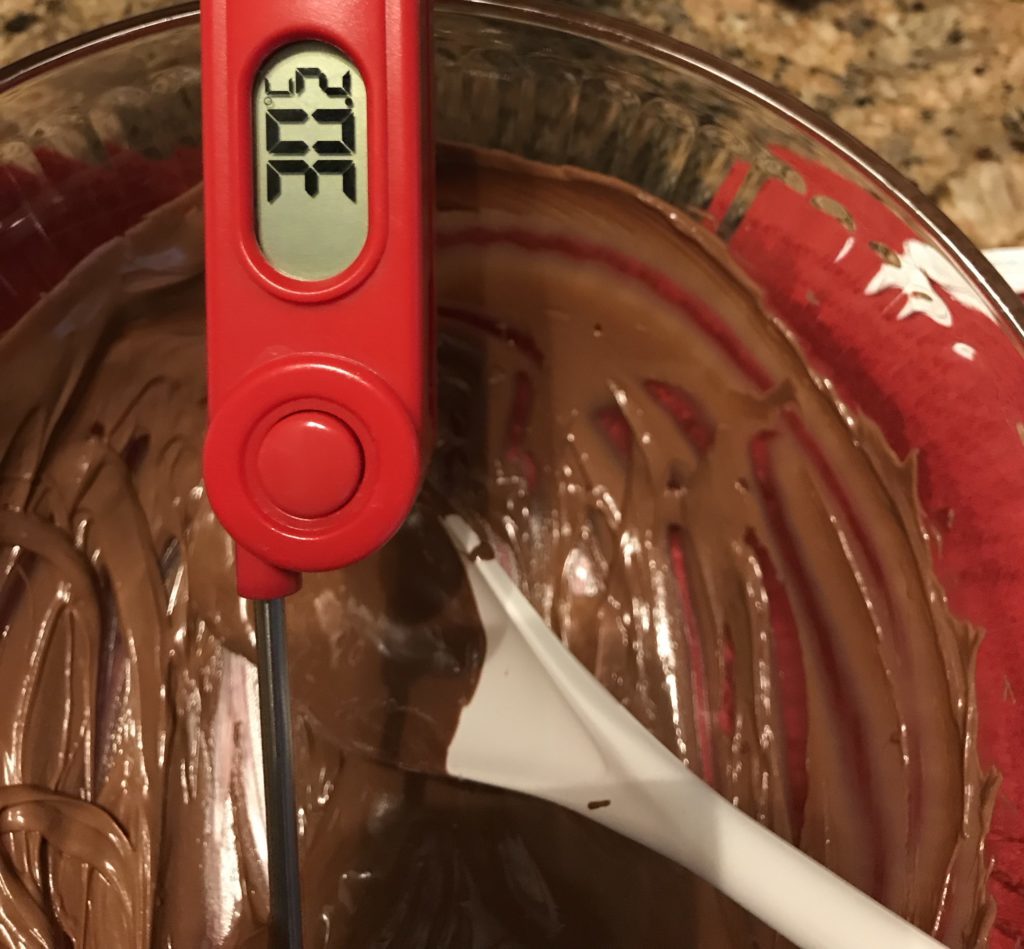
Cool to desired temperature 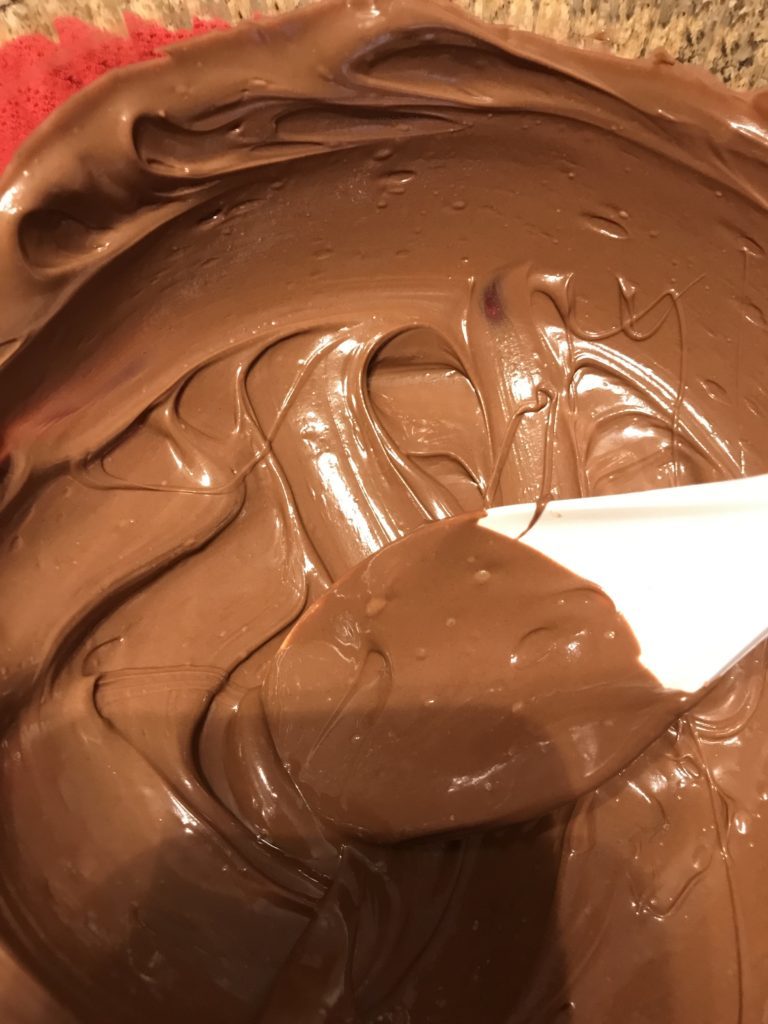
It will maintain a shine and be still quite runny, not yet viscous, 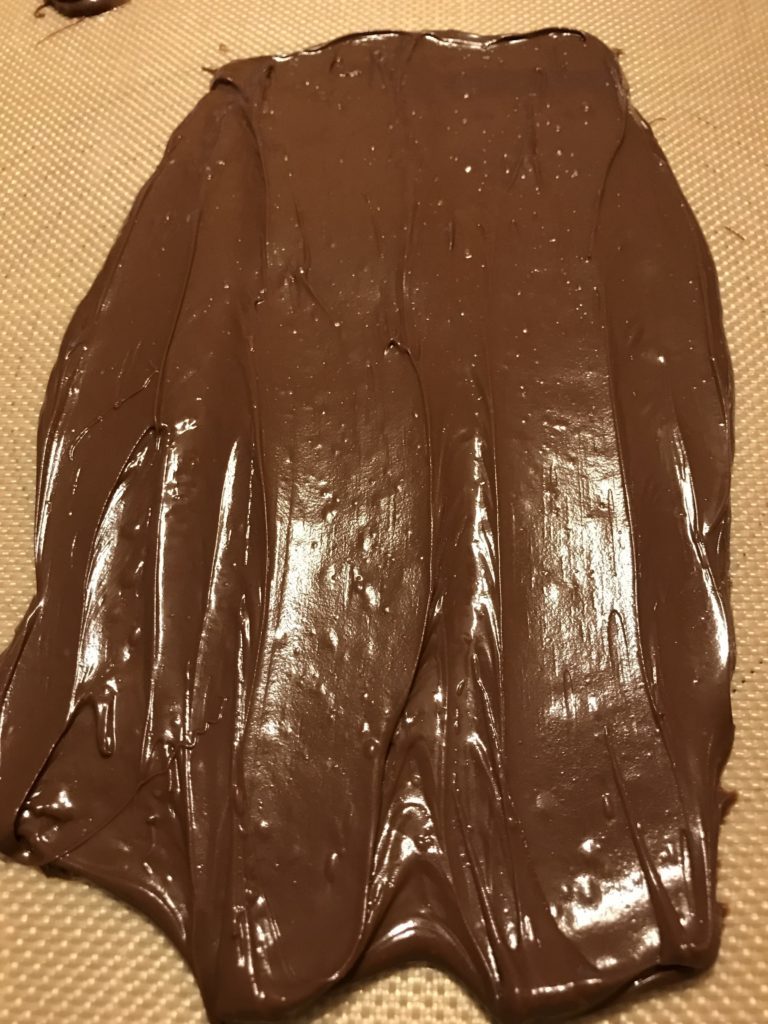
Use as desired. 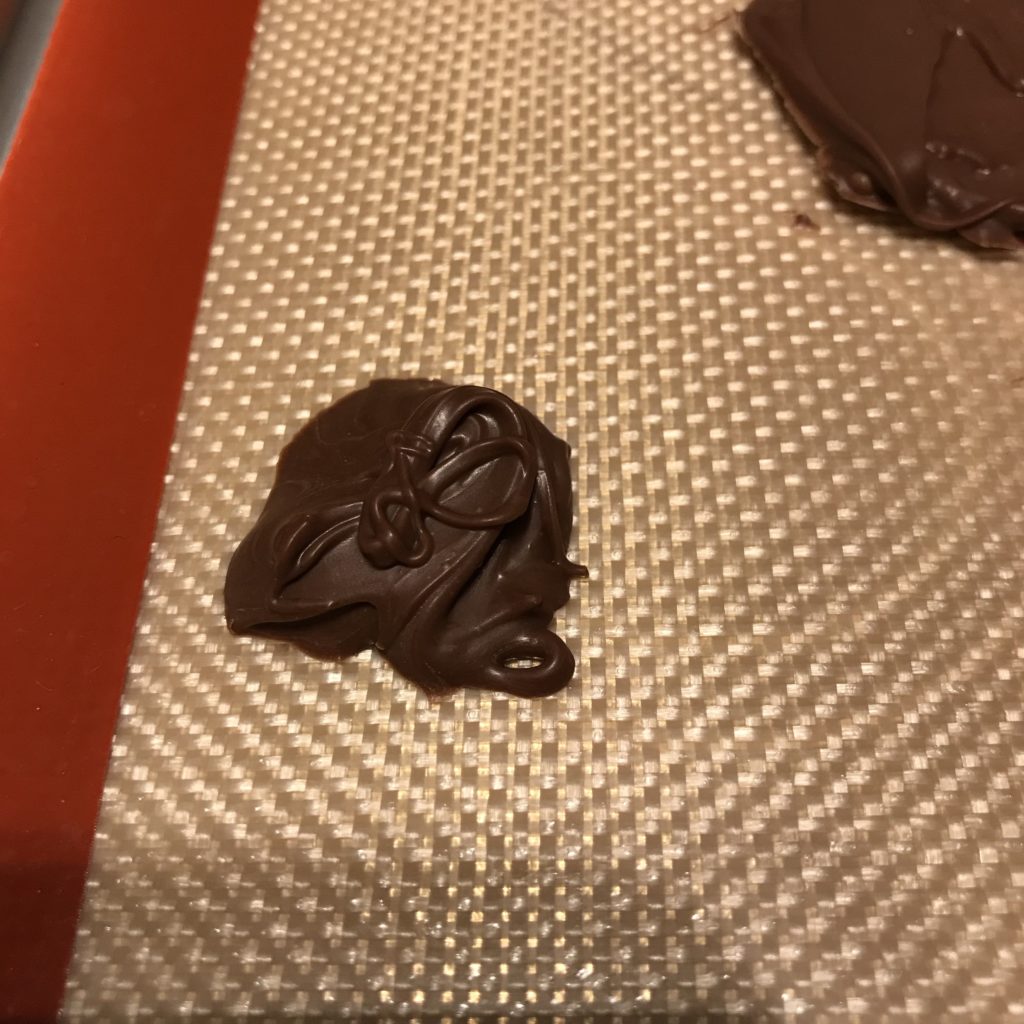
Once set, it should now be free of grainy bits and have a shiny surface 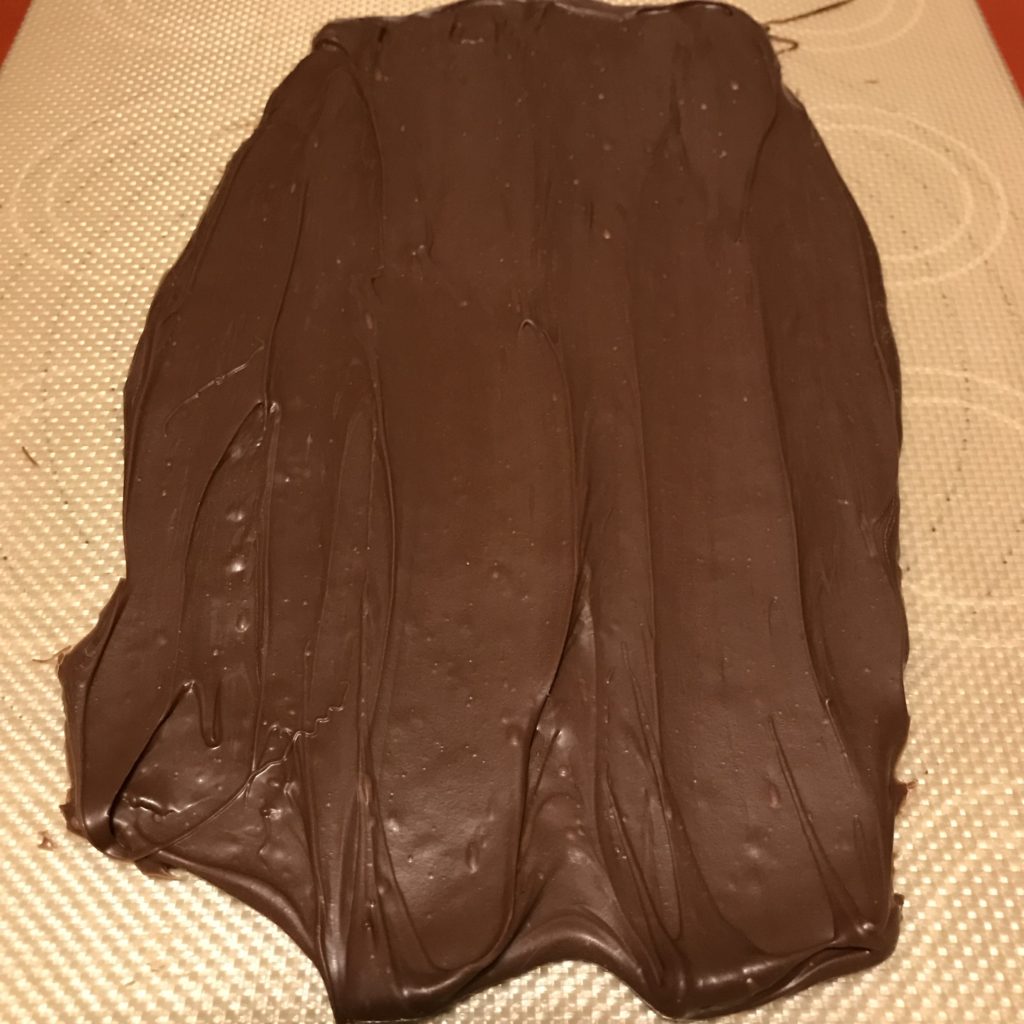
If you stir too vigorously, you’ll have air bubbles if you aren’t careful. You can tap the tray to knock them out. I didn’t bother. 
The underside should also be smooth and shiny.
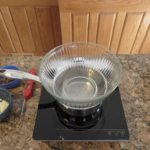
Tempering chocolate (stovetop method)
Ingredients
- 8 oz (226g) dark chocolate
Instructions
- In a small sauce pan, bring 1″ water to a slow simmer. Do not boil.
- On top of the sauce pan, add a heat proof bowl that will sit above the water line. It is best to test this before heating pan as moisture can ruin chocolate.
- Pour 3/4 chocolate into bowl. Set the remaining chocolate aside.
- At first, the chocolate will barely melt, but you want to stir to prevent burning.
- When the chocolate is close to fully melted, check the temperature. You want the temperature to read between 113-122F (45-50C.)
- Once reached, remove promptly from heat and wipe off bottom of bowl. Pour in remaining chocolate and stir. Cool the chocolate by occasionally stirring until you reach 88-89F (31C.)
- It is now ready to use.



0 Comments