
A great friend once told me “Don’t focus on what you can’t do, focus on what you can do.” I don’t like to focus on my disabilities, in fact, I started baking again to push my limitations. Some days are harder than others, some recipes seem impossible at times. And other times, you find a baking hack based on science. This discovery in baking bread has made my life much happier. Because of time, making bread easily with a disability is completely possible!
You can skip kneading all types of dough and forego lifting a heavy mixer with nothing more than a spoon, bowl and a little time. YES! The act of kneading can be completely eliminated with patience. So how? Let me show you!
Step 1: Make the dough
Place all the ingredients into a large bowl. Stir them together with a spoon handle. I like to use plastic as it doesn’t stick as much, but any spoon will do.
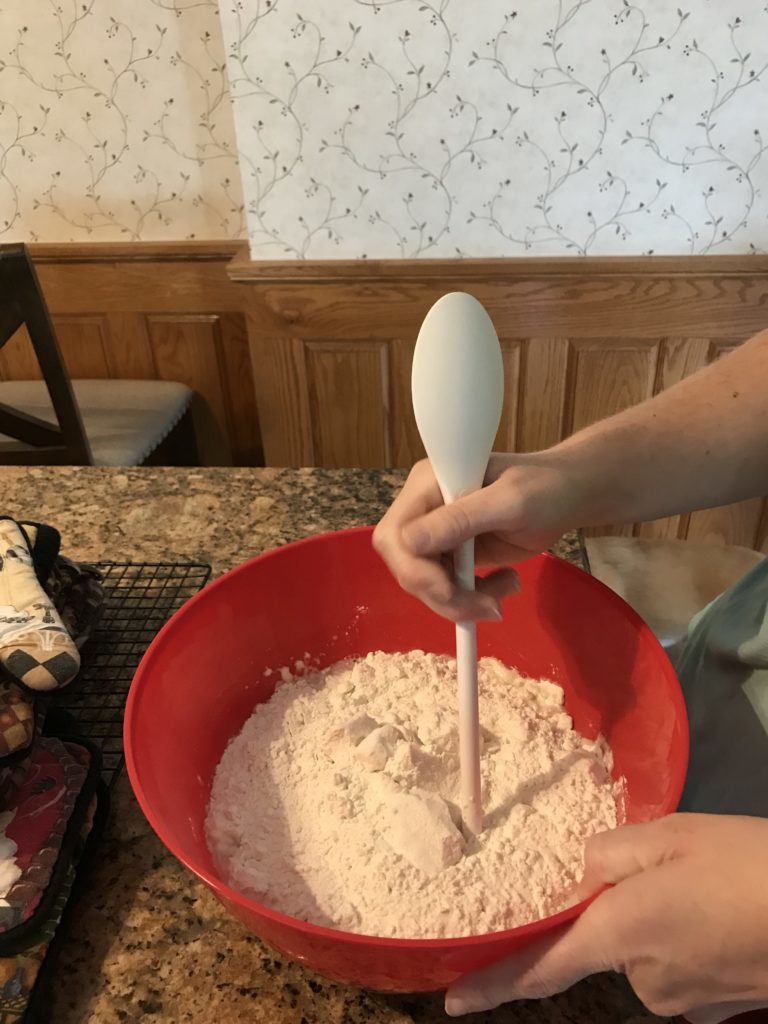
Stir the ingredients until the flour picks up all the water and it becomes sticky.
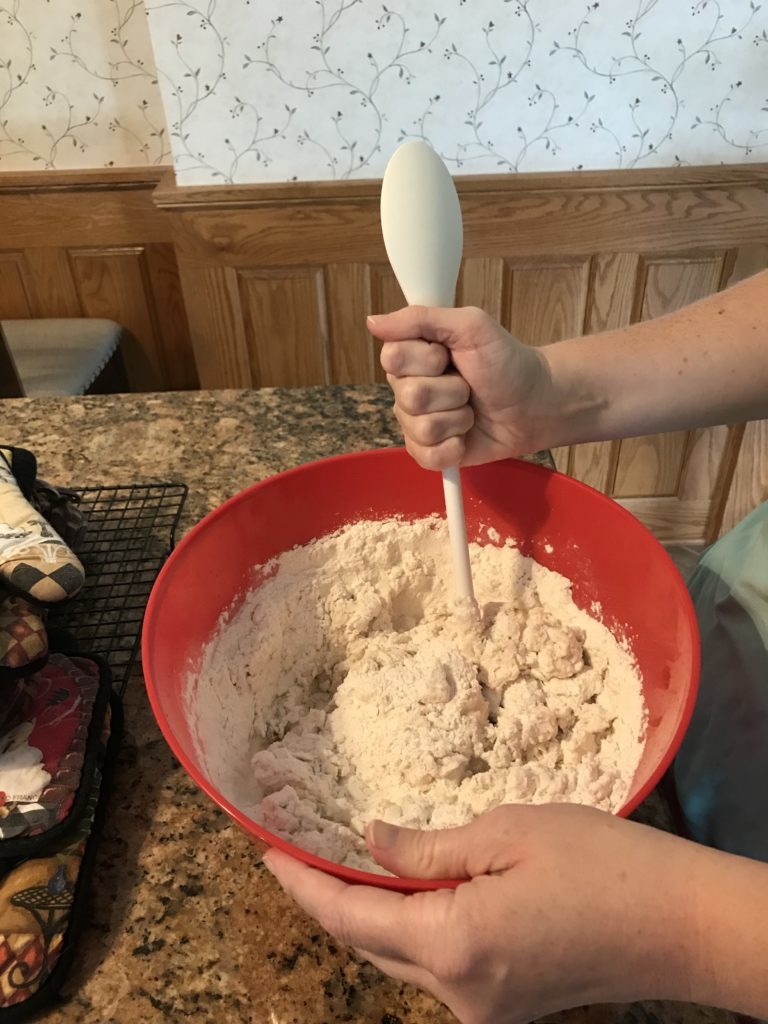
It’ll look really sticky after stirring. Don’t worry. Cover it with a towel or plastic wrap and let it rest.
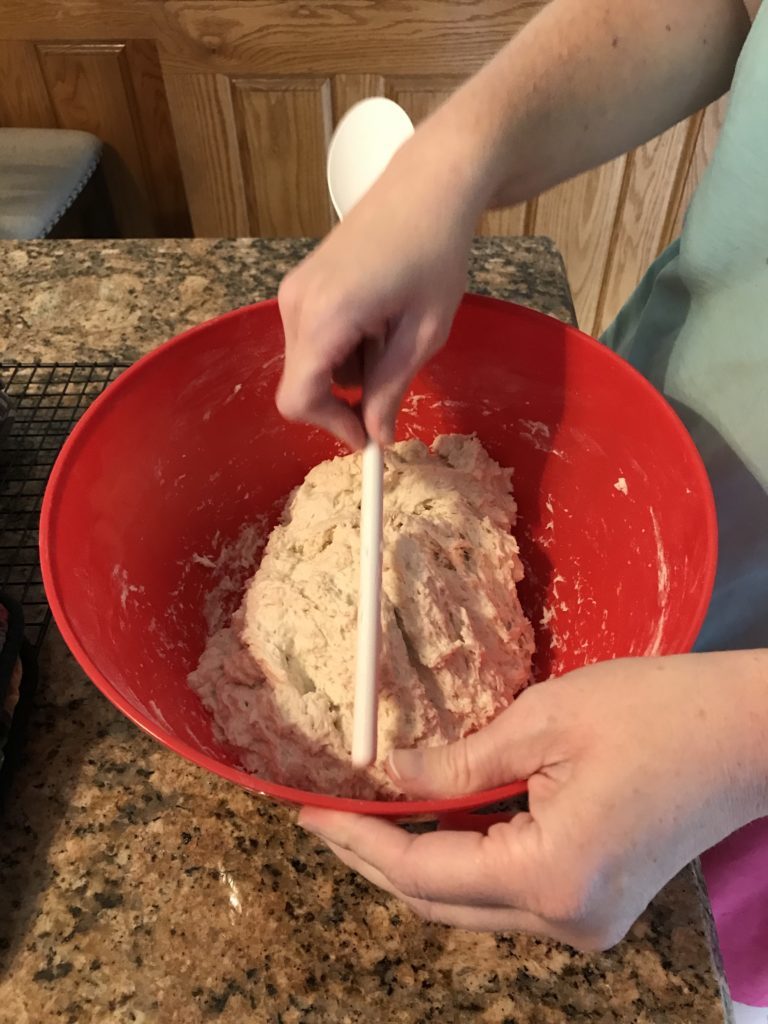
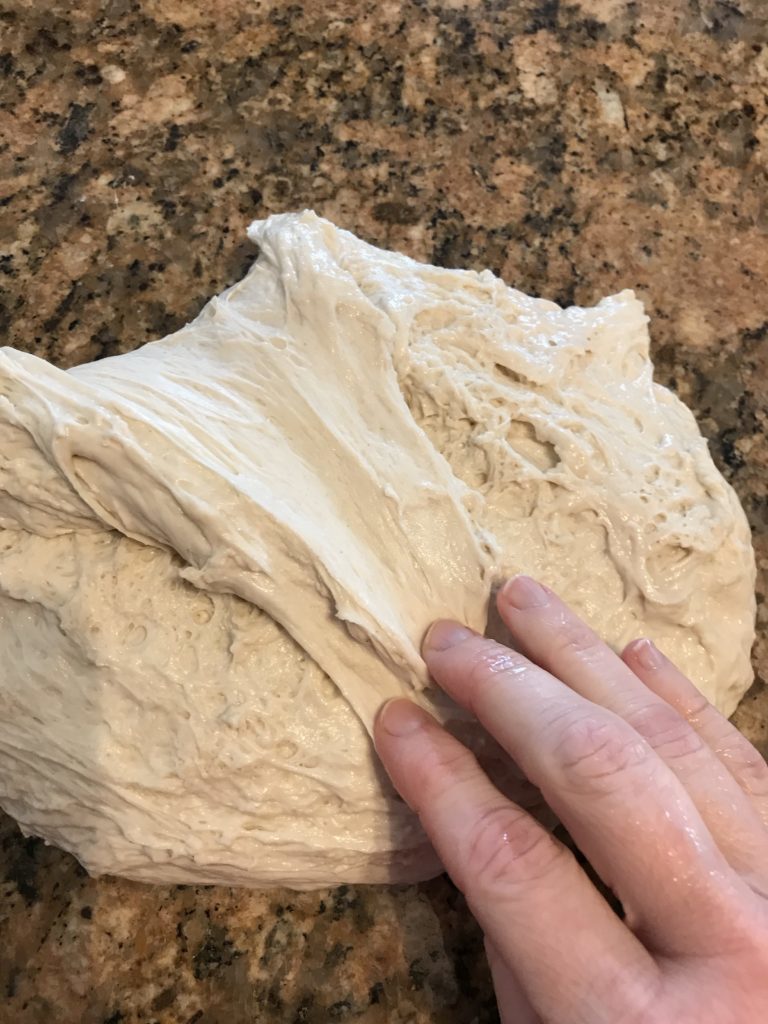
Step 2: Stretch the Dough and Let it Rest
Within 20-30 minutes, it will start looking more like bread dough.
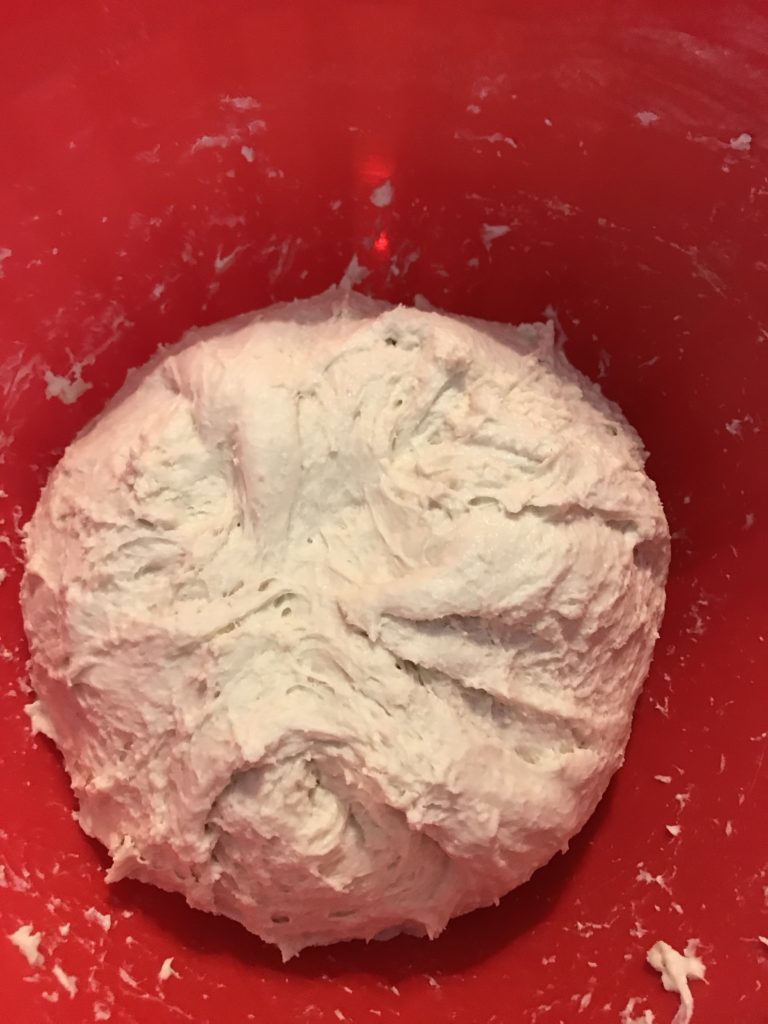
Every 20 minutes, we want to gently stretch this dough. Wet your hands and grab one of the edges. Pull the dough up and toward the center. You want to repeat this for the top, left, bottom and right edges. Repeat this pulling and folding of the dough every 20 minutes for the next couple of hours. After you finish the last fold, cover and let the dough rise until double in size. This generally takes 1 – 2 hours.

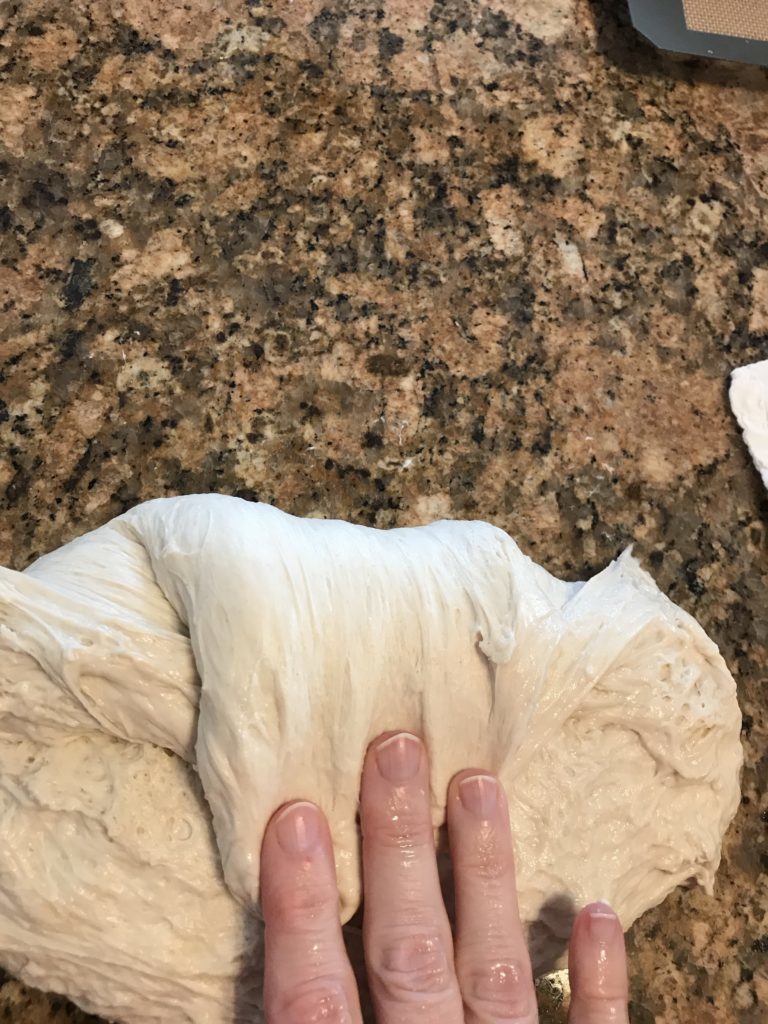
Step 3: Shape the Dough
Now you shape the dough by flattening into a rough rectangle about the length of your pan. We are using a 9×5″ bread pan (23x13cm) but any size pan will do great! Wetting your hands makes this easier to do.
I like to fold the dough North, East, South, West. Just a compulsion more than anything. Just make sure to fold in all the edges.
It will have the seams gathered in the center when you are finished.
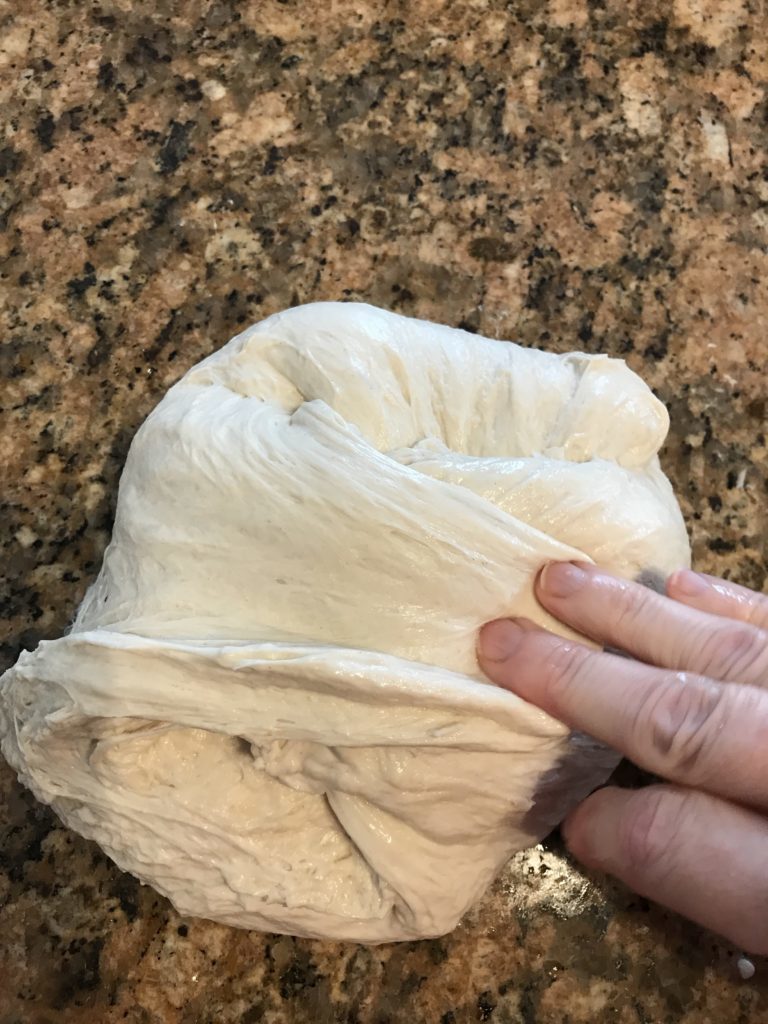
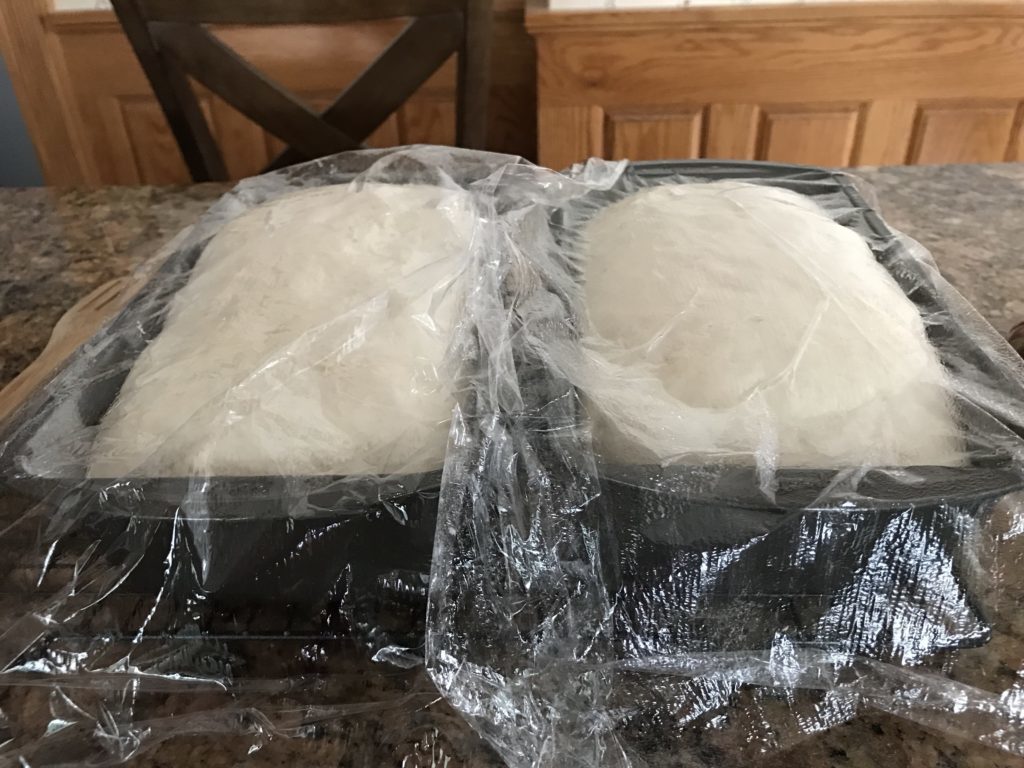
After this, you put the seam side down in a lightly oiled and floured pan and let it rest until it rises. You don’t have to prep non-stick bread pans. This can take 1 – 2 hours. Even less in a warm kitchen and even more in a cold one. Wait until the dough is close to the top of the pan. Cover it with a damp towel or an oiled piece of plastic wrap to avoid the dough from drying out.
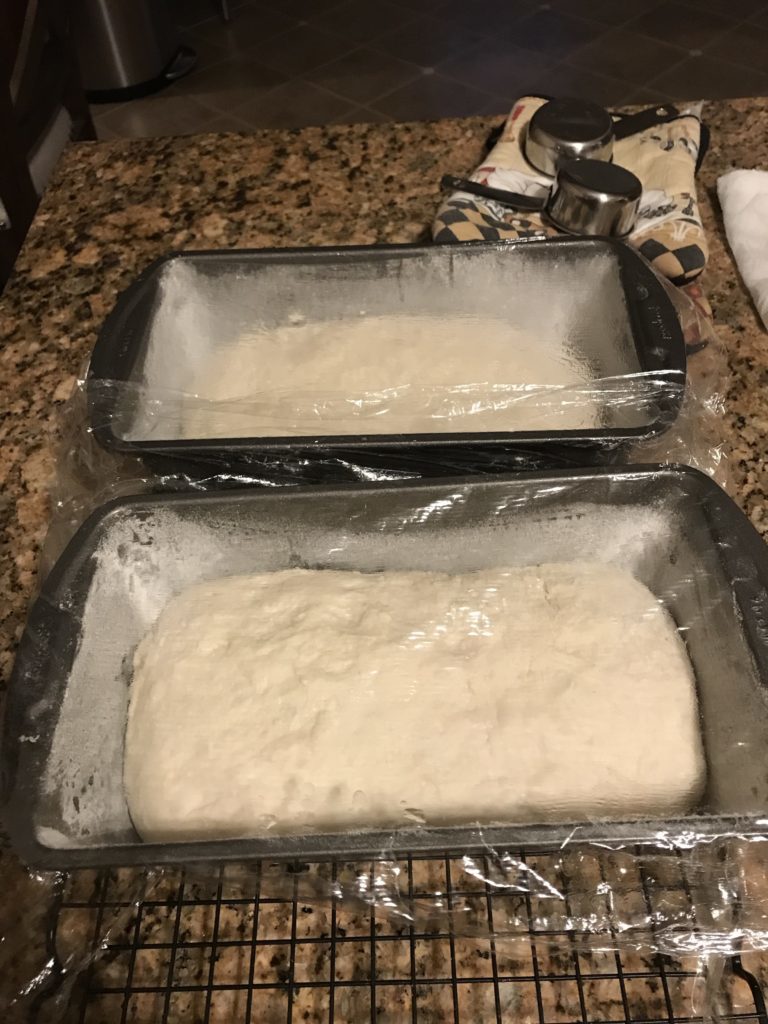
Step 4: Bake the Bread
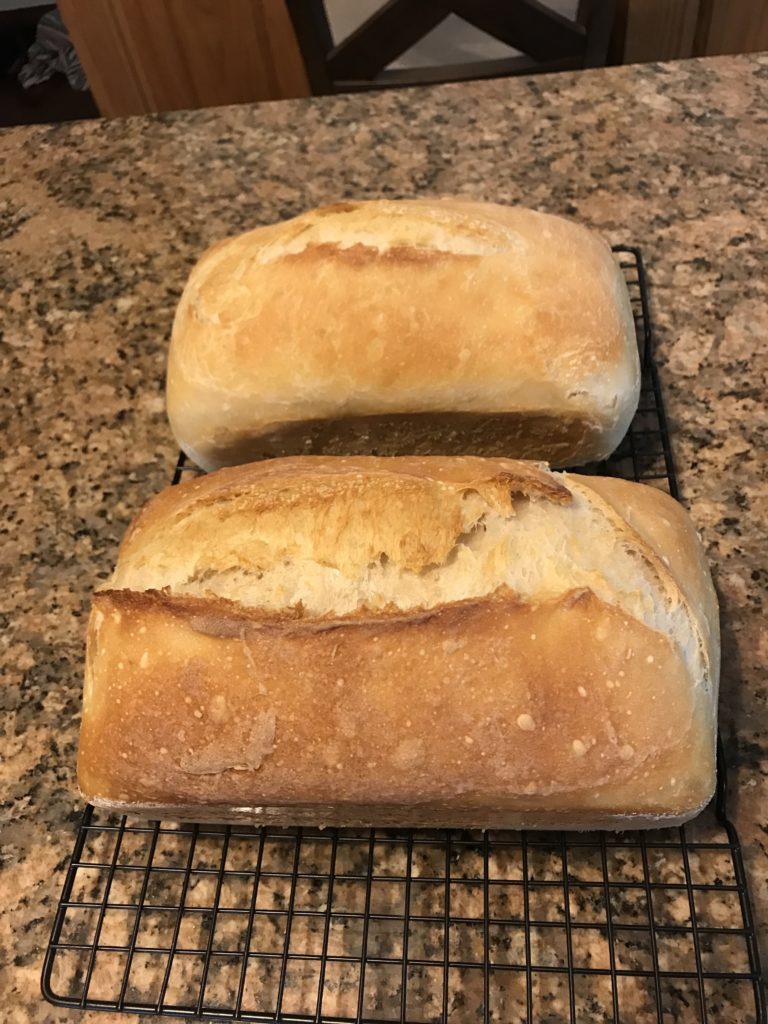
Once it is puffed up, you bake the bread! Seriously, you will have wonderful bread with very little work and just a lot of patience.
As you can see, making bread easily with a disability isn’t a lie. It only takes a little knowledge of how gluten is formed and a little patience. If you to see it in action, check out the footage below. This video will share with you the same method but using sourdough starter instead of store bought yeast. It is helpful to see in real time how easy this really can be for those with limitations.
One note of caution should be addressed when making sourdough or overnight bread, especially at room temperatures for more than 8-10 hours. Cleanliness is essential. You can introduce bad bacteria and despite popular beliefs, yeast does not inhibit these growths. Rather, studies have shown the bacteria to grow starting at the 4 hour mark. So please work on clean surfaces and with clean equipment and supplies.
No Knead White Bread
Ingredients
- 3 ⅓ cups (500g) flour
- 1 ⅓ cups (320mL) water
- 2 tsp (7g) yeast
- 1 tsp (5g) salt
Instructions
- Stir together water and yeast.
- In a large bowl, add all the ingredients. Stir until a rough ball forms.
- Cover with a cloth, clingfilm or loose fitting lid and let sit at room temperature for 20 minutes. After twenty minutes, wet hands and pull the dough toward you stretching until it just starts to feel as if it will tear. Fold, turn bowl 1/4 of a turn and do this for a total of four times. Cover. Do this process every 20-30 minutes for the next 2 hours.
- Cover and allow to rest for 1 -2 hours or until when you press into the dough, the indention no longer bounces back, but it also doesn't collapse the entire dough.
- Pull dough out onto a lightly floured surface or work on a dry surface. This is up to you. Fold the dough into a rough rectangle and place in an oiled and floured tin, seam side down.
- Preheat oven 450F (230C.)
- If desired, slice the top with a sharp knife. This helps the bread keep its shape.
- Bake 40 – 45 minutes. Center of bread should read 212F (100C.)
- Let cool before serving.
What size of pan is needed to bake this bread 🥪
You can use any size loaf pan, but I often use a 9×5″ (23x13cm) bread pan.