Learn how to make a simple sourdough starter. What will set this article from the rest is the fact I’ll share with you some of the mishaps that can happen along the way. It’s not always a nice pleasant smell in the beginning, folks. Sometimes it’s downright vile.
If you have been following along, you’ll know my beginnings with sourdough was tumultuous. It went on for weeks until I discovered it was my flour! No one bothered to say on any of the blogs or videos I watched: “If you grow mold in your sourdough starter, try a different flour.” It was always, it’s the container, it’s the water, you aren’t clean enough, etc. I’ve since made several starters with five different brands of flour and haven’t had another issue. In fact, I now test all my new flour by making a simple starter for a few days to make sure it’s not contaminated with mold. So it was a valuable lesson!
They also don’t prepare you for the horrific smells. You’ll watch these videos and they will talk about “hops” and “beer” and “fruity” pleasant smells (this is the lactic acid that develops.) They don’t speak of the reality. I had a sickly, turn your stomach smell. Then it turned into a dirty sock type smell.
And eventually, it moved over to a combination of paint thinner and nail polish remover smell for weeks. (This is called acetic acid. The acetic acid that develops is actually a desirable trait for making really tangy breads.) I read throw out your starter on so many countless blogs and American sites. So I would and the smell returned every time. That’s when I start searching overseas articles. There are countless places to find that all this is normal! I reached out to Steve’s Kitchen and he said this was typical and to keep going. You just keep feeding and let the lactic and acetic bacterias kill off the bad ones lurking. It will happen. You just have to be patient. And OH BOY! Am I glad I kept going. The bread is AMAZING.
Want a few sourdough bread recipes now that you have learned how to make a simple sourdough starter? Try out the traditional artisan loaf or a sandwich style bread loaf.
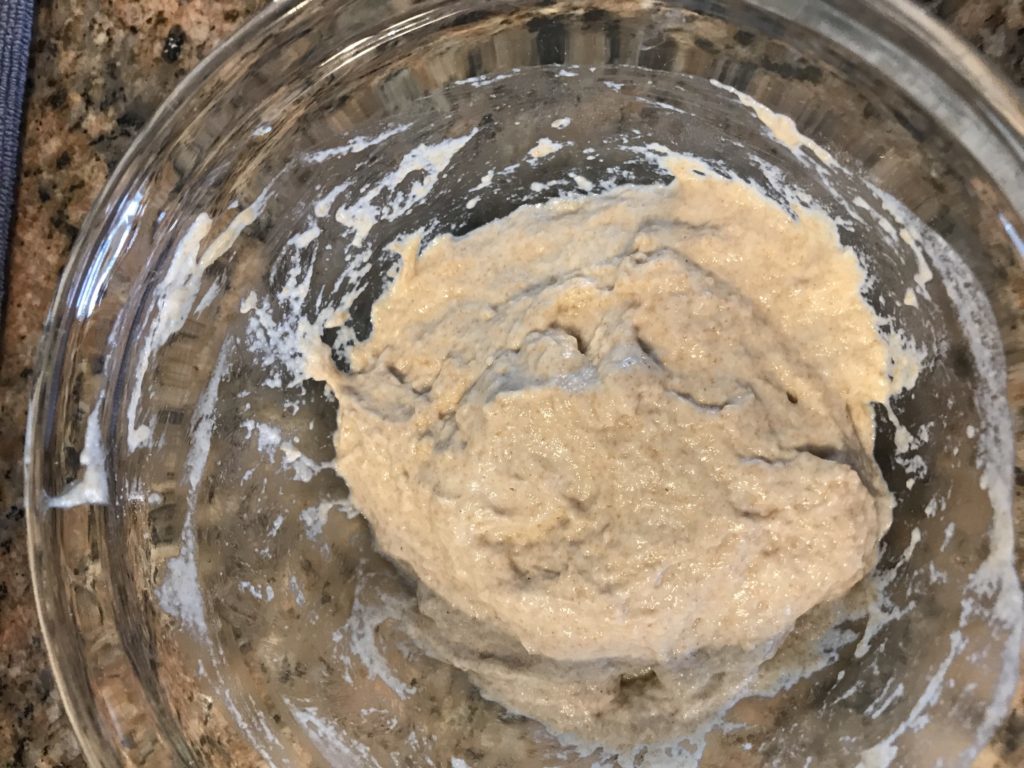
Mix 3 level tablespoons of flour with 2 tablespoons water (30g each) 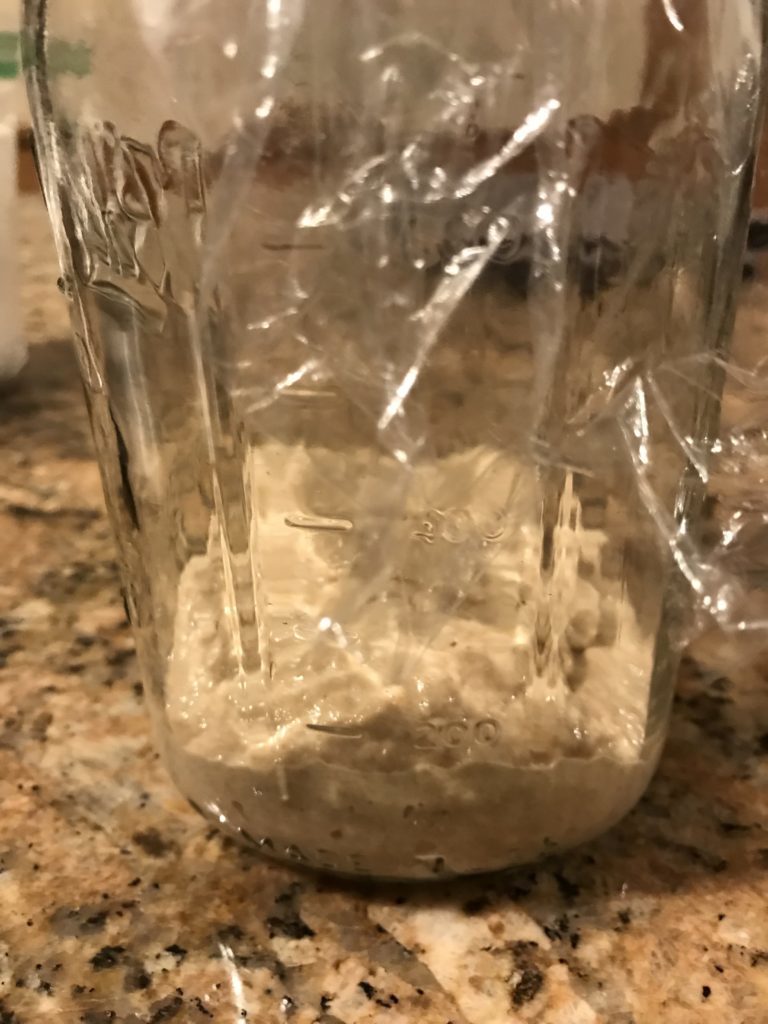
Put in a clean jar or bowl and cover. Poke holes with a tooth pick or fork if using cling wrap 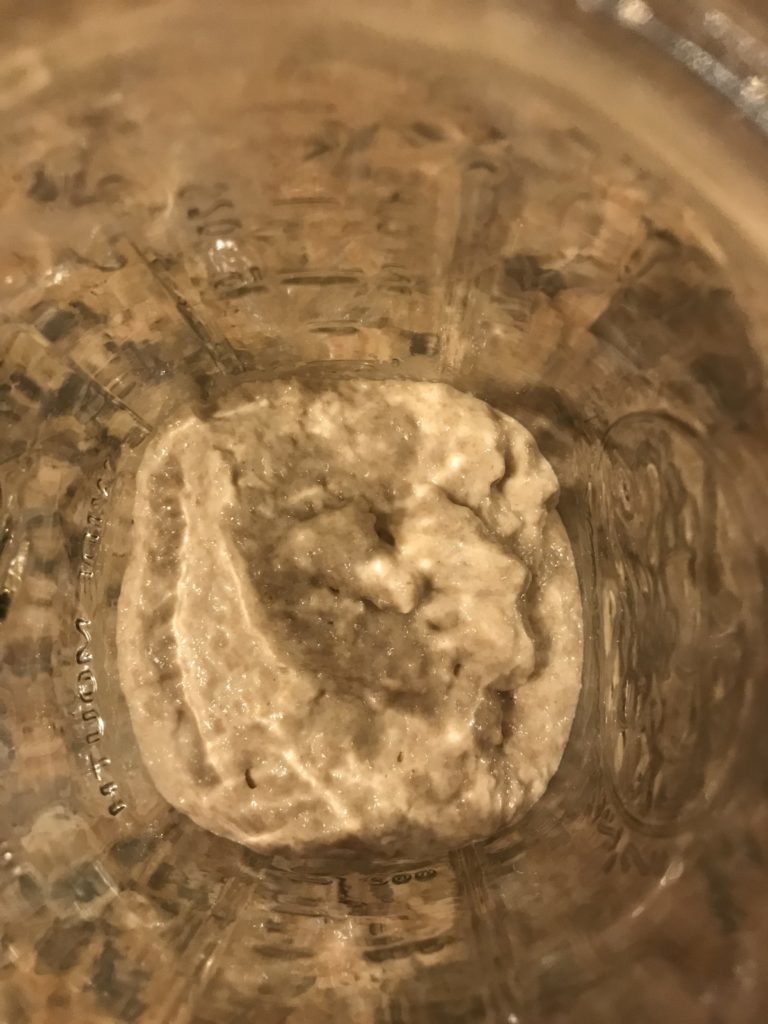
At first, it just looks like a blob of dough. Give it time. 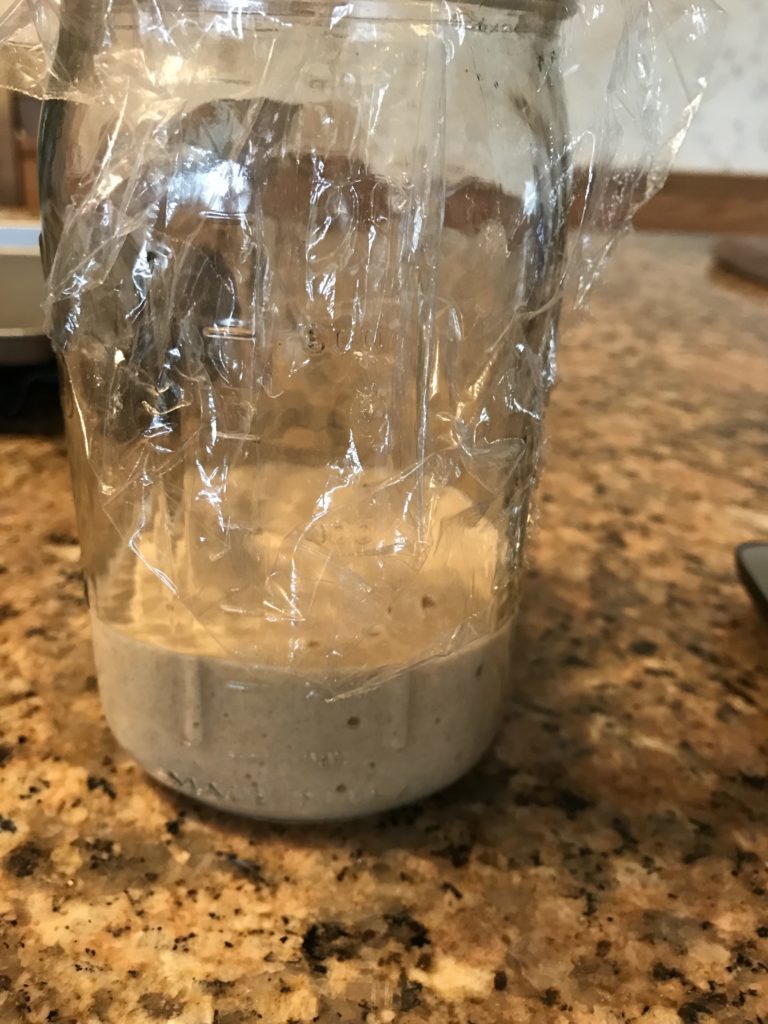
You’ll start to see bubbles forming after a day or two and it may grow a little. 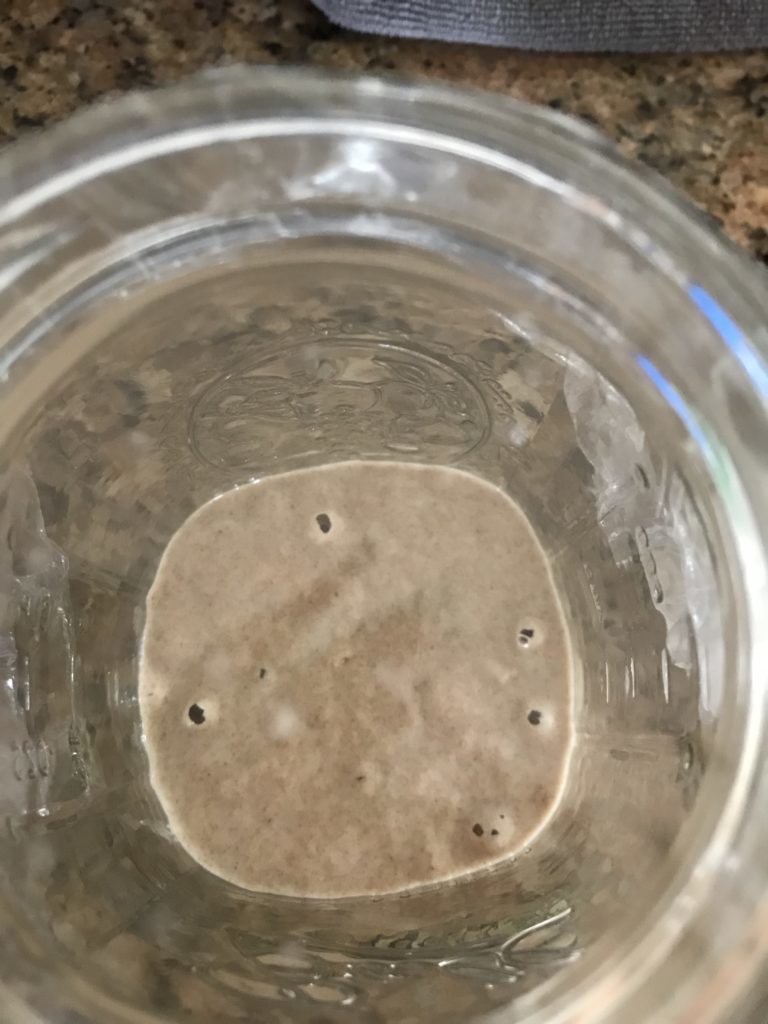
It may smell funky and even get a little watery looking. 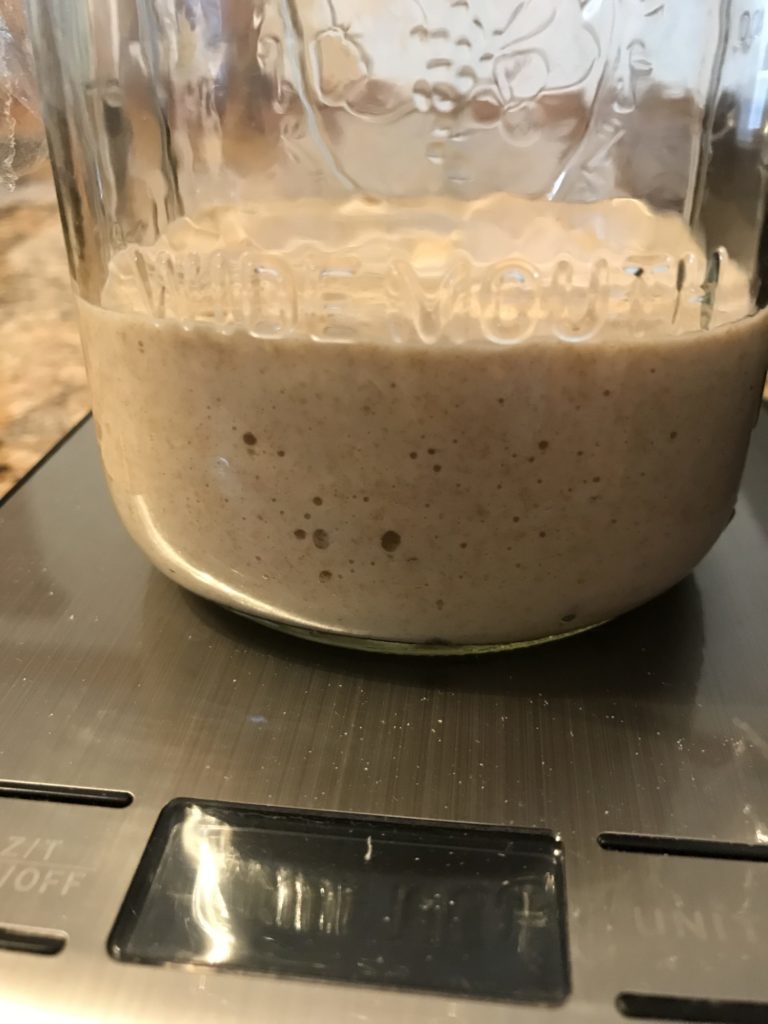
But as long as it bubbles and there is no blue, green or black mold, keep waiting. 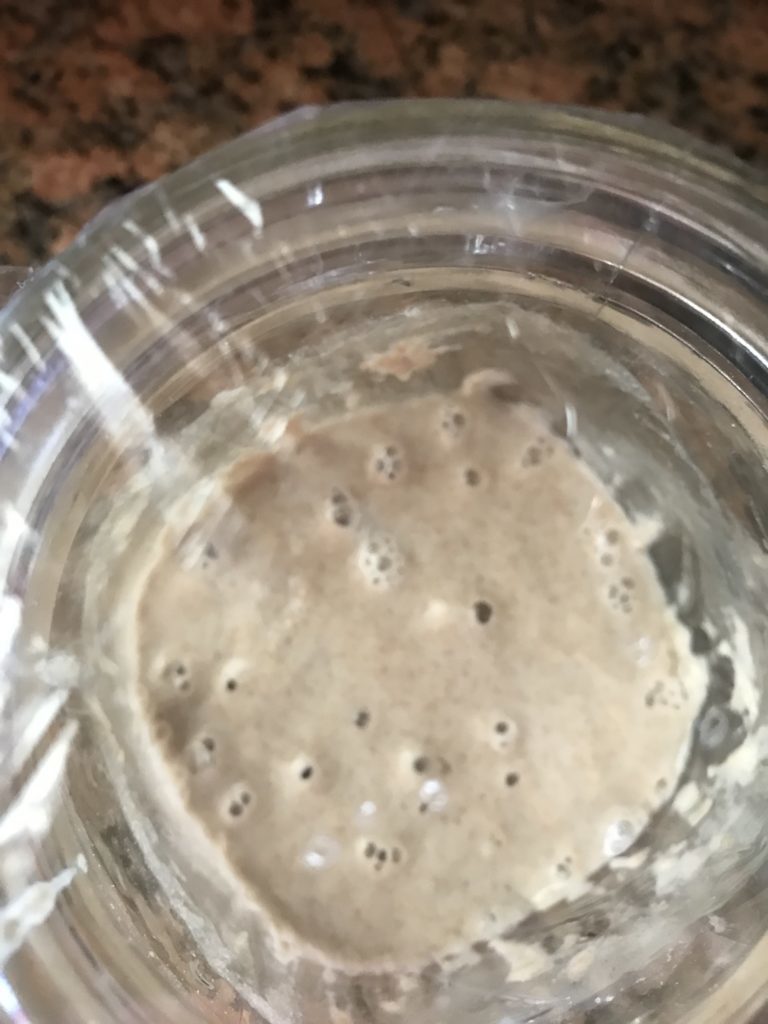
On the second or third day, you’ll see more bubbles. 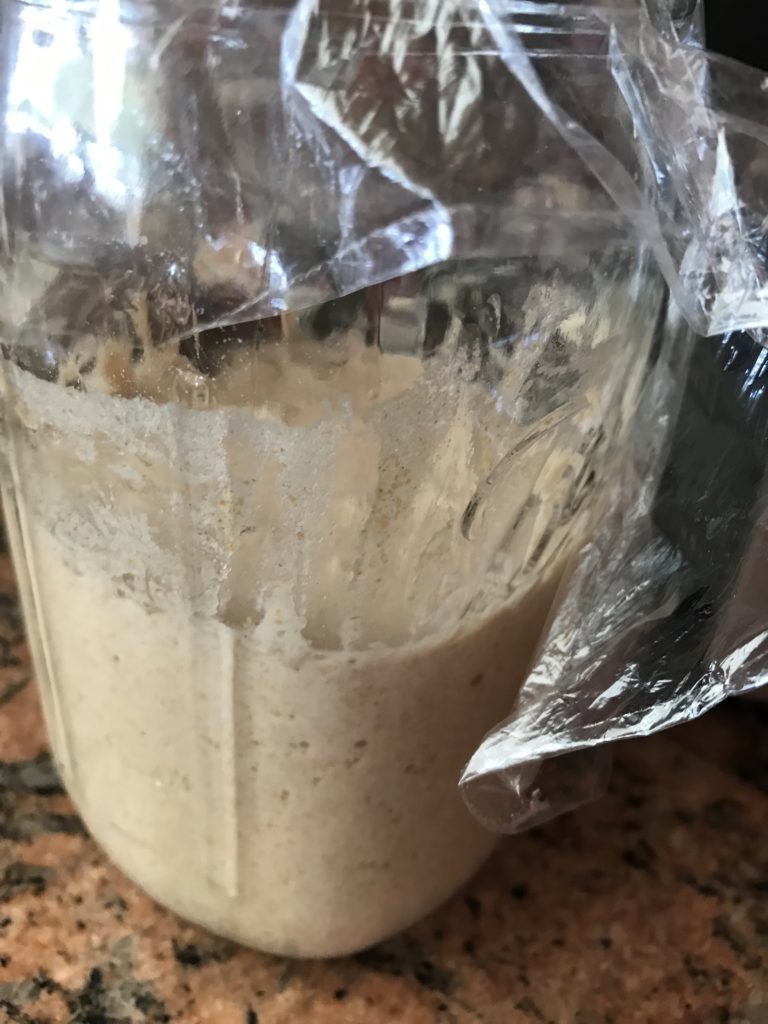
And may see that it climbed up a bit during the night. 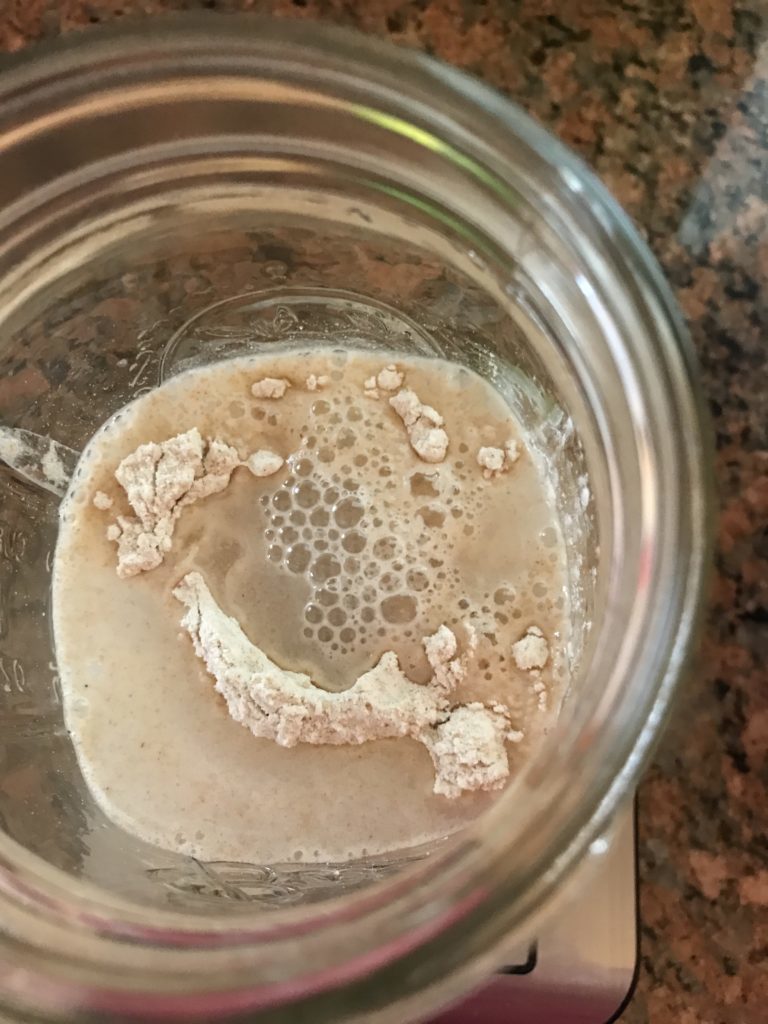
If you see this, feed it another 3 tablespoons of flour and 2 tablespoons of water (30g each.) 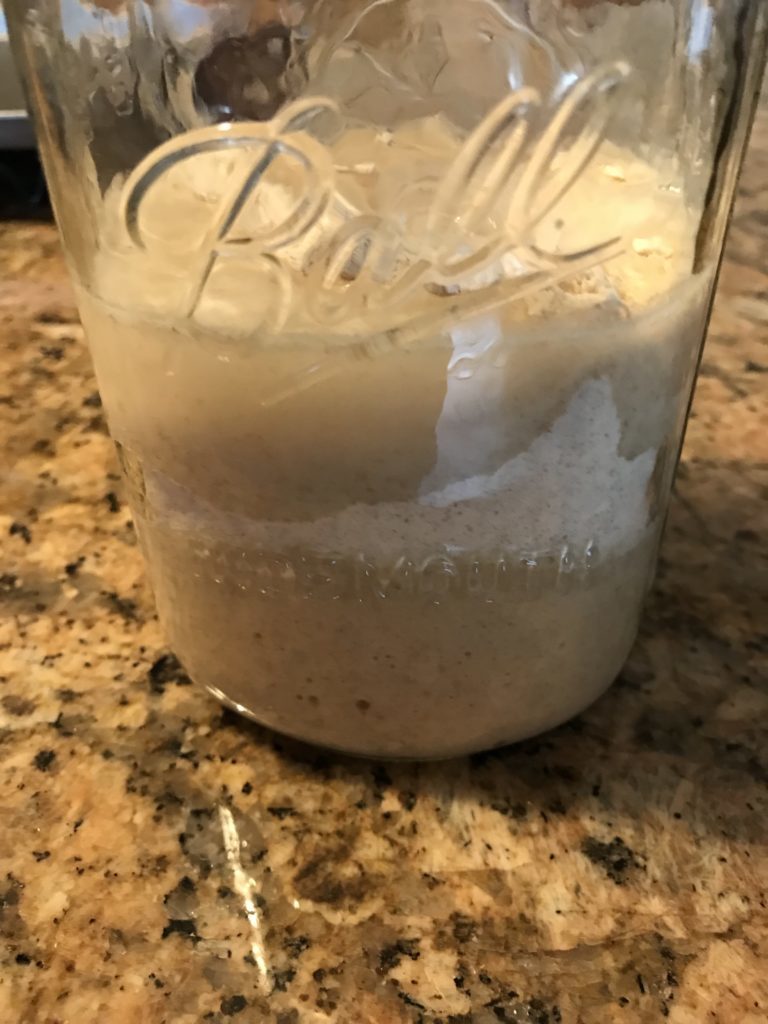
Stir. And wait another day. 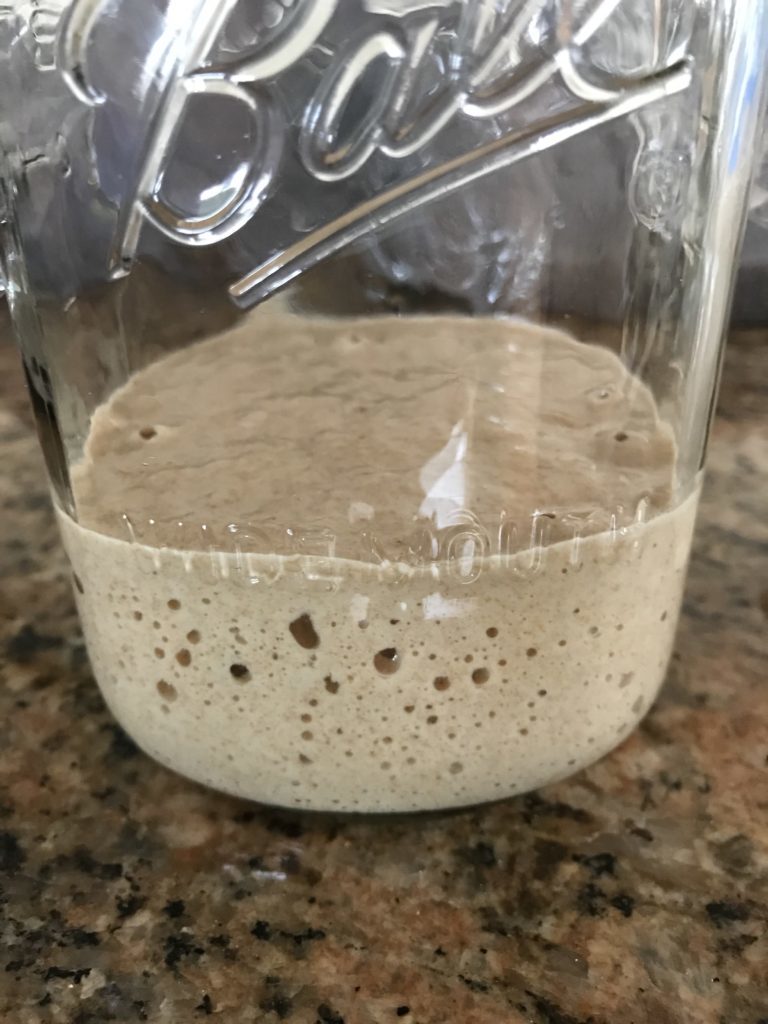
Get out your starter. 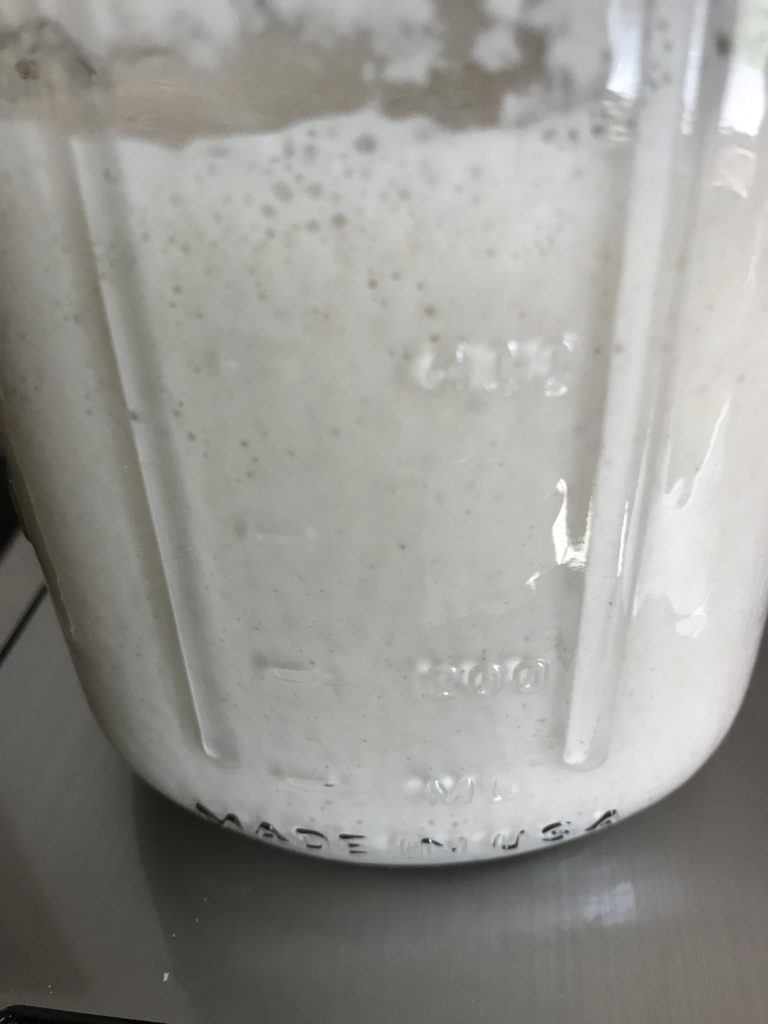
Keep feeding twice a day, discarding a bit once it gets more than 1/2 full of the container. If not, you’ll be bathing in sourdough starter by the end of the month. 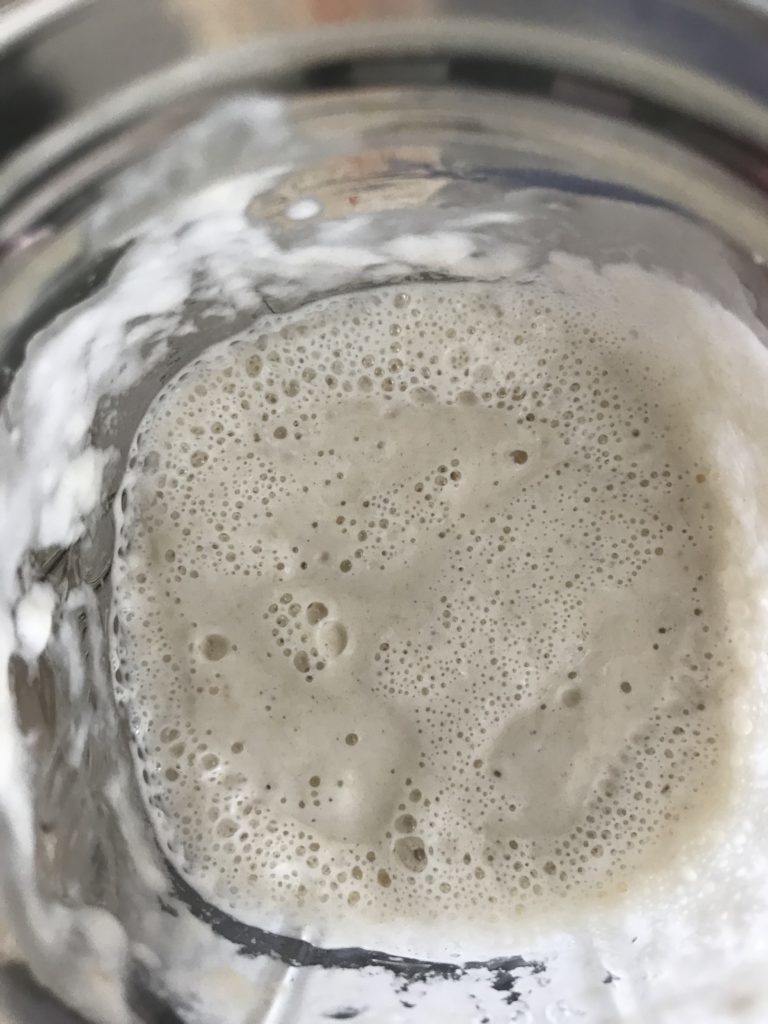
Do this for at least a week, or until the smell is no longer brutal. You can begin using it after about a week, but I found by waiting a few months, I got a more solid culture with amazing smell and flavor.
Ingredients
- 1 tbs (15g) flour, packed tight
- 1 tbs (15mL) water
Instructions
- Day One: In a clean container, mix the flour and water. Cover with cling film or a lightweight cloth. Poke holes for ventilation.
- Day Two: Check for any blue, black or green molds. If any appear, discard and use different flour. If no mold, leave it alone.
- Day Three: Check again for molds. If there are non, it is time to feed the starter. Add another 1 tbs of flour and 1 tbs of water. Stir and cover.
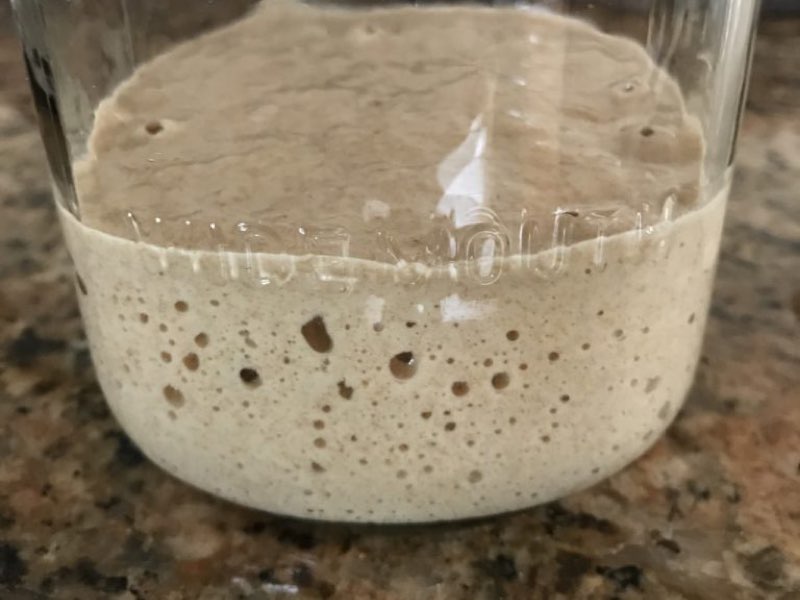
- Day Four: If you start to see signs of life (such as marks on the side of the container showing it climbed up the sides, bubbles, strange smells,) then begin feeding twice a day with the same amount listed above. This will strengthen your starter.
- Day Five: Discard all but about 1 Tbs (15mL) of the mixture. Feed another 1 tablespoon of flour and 1 tablespoon of water.
- Days Six – Nine: Feed twice a day, about 12 hours apart. Be prepared for some funky smells. Don't worry, keep feeding. This is the good bacteria fighting off the bad. It is to be expected.
- Day 10: If the mixture has a pleasant smell, you can begin using the starter, congratulations! At this point, you can also store it in the fridge, feeding weekly. If you plan to use it daily, keep it on the counter and feed at least once every two days. You will need to feed it the same volume it is currently. For example, if it weighs 150g (about 1 cup,) you'll need to give it 75g (1/2 cup) each of water and flour.If it still smells unpleasant, discard all but about 1 tbs (15mL) and continue feeding twice a day. Not everyone will have a useable starter in this time frame, don't be discouraged. Mine took several months to mature.
When you get to keeping the starter in the fridge, so you use a lid to cover the jar or keep in with the cling wrap with holes for ventilation?
Shaneel, I personally use a sandwich bag and invert it on top of the container and press it closed so it’s wearing a little hat It allows ventilation on the sides because it isn’t air tight. I have used plastic wrap with a few holes poked with a toothpick. A lid would be too air tight and could pop or crack the jar being under too much pressure over time.
I’ve had my starter going for about 6 months now. I’ve been baking with it with successful/good tasting breads. I do alternate keeping the starter in the refrigerator and on the counter outside the refrigerator (dependent how much baking I have planned). However, for the first time, today, I experienced the paint thinner smell. Can I still use it safely? Am I reading correctly, if I continue to feed it, the smell will go away?
Hi, Linda! The paint thinner smell seems to come about when things are just a little off kilter and will go away within a few days of babying your starter. I’ve personally found that when the temperatures outside rise, you need to feed a little more often as the yeast is more active. It is common to get the paint thinner smell when the yeast goes hungry for a few days. It is safe to use as it is, but the taste will be a bit off. What I recommend doing is keeping only a few tablespoons of your starter and feeding heavily for a couple days while leaving it out on the counter (about 50grams of flour and 50 grams of water.) That would be about 1/3 cup of flour and 1/4 cup of water if you aren’t weighing. Each day, discard all but a tablespoon or two and feed the 50 grams each. You should see a massive improvement within 2-3 days. Once the smell is back to normal, you can go back to your normal routine. Let me know if you need more help!
Thanks very much, I’ll give that a try and let you know!!
You are very welcome!
Many thanks! It is very interessant, because I search an good alternative to drug. I have a question to you: What kind of flour is it? wheat, rye, etc.?
Hi Larrisa! I personally use either whole wheat and plain white wheat flour (often called all-purpose or plain flour) in this recipe as it’s easiest to find, but I have also used other flours such as rye and barley. You can use any kind of flour you like. The whole wheat is my favorite as it seems to cultivate a starter the quickest.
Hi! Thank you for your answer. My starter has been unchanged since the 3rd day. My starter is matured at 24°C in the kitchen. And at what temperature is your starter matured?
Hi Larissa! It’s usually around 22-23C in our house and I leave it out on the counter. Start feeding it anyway even if you don’t see activity as long as you don’t see any weird mold going on. Then check it about 2 hours later. You should start to see some bubbles within a few days starting. It could take about 7-10 days to see results for some flours as the natural yeasts vary in brands. You will likely want to feed it twice a day once you get it started as your temperature is a bit warm. The warmer the environment, the faster the yeasts will eat.
My starter is start to smell like a paint…
Thanks for the advice, i will keep on going.. Hopefully the smell will be off soon
I remember those days! My starter just turned a year old and I thankfully no longer smell that smell. Try upping the feedings to twice or three times a day if you can to help it get through it. Don’t give up, you’re almost there!
I tested the starter with two types of flour. The bread tastes very good. Thank you for the recipe and the videos. With best regards!
Larissa, So glad that you were able to make the yeast and bread out of it with two types of flour! It’s a wonderful base recipe to learn from. I hope you enjoy making bread for years to come.