Do you say care-uh-mel or car-uh-mel or another word to describe these wonderful candies? However you pronounce it, buttery and chewy milk caramels are one of my favorite desserts to eat, but until recently, I was scared to make them as they seemed so difficult! That isn’t the case at all, thankfully. Learning how to make caramels is quite simple, in fact.
This super easy caramel recipe was giving to me by a friend, Alaura. She has given me permission to share it with all of you. They are called “Plain Caramels” and the recipe was in her family’s cookbook from the 1940s. Don’t let the name fool you as they are simply delicious. In fact, even though they are made with simple and cheap ingredients, they are the most popular caramels I have ever made. They are really that amazingly good.
Not only is this type caramel easier to make, but it is also safer to make than the traditional method. The caramelization method involves heating sugar at extremely high temperatures, and then adding the fat. The risk of burns and ruining the candy is much higher this way.
This method of making caramel utilizes the Maillard reaction. This is a magical, though not completely understood process, where food takes on a lovely brown coloring usually found in baking bread, cooking meat and making desserts.
These are called milk caramels and undergo a chemical reaction between the amino acids in the milk, butter and sugars to create a dark caramelized taste and color. Many argue this is not a “true caramel.” And technically, they are correct. However, if you are buying prepackaged caramels at the store, the majority of the time, you are getting this type of caramel candy and this is the taste you are likely after.
Therefore, I highly recommend starting out making caramels this way. I had success right away since they are easy, they have a lower risk of burns, and they are safer to make. More importantly, these were a hit with everyone who tried them. What else could you ask for in a caramel?
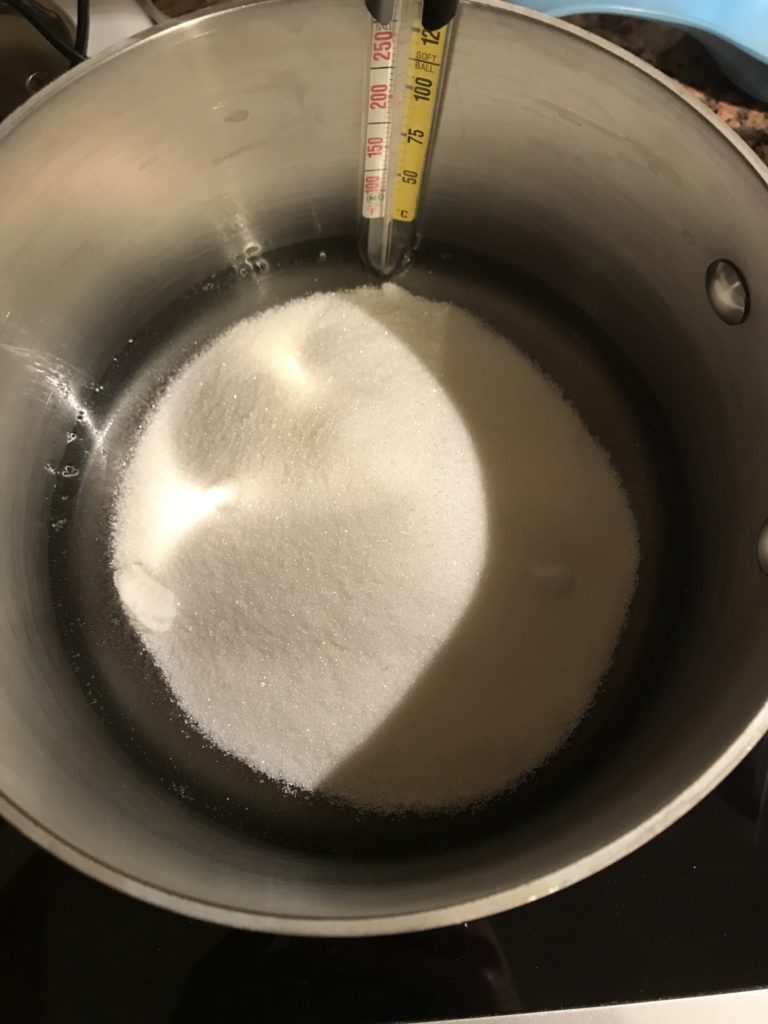
Start out with sugar and cornsyrup 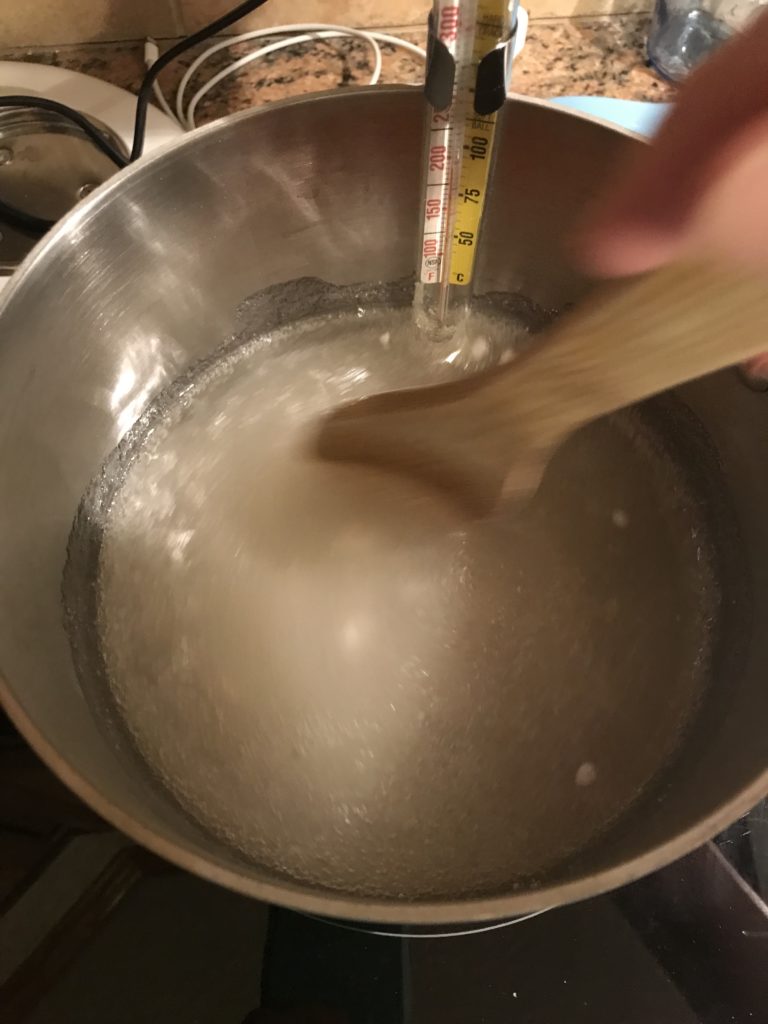
Add heat. 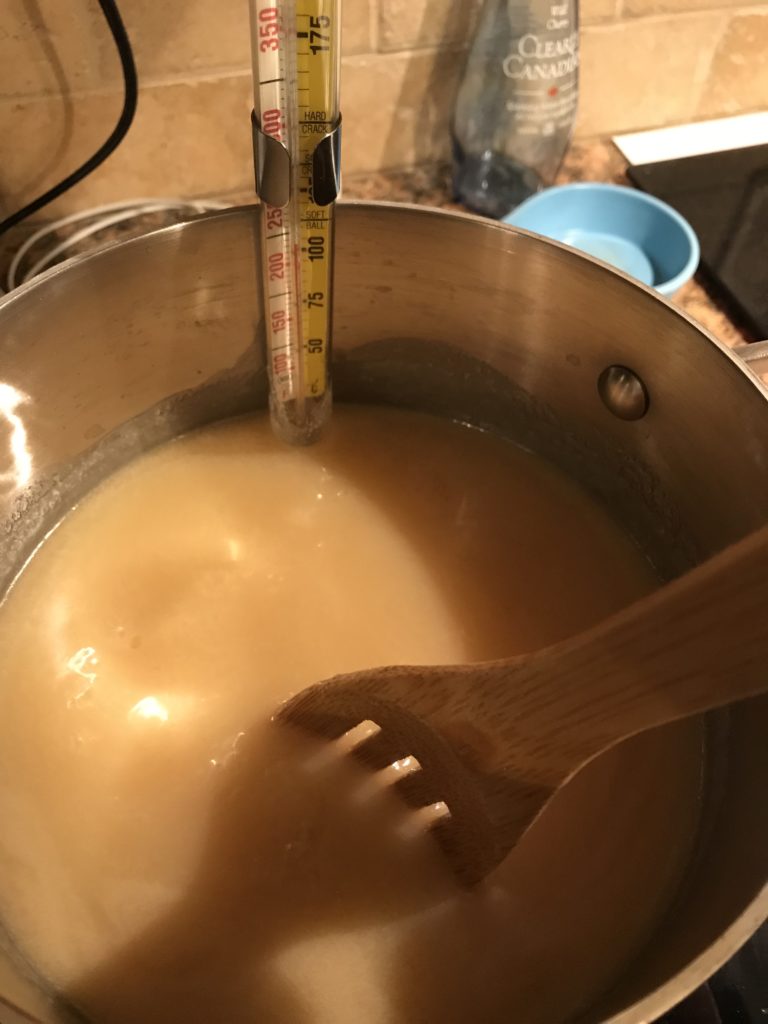
Stir until smooth, add milk and butter. 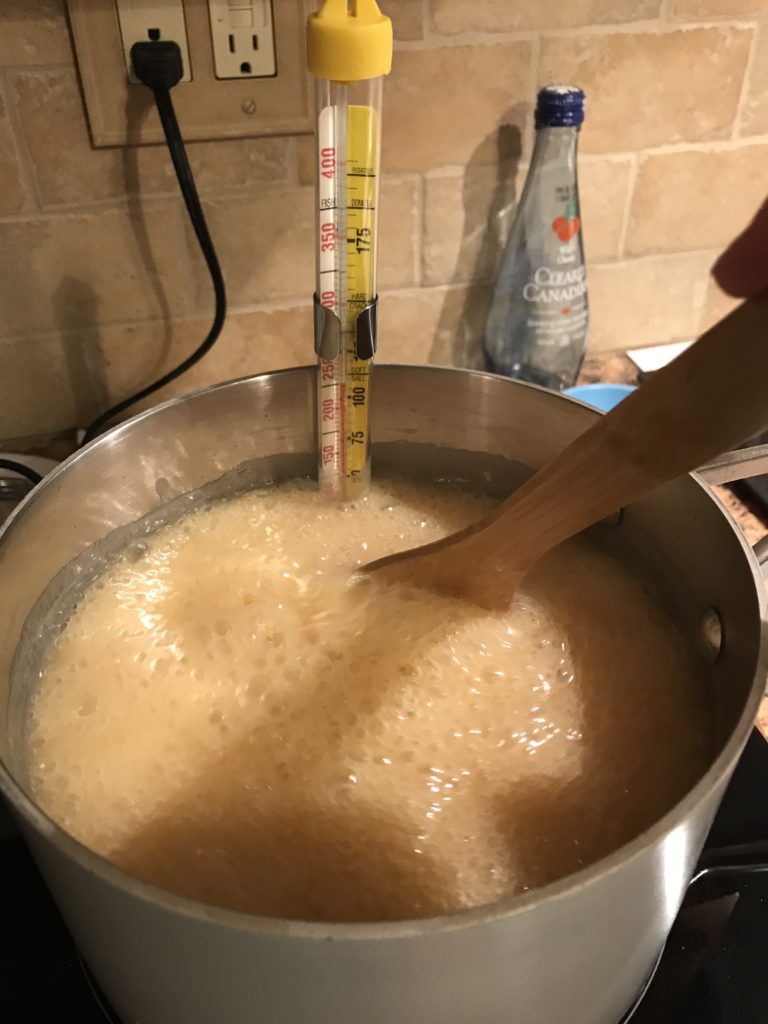
Don’t get this high! Back down that heat. 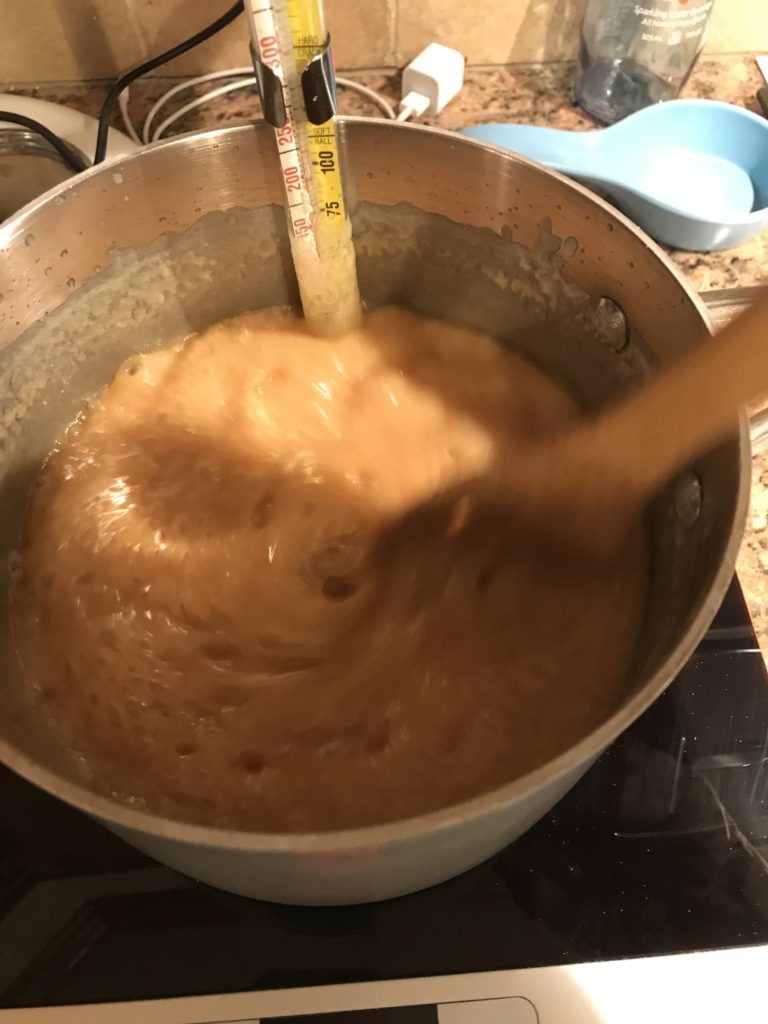
Much better. 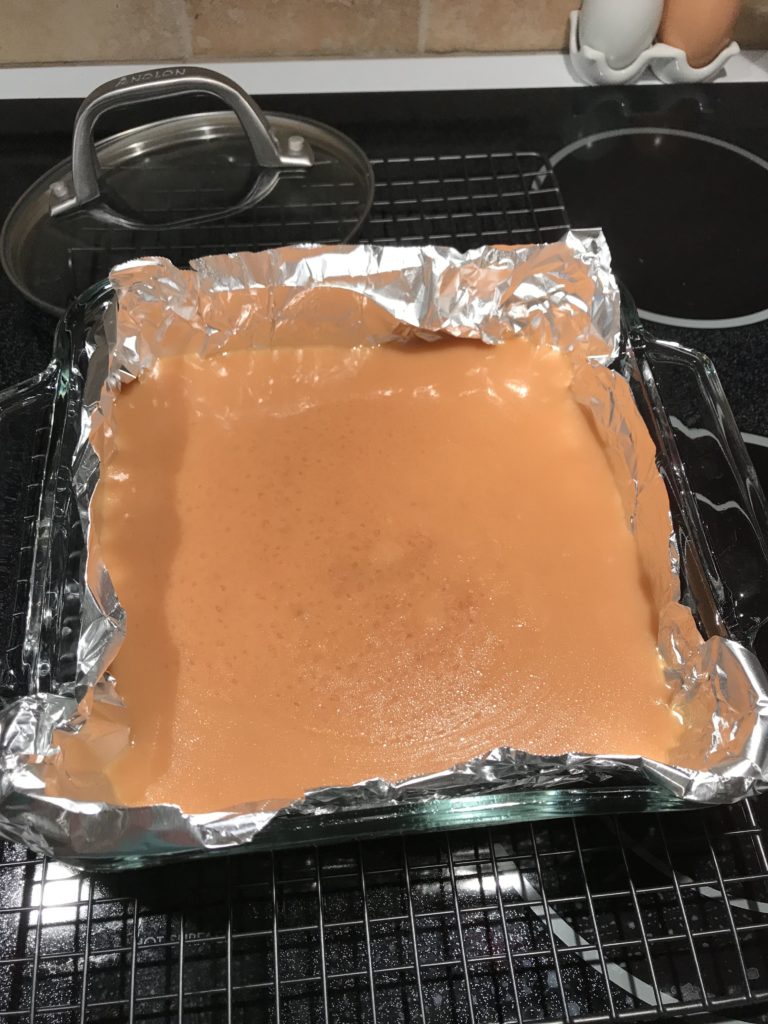
Pour. Avoid Using glass as it can break from high heat.. 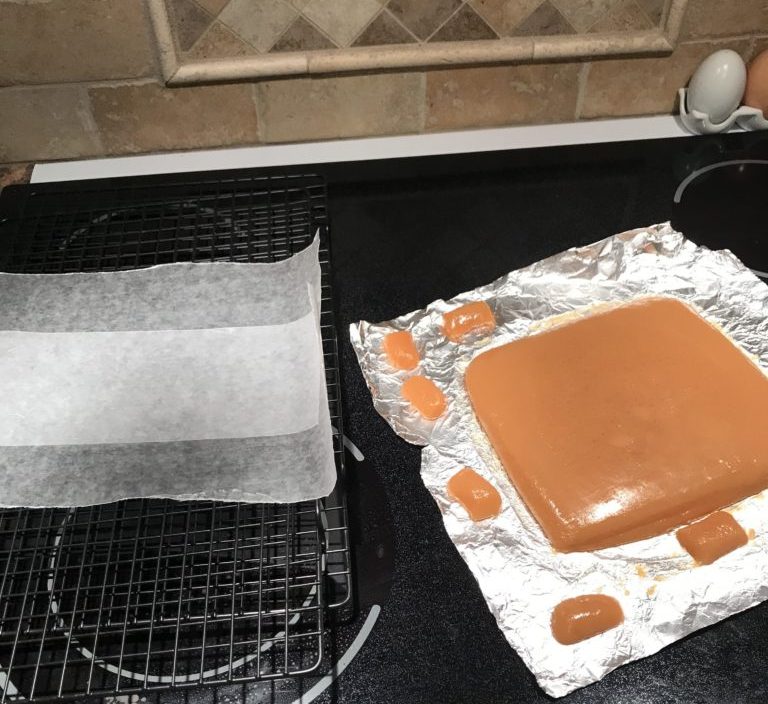
Success! 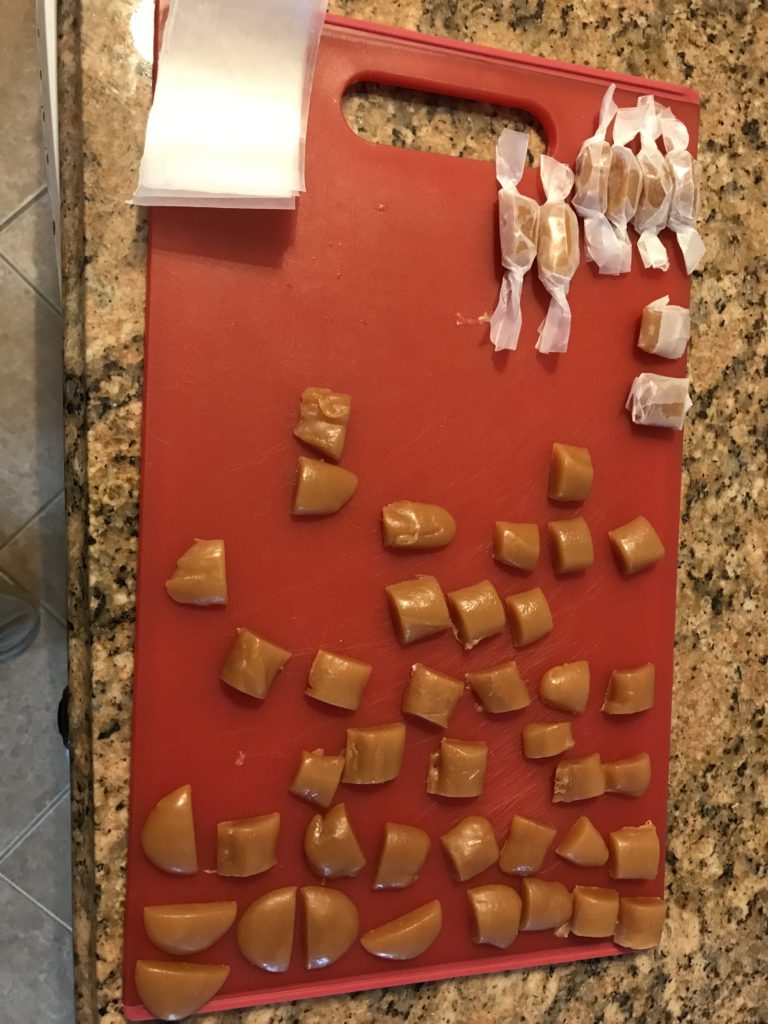
Cut and wrap in wax paper. Store air tight container.
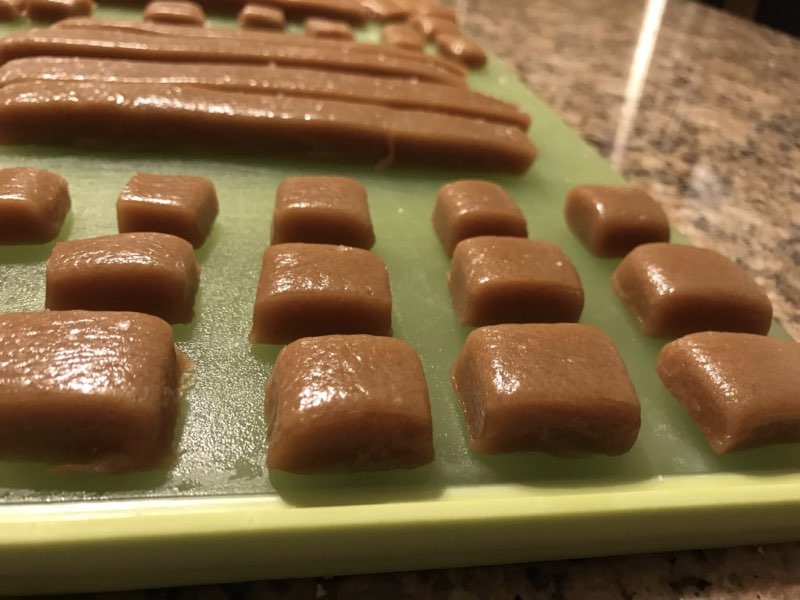
These are so popular I’ve made them dozens of times as gifts. Below are some newer photos to show how consistent they can be.
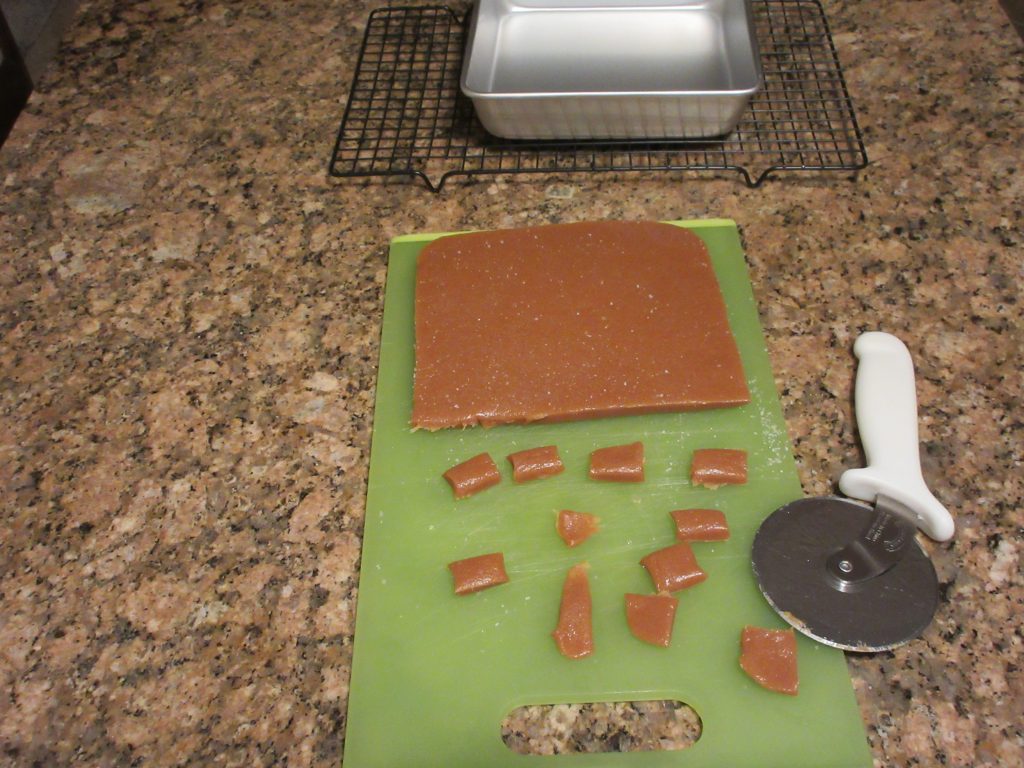
Use a pizza cutter to make it safer to cut caramels if you are new to this. 
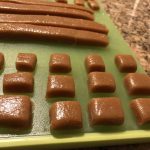
Cut in long strips then in small squares. 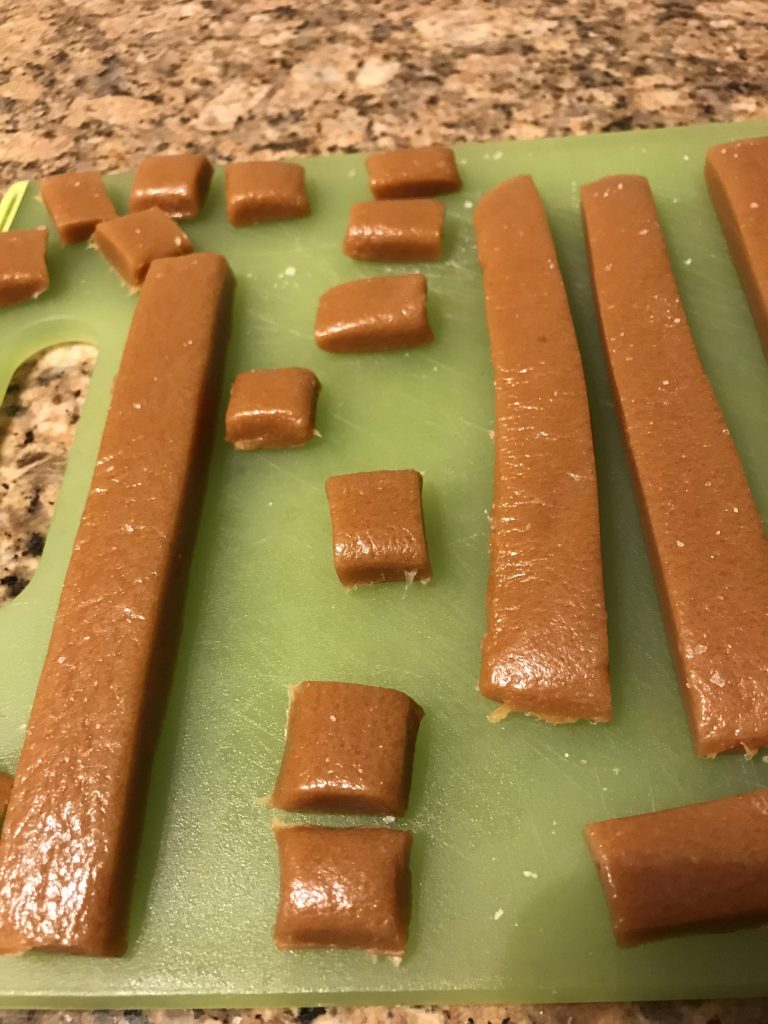
Don’t these look yummy? 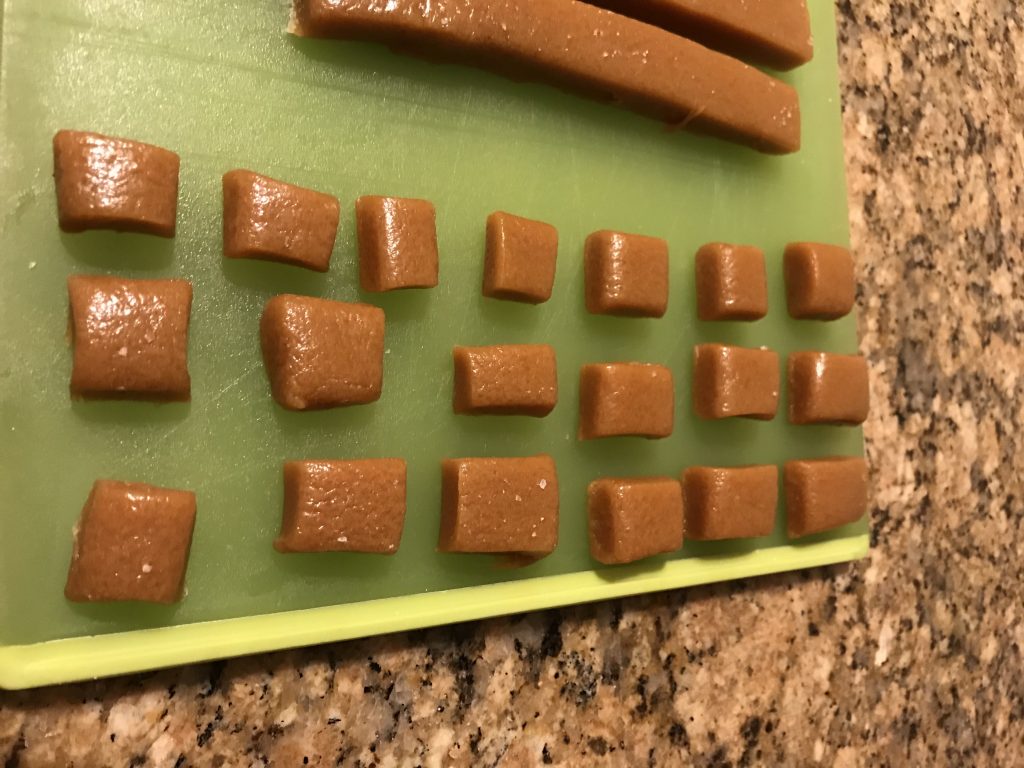
I couldn’t stop eating them as I cut them up! 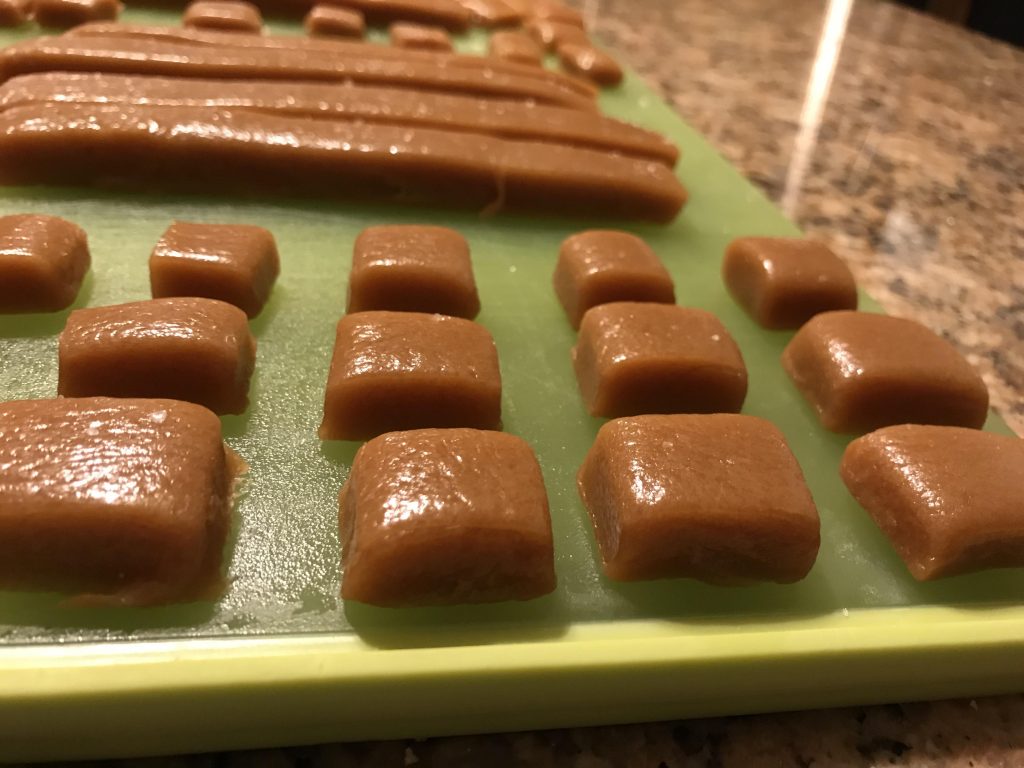
Enjoy!
In the following video, I’ll share a shortcut method to making these caramels. By doing this one simple step, you don’t have to spend 45 minutes actively stirring. Instead, you can cut the time by about 20 – 25 minutes.
Classic Milk Caramels
Ingredients
- 1 ½ cups (450g) light corn syrup
- 12 oz (354mL) evaporated milk
- 1 ½ cups (300g) sugar
- ⅓ cup (75g) butter or margarine
- 1 tsp (5mL) vanilla
- ½ tsp (2.5g) salt
Instructions
- Prepare an 8×8 (20cm) pan by lining with foil and spraying with cooking spray or buttering. Set aside.
- Place syrup and sugar into a 3 quart sauce pan, clip on a thermometer.
- Heat mixture on medium low, stirring occasionally until 245F (118C) is reached.
- Add in butter, stirring constantly.
- Gradually add in condensed milk, taking care not to drop temperature below boiling point.
- Heat mixture until it again reaches 245 – 249F (118-121C). It will start to stick to sides of pan toward the end and is easy to burn at this point. Don't stop stirring!
- Remove from heat, stir in vanilla and salt. Carefully pour into prepared pan.
- Cool 1 – 3 hours before cutting in pieces and wrapping in wax paper.
Notes
- Non-stick pans are notorious for causing sugar to crystalize when making candy. A good stainless steel pan with a heavy bottom is ideal.
- If you don’t have a thermometer, you can test it by dropping a small amount in cold water. Wait several moments to allow syrup to cool before handling. A ball should form and easily flattened when removed and pressed with your fingers.
- Caramel is very hot. Never leave the pan unattended and take extreme care when working with heating sugar.
- Adjust the heat as necessary. Do not allow the mixture to boil over, especially on glass stovetops. Hot sugar syrup and milk products can damage glass surfaces. Electric glass stovetops are not recommended for making candies.
- Do not touch or taste hot caramel. Use oven mitts and let the caramel cool completely before handling or consuming. You will be burned if you fail to heed this advice.
- The lower temperature will result in a softer, stretchy caramel whereas the higher temperature range will be firmer and more chewy. It’s easy to reheat the mixture, so if this is your first time, it’s better to try the low end and see what you prefer. You can always put it back in the pot and reheat to higher temperatures if you don’t like the consistency, but you can’t go back.
Hello,
Can I use heavy cream instead of canned/evaporated milk?
I have access to fresh heavy cream and would like to use that instead.
Thanks!
Ayman,
Absolutely. They taste wonderful with cream in place of evaporated milk. The heavy cream will be more prone to splitting and separating than evaporated milk, so heat up the mixture gradually and stir constantly. You may need to adjust the temperature down a bit right after it begins to boil as it will be more prone to spilling over and spattering as it boils until it gets closer to 220F (104C.) They will also take a little longer to make (up to 20 minutes) because you are going to boil out some of the liquid in the cream. I would recommend using 2 cups (480mL) of heavy cream in place of the evaporated milk.