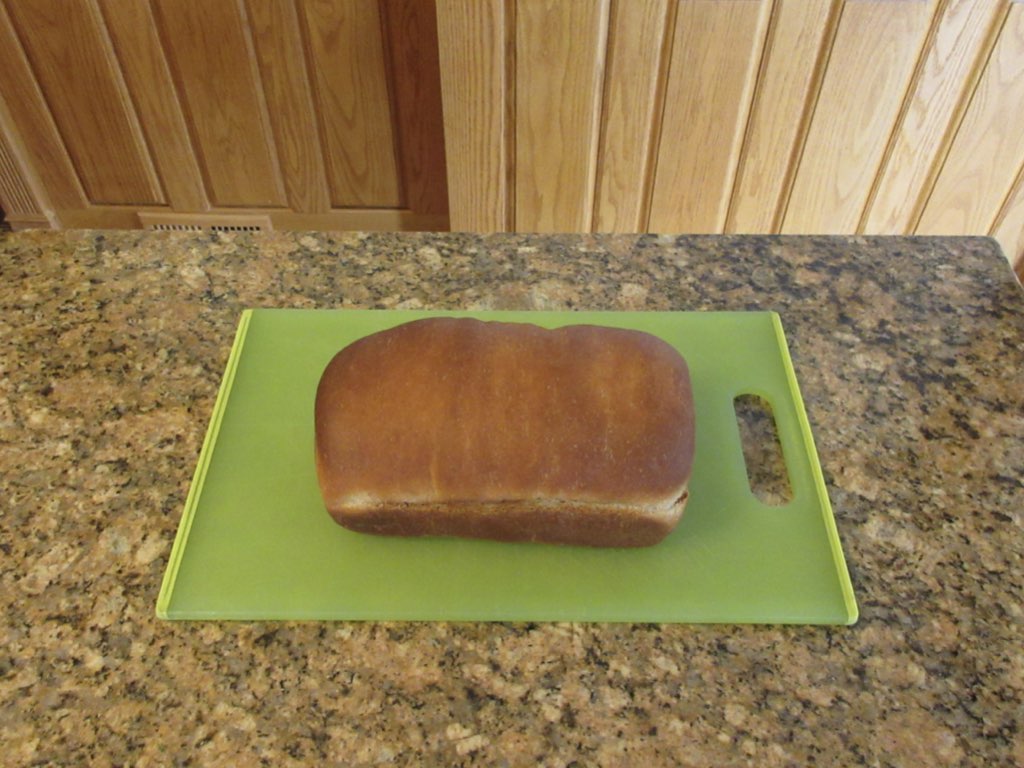
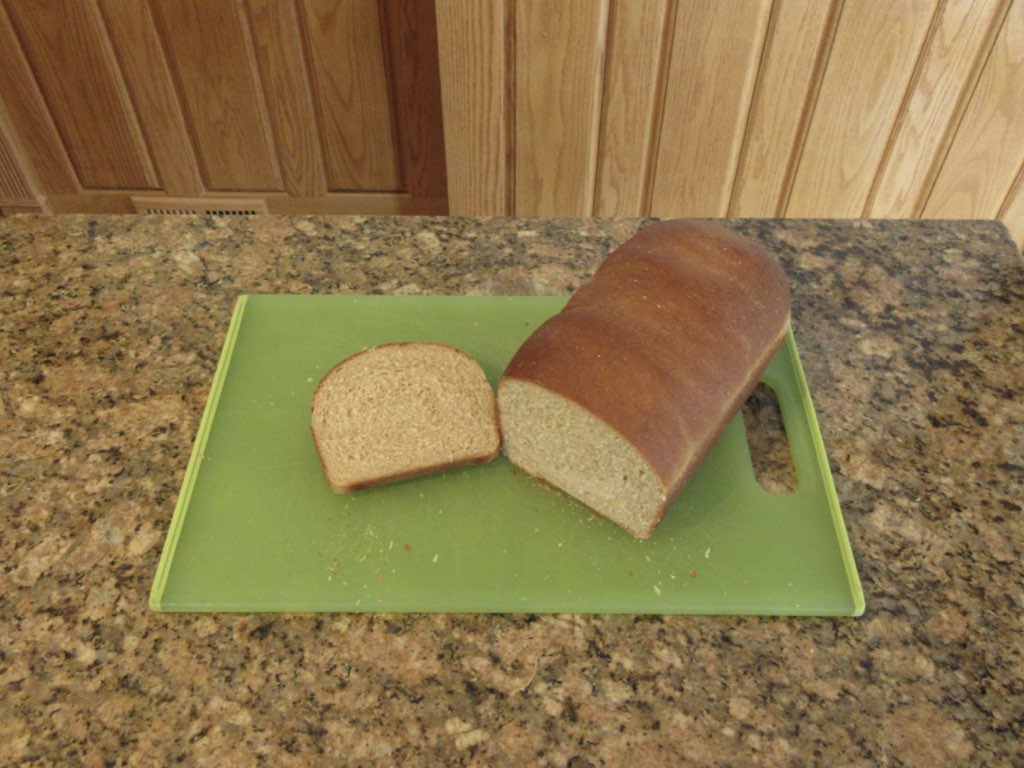
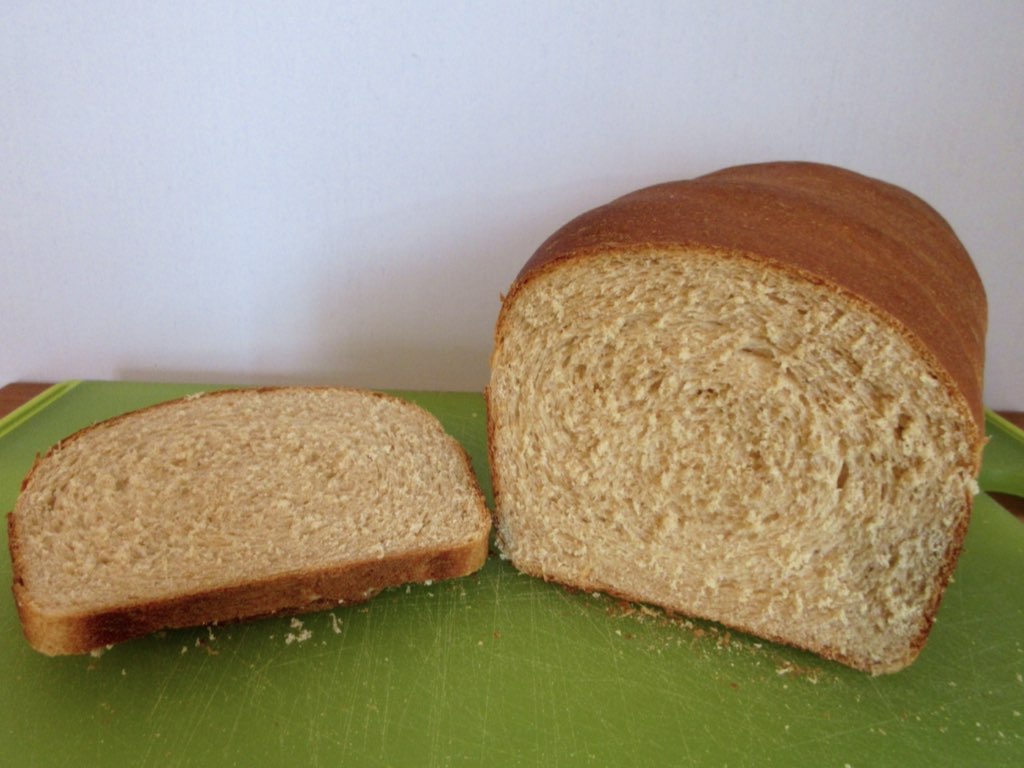
Buttermilk Honey Wheat Bread is yet another recipe from the game “what’s left in the pantry?” However it was created, it is this soft, tender crumb with a lovely flavor of honey and wholesomeness of wheat flour. In a word, it’s delicious.
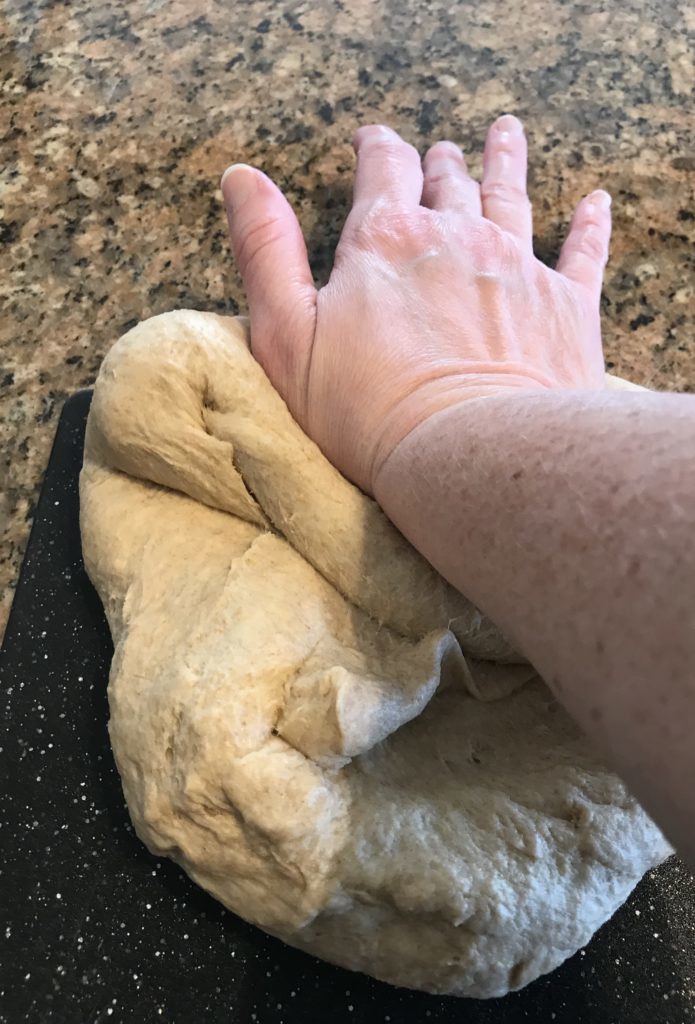
How the recipe came about is the fact I had buttermilk leftover from making biscuits sitting in the fridge way too long. So I decided to play with hydration rates and make a nice loaf of bread. I kneaded it by hand until it was smooth and elastic. It didn’t take long, perhaps 6 minutes or so.
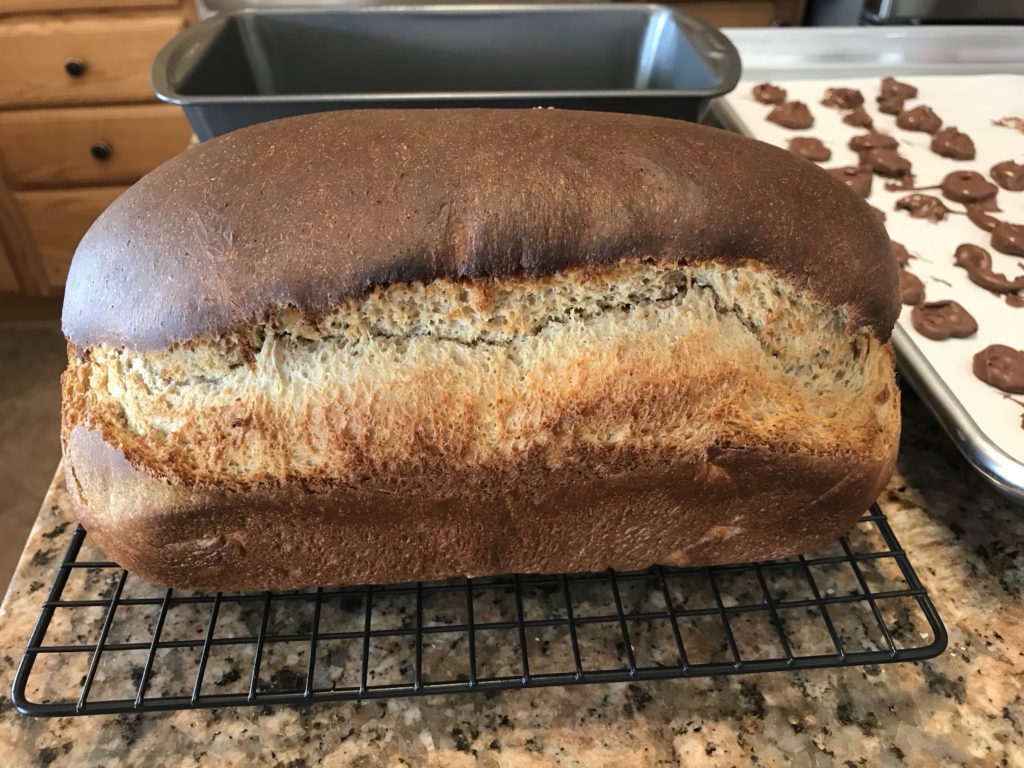
Naturally, I did learn something important! Cover your bread during baking with aluminum foil midway through if you are baking with an enriched wheat bread and see it browning too much. Or better yet, don’t be stupid and bake it at or above 400F (200C) like you do with lean doughs. Trust me on this. You’ll see by my example below. I wasn’t thinking and popped it in at 400F the entire time.
Despite the slight suntan, the buttermilk honey wheat bread was super delicious. Therefore, I decided to share the recipe and my learned experience about how the sugars added to bread will brown the bread faster than the inside of your bread bakes. Remember, enriched breads bake best between 325 – 375F (160-190C) and not at higher temperature like you do with lean doughs.
Lastly, I suggest using scales for baking bread. I didn’t have a lot of success at bread making until I started weighing ingredients. Sure, I could make a great bread or two, but those arbitrary varied cup measurements of many recipes often lead to dense, unpleasant bricks, not loaves of bread. For excellent texture and crumb, I highly recommend a scale as all flours weigh differently and scoops of flour can be overly packed or not filled enough. With that caveat in mind, let’s begin.

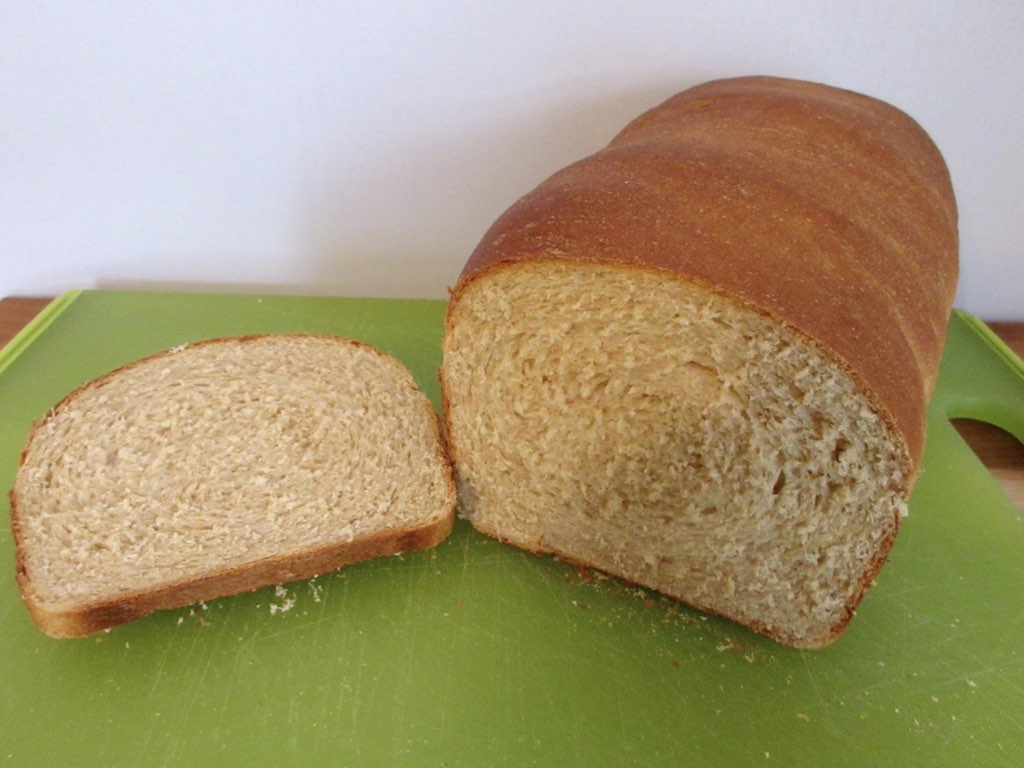
Honey Wheat Bread
Ingredients
- 1 ⅔ cups (250g) whole wheat flour
- 1 ⅔ cups (250g) white flour
- 1 ¼ cups (300mL) buttermilk
- ¼ cup (84g) honey
- 1 large (50g) egg
- 2 tbs (30mL) oil
- 2 tsp (7g) yeast
- 1 tsp (5g) salt
Instructions
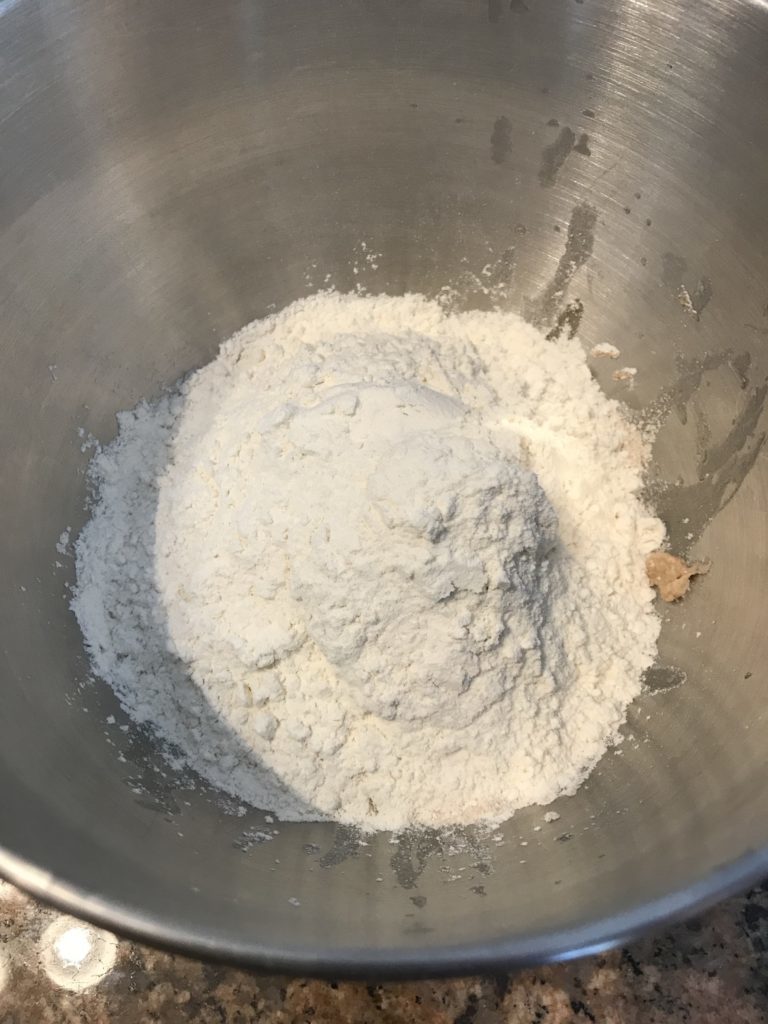
- In a large bowl, mix flours and salt.
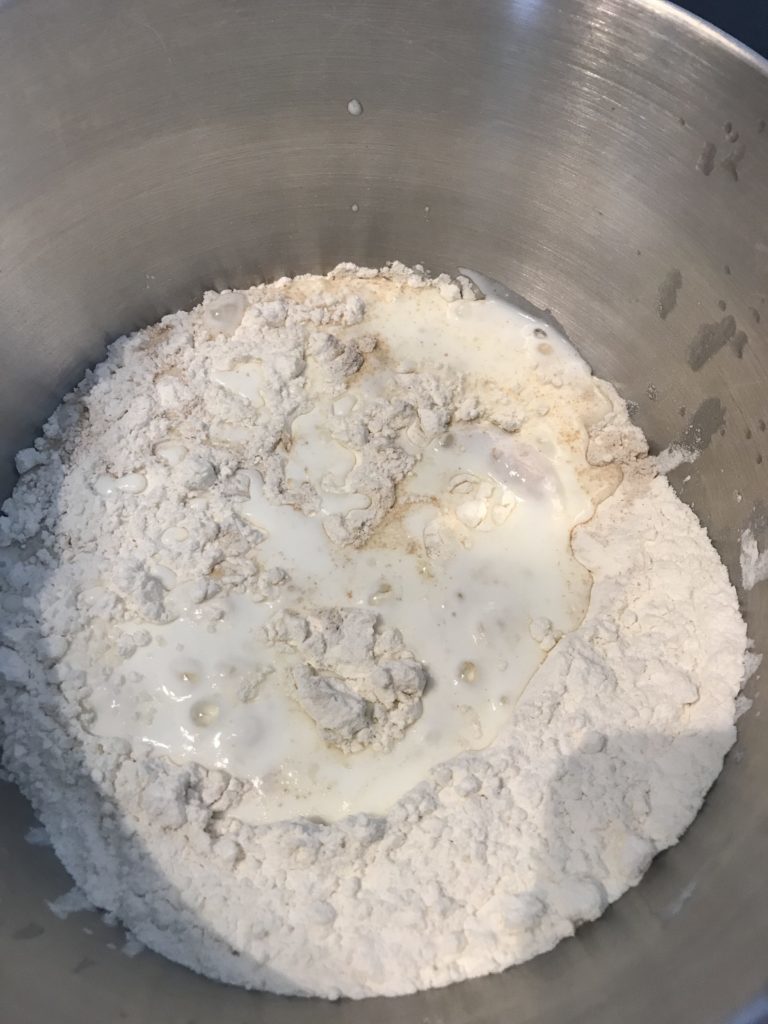
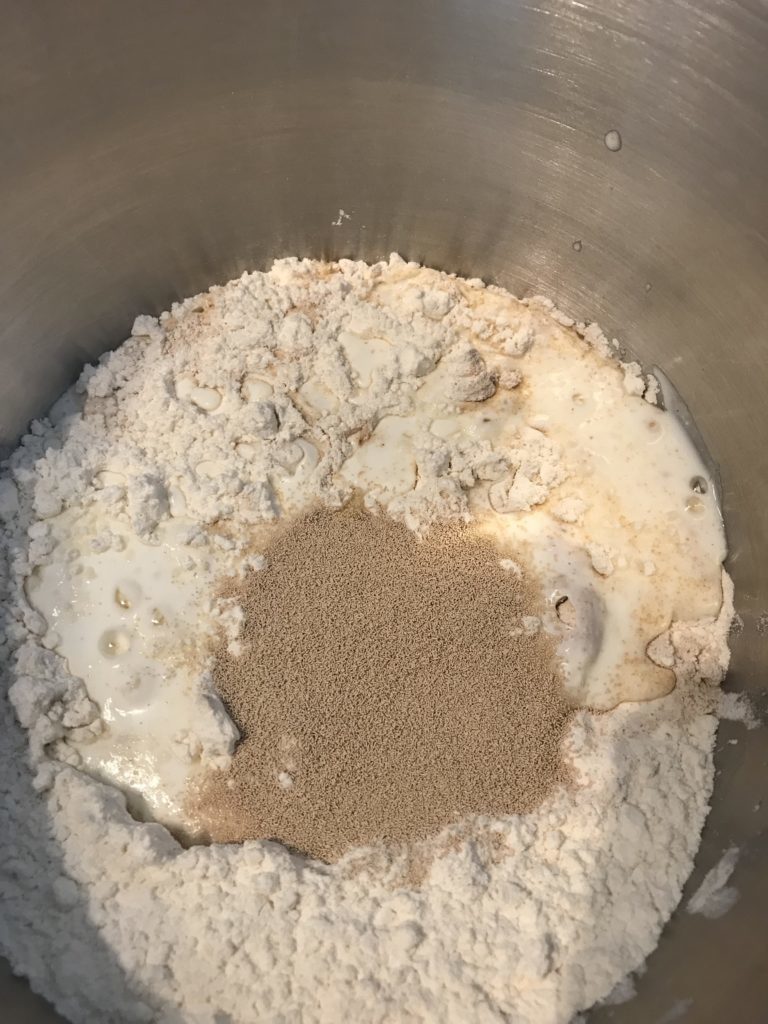
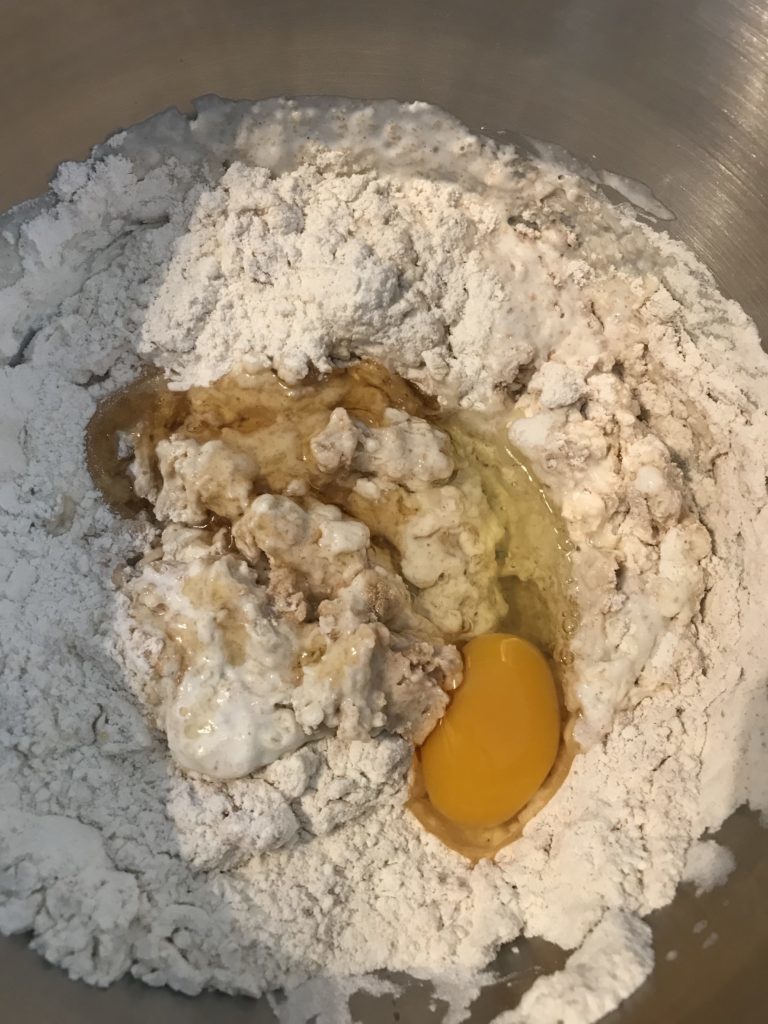
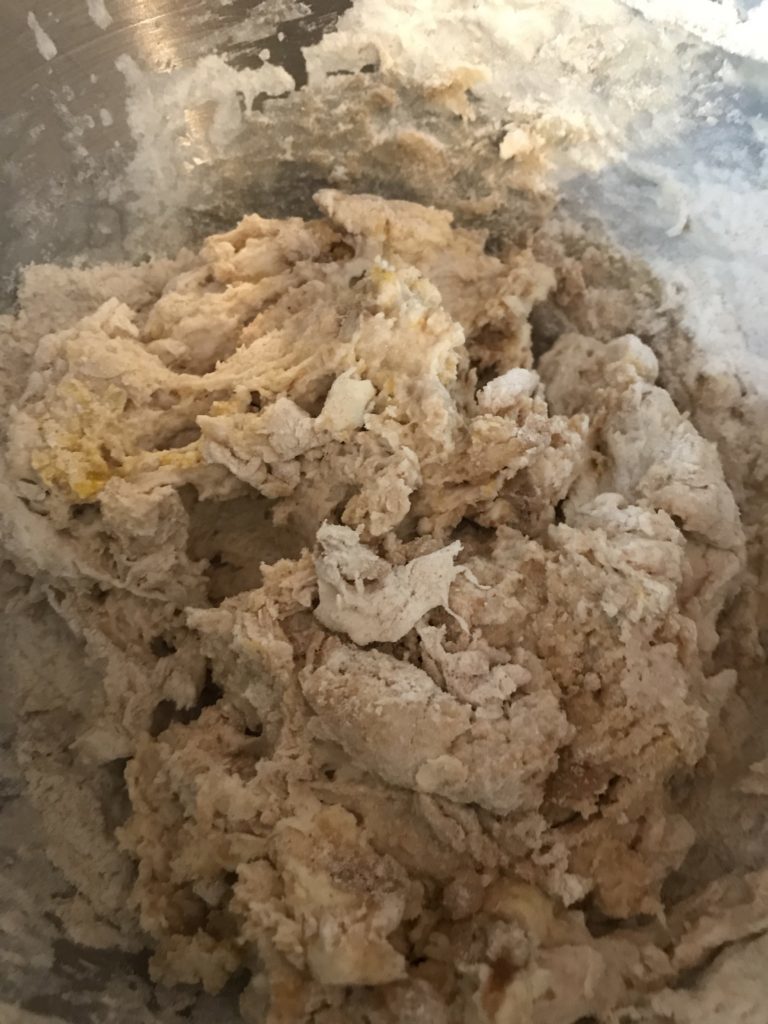
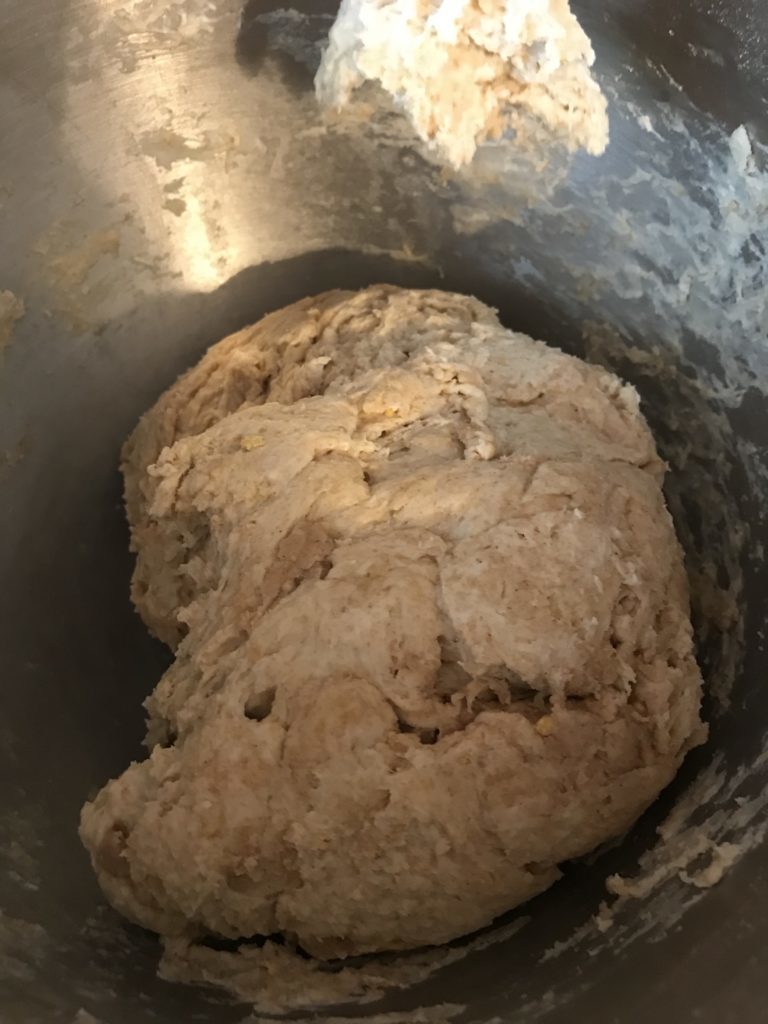
- Make a well in the center and pour in buttermilk, oil, honey, egg and yeast. Stir with the handle of a spoon until a dough forms.
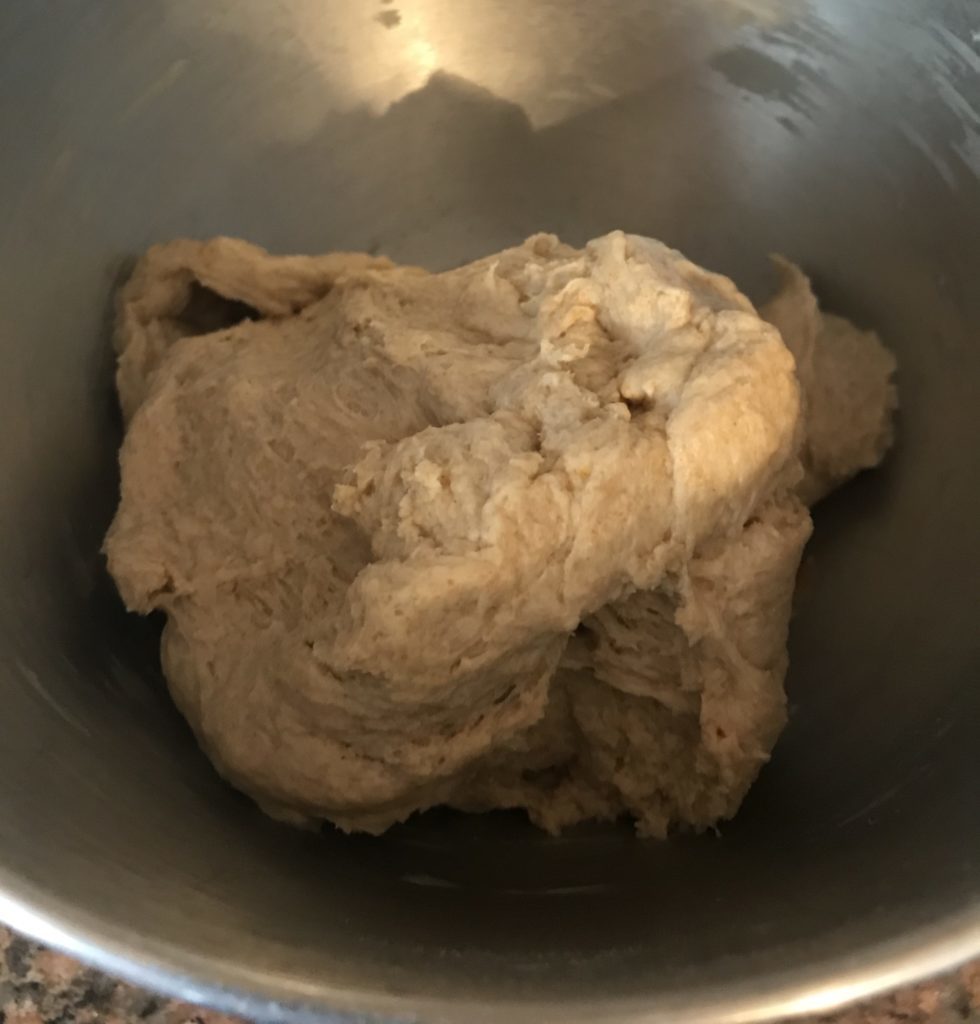
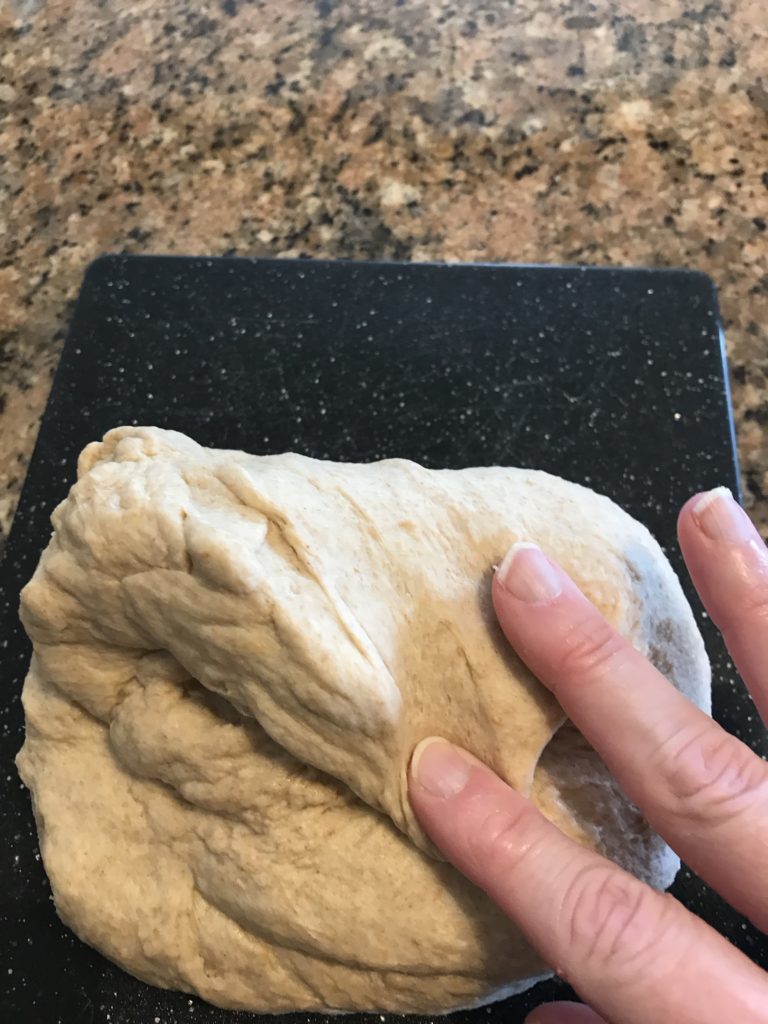
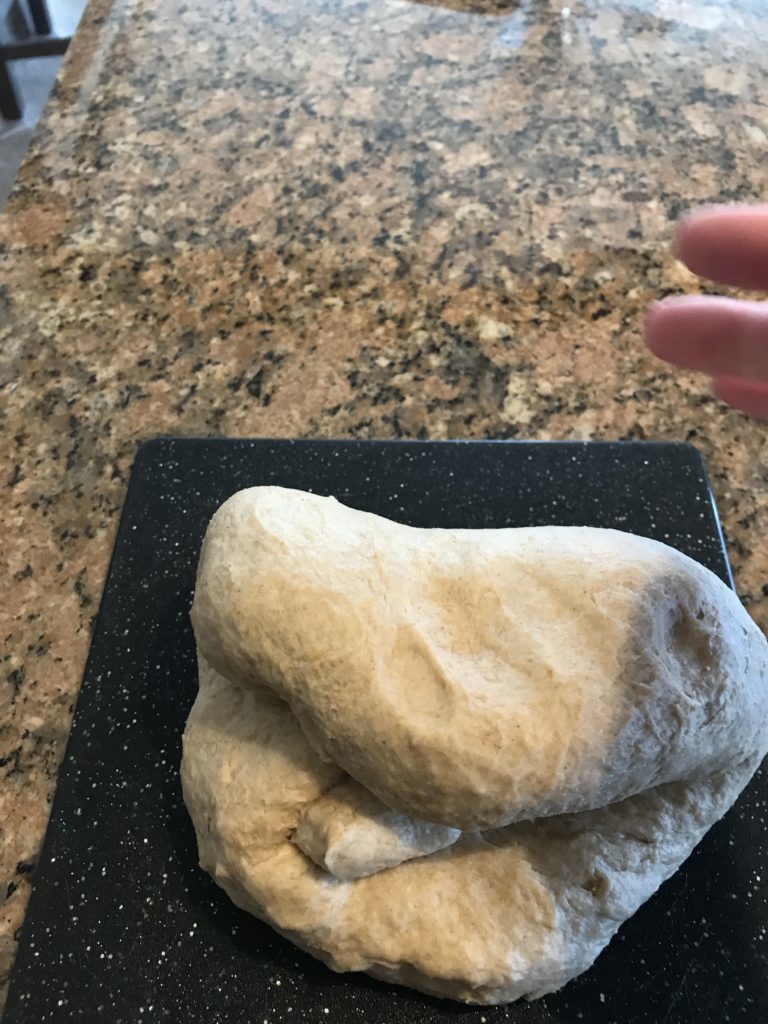
- Turn onto a clean work surface and knead for 10-15 minutes or until dough is elastic and stretches easily without tearing.
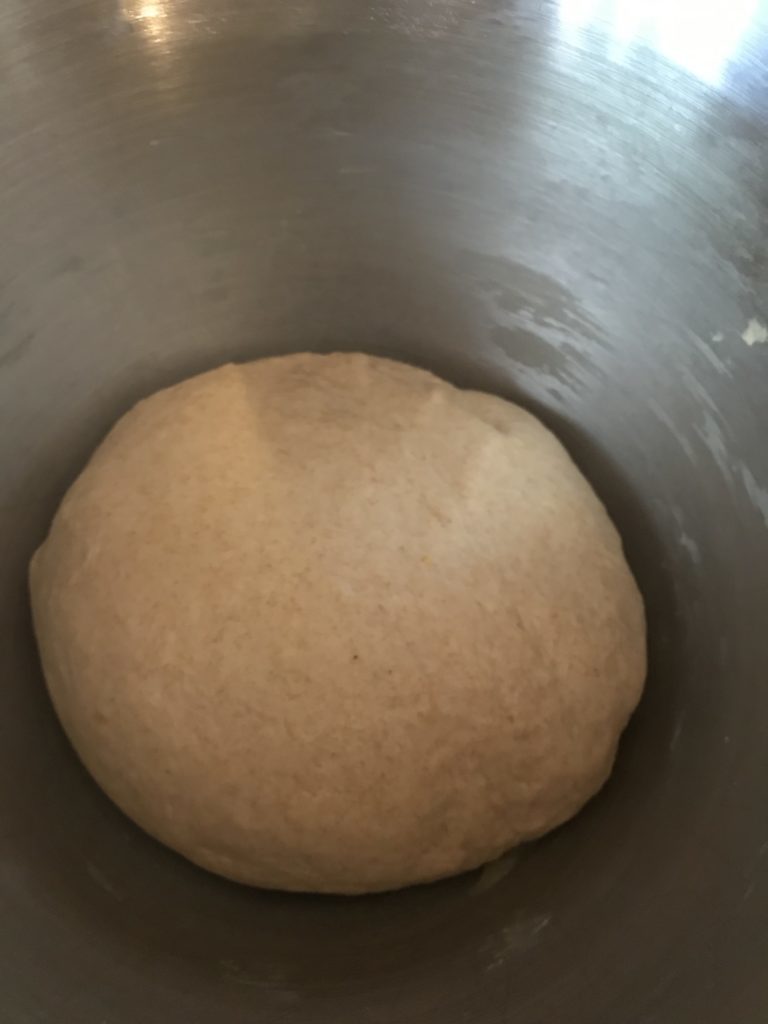
- Cover and rest 1- 2 hours or until double in size.
- Lightly grease and flour a 9×5" loaf pan (23x13cm.)
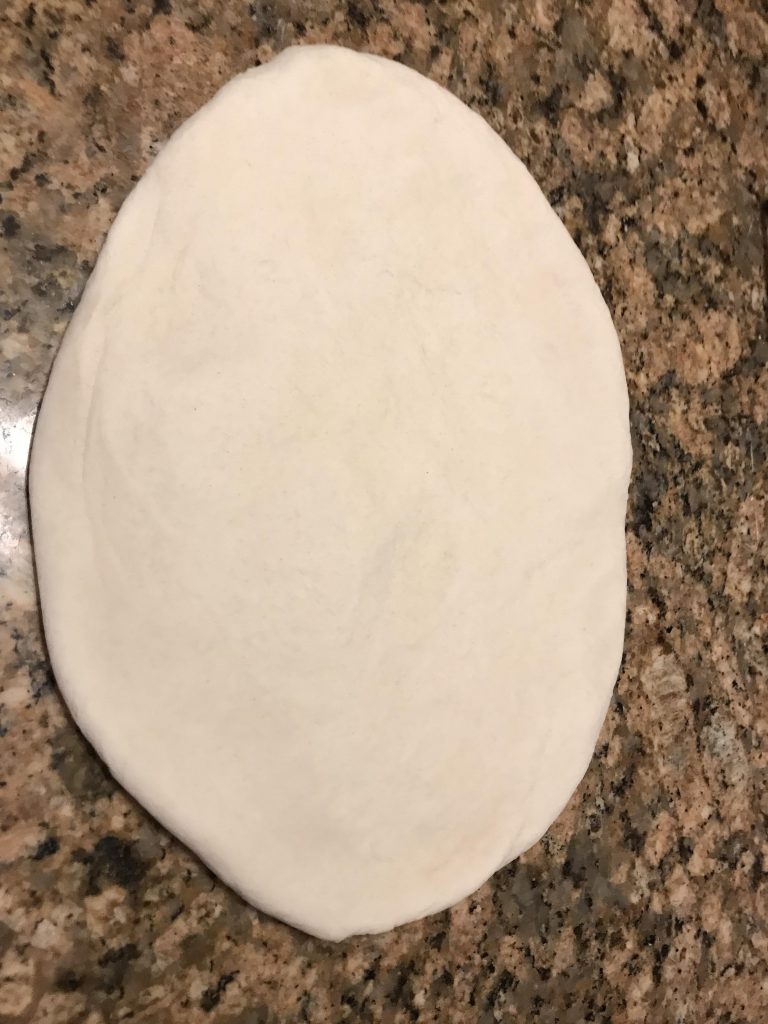
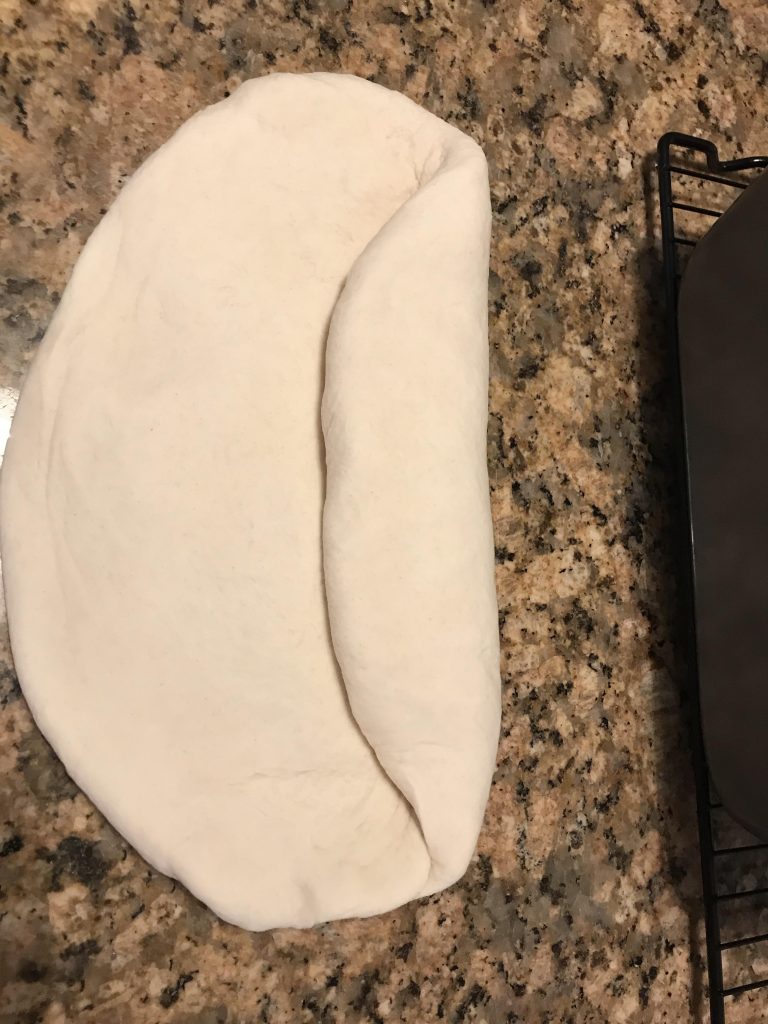
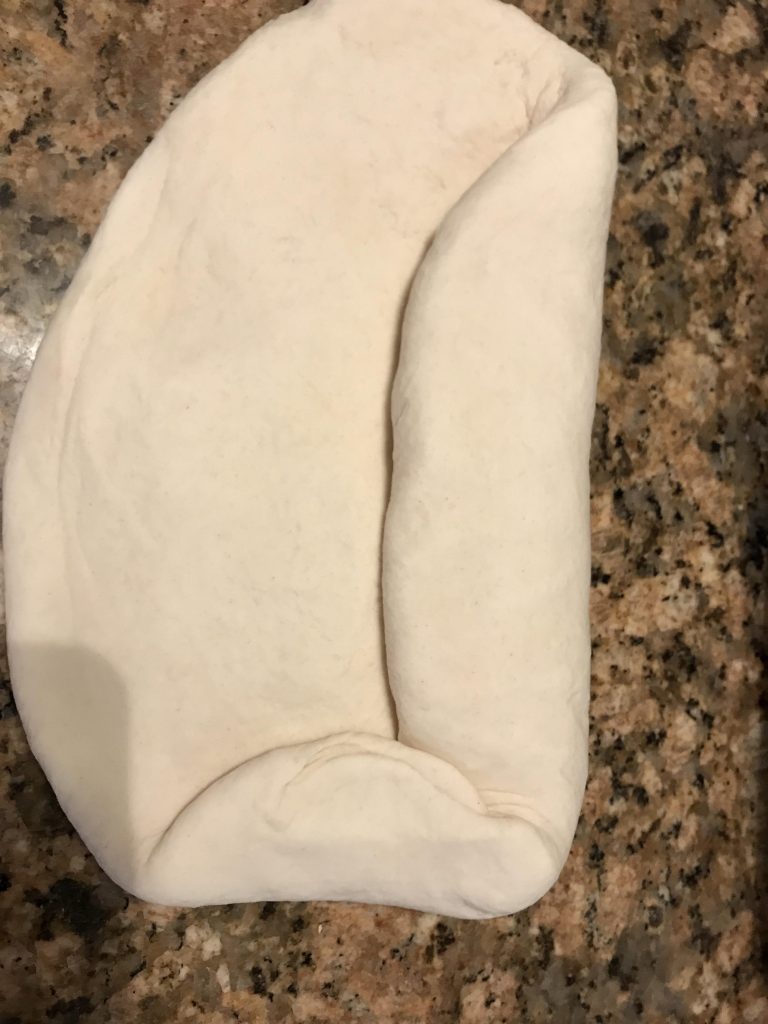
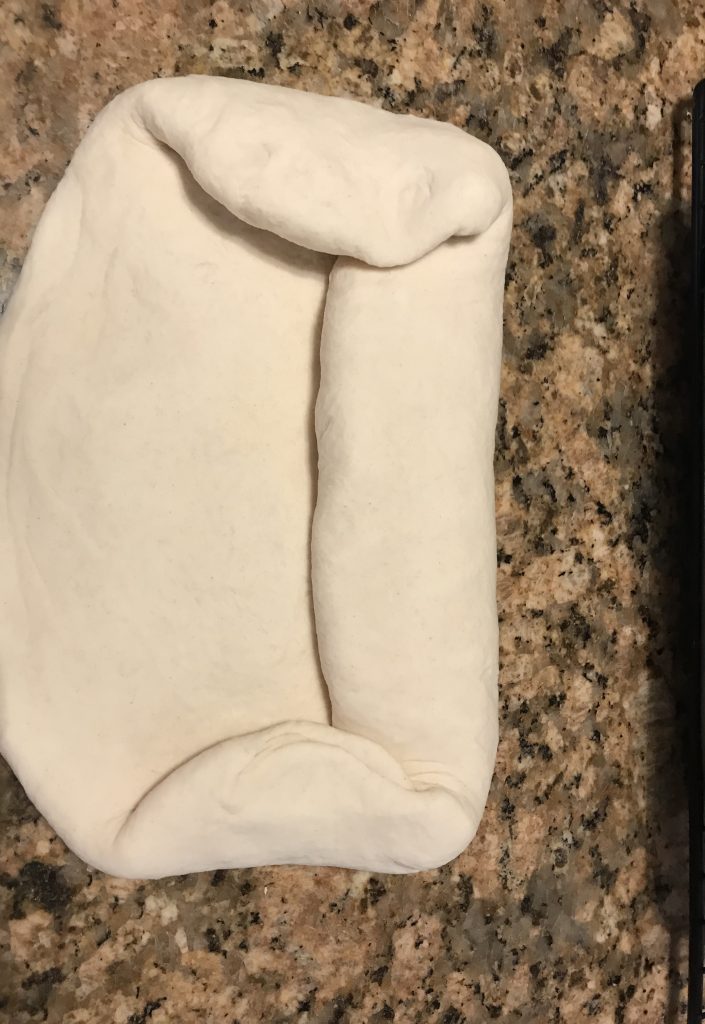
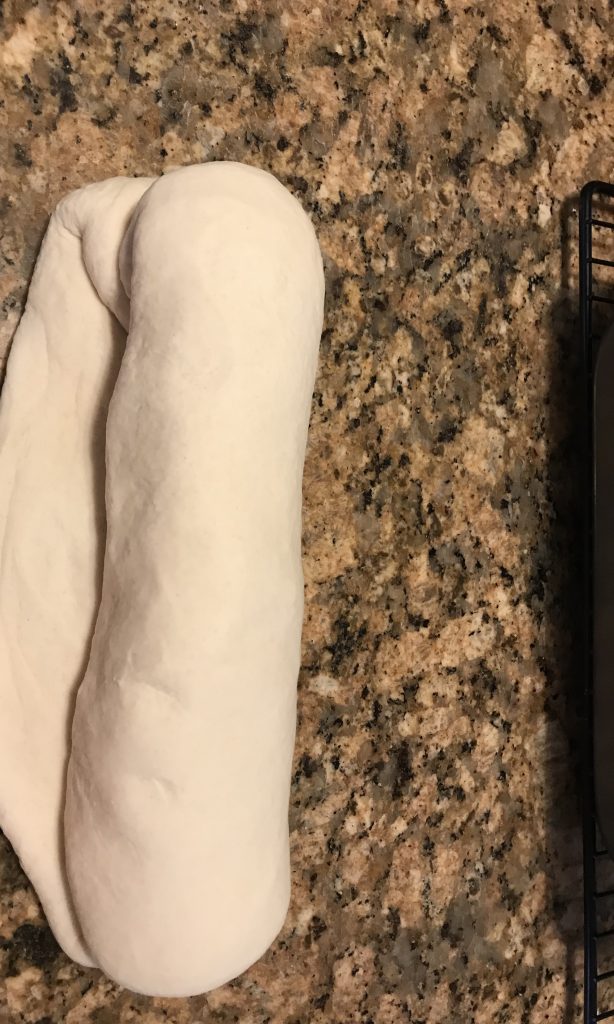
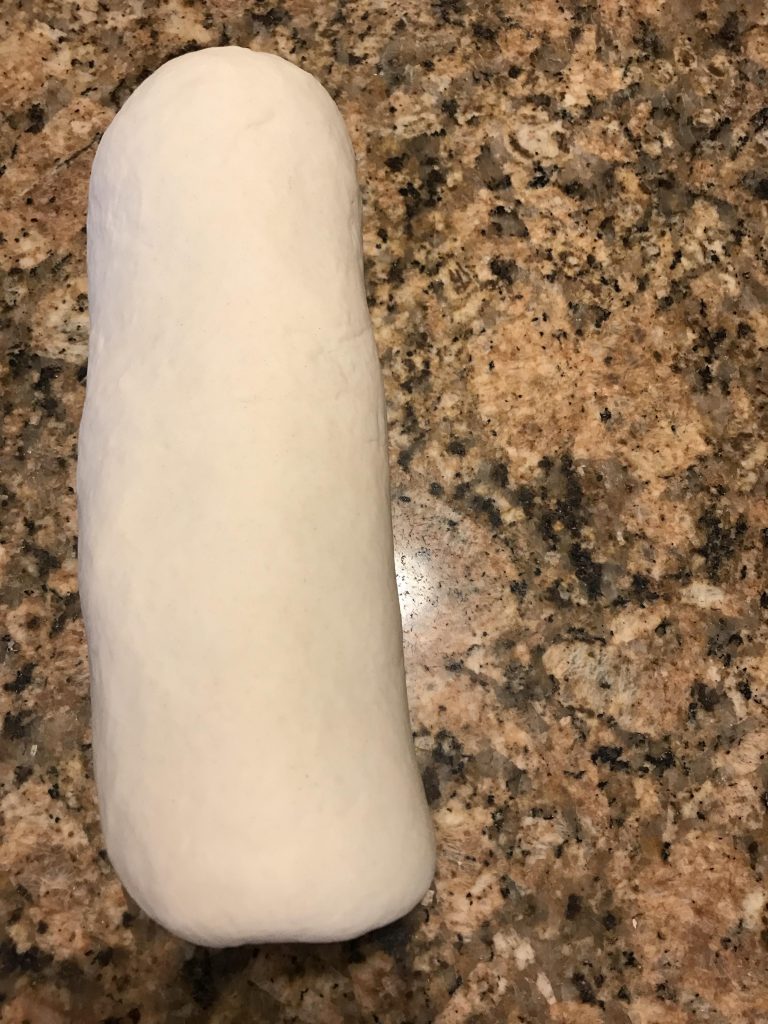
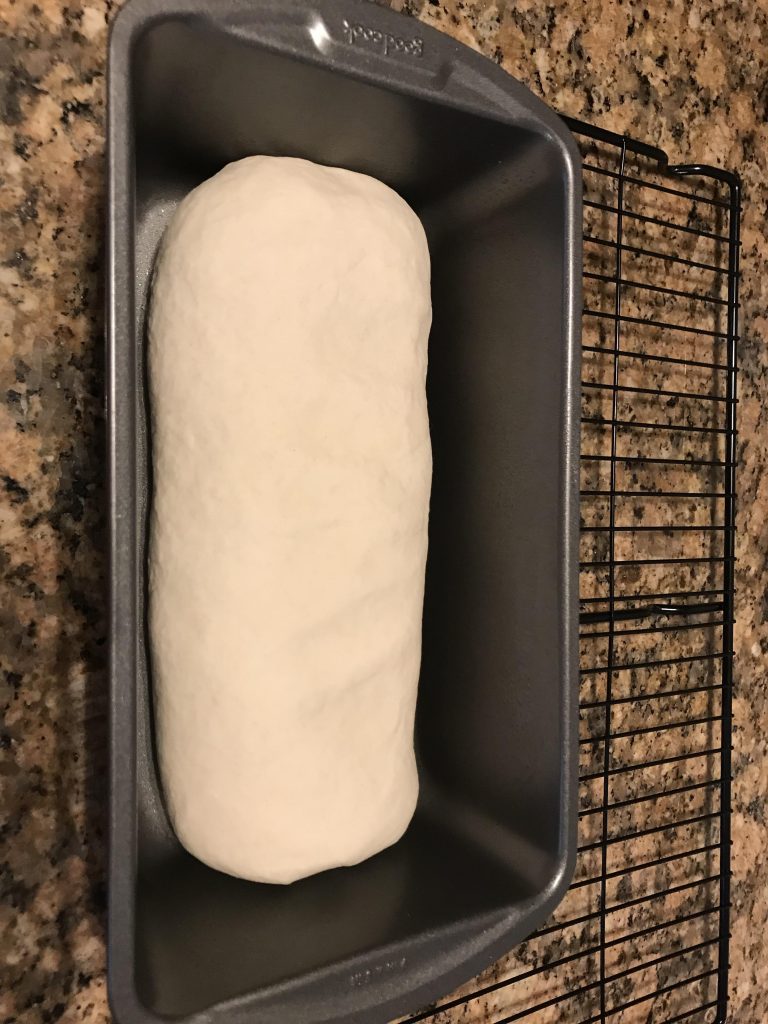
- Press dough into a rectangle slightly smaller than 9×13" (23cmx33.) Roll up the rectangle from the shorter side. Place seam side down in pan.
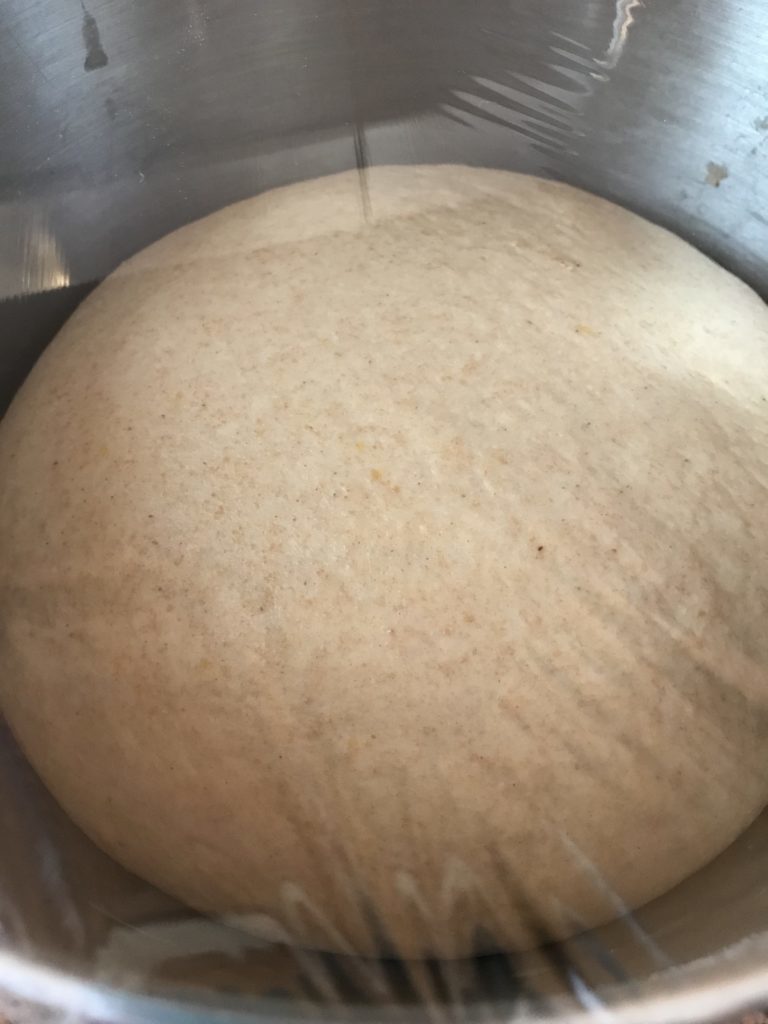
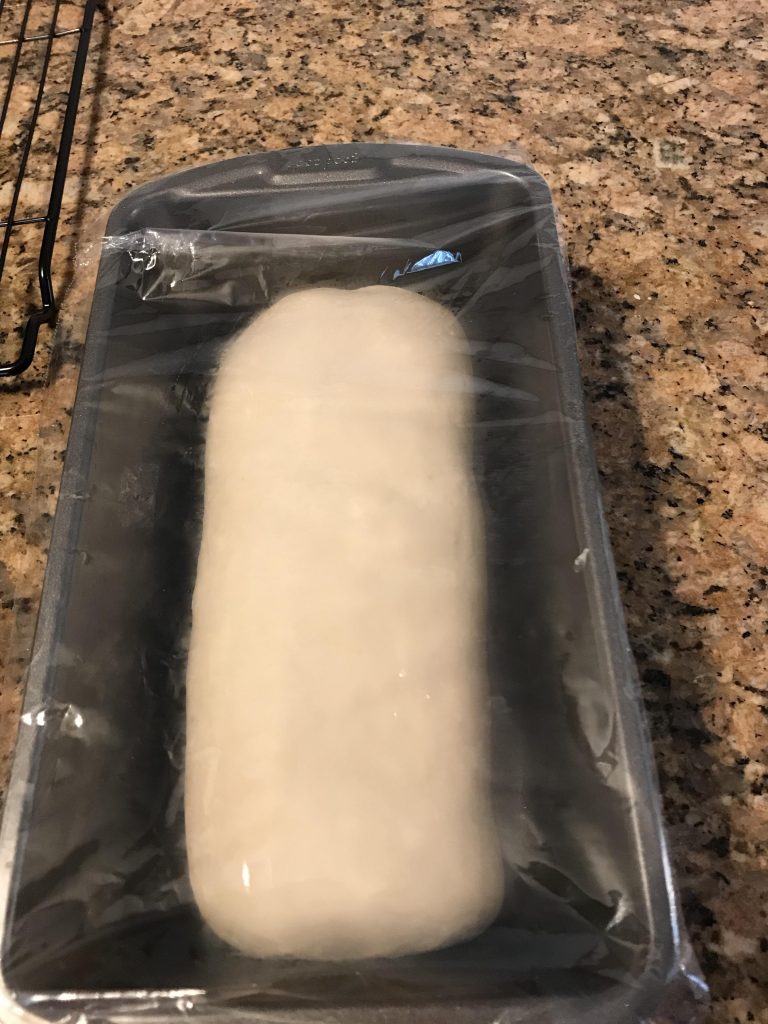
- Sprinkle top lightly with flour and cover with cling wrap. Let rest 60-90 minutes or until dough is to the top of the pan or slightly over.
- Preheat oven to 350F (190C.)
- Bake for 30-35 minutes. Check halfway through. If it is browning too early, tent with aluminum foil. Center of bread should reach 190F (88C.)
- Remove from pan and cool completely on wire rack before slicing.
I am here to add my 5 stars to this recipe. You are an excellent teacher with so many little hints about kneading time and baking at a lower temp.
I liked having a recipe that bakes only one loaf so I can do a test, but this recipe is a keeper. It makes fabulous toast. My husband asked if I was making another loaf today (I just made the first one yesterday.
I used just a wee bit less honey and it was just fine.
Do you think I could use soured milk (to use it up) in this recipe?
Hello, HT! Thank you for the compliment, you are too kind. I often cut back on the honey myself. To answer your question, absolutely you can substitute the soured milk and it would be a fabulous tasting bread. However, since it may be more acidic than buttermilk, the dough could take a little bit longer to knead and rise as acid delays the formation of gluten. Don’t worry if this happens, just have a little extra patience.