A Little Background on this Buttermilk Biscuit Recipe in a Smaller Portion
Buttermilk biscuits recipe is a simple quick bread that is said to has origins from Scotland. By modifying bannock, a Scottish fry bread which often used wheat and oat flour, they invented the first scone recipe. Immigrants brought these recipes with them several hundred years ago. Over the years, they were adapting within different cultures and eventually, the biscuit emerged.
Some will argue that the American biscuit and scones are not the same, but they are both quick breads generally made in a 1:4 ratio of fat to flour or very close to that ratio. One part fat for every four parts of flour. Due to Americans using volume measurements over weighing ingredients, we will get close to the ratio, but just a few grams over.
Look at this scones recipe from the UK, for example. It is very similar to the American biscuit. The debate will always be there on whether or not the American biscuit is indeed a scone just as there will always be a debate on how to pronounce scones. Our opinion is they are both tasty and there are thousands of recipes for both types of these quick breads to make everyone happy with at least one of them out there. We are more curious what you think. Are American biscuits a scone or are they completely different? Why do you feel the way you do? Let us know!
However, you feel about the history behind biscuits, you’ve decided you want to make some today. However, you only need a smaller portion. Perhaps you are just learning how to make biscuits and are looking for a smaller recipe to avoid wasting ingredients as you learn. Or perhaps it’s just you looking for some biscuits and gravy for supper. Often country recipes have larger portions because families used to be quite large. Now? Not so much. So you are either stuck trying to do the math to make a recipe work, making larger portions and having some go to waste or you are going out and buying some at a local restaurant. But what if you didn’t have to? With the following recipe, you will learn how to make two nice sized biscuits. This biscuit recipe is perfect for one or two people
How did this recipe come to be? Well, our friend Emma asked us to teach her how to make biscuits. We decided that it would be more cost effective for her to practice with a smaller recipe. When you are learning how to make biscuits, it’s easy to overwork the dough if you are new to quick breads. We’ve all been there. We decided making a smaller portion would make it easier for a person to learn how to make biscuits without spending a lot of money or wasting excessive ingredients while they practiced. So let’s get to baking!
Step-By-Step Instructions
Now that we have learned a little bit about this biscuit recipe, let’s move on to making them. Biscuits is the first recipe I remember learning how to make as we ate them nearly everyday. You’ll find they are so simple, you’ll be eating them often!
Step 1: Prepare your Pan and Preheat your Oven
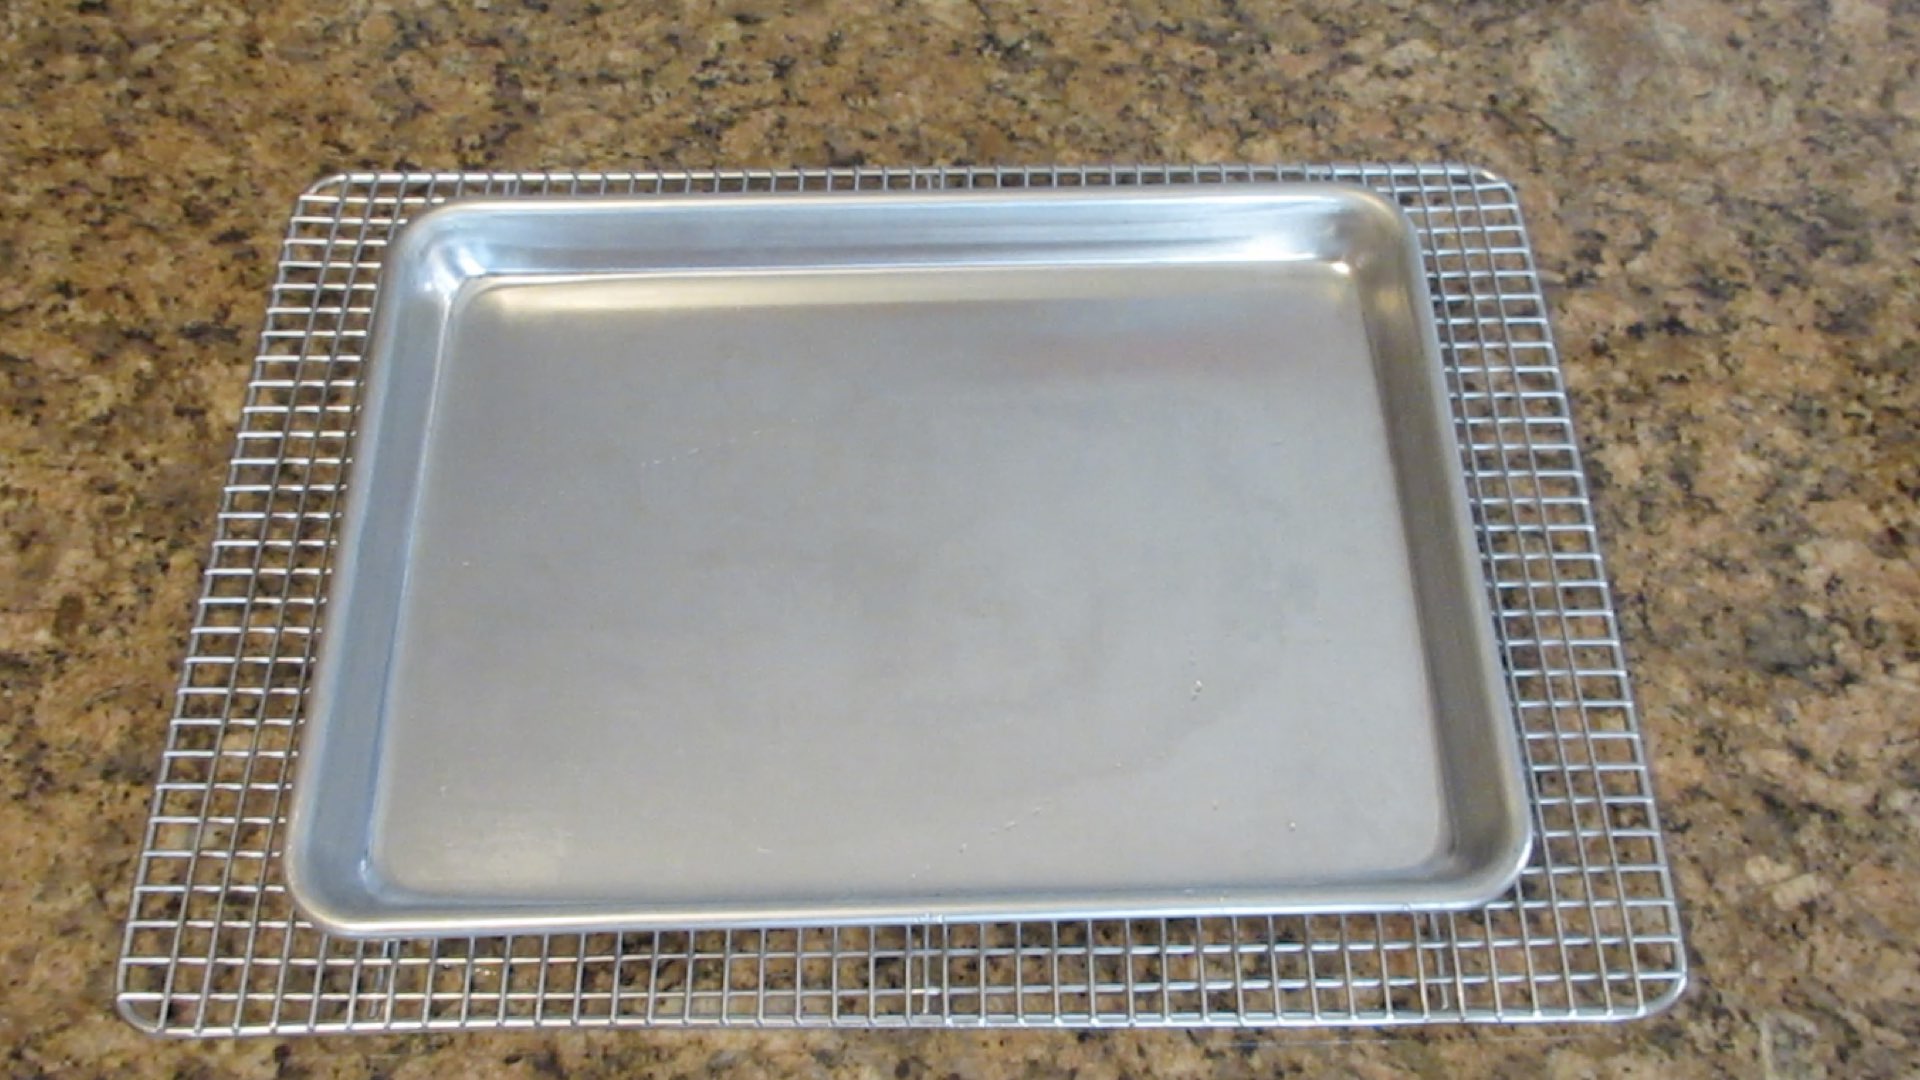
You will need a small tray as you are only making a couple biscuits. If it isn’t a non-stick pan, you will need to lightly grease the surface. Look at our pan. Can you see how the coating is so light you can barely see it? That’s what you want. You can use butter, lard, cooking spray, oil or shortening. Cooking spray and oils can leave a sticky residue that is hard to remove behind after it bakes so we like to stick with lard, butter or vegetable shortening.
Next, you will need to heat up your oven to 425F (220C.) You can go as high as 475F (250C) but we’ve found for beginners, a more moderately high heat is less likely to give you issues. If your pan is dark from years of use or has a dark coating on it, drop the temperature to 400F (200C.) This will keep your biscuits from getting too brown on the bottoms. Let the oven really heat up before you place your biscuits in the oven. Don’t trust that preheated timer, go by temperature. If you don’t have an oven thermometer, then wait a good 20 minutes from when you first turned it on.
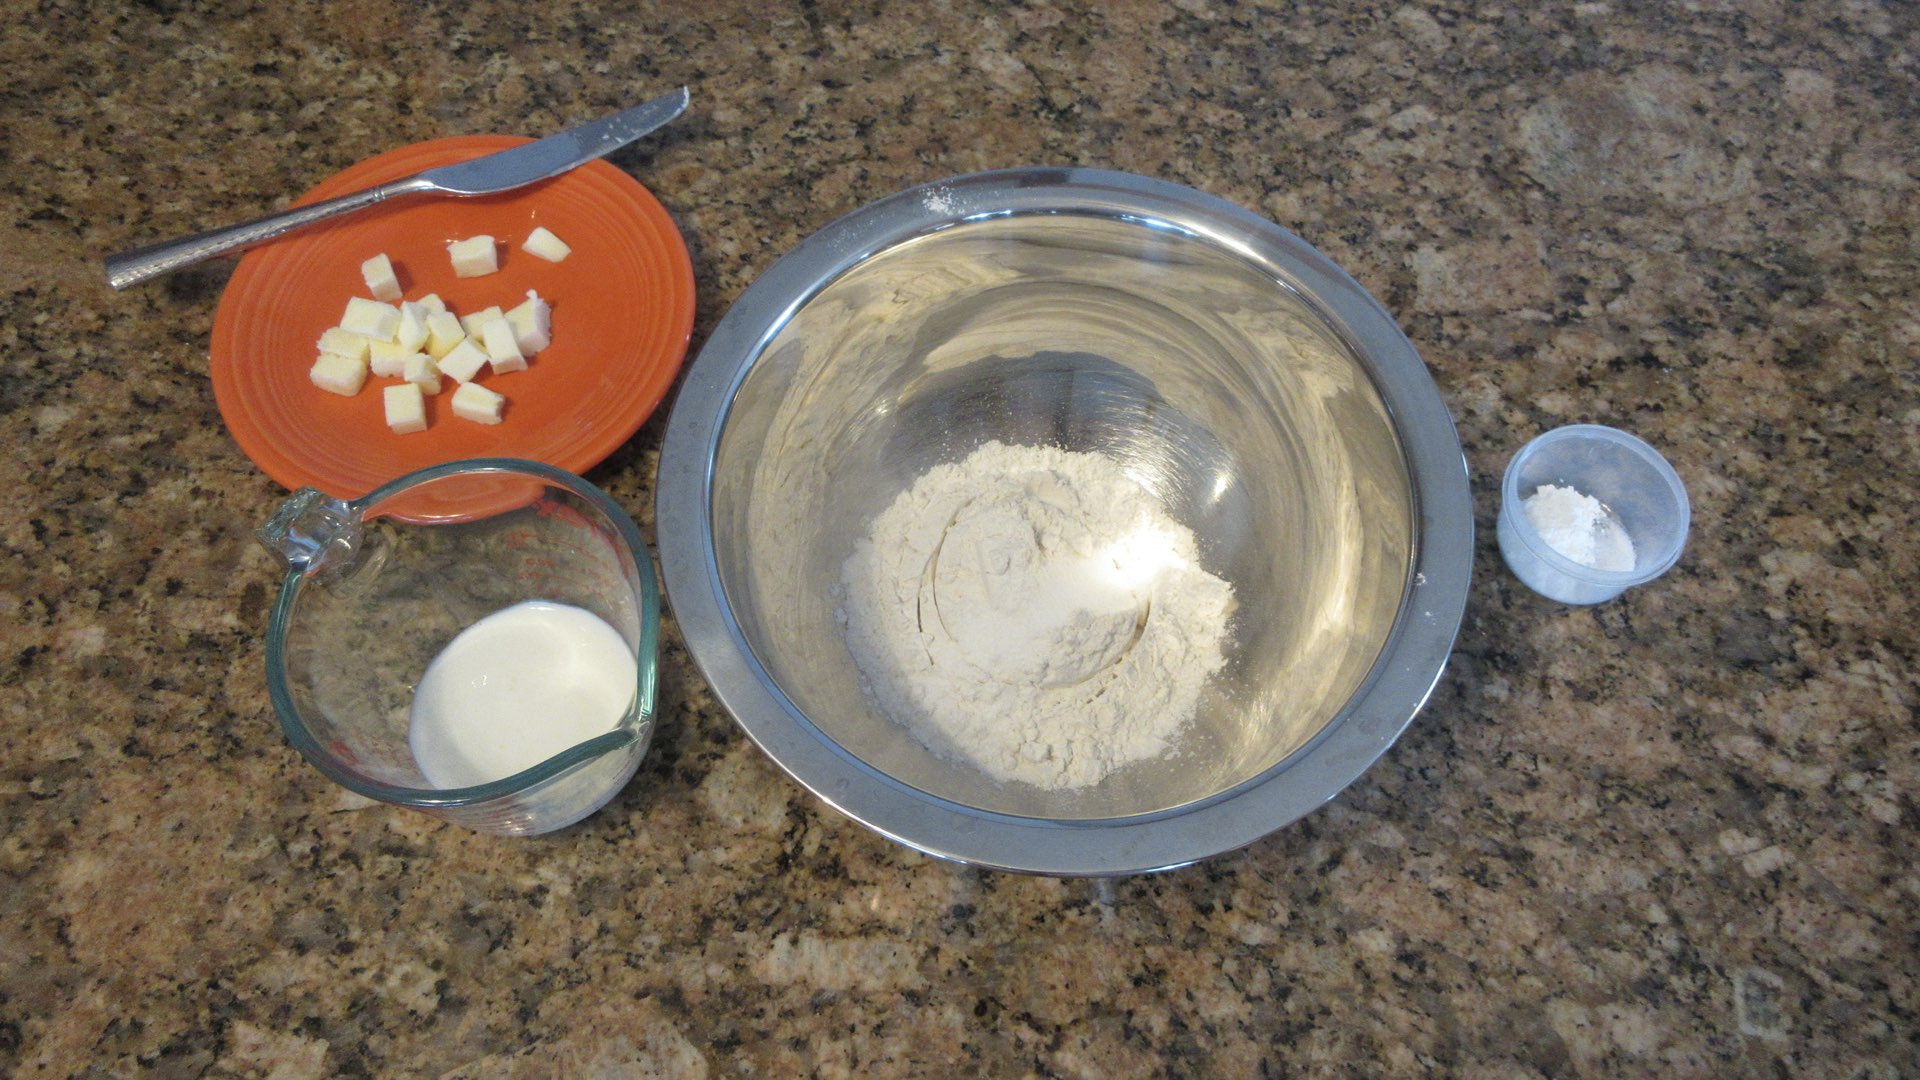
Step 2: Gather Your Ingredients
When making biscuits, you work with cold ingredients. This is an advantage as you don’t have to wait for everything to come up to room temperature. Some say that working with warm ingredients will make a tough biscuit. We’ve tried both ways and decided we like the cold method. Using cold ingredients saves time and we are better able to gauge the baking time. Cube 2 tablespoons (28g) of cold butter. The cubes should be about 1/2″ or 1.27cm in size if you need a guide.
Step 3: Mix your Dry Ingredients
In a large bowl, combine the flour, baking powder and salt until well blended. Some people like to add a teaspoon or two of sugar (4-8g) for a hint of sweetness and aid in browning. We will let you decide if you want to do this. Some like to chill the flour mixture in the freezer while the oven preheats. We find it’s not necessary, but you can try both ways and see what happens.

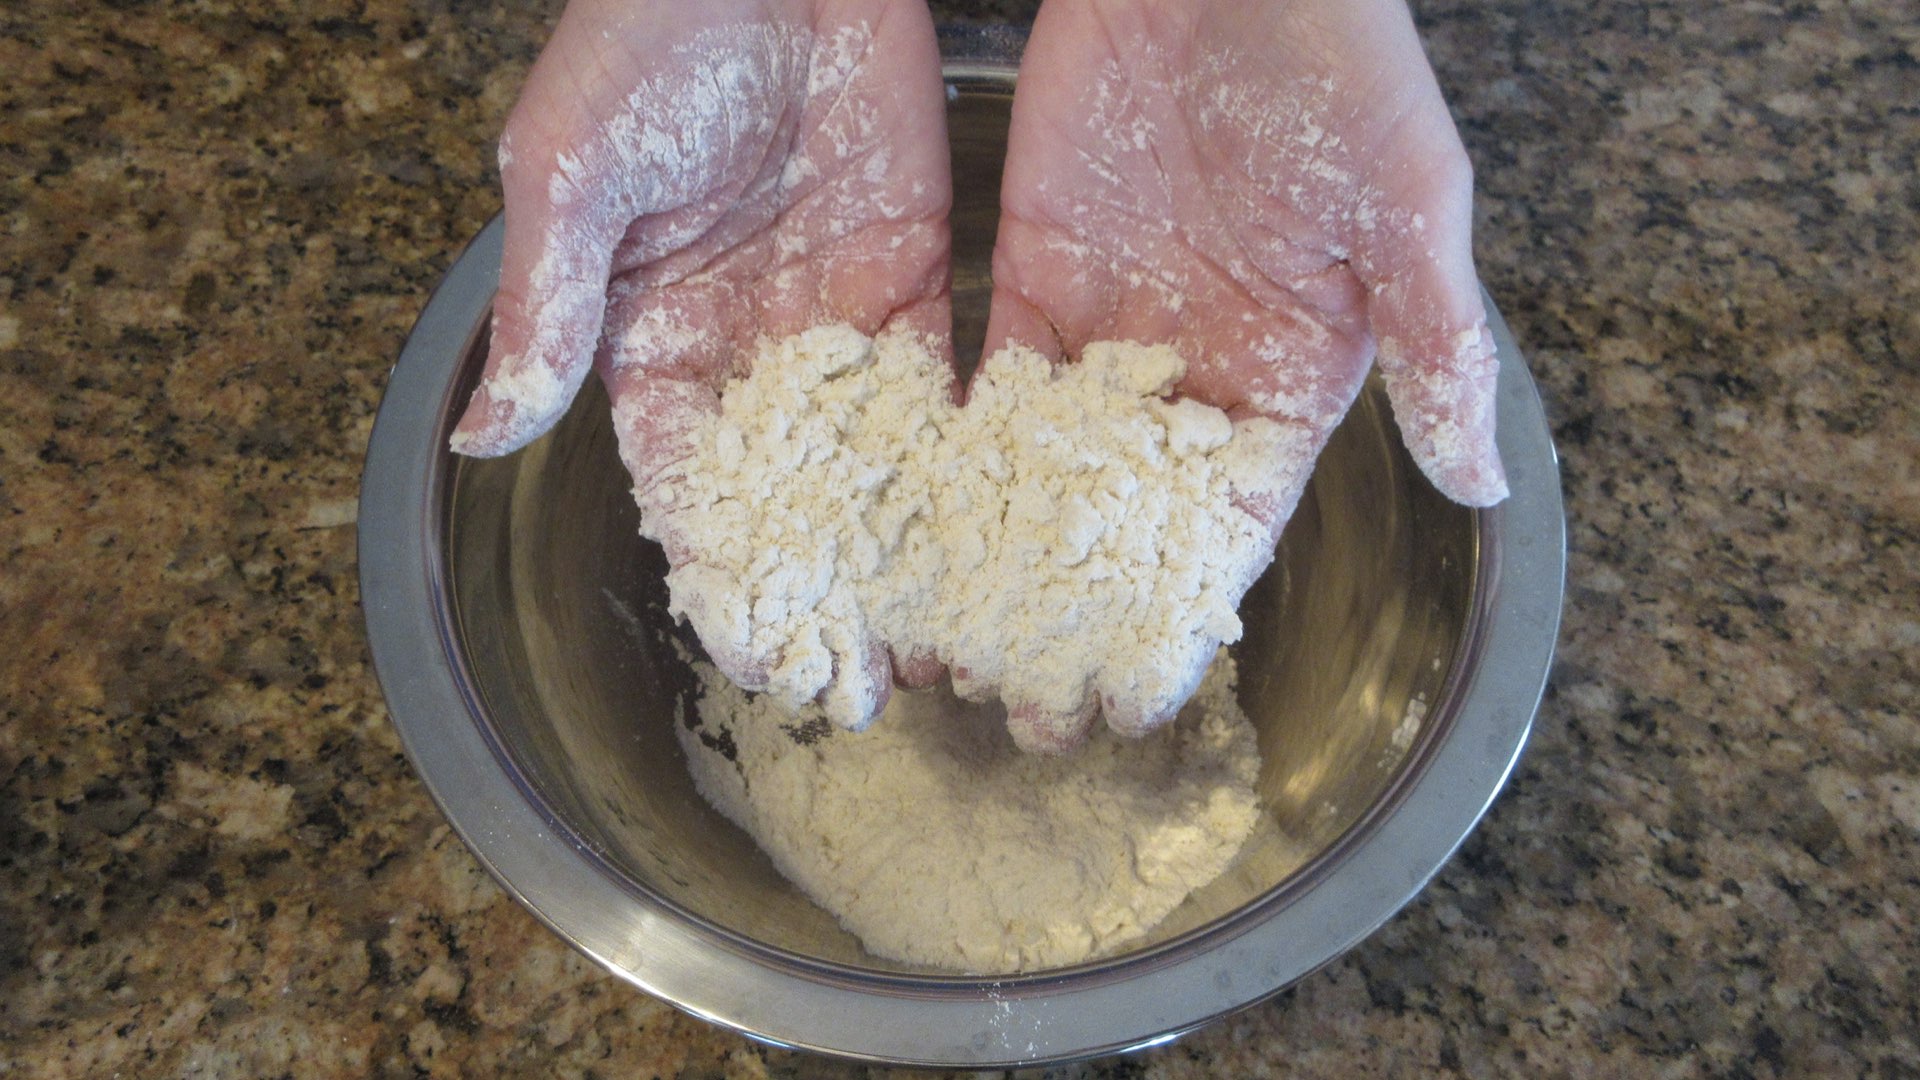
Step 4: Rubbing-In Method
When making biscuits, you will use the rub-in method to combine the flour with the butter. This creates a short, crisp dough that will give you a tender and flaky biscuit. You want to work quickly so that the butter doesn’t melt too much and you have a fluffy biscuit. You can take your time as in you don’t have to rush the process, but don’t let the butter set until it’s a puddle. This will lead to a tough and dense biscuit. You want it to be firm or with just a little give to it.

Pick up a small amount of the flour mixture and butter. Rub the butter into the flour mixture. By pressing the butter into the flour with your thumbs and into your fingertips, you will then run your thumbs across your fingertips and allow the mixture to cascade off your hands. Pick up more of the butter and flour mixture and repeat until all the butter is coated. You can also use the palms of your hands and rub them together, but many bakers avoid using them as your fingers are typically cooler than your palms.
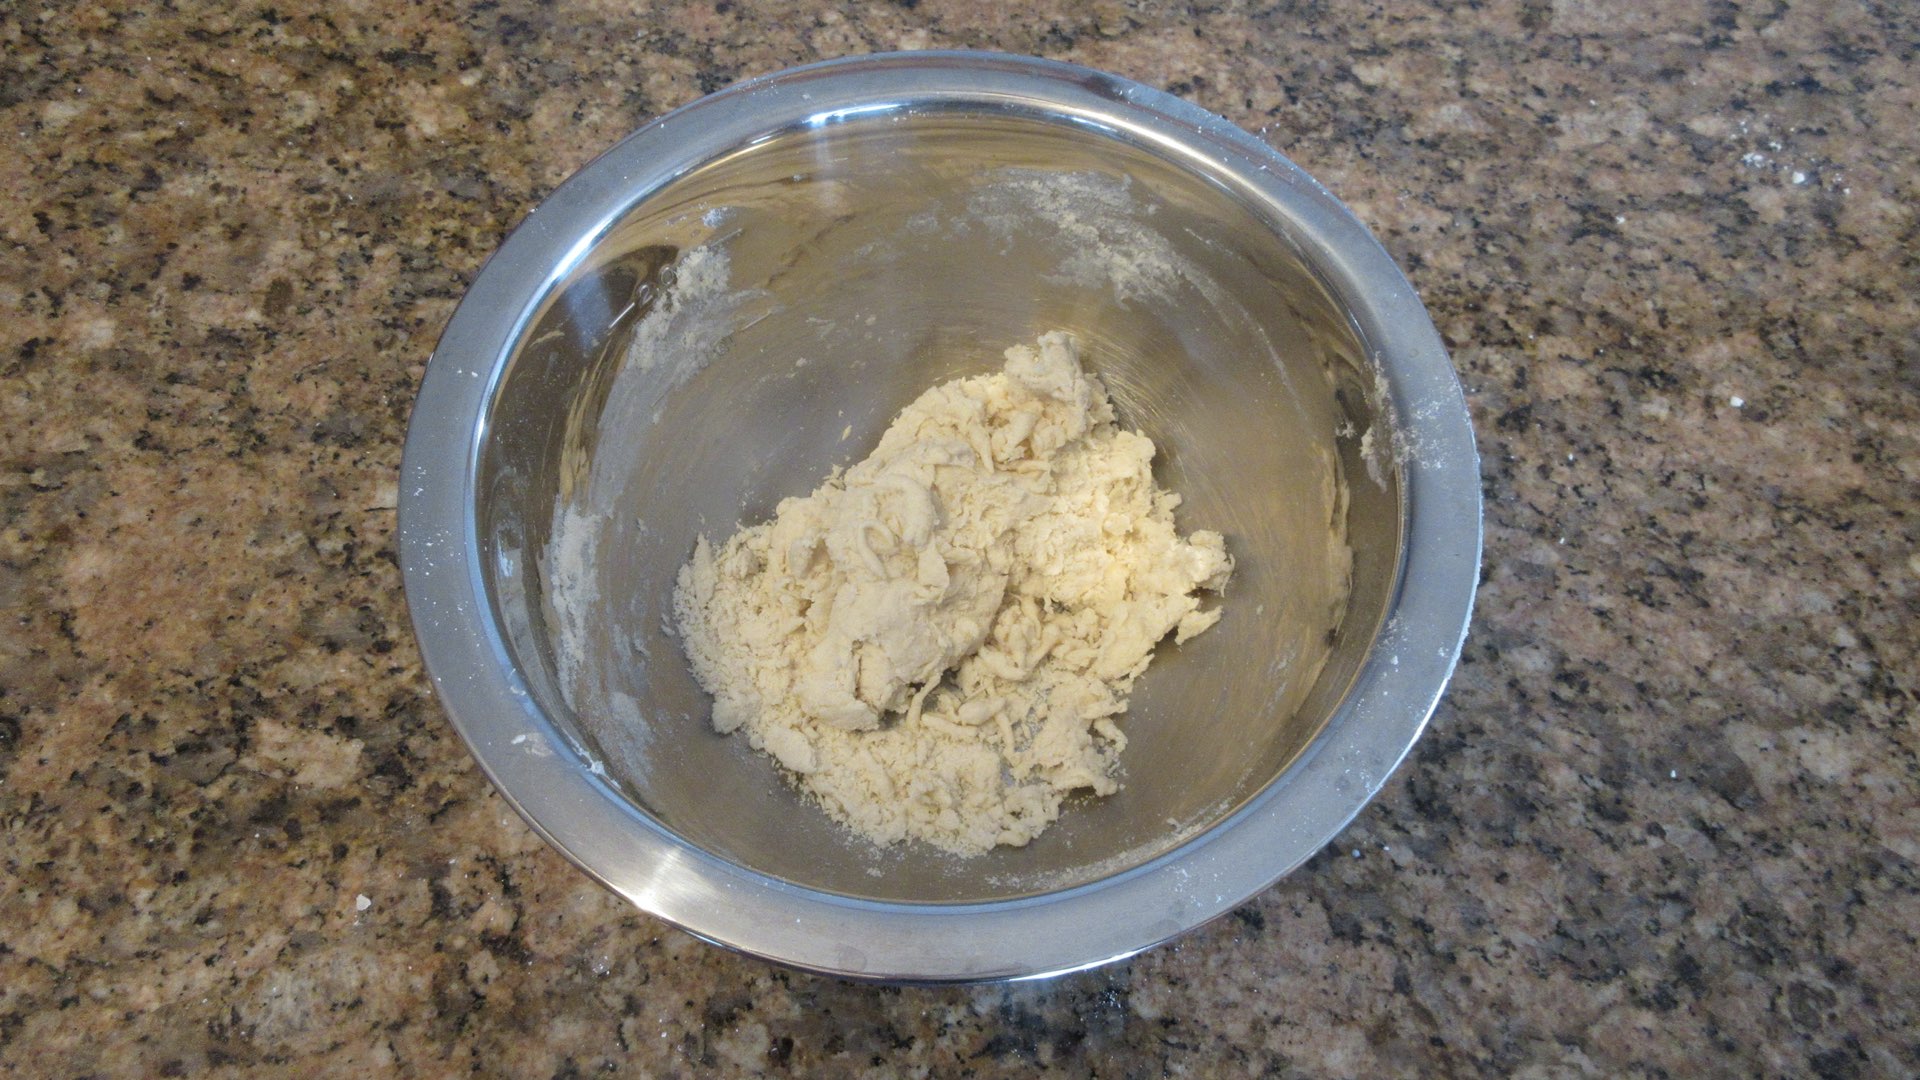
We do a combination of both because we find it is faster to incorporate all the butter. To save even more time, you could put this into a food processor and blender and give it a few pulses. Regardless of your chosen method, the mixture should be like bread crumbs or wet sand and all the butter will be coated when you are done. The pieces will vary in size. From a little larger than a grain of sand to the size of a small pea or pebble. Stop here.
Step 5: Mix your Wet Ingredients
Add in the buttermilk. If you do not have buttermilk, don’t use a buttermilk substitute for biscuits, but rather just use regular milk. We have found because the ingredients are so simplistic in a biscuit recipe, the buttermilk substitute doesn’t give a pleasant taste or texture to the bread. Since we are using baking powder for this recipe, regular milk will work just fine. You will be missing out on the complexity of the buttermilk, but you’ll get a great tasting biscuit with milk instead of using the subsitiute.
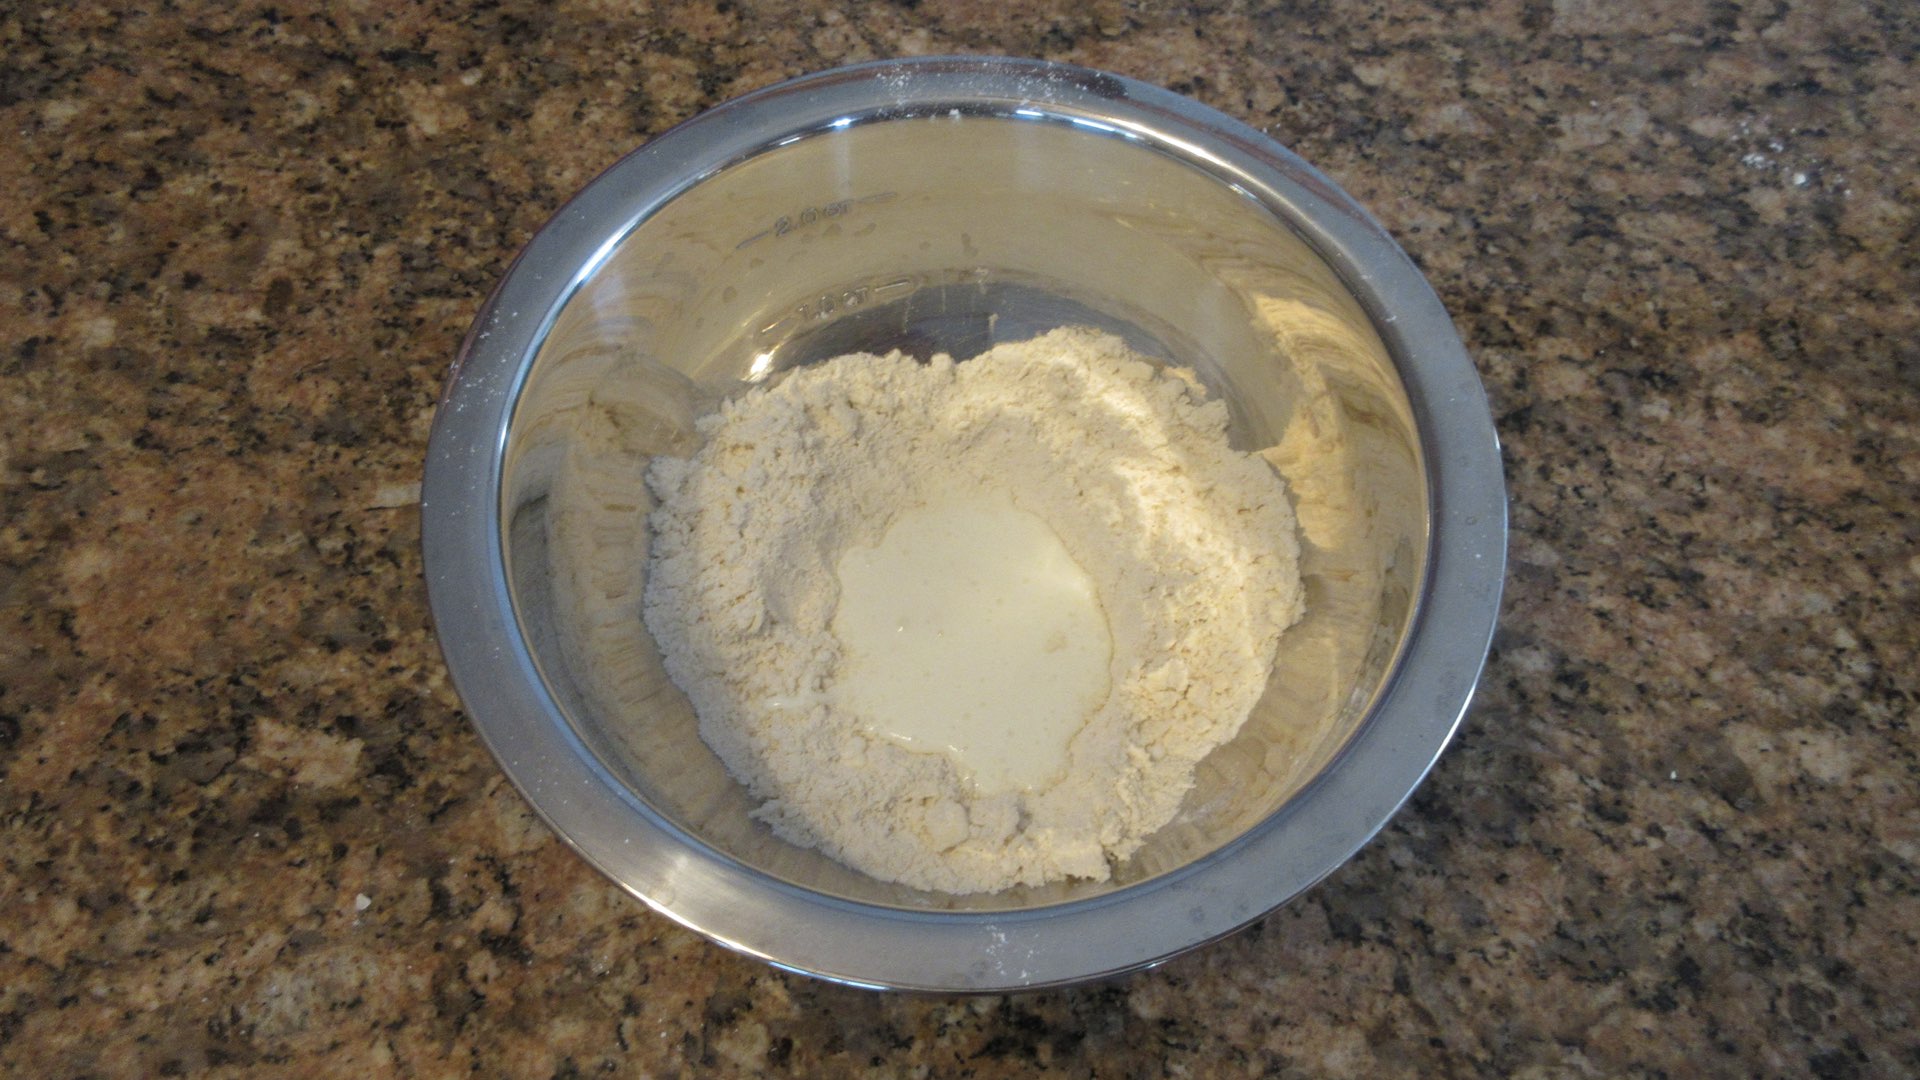
Using your hands or a spoon, stir in the buttermilk until a shaggy and sticky dough begins to form.
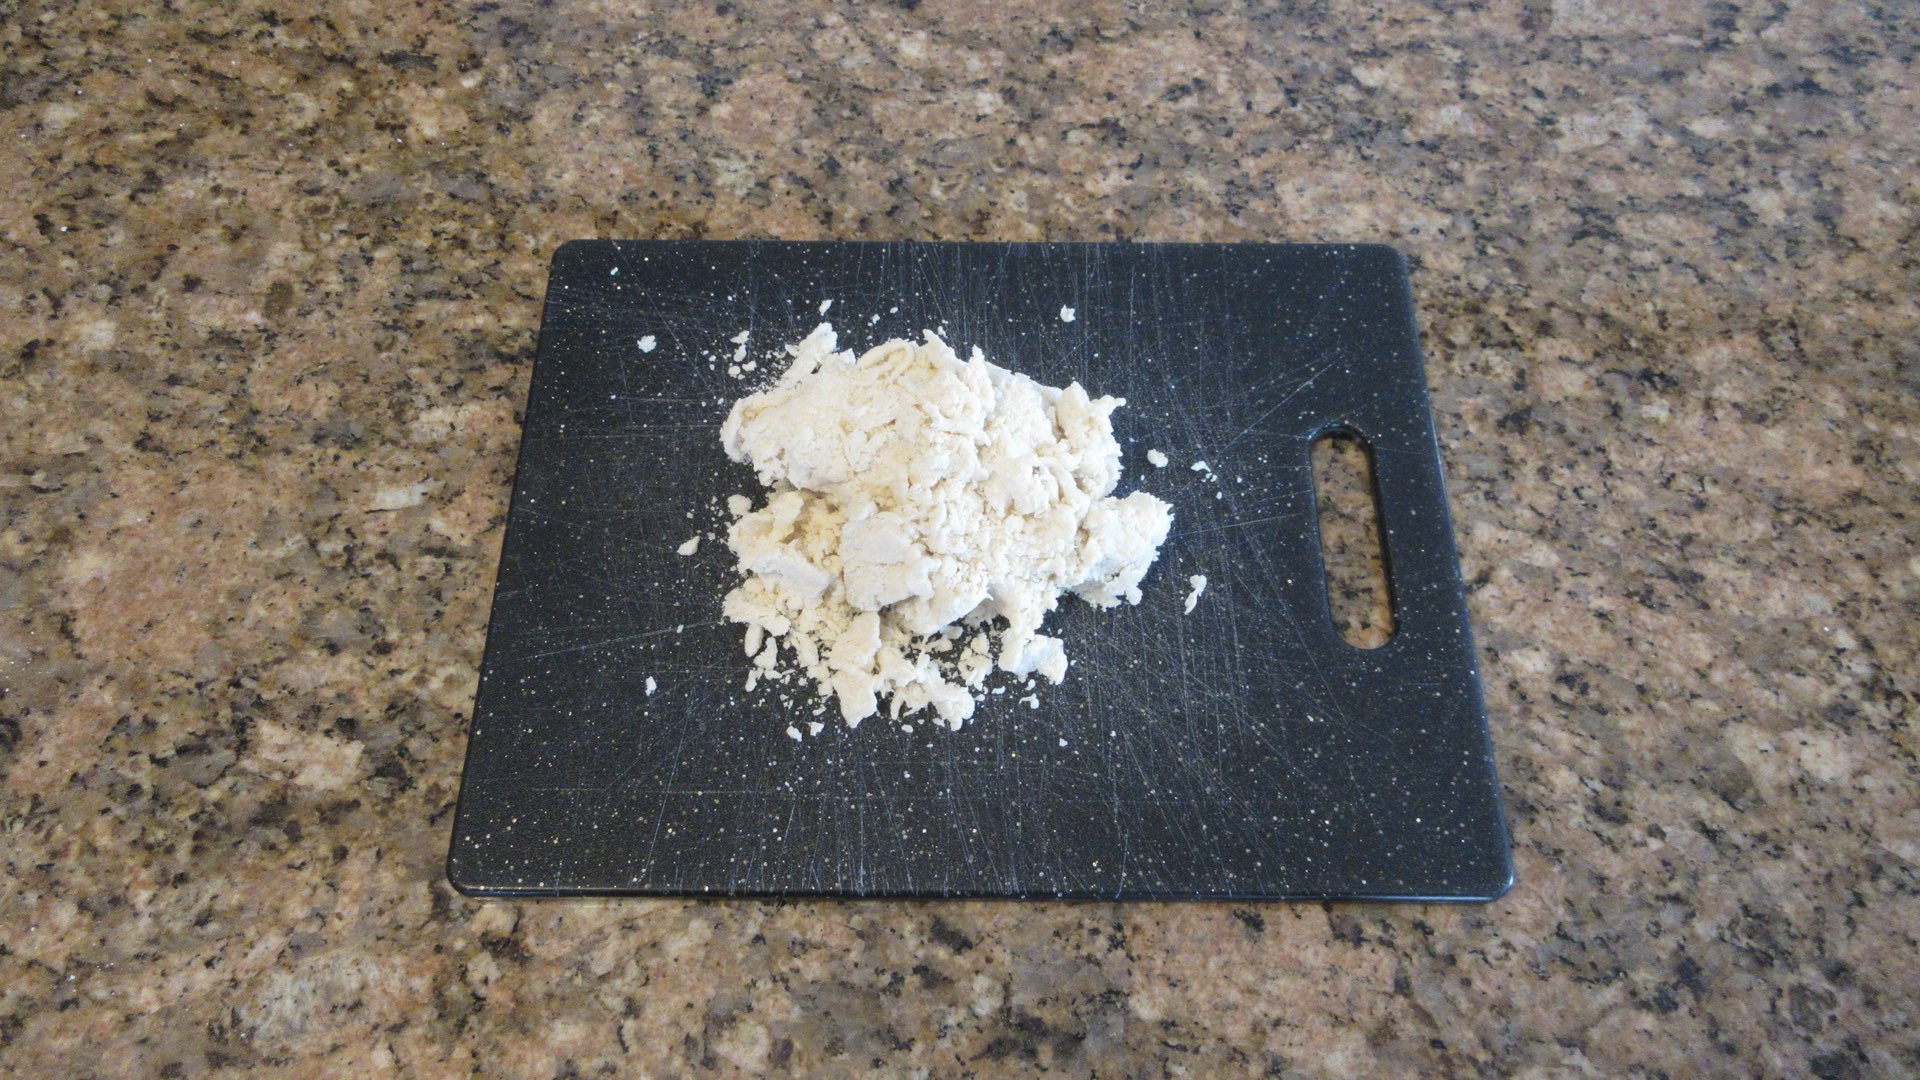
Step 6: Briefly Work and Shape the Dough
Turn out the dough onto a clean work surface. Using your hands, squeeze together the dough and fold the dough in half. We want to lightly knead the dough until it comes together.
Press the dough into a rough 1/2″ (1.27cm) rectangle and fold in half. Repeat 4 times. This will help create fluffy layers.

You can now divide this dough into two and shape into rounds using your hands or cut out biscuits with a cutter or a cup. If you use a biscuit cutter, press straight down into the dough. Do not twist the cutter, but pull the excess dough away and then remove the biscuit cutter by lifting it up, not twisting. This recipe will make two 3″ (7.62 cm) biscuits.

Step 7: Bake
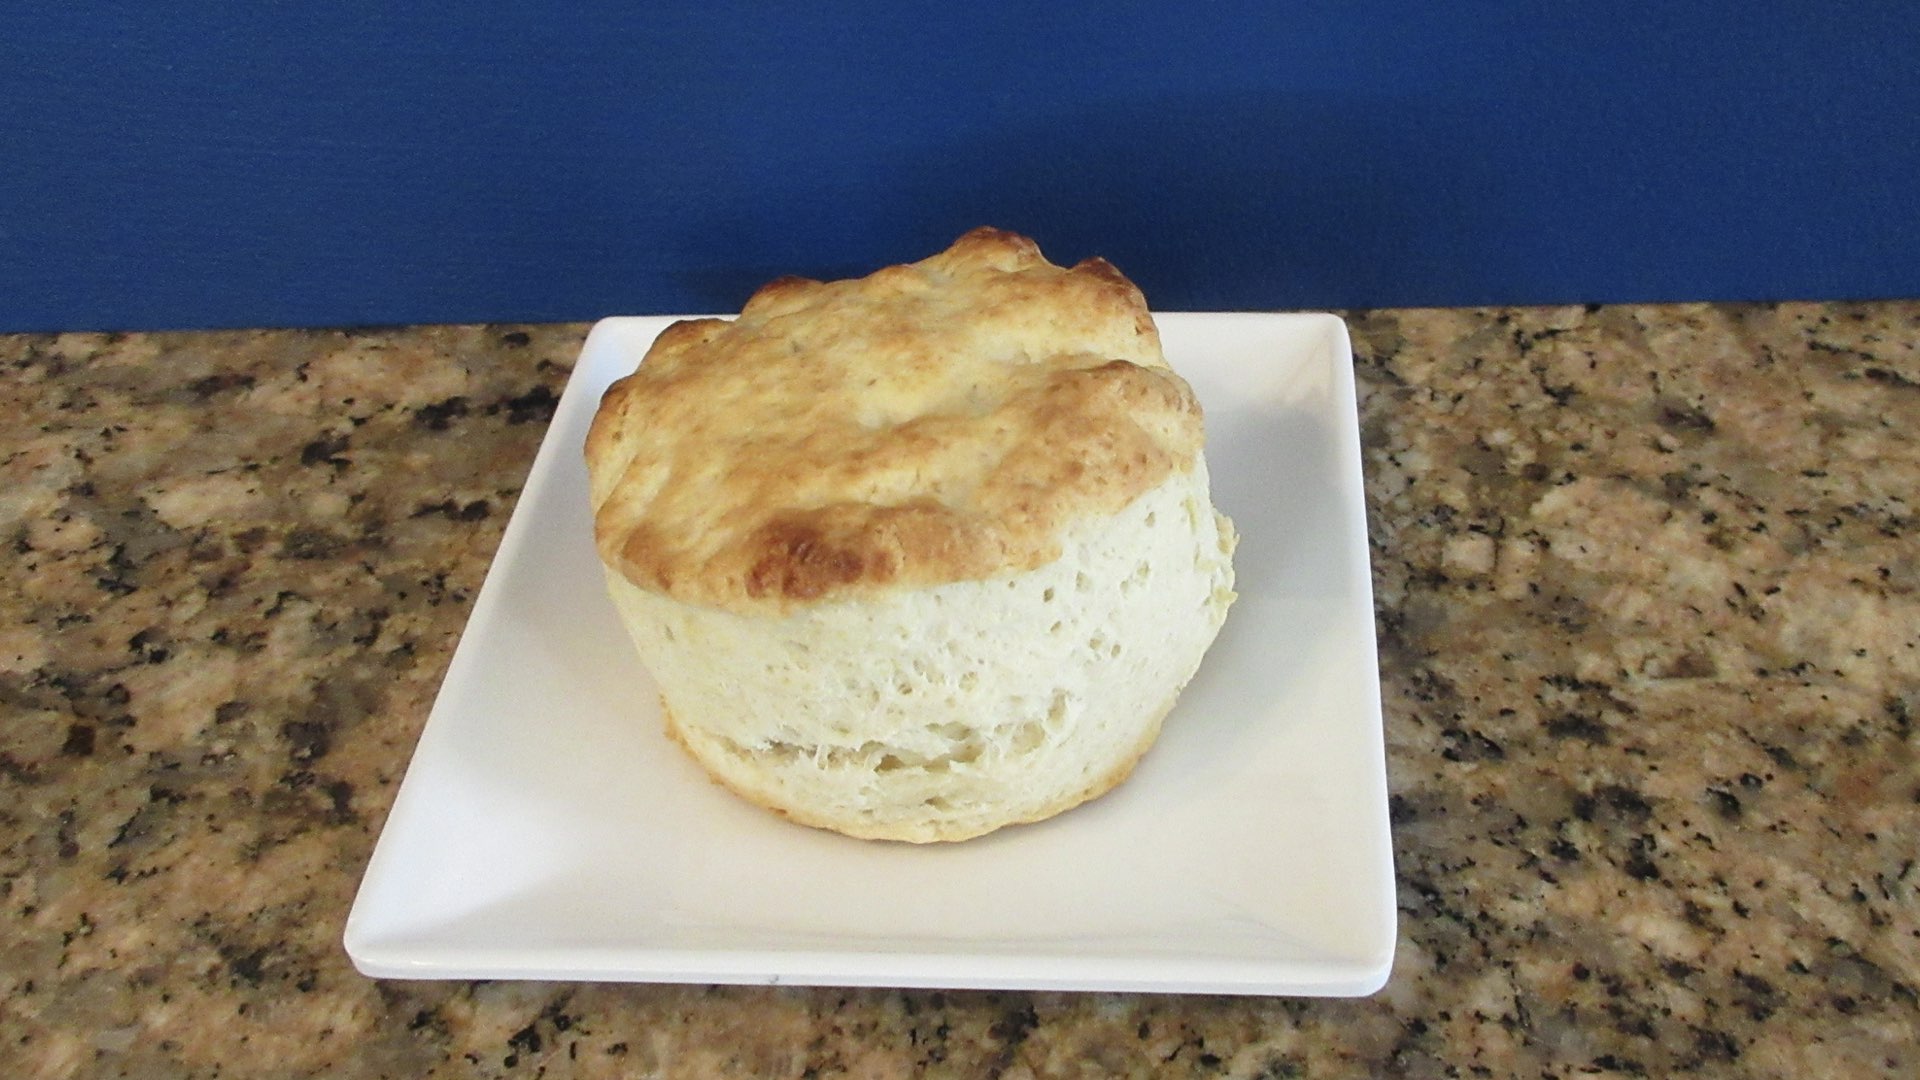
Place the biscuit dough on the prepared pan until they are almost touching. This will help them rise. We are going to shape one by hand and make the other with a biscuit cutter so you can see the difference. For a golden color, brush the tops with butter, milk or an egg wash. Bake 15 – 20 minutes or until golden brown and the internal temperature reaches a minimum of 190F (88C.)

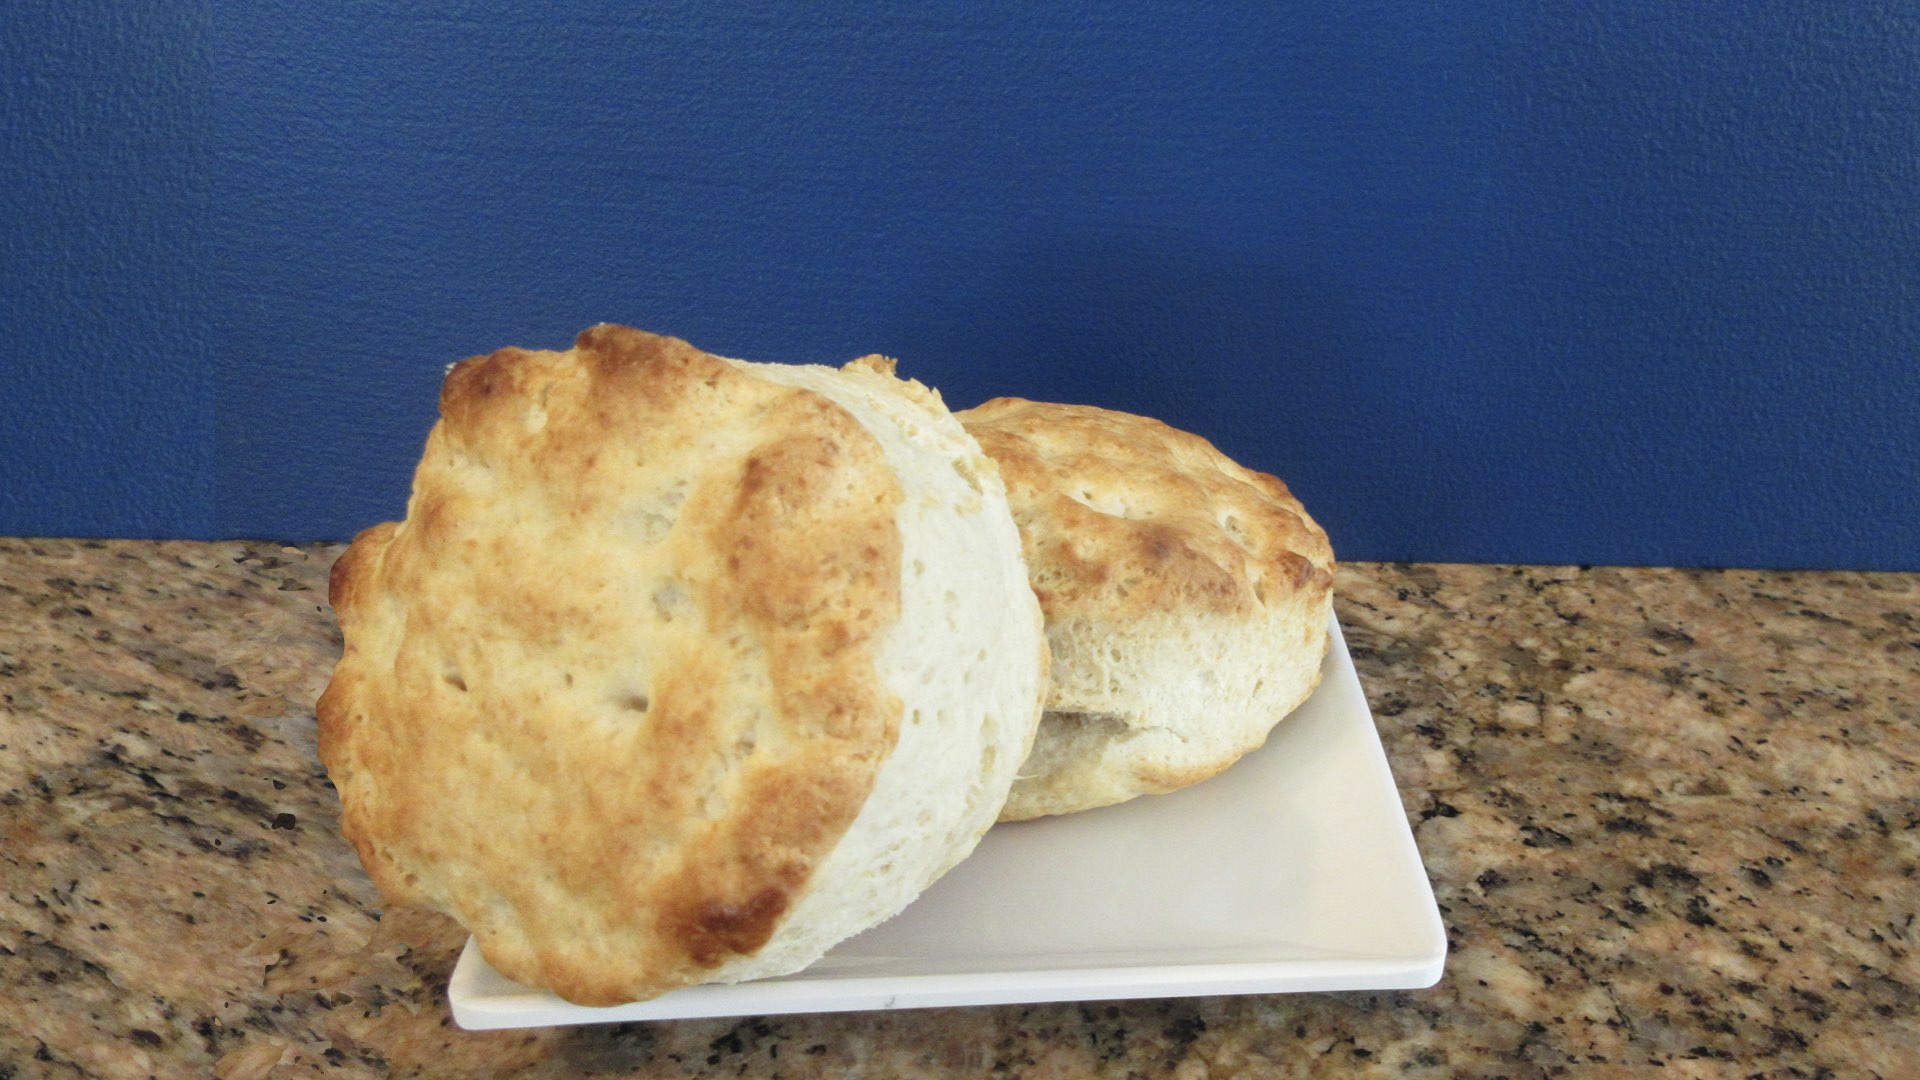
They will look like this when they are ready! They are great tasting while still warm. Let’s get a closer look at the cut out versus the hand shaped biscuit.
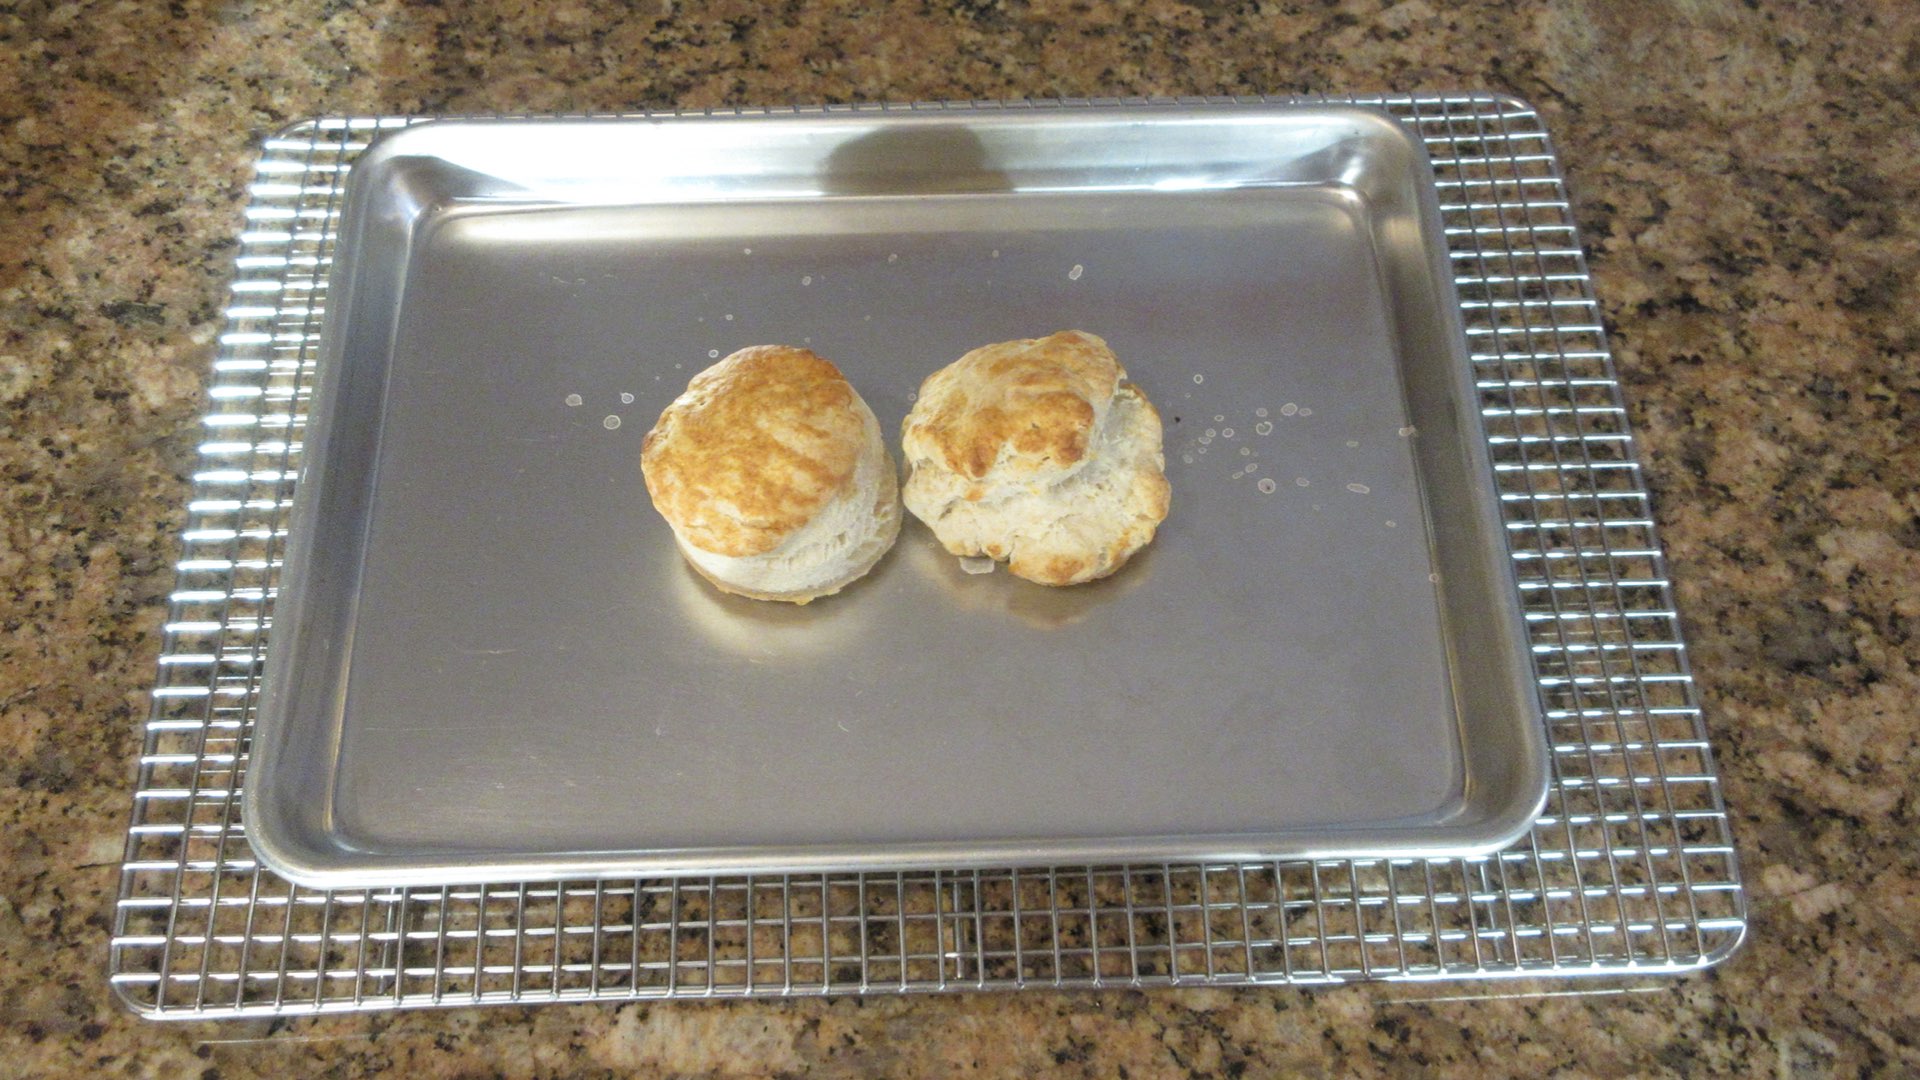
The cut out one has a more even rise, but the hand shaped one is more rustic and quicker to make. Which method do you prefer? Let us know!

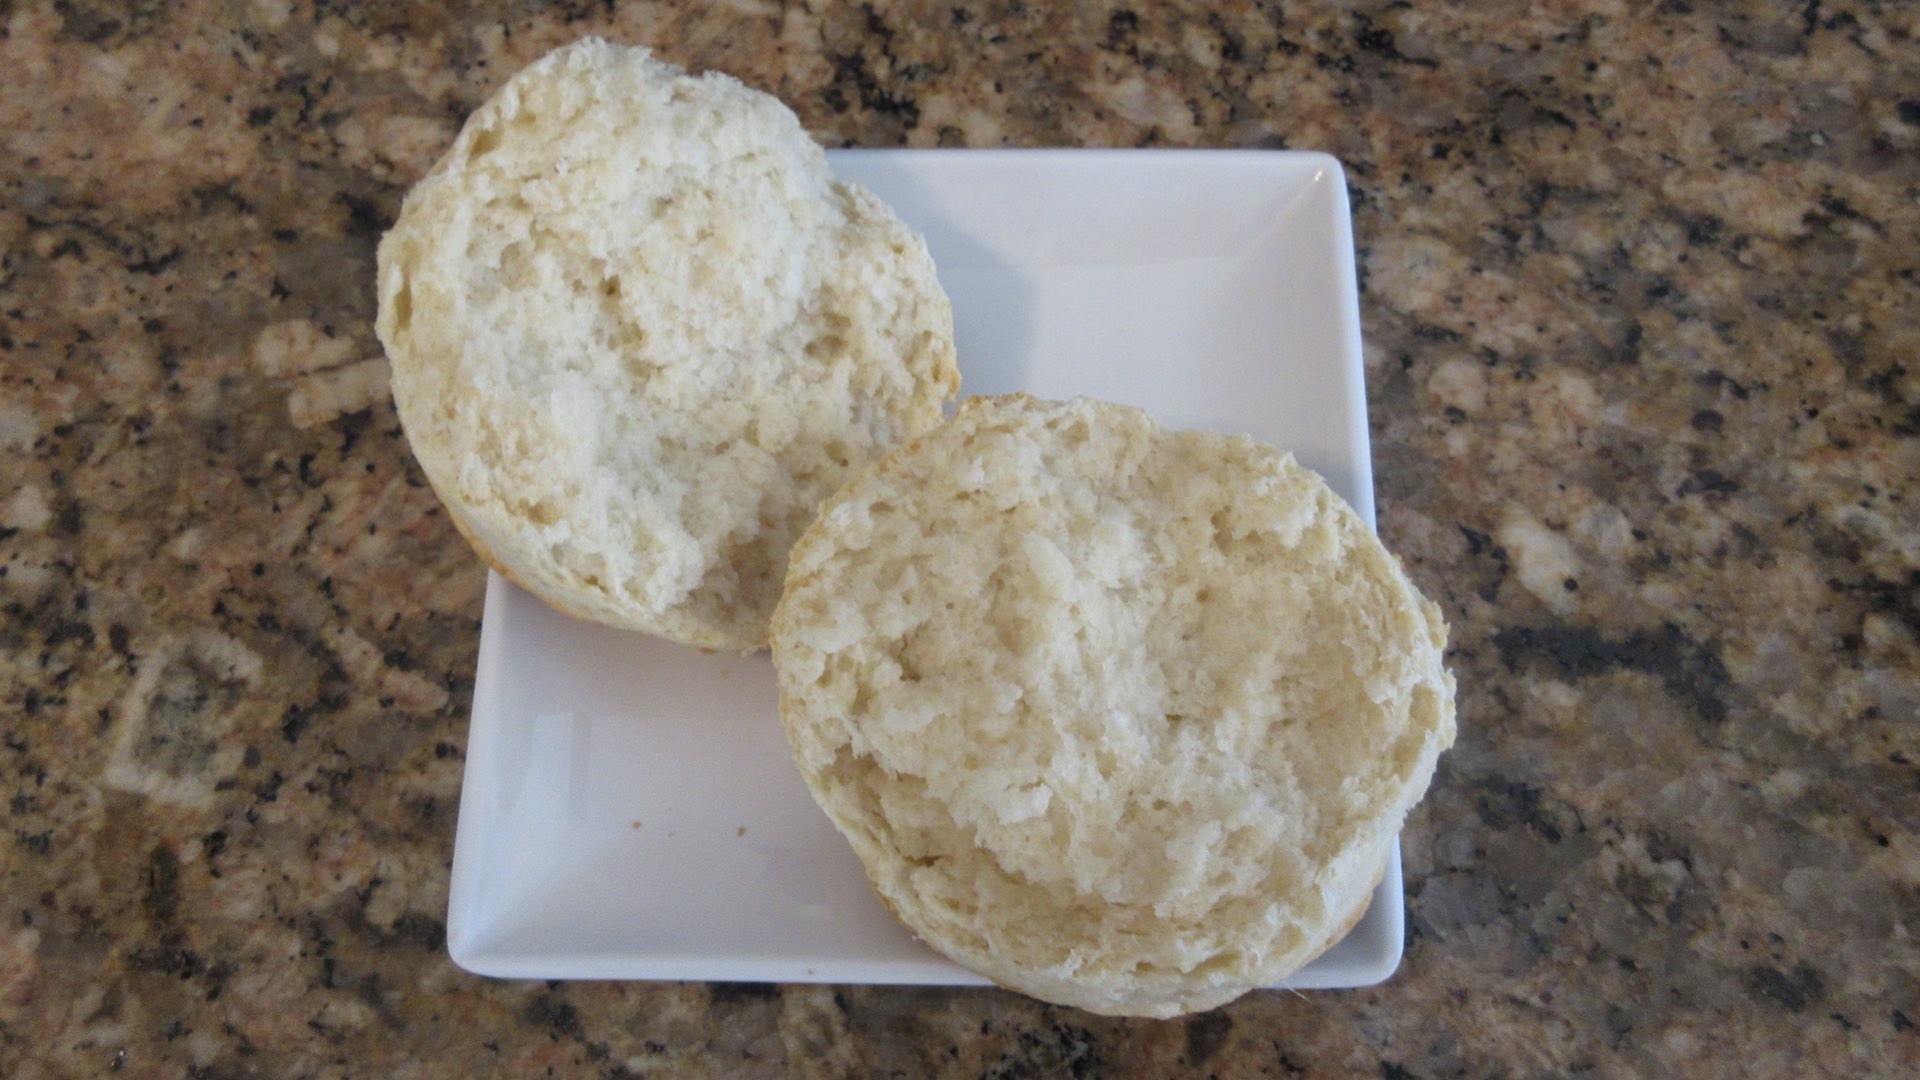
Let’s look inside one! All those flakey and tender bits are just waiting for your favorite toppings. Will it be gravy? Jam, butter, jelly, ham or cheese? Maybe plain? We like it all!
Substitutions and Tips
Here are some common substitutions and tips for this biscuit recipe.
- Brush the tops with an egg wash prior to baking for the best golden brown crust. Melted butter and milk will be more subtle and is prone to catching in higher heat.
- Instead of butter, lard, vegetable shortening or margarine can be substituted in equal amounts. Vegetable oil spread is not recommended as it doesn’t have enough fat.
- Any type of milk can be used for this recipe. Even milk substitutes like soy or almond work well.
- You can replace up to one-half of the white flour with whole wheat flour. You may need to add another 1 – 2 tablespoons (15 – 30mL) of milk to get a sticky dough as whole wheat absorbs liquid more readily.
- This will be a sticky dough and will become less sticky as you work it. Instead of adding flour if it’s too sticky, chill the dough covered for 20 minutes first. The butter could have gotten too warm while mixing.
- Add up to 1/2 cup (2oz) of shredded cheese for a cheesy biscuit!
Storage
Freshly baked bread is always best eaten the day you make it. Biscuits do not have a long shelf life. However, they can keep 2-3 days before they go stale. Let the biscuits cool completely and store in an airtight container or plastic bag to stay soft. The crust will also soften stored this manner. If you want the crust to be more like the day you baked them, store in a paper sack or bread bin.
Biscuits can freeze up to 2 months. Store in a freezer safe bag or container after they have completely cooled. Thaw in container at room temperature. Frozen baked biscuits can be reheated in the oven at 350F (180C) for approximately 10 – 15 minutes or until warm.

Buttermilk Biscuits Recipe for One
Ingredients
- ⅔ cup (100g) all-purpose flour
- ¼ cup (60mL) buttermilk
- 2 tbs (28g) butter
- ¾ tsp (3g) baking powder
- ⅛ tsp (.625g) salt
Instructions
- Preheat oven to 425F (220C.)
- Lightly grease a baking pan. Do not use cooking spray or oil on non-stick surfaces.
- In a large bowl, mix together salt, baking powder and flour.
- Cube butter and drop into flour mixture. With hands, pick up some of the flour and butter, then lightly and quickly rub your hands together to add the butter into the flour. Continue to do this until the flour resembles bread crumbs.
- Pour in cold buttermilk. Mix flour with buttermilk until a sticky dough forms. Turn onto surface and lightly knead until it comes together. Press the dough into rough rectangle 1/2" (1.27cm) thick and fold in half. Repeat this 4 turns to create layers.
- Pat out 1/2" layer and cut out biscuits or divide dough into two pieces.
- Brush the tops with buttermilk, melted butter or an egg wash.
- To help the biscuits rise taller and more evenly, place them on the prepared pan so they are nearly touching.
- Bake 15-20 minutes or until golden brown on top. Internal temperature should reach at least 190F (88C) when fully baked. Serve while still warm.
0 Comments