Origins of Appalachian Pone Bread
Appalachian pone bread is a simple quick bread that is said to has origins from the Powhatan tribe. However, it has developed into a hybrid of both the indigenous bread taught years ago heavily influenced by bannock, a Scottish fry bread that lead to the modern day American biscuit. What was once made traditionally with fat, cornmeal and water has evolved into either a biscuit type bread or a corn pone, similar to pancakes made with cornmeal.
This particular recipe shows you the Appalachian skillet bread that is made more like a giant biscuit in a cast iron skillet. It will use flour instead of cornmeal and will be a hearty bread for soups, stews or just some good old butter and jam. Let’s get to baking!
Step-By-Step Instructions
Now that we have learned a little bit about this Appalachian pone bread recipe, let’s move on to making it by going over a few simple steps. We recommend you read over the recipe and then make it as there are tips, tricks and substitutions mentioned to make it your very own.
Step 1: Prepare your Pan and Preheat your Oven
Generously grease the inside of a 9 or 10″ (23 – 25 cm) cast iron skillet. You can use butter, lard, cooking spray, oil or shortening. Cooking spray and oils can leave a sticky residue that is hard to remove behind after it bakes so we like to stick with lard, butter or vegetable shortening. If you do not have a cast iron pan, you can use a cake pan or any baking dish rated for high temperatures. Be sure to grease it generously.
Next, you will need to heat up your oven to 425F (220C.) You can go as high as 475F (250C) but we’ve found for beginners, a more moderately high heat is less likely to give you issues. If your pan is dark from years of use or has a dark coating on it, you may even want to drop the temperature to 400F (200C.) This will keep your pone from getting too brown on the bottom. Let the oven really heat up before you place your pone in the oven for best results.
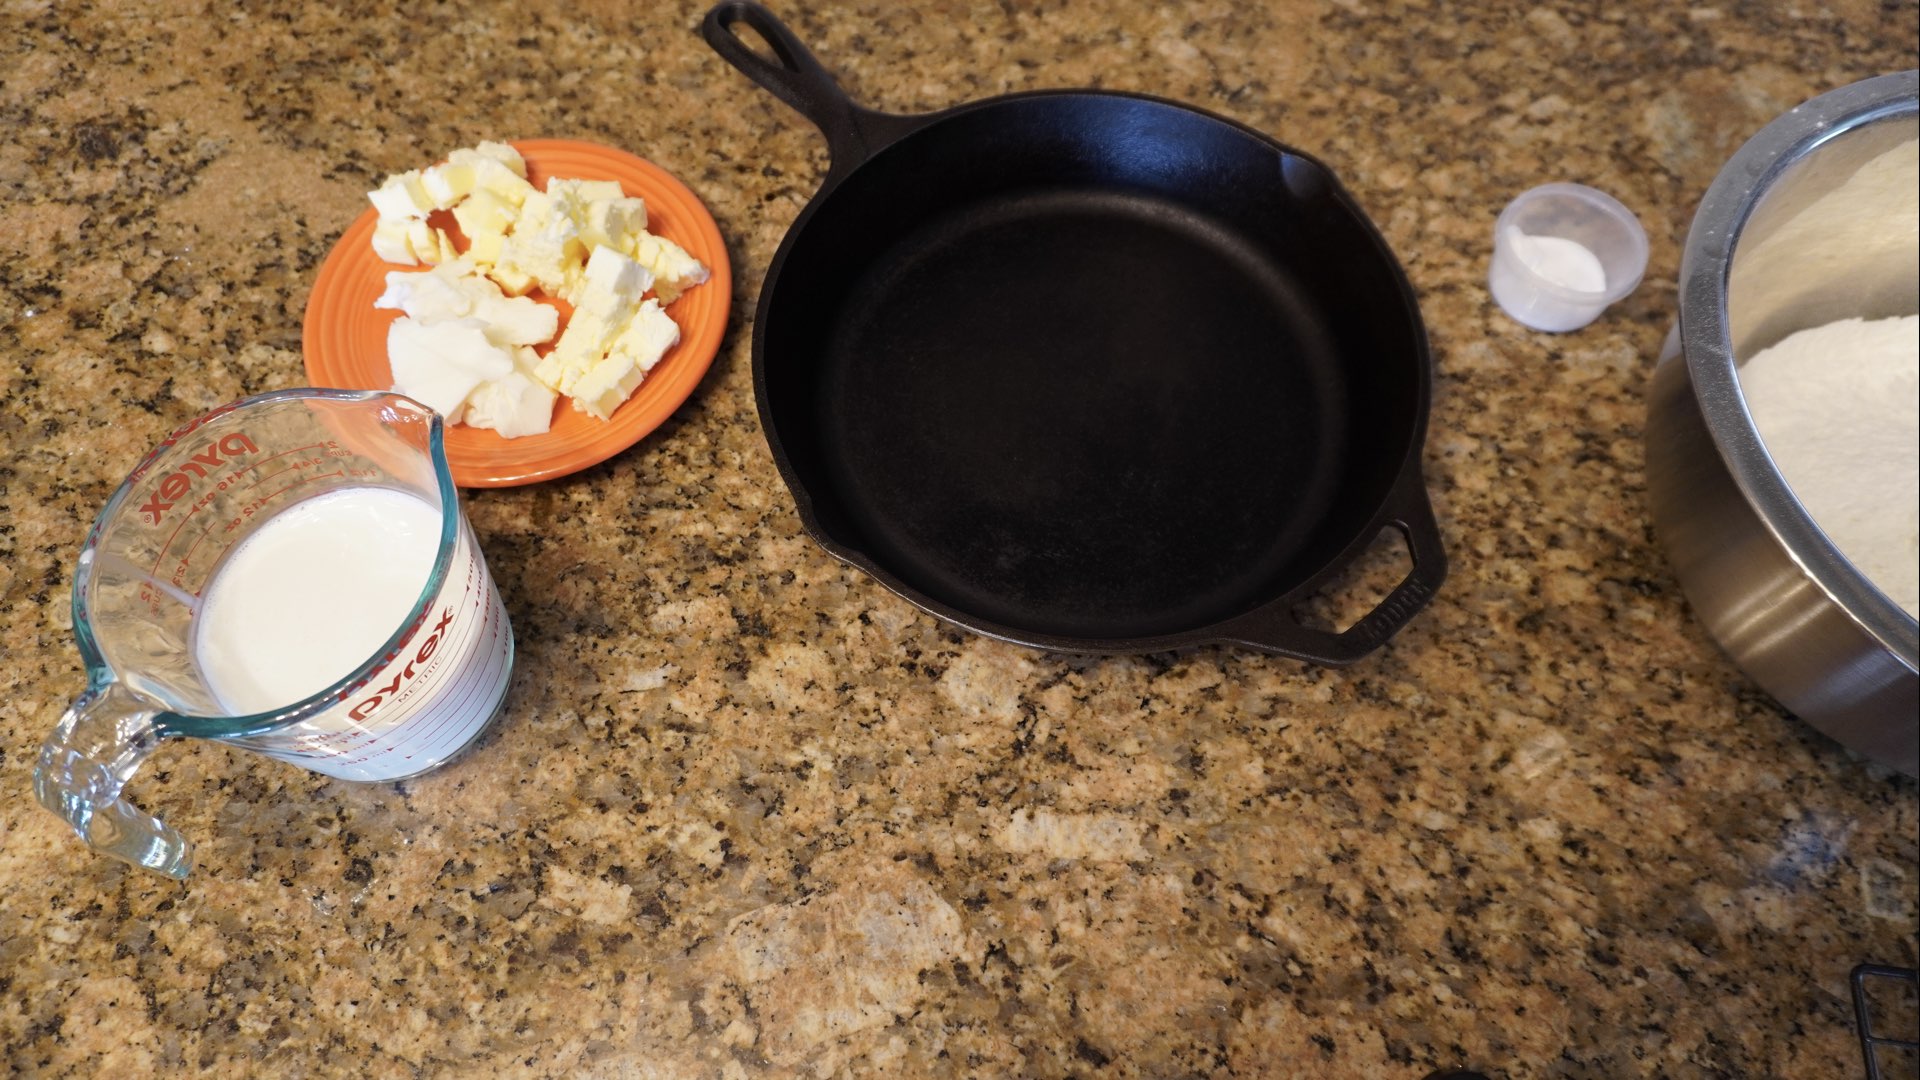
Step 2: Gather and Mix Your Ingredients
When making pone, you traditionally work with cold ingredients. This is an advantage as you don’t have to wait for everything to come up to room temperature. Some say that working with warm ingredients will make a tough bread, but we haven’t had this issue. Over-mixing causes tough bread more than the temperature for this recipe. We’ve tried both ways and decided we like the cold method as you get a better tasting bread because the butter has more rise to it and less time waiting. We recommend cubing the cold butter for faster incorporation. The cubes should be about 1/2″ or 1.27cm in size if you need a guide.
In a large bowl, combine the flour, baking powder, baking soda, sugar and salt until well blended. If you are using self-rising flour, skip the baking powder and baking soda. Self-rising already added the leavening for you. Some people like to sugar, honey, molasses, splenda or other sweetner for both a hint of sweetness and aid in browning, while others do not. We will let you decide if you want to do this. Personally, I like to use honey. Some like to chill the flour mixture in the freezer while the oven preheats. We find it’s not necessary, try both ways and see what happens.

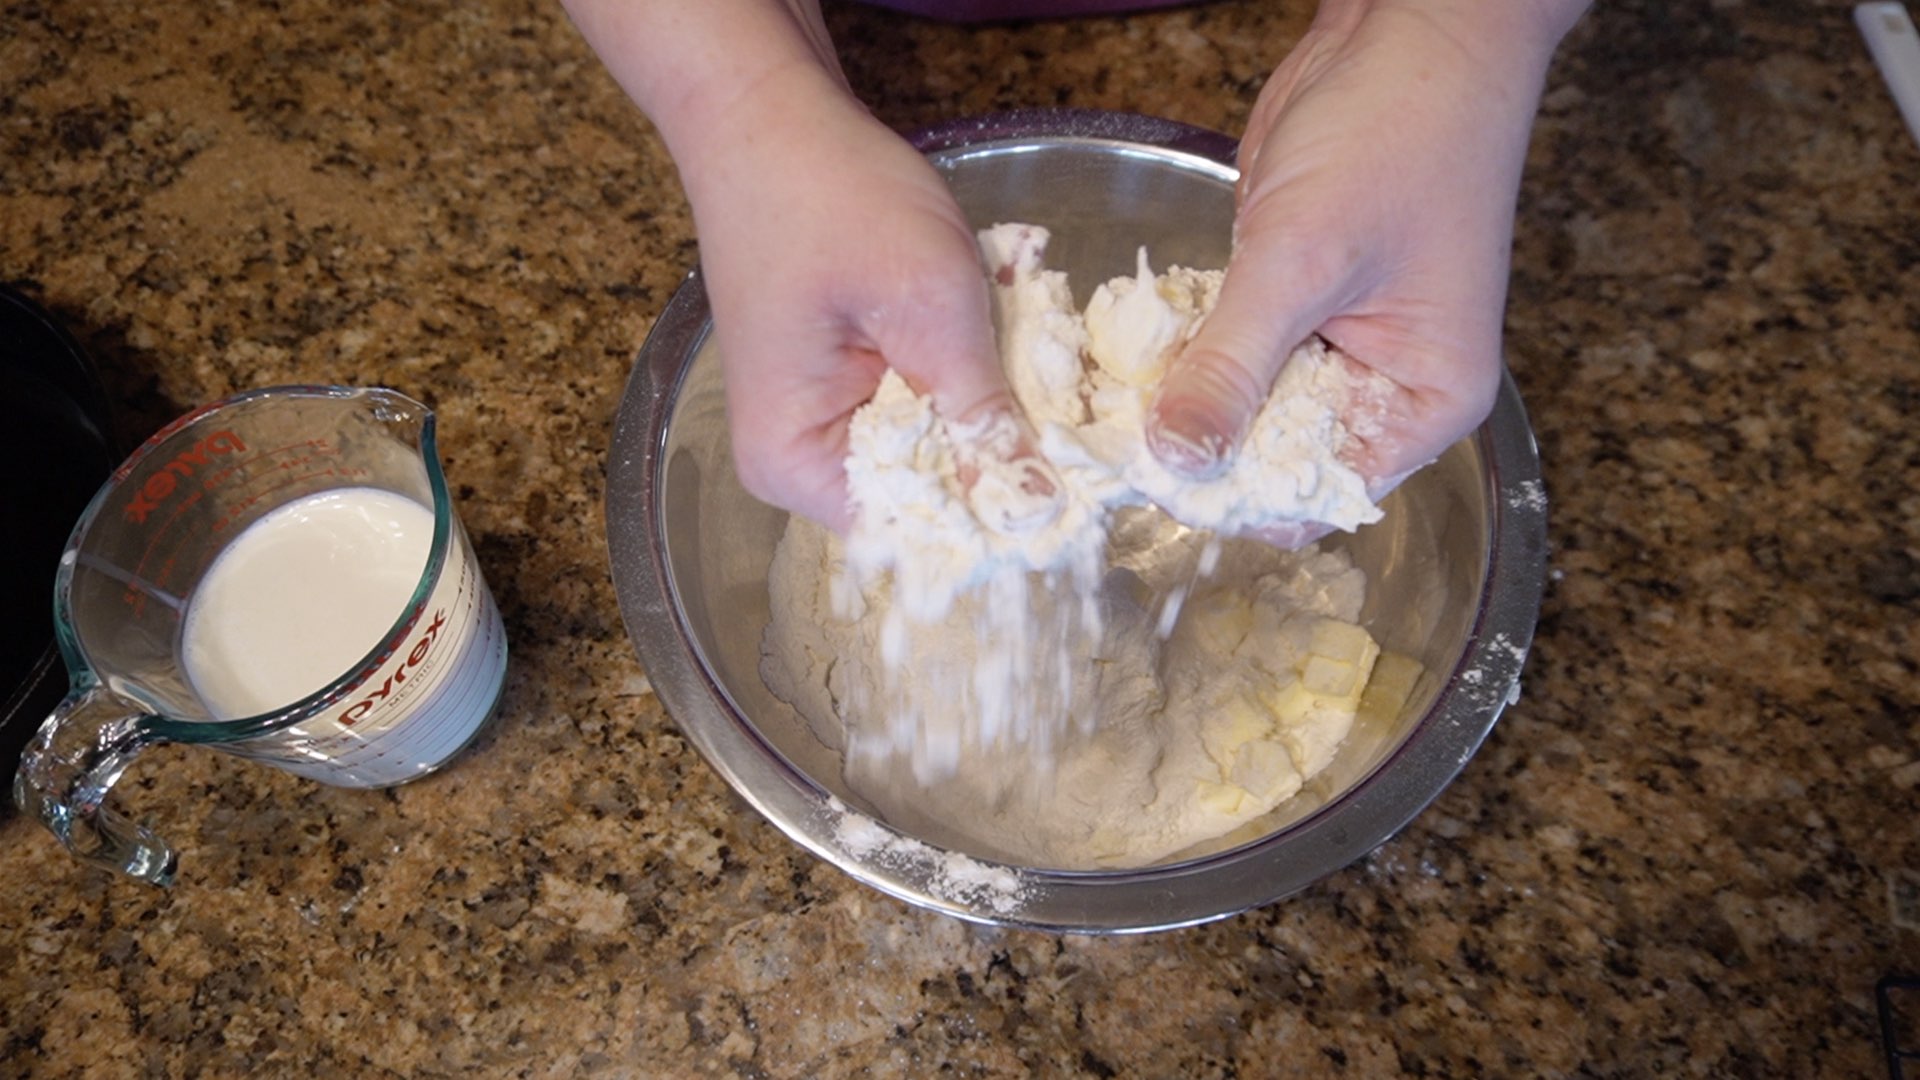
Step 3: Rub-In Method
When making pone, we will use the rub-in method to combine the flour mixture with the butter. This creates a short, crisp dough that will give you a tender and flaky bread. You want to work quickly so that the butter doesn’t melt too much and you have a fluffy interior. You can also pulse this in a blender, food processor, use knives, a fork or pastry blender. We find it easier to use our hands as it’s less cleanup and only takes a couple of minutes.

Pick up a small amount of the flour mixture and butter. Rub the butter into the flour mixture. By pressing the butter into the flour with your thumbs and into your fingertips, you will then run your thumbs across your fingertips and allow the mixture to cascade off your hands. Pick up more of the butter and flour mixture and repeat until all the butter is coated. You can also use the palms of your hands and rub them together, but many bakers avoid using them as your fingers are typically cooler than your palms.
We do a combination of both because we find it is faster to incorporate all the butter. Regardless of your chosen method, the mixture should be like bread crumbs or wet sand and all the butter will be coated when you are done. The pieces will vary in size. From a little larger than a grain of sand to the size of a small pea or pebble. Stop here.
Step 4: Mix your Wet Ingredients
Add in the buttermilk. If you do not have buttermilk, you could either use a buttermilk substitute, regular milk or water. This is a simple recipe and meant to be made with simple ingredients. Buttermilk is ideal, but not required.
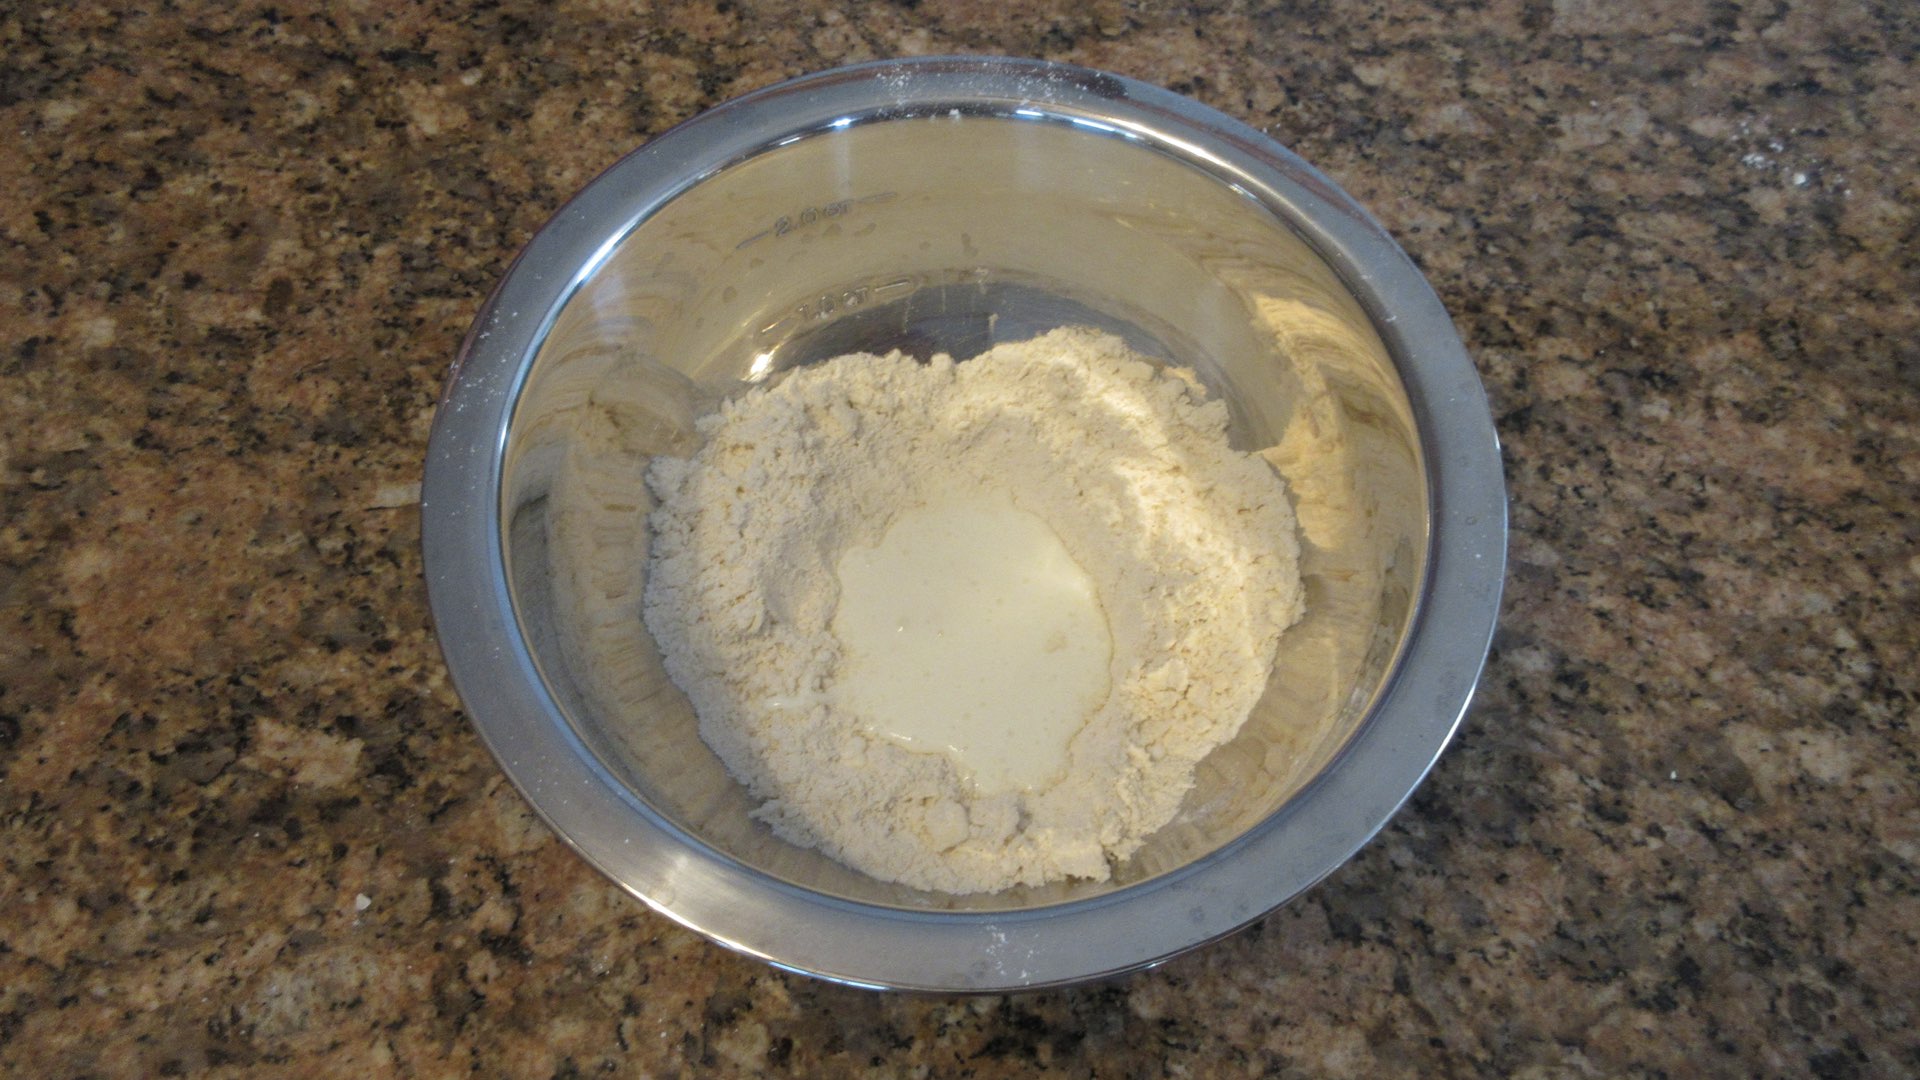
Using your hands or a spoon, stir in the buttermilk until a shaggy and sticky dough forms. If the dough is dry after throughly mixing, you can add more buttermilk until it looks like the picture below.
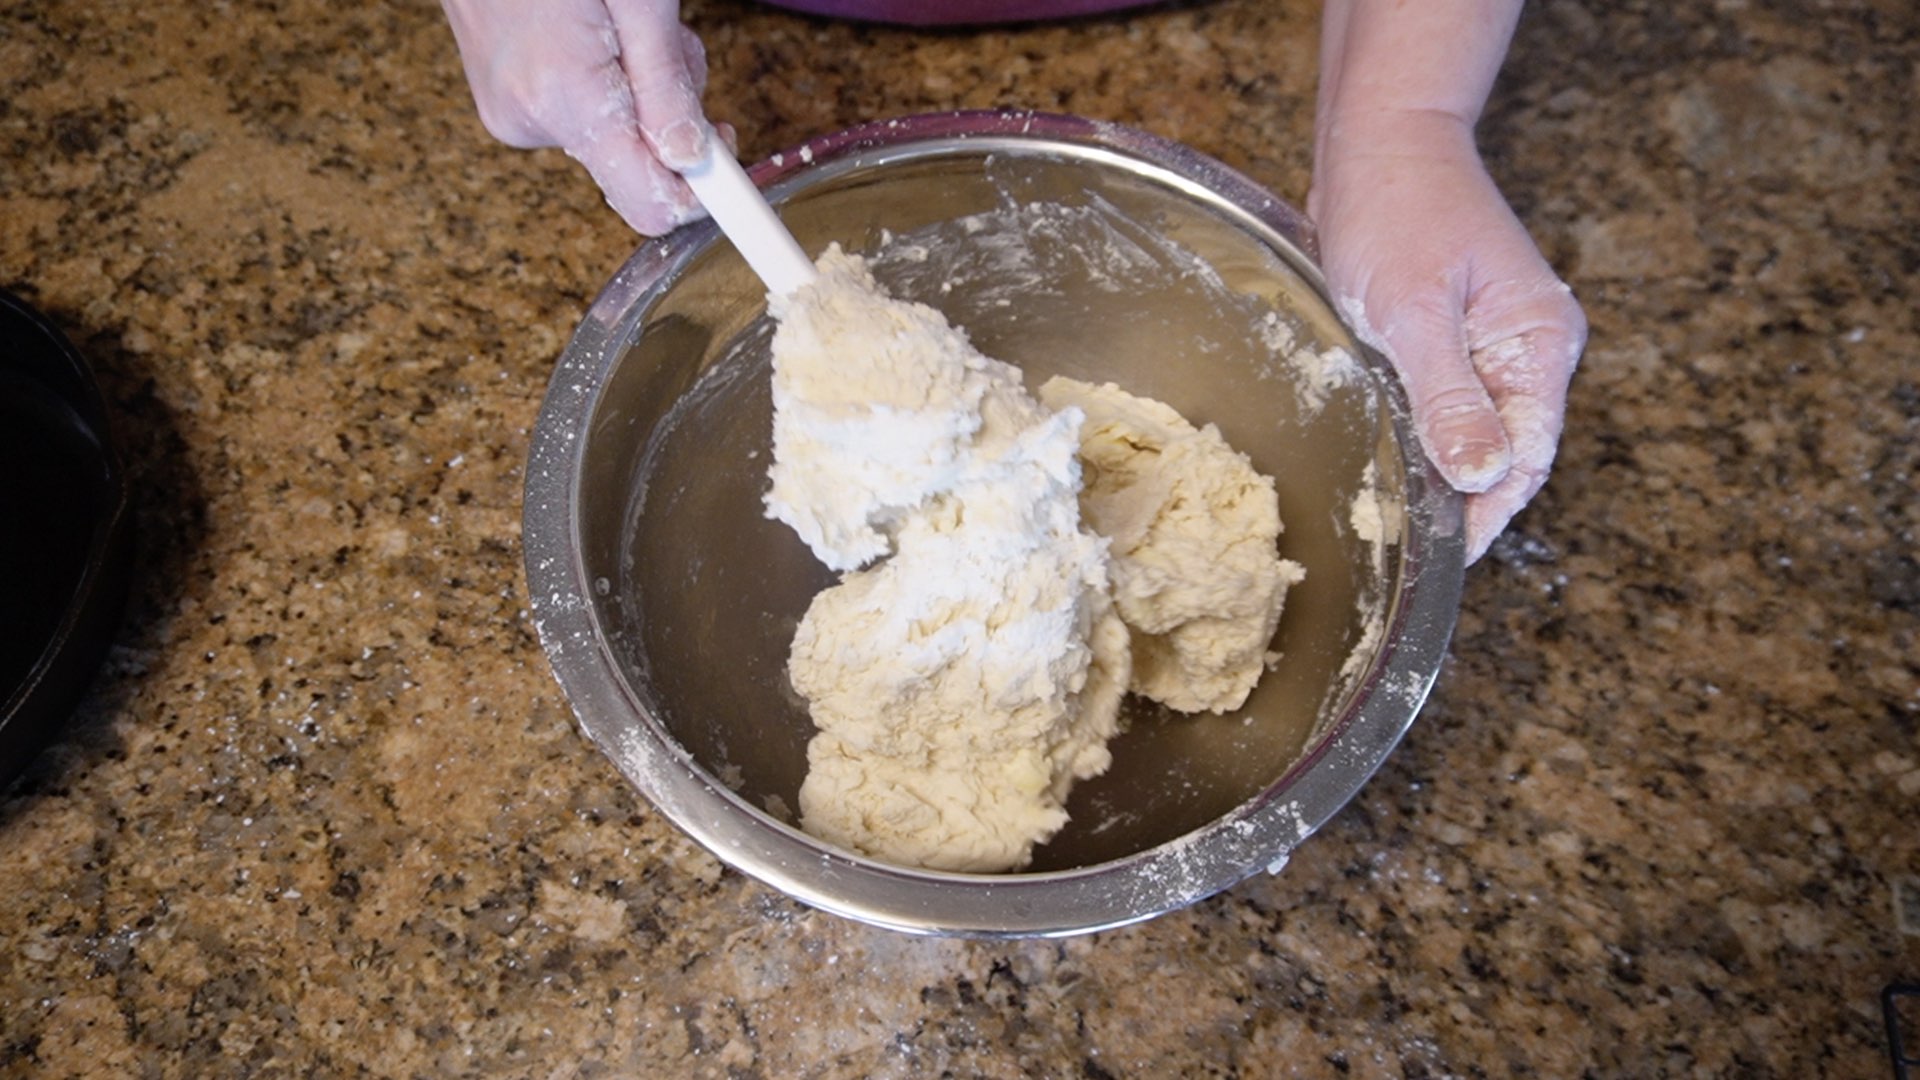
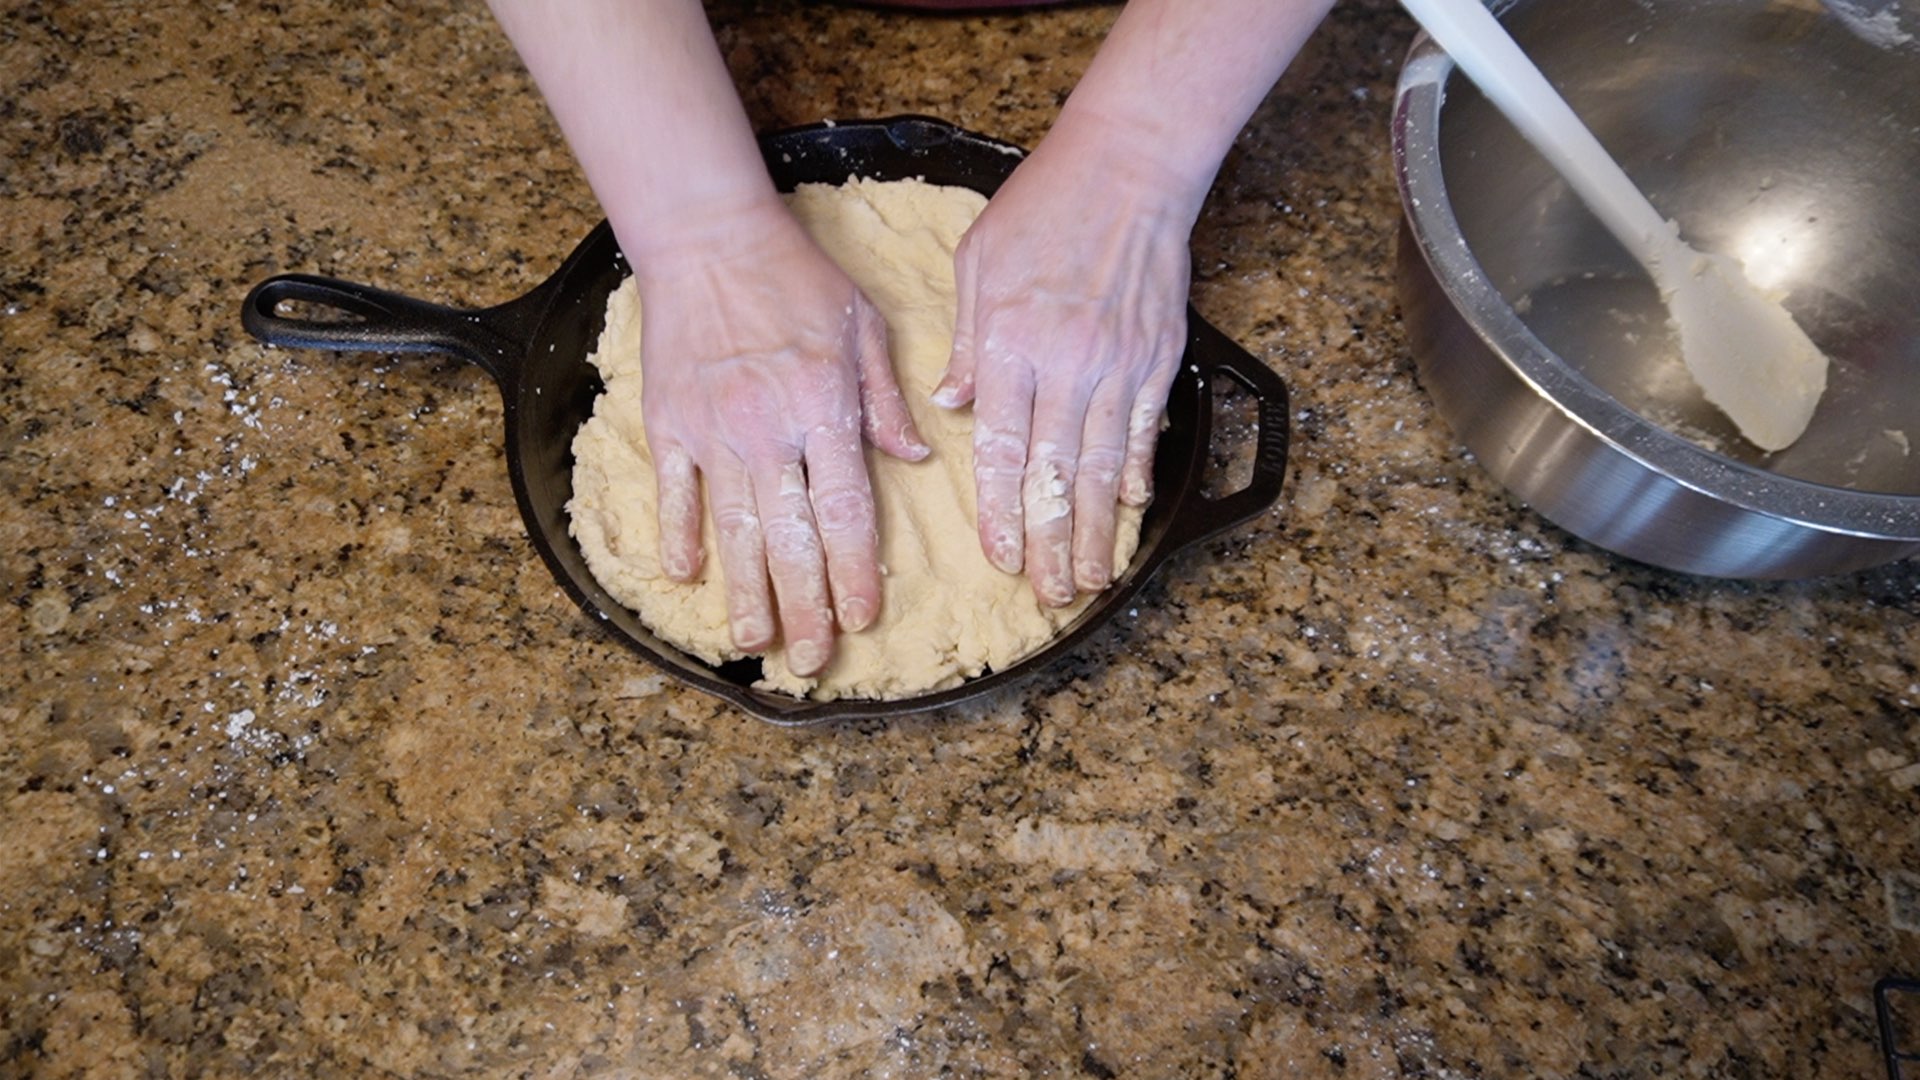
Step 5: Shape the Dough
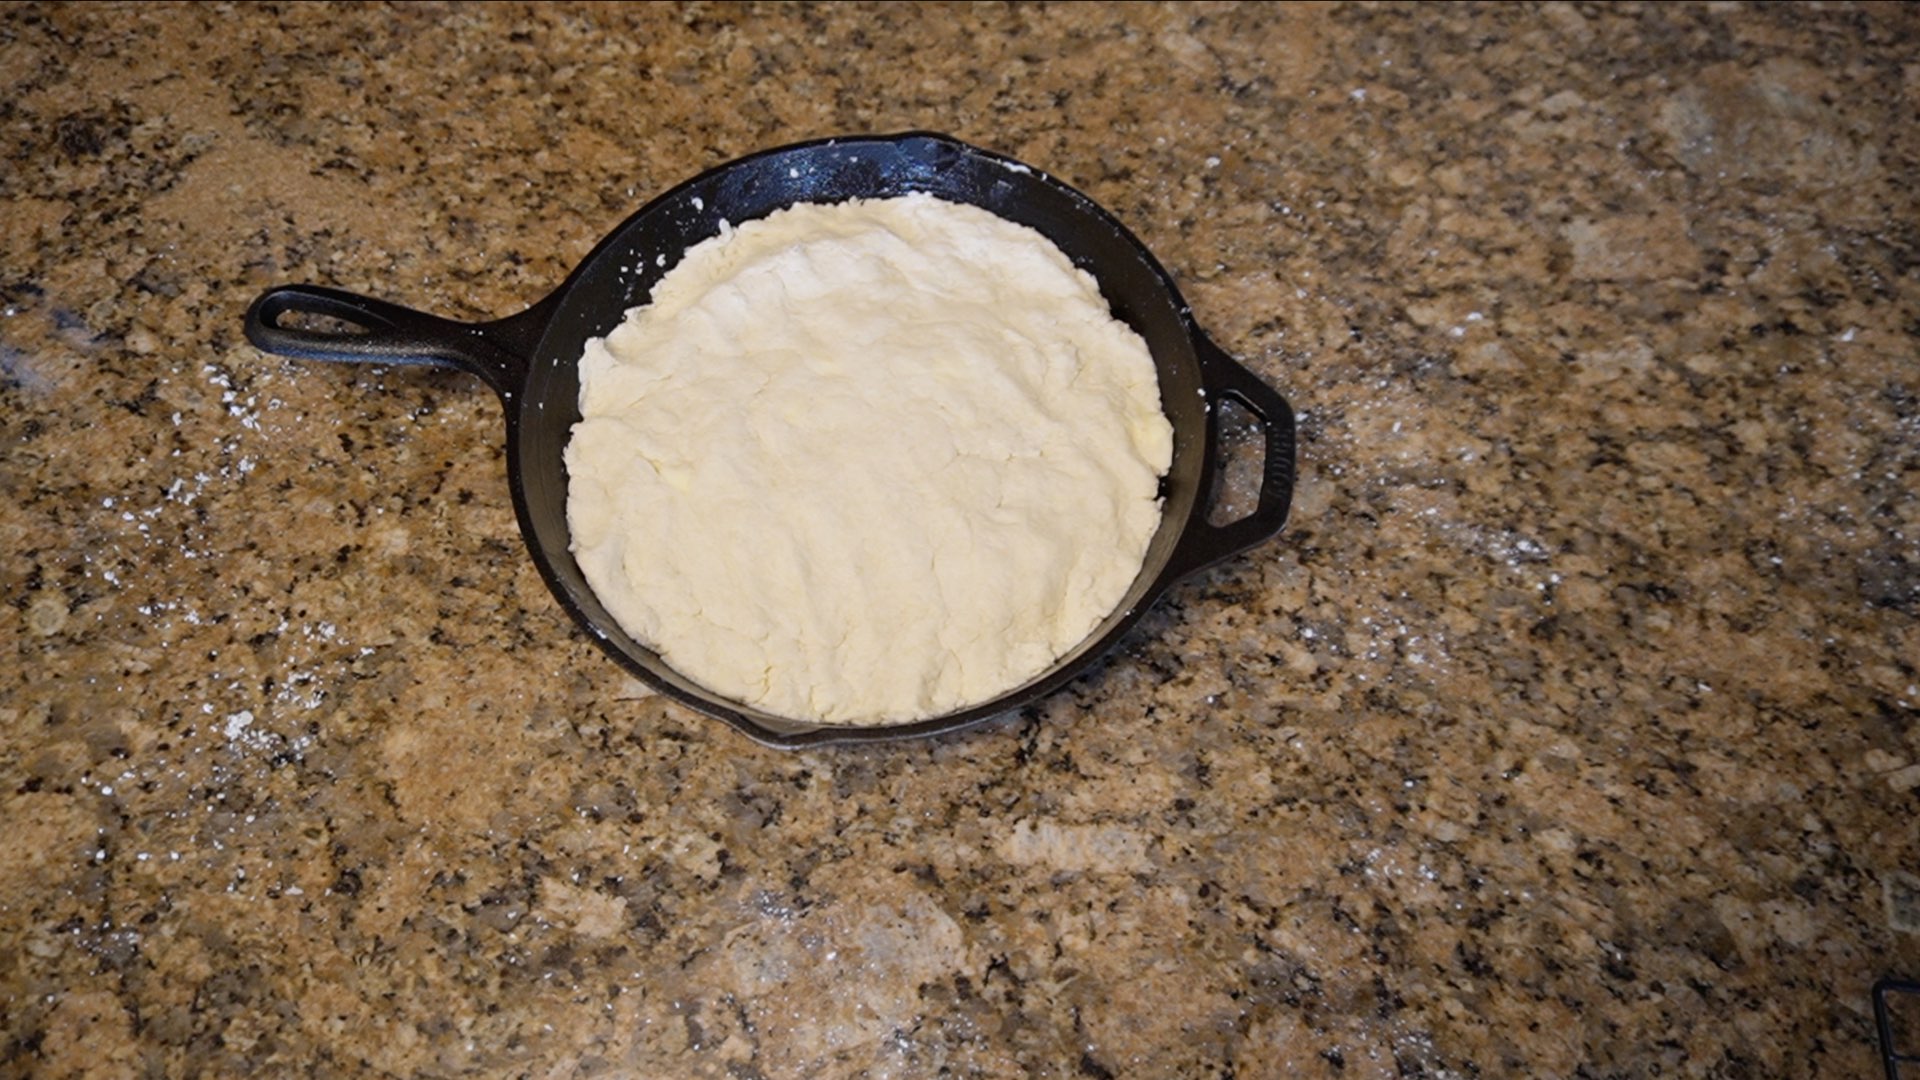
Using clean hands, pat the dough into a relatively even layer. It doesn’t have to be perfect by any means.
It should look similar to this. You are now ready to bake your pone bread!
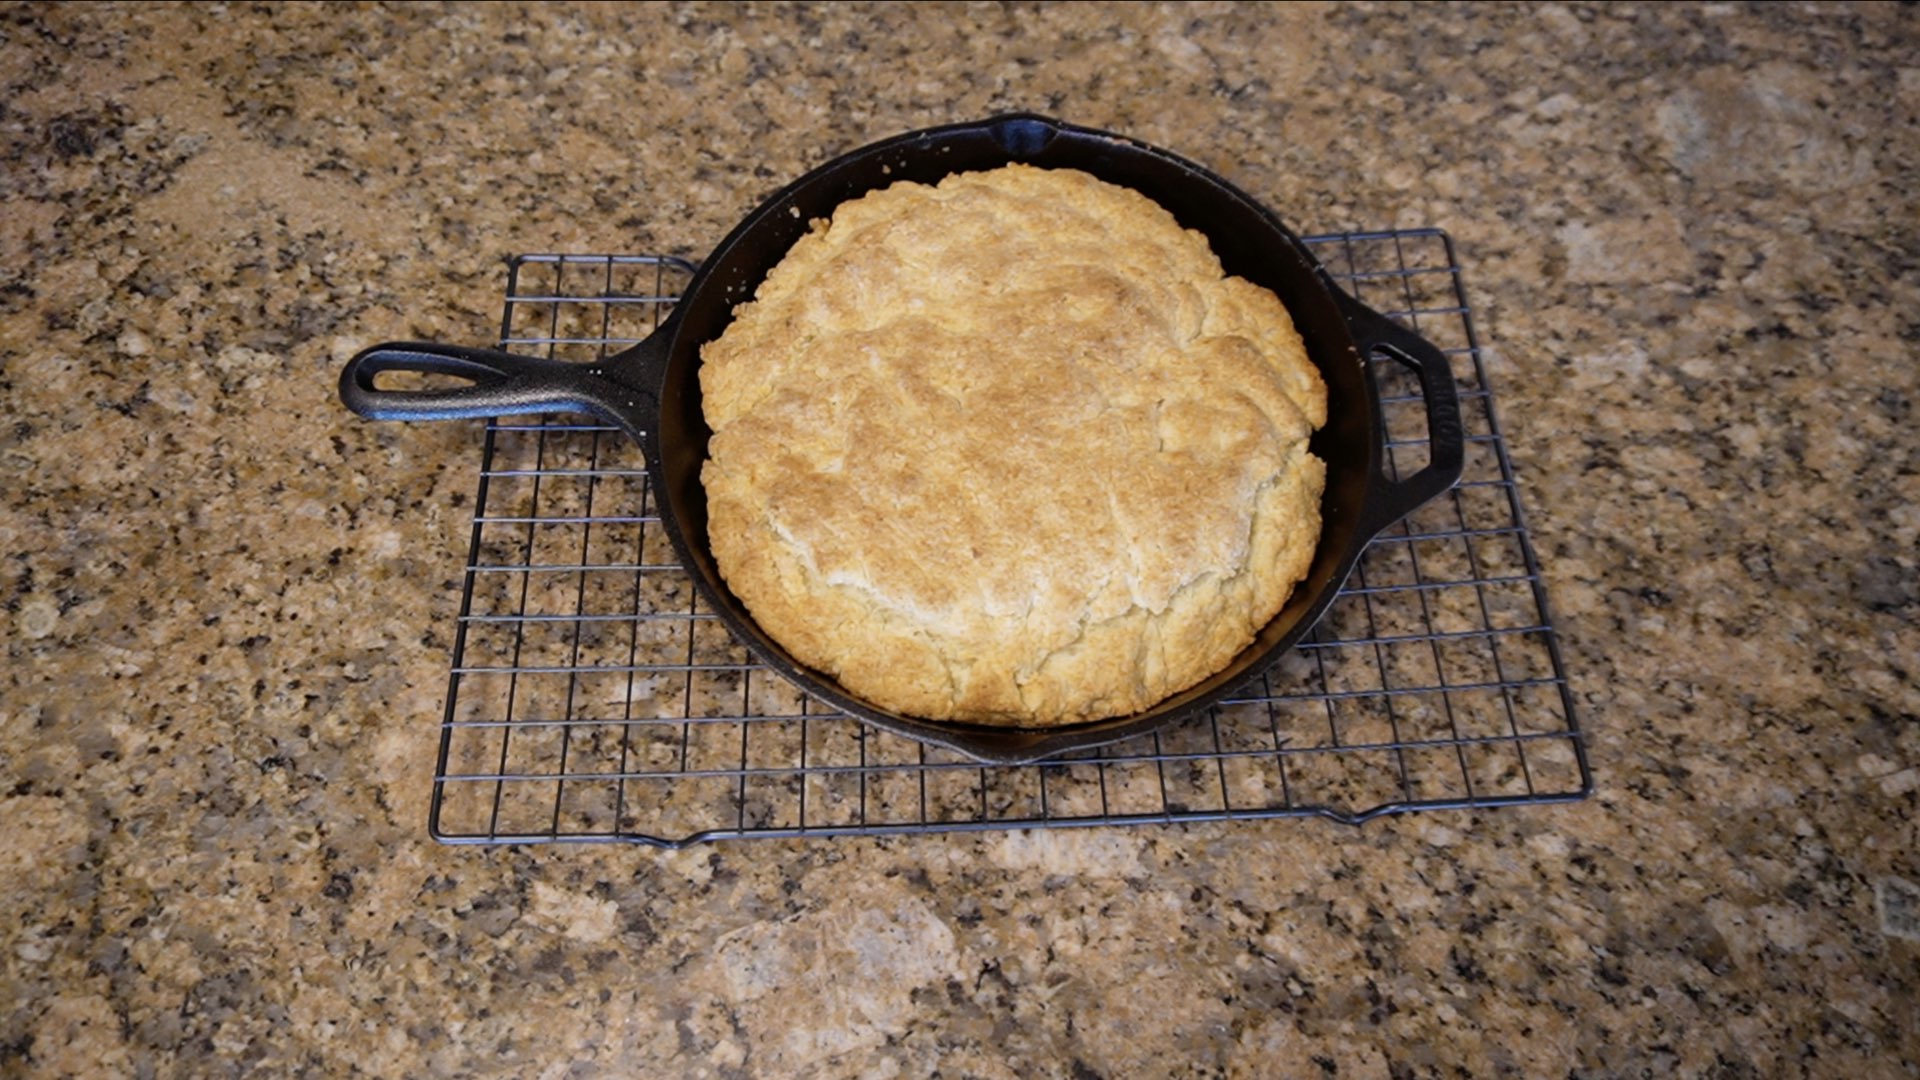
Step 7: Bake
Bake 20 – 25 minutes or the top is a until golden brown and the internal temperature reaches a minimum of 190F (88C.)
Substitutions and Tips
Here are some common substitutions and tips for this Appalachian pone bread recipe.
- Instead of butter, lard, vegetable shortening or margarine can be substituted in equal amounts. Vegetable oil spread is not recommended as it doesn’t have enough fat.
- Any type of milk can be used for this recipe. Even milk substitutes like soy or almond work well.
- You can replace up to one-half of the white flour with whole wheat flour or cornmeal. You may need to add another 1 – 2 tablespoons (15 – 30mL) of milk to get a sticky dough as whole wheat and cornmeal absorbs liquid more readily.
- This will be a sticky dough. Do not add more flour or it will become tough and dense.
- Add up to 1 cup (4oz) of shredded cheese for a cheesy pone! Want to spice things up? Add in some powdered pepper of your choice, toss in some garlic or cut up some jalapeños. You can make all kinds of fun combinations with some creative thinking.
Storage
Freshly baked bread is always best eaten the day you make it. Pone does not have a long shelf life. However, they can keep 2-3 days before they typically go off. Let the pone cool completely and store in an airtight container or plastic bag to stay soft. The crust will also soften stored this manner. If you want the crust to be more like the day you baked them, store in a paper sack or bread bin.
Pone can freeze up to 3 months. Store in a freezer safe bag or container after it has completely cooled from baking. Thaw the pone in container at room temperature. Frozen pone can be reheated in the oven at 350F (180C) for approximately 10 – 15 minutes or until warm.
Appalachian Pone Bread Recipe
Ingredients
- 3 cups (450g) self-rising flour*
- 1 ¼ cups (300mL) buttermilk
- ½ cup (113g) butter
- ¼ cup (56g) lard or vegetable shortening
- 1 tbs (12.5g) sugar
- ½ tsp (2.5g) salt
Instructions
- Repeat the last two steps until all pancakes are cooked. Serve while still warm.
0 Comments