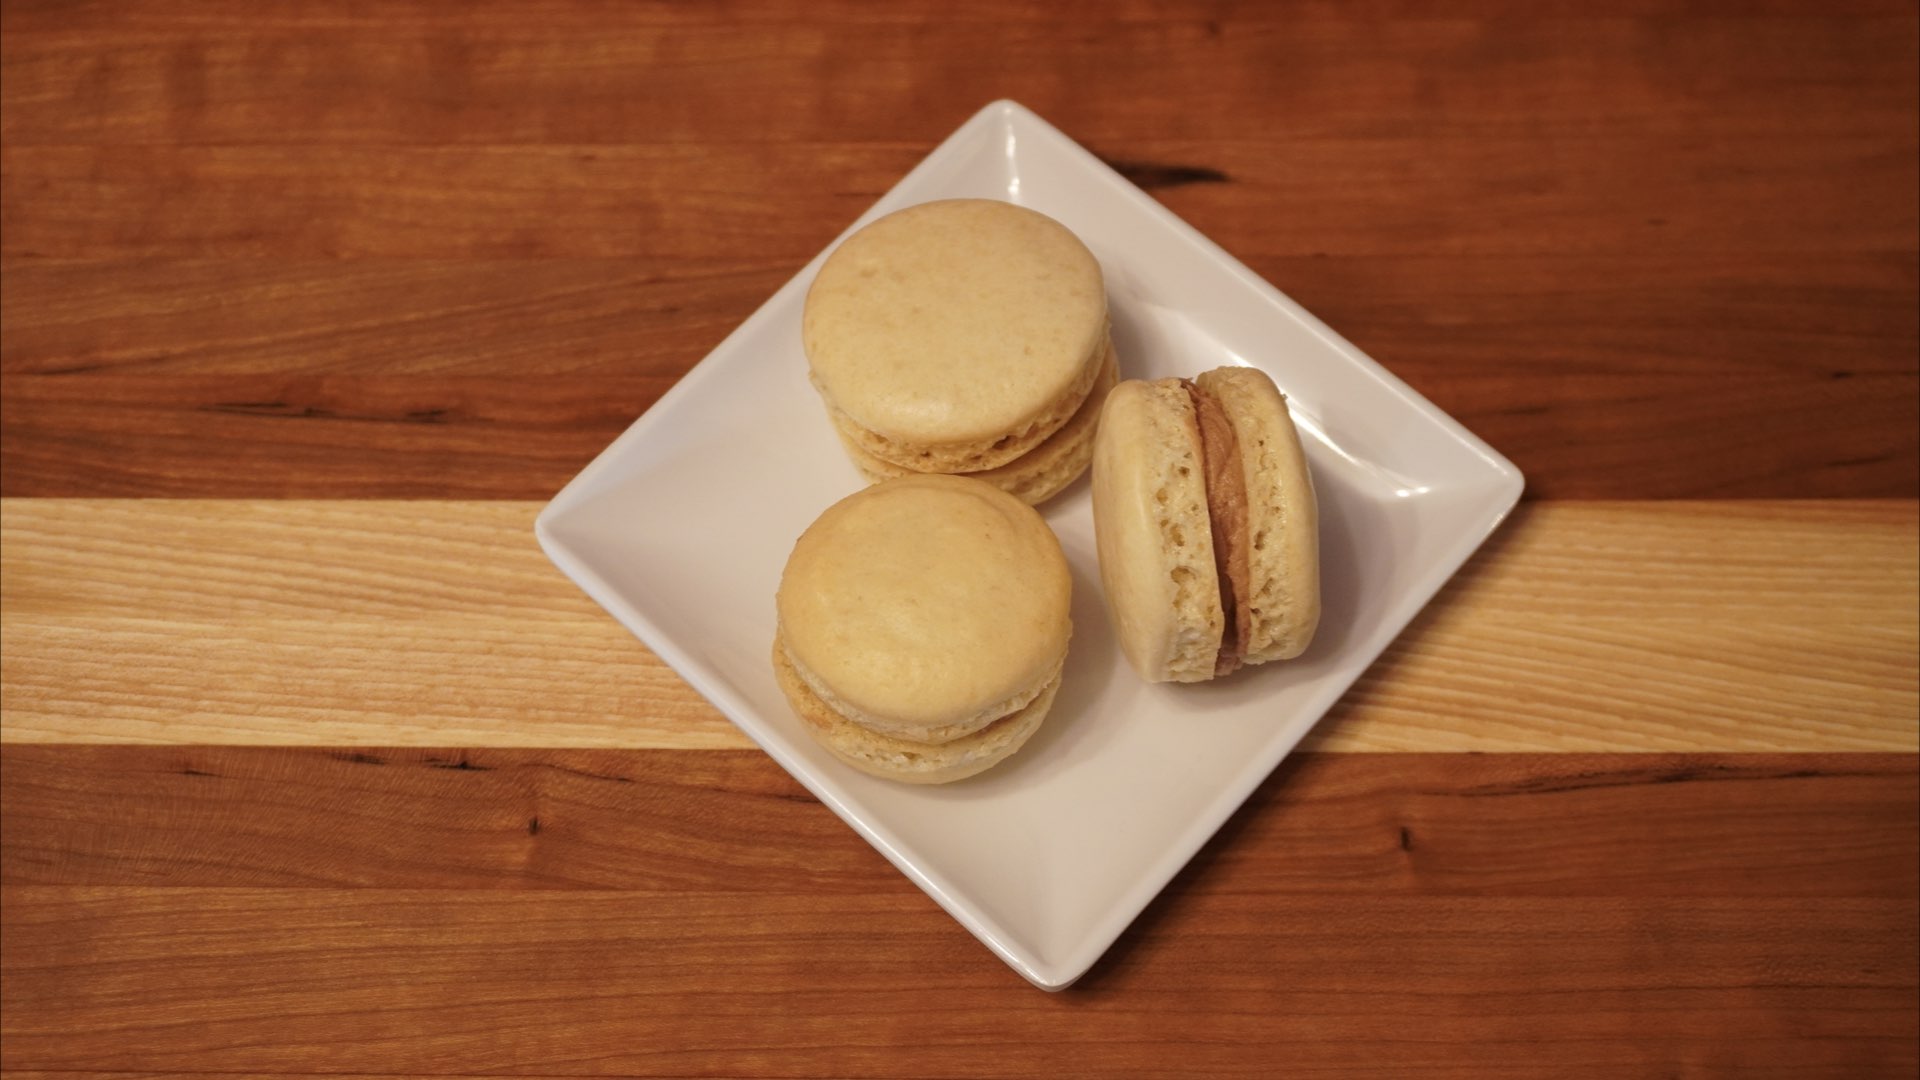
I have been frequently asked if you can make macarons without almond flour. The other question I frequently get asked is if you can make macarons with flour. The answer is yes. Can you tell which one(s) are the imposter macaron on the plate below?
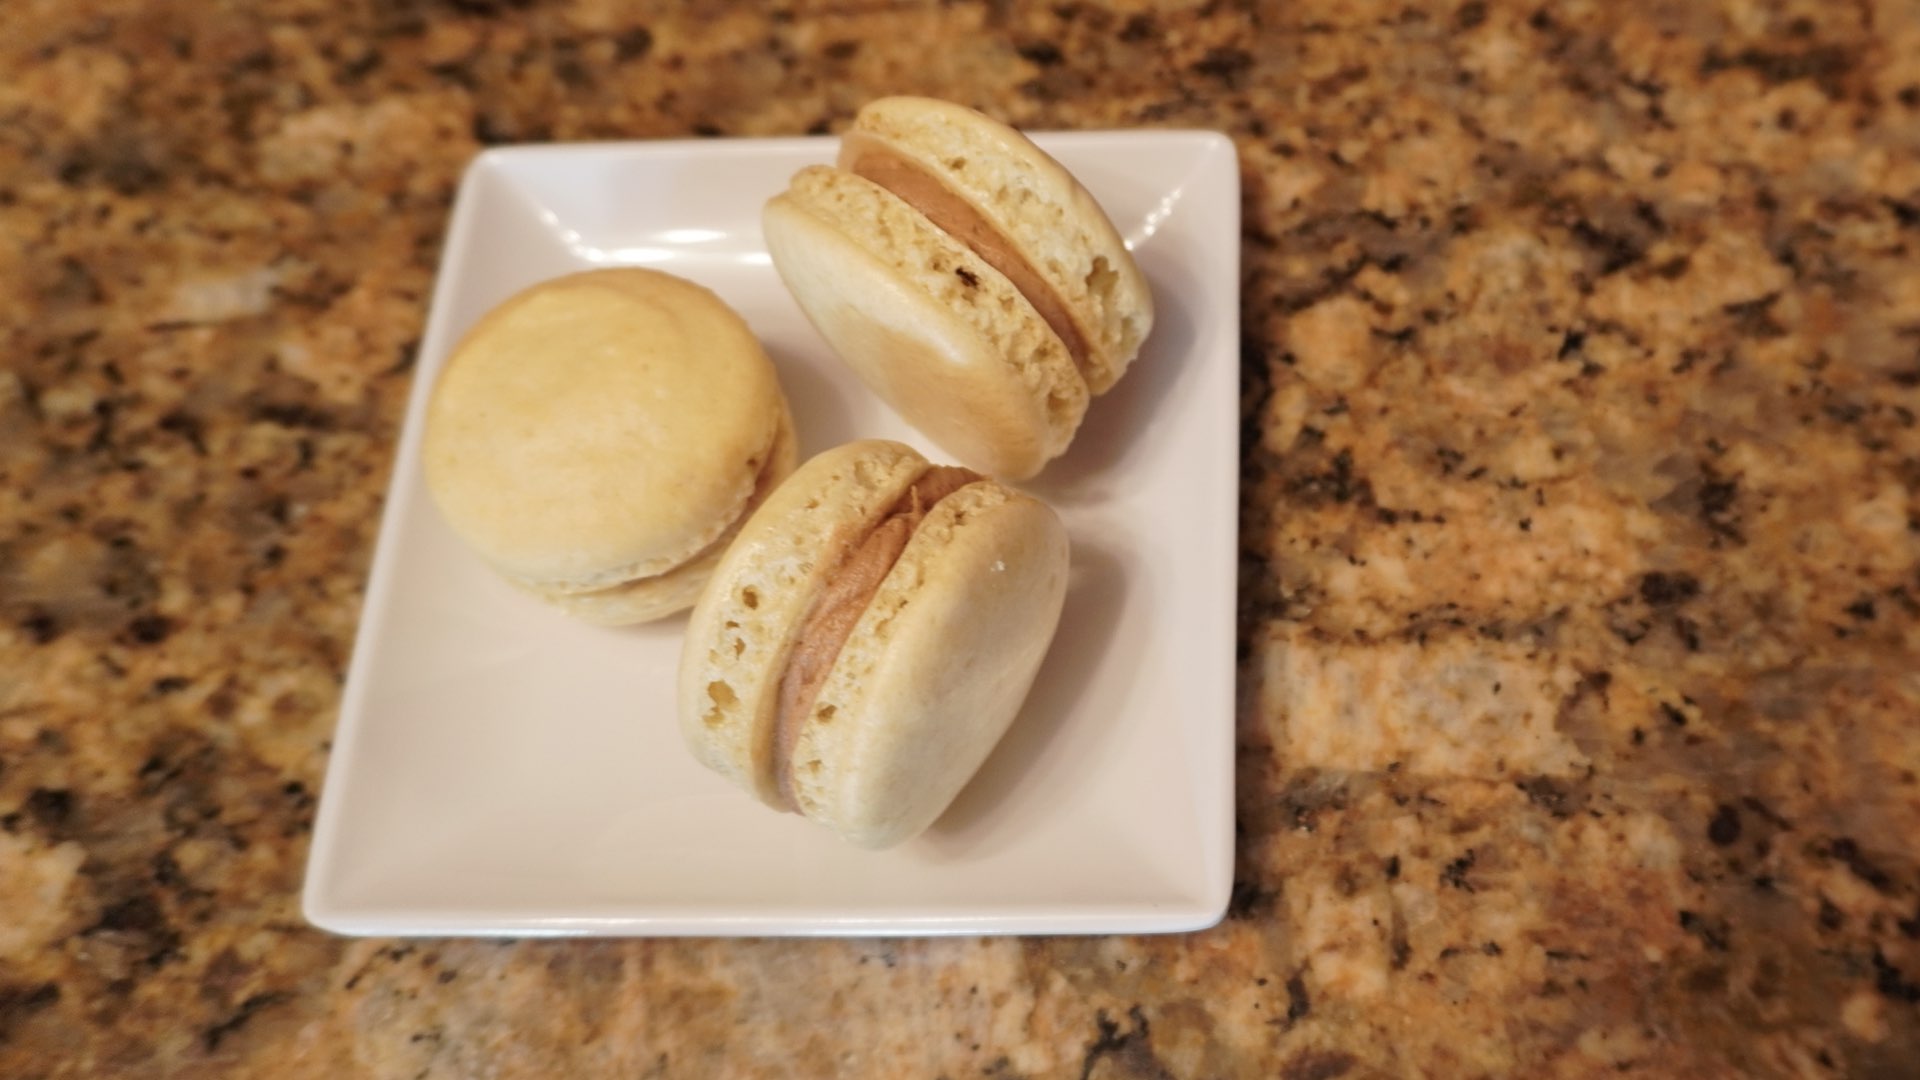
You can make macarons without almond flour and they will look lovely. However, they will not taste the same and will have a different texture. So why would you want to make them without almond flour, then? Several reasons. Perhaps you have a loved one that desperately wants to have macarons but is allergic to all forms of nuts. Or you want to practice the steps to making macarons and don’t want to waste expensive almond flour. Maybe you need some props for a photoshoot. Or maybe you just want to see if it is possible. Regardless of your reasons, the process is very similar if not the same. So let’s go through the steps.
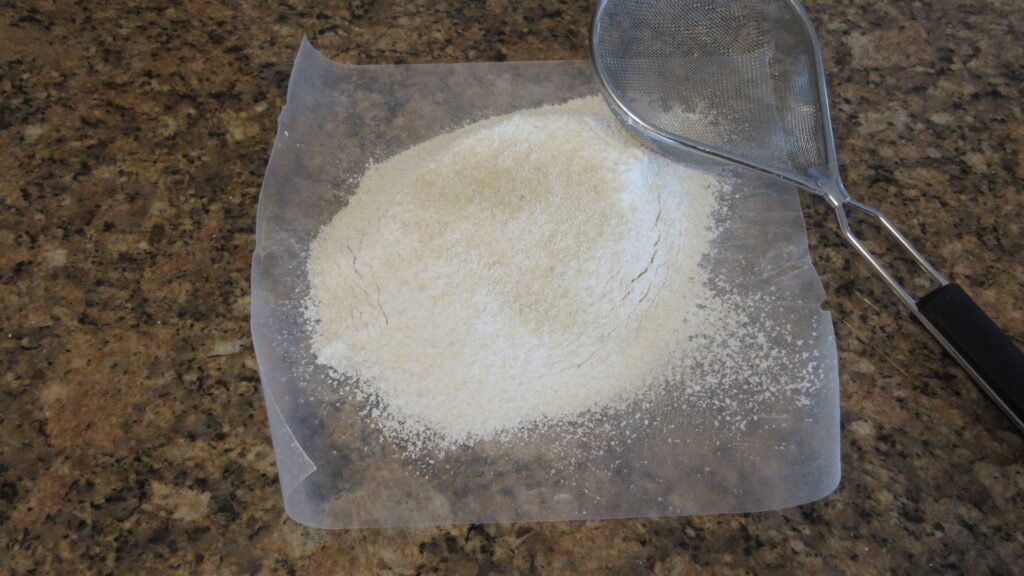
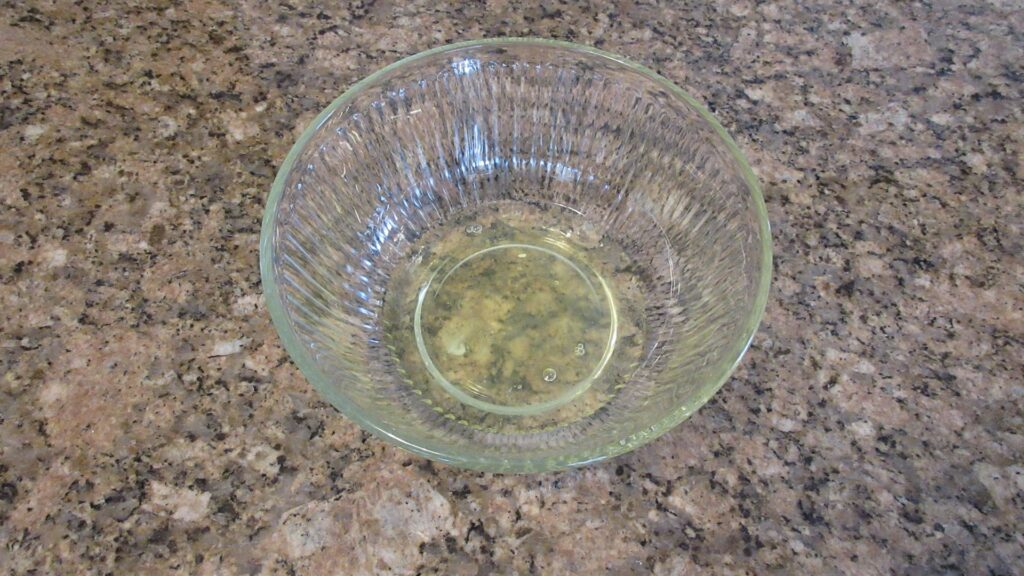
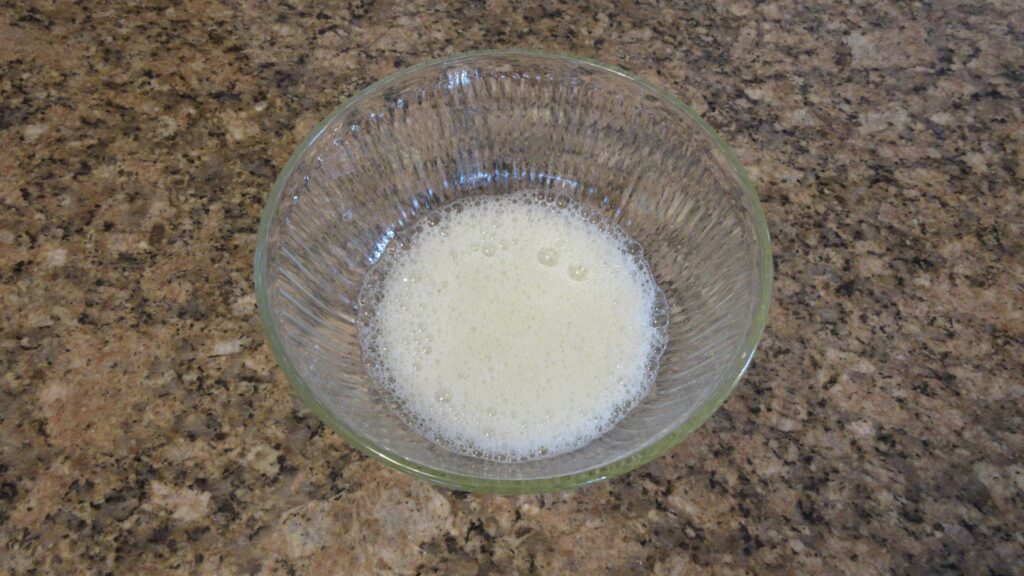
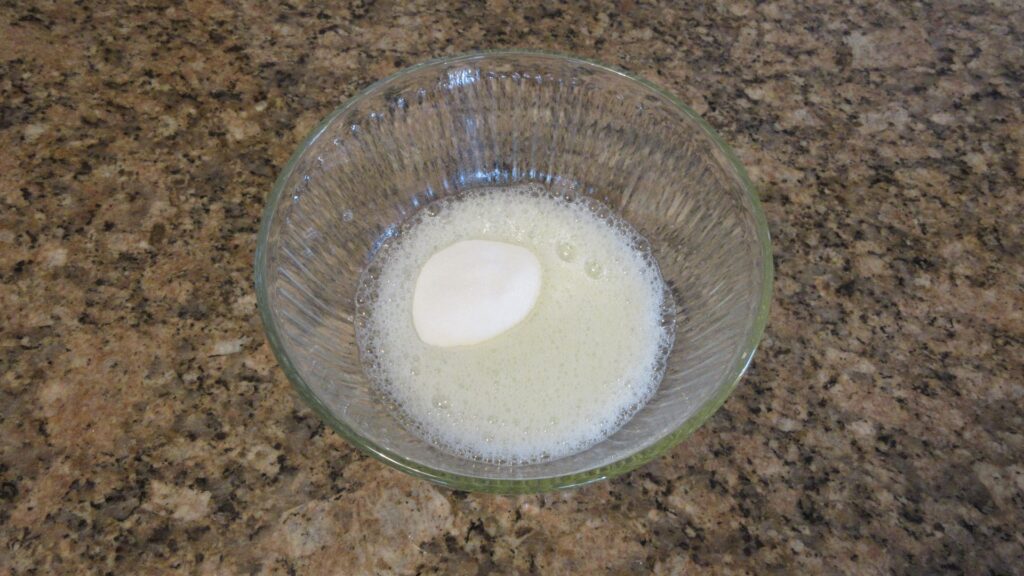
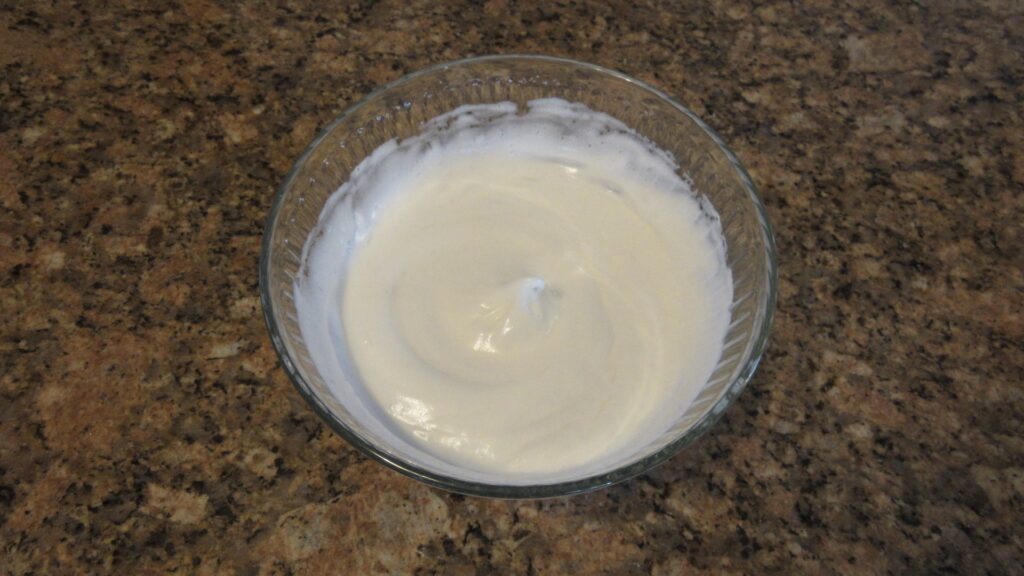
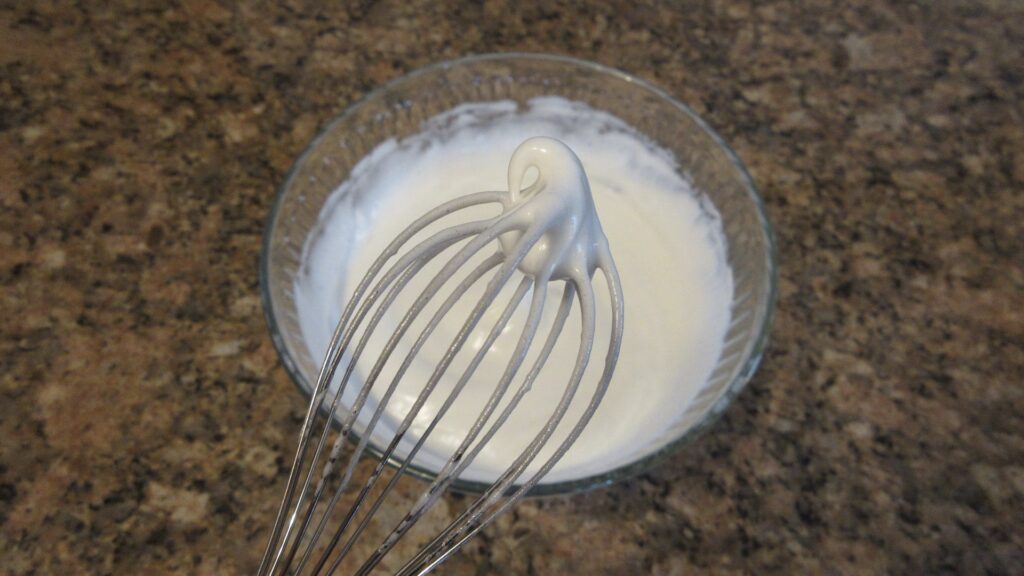
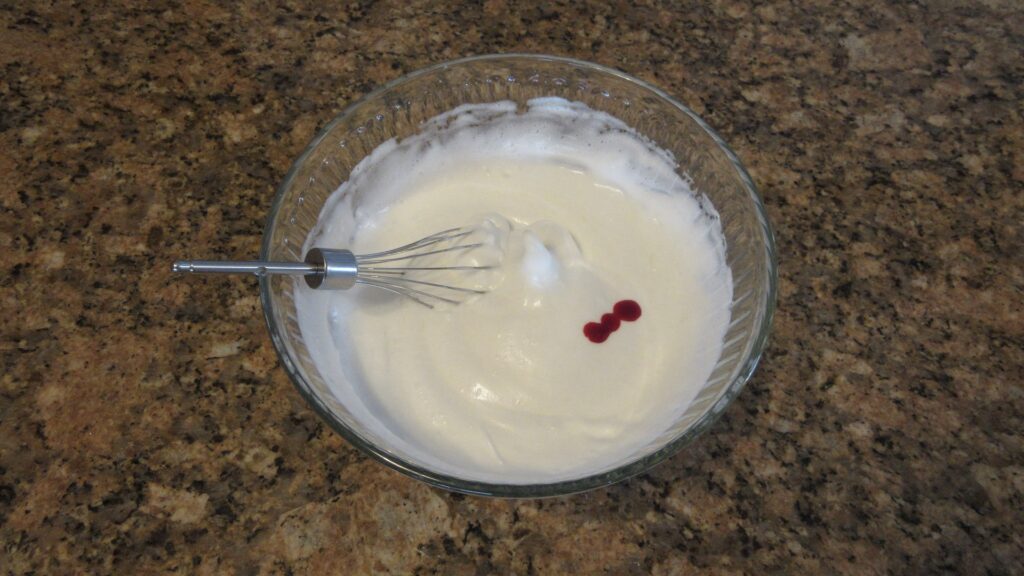
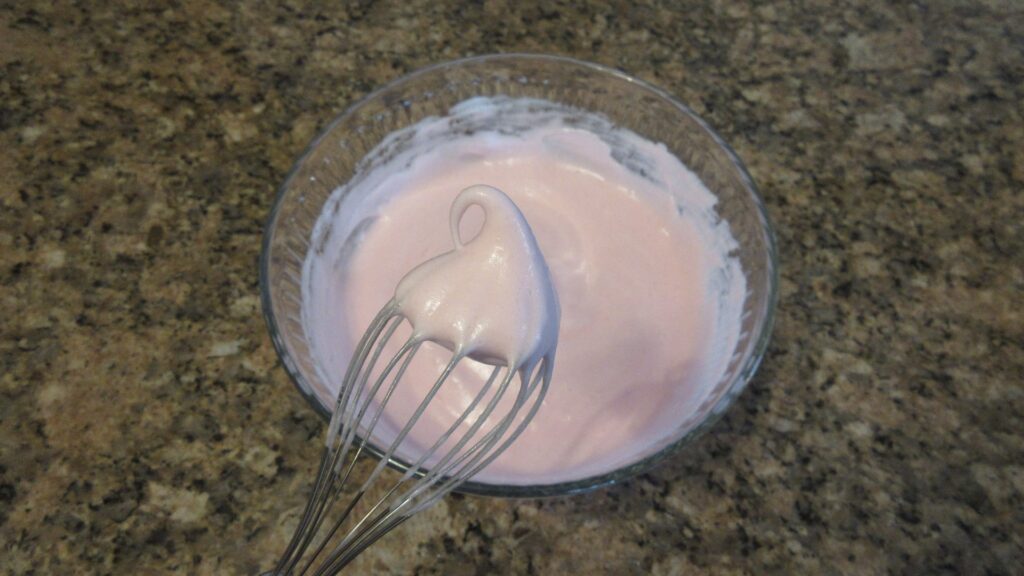
First, sift together the flour and powdered sugar. Next, you whip the egg whites and granulated sugar to soft peaks. If using food coloring, add it now and mix on low until just combined.
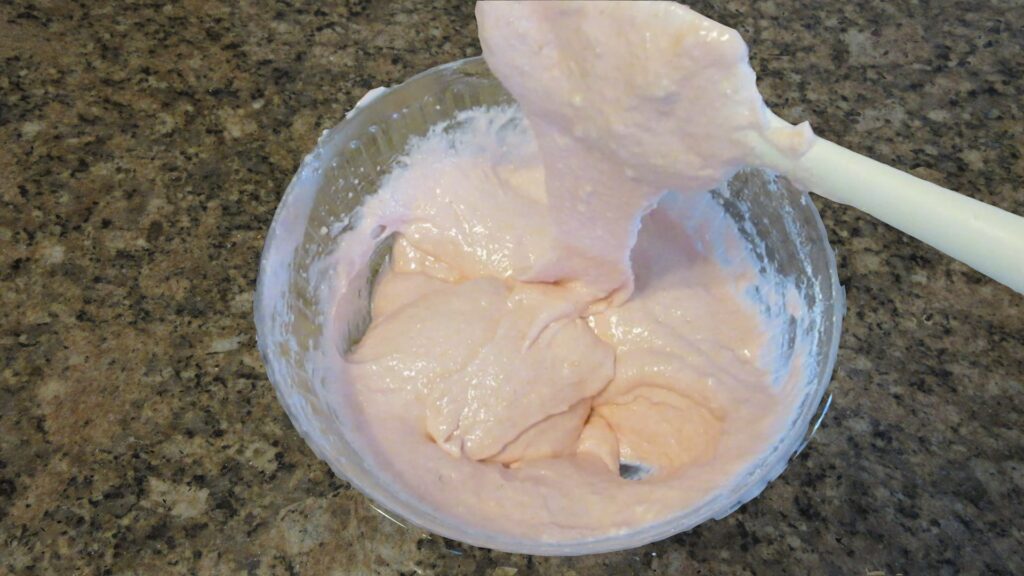
Then you fold in the flour and sugar until the batter ribbons off the spatula, turns glossy and begins to level with time. Finally, place in a piping bag and begin piping your macarons! For more details, watch the video below as well as reading the recipe. If you have more questions, feel free to reach out to us! We are happy to help!
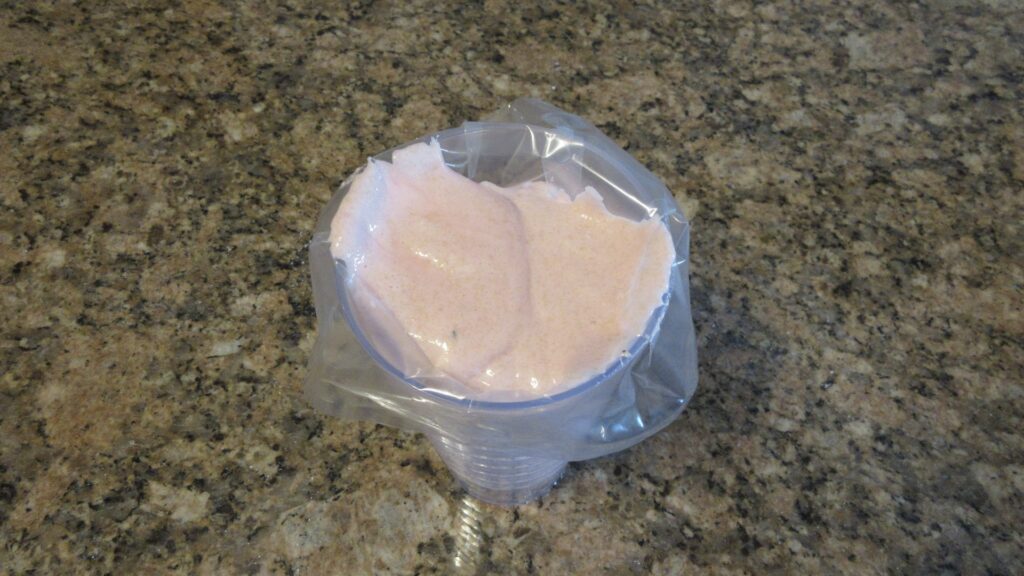
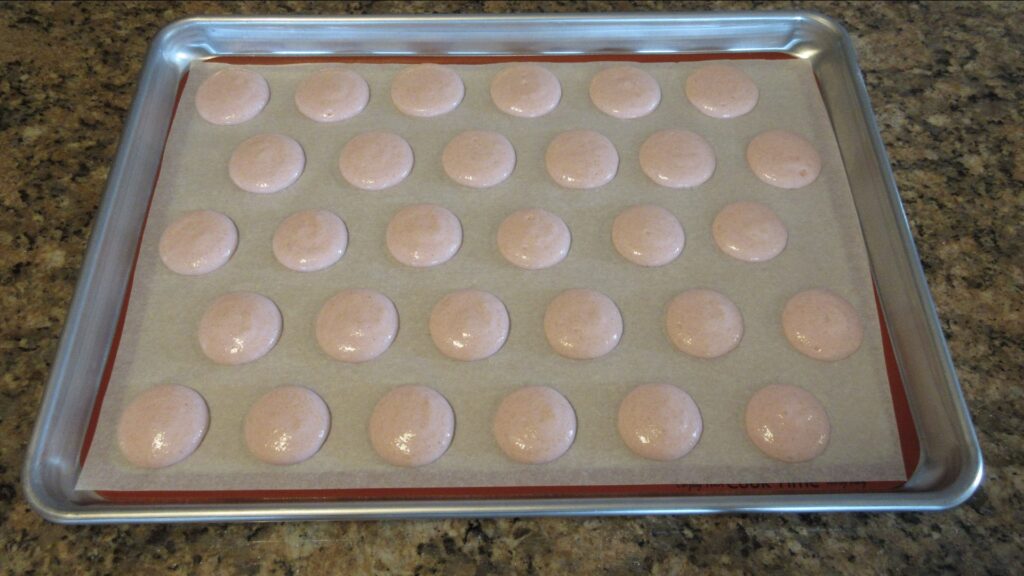
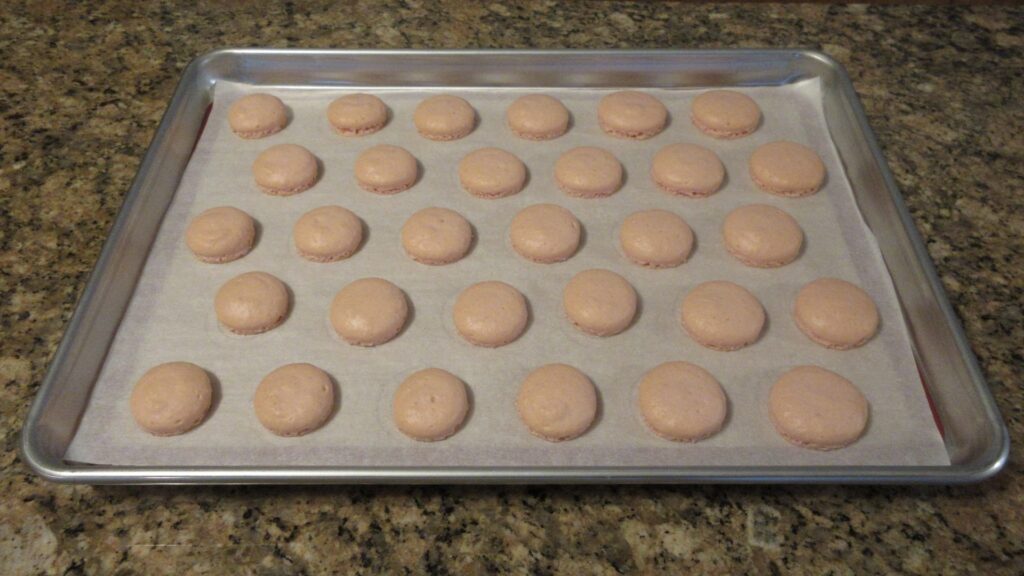
Now look closely at the macarons we made without food coloring. Can you tell which one(s) are made with almond flour versus all-purpose flour?
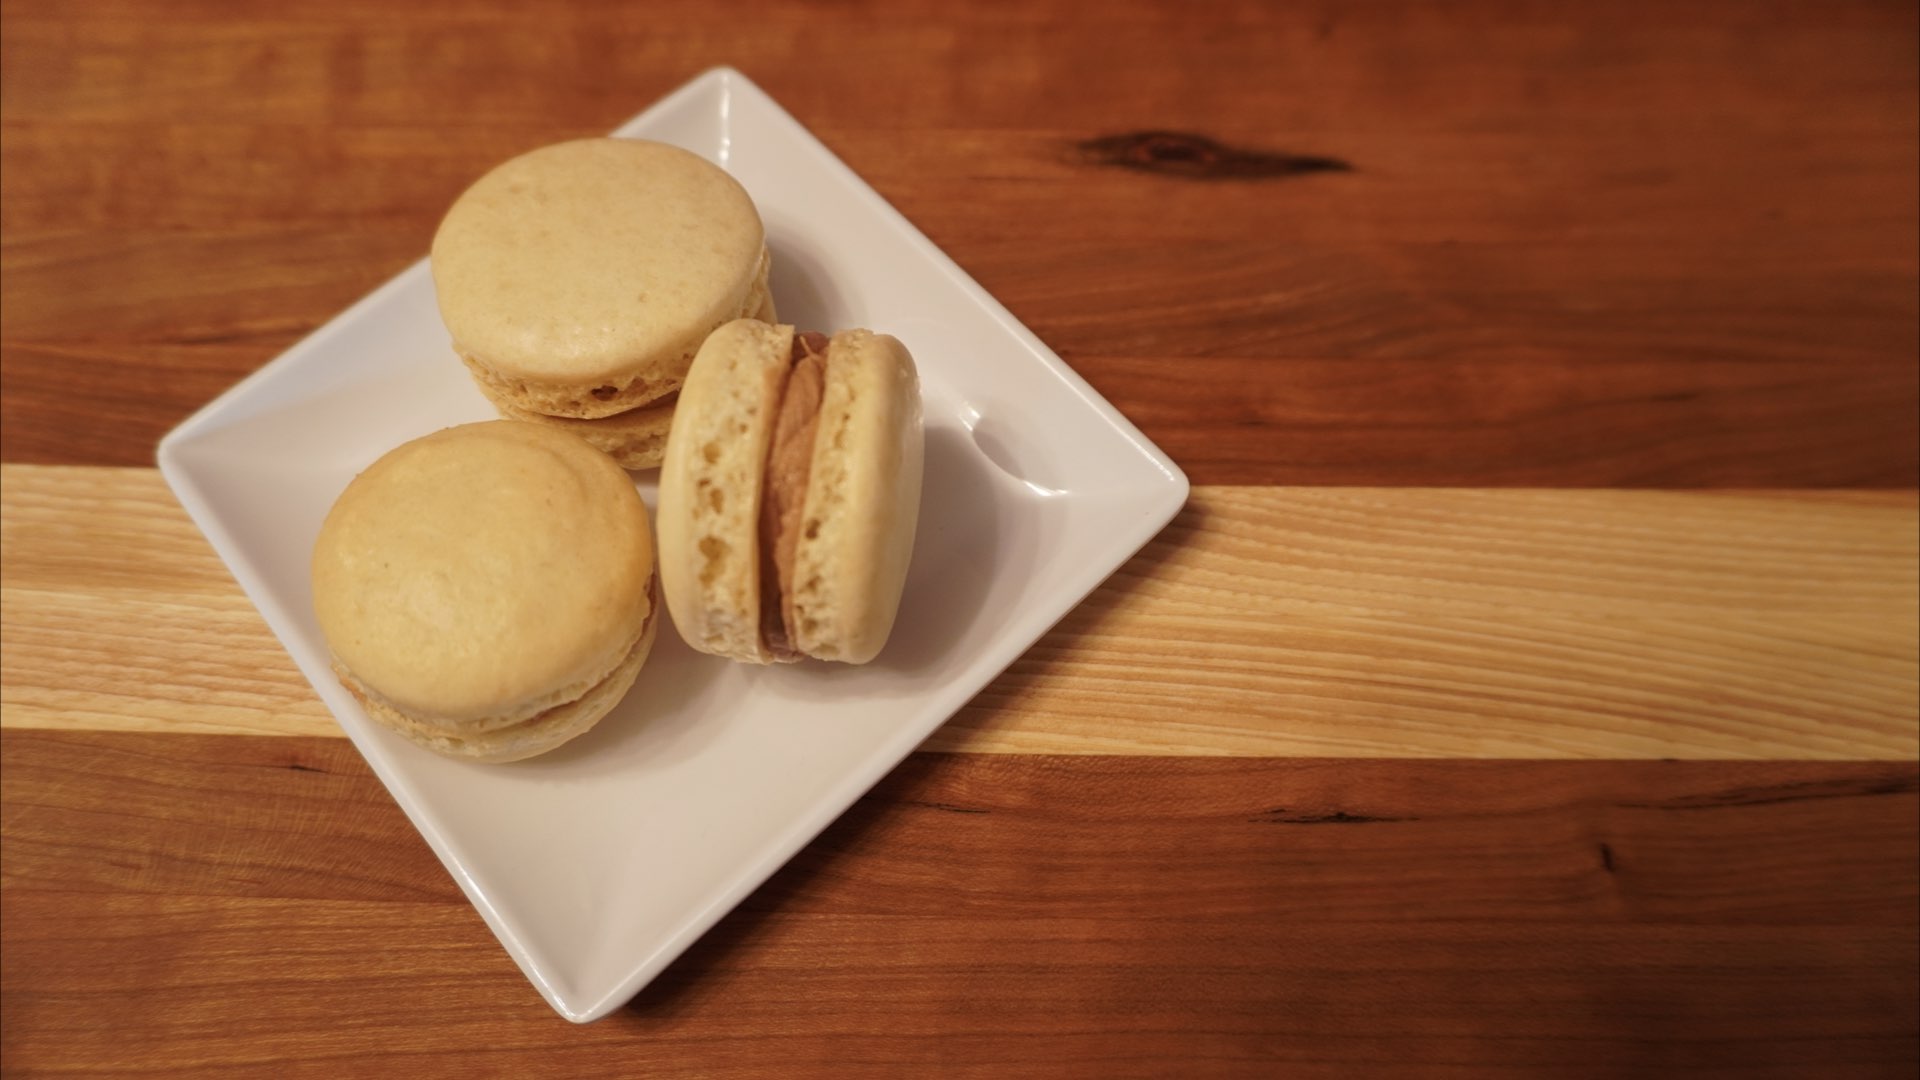
French Macarons Recipe with All-Purpose Flour
Ingredients
French Macarons
- ¾ cup (100g) powdered sugar
- 2 large (60g) egg whites
- ½ cup (50g) all-purpose flour
- ⅛ cup (30g) granulated sugar
- 1 tsp (5mL) vanilla extract
Basic Buttercream
- ¾ cup (100g) powdered sugar
- ¼ cup (56g) softened butter
- ½ tsp (2.5 mL) vanilla extract
- 1 tsp (5mL) milk
Instructions
- Sift powdered sugar and flour together. Set aside.
- In a 2 quart bowl or larger, use a hand mixer and beat eggs for 30 seconds, add sugar. Continue beating until soft peaks form. If desired, add food coloring and vanilla extract at this stage. Beat until just combined.
- Add the dry ingredients into the meringue.
- Using a spatula, gently fold in the ingredients until the batter becomes shiny and drips smoothly off the spatula. It should ribbon off and sink back into the batter within 30 seconds. If it doesn’t do this, fold until you see the change. Do not over mix or you will have flat cookies.
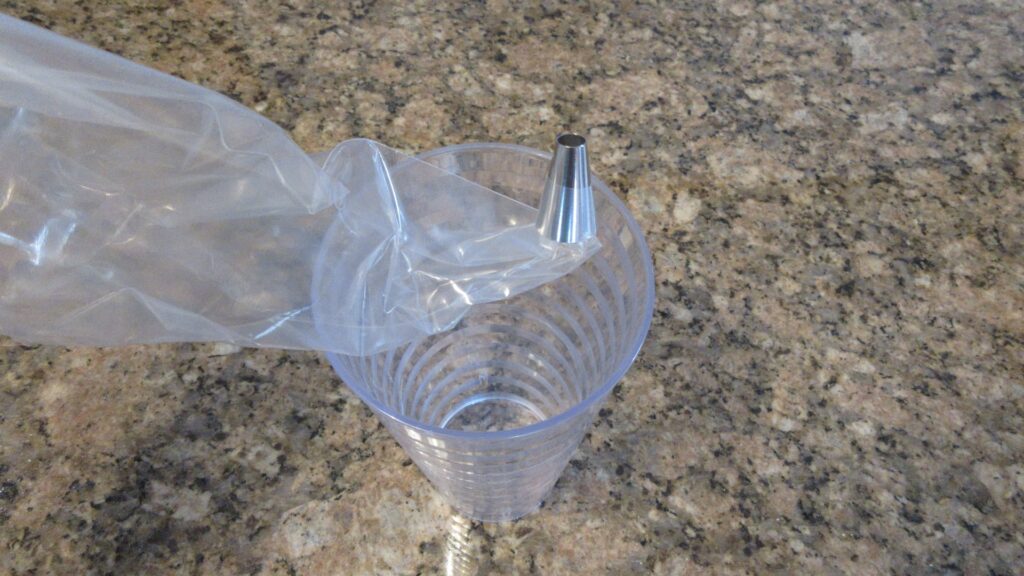
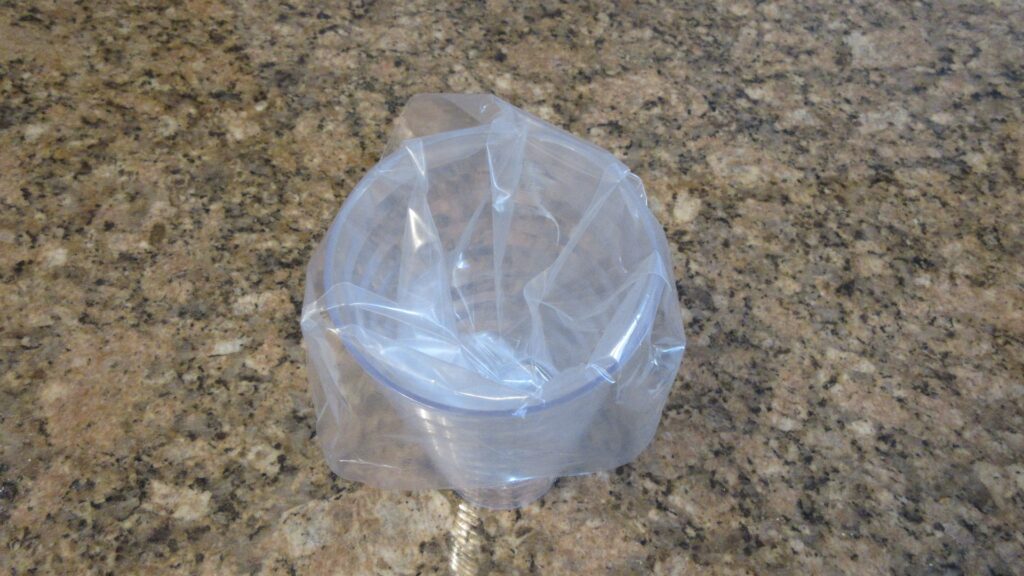
- Place in a piping bag with a 1/4" (6mm) tip. Squeeze onto parchment paper or a silicone mat until 1 1/2″ (3.8cm) circles form, spacing 2″ (5cm) apart.
- Let sit until a skin develops. This step will depend on the humidity in your environment. On dry days, it can take as little as 15 minutes. When it hits above 75% humidity, expect it to take closer to 2 hours. Failure to dry the cookies will often result in cracks and cookies without feet. (Feet are the little ruffles that develop at the bottom of your cookies.)
- Once the skin forms, preheat the oven to 300F (150C.) Bake 16 – 20 minutes.
- Let rest 5 minutes and remove to a rack to cool completely before filling. I recommend an acidic flavor to balance the sweetness of the cookie.
Buttercream Instructions
- Blend sugar, vanilla, and butter together. You can use a mixer or mix by hand.
- Add in the milk if desired for a softer buttercream.
0 Comments