A Little History on Cheese Crack-hers
Today we are going to make Roxanne’s Cheese Crack-hers for all your furry pups to enjoy! With any recipe, we like to give a little background about it’s history or how it was invented. Of course, if you are in a hurry, you can always skip to the recipe below.
Jackson’s job refers to my service dog, Jackson. Over the years I have featured dog treat recipes for dogs as a result, particularly for Raymond because he has food allergies. This started because most commercial dog snacks usually have at least one ingredient that he can’t eat. Plus many are often loaded with so many unwelcome ingredients such as excessive preservatives or sugar. Sugar in moderation is never a bad thing but sugar can make some dogs anxious, hyper and too much will cause them to put on excess weight. Plus, sugar often leads to tummy troubles as it’s not well digested by many dogs out there.
Recently, we added to our crew and got a new pup named Roxanne. She’s a very happy and healthy little girl. However, Roxanne is a little bit like Raymond. She cannot eat a lot of treats because some of the ingredients don’t work well for her tummy. This could because she’s a puppy and she may outgrow it. In the meantime, shouldn’t she be allowed to have treats? Since she is in numerous training classes, finding a treat that works for her has been a challenge. Some have too much sugar, others too much fat, this one too much protein. You get the picture.
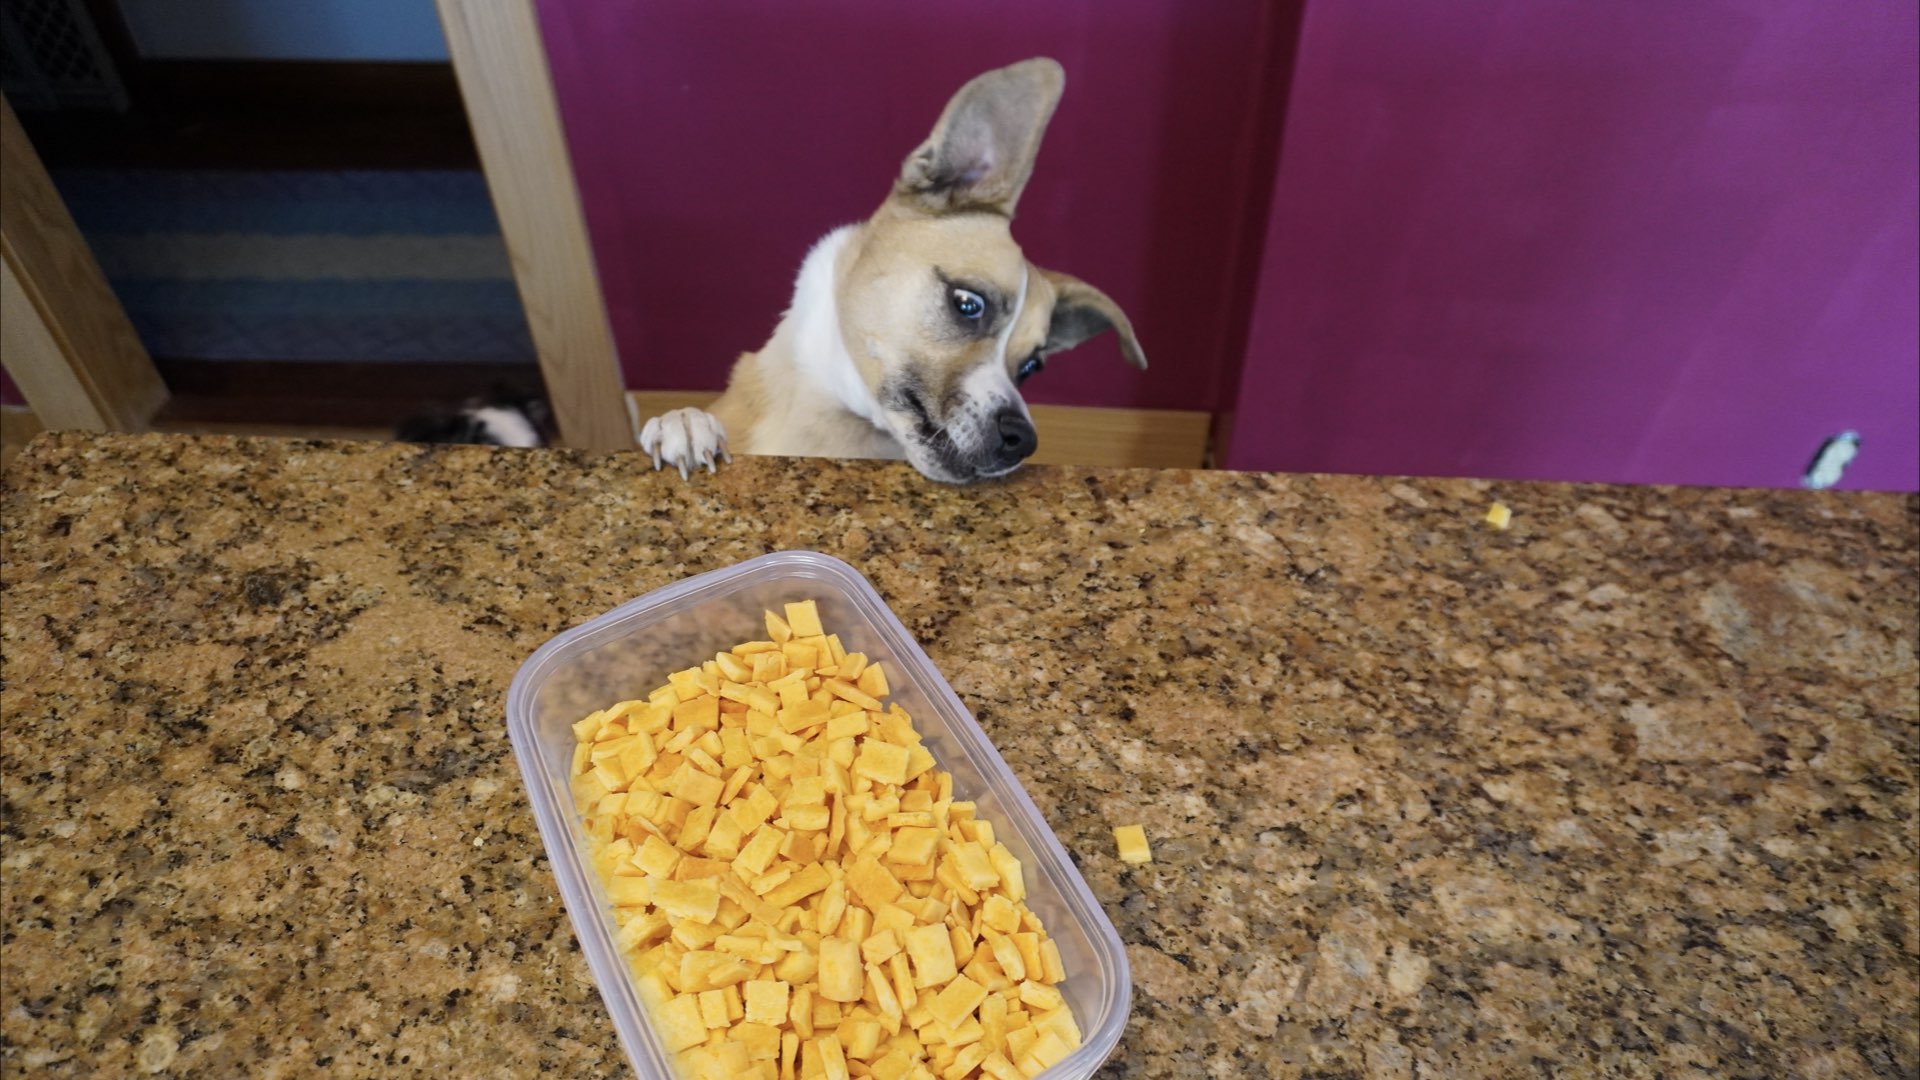
One day, her older sister Maggie knocked down a container of Cheez-It® crackers. They both happily devoured quite a few before we could get them swept up. In fact, Maggie’s emergency recall is Cheez-It® because she’s so obsessed with them. She gets one or two on occasion as a special treat as they aren’t ideal for dogs. Maggie had found the container I left on my desk and knocked it down to help herself. Roxanne decided to join in.
Both girls had a little party snatching the crackers off the carpet. Fortunately for us, it didn’t make Roxanne sick, so lo and behold a new treat was in the process! Unfortunately, Cheez-its do have sodium and paprika. Both which can be bad for dogs. Thankfully, the small amount they ingested were not enough to make them ill. The vet said they would be okay, but it’s not a good idea to make a habit out of it as some of the ingredients aren’t so good for dogs. Whew!
That is when I decided to use Raymond’s Peanut Butter Dog Treats and modify them. Since I like to limit ingredients so Ray can enjoy them, I decided to make them as simple as possible. Let’s go over that now.
Step-by-Step Instructions
Below you will see how easy it is to make these cheese crack-hers. You will need to use rice flour, oil, cheese and water. That’s it. Sounds easy, doesn’t it? It really is as you’ll see below.
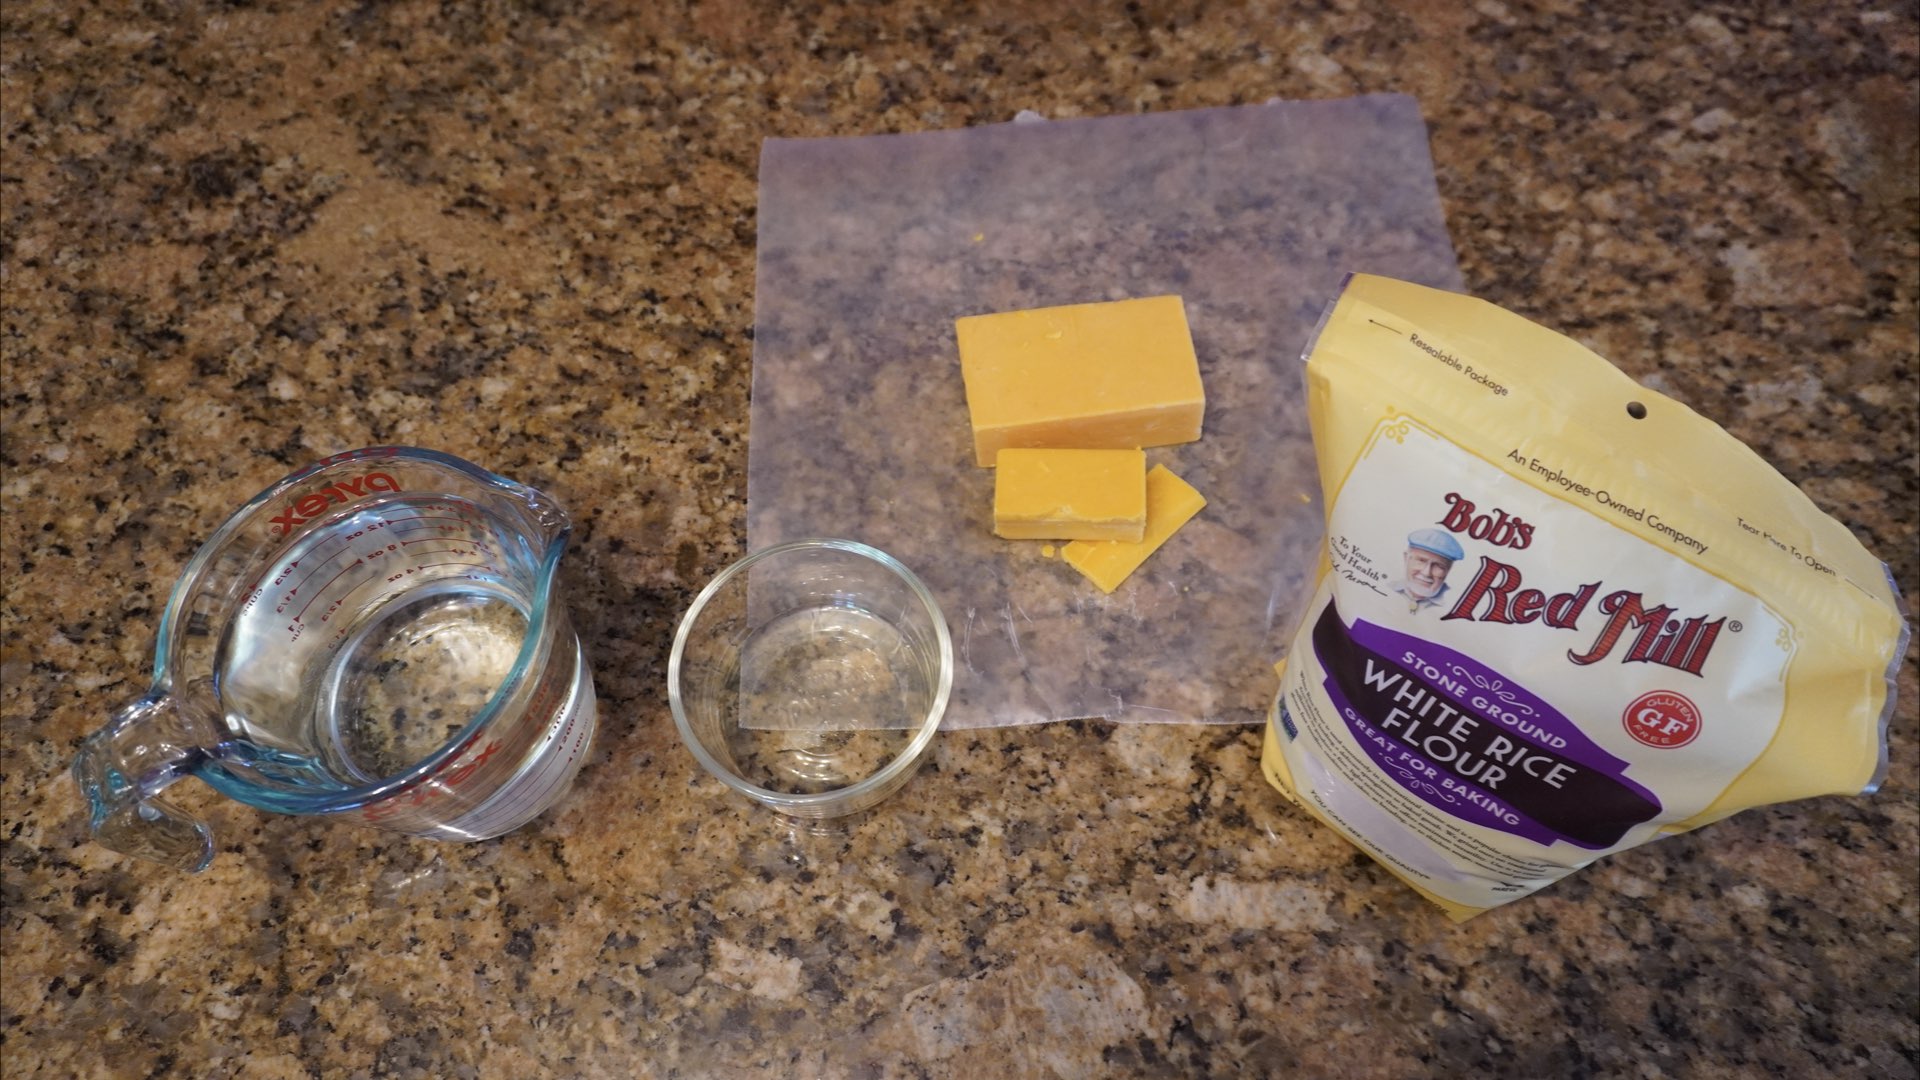
Step 1: Gather your Ingredients
As with any good recipe, it’s always a good idea to get your ingredients ready before starting. It’s always surprising when I go to make something and find out I’m out of a key ingredient.
For this recipe, you only need four ingredients, cheese, rice flour, oil and water. If you do not have access to rice flour, you can use any type of flour that is suitable for dogs. Just be sure that your dog can easily ingest the type of flour that you pick. Whenever in doubt, always ask your veterinarian before making any type of recipe for dogs. In fact, I always run recipes through my veterinarian before I feed them to my dogs.
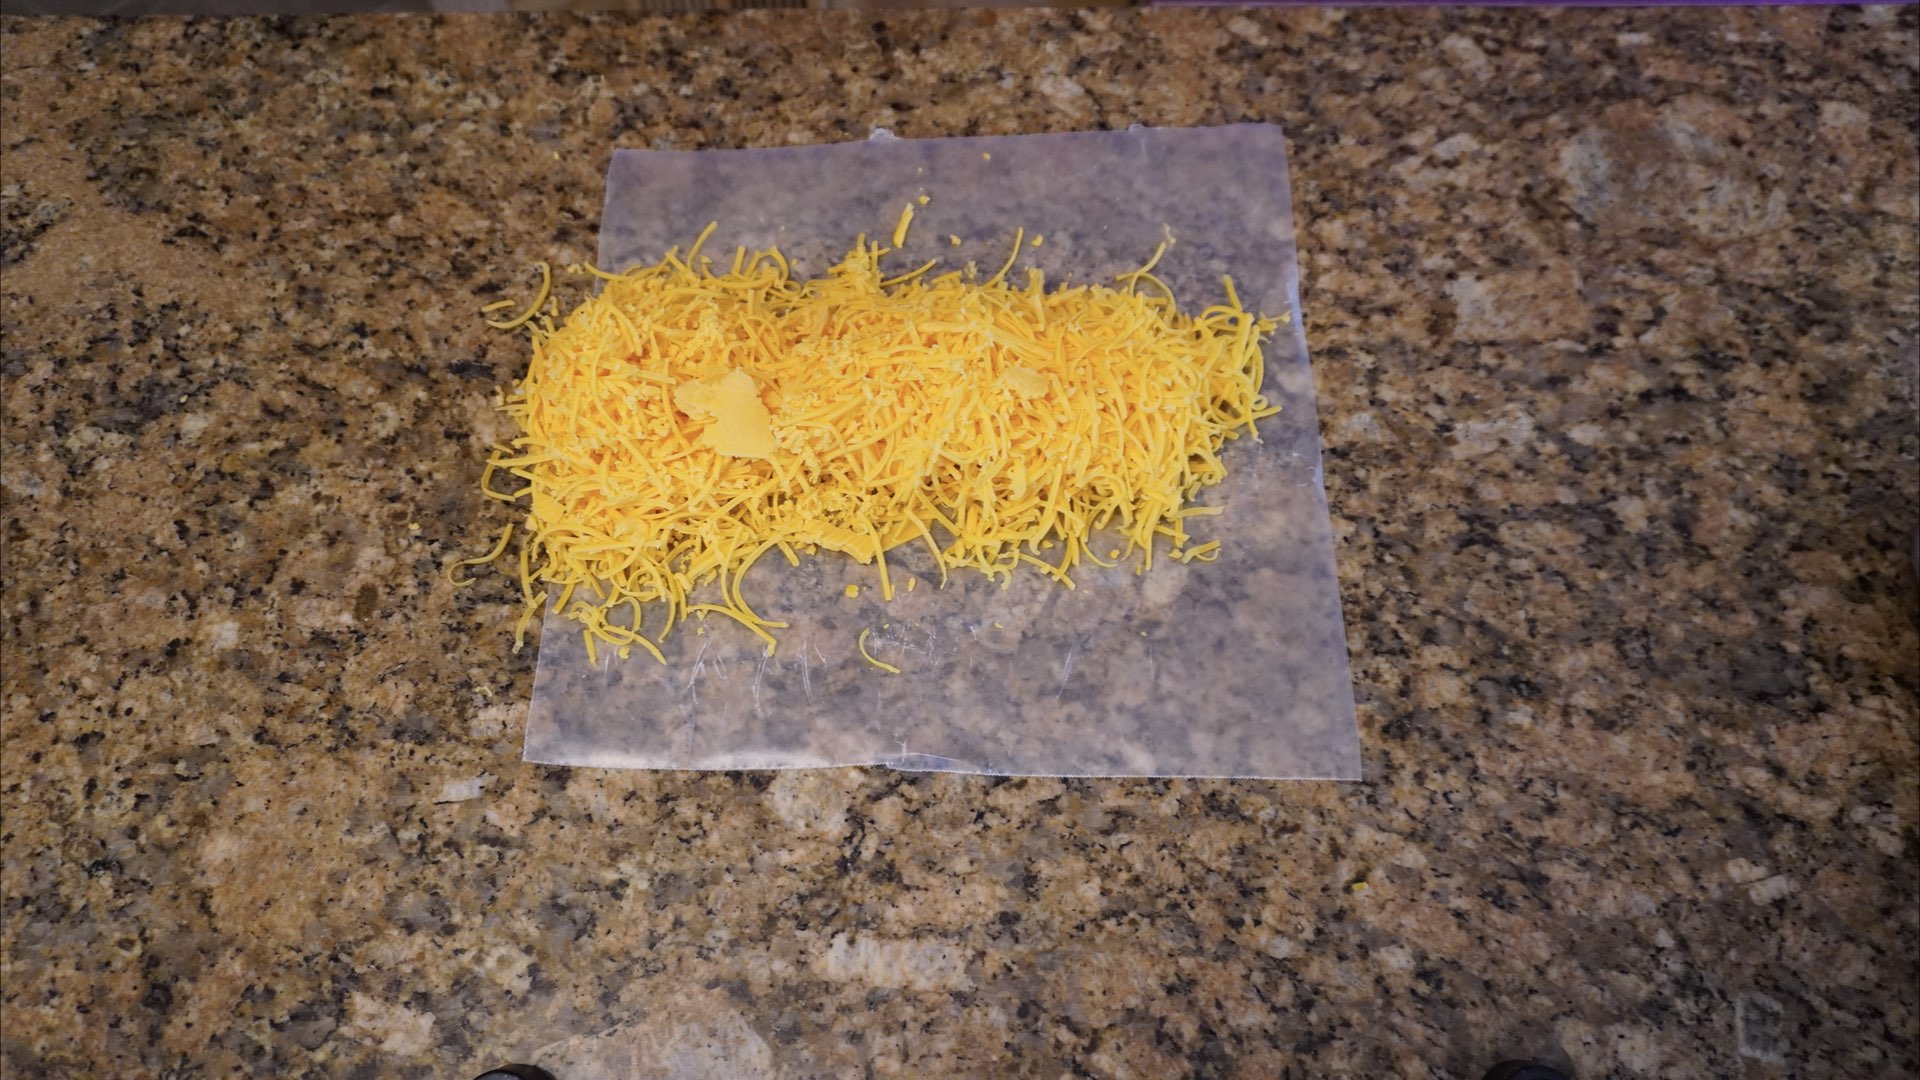
Step 2: Shred the Cheese
The next thing you want to do is shred your cheese. I prefer to use block cheese. If you bought shredded cheese, read the ingredients on the the back of the package. Some ingredients they add may not be ideal for your dog. With pre-shredded cheese, you may find yourself having to add more water to get the dough to bind together. This is perfectly OK. They will still taste great to your dog.
As far as what type of cheese you can use again it’s any type of cheese that your dog likes. I’m using extra sharp cheddar cheese because she really enjoys it.
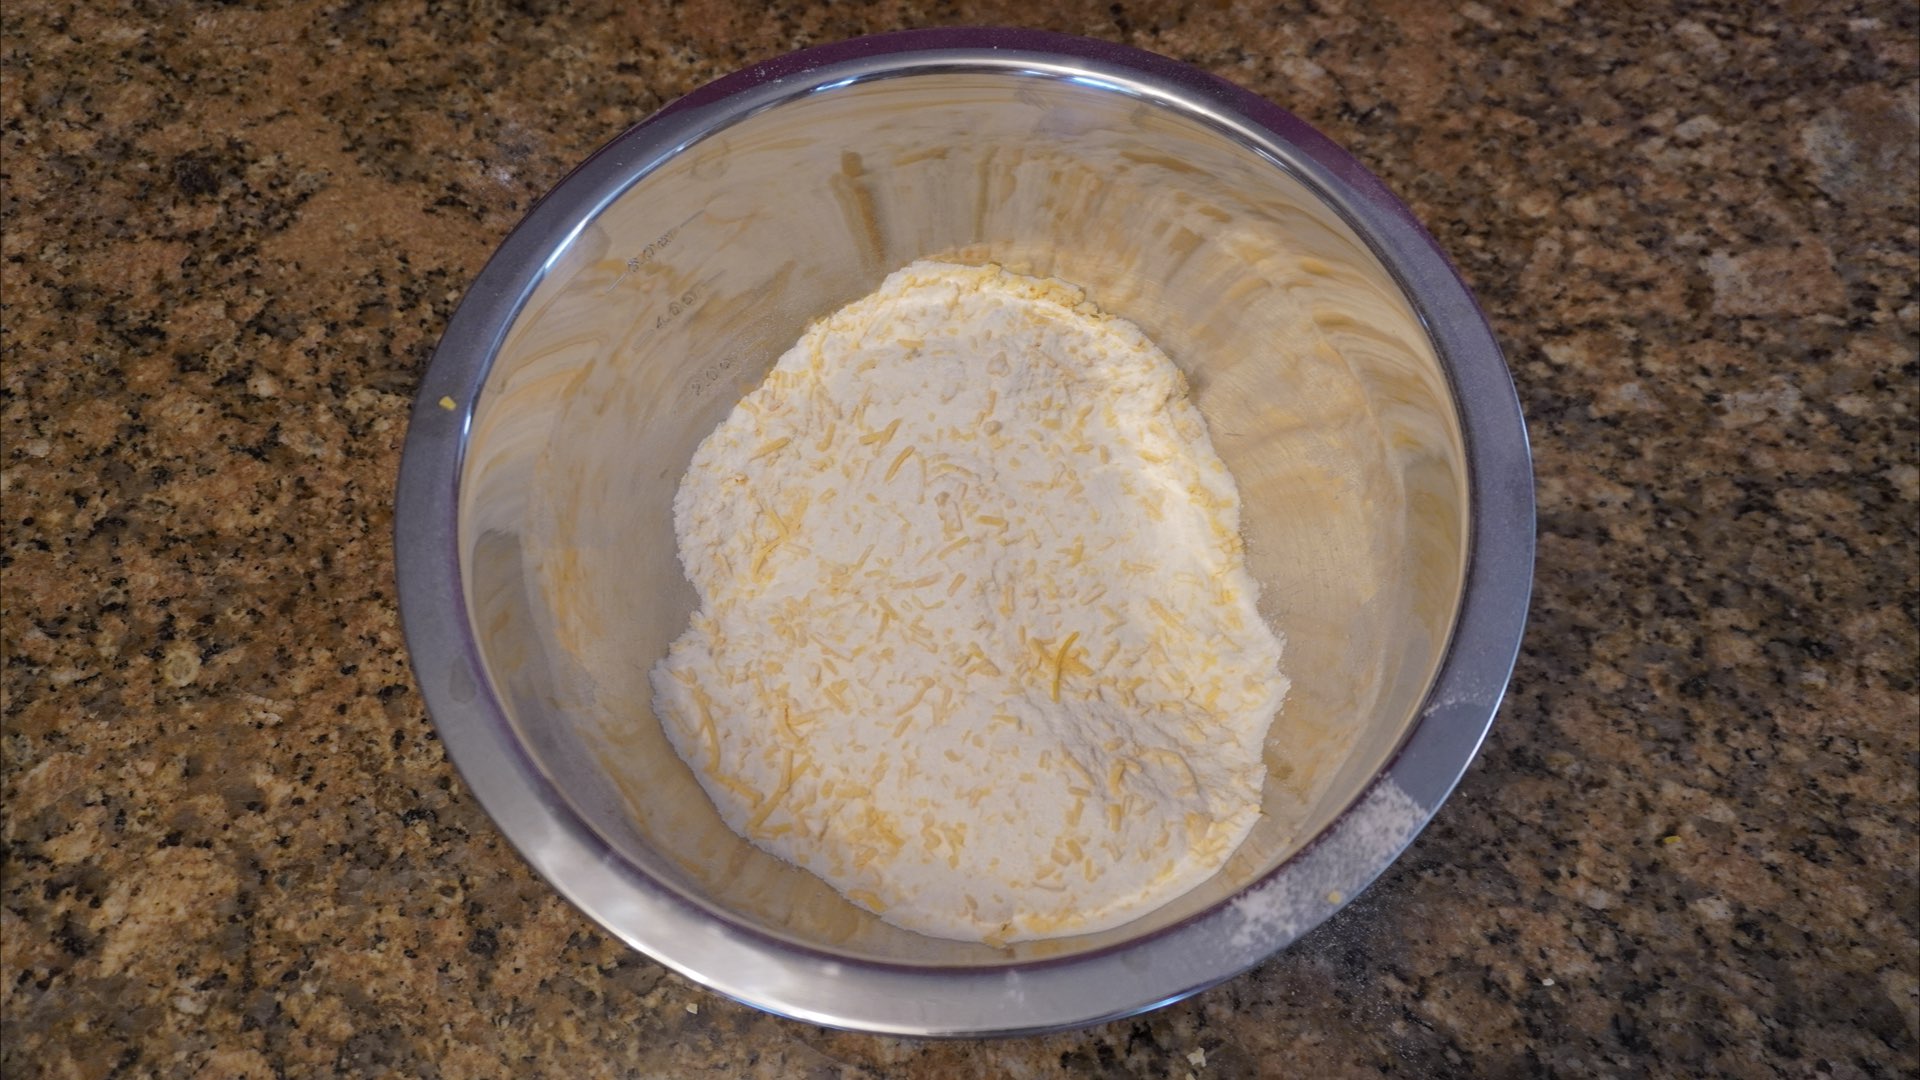
Step 3: Combine Cheese and Flour
Using the tips of your fingers, work the flour and cheese together, rubbing the cheese, so it starts to form crumbles into the flour. This step may take you a good five minutes. The more you crumble the cheese the more even the cheese will be in the crackers.
If you have a blender or a food processor, you can put the cheese and half the flour into the container and pulse until it is well blended. But if you don’t have a blender or a food processor, don’t worry we show you the old-fashioned way.
Step 4: Add the Oil and the Water to Form a Dough
Next, you want to add in a dog friendly oil such as melted coconut oil, salmon oil or olive oil. Stir this thoroughly into the flour and cheese mixture until it’s well combined.
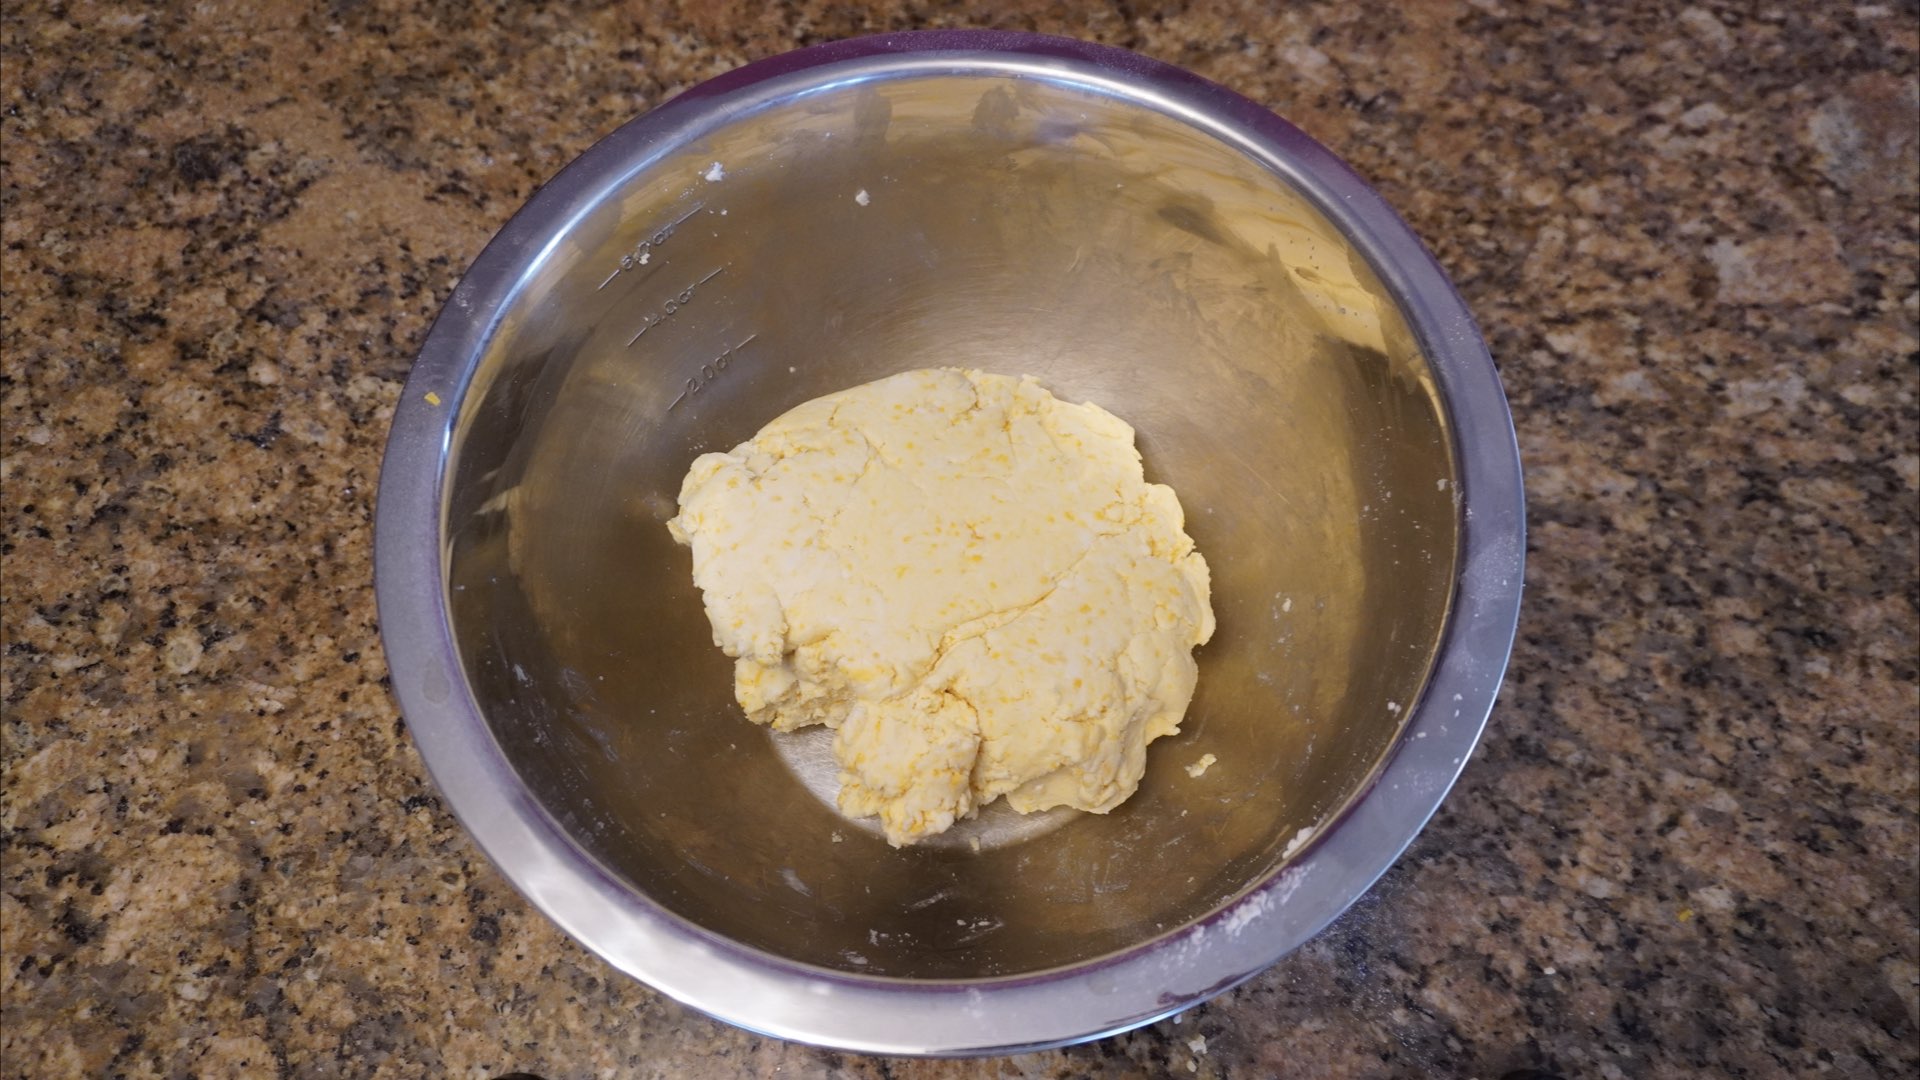
Remember how I said you could use a variety of cheese and even different types flour as long as it was safe for your dog to consume? Because of these customizable ingredients the amount of water will vary slightly. I will give you what I ended up using and then you can adjust up or down from that.
Start adding in water gradually. Add half of the water and mix, trying to make a dough. I found using your hands really lets you feel how much water to add. You want the dough to be smooth not dry or sticky. By gradually, adding the water and stirring with your hands, you will feel the transformation like this
However, if you have a food processor or blender, they could make quick work of making a dough. You’d just pulse the mixture, gradually adding water until a dough forms.
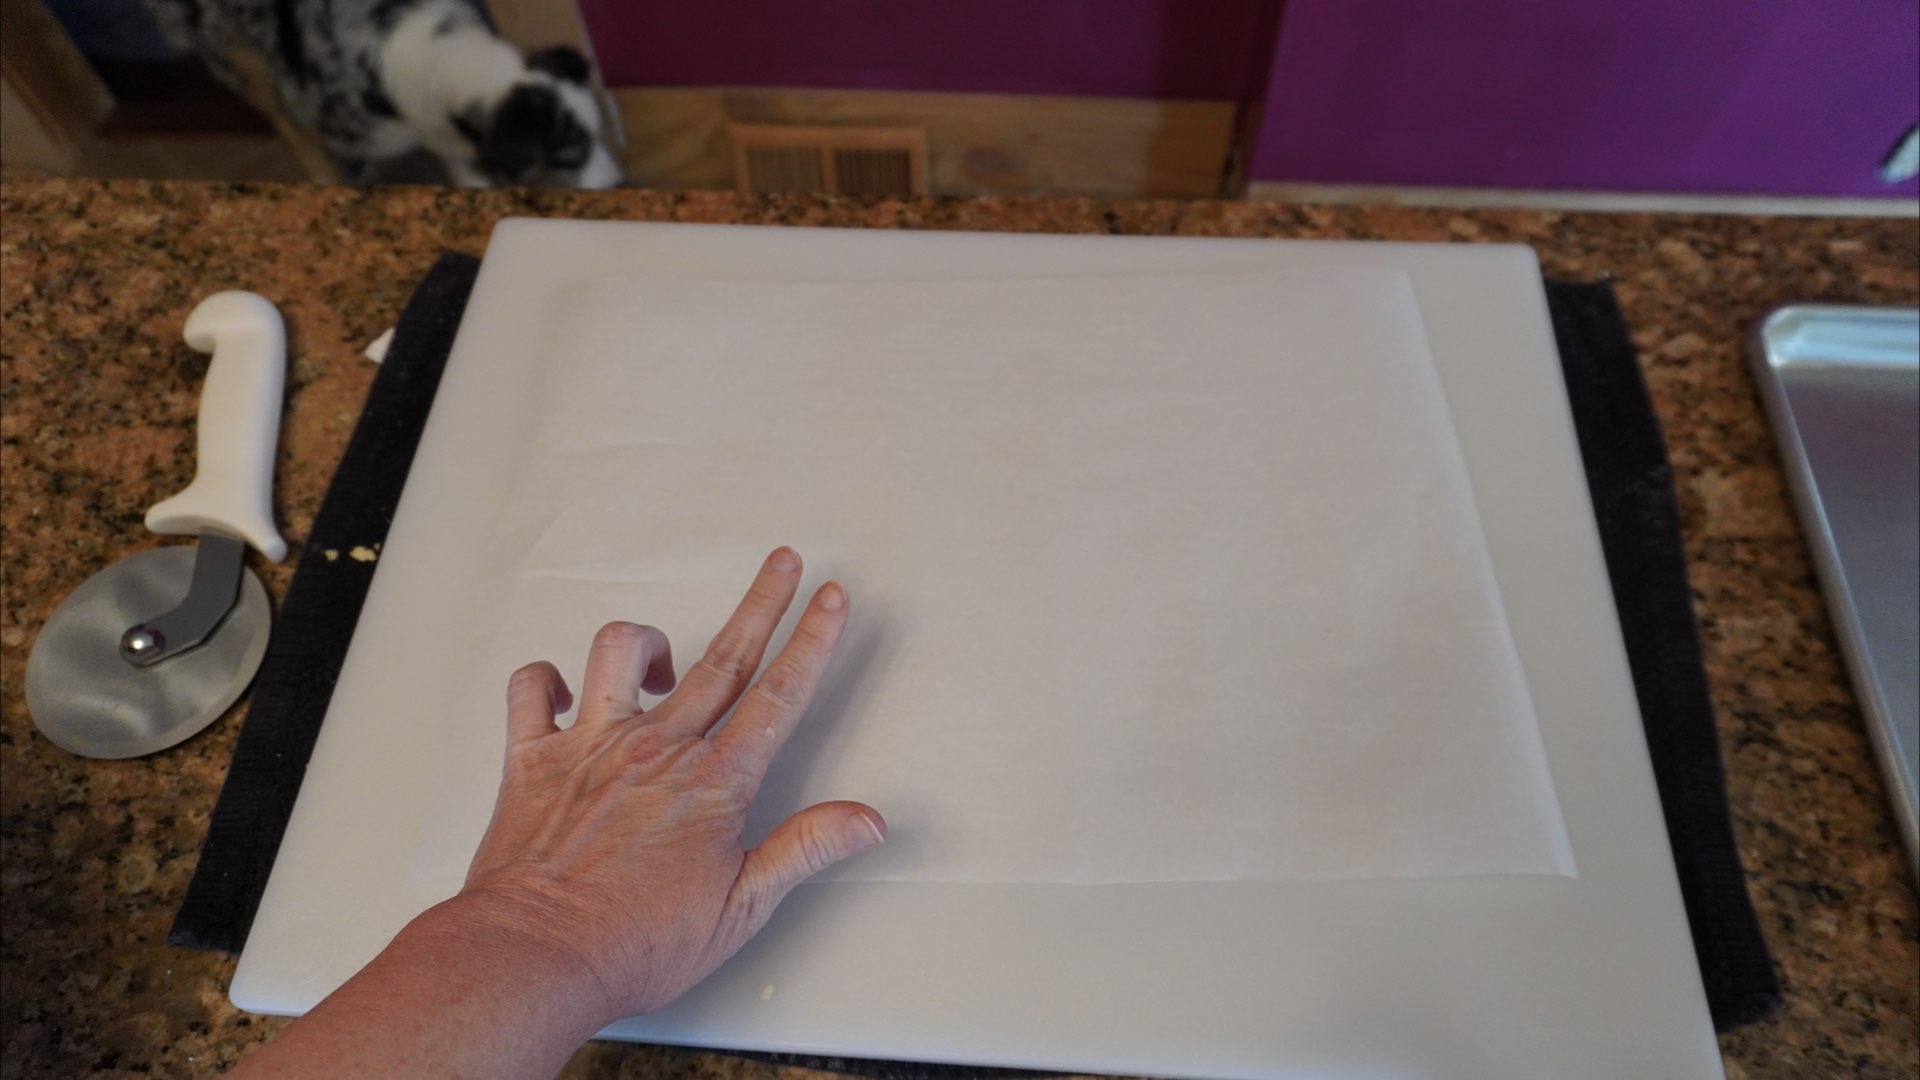
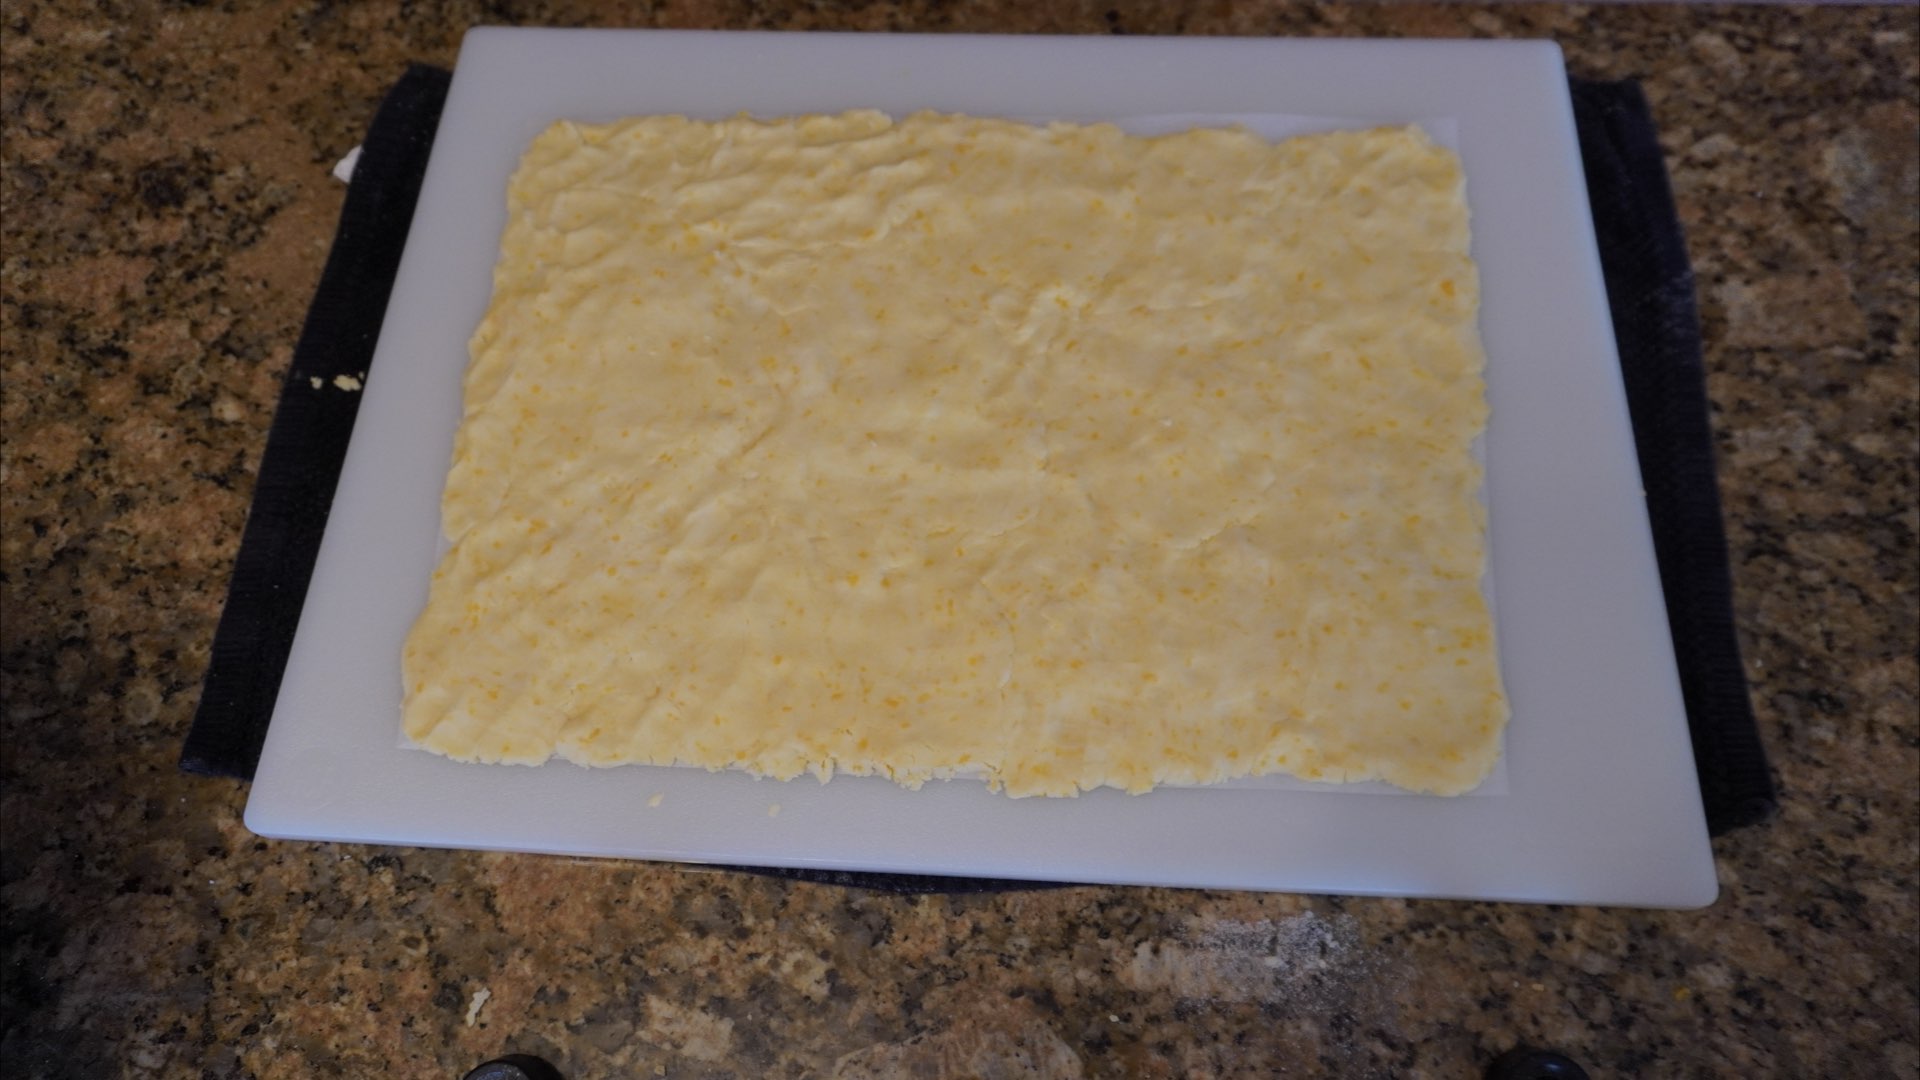
Step 5: Shape the Dough
I found that a piece of parchment paper works really well for this. I like to just press the dough down onto the parchment paper until it’s about 1/8 inch thick or a little over 3mm.
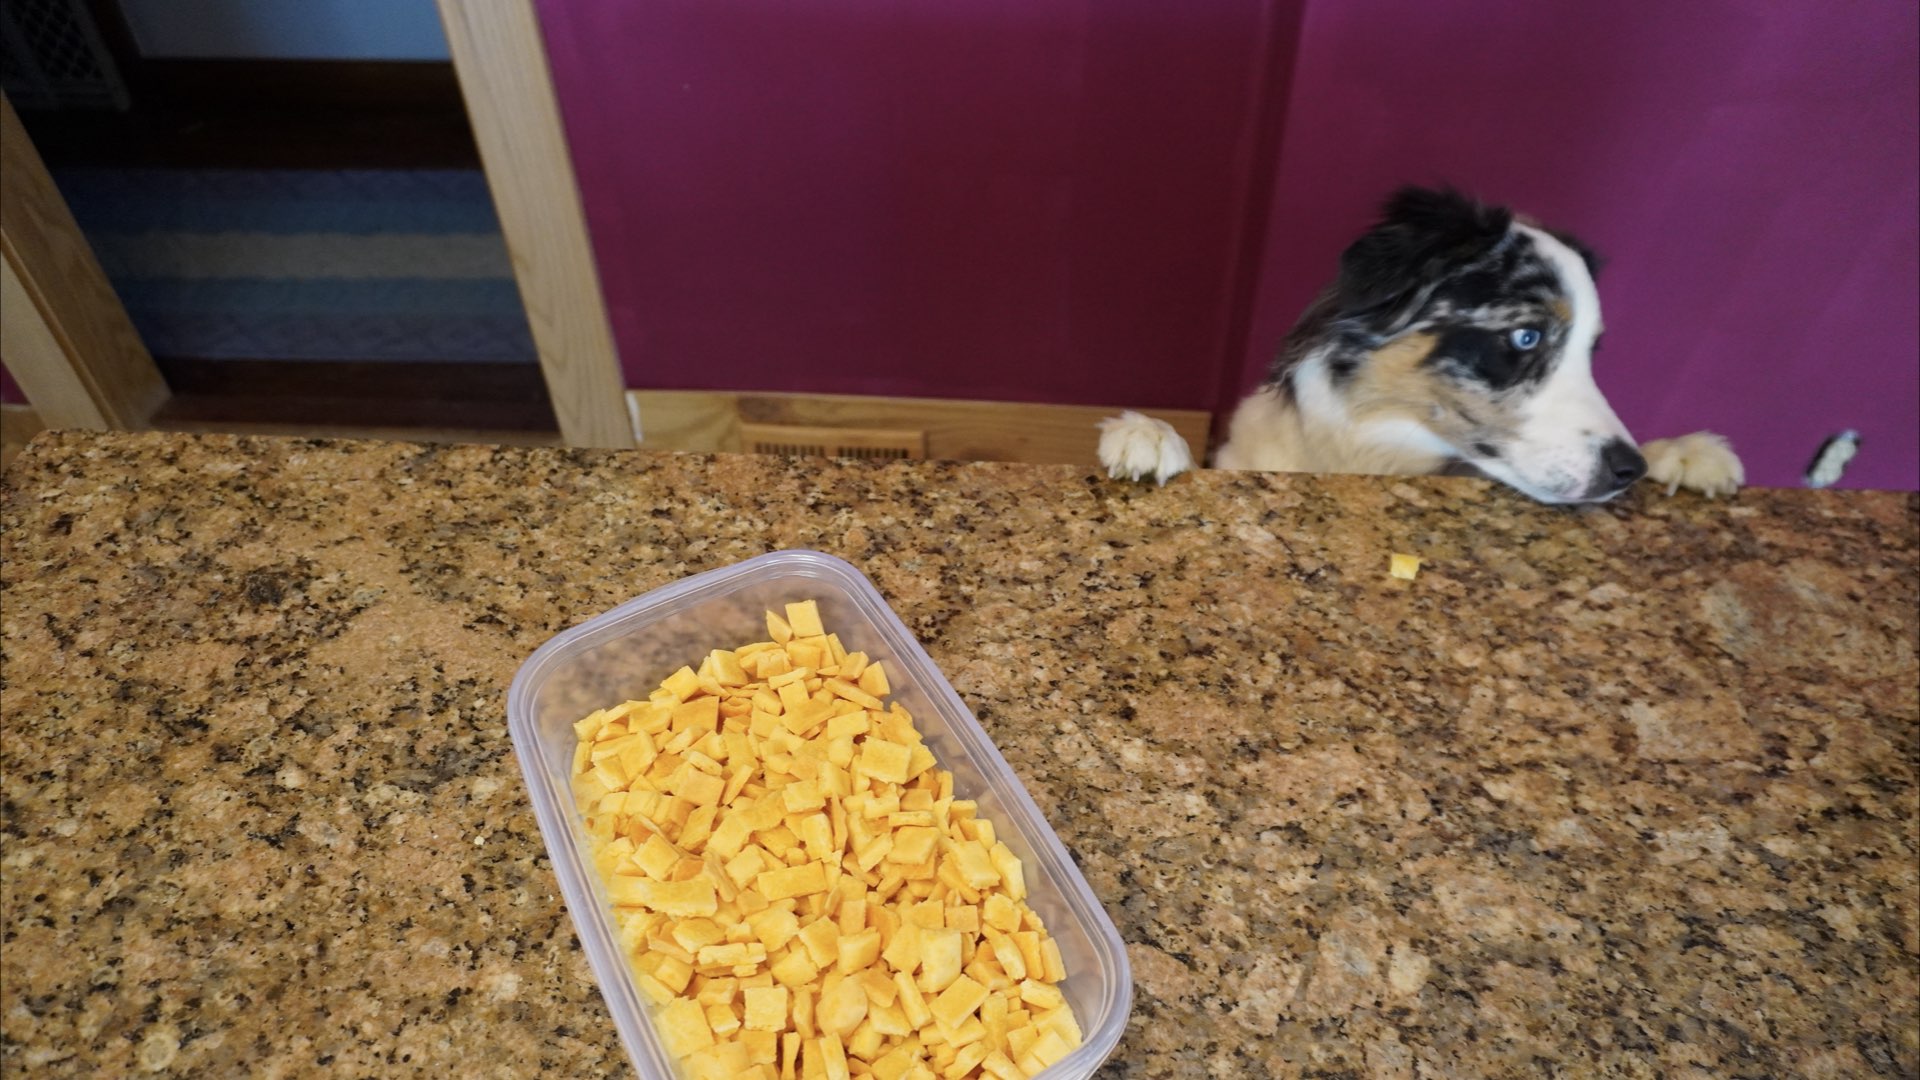
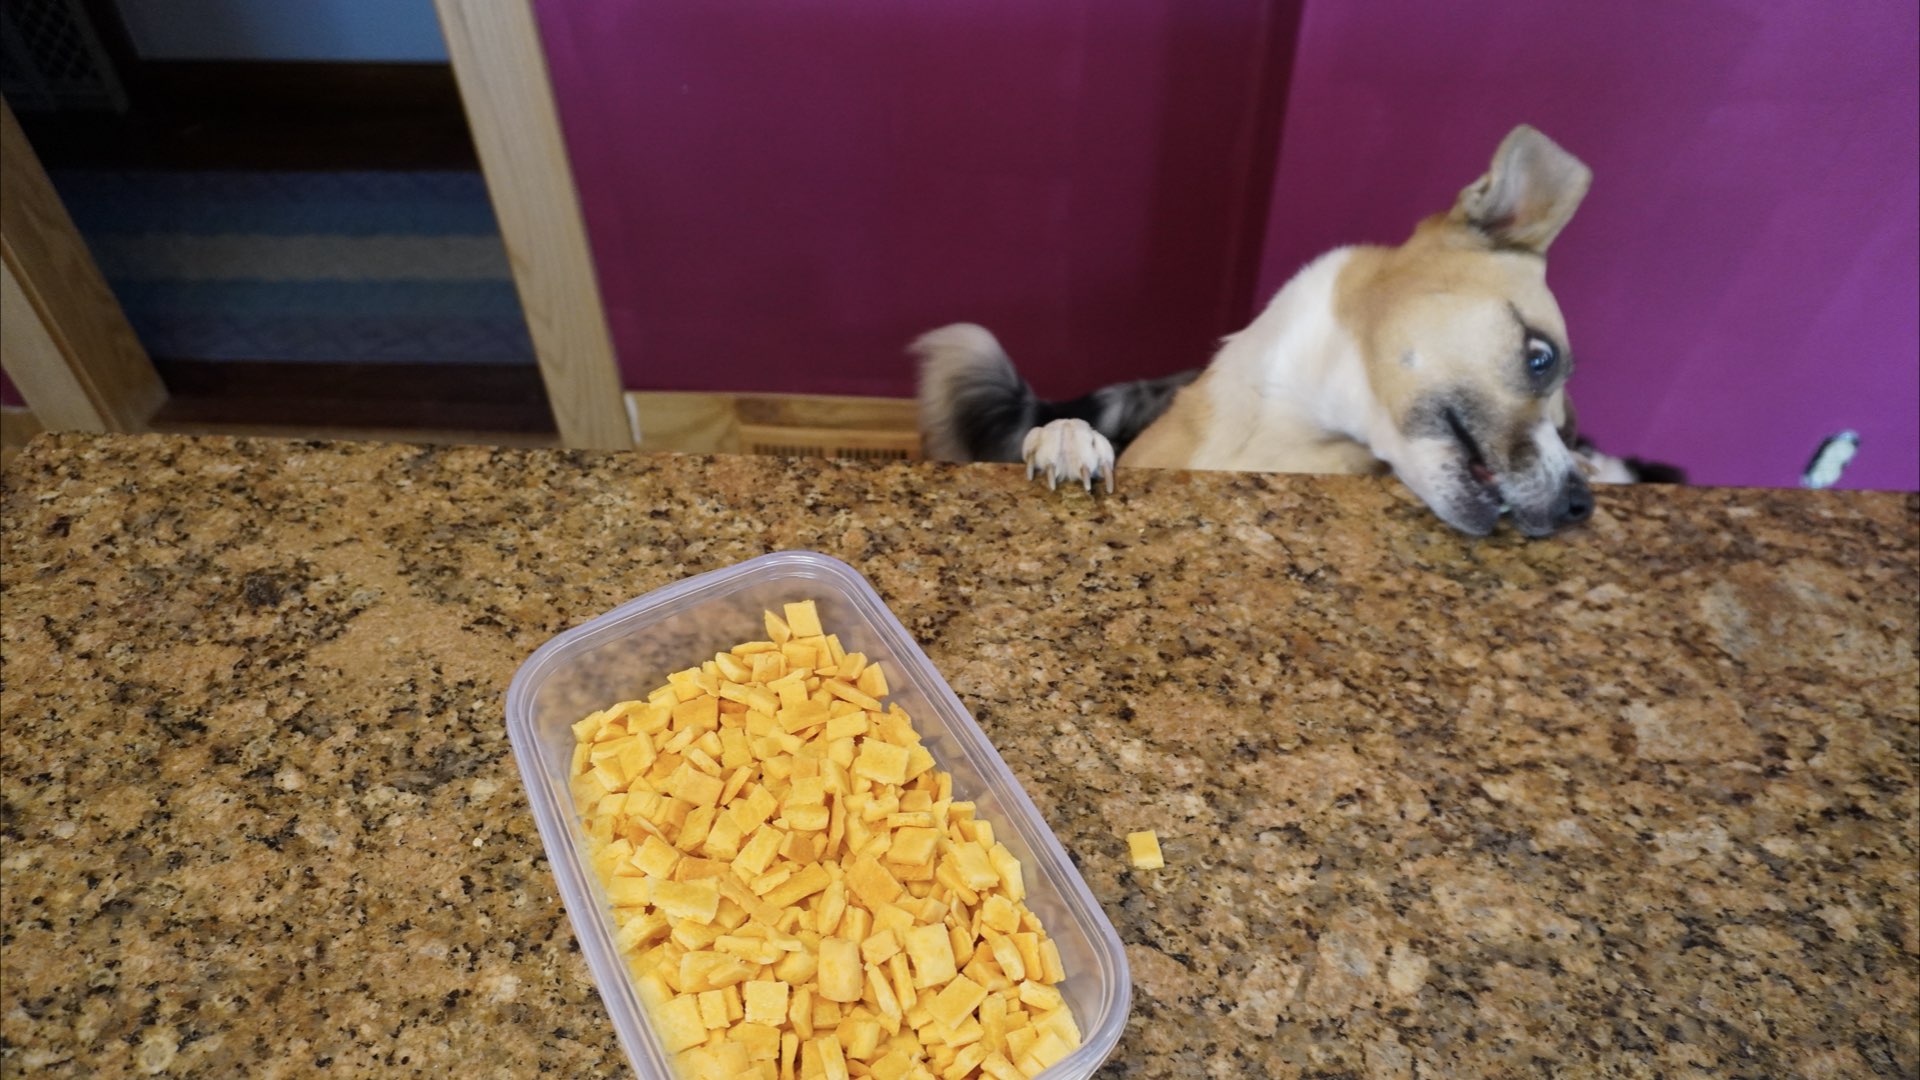
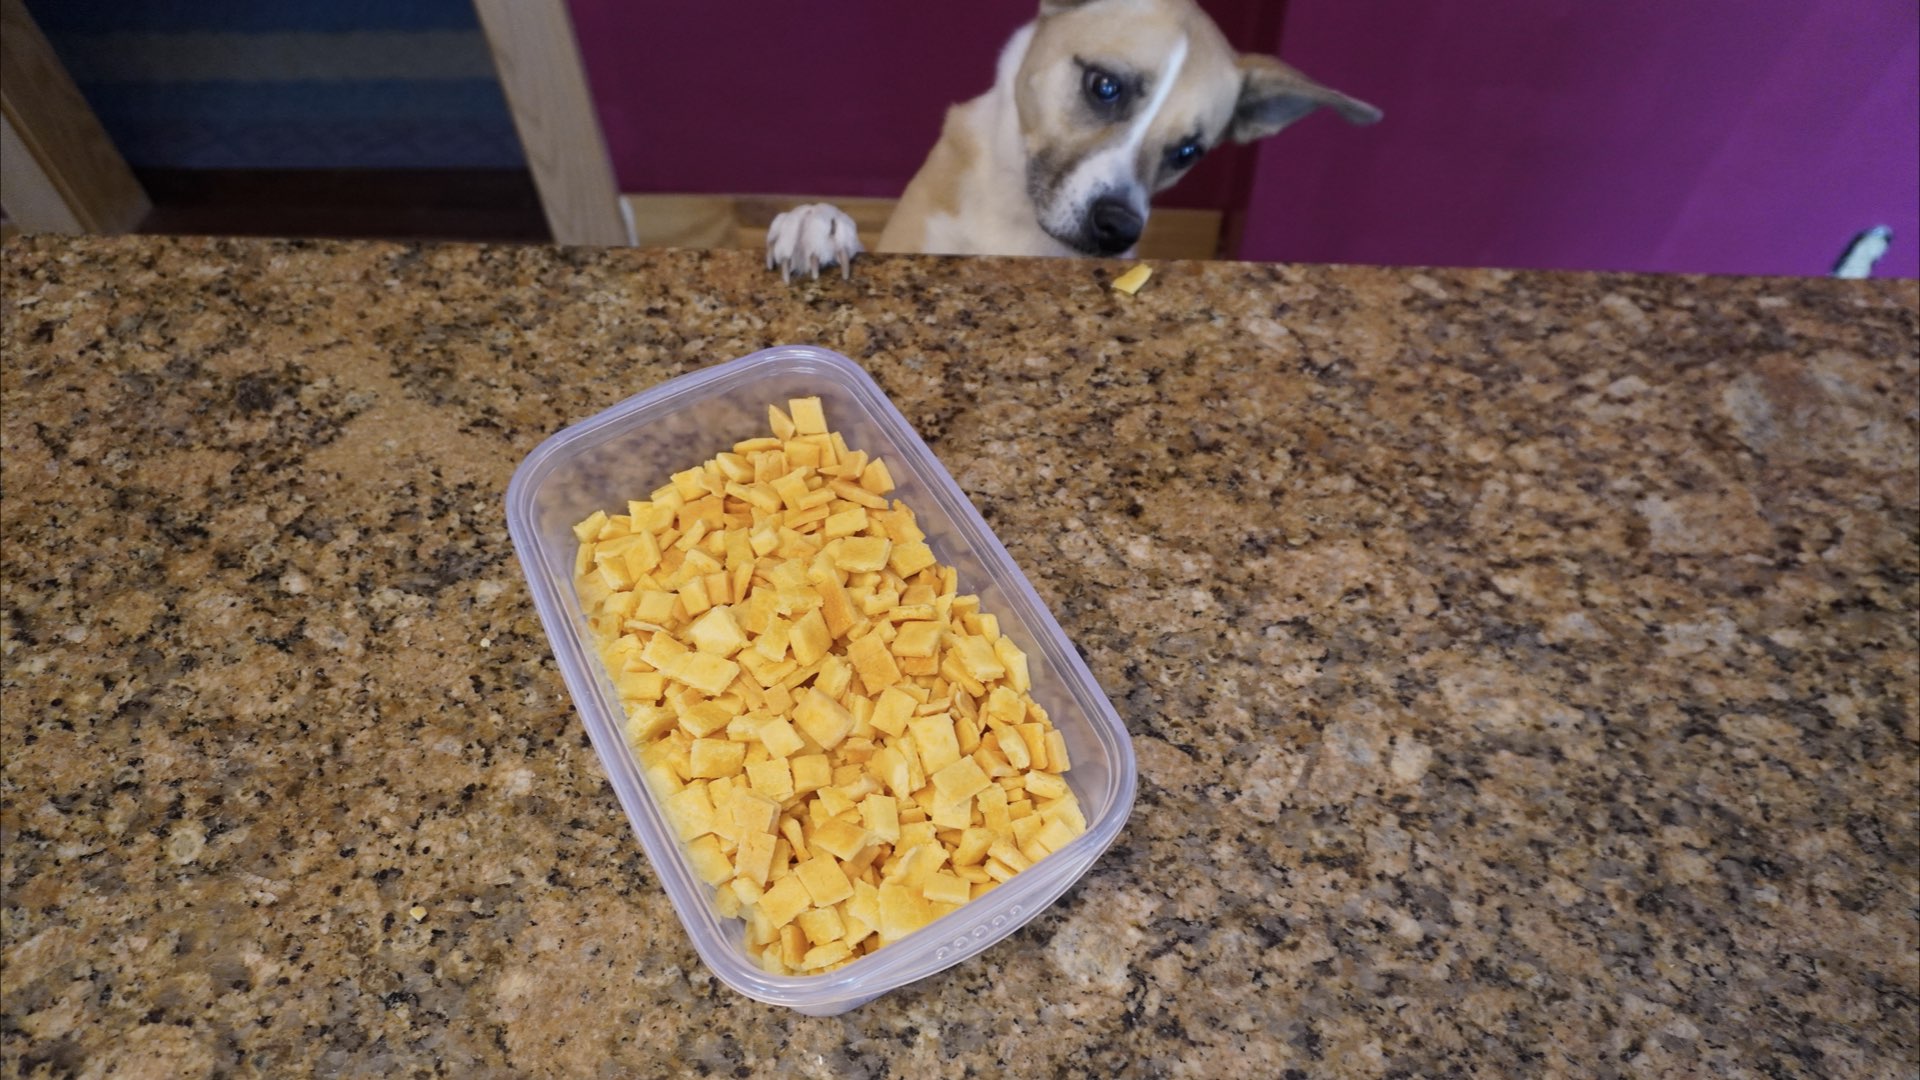
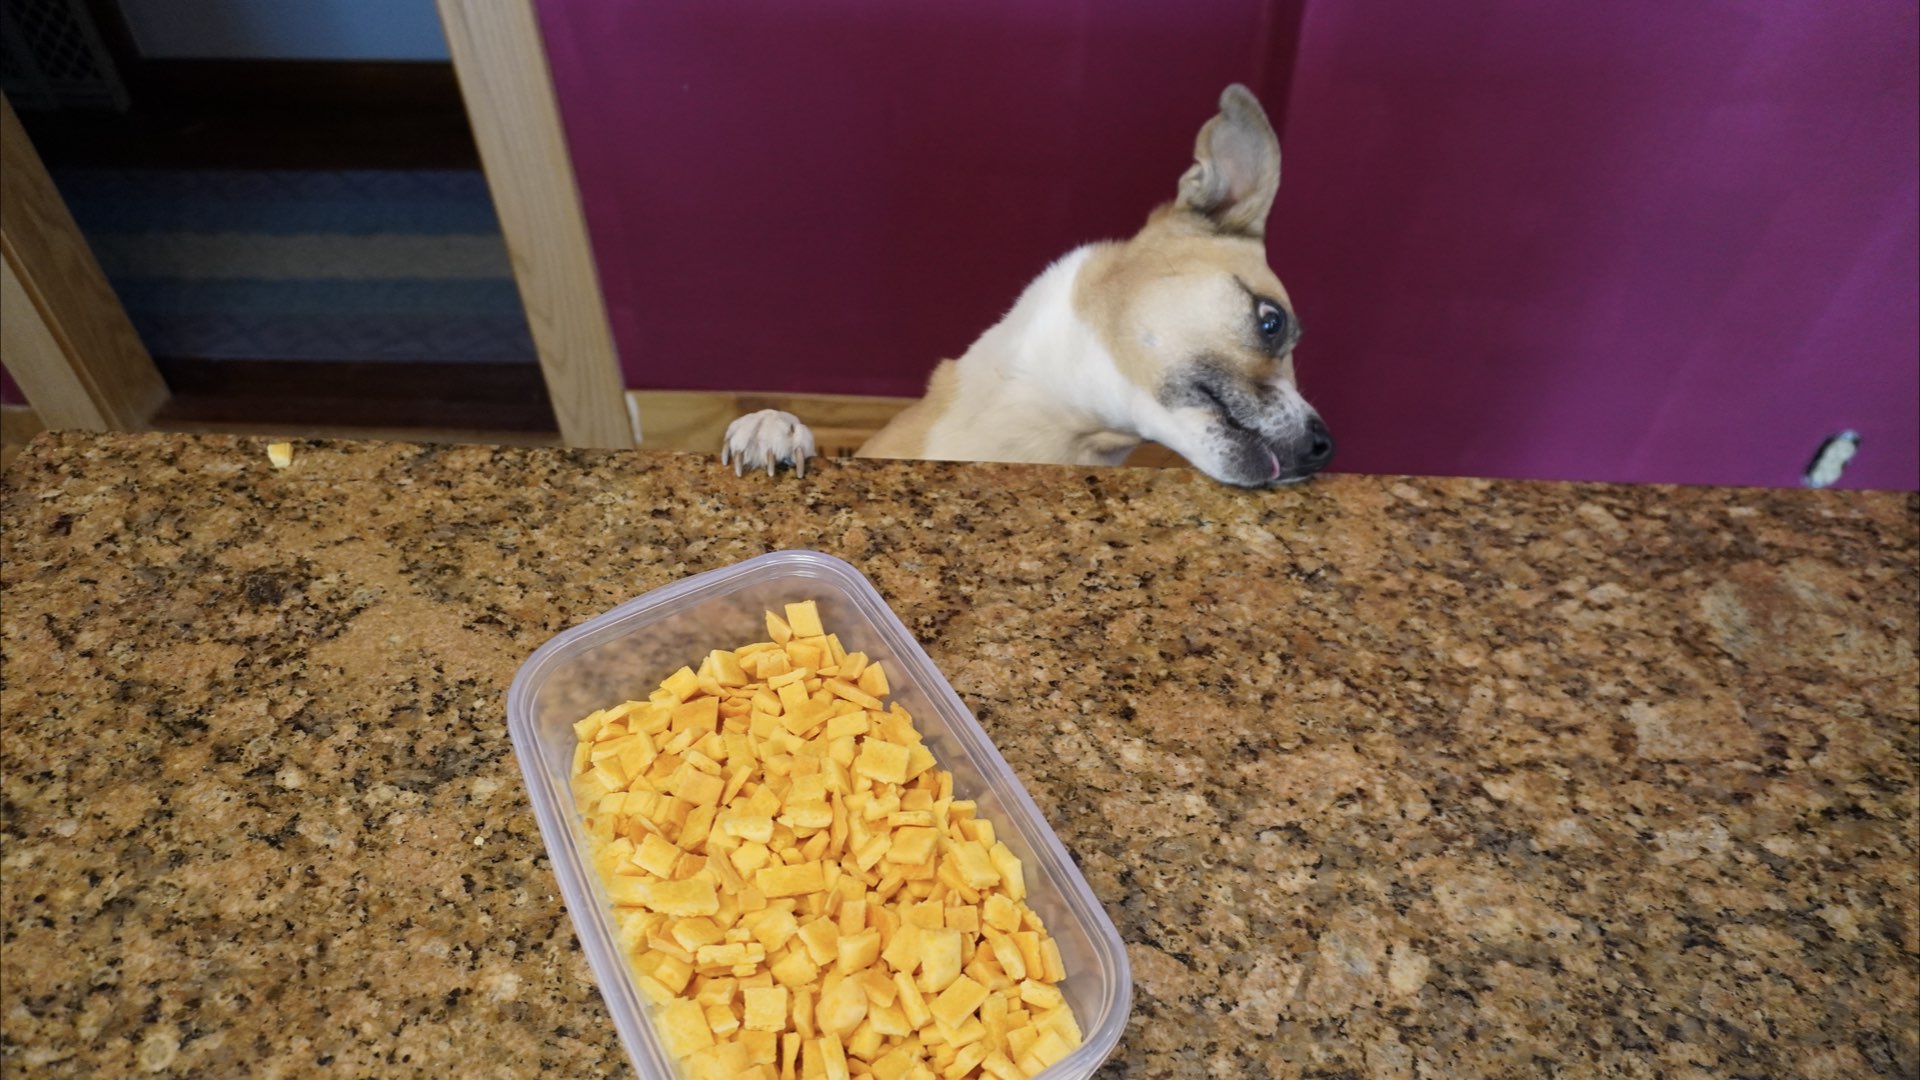
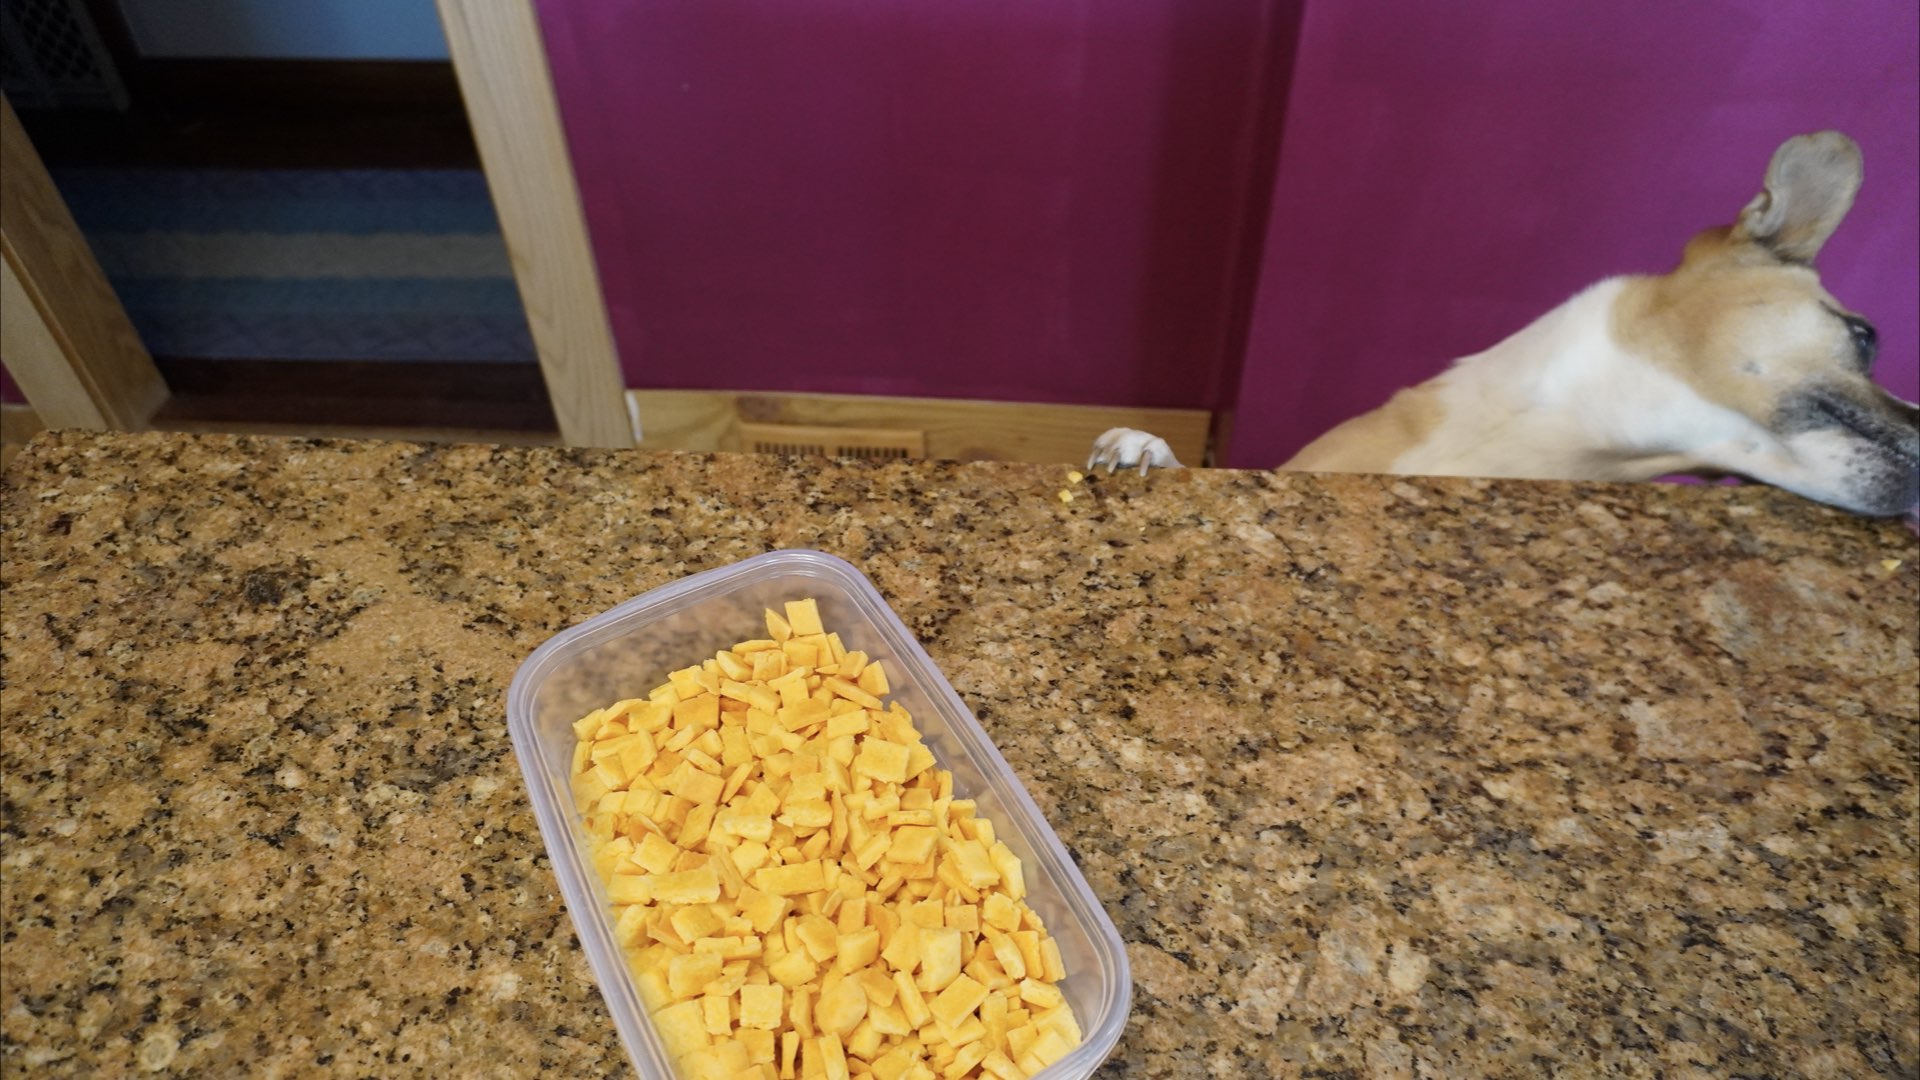
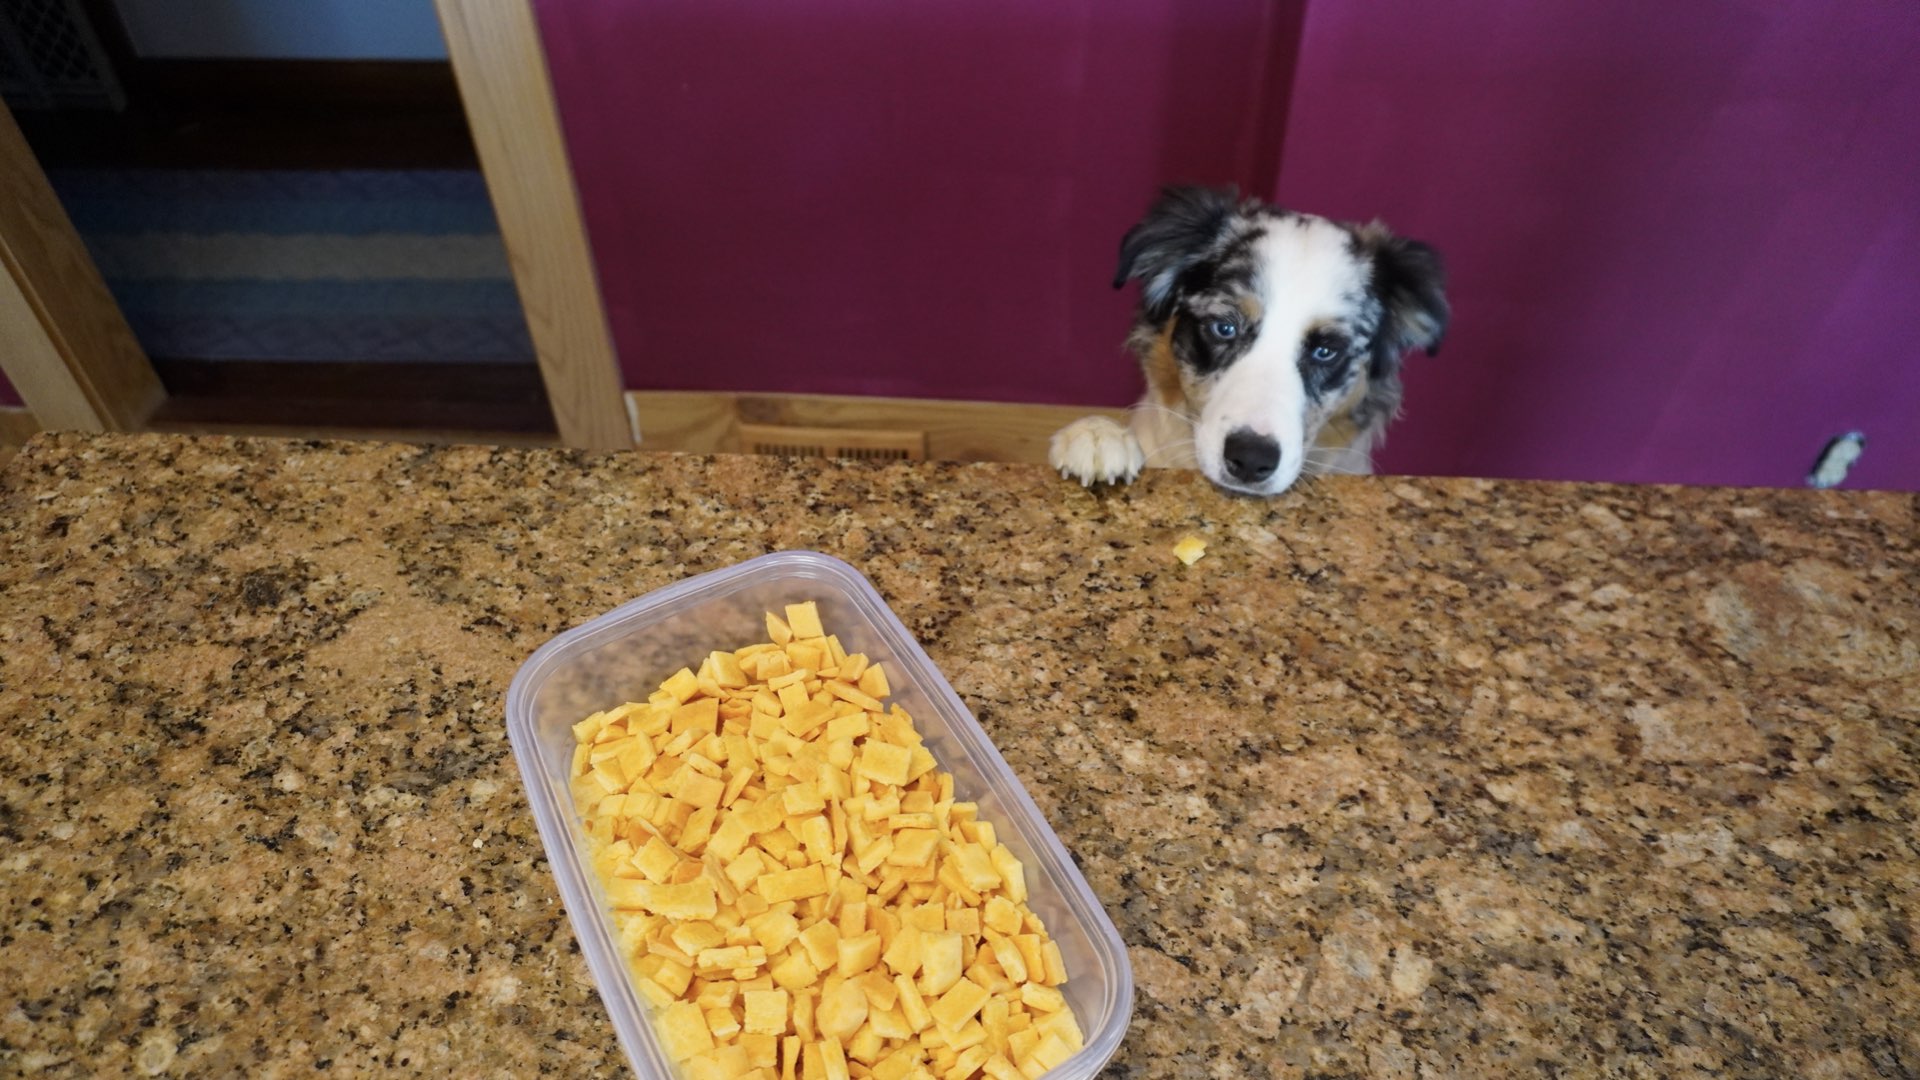
Roxanne was already sniffing around seeing what was going on in the kitchen.
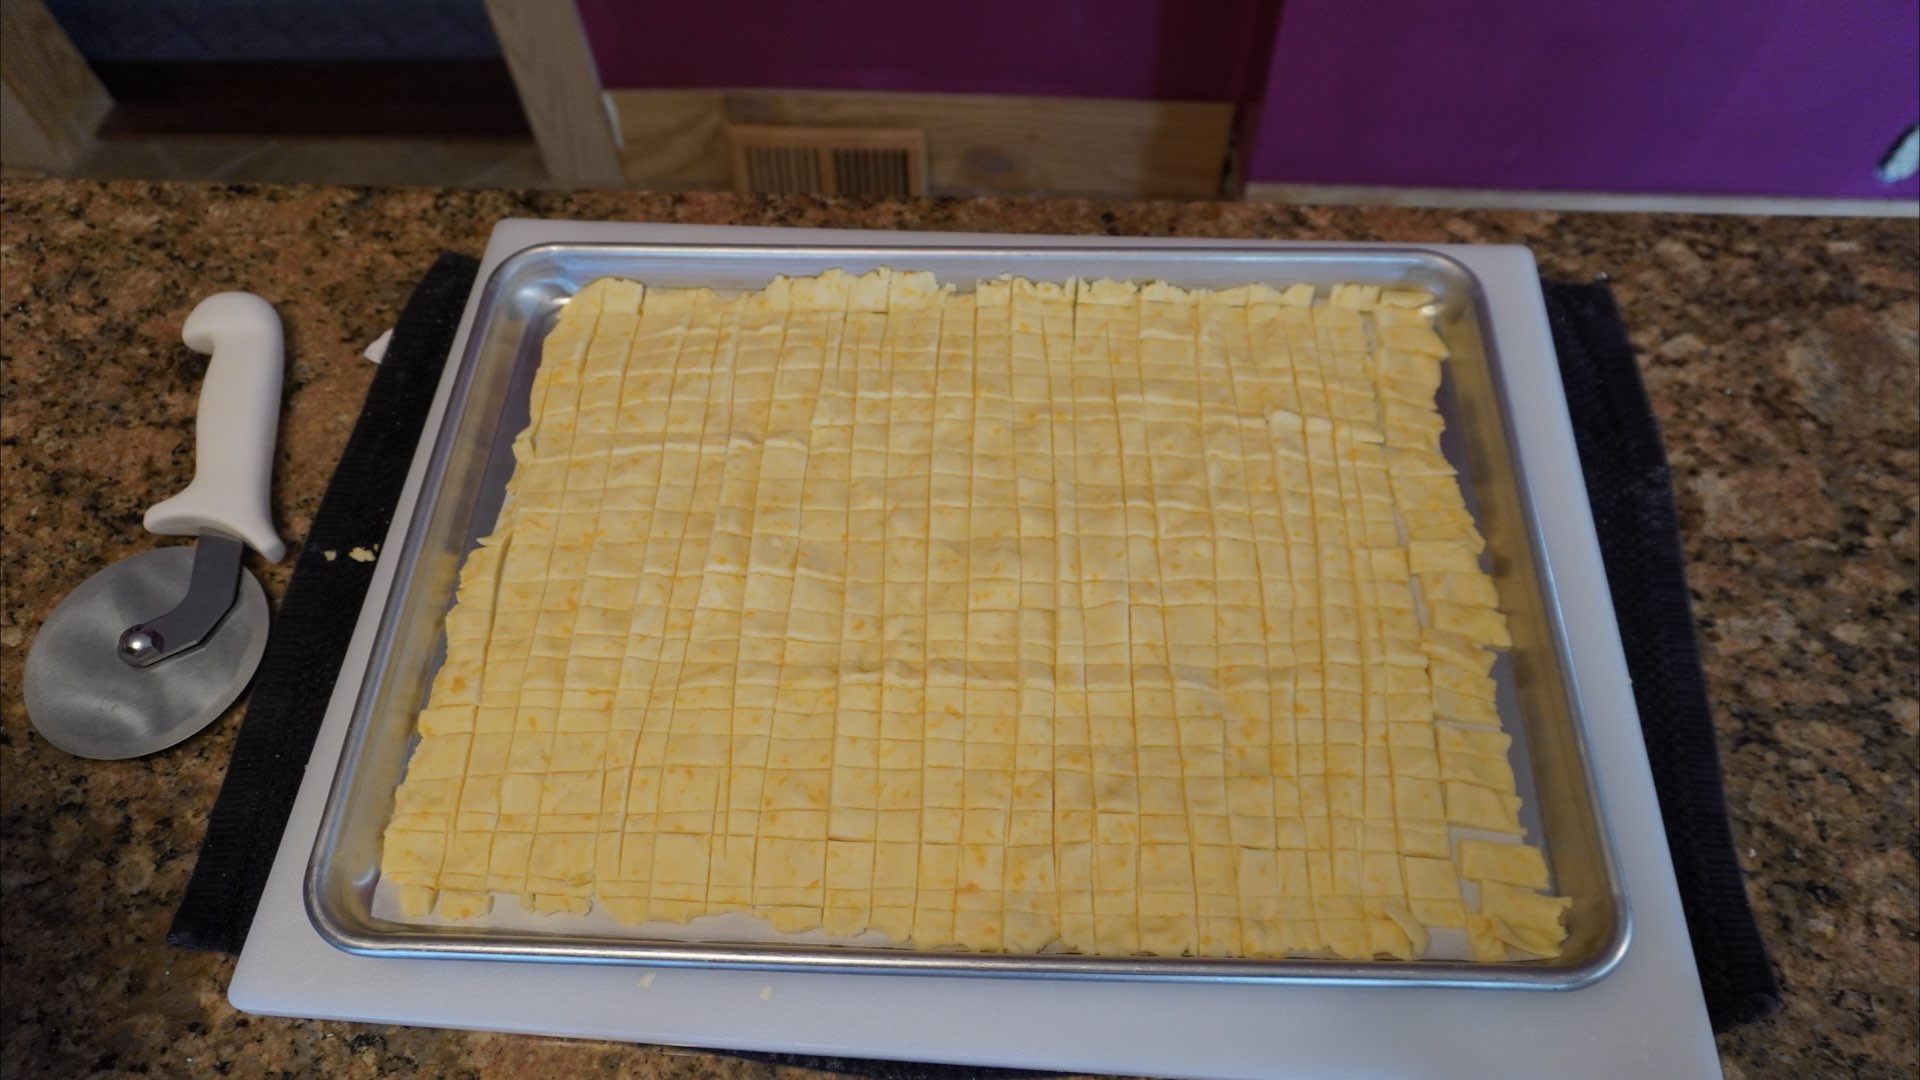
Once I cover the entire paper, I then cut them into small squares, using a pizza cutter or a sharp knife, depending on the size of my dog. I like to make them very small about a quarter of an inch to half an inch or 6 – 13 mm. This way you can give them a lot more for fewer calories. Your dogs like quantity and don’t really care about the size. I have found over all the years when making training treats, our dogs feel like they are something special when getting several small treats as opposed to one large one. Don’t worry if your squares aren’t perfect and they look a bit of a mess like mine do. The dogs will just appreciate that you are making them a snack.
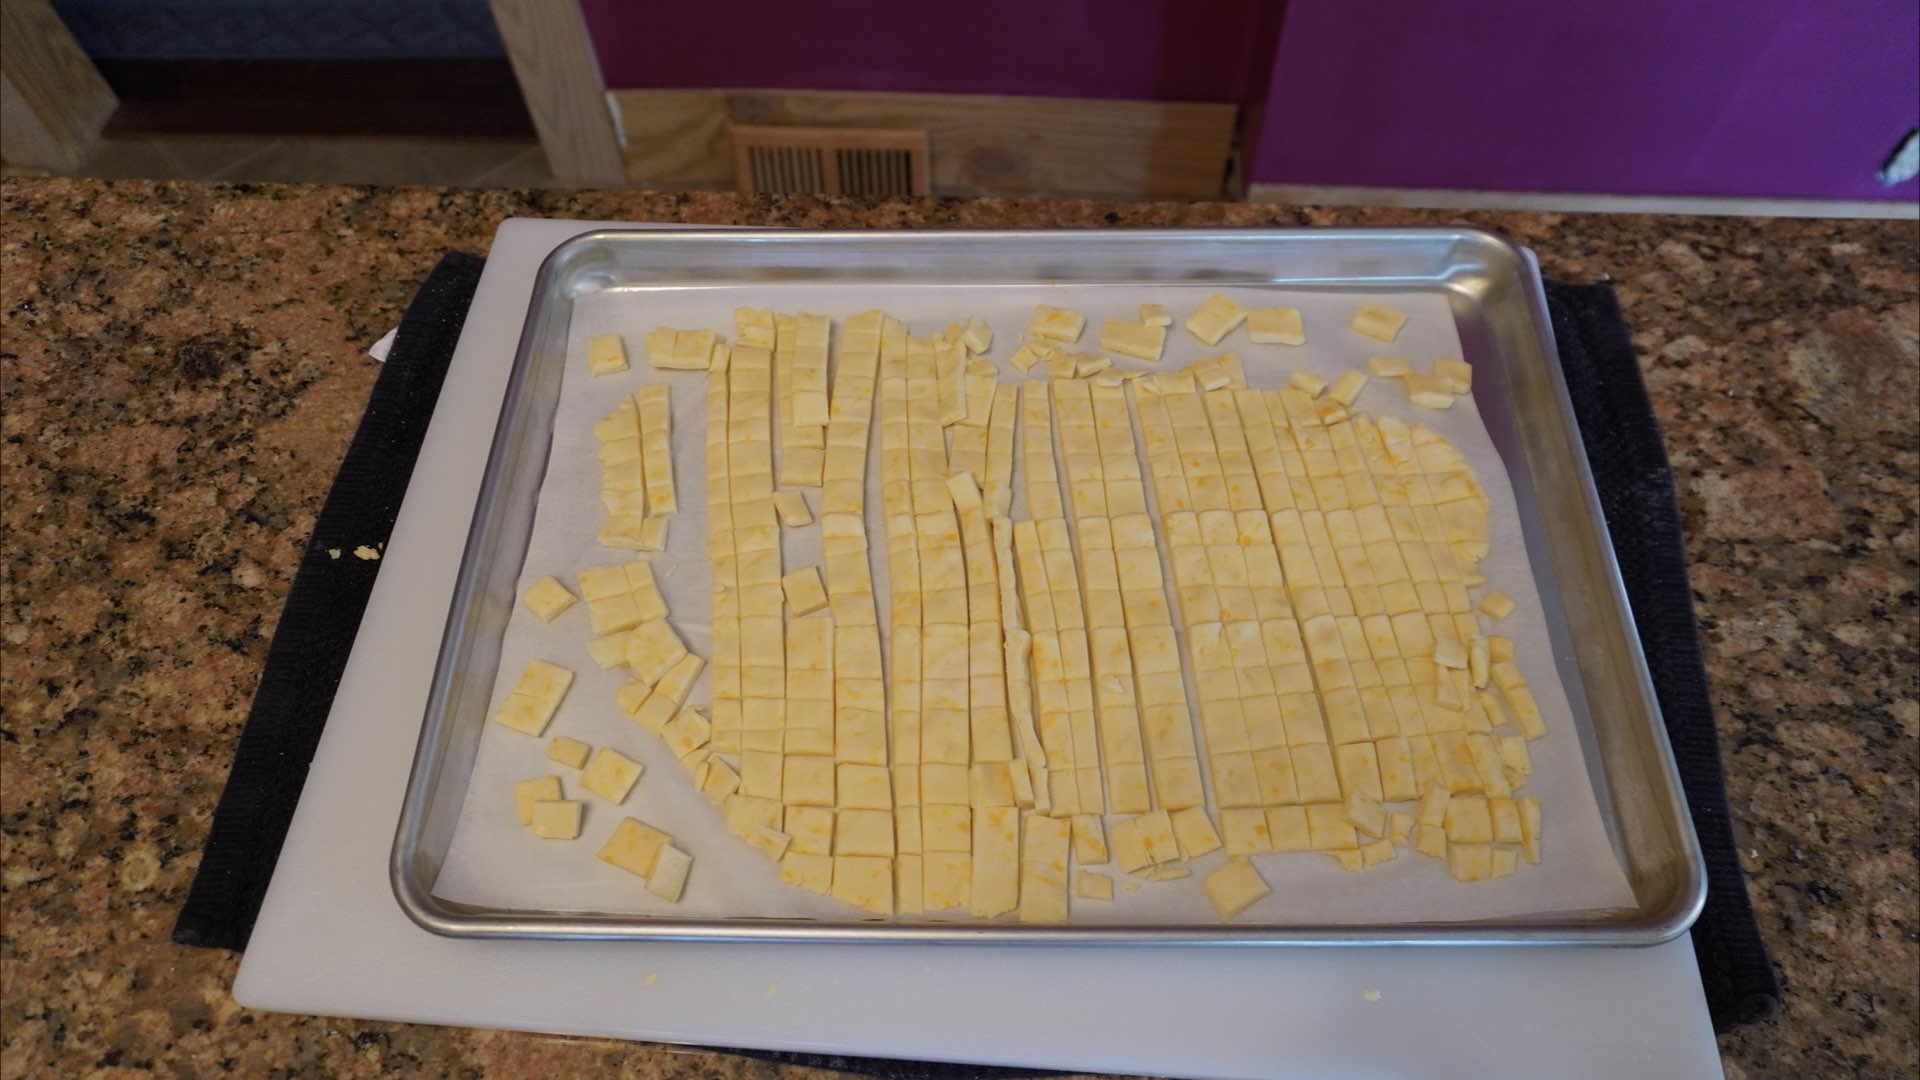
Step 6: Bake the Dough
Once they are ready, you bake them in the oven somewhere around 25 to 40 minutes or until they are the desired crispness. If you bake them at the lower end, they will be a little bit chewy but they won’t last as long. If you bake them on the longer end, they will be crisp and will keep a little bit longer. You want to bake them until they are golden brown and not burnt. Keep an eye on it as every oven is different. Congratulations! You just made dog cheese crack-hers! Side note: It is very difficult to remember to type cheese crack-hers and not cheese crackers. Why did I insist on such a cutesy name?

Substitutions and Tips
Here are some common substitutions and tips for making Roxanne’s cheese crack-hers.
- Roll the dough out onto a floured surface and cut out shapes with cookie cutters. Bake 15 – 25 minutes or until the edges are lightly golden.
- Instead of white rice flour, you can use brown rice flour, wheat flour, or even corn flour. Corn flour will be the most difficult to work with and will be crumbly.
- Use any type of cheese that is safe for dogs to eat. The color of the crackers will be dependent on the type of cheese you use.
- You can omit the oil altogether. It just helps with crispness.
- Always ask your vet before making any recipe to ensure it is safe for your dog since every dog is different just like humans. It is impossible to know if any recipe is appropriate for all dogs for instance, if your dog has pancreatitis, this may not be a suitable snack.
- In general never feed more than 10% of your dogs daily allowance in treats. Going beyond this amount could lead to your dog not getting the appropriate nutrition levels it needs and a long-term health consequences.
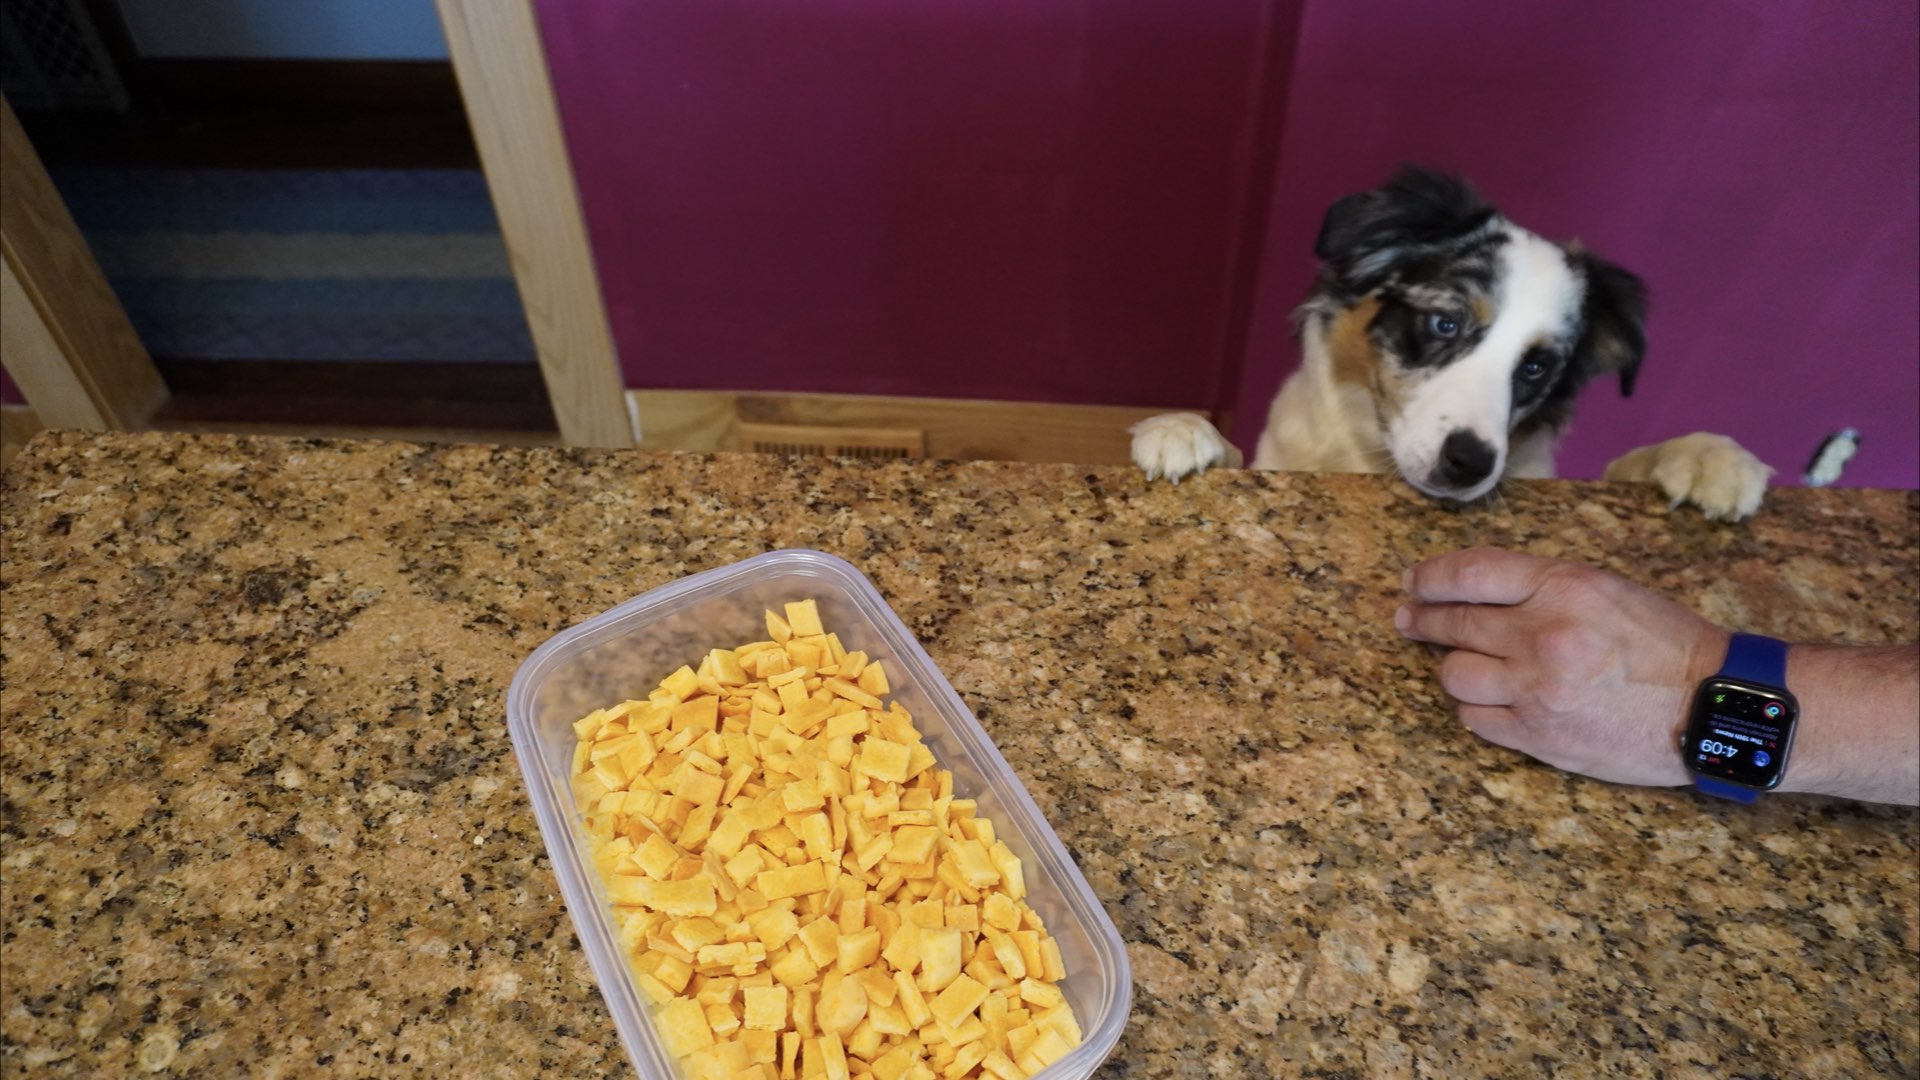
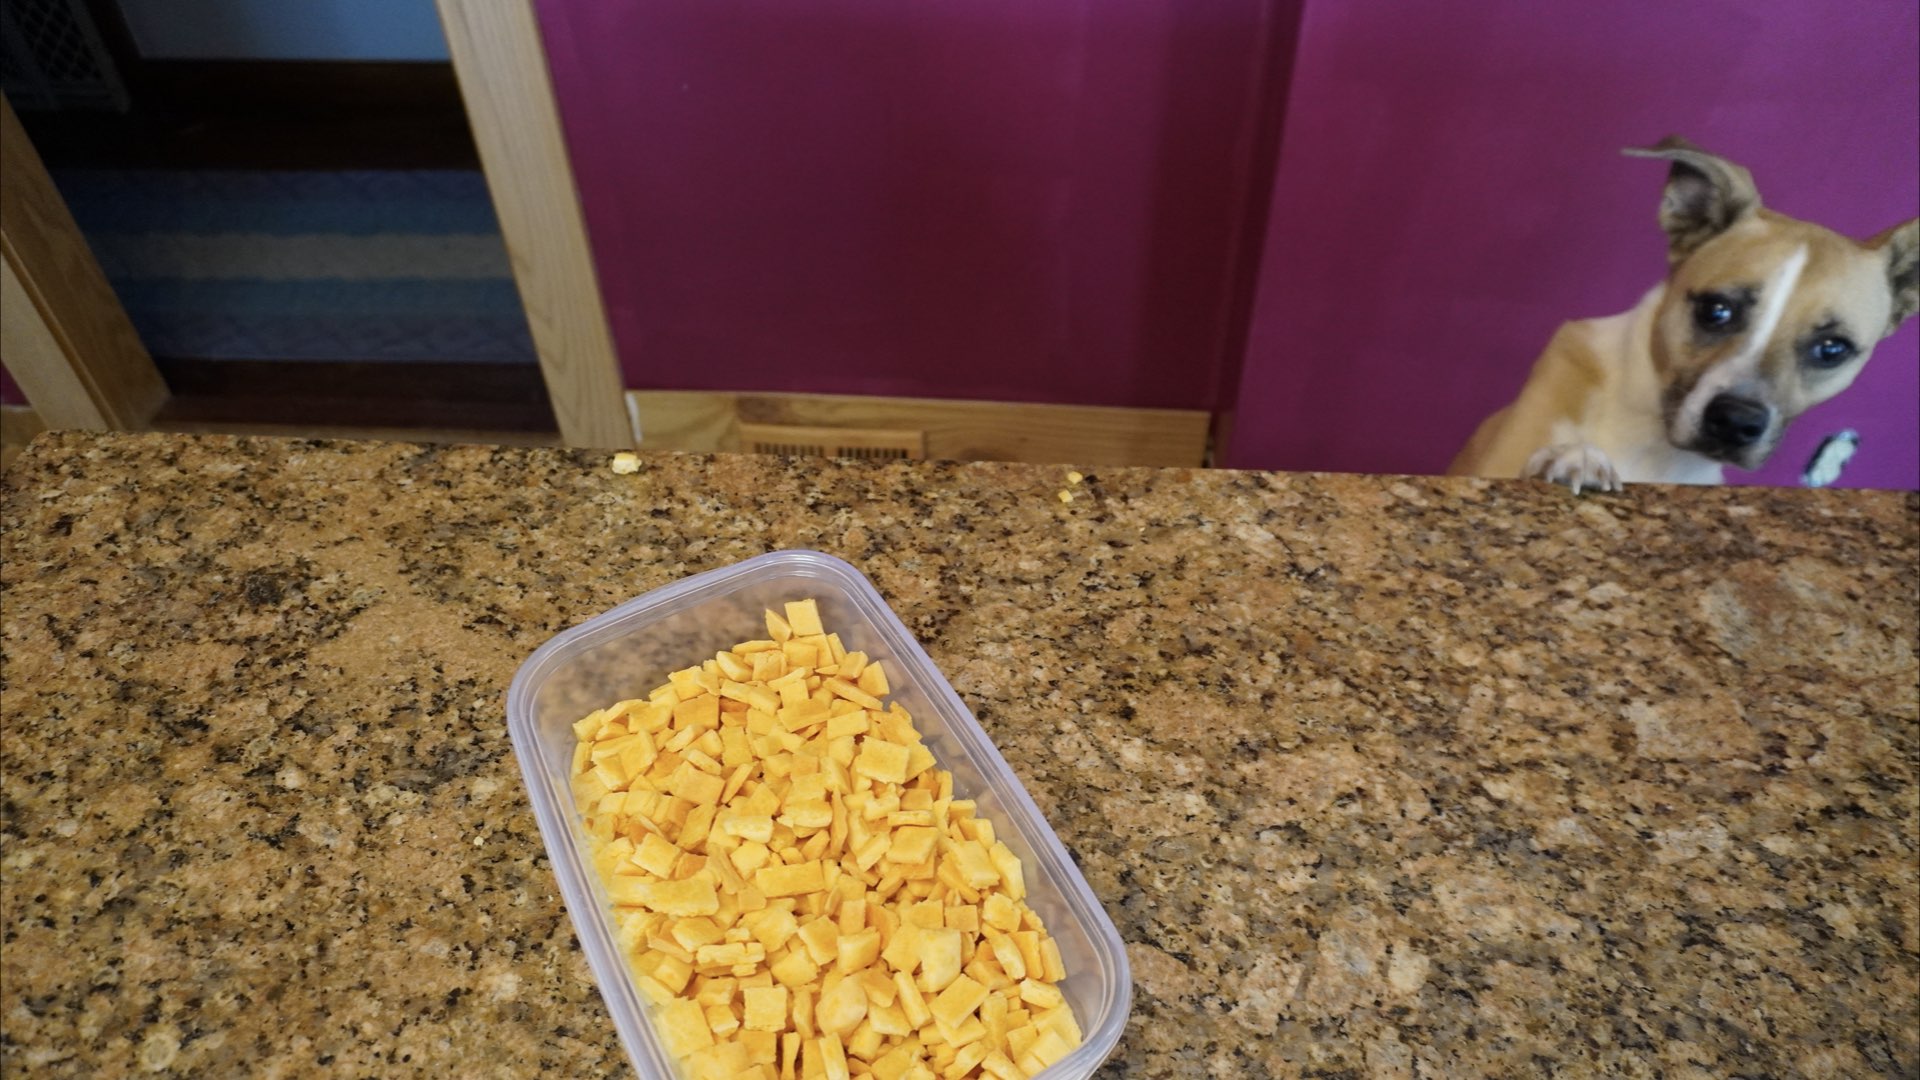
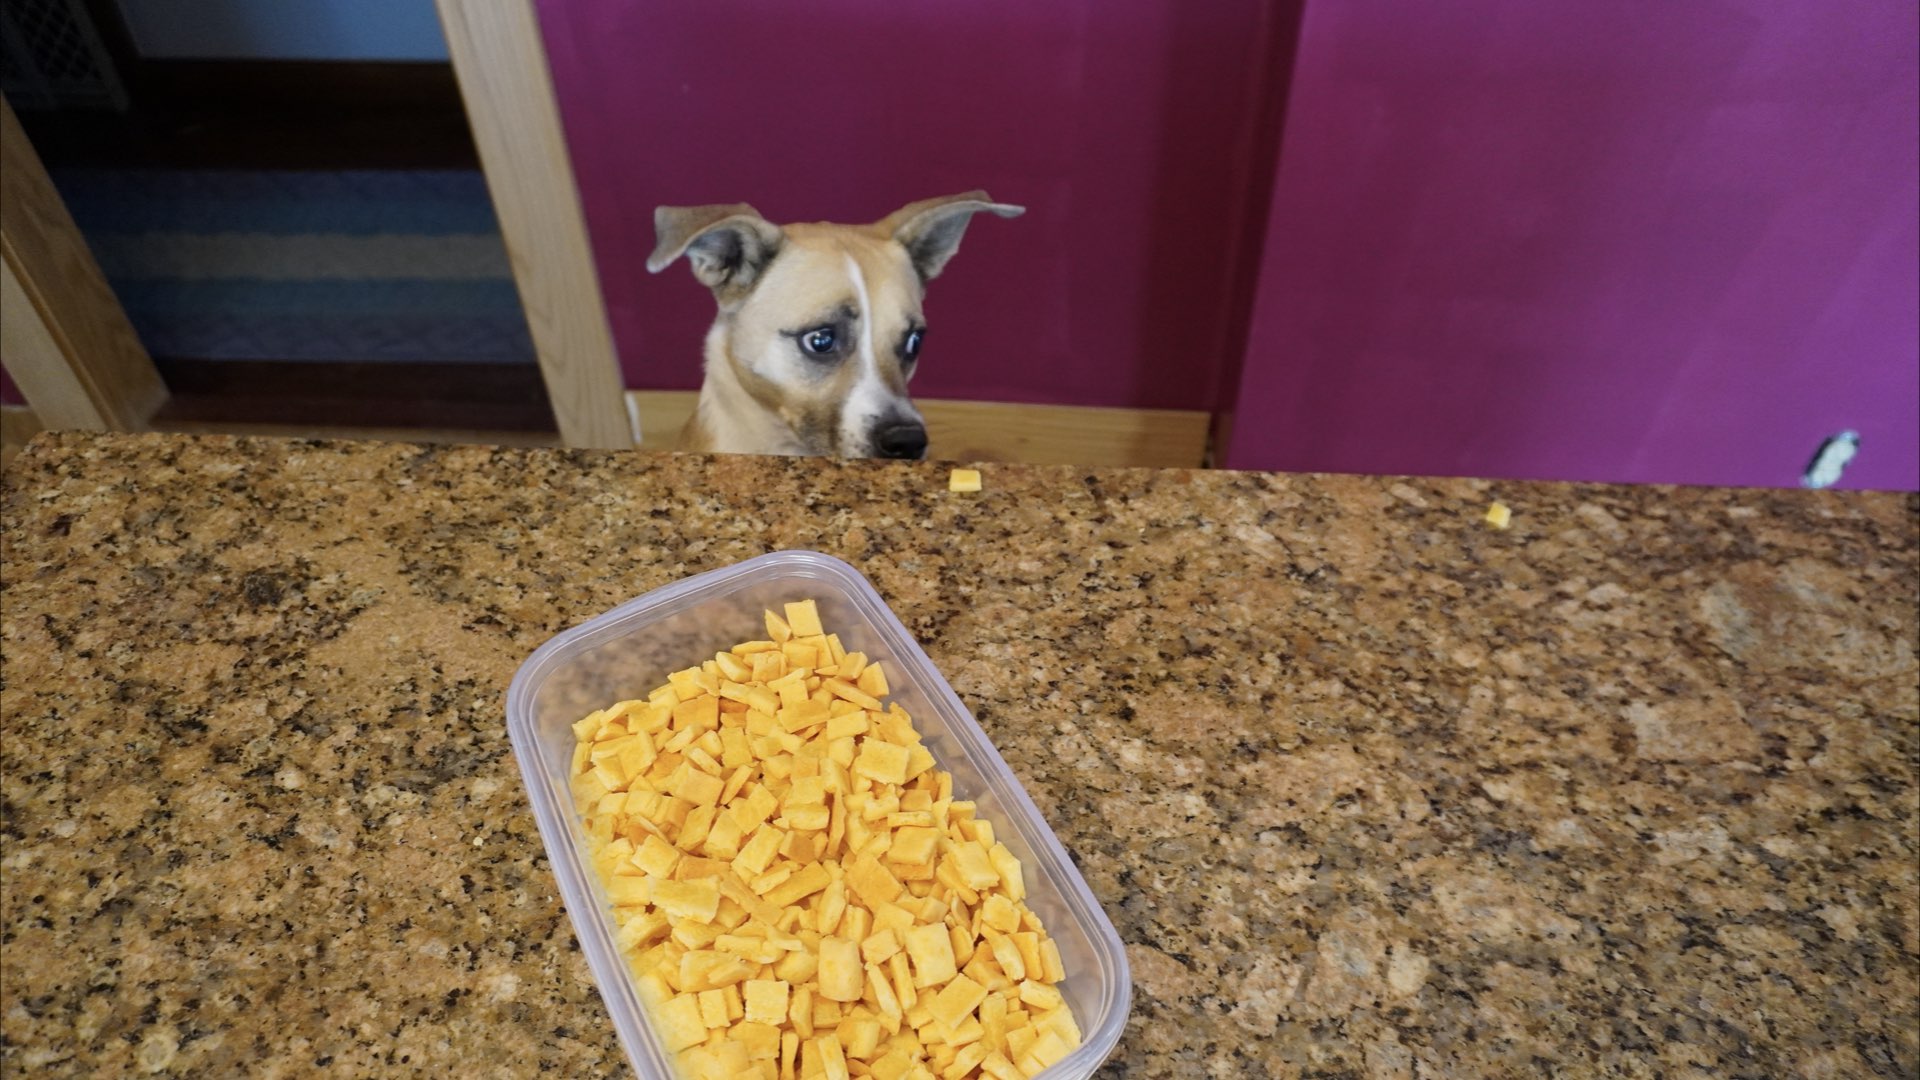
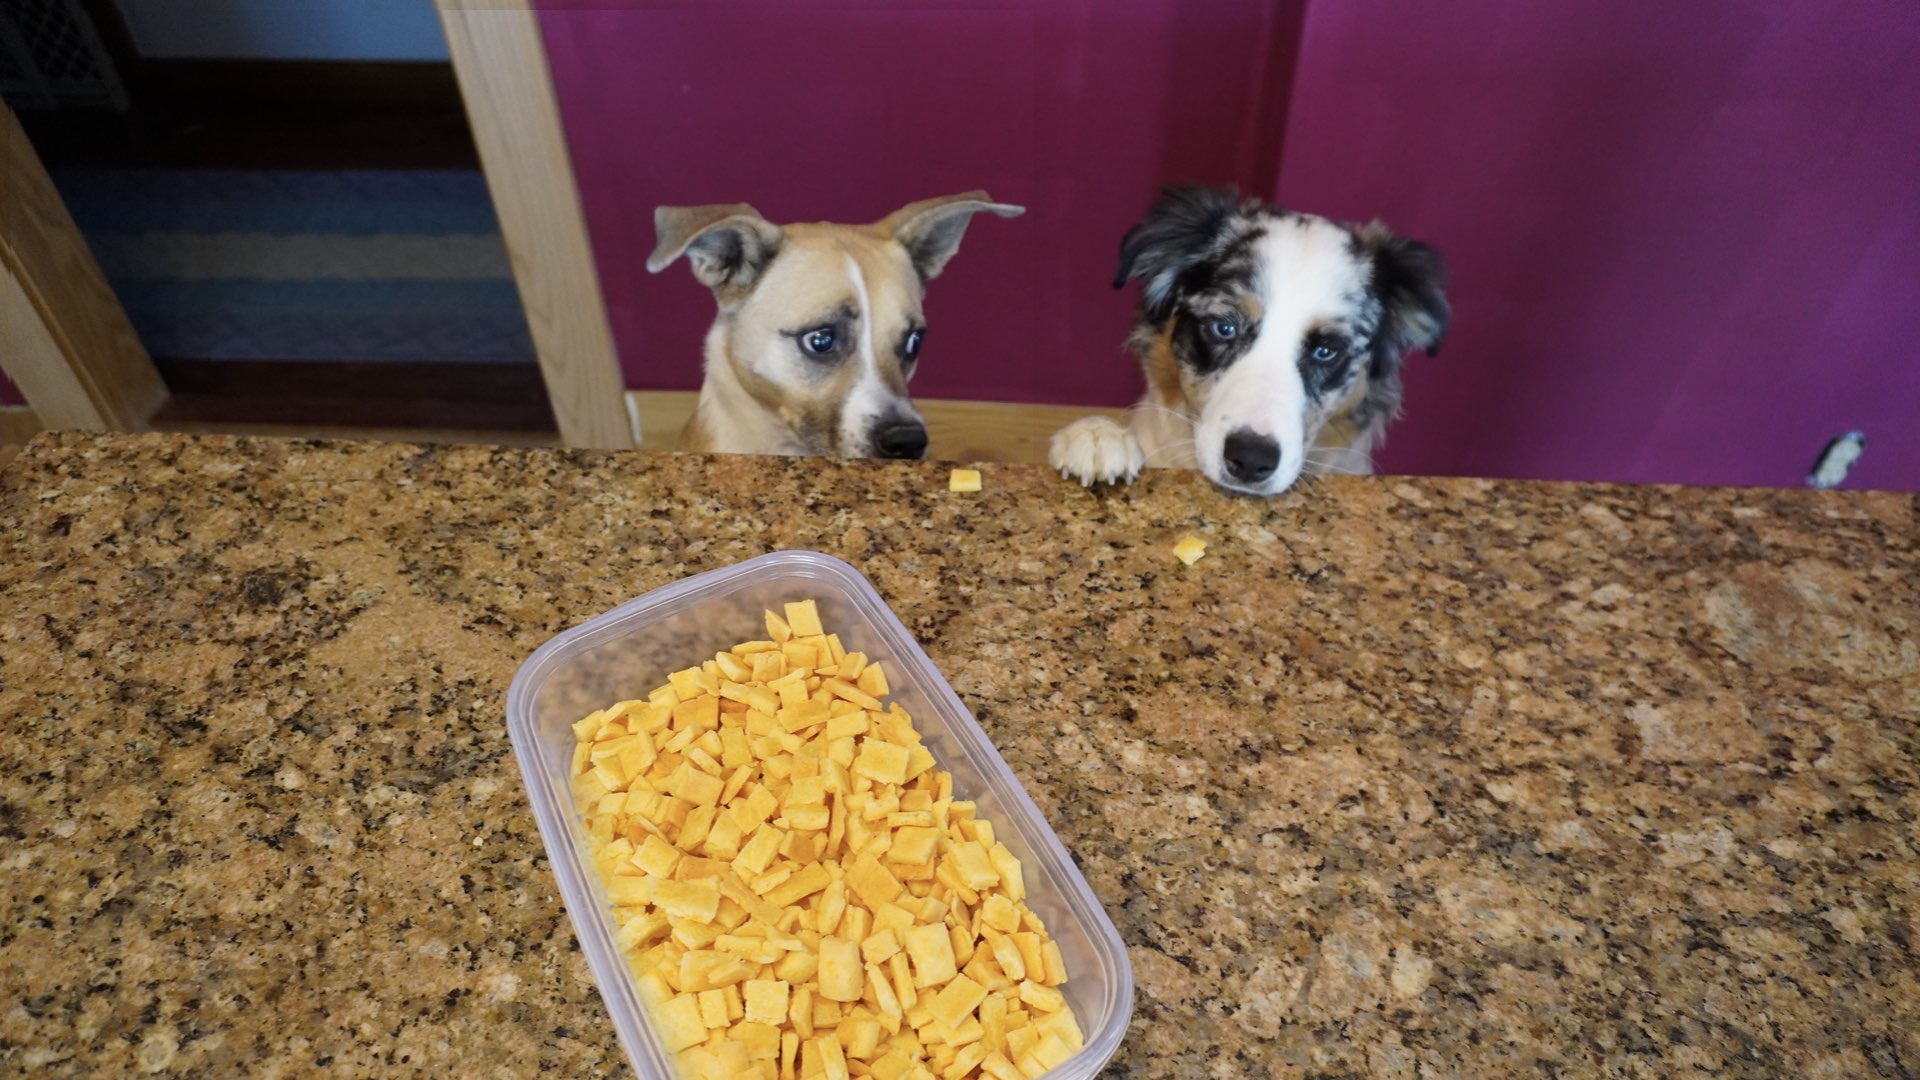
- Take lots of fun pictures sharing your treats with your beloved pets. They are only with us a short time. Enjoy the happy memories. Here is Maggie teaching little Roxanne how to counter surf! Cheeky little girls.
Storage
These cheese crack-hers dog treats last for about a week on the counter, several weeks in the refrigerator and months in the freezer. We store these in an air tight container and check for any signs of mold before use because these have no preservatives. They will be more susceptible to temperature changes and humidity changes in the environment. I prefer to keep them in the freezer or fridge that way they are guaranteed to be ready for the next training session.


Roxanne’s Cheese Crack-hers Dog Treats
Ingredients
- 4 ½ cups (680g) rice flour
- 1 ½ cups (360mL) water
- 2 cups (226g) finely shredded cheddar cheese
- 2 tbs (30mL) olive oil
Instructions
- Preheat oven to 350°F (180°C.)
- Finely shred an 8 oz. pkg of cheddar cheese or measure 2 cups (226g) of prepackaged shredded cheese.
- In a large bowl, rub together rice flour and cheese until cheese resembles coarse bread crumbs. Alternatively, place the cheese and 1/2 the rice flour in a food processor or blender and pulse until fine.
- Add in water and oil, stirring together until a dough ball forms.
- Line a large baking sheet with parchment paper. Press 1/2 of the dough down onto the parchment paper until the entire paper is covered in a thin layer of dough about a 1/8 inch (3mm) thick. If desired, chill the dough while making the next batch.
- Cut the pieces into small squares, using a pizza cutter or a sharp knife. For training treats, make them very small about 1/4 – 1/2 inch or 6 – 13 mm. This way you can give them a lot more treats for fewer calories during training sessions and classes.
- Bake 35 – 45 minutes or until crackers are browning on the edges and the internal temperature reaches 200°F (93°C.) Remove from oven and allow to cool in the pan for several minutes. Once cool, break into small pieces along the score lines. Transfer to an airtight container. Store in fridge up to a week or in the freezer up to 4 months.
0 Comments