What is tempering chocolate?
You may find yourself asking this when learning how to bake. Tempering is basically making the chocolate to have a nice sheen, breaks instead of bending and slower to melt. Think of a nice candy bar that snaps as you break it. I took a few pictures below for reference.
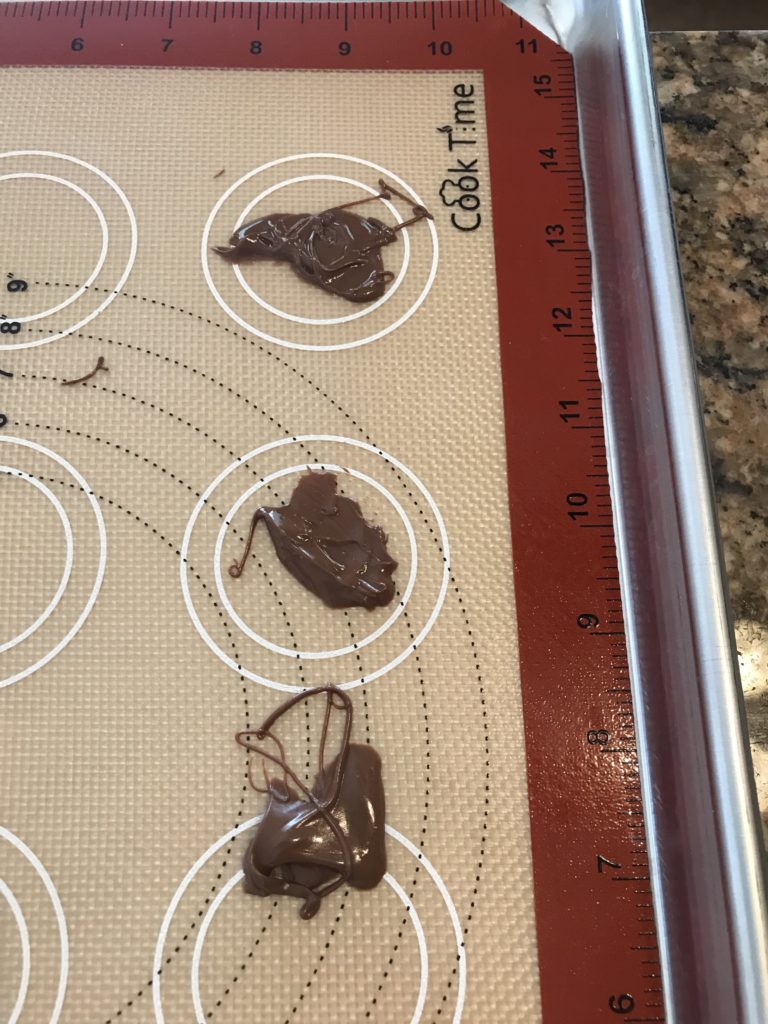
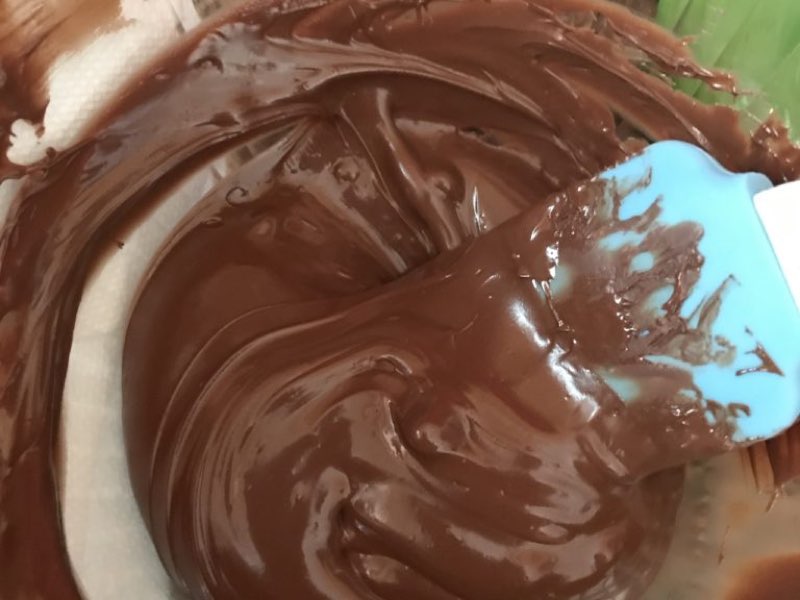
This chocolate is out of temper. It does not harden and is the texture of frosting or ganache. No matter how long you wait, it will stay soft.
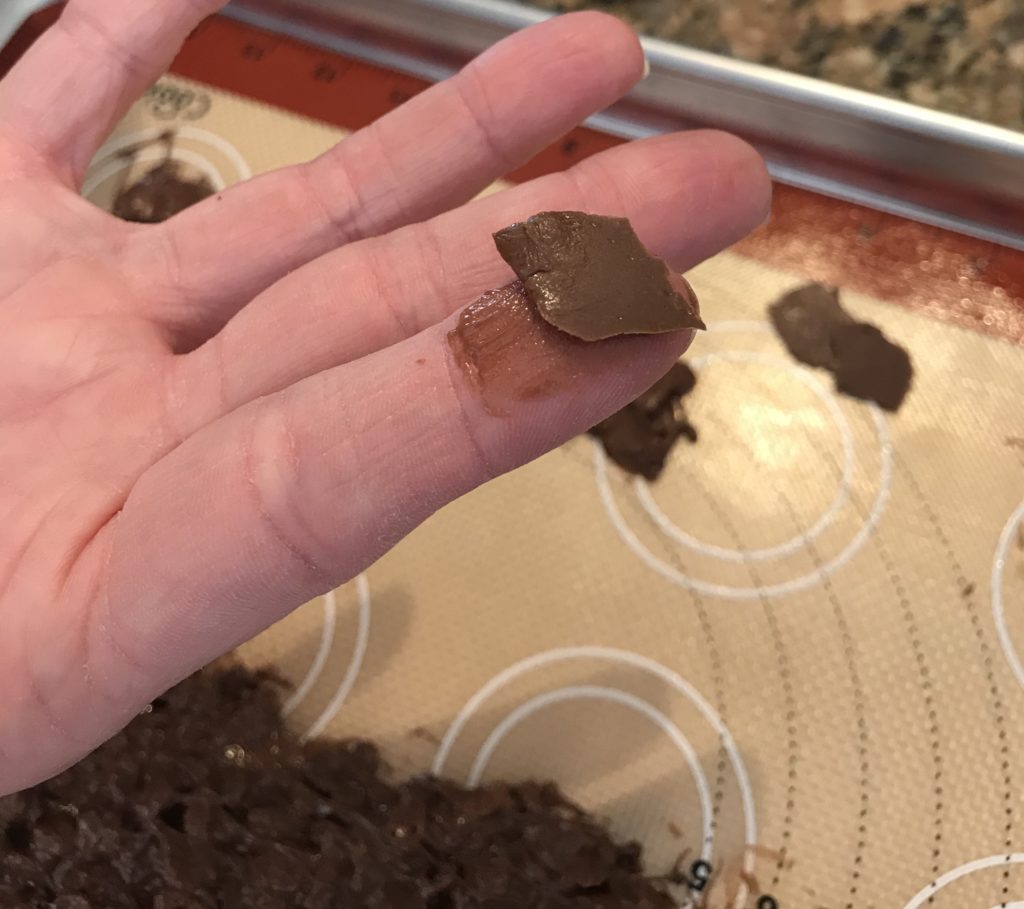
This chocolate appears to be hard to the touch, but was not tempered correctly. When you pick it up, the chocolate is bendable and melts quickly.
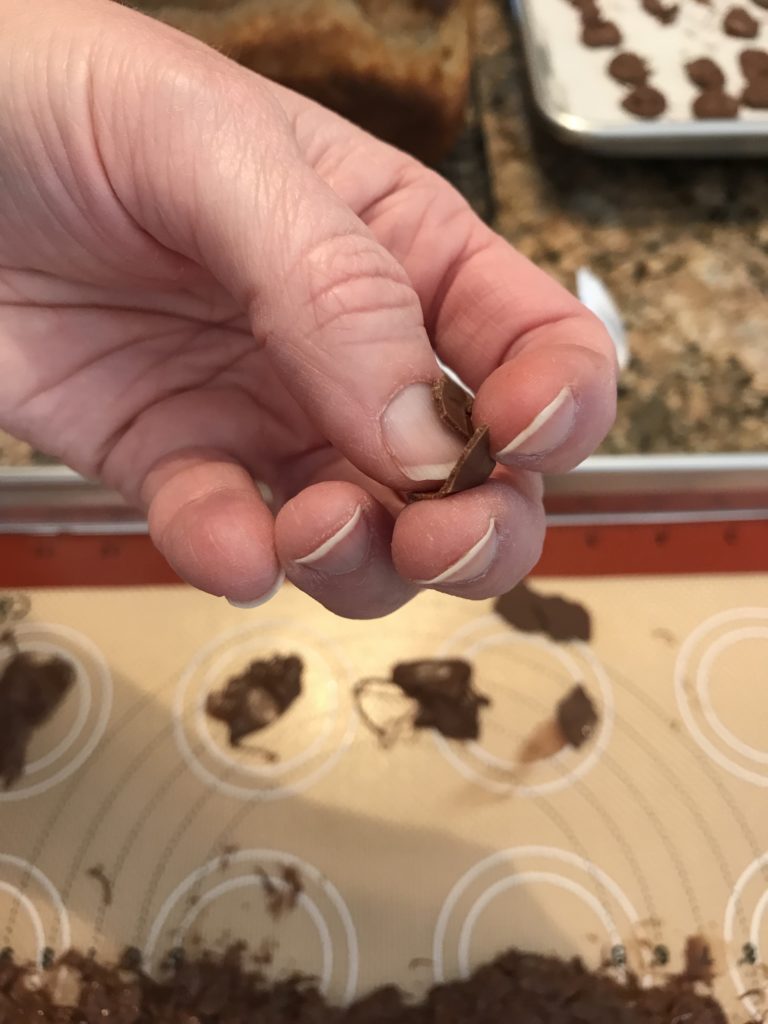
This chocolate was quite flexible even though it was hard and not melting. It’s close to being tempered correctly but not quite there.
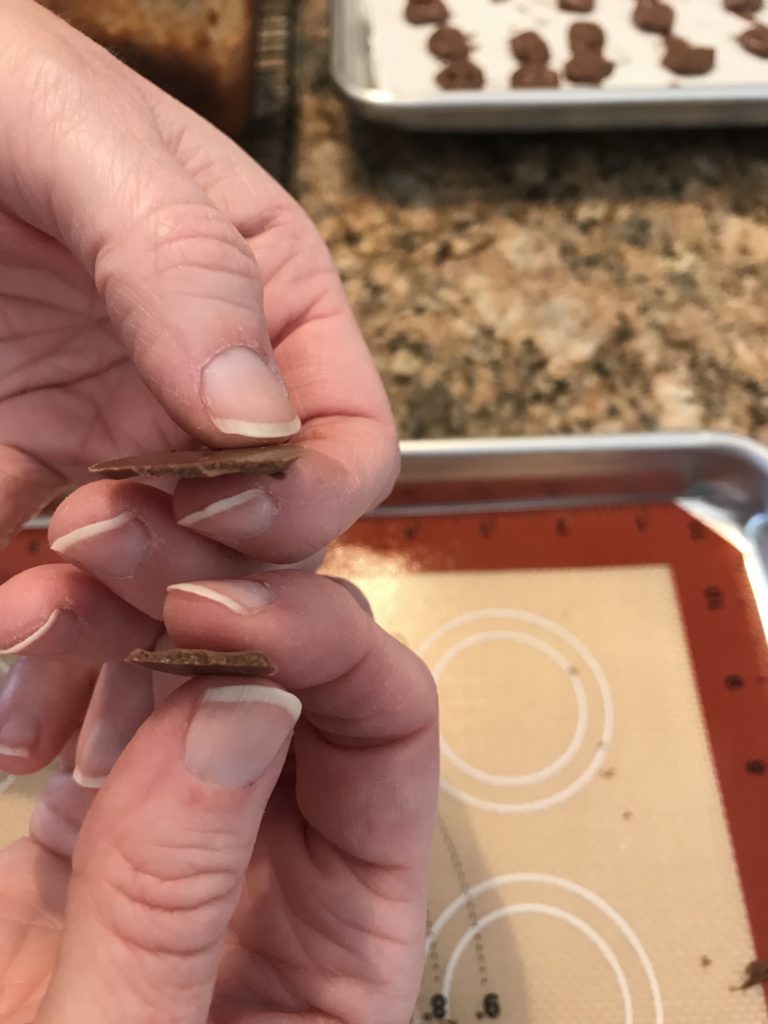
Now, this chocolate is in temper. It’s shiny, hard and snaps cleanly when you break it.
Tempering also made me bonkers. I watched videos, read texts, took notes and tried for years. I didn’t get it. That was until I got a digital thermometer and read about the microwave method.
You have a higher chance of success because you don’t have to worry about moisture from the double boiler method seizing your chocolate, you have the option to introduce chocolate that is in temper which will give you more of the desired crystals to form a nice chocolate and it’s easier to learn.
The down side is you do have to do bursts at the end and learn the way your microwave works. If you hit 113F (45C) on your double boiler, you simply remove it from the heat. In your microwave, a few seconds can jump the heat so far you burn white chocolate. So keep that in mind and do 5 second bursts while you learn.
To learn how to temper, it’s beneficial to understand the basics. There are tiny crystals in cocoa butter that form and depending on which are formed (they depend on temperature) depends on how your chocolate will look.
Remember getting a chocolate bar that is all bendy and melts when you touch it or is covered in this weird white film? These are undesirable traits for a candy bar even though the chocolate is still edible. This happens when chocolate gets too hot or too cold during transport.
To avoid this, you want to create a candy bar (or coating) with as many crystals in the desired trait as you can. When you heat the chocolate around 113F (45C) to melt all the crystals and then cool it down to between 84 – 91F (29-33C) it will give you a breakable chocolate, a higher melting point and a nice sheen to it.
Note: some will take the chocolate down to 81F (27C) to form as many type 5 crystals as possible and then reheat to a higher temperature. This step isn’t necessary for home baking. If you want to learn about the types of crystals, below is a basic table about them.
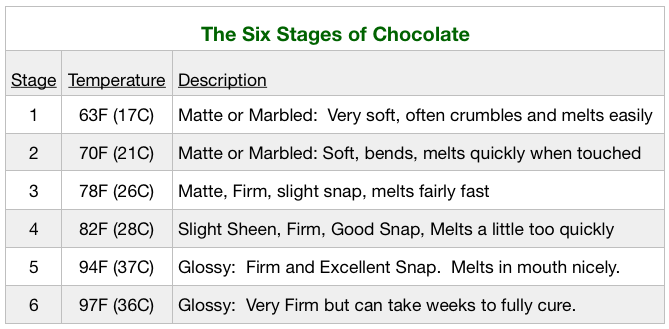
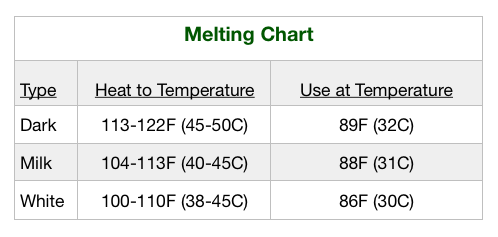
With this knowledge and the fact milk and white chocolates have milk to consider in addition to cocoa butter, there is a basic suggestion for what temperatures to melt and cool each chocolate to get the best results. I suggest working with the lowest standard recommended temperatures and later on, work with the knowledge in the former table and experiment between 84 – 91 F (29 – 33C) to see what temperature works for each type of chocolate best.
Tempering Tutorials:
Click on one of the options below to find out how to temper a variety of chocolates. The microwave method method will be explained for each of the following types and a general tutorial on how to fix bloom and temper chocolates on the stove top is also provided.
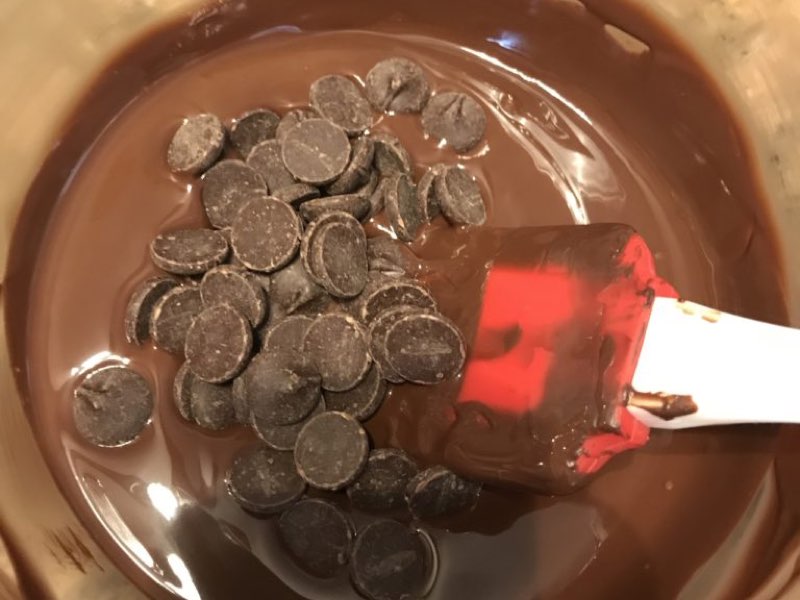
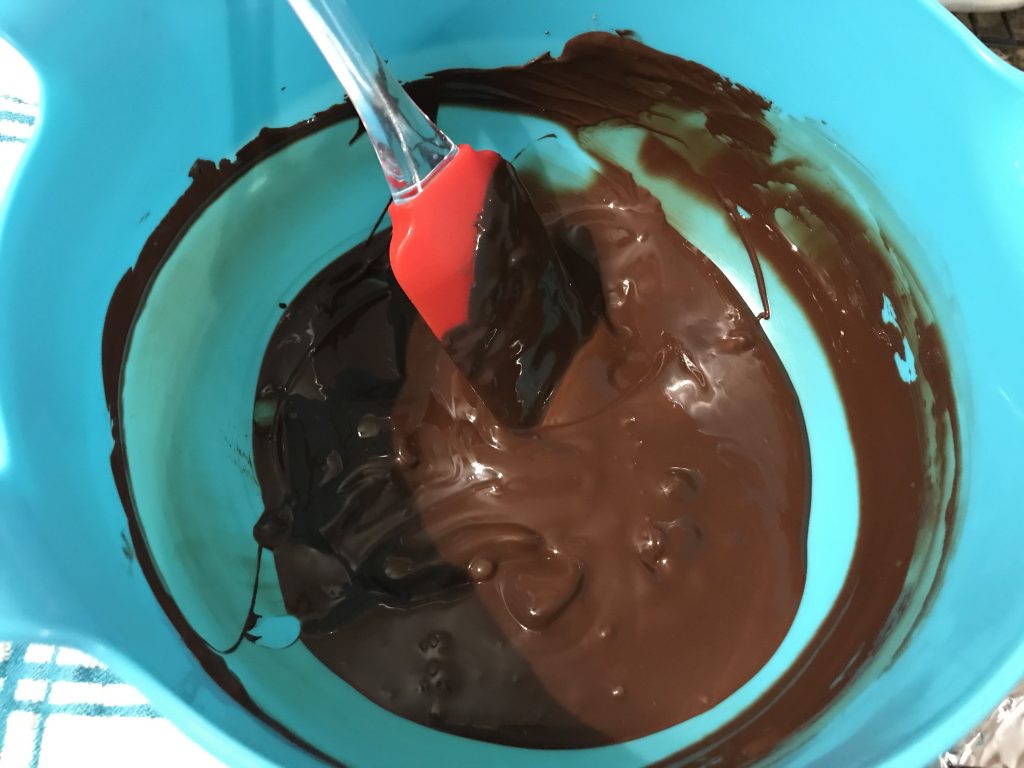
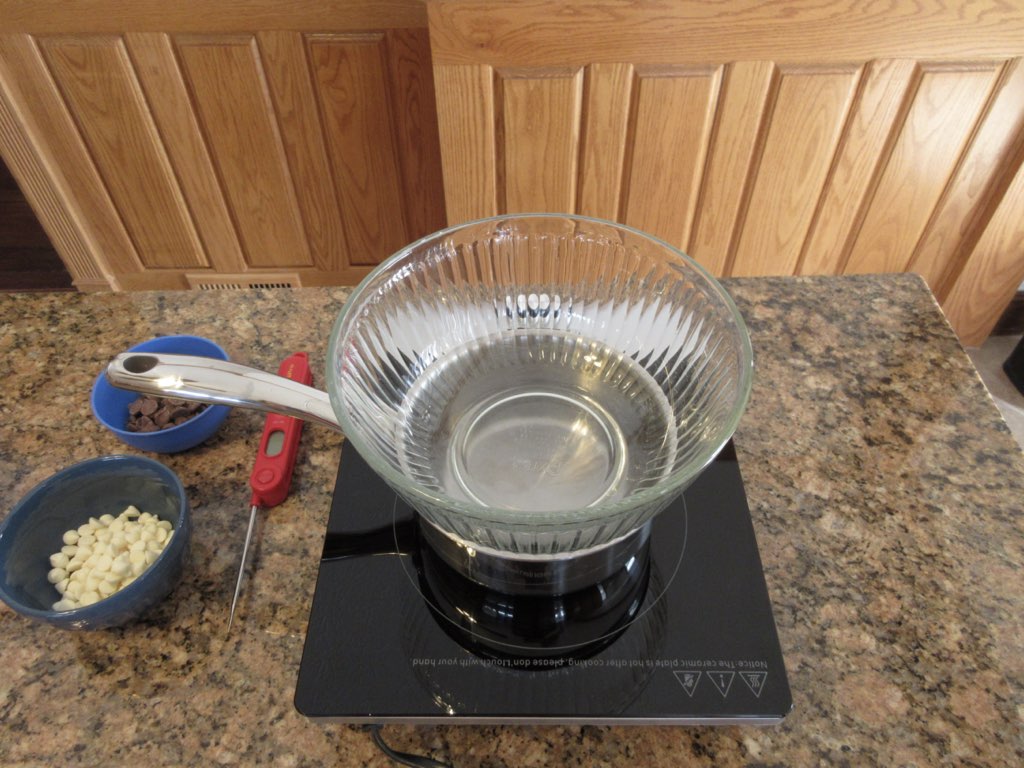
Here are a few videos that will help you with the basics of melting chocolate. Hopefully these brief tutorials will make you feel more confident in your candy making skills!
0 Comments