

Shaping Bread Rolls Can Be Easy. But sometimes finding a source to learn from can be difficult. For instance, I learn much better with pictures than with video. I try to pause a video at the right moment and often miss the mark or the part will be blurry or the still shot is not as clear as I’d hoped. So a lot of baking techniques, I muddled through countless times before I figured it out.
Perhaps some of my readers are similar, so I will create some basic how to posts along the way. For instance, today, I’ll show you how I shape rolls. Before this, I just kind of smushed them around in my hands and let them do what they pleased. Most of the time, it wasn’t pretty. Here’s the thing: shaping bread rolls is like the wrapping paper on the present. The present is what matters so don’t worry if it takes you a while to get it. Now that you learned to shape dough, check out this delicious recipe for dinner rolls.
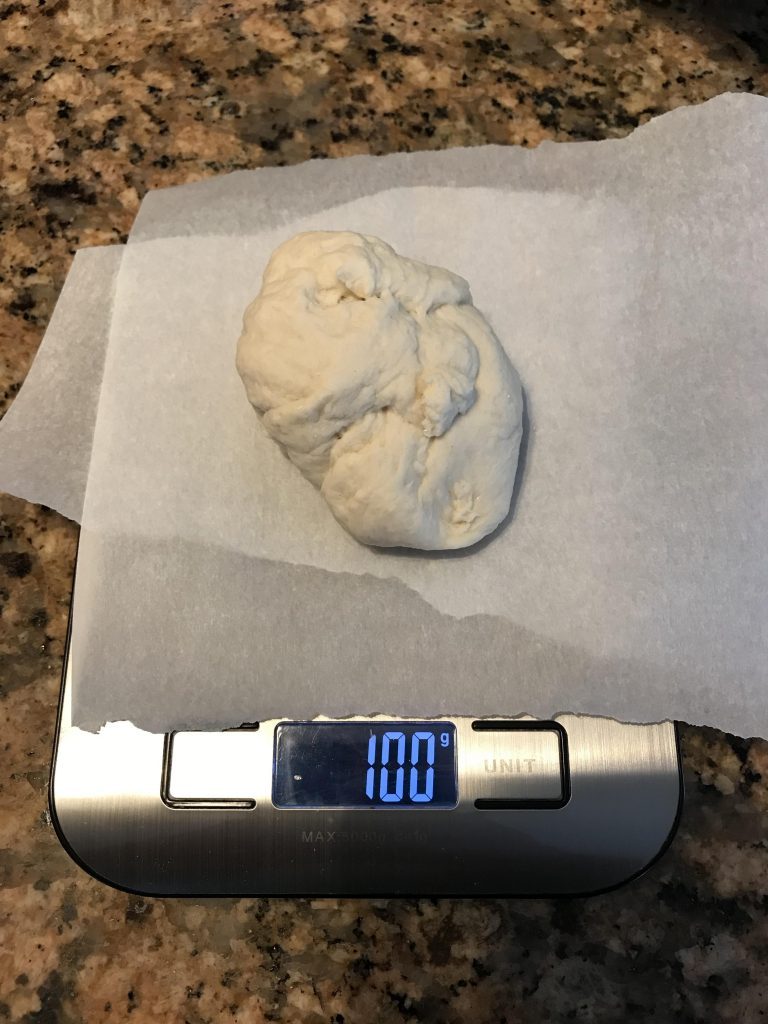
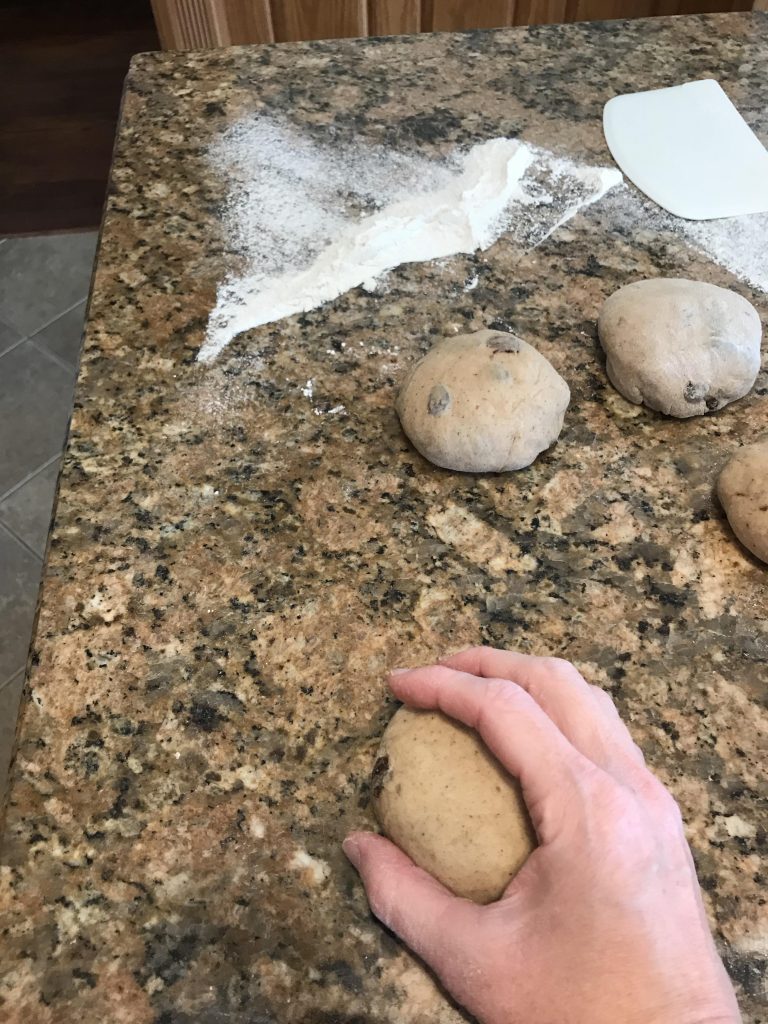
Weigh or portion out the dough into 12 or 15 sized portions. 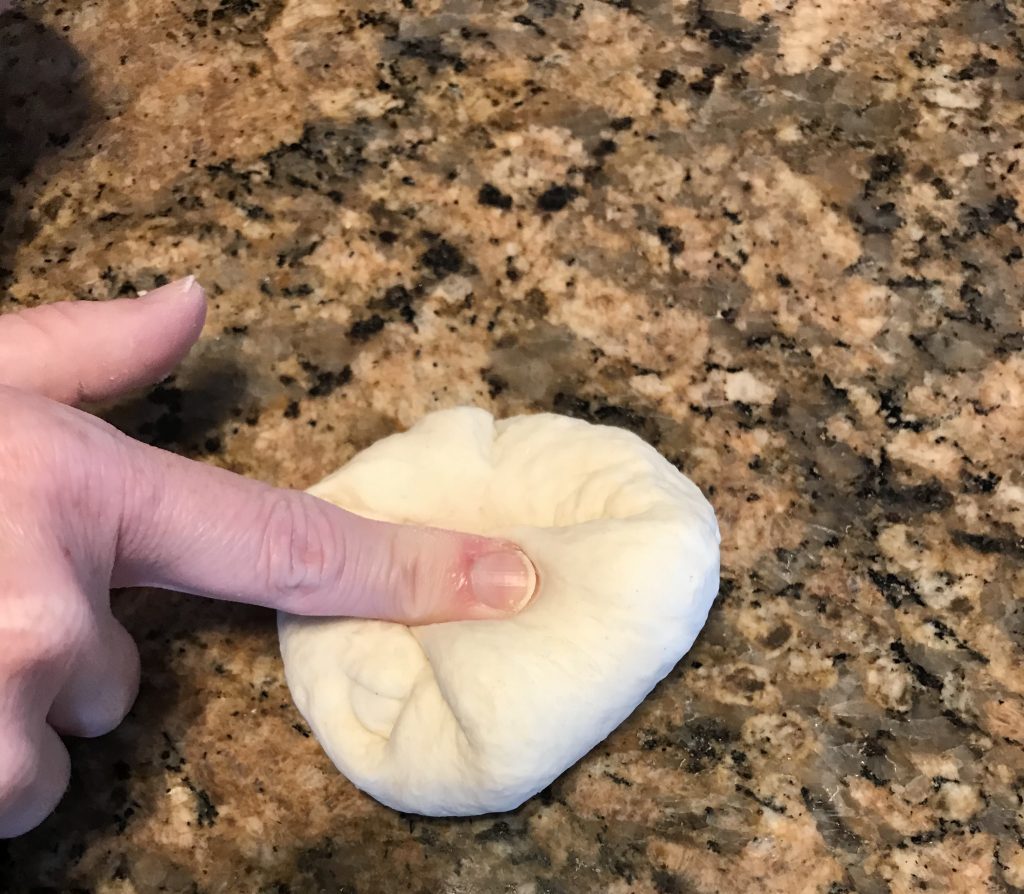
How to shape! There is usually a more sticky side to dough. Put that side face up. Working in corners, pick up a piece and fold it toward the center. 
You want to do this for times. 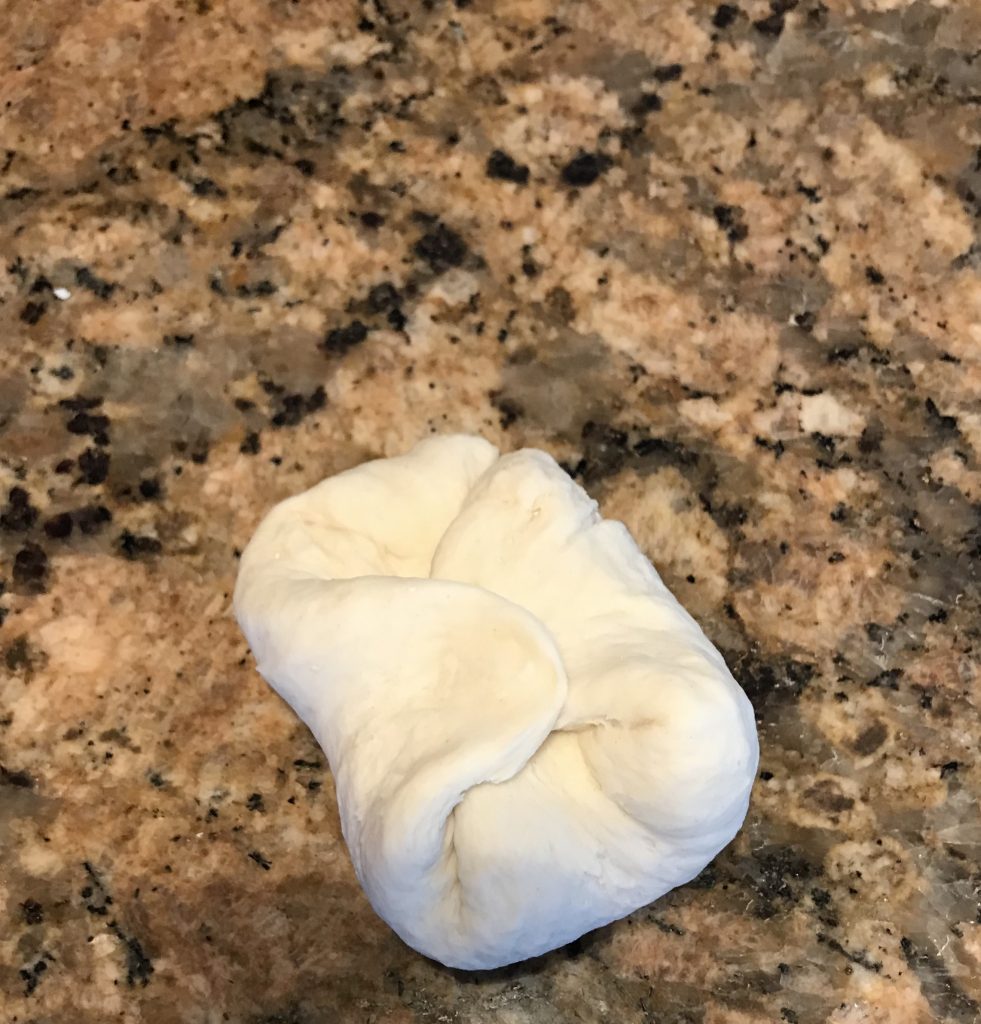
Almost like wrapping a present. 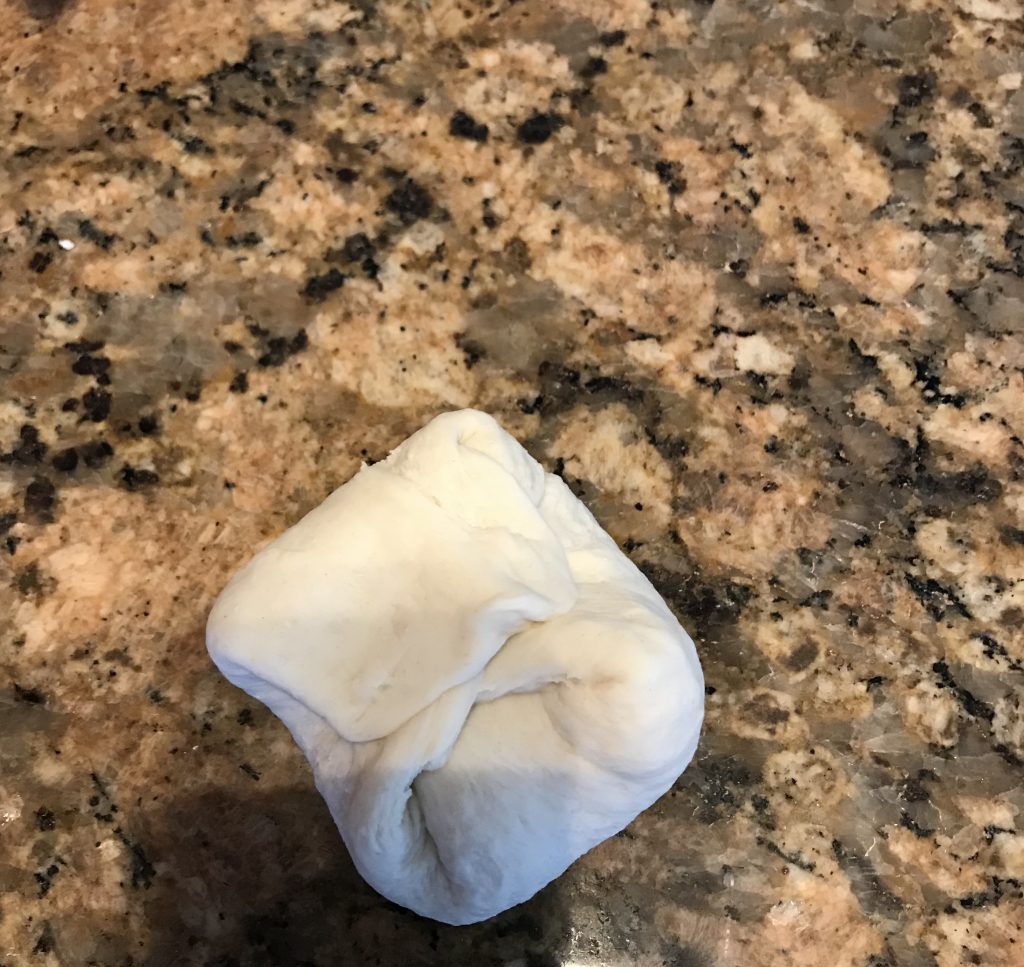
I’ll take on a square shape. 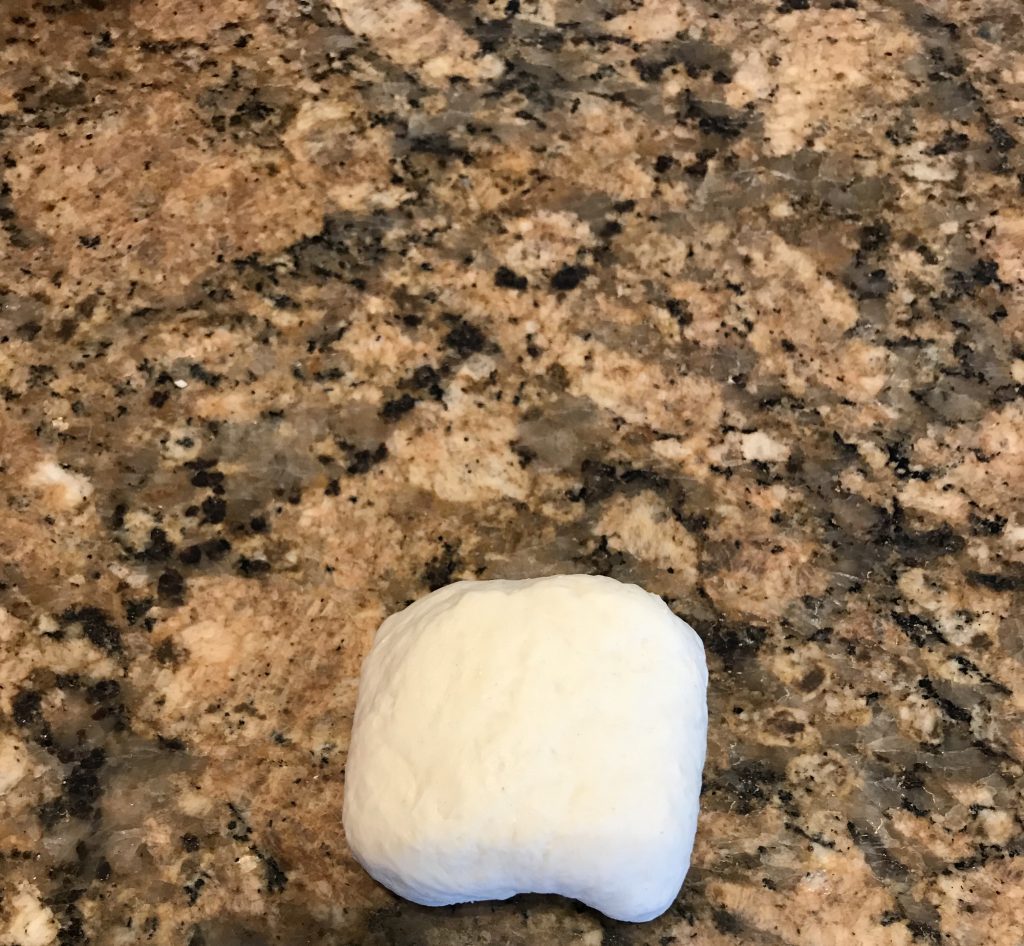
Cup the dough in your hand like this. Don’t use a floured surface, you need it to stick a bit to the workspace. Roll it in your hand in circular motion. 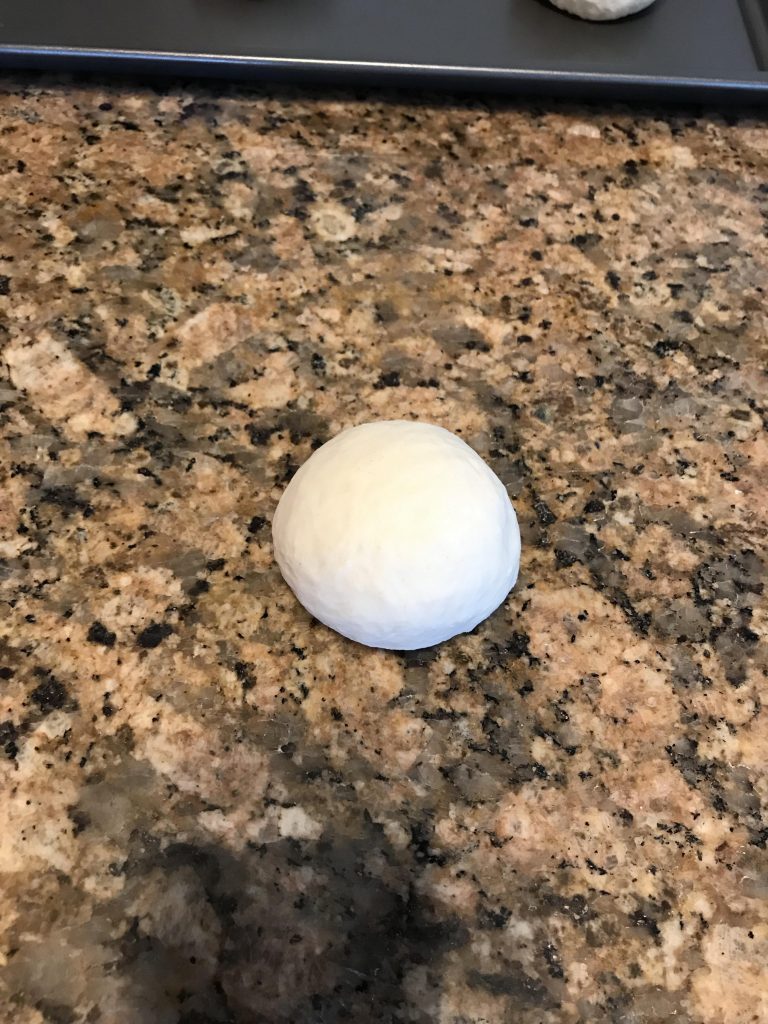
Tada! 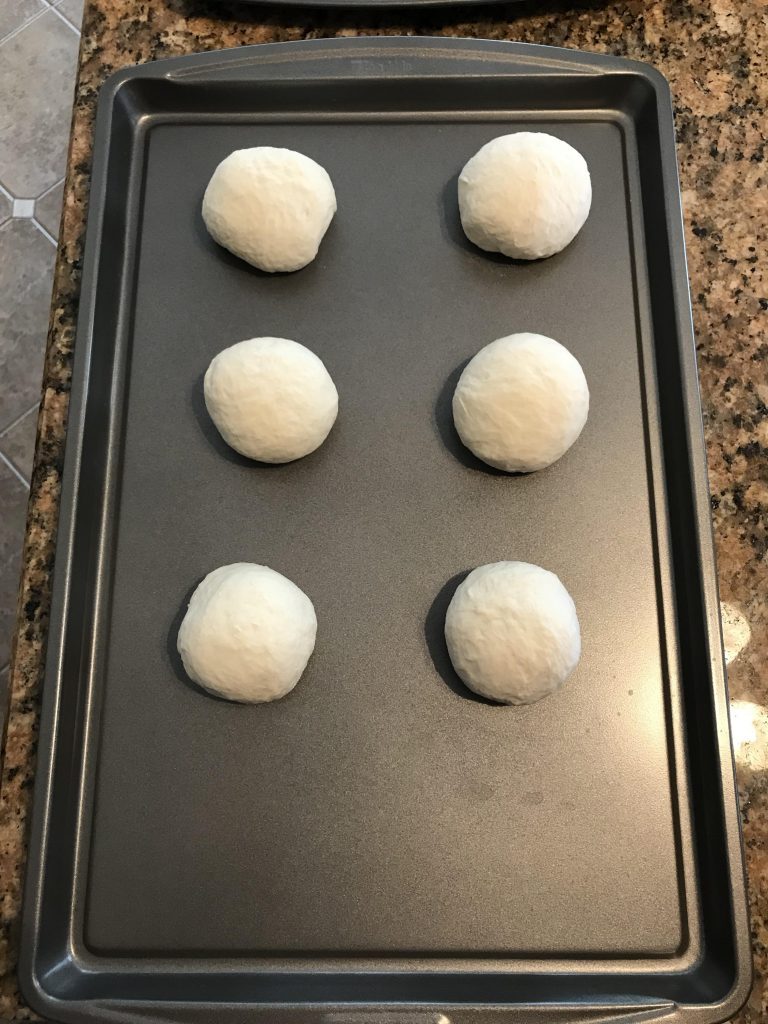
Place on a baking sheet and make room for expansion. 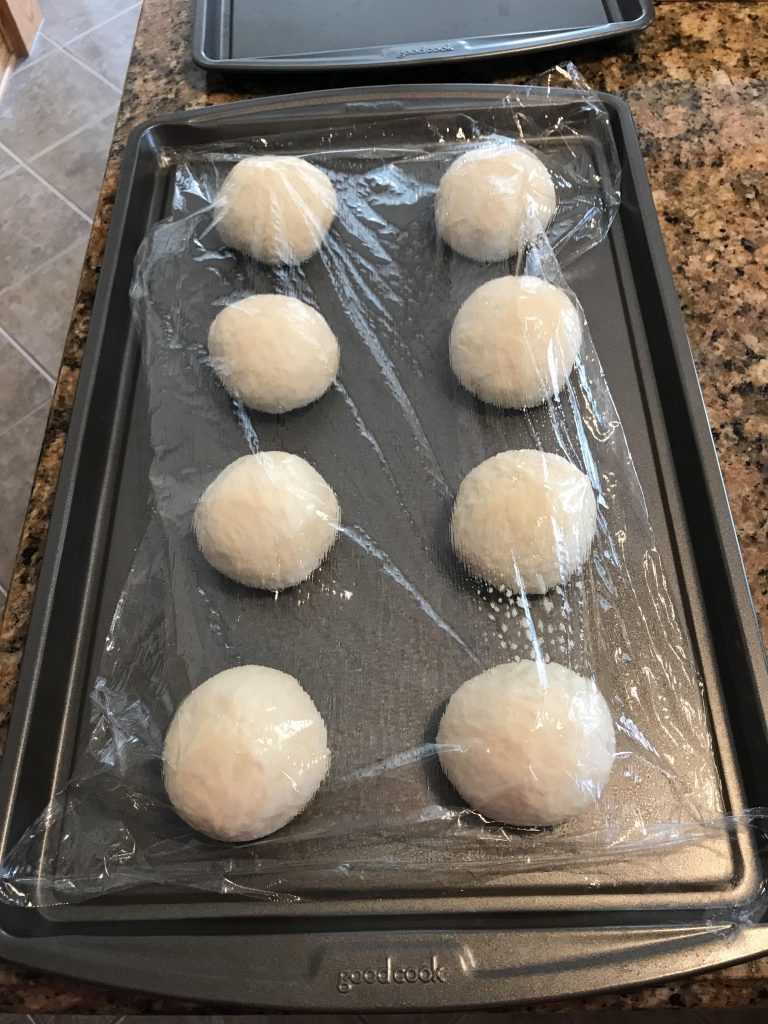
Cover and allow to expand. 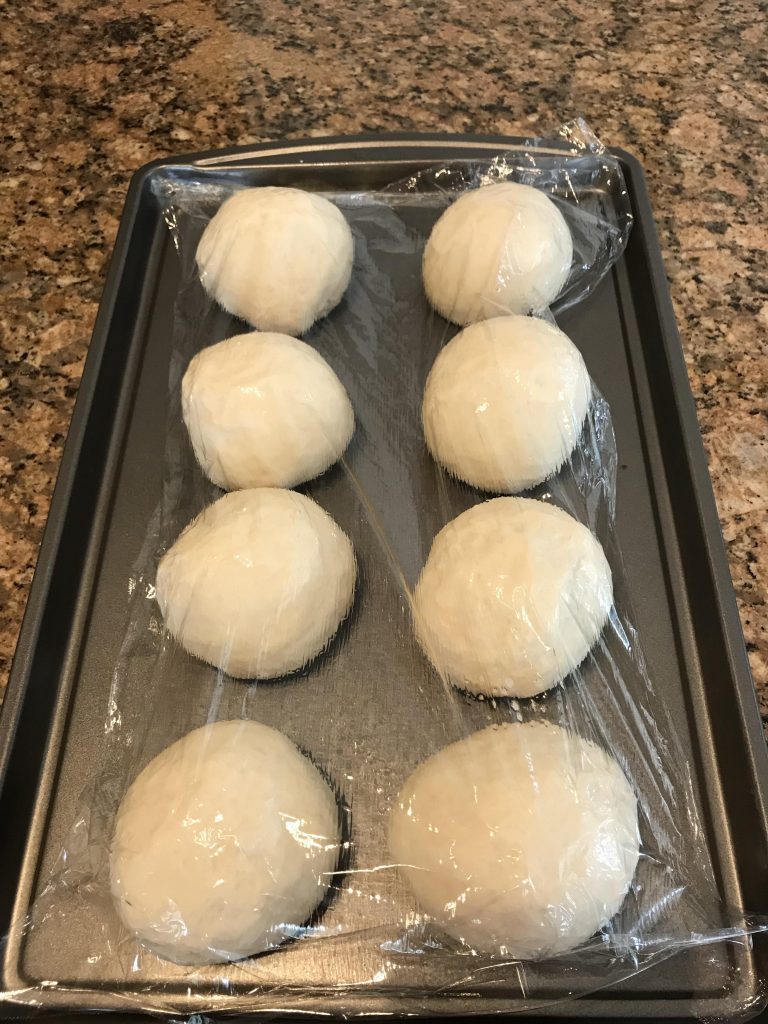
Look at those little guys grow! 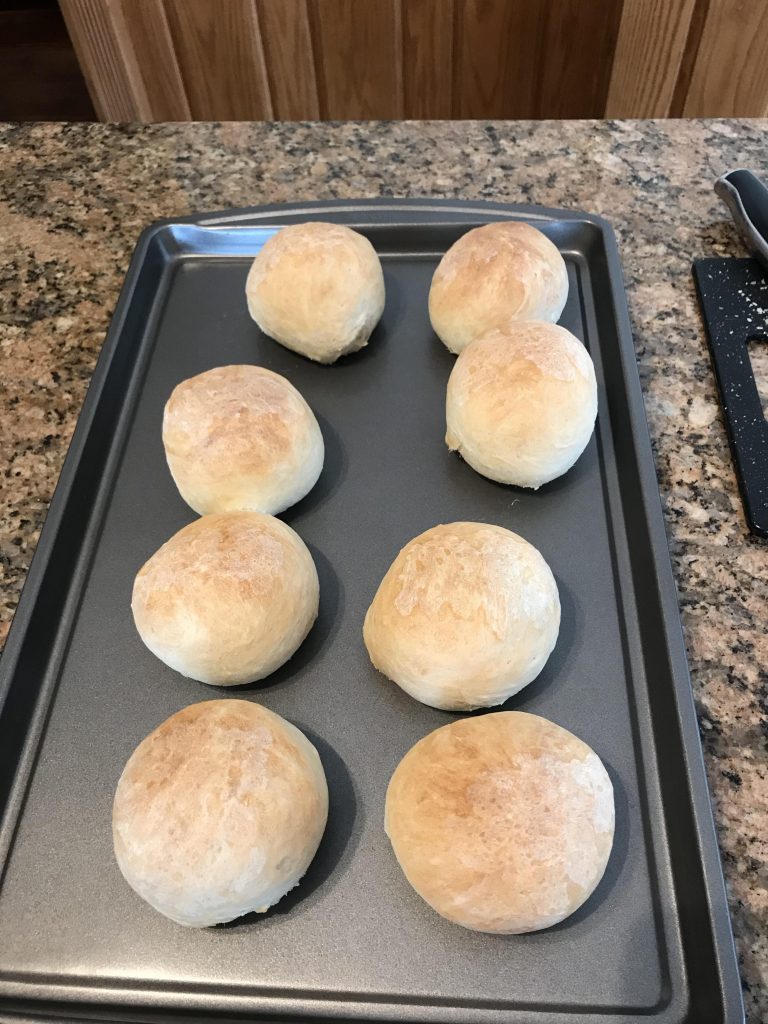
When baked, they keep their shape. 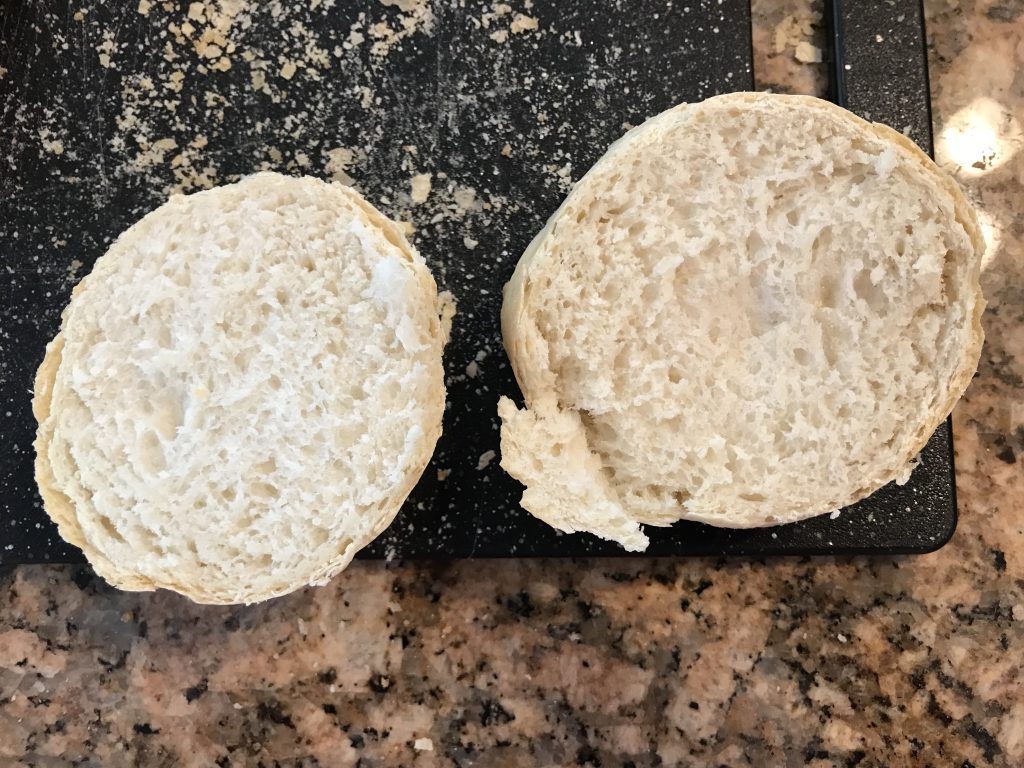
This is a pretty dense crumb as it was a low hydration dough.
The following video will further explain how and why to create tension in bread dough to have fabulously shaped rolls.
0 Comments