A Little Guide to Making this Spiced Swiss Roll Recipe
Today we will show you how to make a tasty spiced swiss roll with this easy recipe. This cake is made with some of the more affordable spices. Allspice is used instead of cloves and nutmeg because it is more readily available and has a similar flavor profile in the end. Feel free to swap out the allspice and halve it between cloves and nutmeg. Or leave it out altogether. Or perhaps omit all the spices and replace it with 1 1/2 tsp of pumpkin pie spice for the season. That’s about 3 grams worth of that lovely spice mixture.
However you decide to make it, a spiced swiss roll is a great way to make a last minute dessert that is cheap on ingredients, does not as many calories as a traditional cake and is always well received as a gift or given to guests. It’s also a fun way to make a pretty dessert without a lot of effort or preparation time. Did I mention these freeze really well up to three months?
And we will also practice improving our photography skills along the way. One of these days, we will have beautifully staged photos with lovely lighting and mouth watering appeal. But not today. Today, we bake cake and work on improving the photos one by one. Also, if you like seasonal desserts, try out our pumpkin squares recipe. It’s just as easy if not easier to make as our spiced swiss roll and equally delicious.
Step-By-Step Instructions
Making swiss rolls or roulade cakes look difficult, but they don’t have to be! In fact, they are quite simple and even fun to make. You just have to be prepared.
Step 1: Prepare your Pan
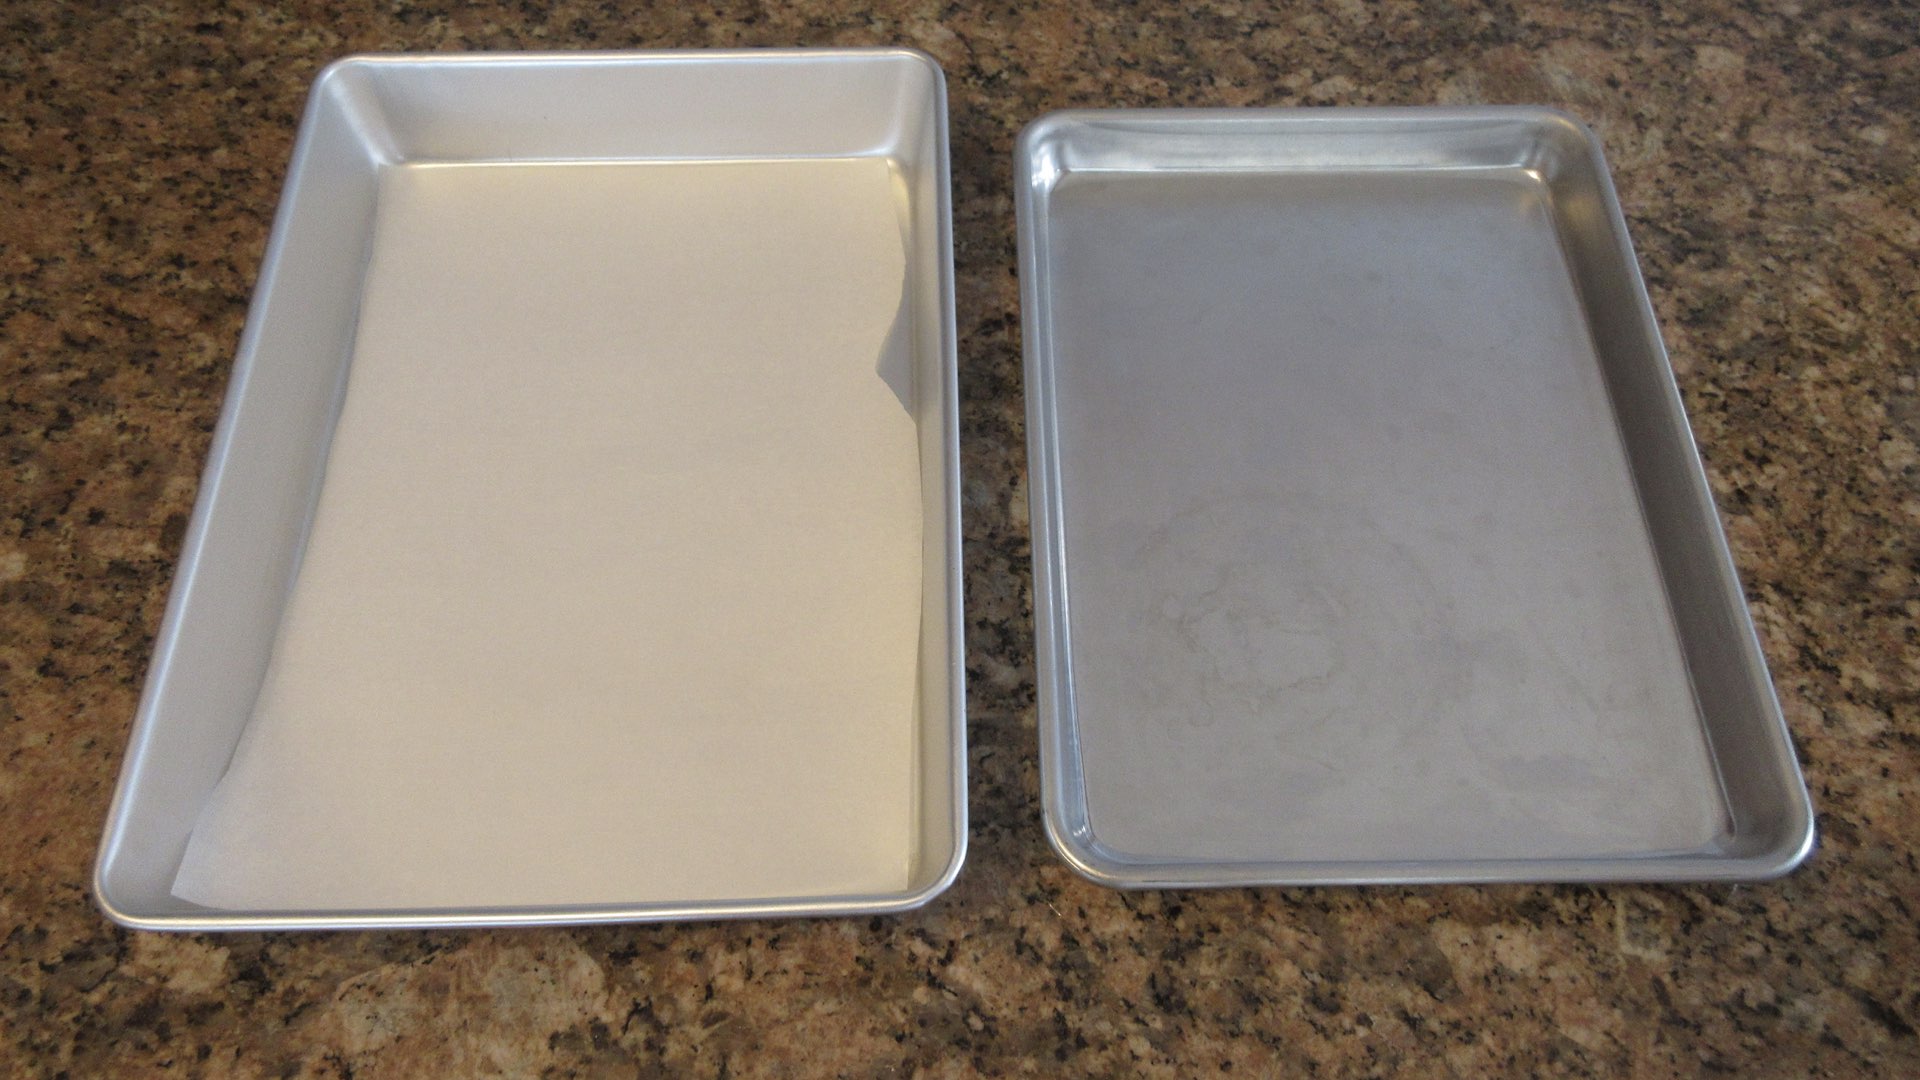
First, prepare your pan. You want to generously grease the bottom of your pan and line the bottom with parchment. The parchment will help the cake release. Now you can go out and buy a special “jelly roll” pan if you plan to make swiss rolls on a regular basis. But if not? Simply use a 9×13 (23x33cm) cake pan. It will work just as nicely and most beginner bakers will have this pan or can buy one cheaply at most grocery stores.
Step 2: Gather Your Ingredients
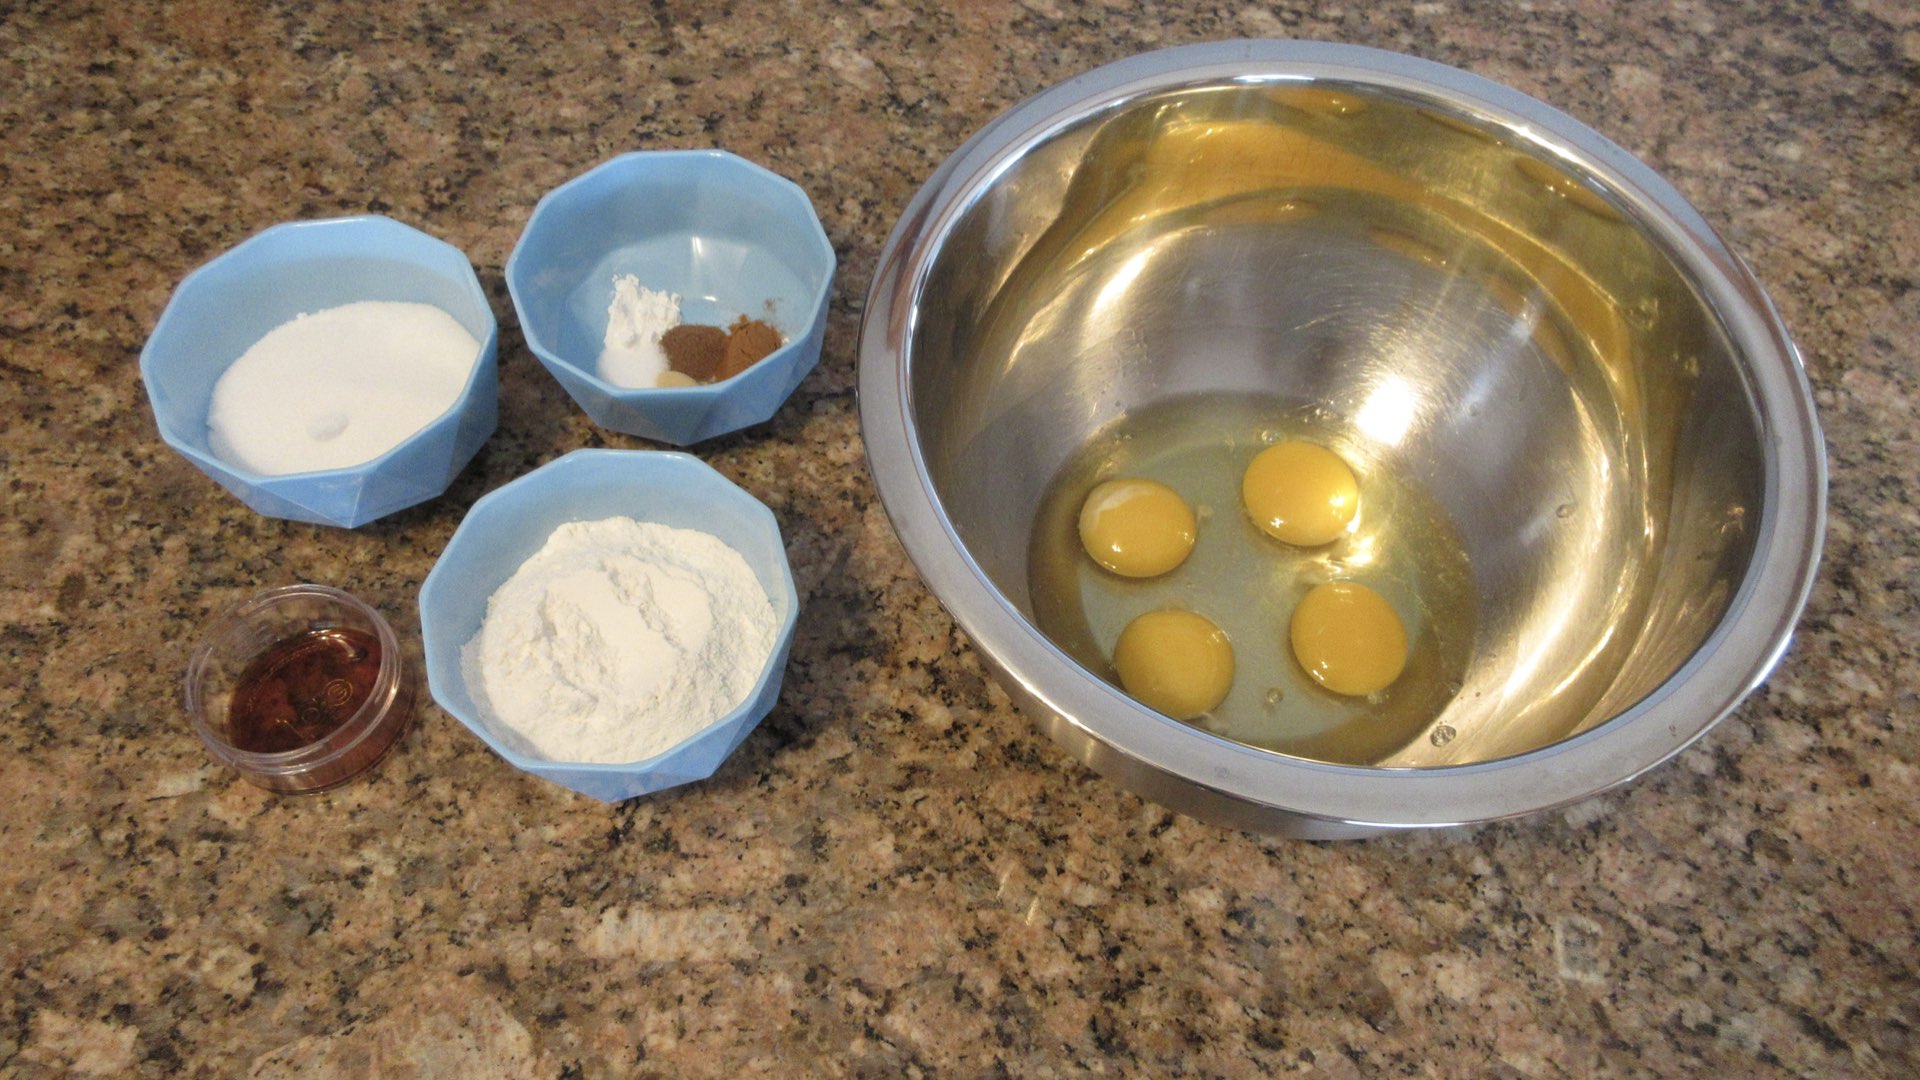
It’s always a great idea to gather you ingredients ahead of time. This makes sure you don’t forget an ingredient or have run out and didn’t realize it. Let the ingredients come to or slightly below room temperature for best results.
Step 3: Combine the Dry Ingredients
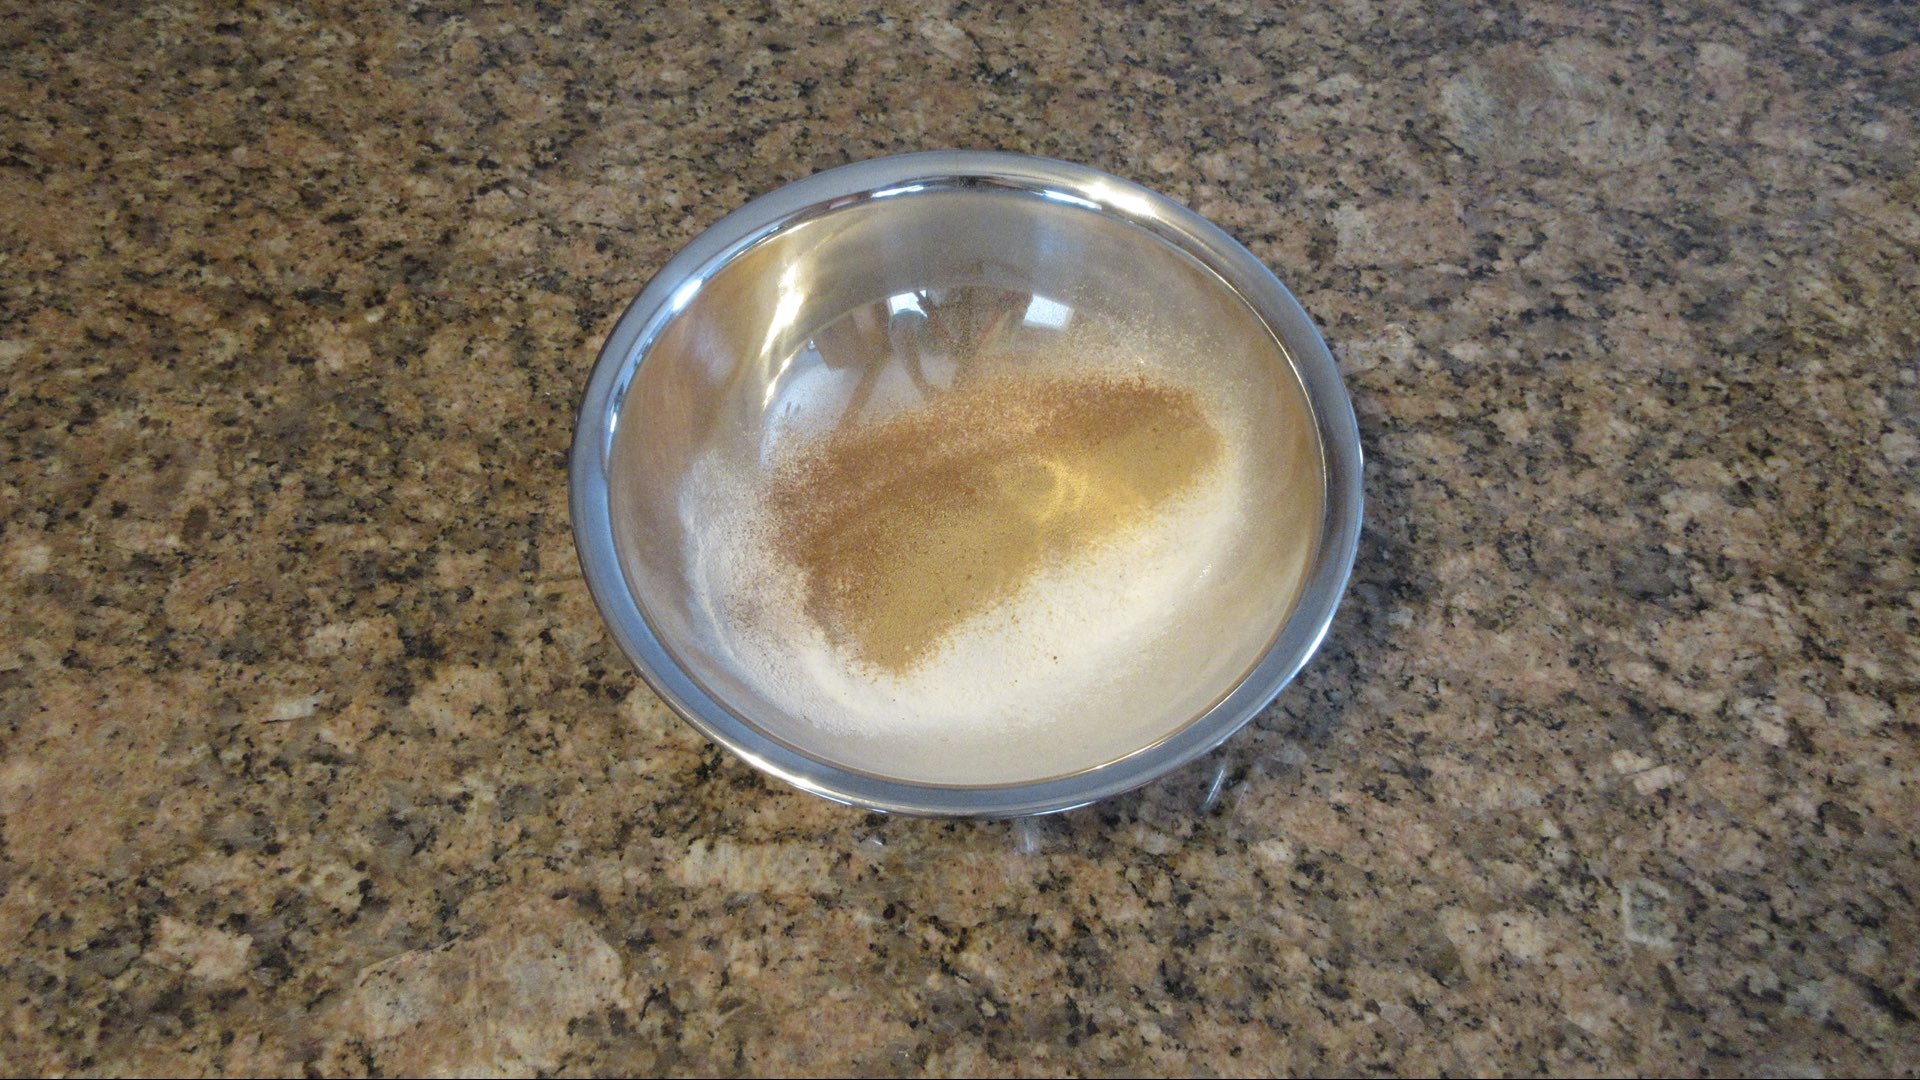
Then, we will sift together dry ingredients. This will help them blend into the eggs later. If you don’t own a sifter, whisk them together throughly. If you don’t on a whisk, use a fork.

The sifter will ensure the cake will be lump free, light and airy. If you plan to bake a lot, we highly recommend buying a sifter. The cheapest will suffice.
Step 4: Combine the Wet Ingredients
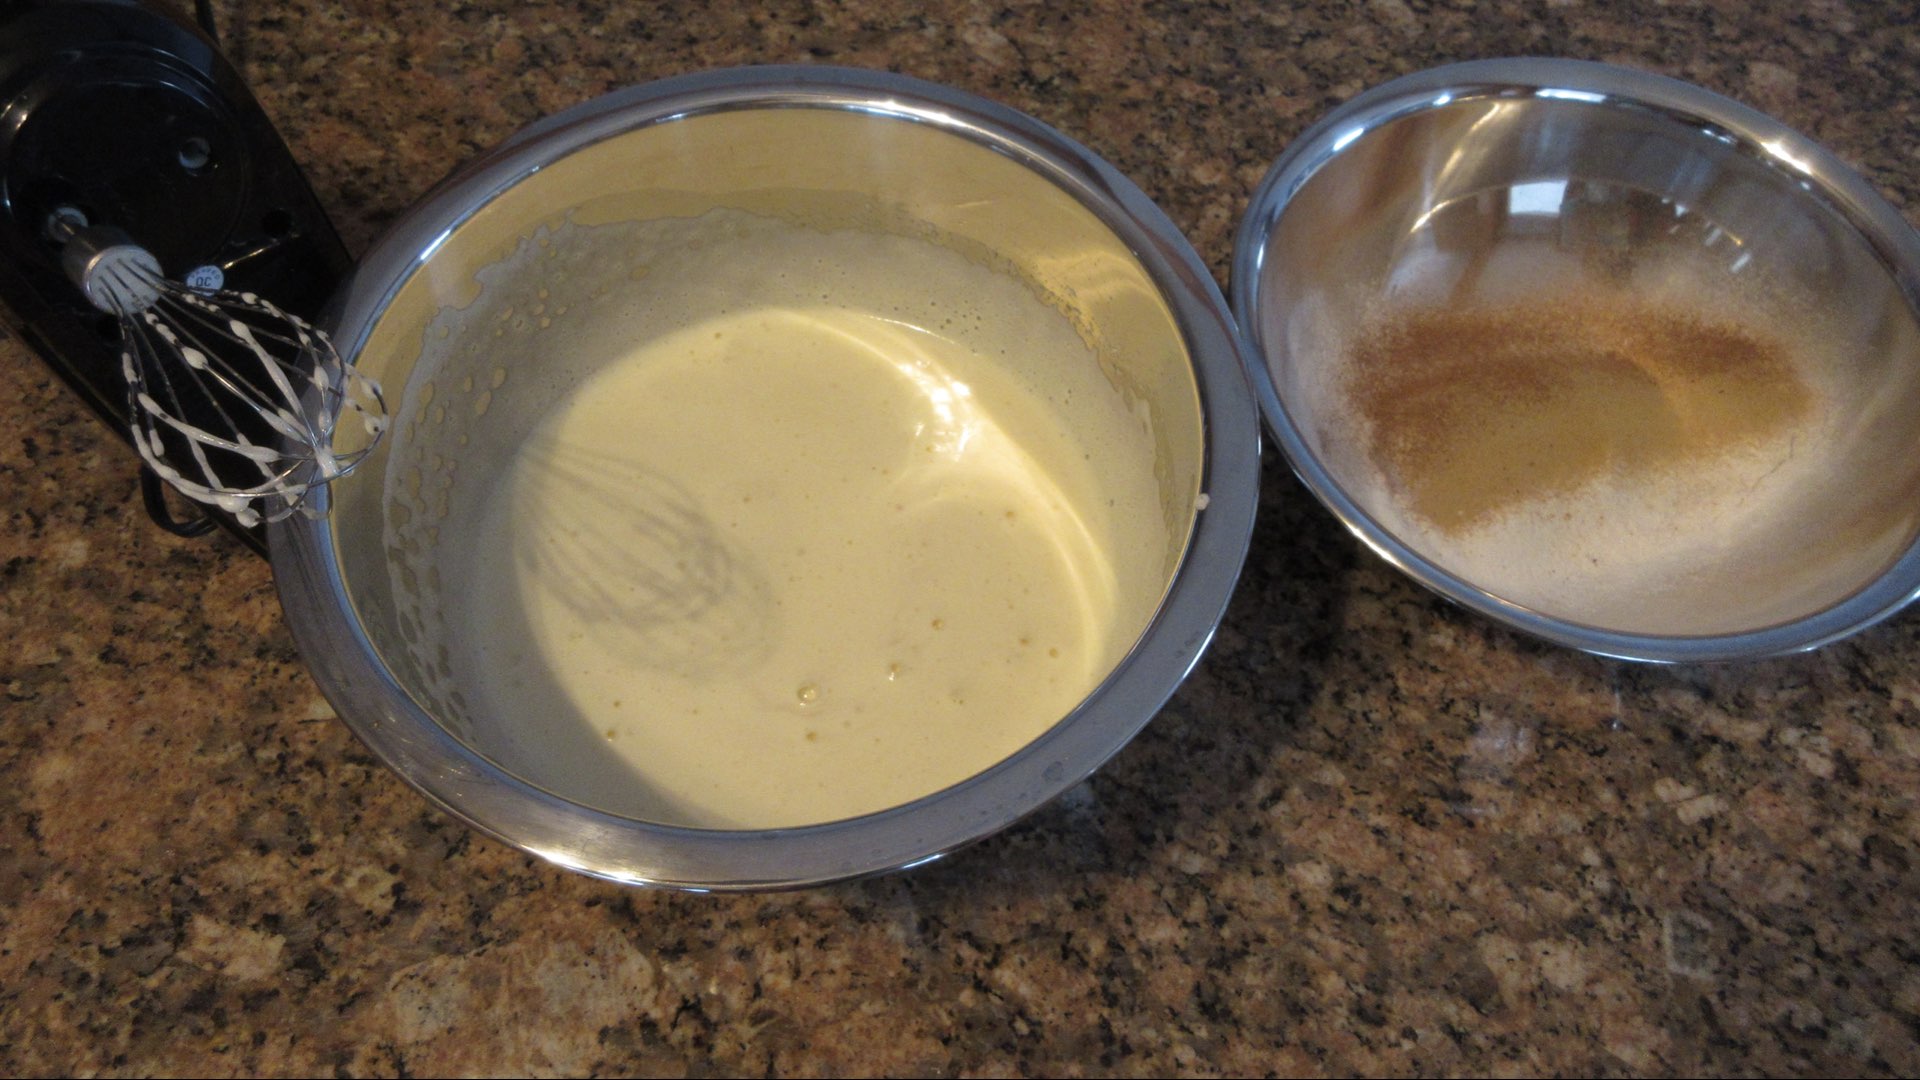
Now we want to beat the eggs and sugar until they quadruple in size and are a pale yellow.

This is called the ribbon stage. Beat in the vanilla on a low speed.
Step 5: Combine the Ingredients
Gently fold in the flour and spice mixture until you no longer see any flour or lumps. Using a whisk for this stage will help you keep a lot of air in the batter. Pour the batter into the prepared pan.

Step 6: Bake the Cake
Bake the cake until it is just done. Try to avoid overbaking as this will lead to cracks.

Step 7: Prepare the Towel
While the baking, get out a clean towel. Make sure your work surface has been cleaned.
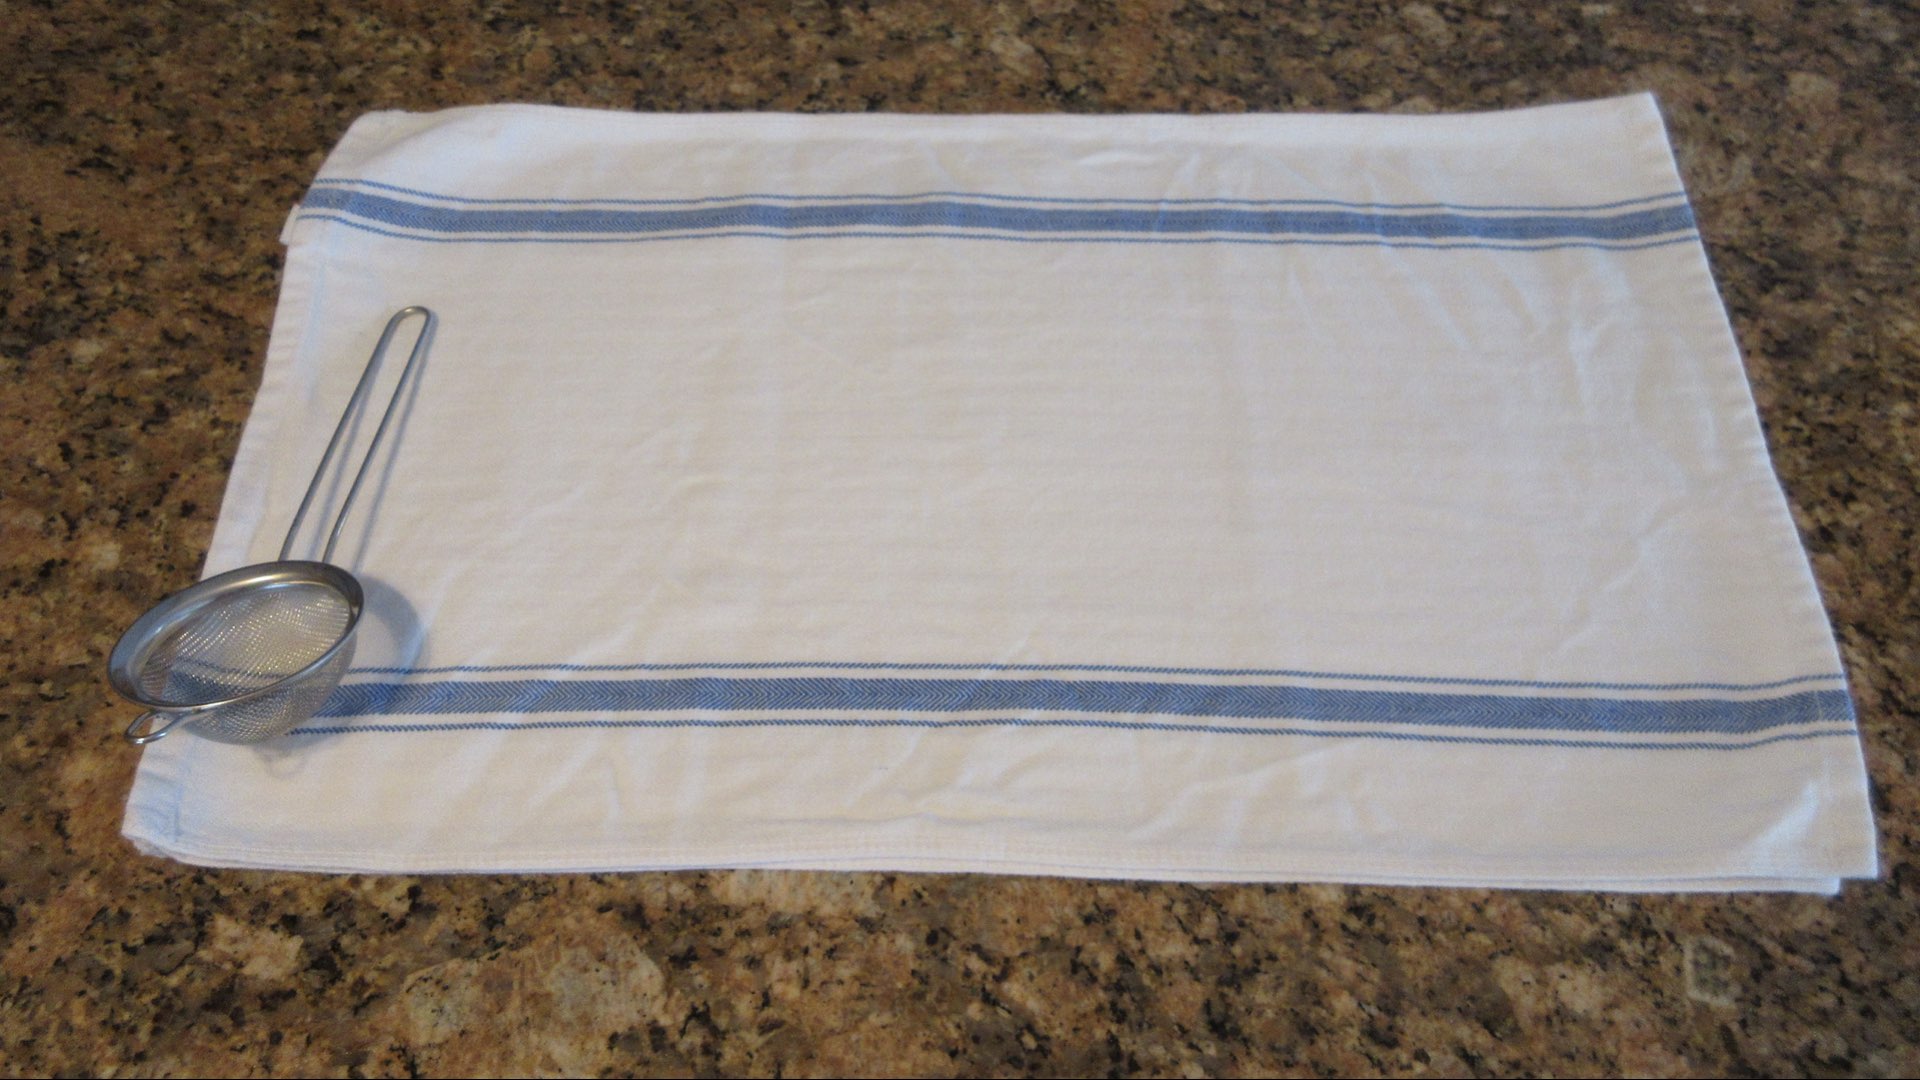
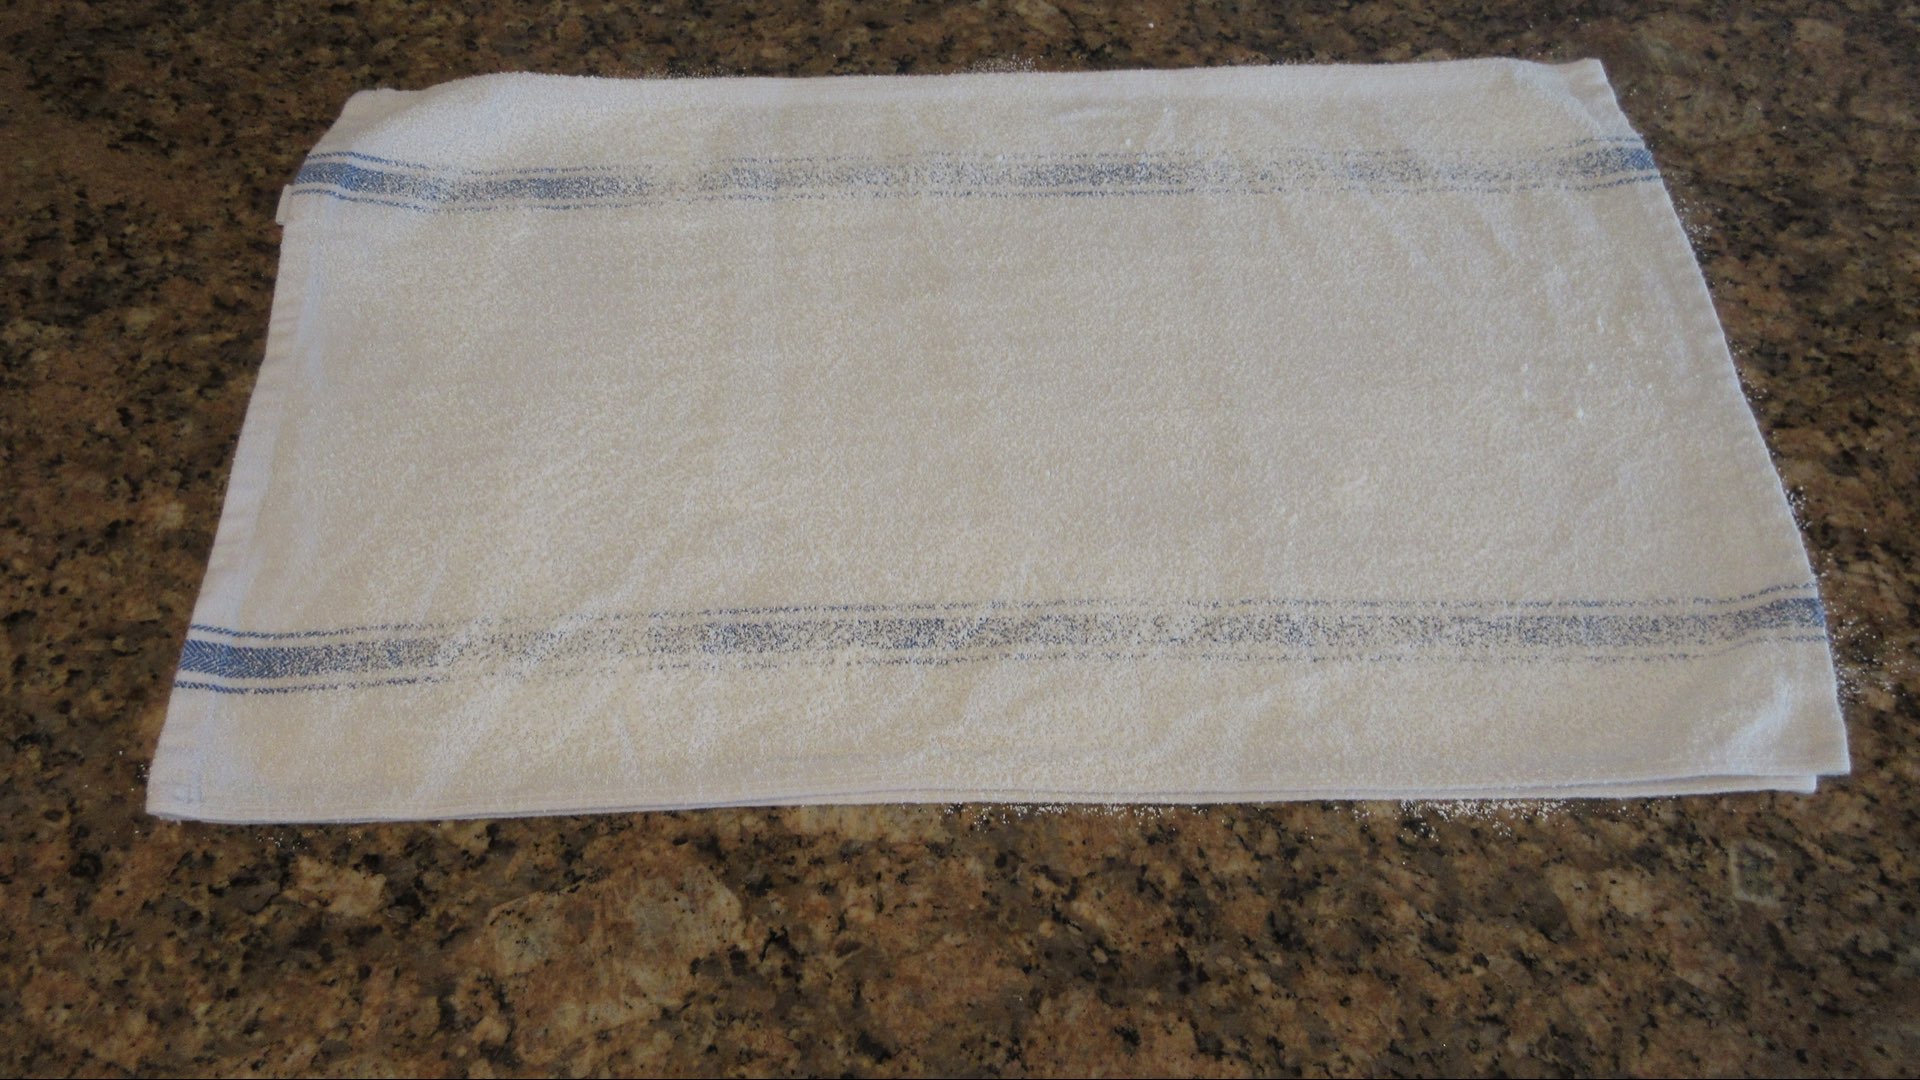
Dust the towel liberally with powdered sugar. You can also use parchment paper or wax paper in a pinch, but we don’t recommend it as it can make the cake soggy as it cools. The towel allows the moisture to be absorbed.
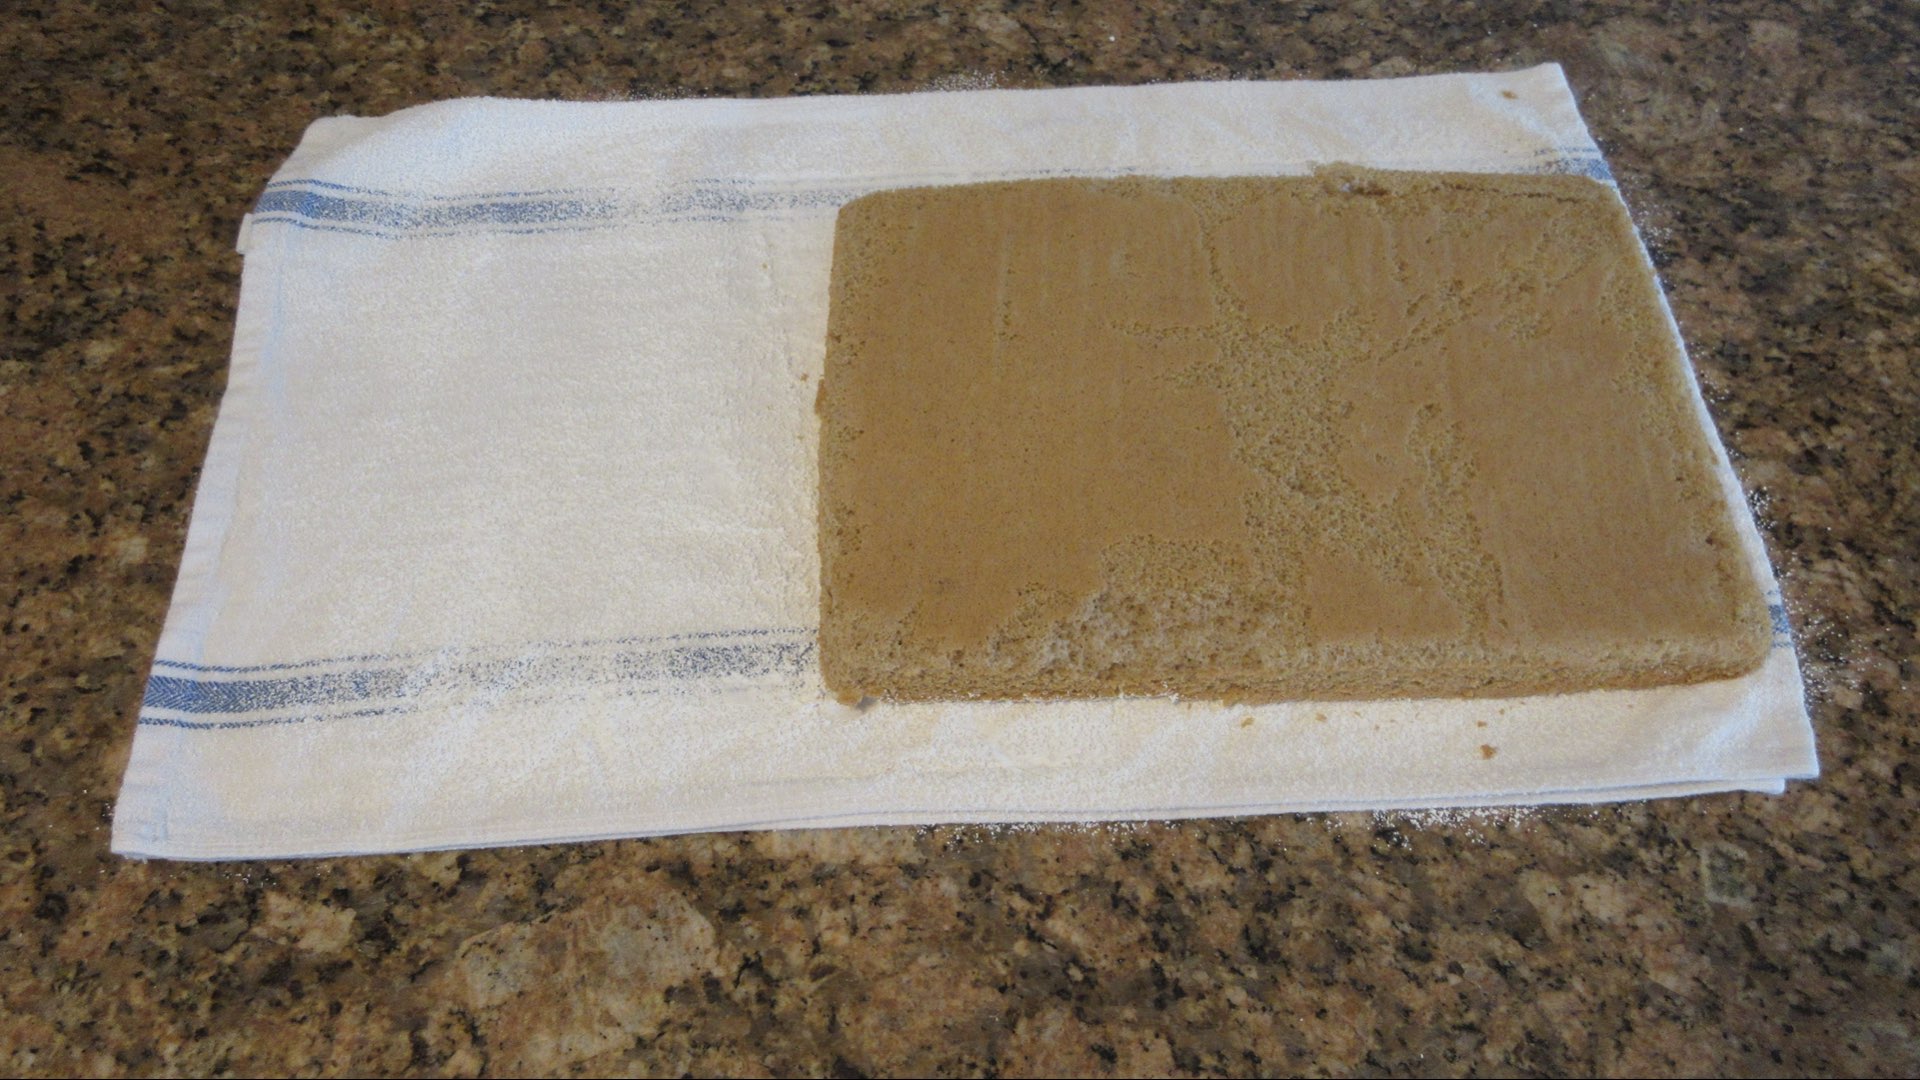
Remove cake from oven and carefully separate sides from the pan with a sharp knife. Do not use a metal knife on a non-stick or pan prone to marring.

Turn the warm cake onto the towel. Carefully remove the parchment.
Roll the towel and cake up using the short side of the towl and let it cool completely. Placing the cake on a cooling rack is advisable.

Step 8: Prepare the Filling
While the cake is cooling, bring the ingredients to room temperature to soften. Beat the butter, then add in the cream cheese and vanilla. Beat until smooth.
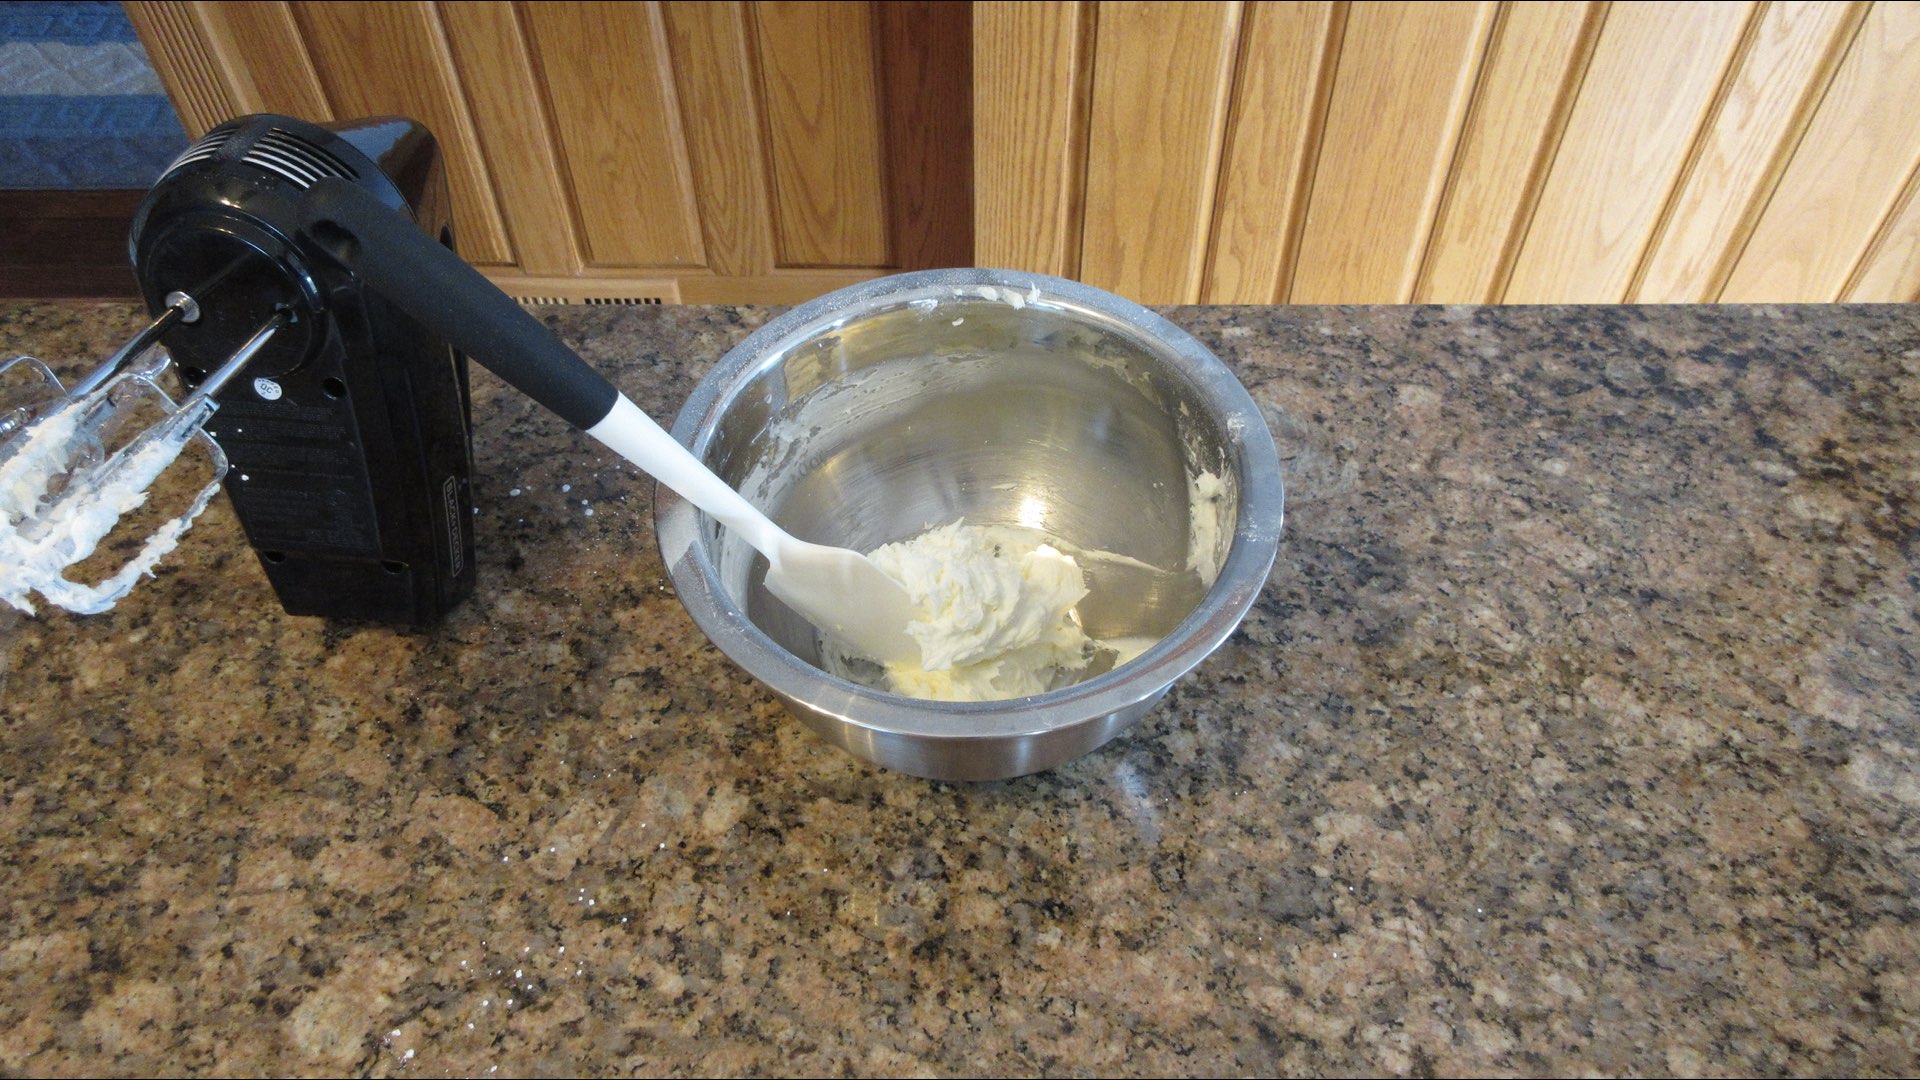
Then, add in the powered sugar gradually. Beat on low until creamy.
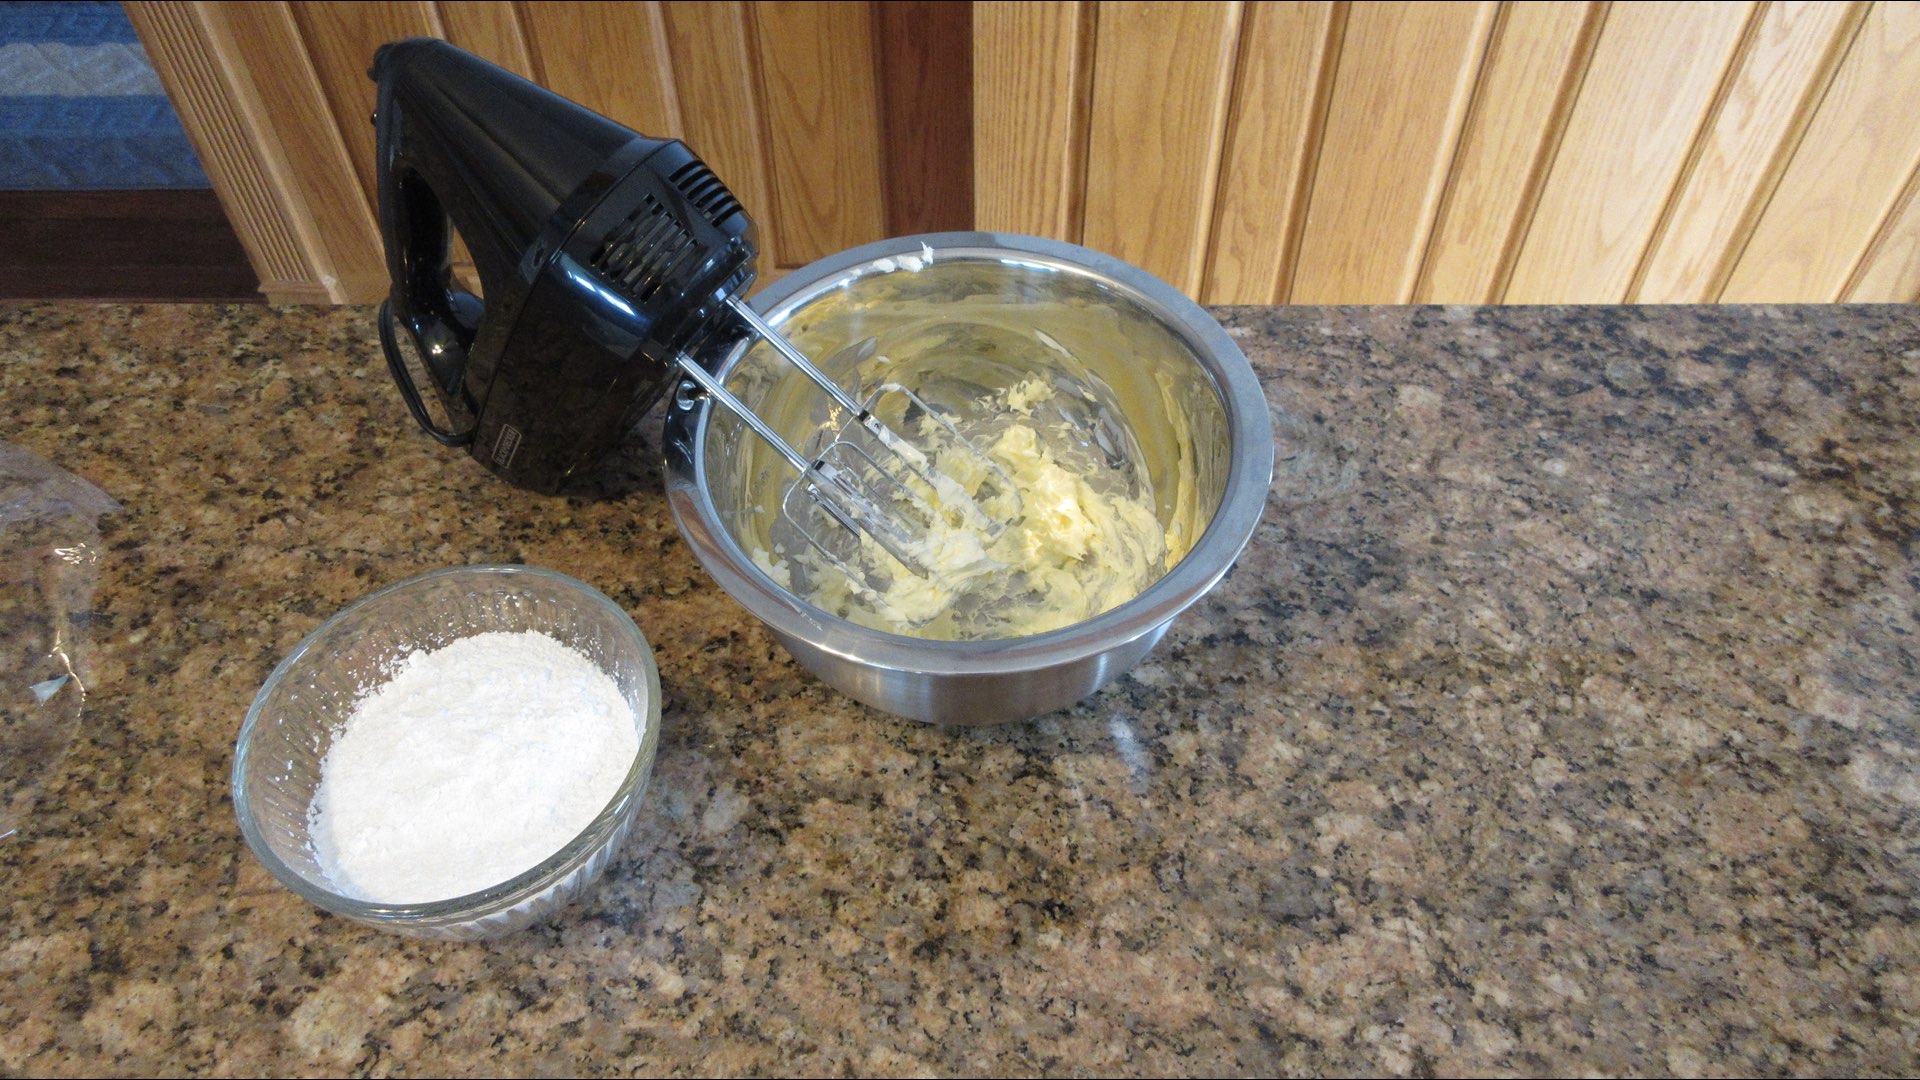
Make sure your cake is completely cool before proceeding.
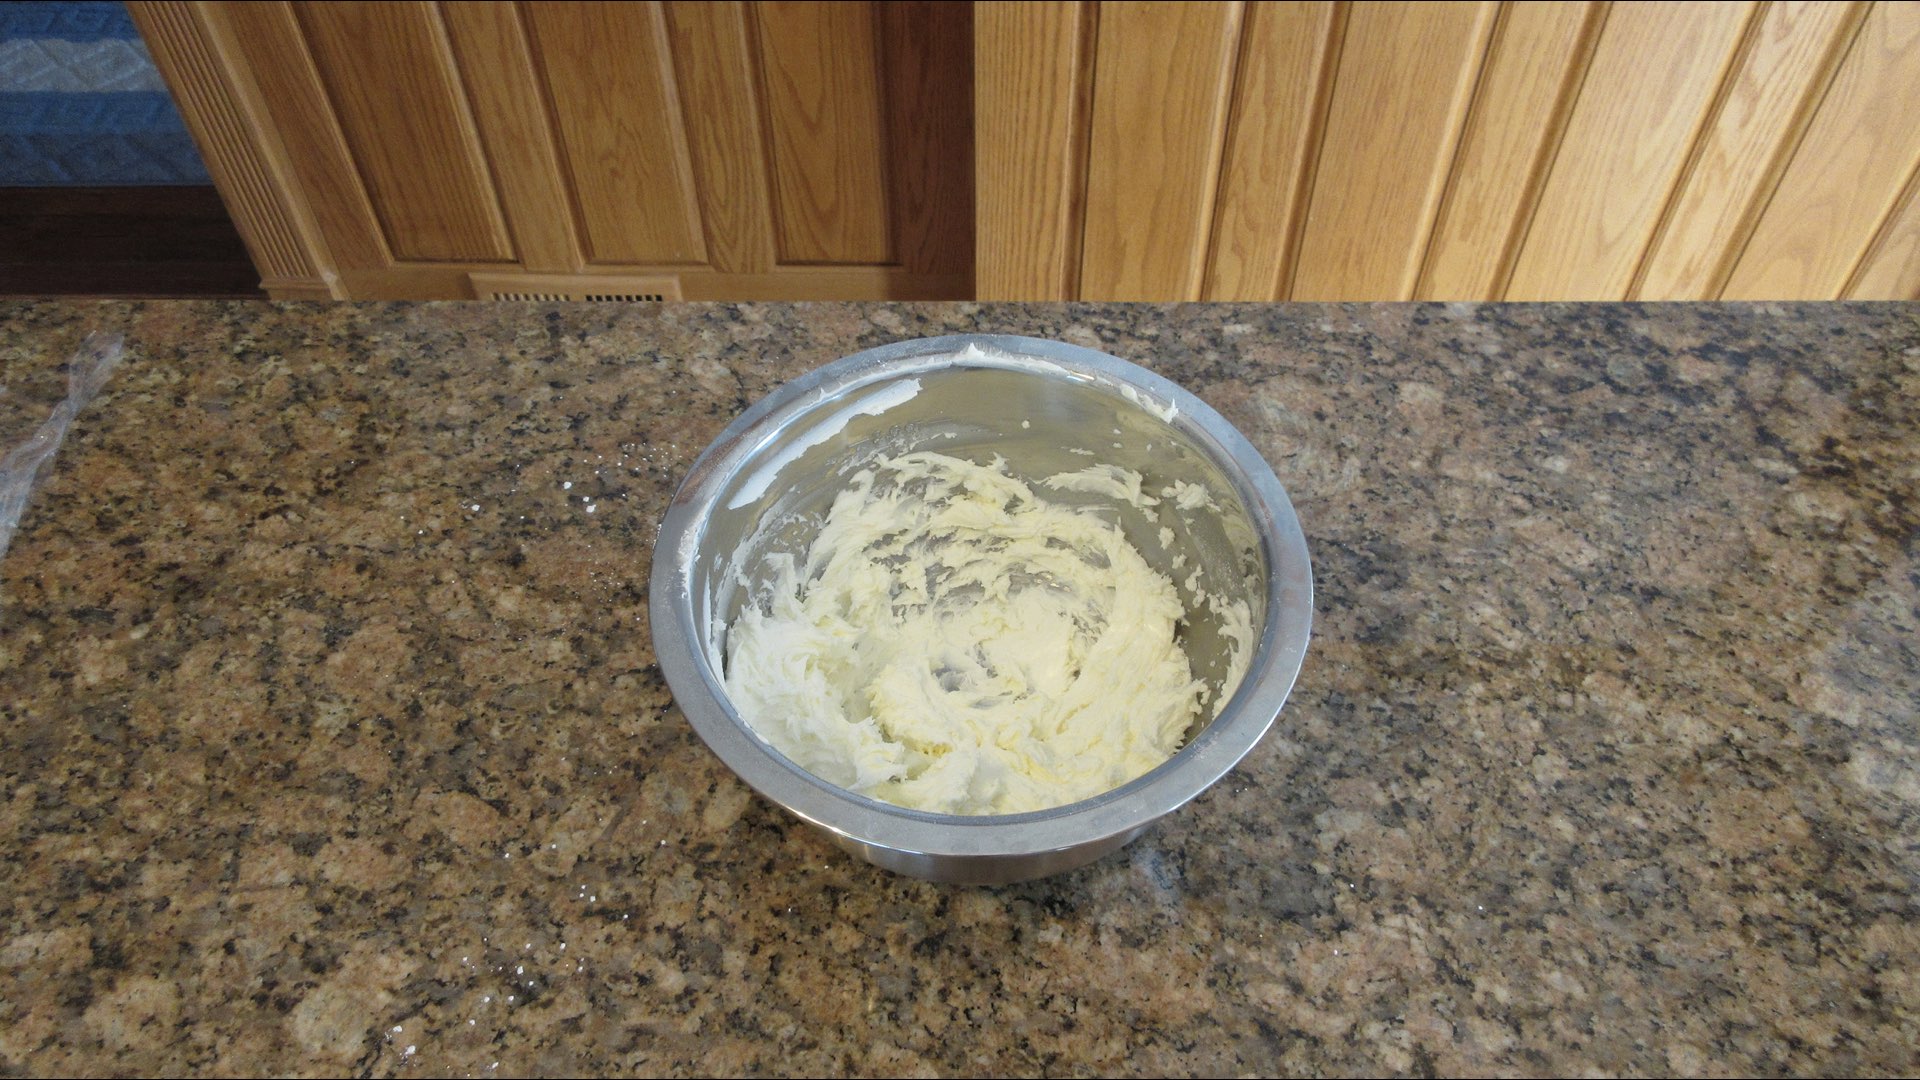
Step 9: Fill the Cake
Unroll your cake gently. Taking your time will avoid cracking and tearing.

Spread an even layer of the cream cheese filling onto the cake.
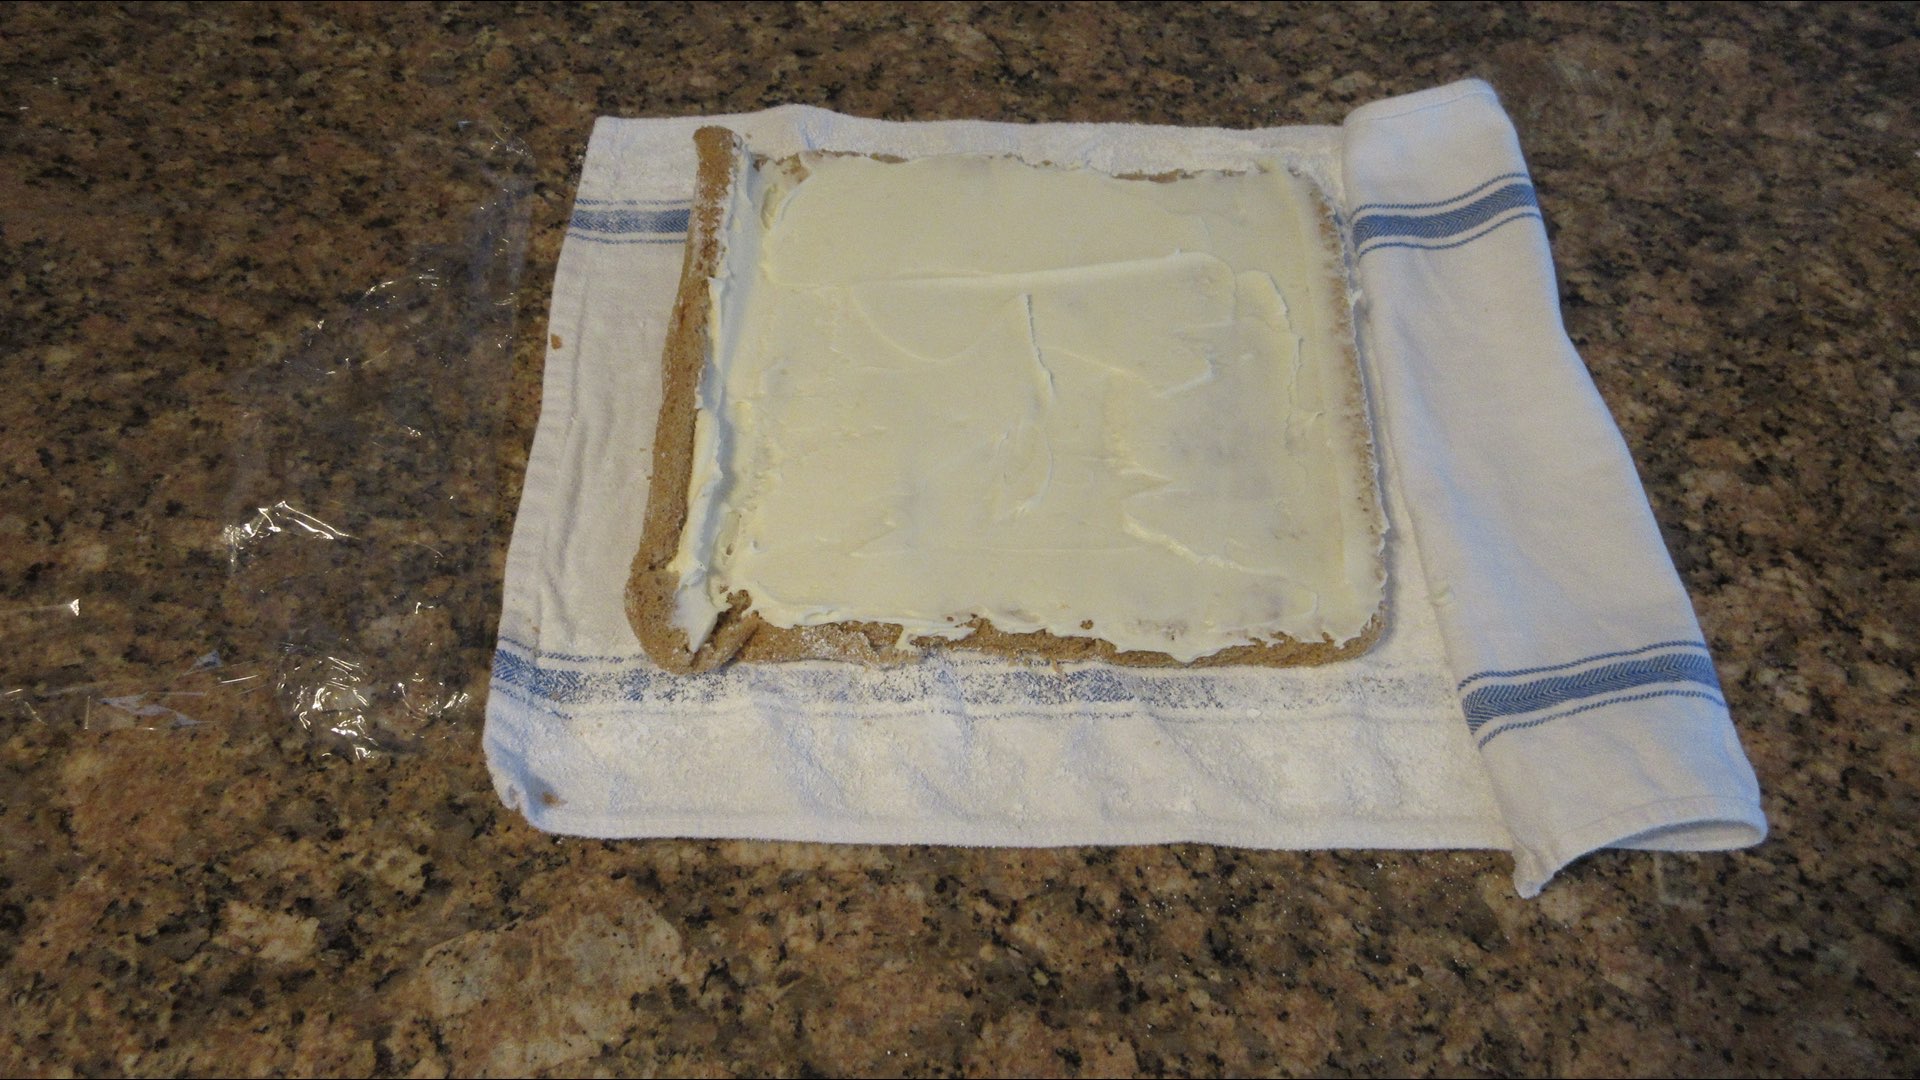
Remove the towel and gently roll up the cake and wrap in plastic wrap. Chill until firm. This can take several hours, we recommend waiting 2 – 4 hours for best results. The firmer the filling, the easier it is to slice.

Step 10: Serving the Cake
After the cake has a chance to chill, we will decorate the top with a fine coating of powdered sugar. Swiss roll cakes tend to be sticky as they cool down and the powdered sugar helps absorb the extra moisture along with improving the appearance and making it easier to cut the cake.
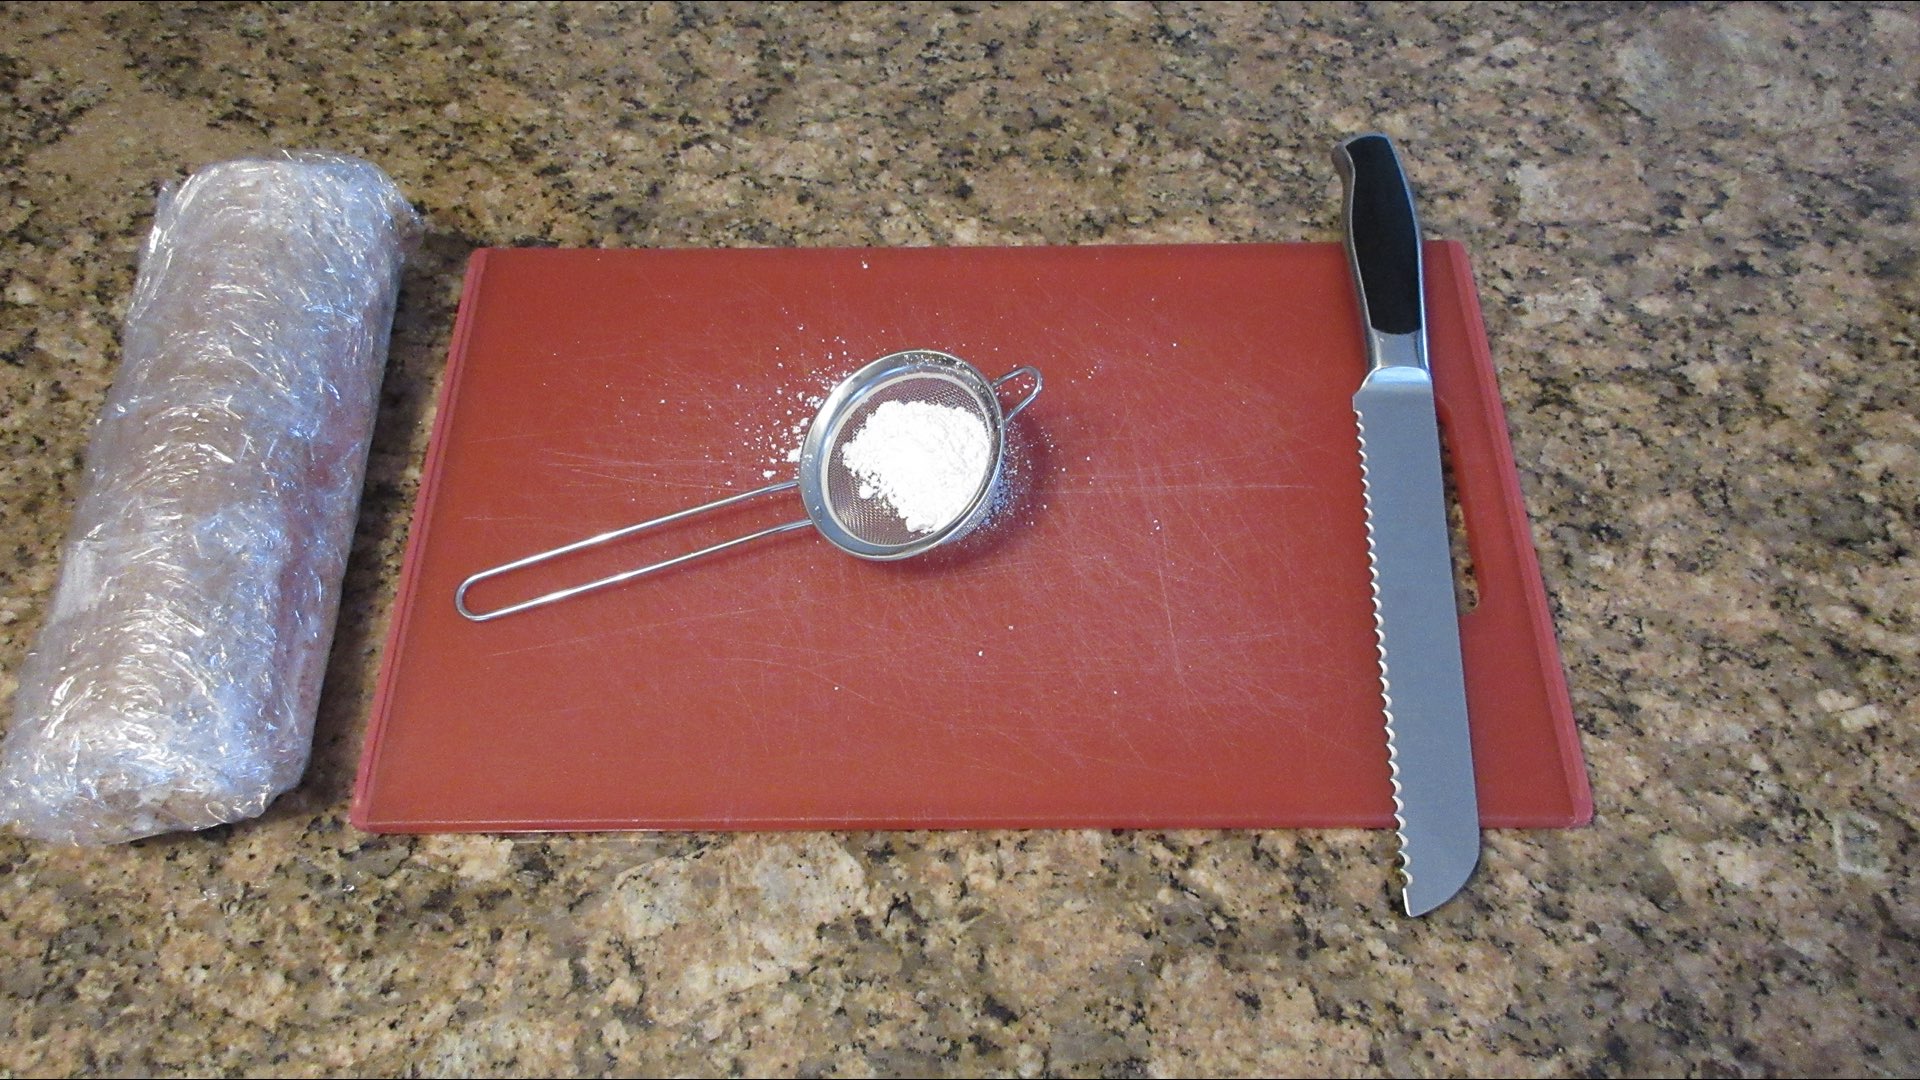
Unwrap the chilled cake and generously dust powdered sugar generously on the top and sides.

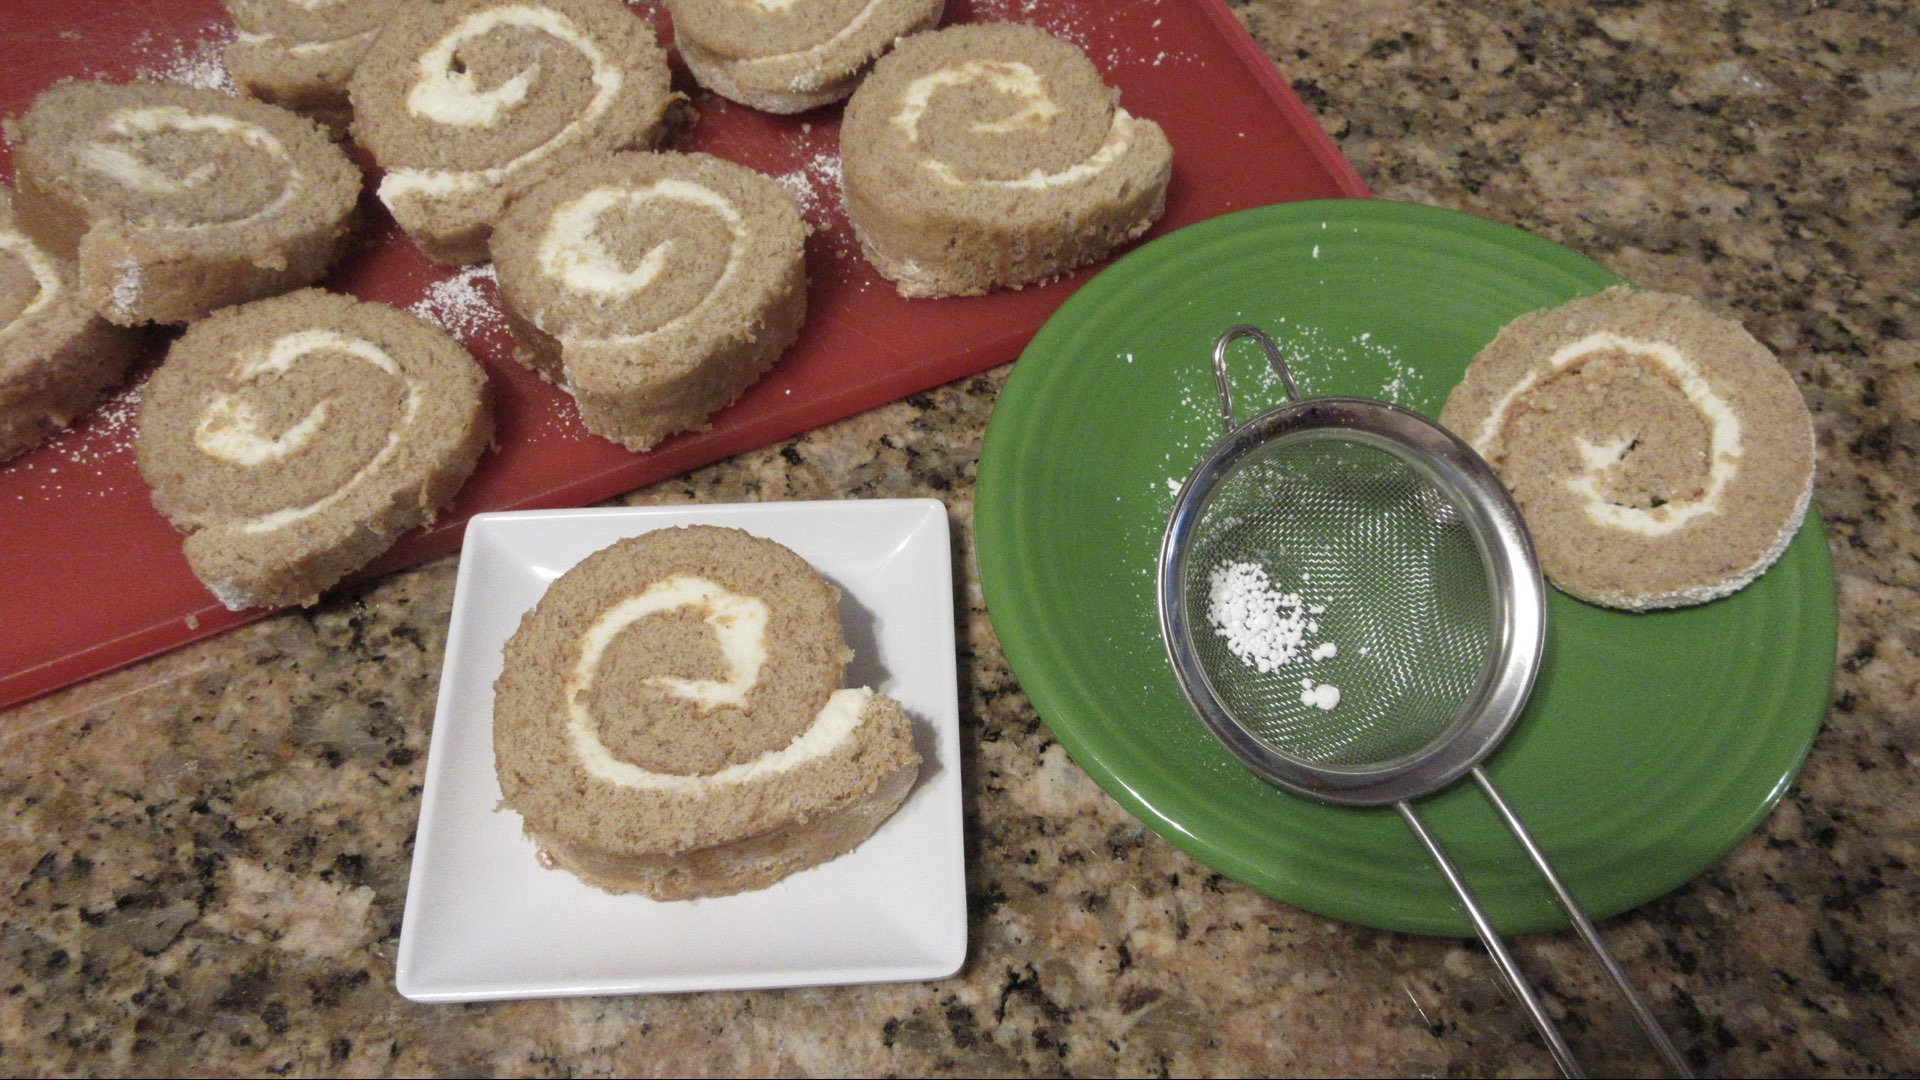
Cut off the ends. These are often a bit dry and the swirl isn’t yet showing well. The next piece will be magical. Look at beautiful swirl!
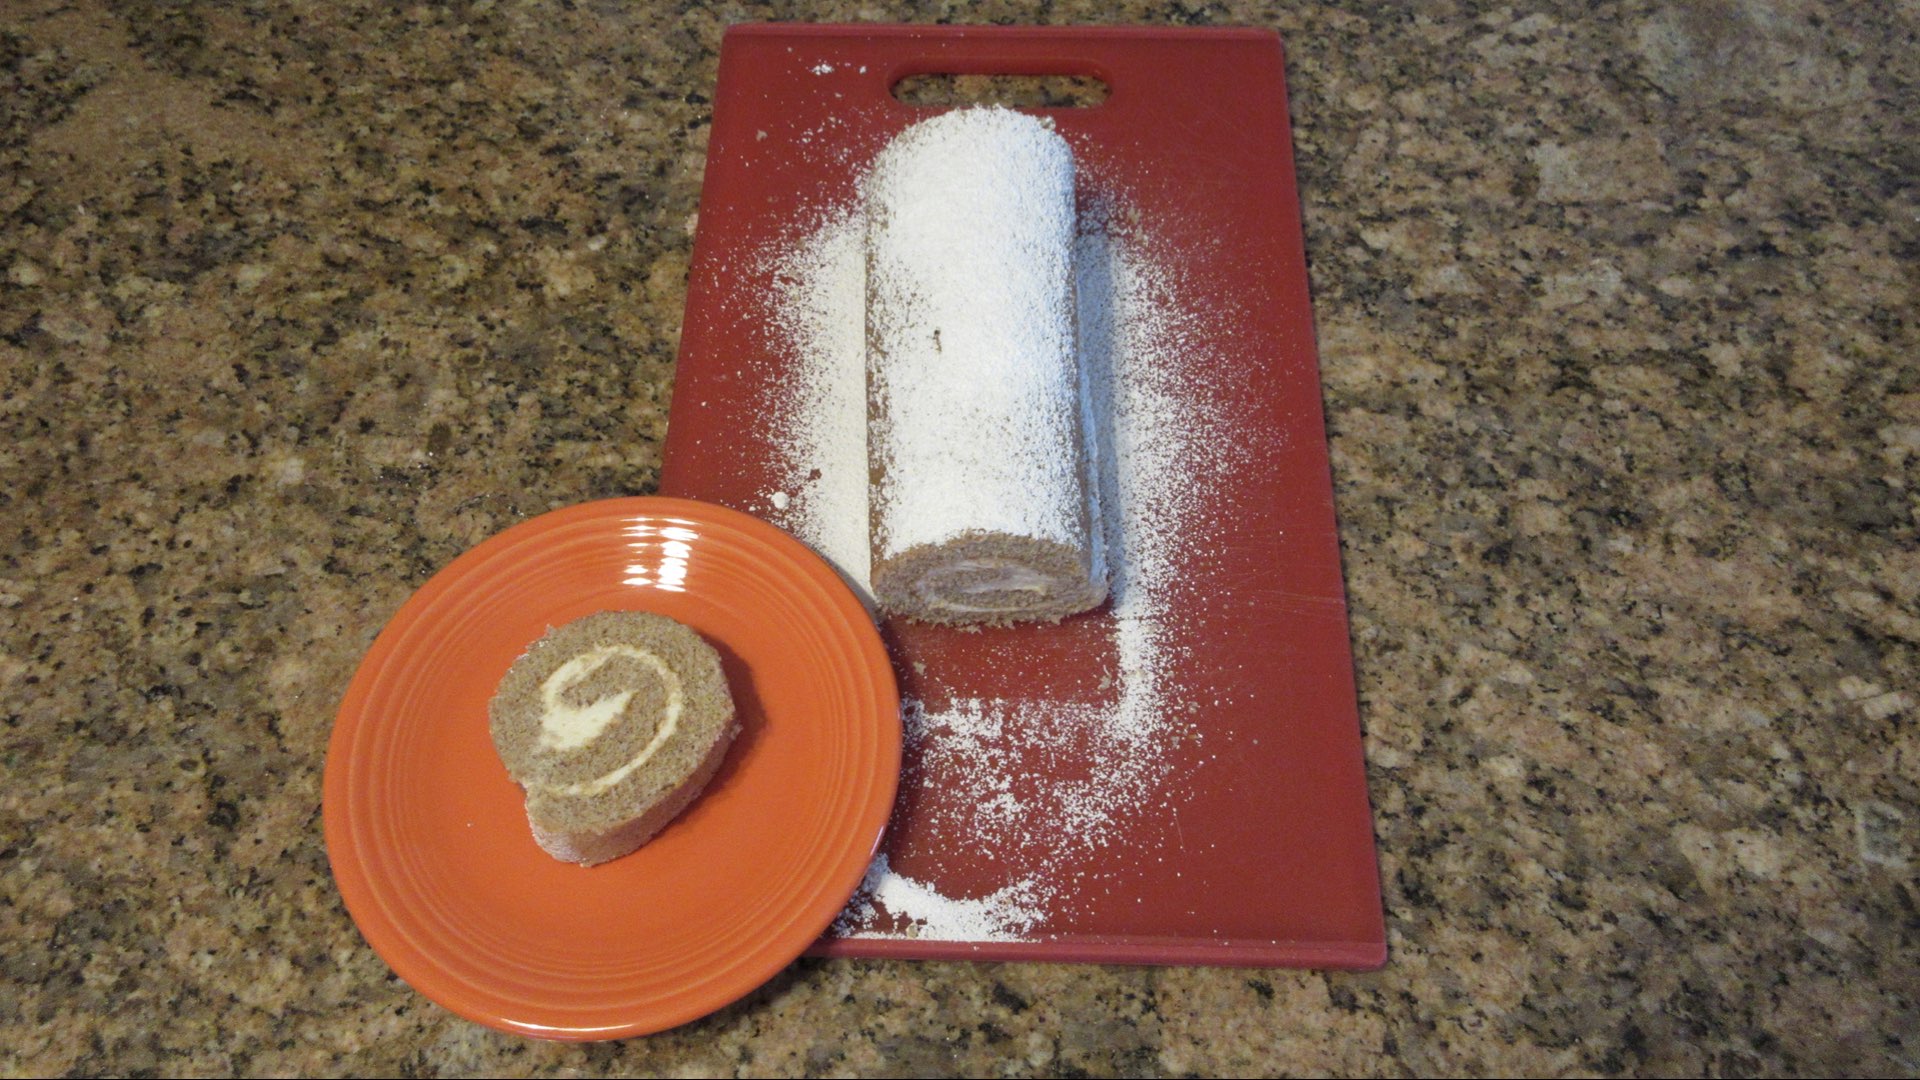
The more you cut into the cake, the prettier the swirl becomes. Can you tell which ones were the end pieces? Using a serrated knife is best as it really helps keep that swirl.

Substitutions and Tips
Here are some common substitutions and tips for this easy dough recipe.
- Margarine can be used in place of the butter for the filling. Make sure it is margarine and not vegetable spread as you need at least 80% fat.
- Allspice can be replaced with 1/8 teaspoon (.25g) of nutmeg and cloves.
- You can use pumpkin pie spice in place of all the spices in this cake in a pinch. Use 1 1/2 teaspoons or 3 grams.
- You can omit the ginger and allspice if you don’t have any. It will change the flavor to a cinnamon cake, but it will still be great!
- You do not have to use cream cheese. Replace the cream cheese with 1/4 cup (56g) of softened butter. If using only butter, the cake doesn’t need to be kept chilled.
Storage
When it comes to cakes made without fat, they are always best eaten within the first 48 hours after you make it. They don’t have a long shelf life as they tend to dry out and stale rapidly. The cake will keep 3 – 5 days before it becomes too dry if well wrapped. Store covered in plastic wrap or an airtight container. Due to the cream cheese filling, this spice cake must stay chilled. Bring the cake to room temperature about 30 minutes before serving for best taste.
Swiss roll cakes tend to freeze quite well! However, spice cakes can lose their flavor when frozen more than a few months. Wrap the cake tightly with plastic wrap either whole or in slices and store up to 3 months for best results. Thaw the cake overnight in the fridge and bring to room temperature before serving. Dust the top generously with powdered sugar.

Spiced Swiss Roll
Ingredients
Cake
- 4 large (200g) eggs
- ⅔ cup (100g) flour
- ½ cup (100g) sugar
- 1 tsp (5mL) vanilla
- 1 tsp (2g) cinnamon
- ½ tsp (2g) baking powder
- ½ tsp (1g) ginger
- ¼ tsp (1.25g) salt
- ¼ tsp (.5g) allspice
Buttercream
- 1 cup (125g) powdered sugar
- ½ cup (113g) softened cream cheese
- ¼ cup (56g) softened butter
- ½ tsp (2.5mL) vanilla
Topping
- 2 tbs (16g) powdered sugar
Instructions
- Preheat oven to 375F (190C.)
- Grease and line the bottom of a 9×13 (23x33cm) cake pan with parchment or wax paper.
- Dust a clean, lint free towel generously with powdered sugar. You can also use wax or parchment paper, but they will hold onto moisture as the cake cools and make it more sticky.
- Sift together spices, baking powder, salt and flour. Set aside.
- In a large bowl, whisk eggs and sugar until the eggs become pale yellow, triple in volume and ribbon off the beater.
- Sift dry ingredients into the egg mixture, folding gently.
- Pour batter into cake pan, spreading out as evenly as possible.
- Bake 8 – 10 minutes or until cake springs bake and the sides just start to pull away from the pan. or until a toothpick inserted in the middle comes out clean. Center should read between 200F (93C) and 210F (99C.)
- Carefully turn out onto sugared towel while still warm. Roll cake and towel up from short end. Allow to cool completely before filling.
Filling
- In a large bowl, mix softened butter, cream cheese and vanilla until creamy. Beat in powdered sugar gradually until smooth.
- Unroll cake, spread out buttercream in an even layer. Gently roll back up cake without the towel. Cover and chill for 1-2 hours to firm up frosting.
- Bring out 1/2 hour before serving. For best presentation, cut off the ends and dust the remaining cake with powdered sugar. Store leftovers in fridge.
0 Comments