A Little Background on the Peanut Butter and Jelly Swiss Roll
This tutorial is all about learning how to make a peanut butter and jelly swiss roll. I always thought of PB&J as more of a dessert than a sandwich. So one day when I was making a pumpkin roll, I got the bright idea to try new flavors. This one turned out absolutely amazing.
Once I figured out how to make swiss rolls, it became a bit of an obsession. Seriously, it’s one of my favorite things to make. They are fast, fun to do, do not require a lot of ingredients and don’t have as many calories as most cake recipes. So if you mess up, not as big of a deal. Also, they are popular with just about everyone and there is not much fat or sugar in comparison to many of the desserts out there. Plus, they are super portable, adorable and easy to take to get togethers without a lot of fuss.
But the best thing? They allow you to try out fun and interesting fillings without having to invest a lot of money. When I run low on supplies, I like to dig in the cabinet and see what I can come up with that day. I wanted to make pumpkin, but had none. This day brought a classic PB&J since my husband is a huge peanut butter fan and we always have extra in case of an apocalypse or something. Tell me, what do kind of jelly will you use on your peanut butter and jelly swiss roll?
Step-By-Step Instructions
Below, we will teach you how to make this delicious swiss roll recipe. It isn’t too difficult, but there are a few steps that can take some time. Let’s get started baking.
Step 1: Whisk the Eggs until Ribbon Stage
First, beat eggs and sugar together. You want to beat them until they are approximately quadruple in size and ribbon off the beater.
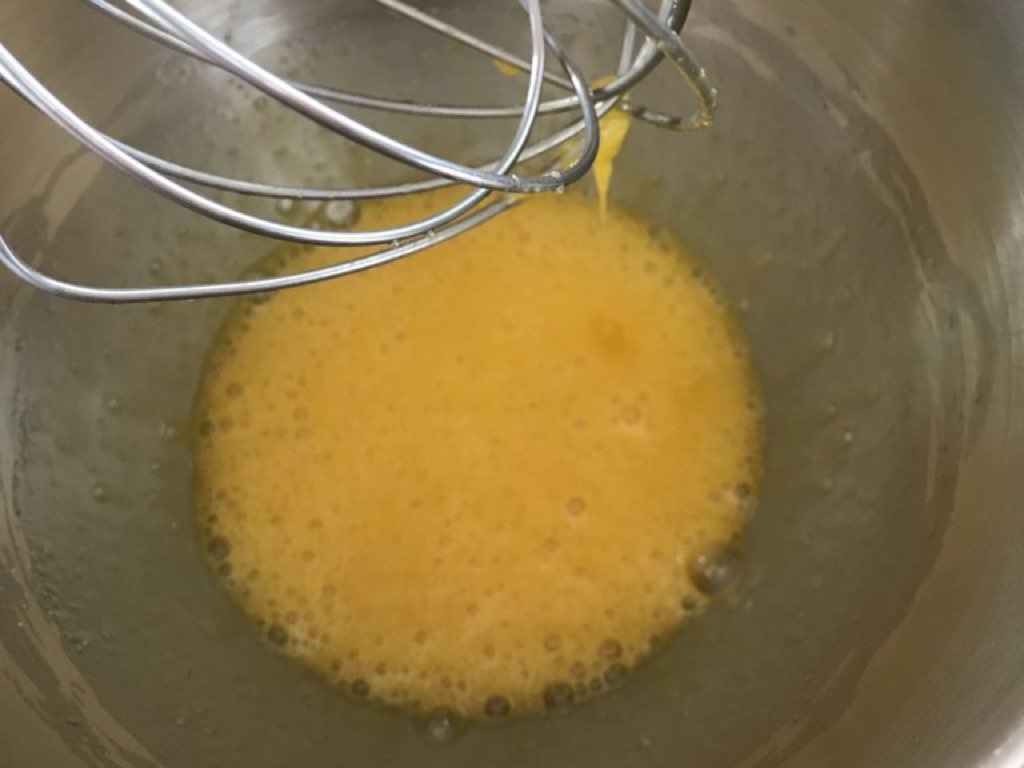
The eggs should look like this when you are ready for the next step.
Step 2: Mix and Fold in the Dry Ingredients
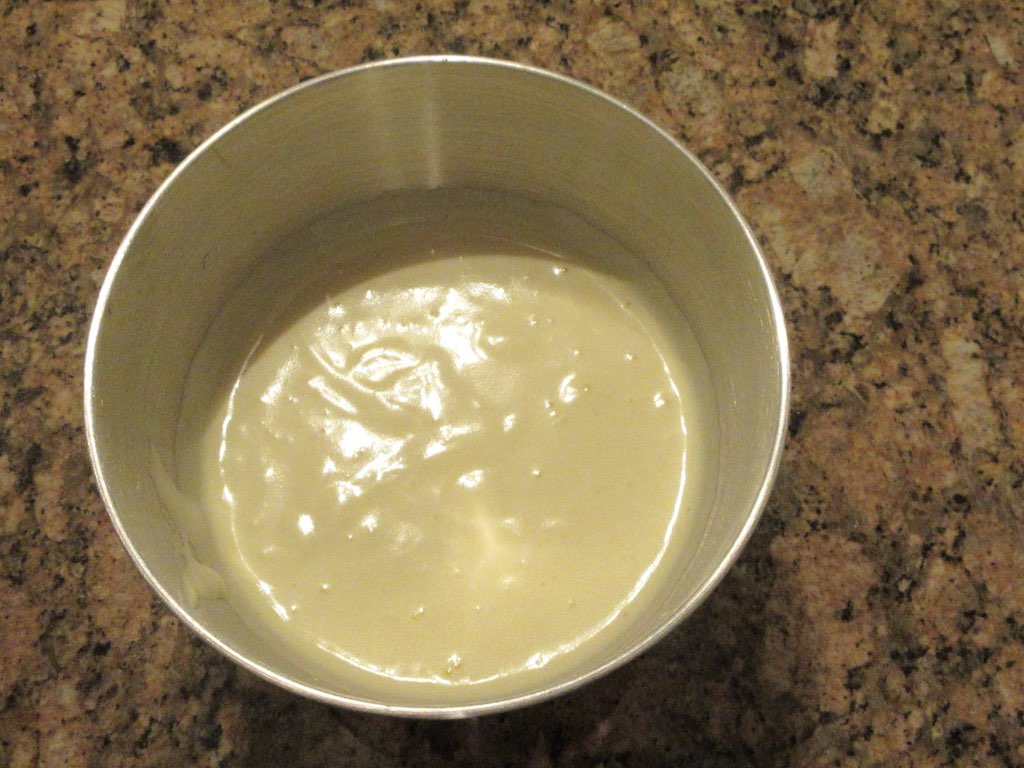
In a separate bowl, mix together the flour, baking powder and salt. Sift or gently sprinkle in this flour mixture 1/3 at a time.
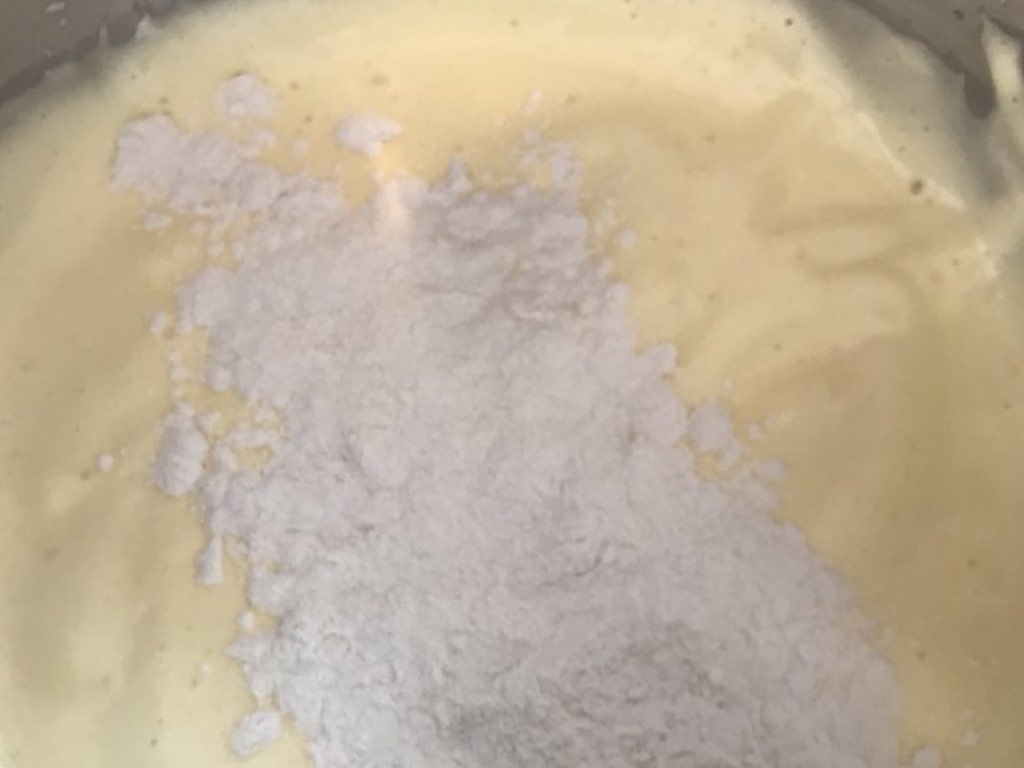
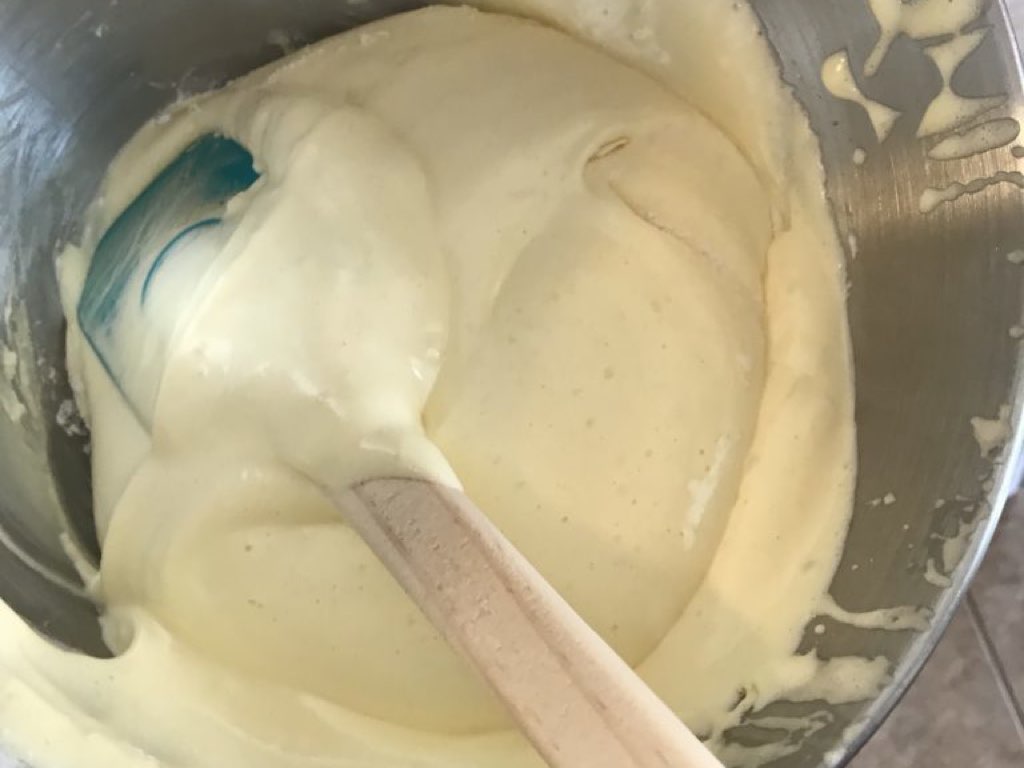
Gently fold in each addition to avoid knocking out the air you created with the eggs and sugar.
Step 3: Prepare the Pan and Bake
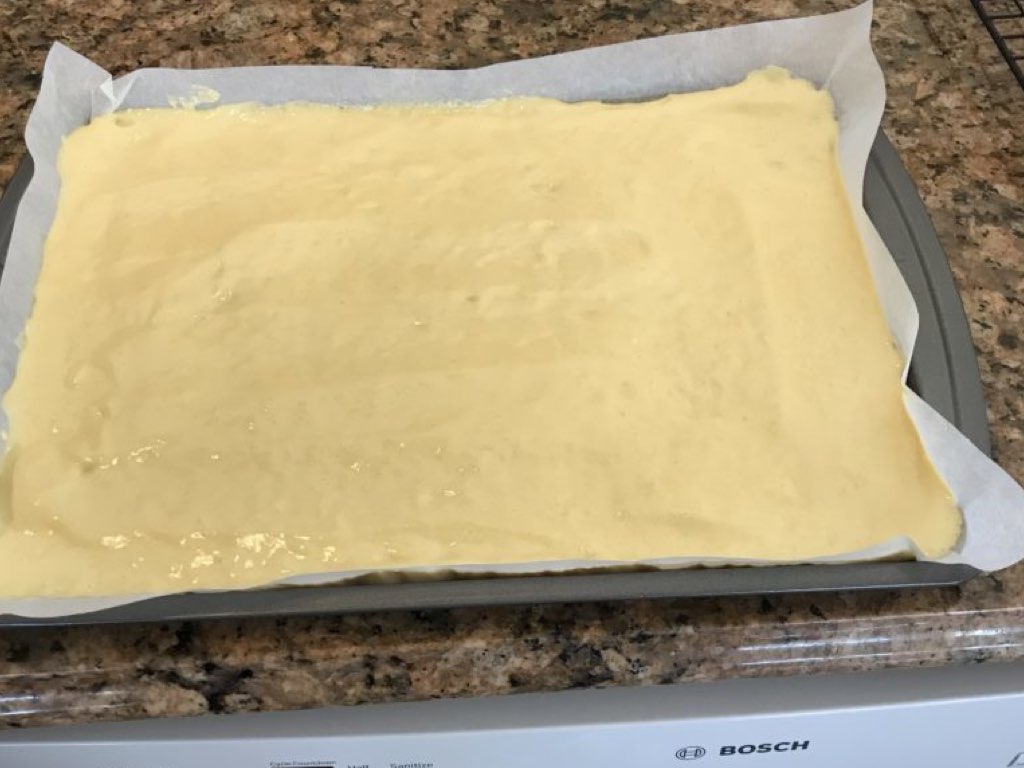
Line a cake pan with parchment paper for easier removal. Spread evenly on the lined cake pan. Bake until golden brown and just starting to separate from the sides.
Step 4: Prepare the Cake for Cooling
While the cake is baking, take a clean lint free towel and sprinkle it generously with powdered sugar. You can also use wax paper or parchment but it can sweat and make the cake overly sticky as it cools.

After the cake is baked, work carefully but swiftly. Loosen the edges of the cake from the pan if needed and gently turn the cake upside down on the powdered sugar.
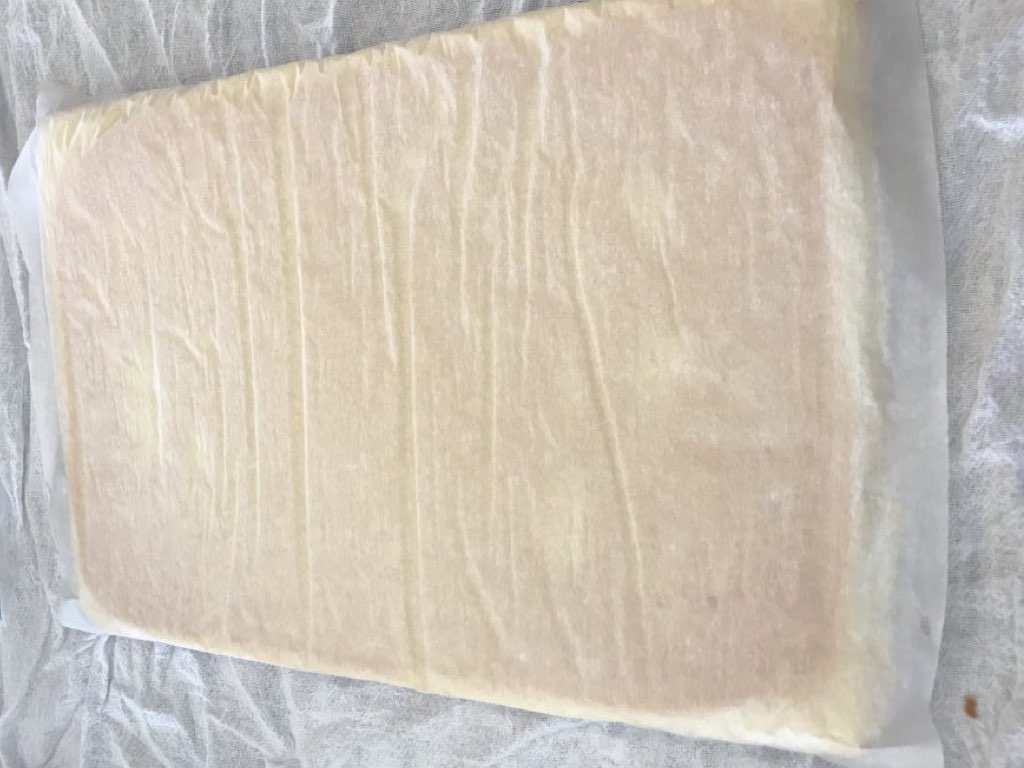
Carefully remove the parchment paper from the back of the cake.
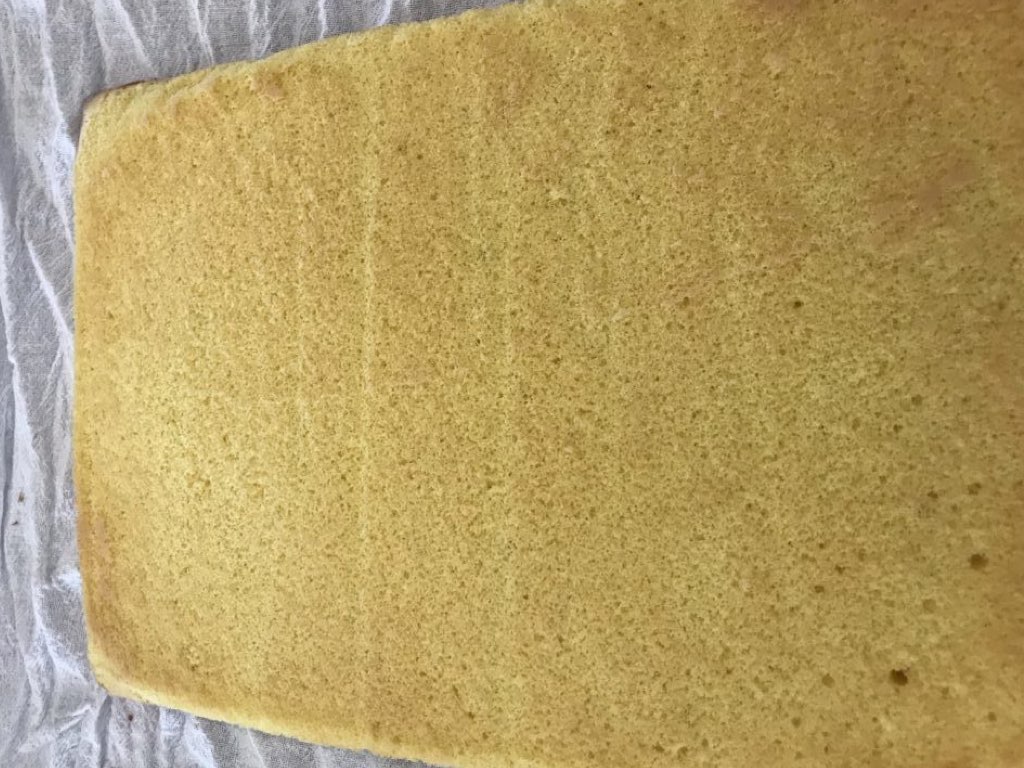
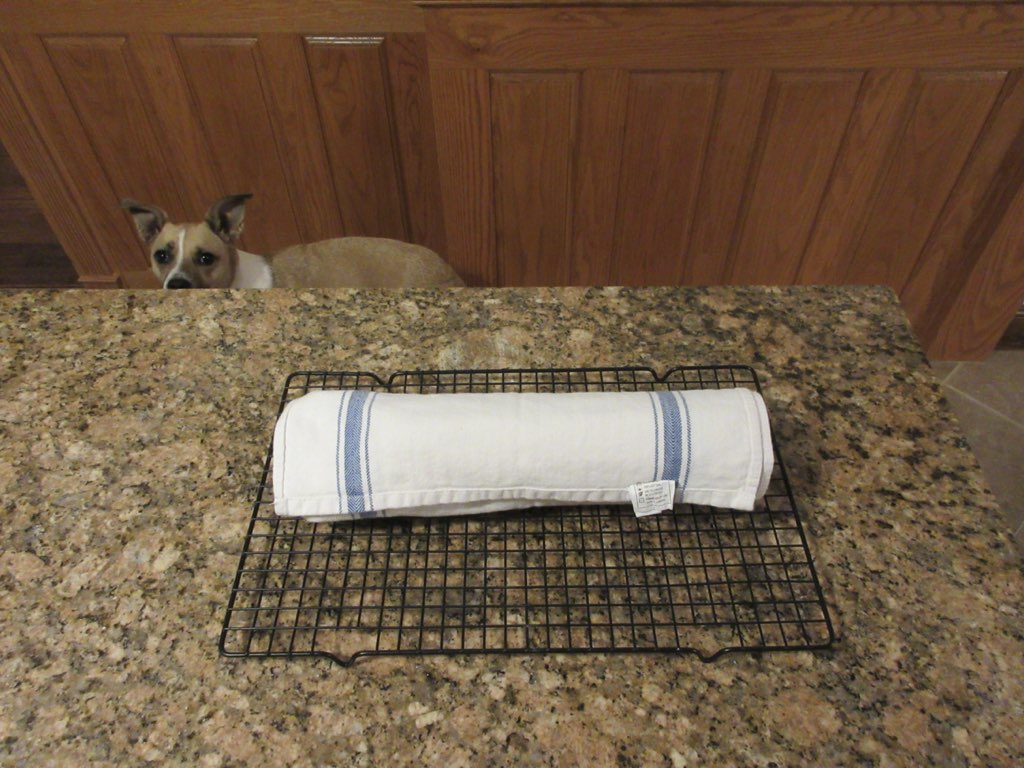
Roll up the towel with the cake starting on the short end. Do this carefully and slowly. Sit it on a wire rack and let it cool completely before filling. Say hi to Maggie!
Step 5: Make the peanut butter frosting
When the cake has cooled, you will want to make the frosting. You can soften the butter as the cake cools to save some time. Gather all your ingredients.
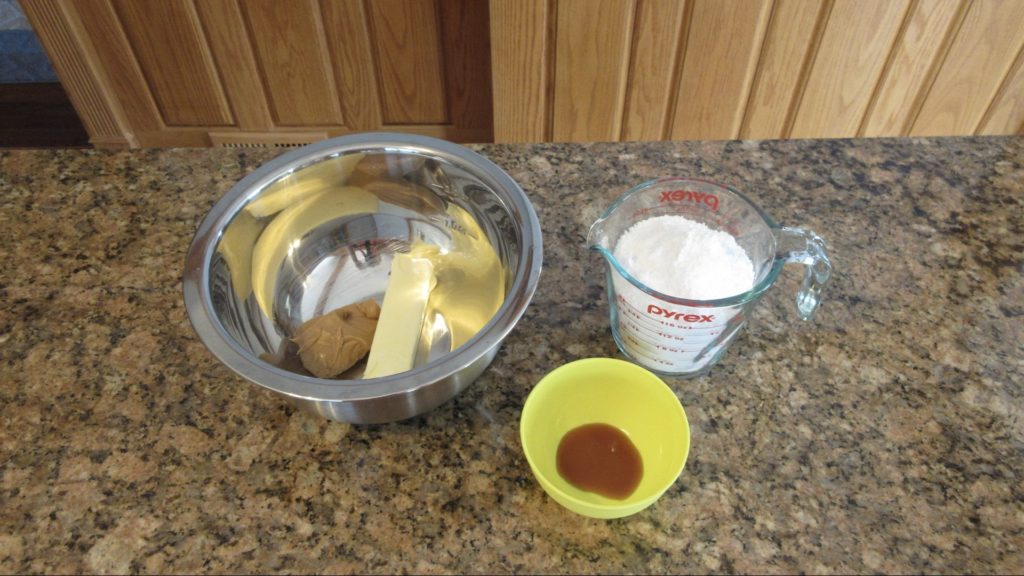
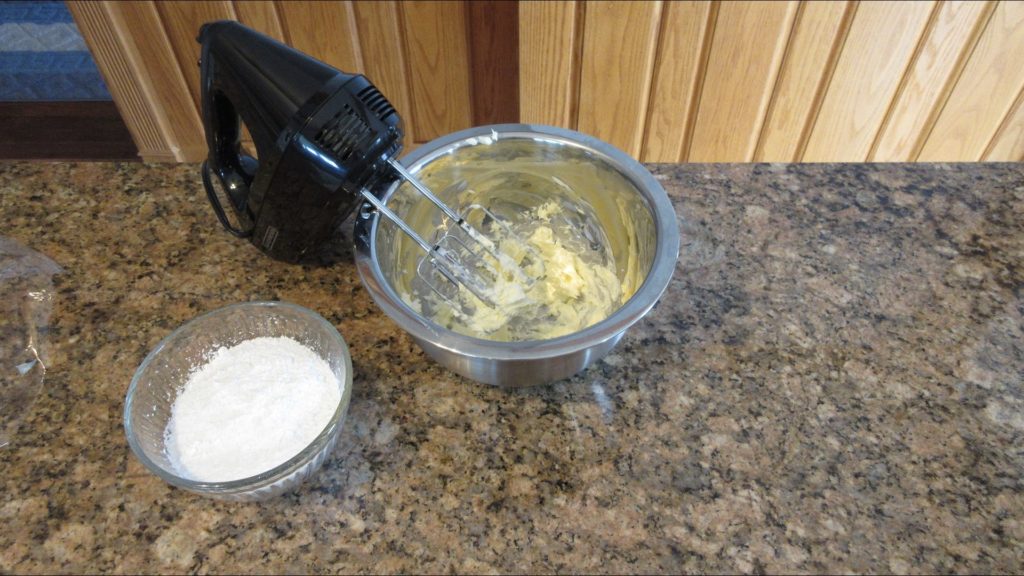
Beat together the peanut butter and softened butter. Add in the vanilla. Gradually add in all the powdered sugar.
Step 6: Fill the cake
Gently unroll the cake. Spread an even layer of peanut butter buttercream on the back of the cake. You can also just use peanut butter.

Now top with your favorite jam, jelly or preserves. You can use whatever flavor you like. Today we are using strawberry jam.

Roll the cake back up. Do this slowly and gently to avoid cracking.

Now we want to chill the cake at least one hour to set the filling and let the flavors marry together. That’s a fancy phrase for enhancing the taste.

Step 7: Serve
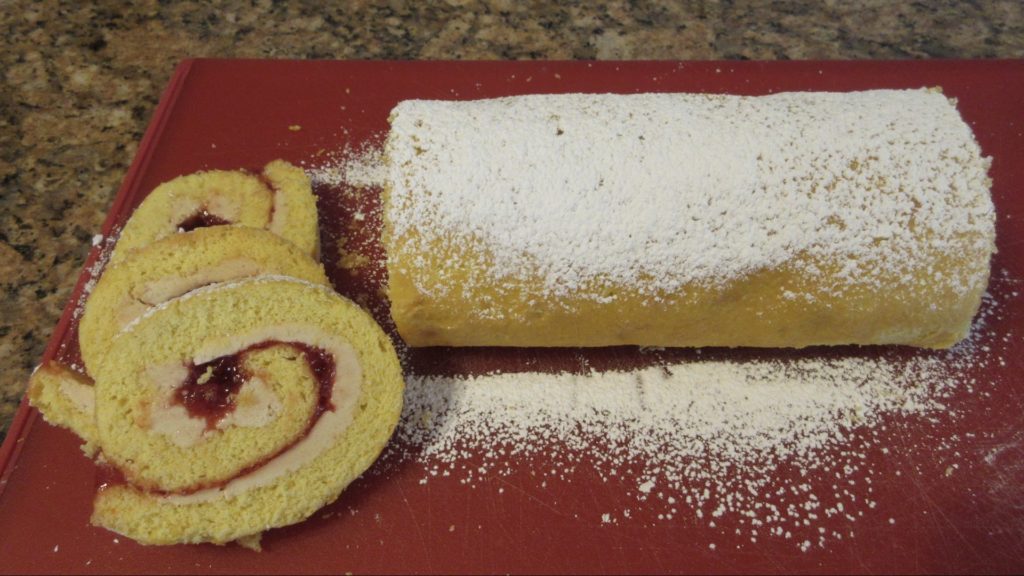
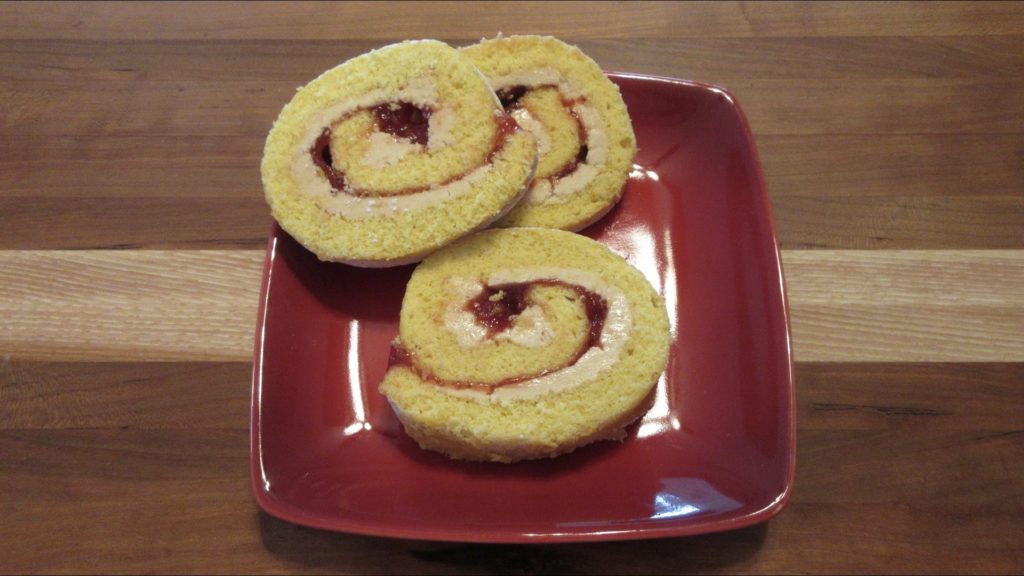
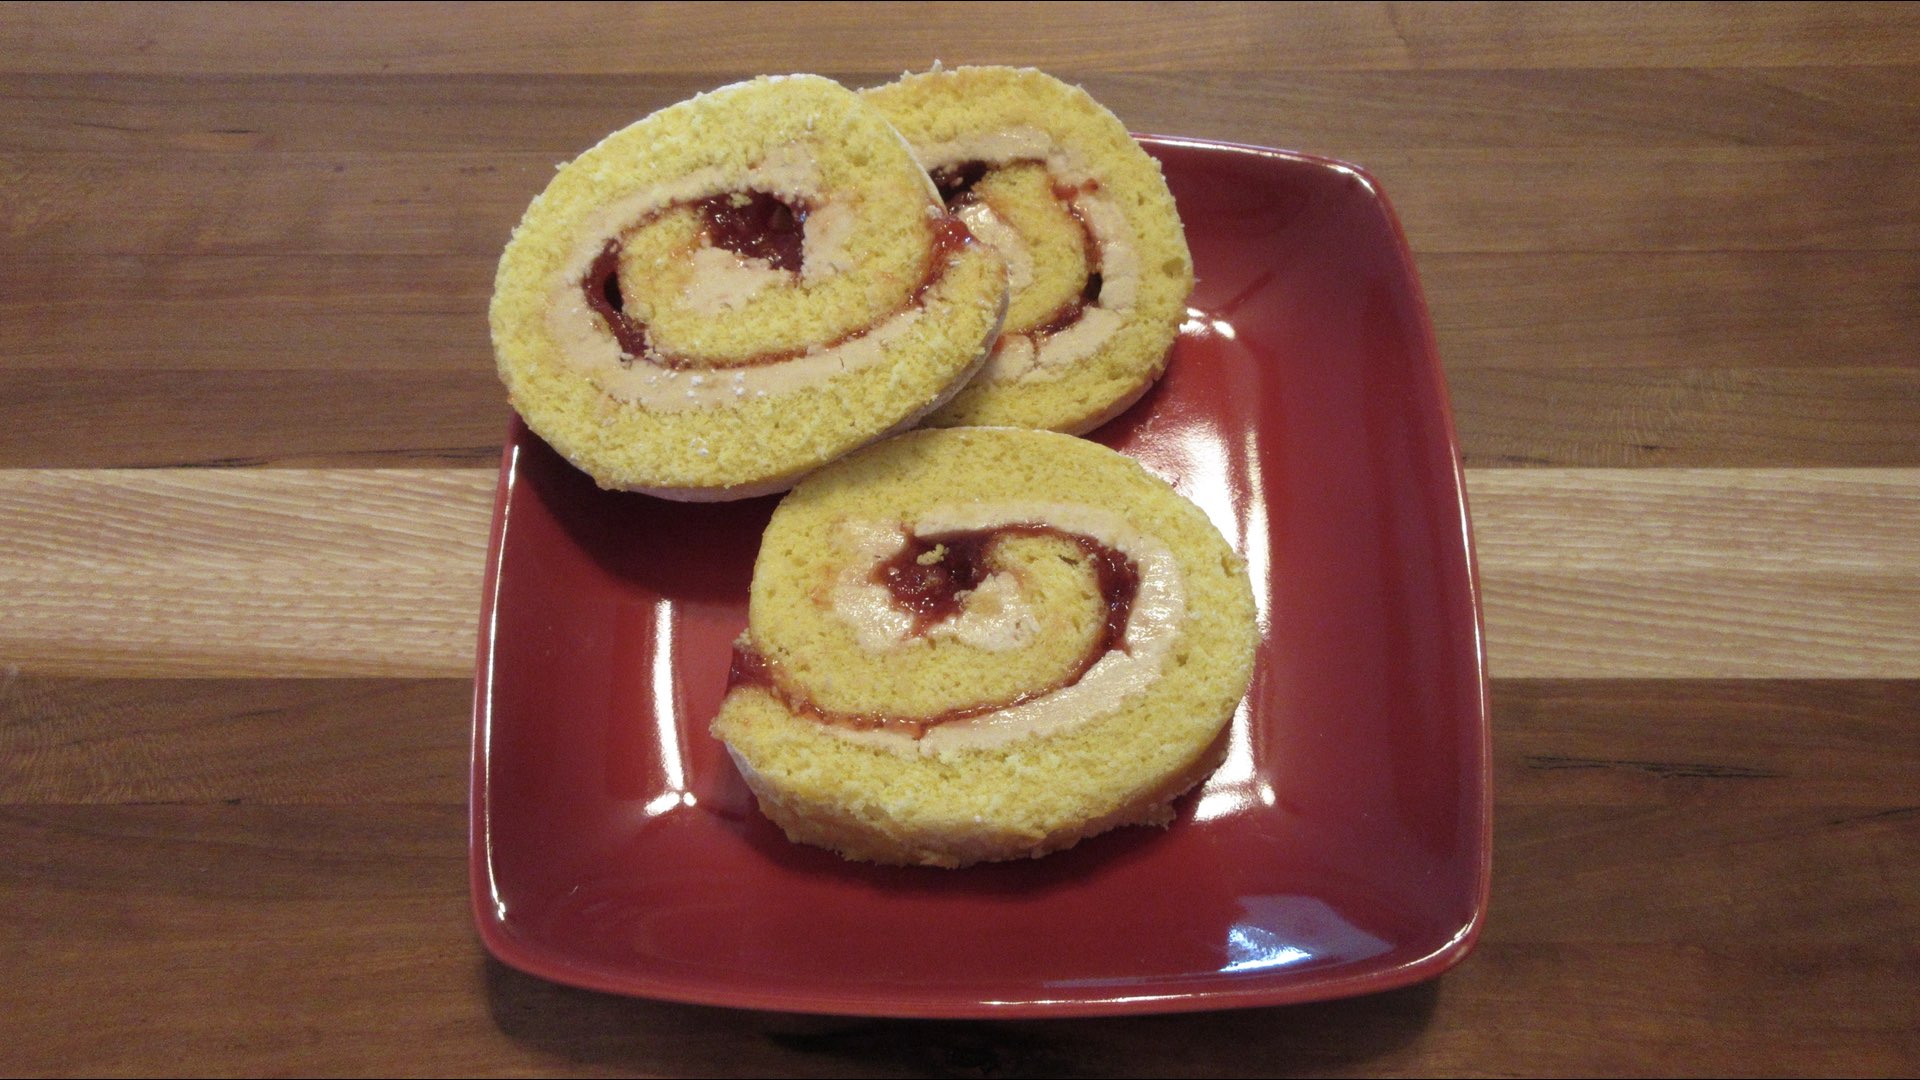
Unwrap the cake and dust with powdered sugar. Swiss roll cakes tend to become somewhat sticky on top as they cool and the powdered sugar helps with the moisture and gives a cute decoration. Cut off the ends to reveal the swirl. The ends will always be somewhat dry and not as pretty.
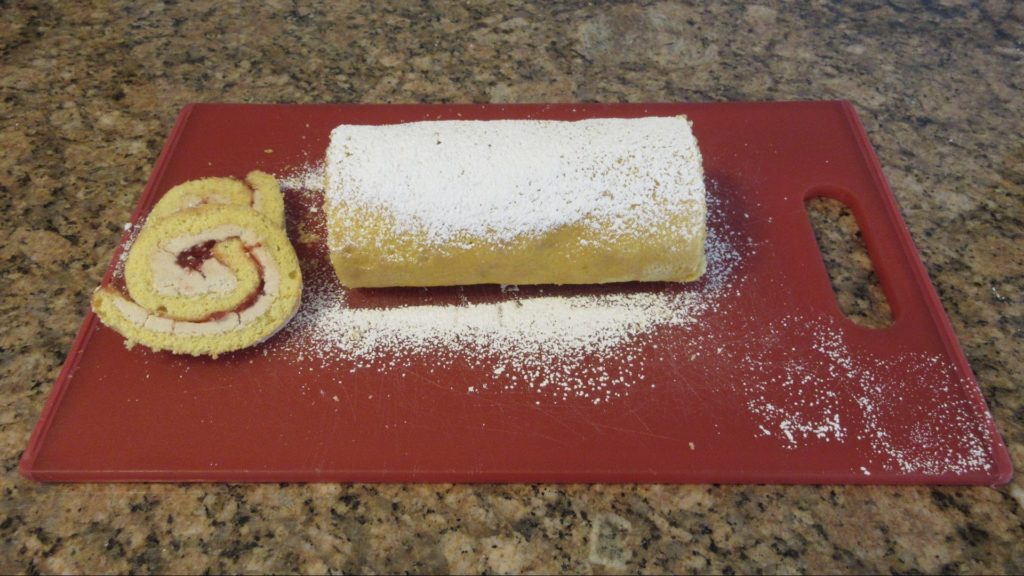
The swirl gets more pronounced after the first cut. Isn’t it lovely?
Substitutions and Tips
Here are some common substitutions and tips for this swiss roll recipe.
- Instead of vanilla, use the zest from a lemon for a bright and zesty cake.
- Use peanut butter in place of the buttercream for a more traditional peanut butter and jelly flavored cake.
- In addition to the peanut butter buttercream, add a layer of peanut butter to the filling.
- Sprinkle on a layer of finely chopped peanuts before rolling up the cake.
Storage
Keep cake in an airtight container up to three days. If using reduced sugar, homemade jelly or jam, refrigeration may be required. Check the recipe or container of your jam or jelly for guidance on storage. If refrigeration is required, wrap tightly in plastic wrap and then use a plastic bag to slow the cake from drying out.
Most cakes taste best eaten within the first few days, but sometimes you need to store them for future use. If you need to store for more than overnight, wrap tightly in plastic wrap twice. Then wrap in aluminum foil and label it. Stores in the freezer up to three months. Thaw overnight in the fridge.

Ingredients
Cake
- 3 large (150g) eggs
- ½ cup (75g) flour
- ⅓ cup (67g) sugar
- 1 tsp (5mL) vanilla extract
- ½ tsp (2g) baking powder
- ¼ tsp (1.25g) salt
Filling
- 1 ½ cups (187.5g) powdered sugar
- ½ cup (113g) softened butter
- ¼ cup (76g) jelly
- ¼ cup (66g) peanut butter
- 1 tsp (5mL) vanilla
Topping
- 2 tbs (16g) powdered sugar
Instructions
- Preheat 375F (190C.)
- Grease and line the bottom of a 9×13 (23x33cm) cake pan with parchment or wax paper.
- Dust a clean, lint free towel generously with powdered sugar. You can also use wax or parchment paper, but they will hold onto moisture as the cake cools and make it sticky.
- In a small bowl, sift together flour, baking powder and salt. Set aside.
- In a large bowl, beat eggs and sugar on medium high until quadruple in volume and the eggs are light in color. You should be able to make a ribbon pattern on the surface of the eggs with the beaters. Fold in the dry ingredients a little at a time gently to avoid knocking out all the air. Pour into prepared pan, leveling carefully.
- Bake 8 – 10 minutes or until the top bounces back and cake slightly pulls away from pan. Center of cake should reach 190F – 210F (88 – 99C.)
- Turn out on well sugared towel. Roll up gently from short end while cake is still warm. Allow to cool completely on rack, about 1 hour.
Filling
- In a large bowl, blend peanut butter, softened butter and powdered sugar until smooth. If filling is too soft, you can add up to 1 cup more powdered sugar.
- Unroll cake, spread out peanut buttercream on cake. Spread an even layer of jelly on top of buttercream, leaving 1" (5cm) gap at the end free of jelly. Gently roll back up cake. Chill until firm, about 1 hour. Remove cake 20 minutes before serving. If desired, sprinkle top with powdered sugar shortly before serving.
0 Comments