
A Little History on this Easy Dough Recipe with Endless Possibilities
We wanted to make an enriched dough recipe that was easy to knead by hand or machine, used a modest amount of dough, tasted delicious on its own and had endless possibilities when it came to making more intricate recipes. And we did it with this easy dough recipe! Then we got some feedback. People loved how easy the dough was to make but wanted a dairy free option. So we got to work and soon came up with a great option for all of you who are seeking an enriched dough recipe without dairy. Let’s discuss how to make this dairy-free dough recipe. It’s very easy to make, just like the original, and tastes great.
So let’s get started and go through the basics. With this dough, we will make more intricate recipes in the future, just like we did with our other easy dough recipe!
Step-By-Step Instructions
You will be surprised how easy this dairy-free dough recipe is to make by hand. If you want to use a stand mixer, that is even easier. However, we find making bread by hand more rewarding and relaxing. Which do you prefer? If you are using a stand mixer, you simply add all the ingredients at once and mix on the appropriate speed for your brand of mixer. Allow the machine to knead the dough 8 – 12 minutes or until dough is elastic.
If you are making the dough by hand, follow along below. It is not a difficult process, we promise!
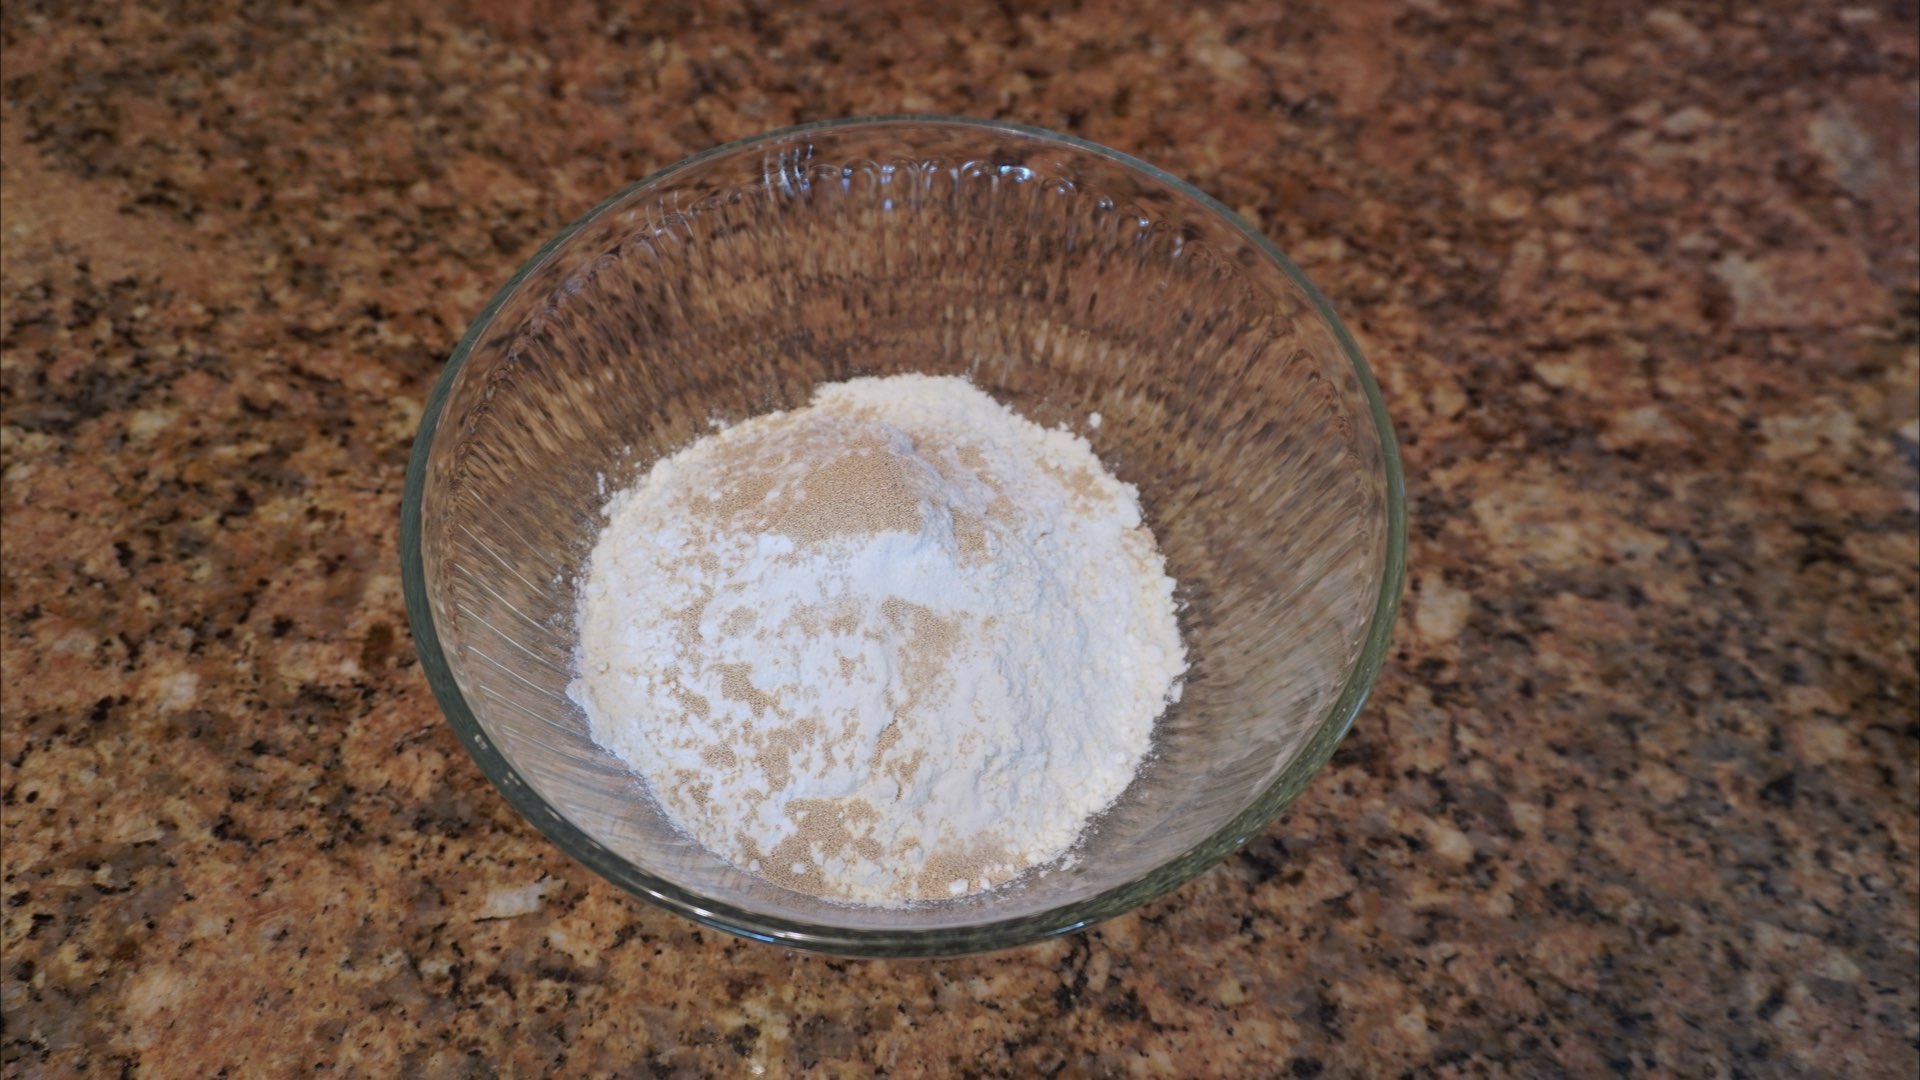
Step 1: Add the Dry Ingredients
In a medium bowl, add the flour, yeast, sugar and salt. Mix until combined.
Step 2: Add the Remaining Ingredients
Add in the water and oil.
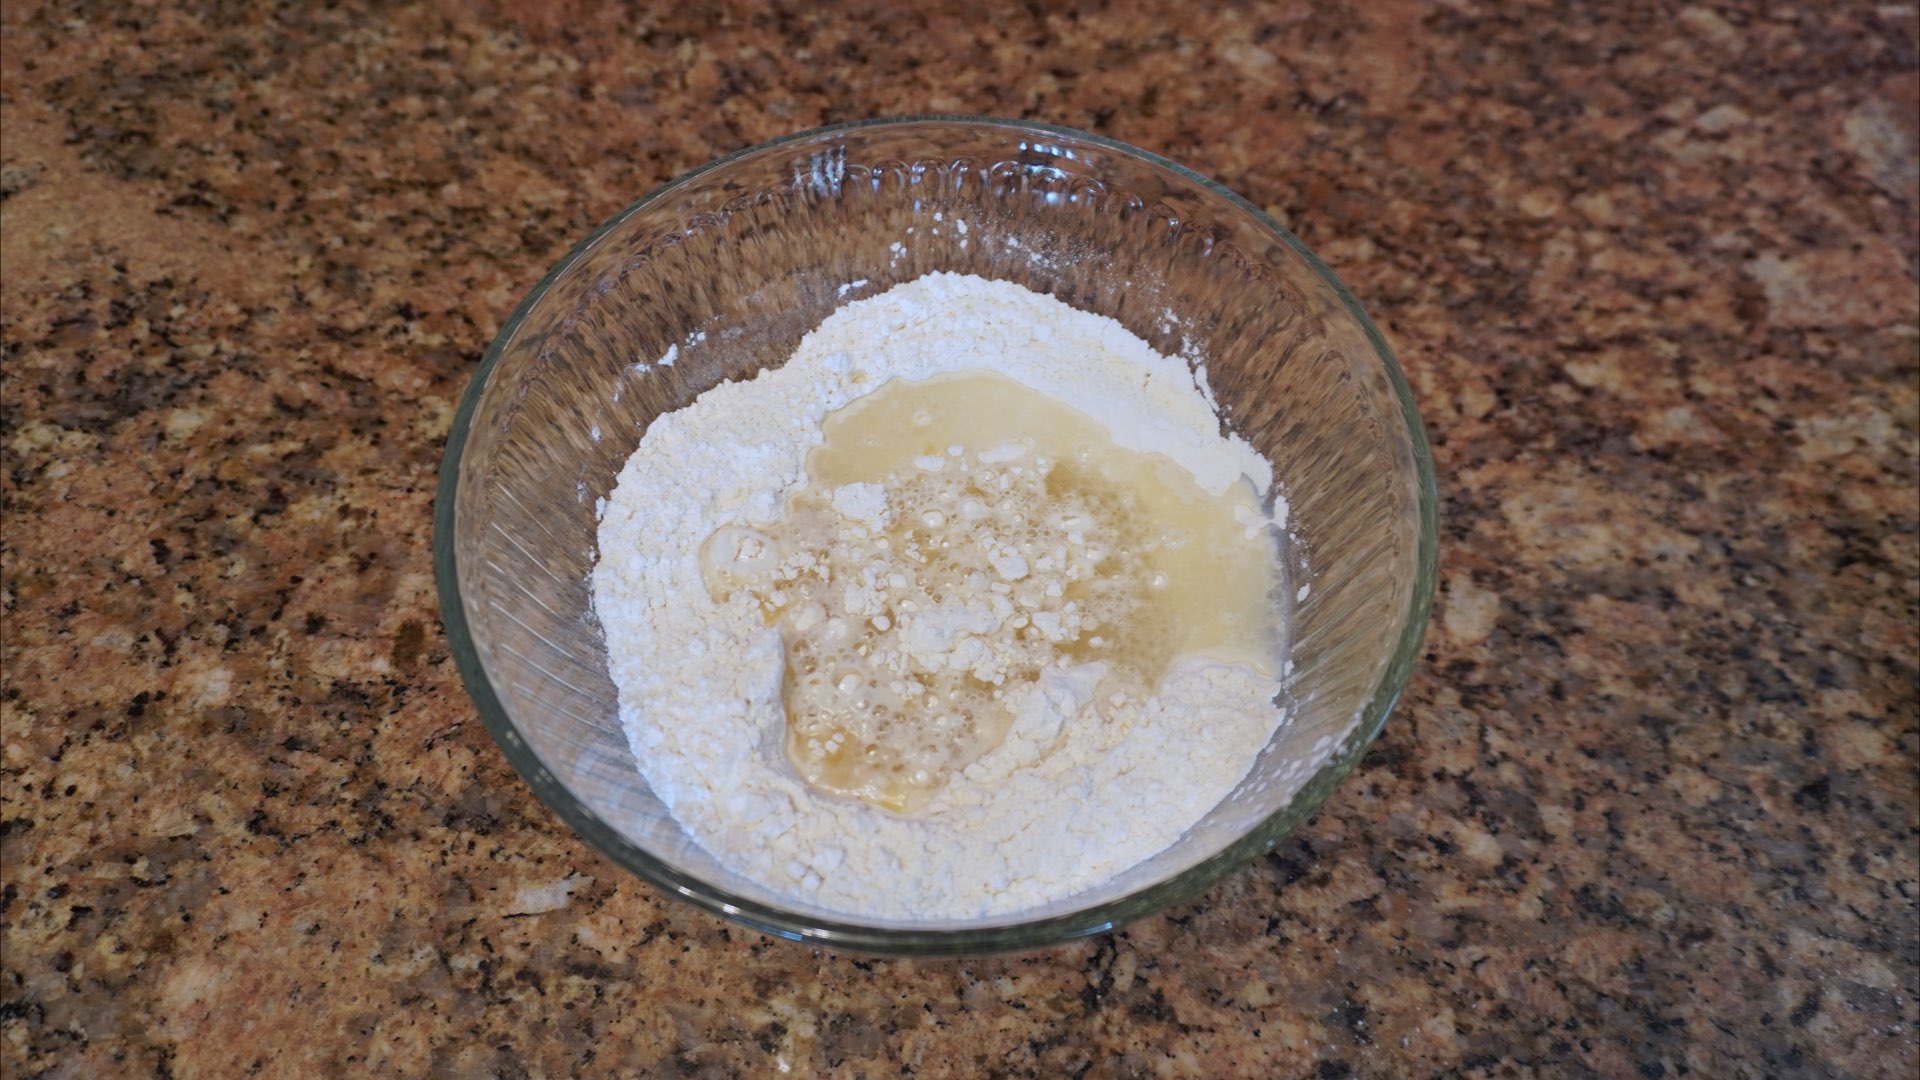
Using your hands, or the handle of a spoon, stir the mixture together.
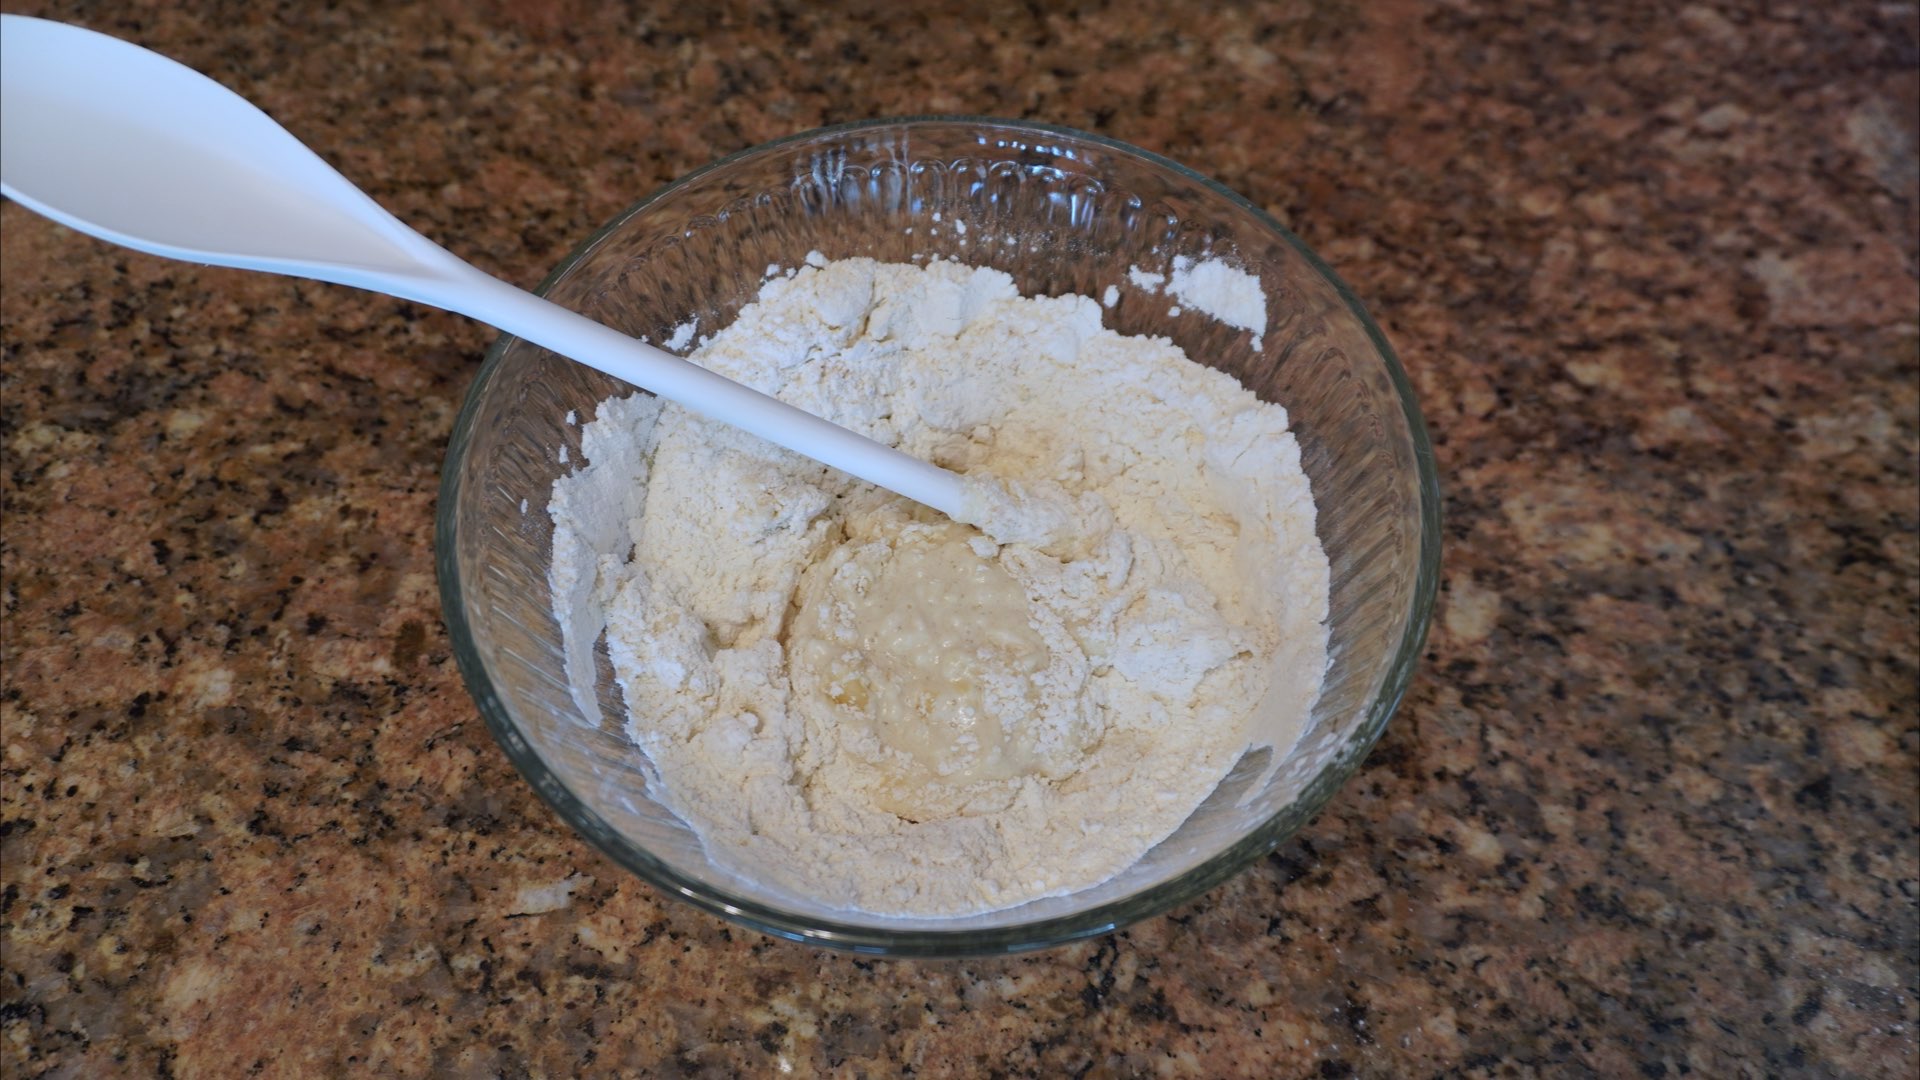
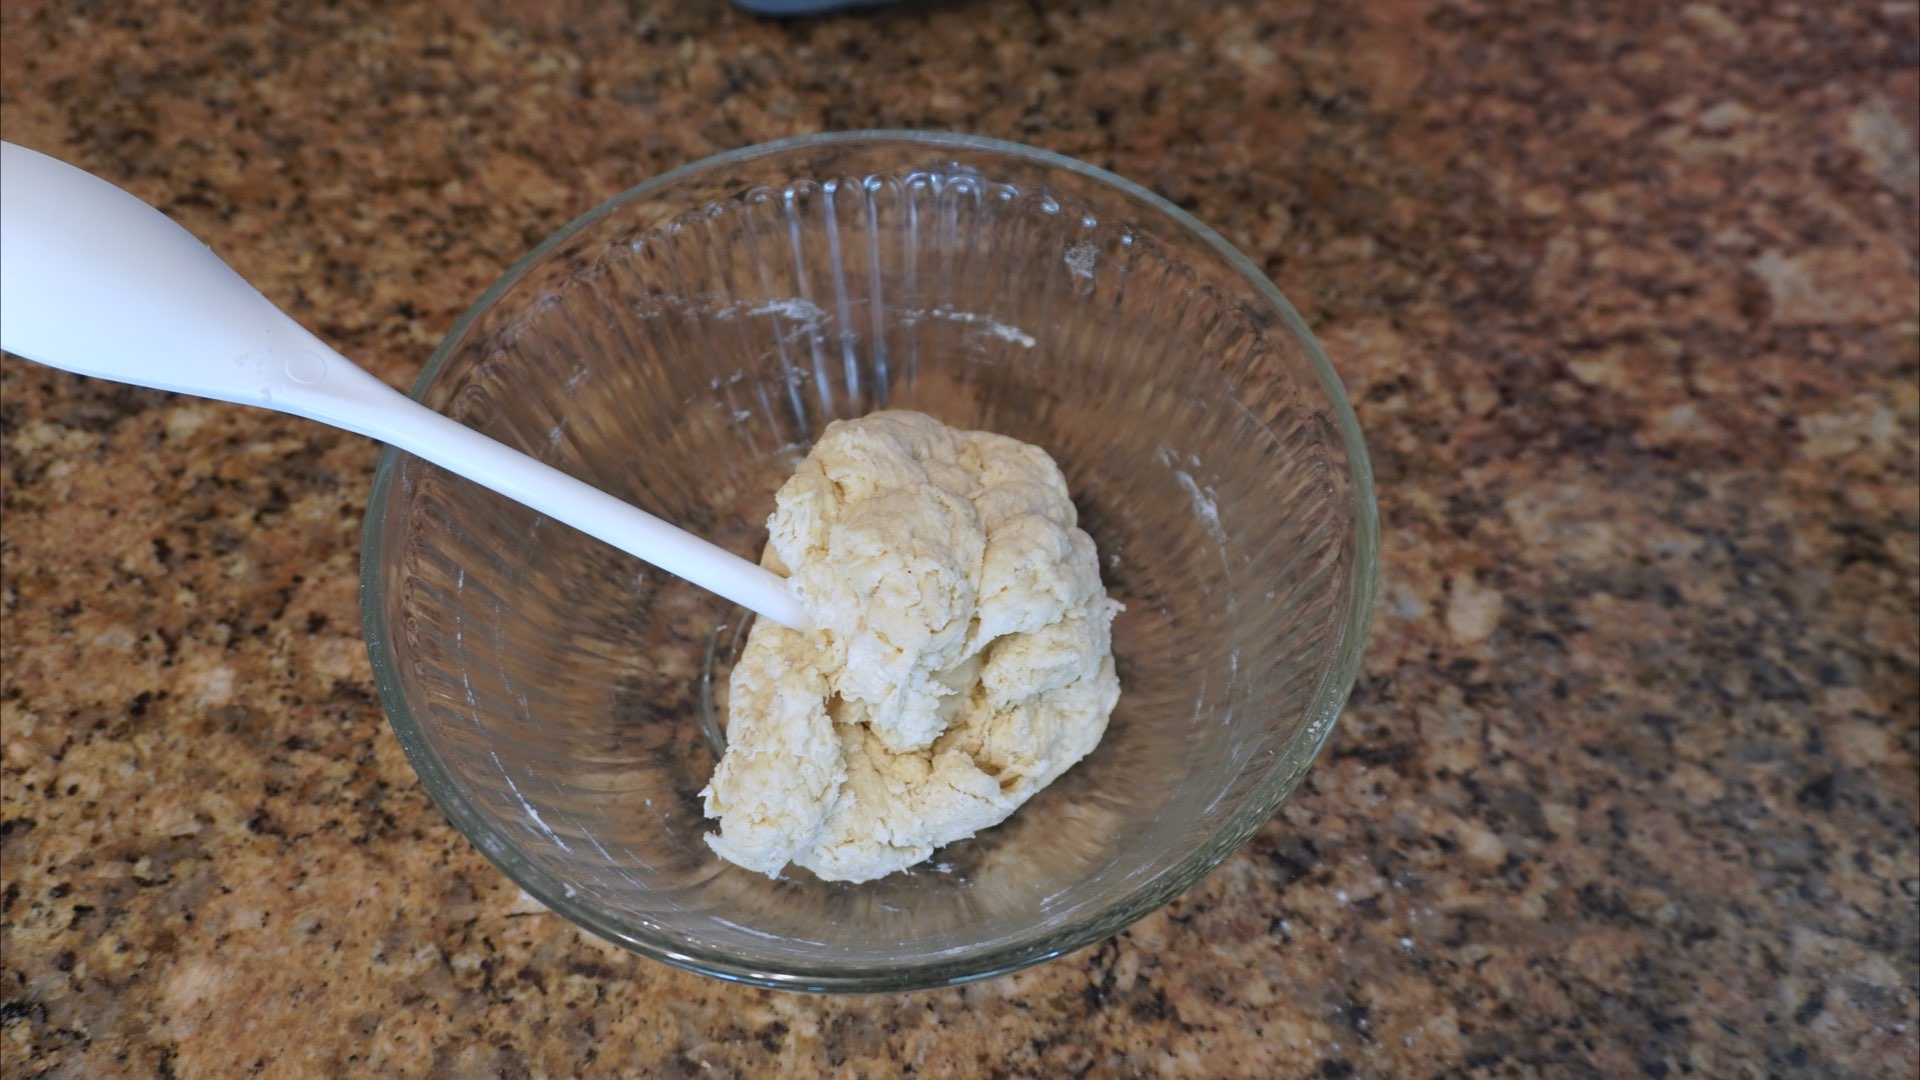
Step 3: Mix the Ingredients until Shaggy
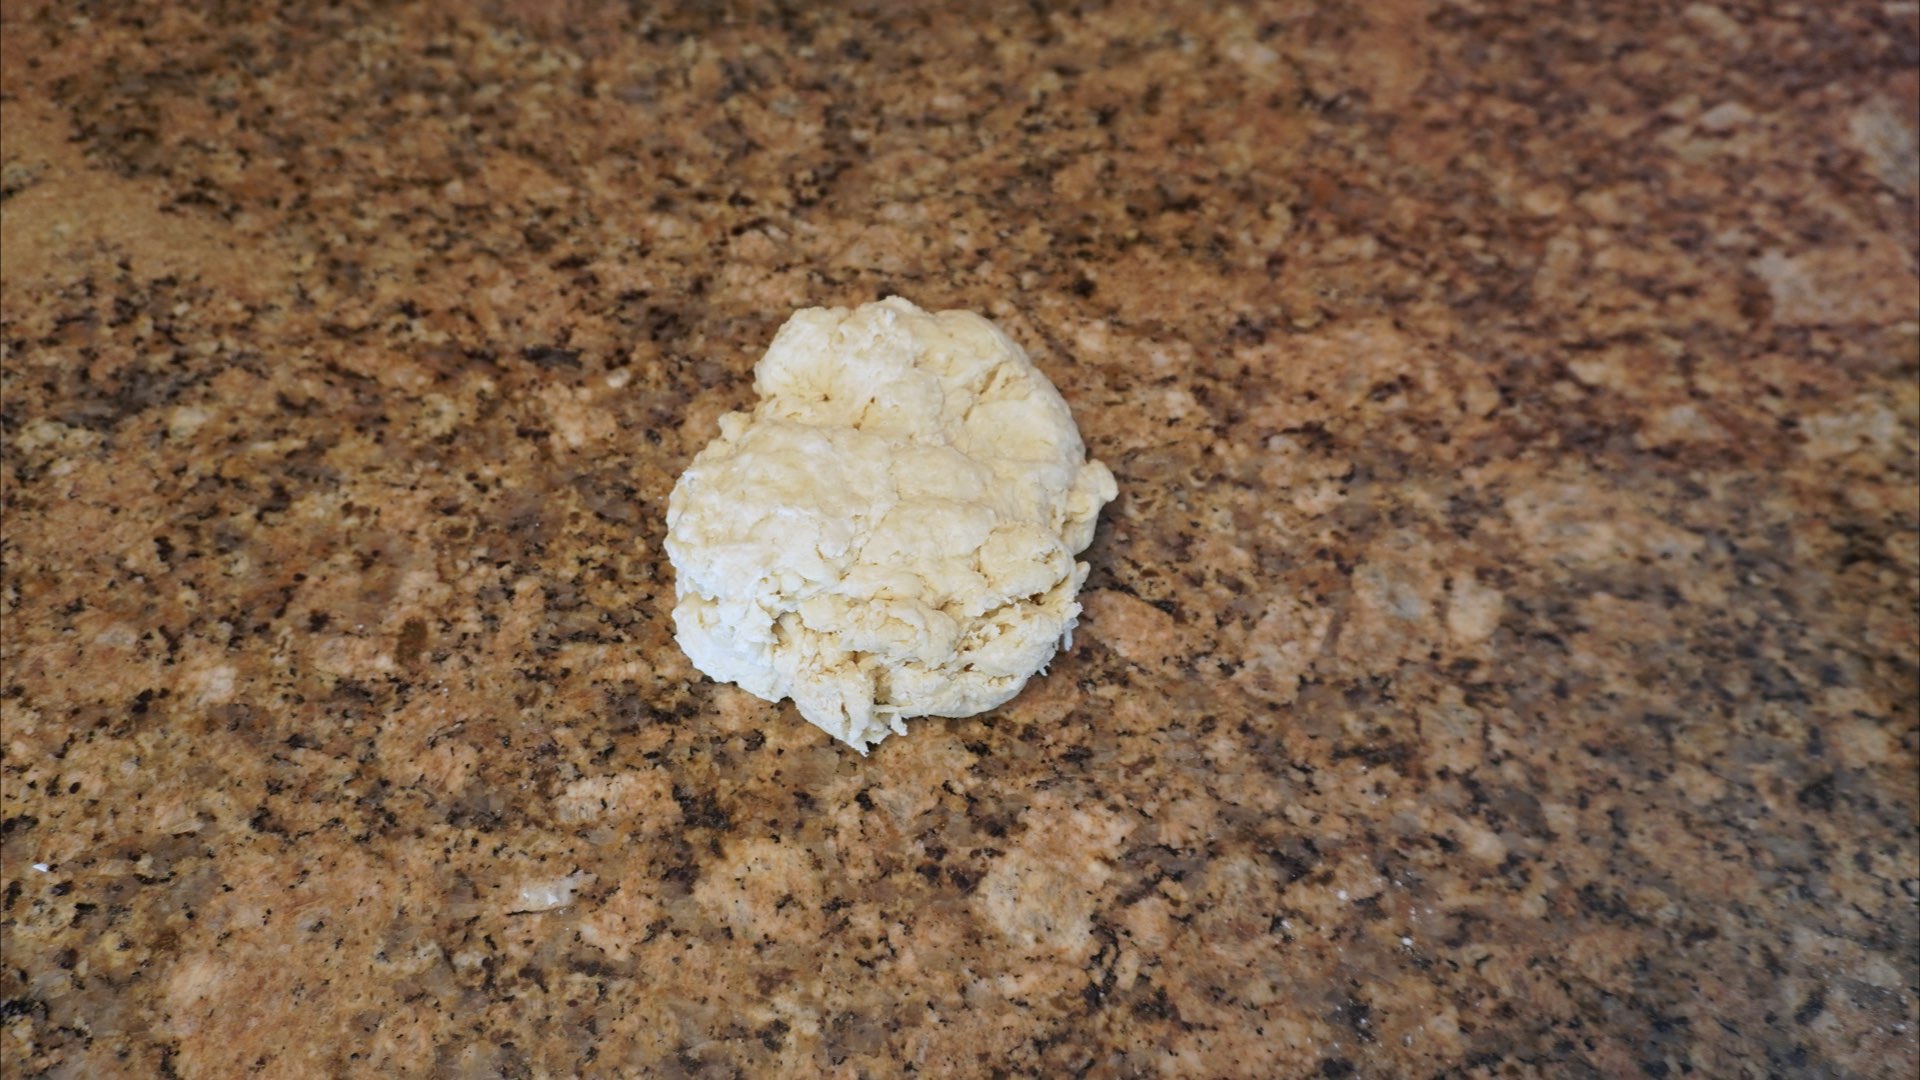
Continue to stir until a shaggy dough forms and it comes away from the sides of the bowl. Otherwise, we are going to turn this onto a clean work surface and begin to knead our dough.
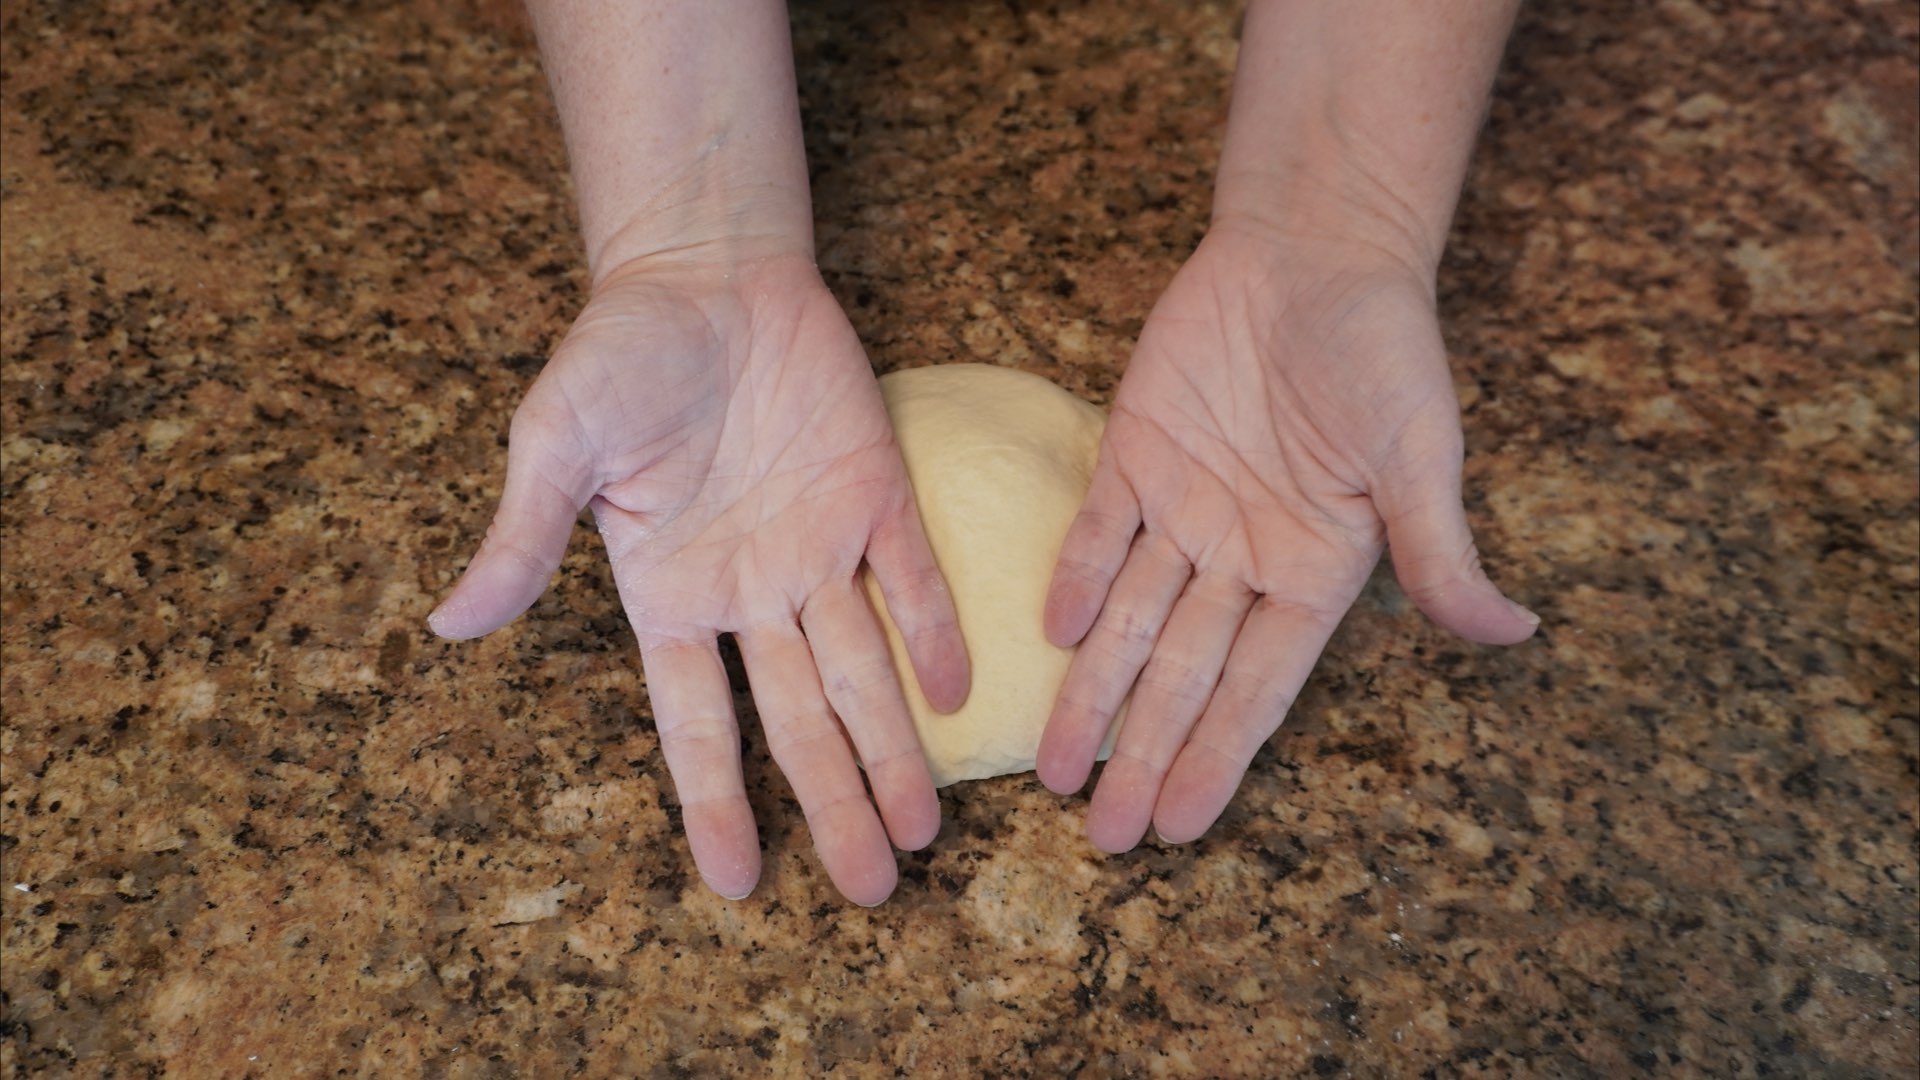
Step 4: Knead the Dough
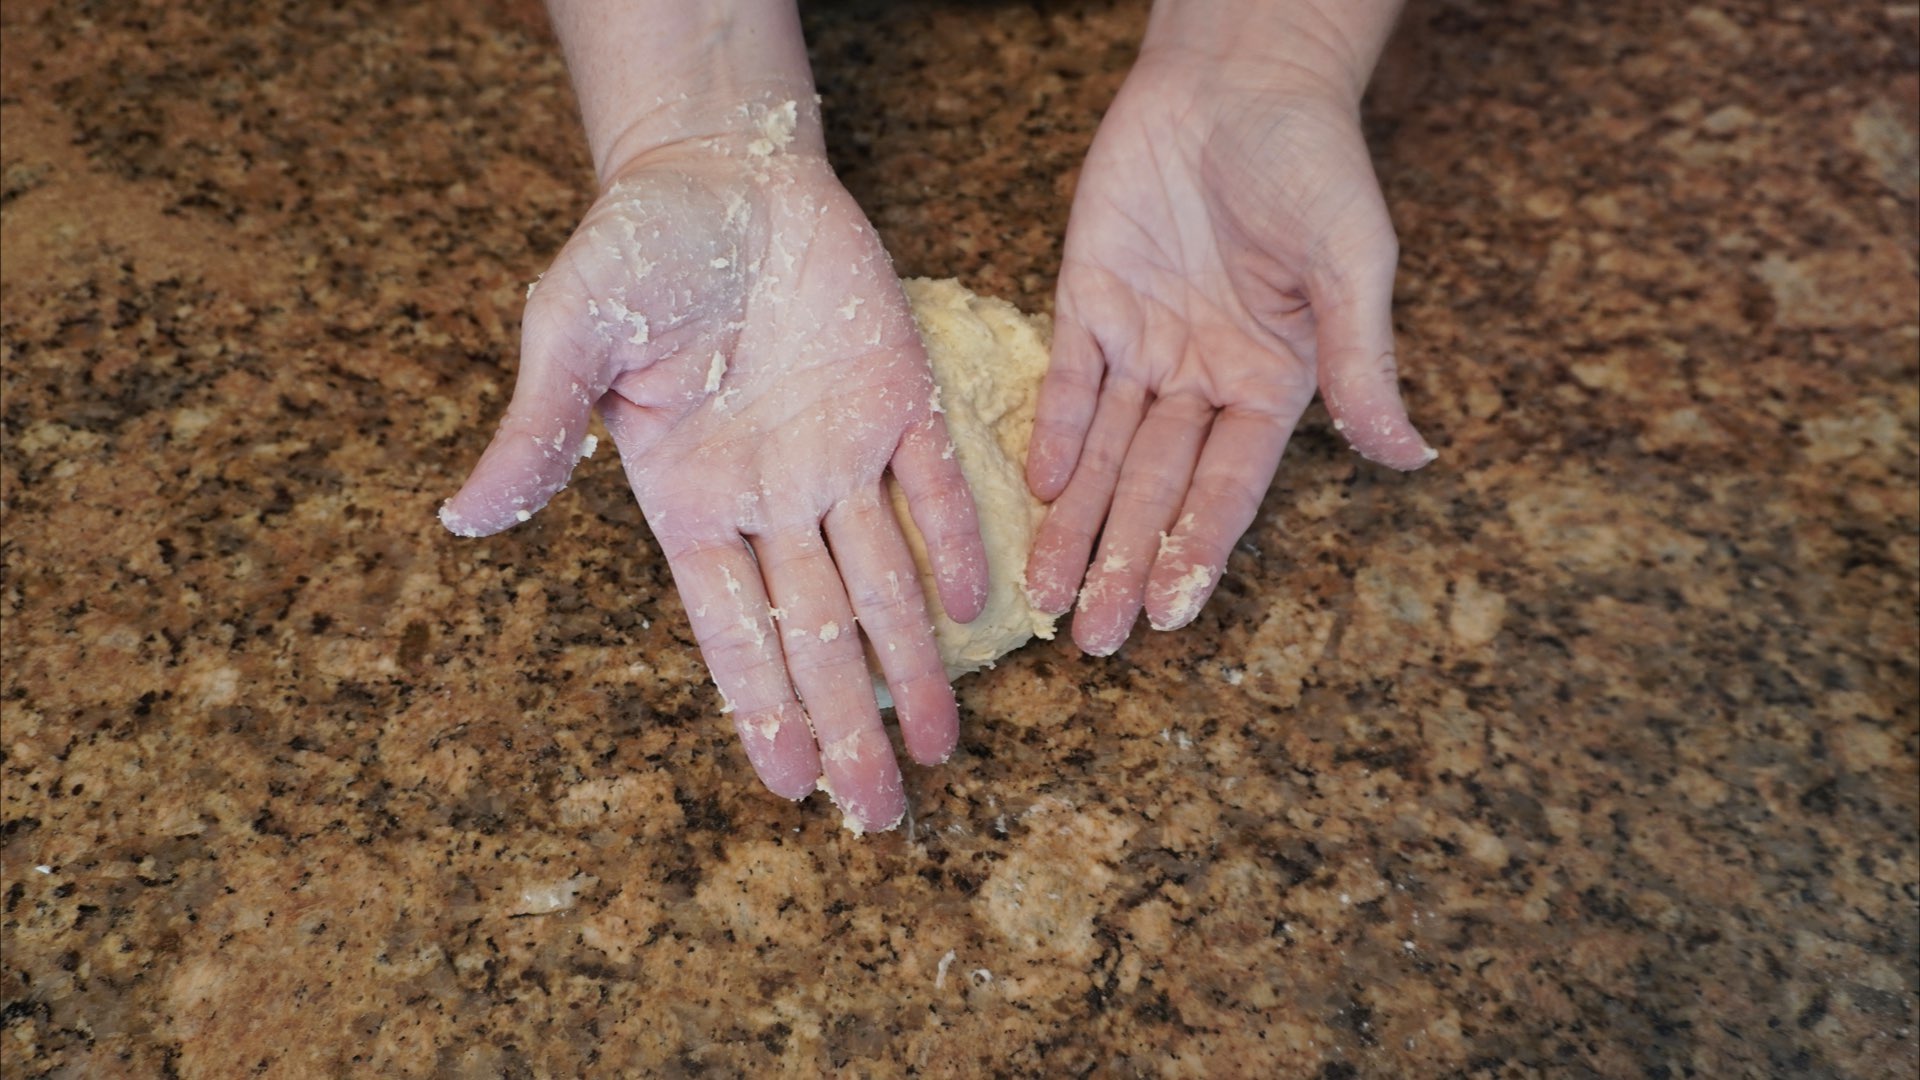
After you form a shaggy dough, turn it out onto a clean work surface. Knead 8 – 10 minutes or until the dough stretches easily without tearing. First, you start out with your formed dough.
Next, using one or both hands, grab the dough on the edge furthest from you and press the edge outward.
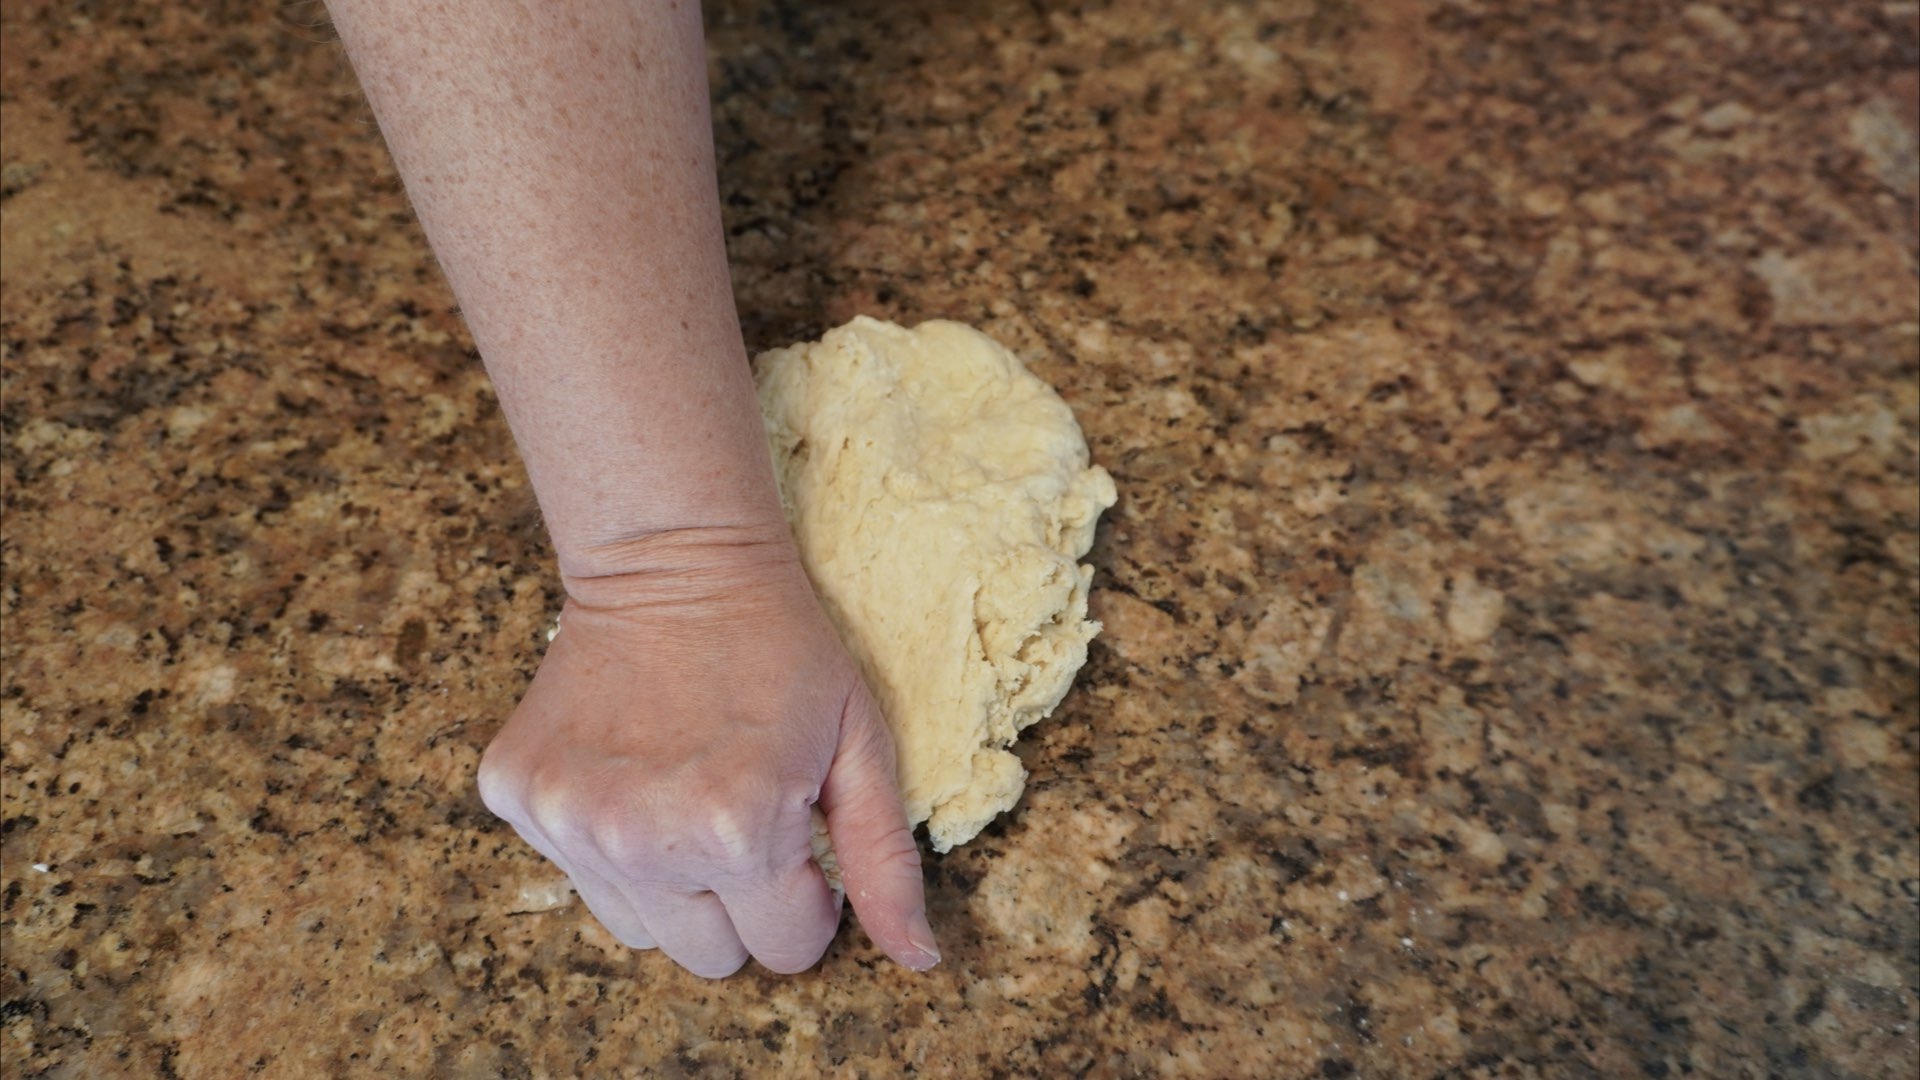
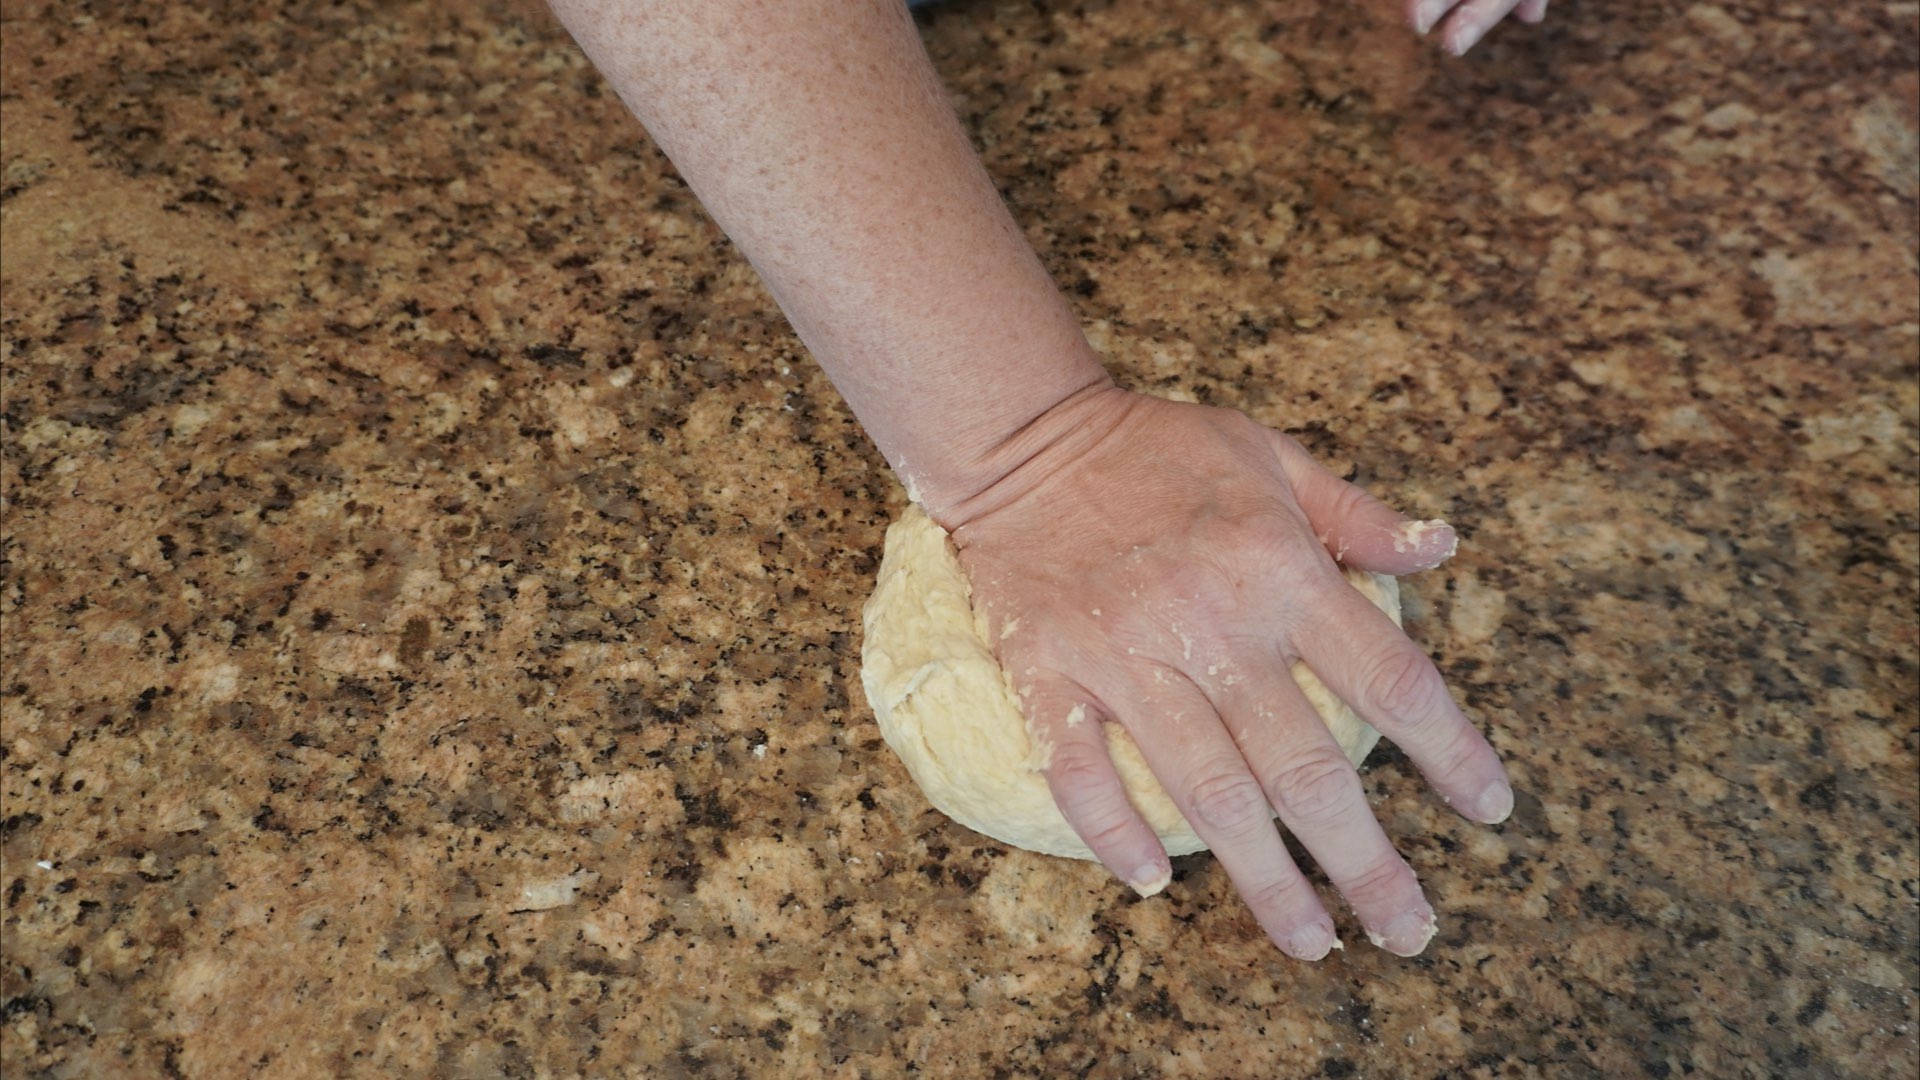
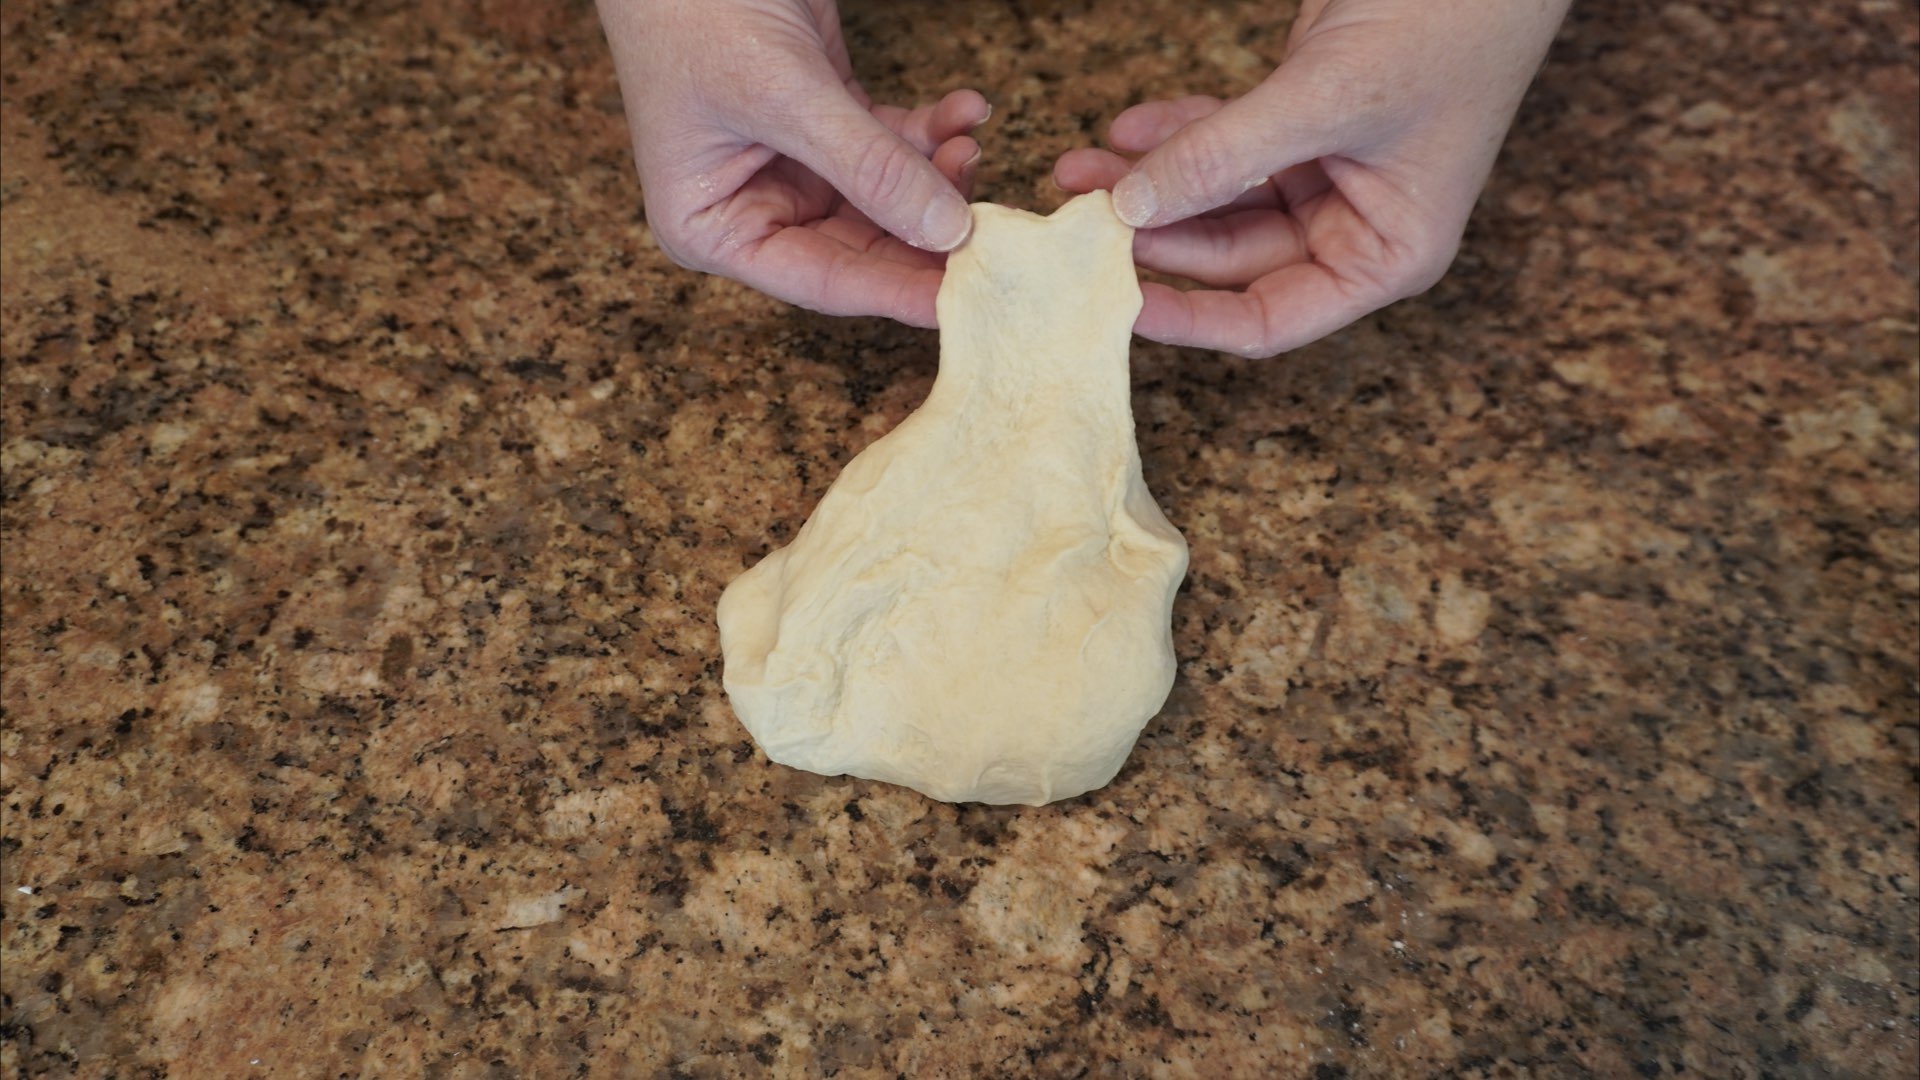
Now, take that edge you pushed and fold it back onto the dough.
Grab the folded edge and push it away from you like before.
Repeat this step until the dough is less sticky. At first it will stick to your hands a lot.
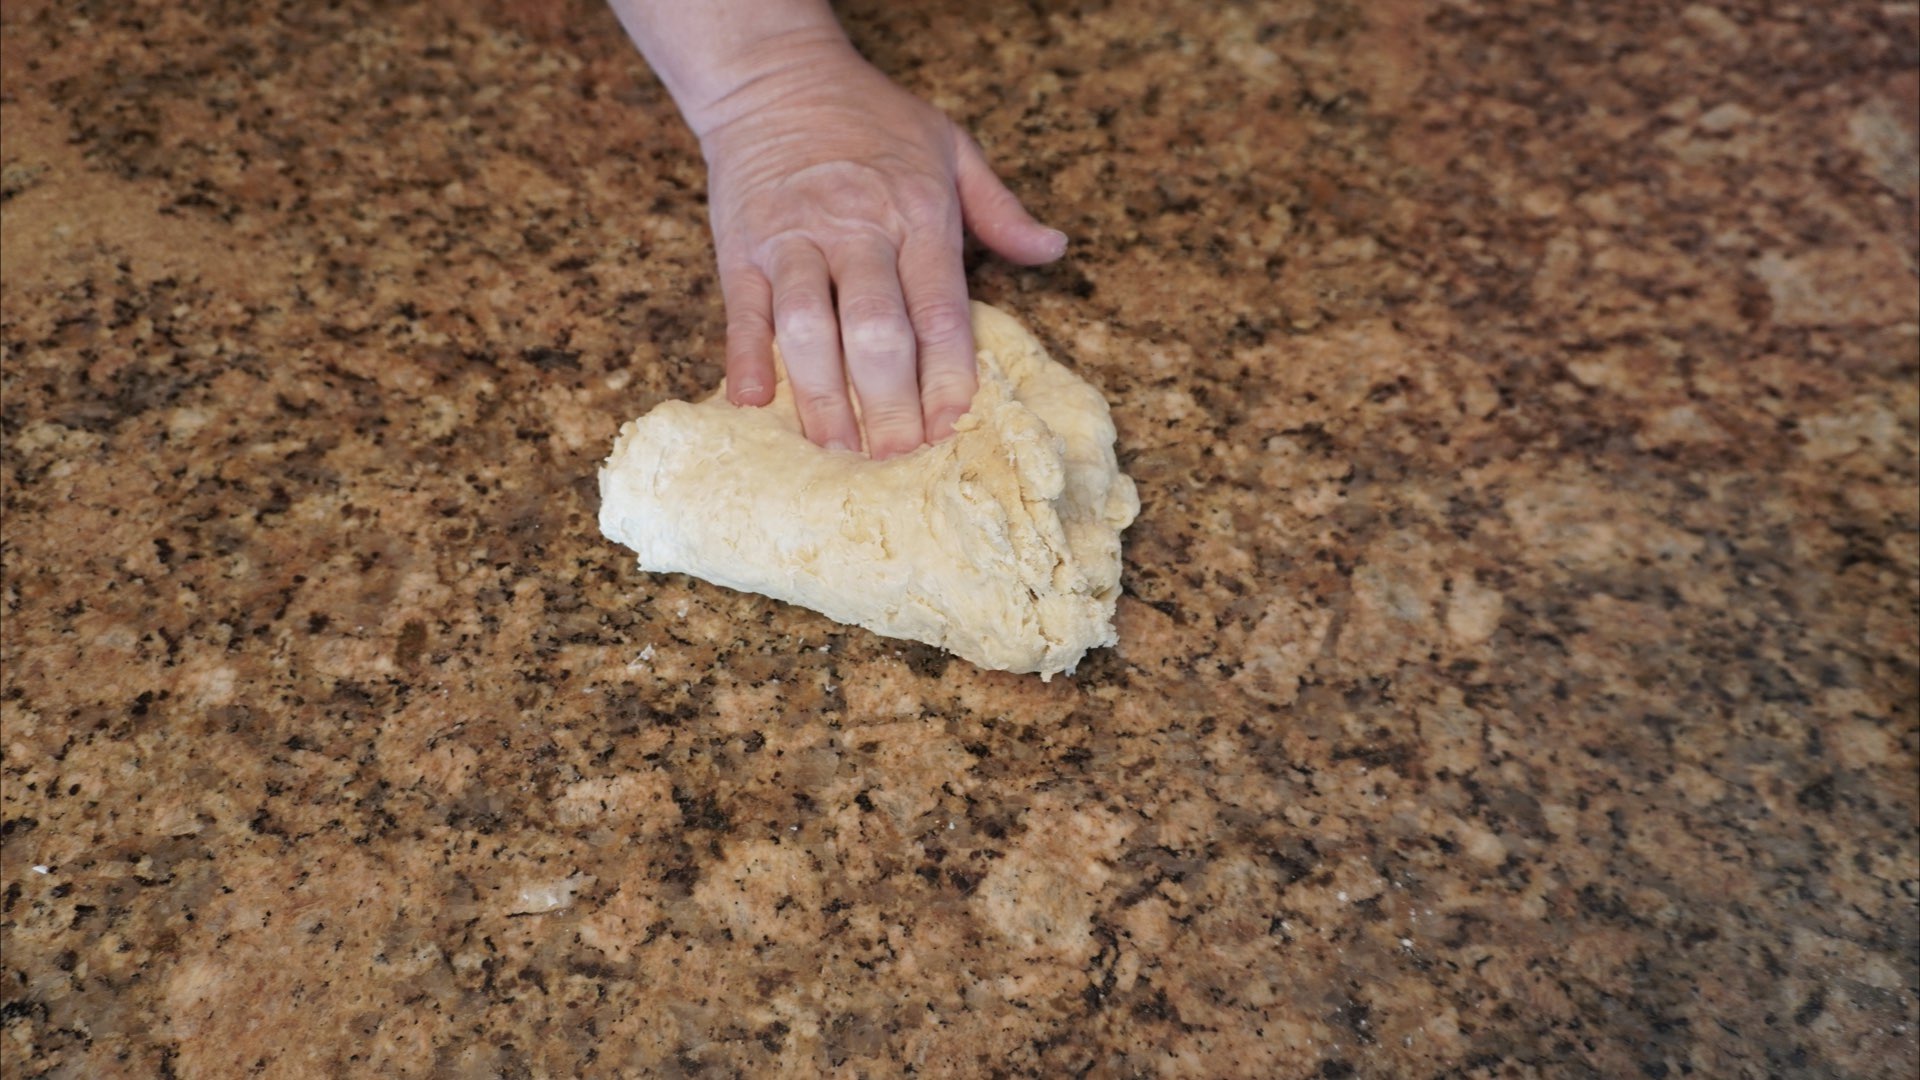
Keep working the dough for a good 5 minutes. Resist the urge to add flour.
As you work the dough, it will become less sticky as the gluten develops.
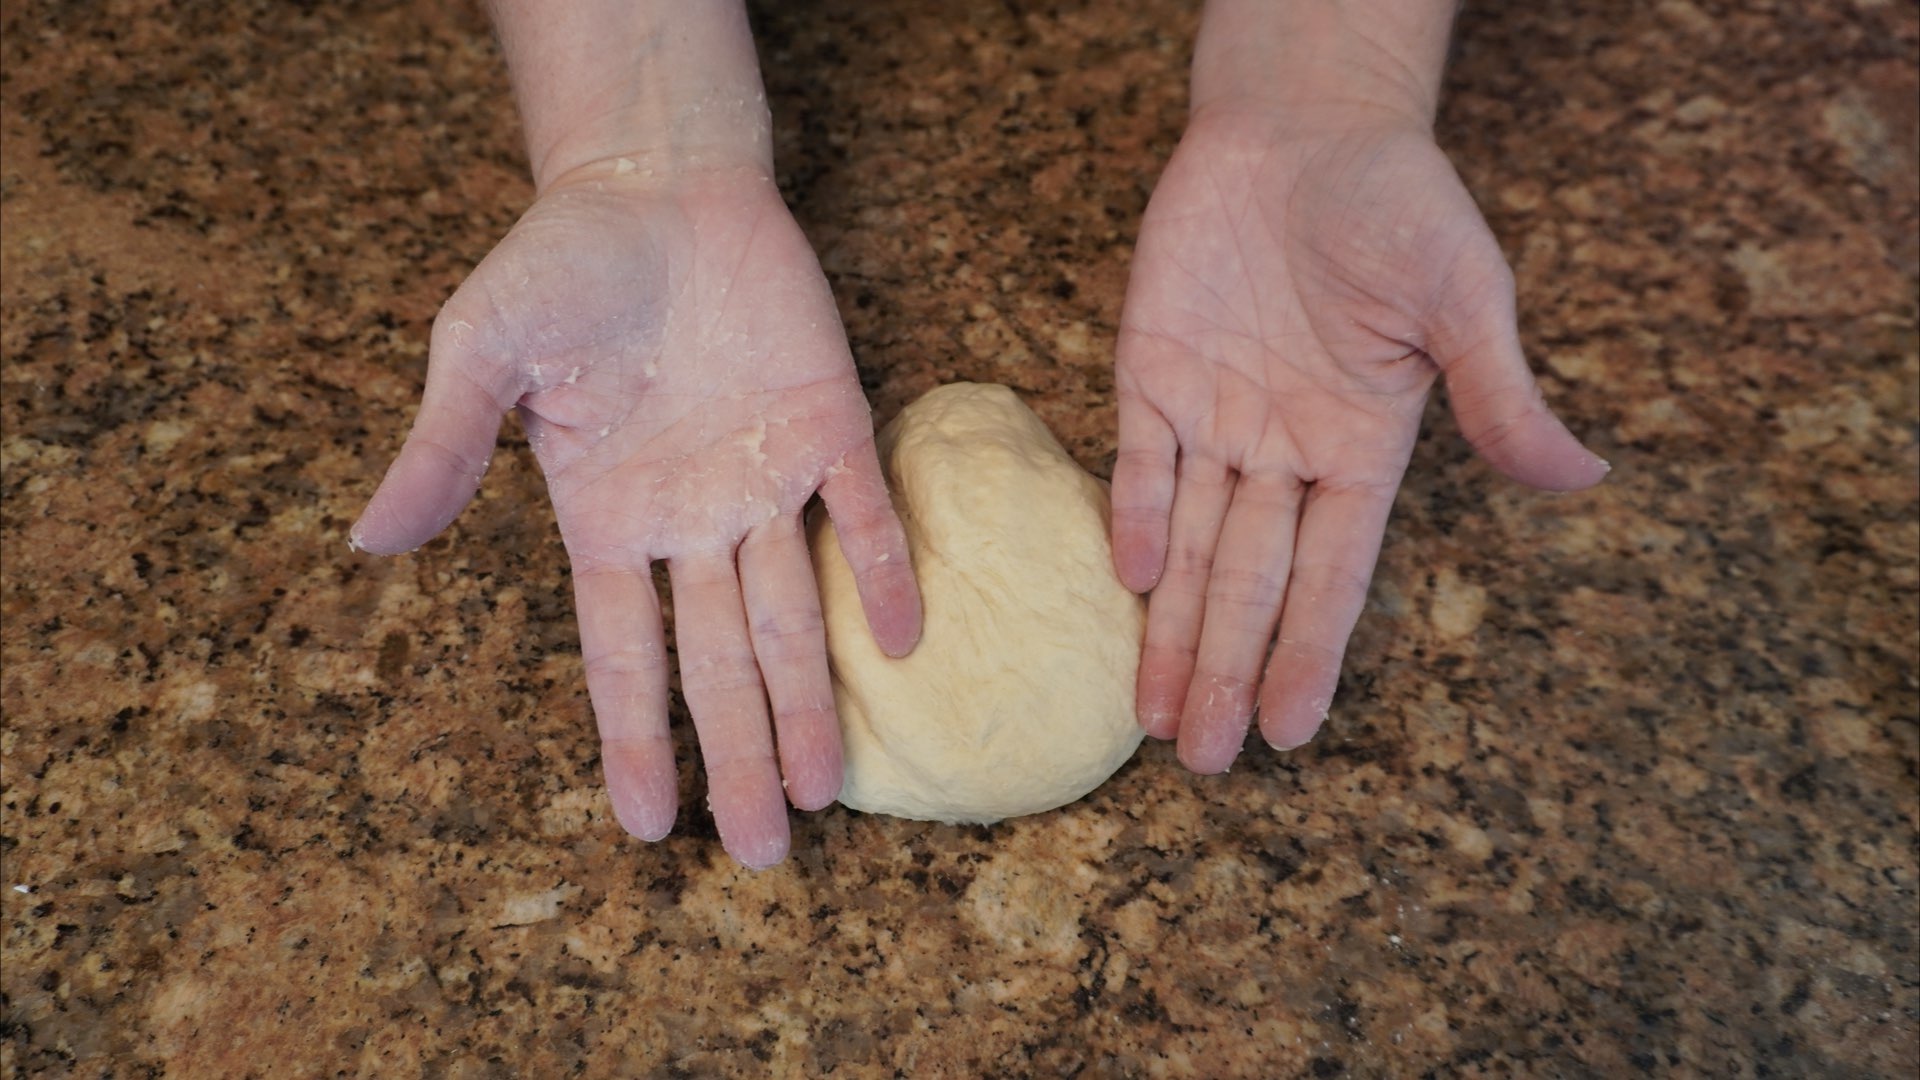
At this point, check the dough to see if it stretches easily without tearing. Not quite ready, so you continue to knead.
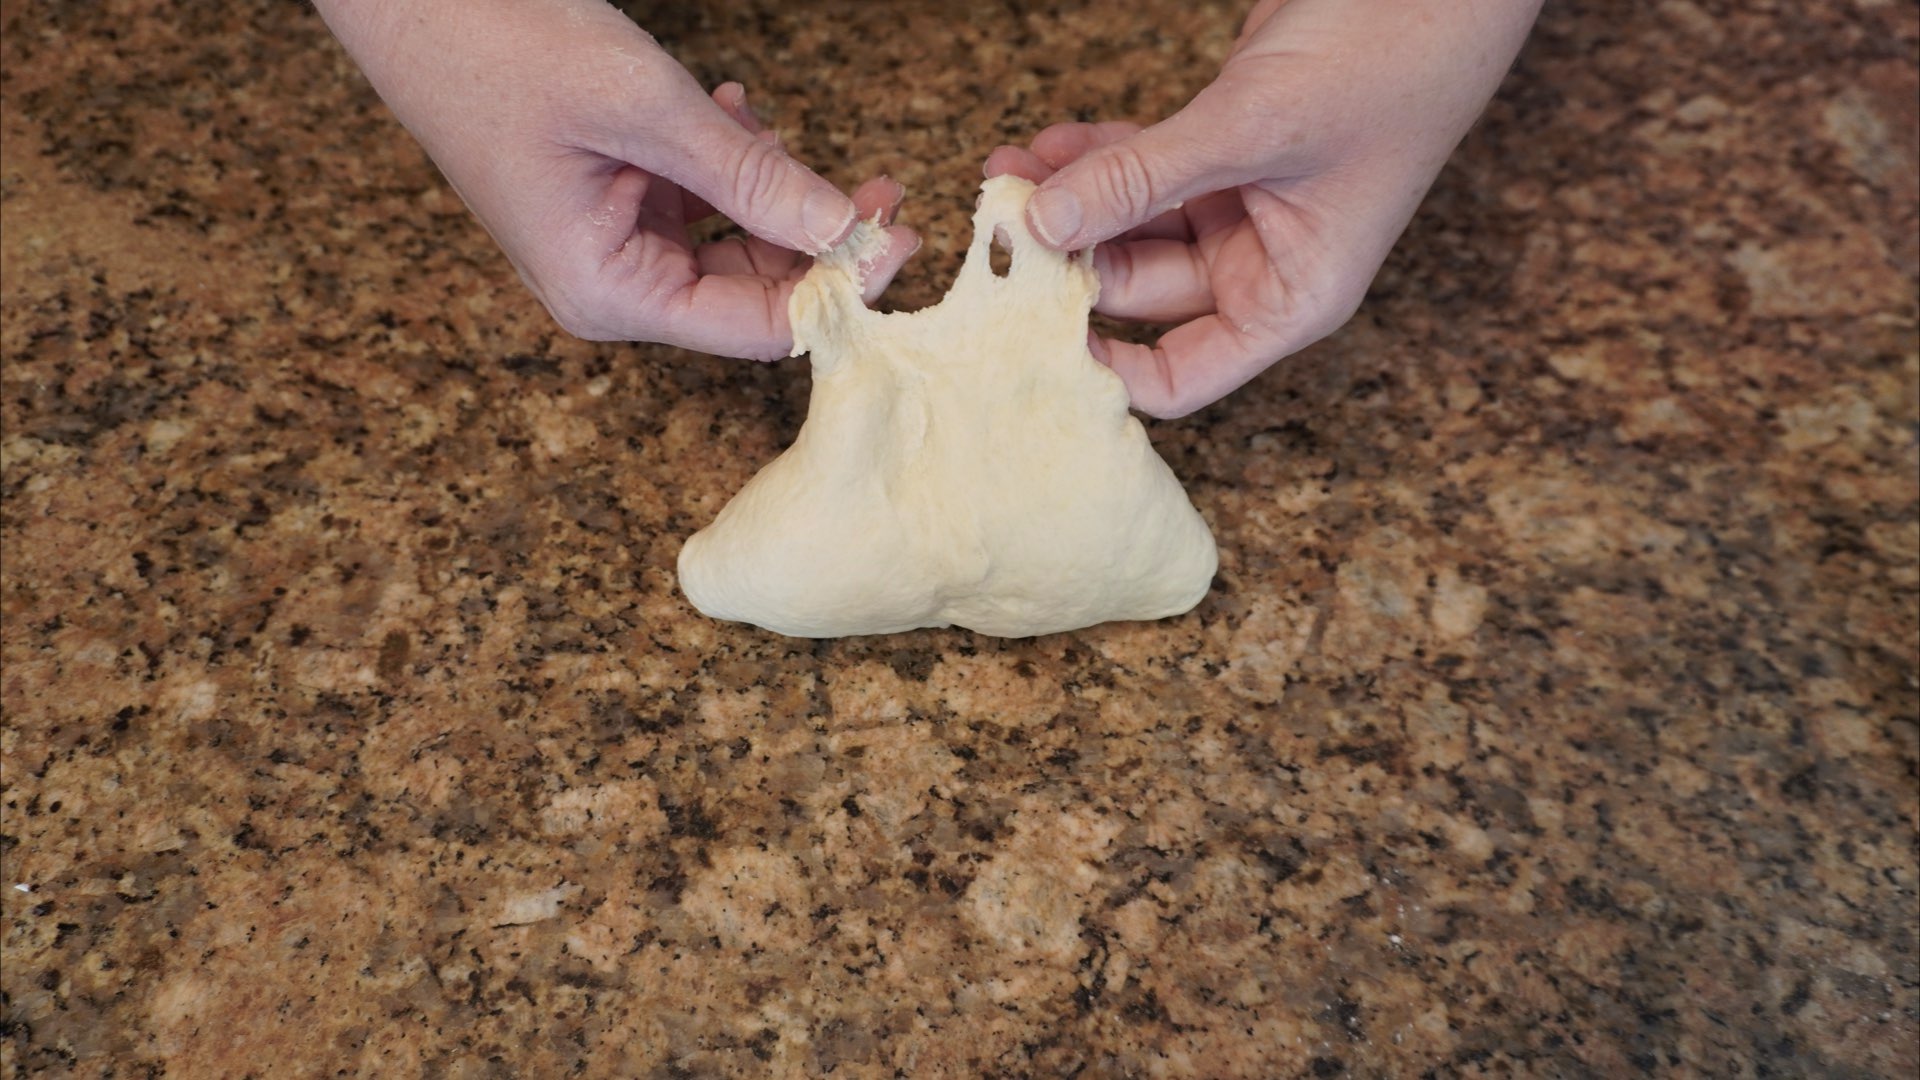
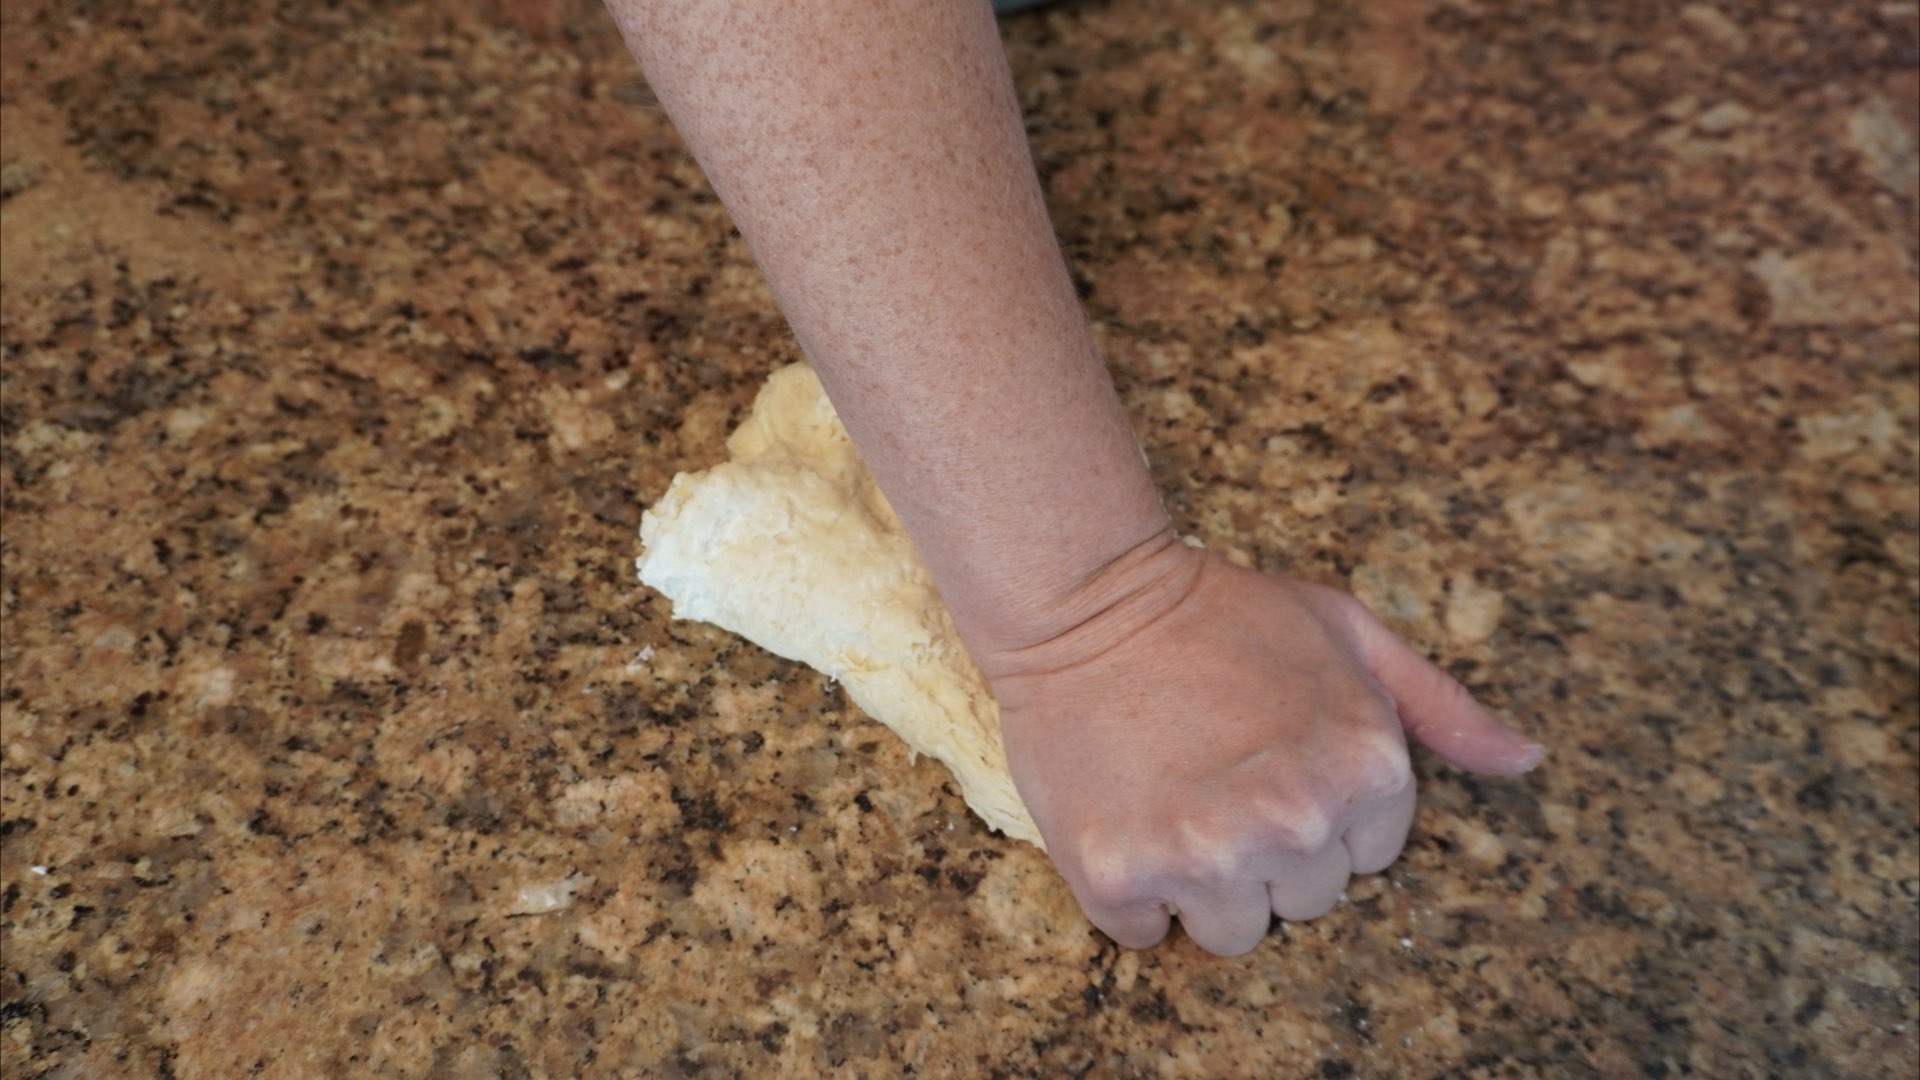
The dough is no longer sticking to my hands, so I check again for stretching.
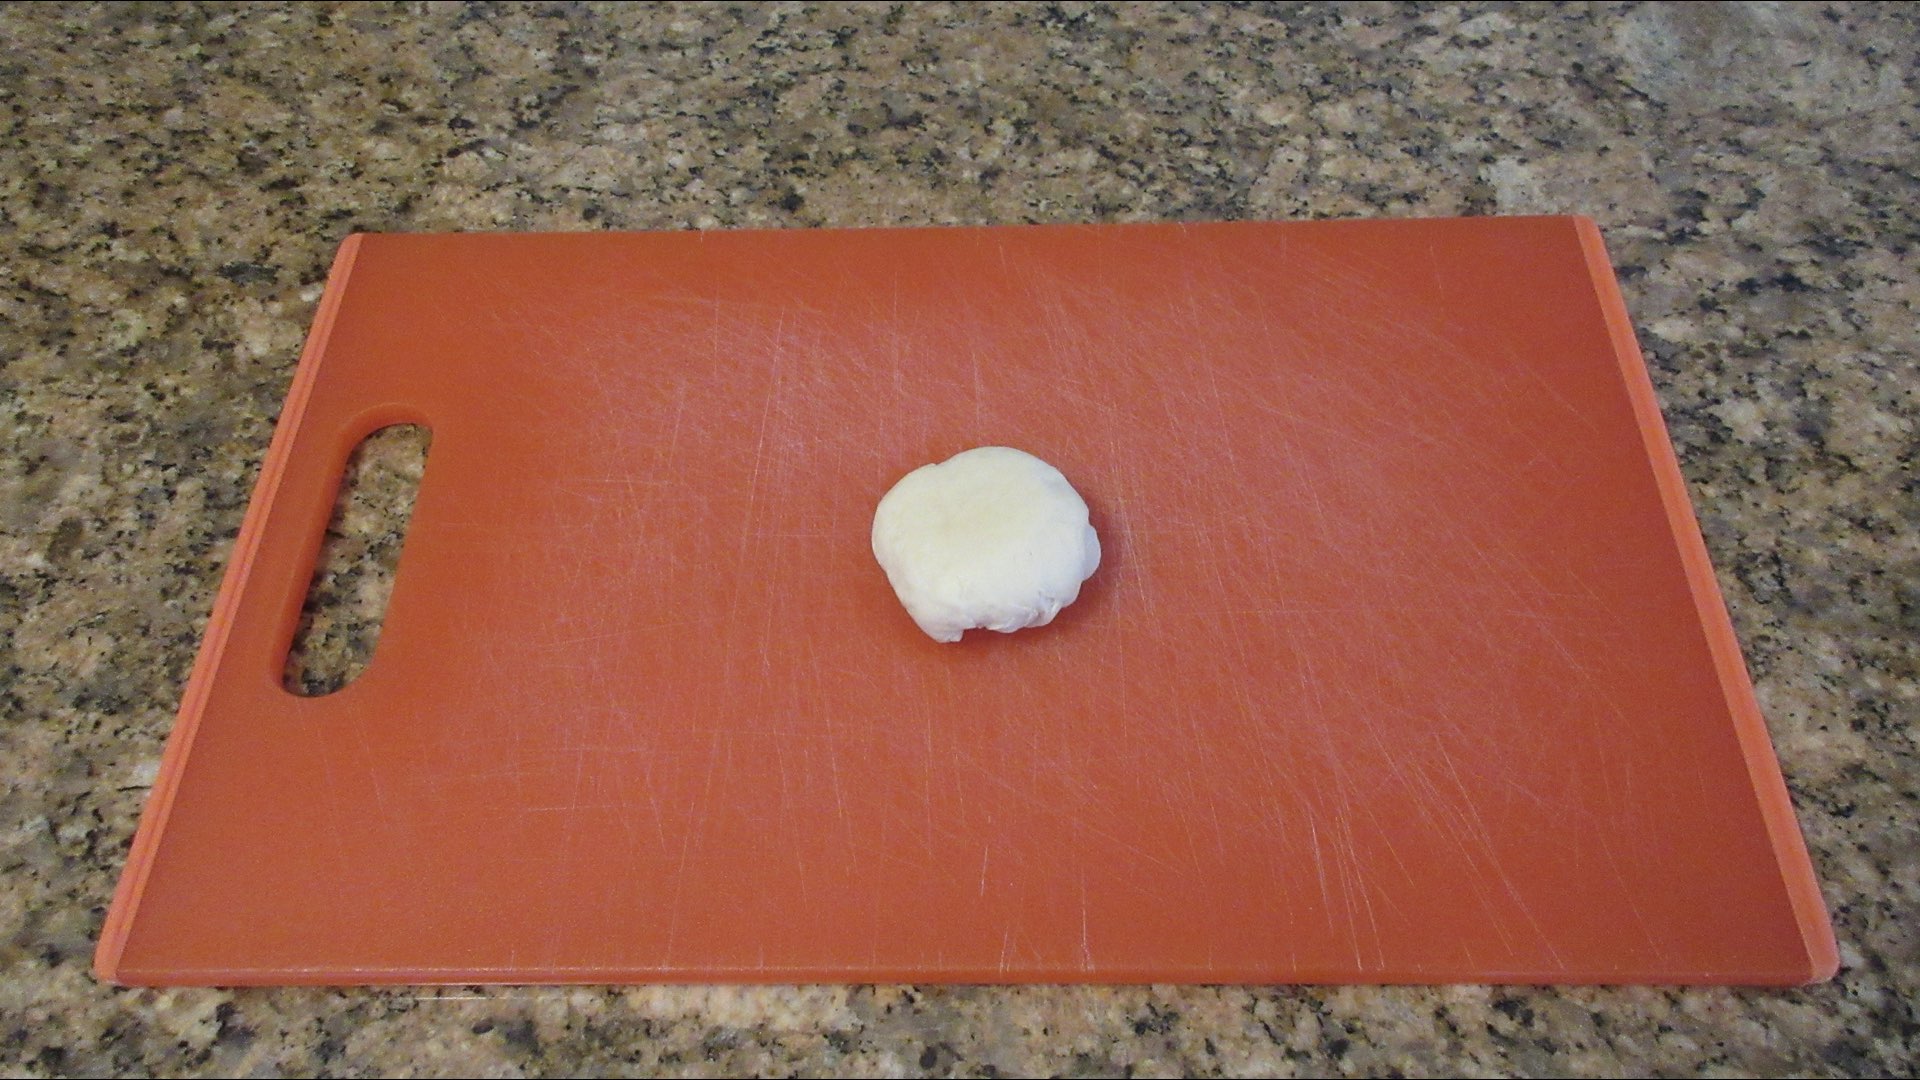
It is ready!
Step 5: Let the Dough Relax and Rise
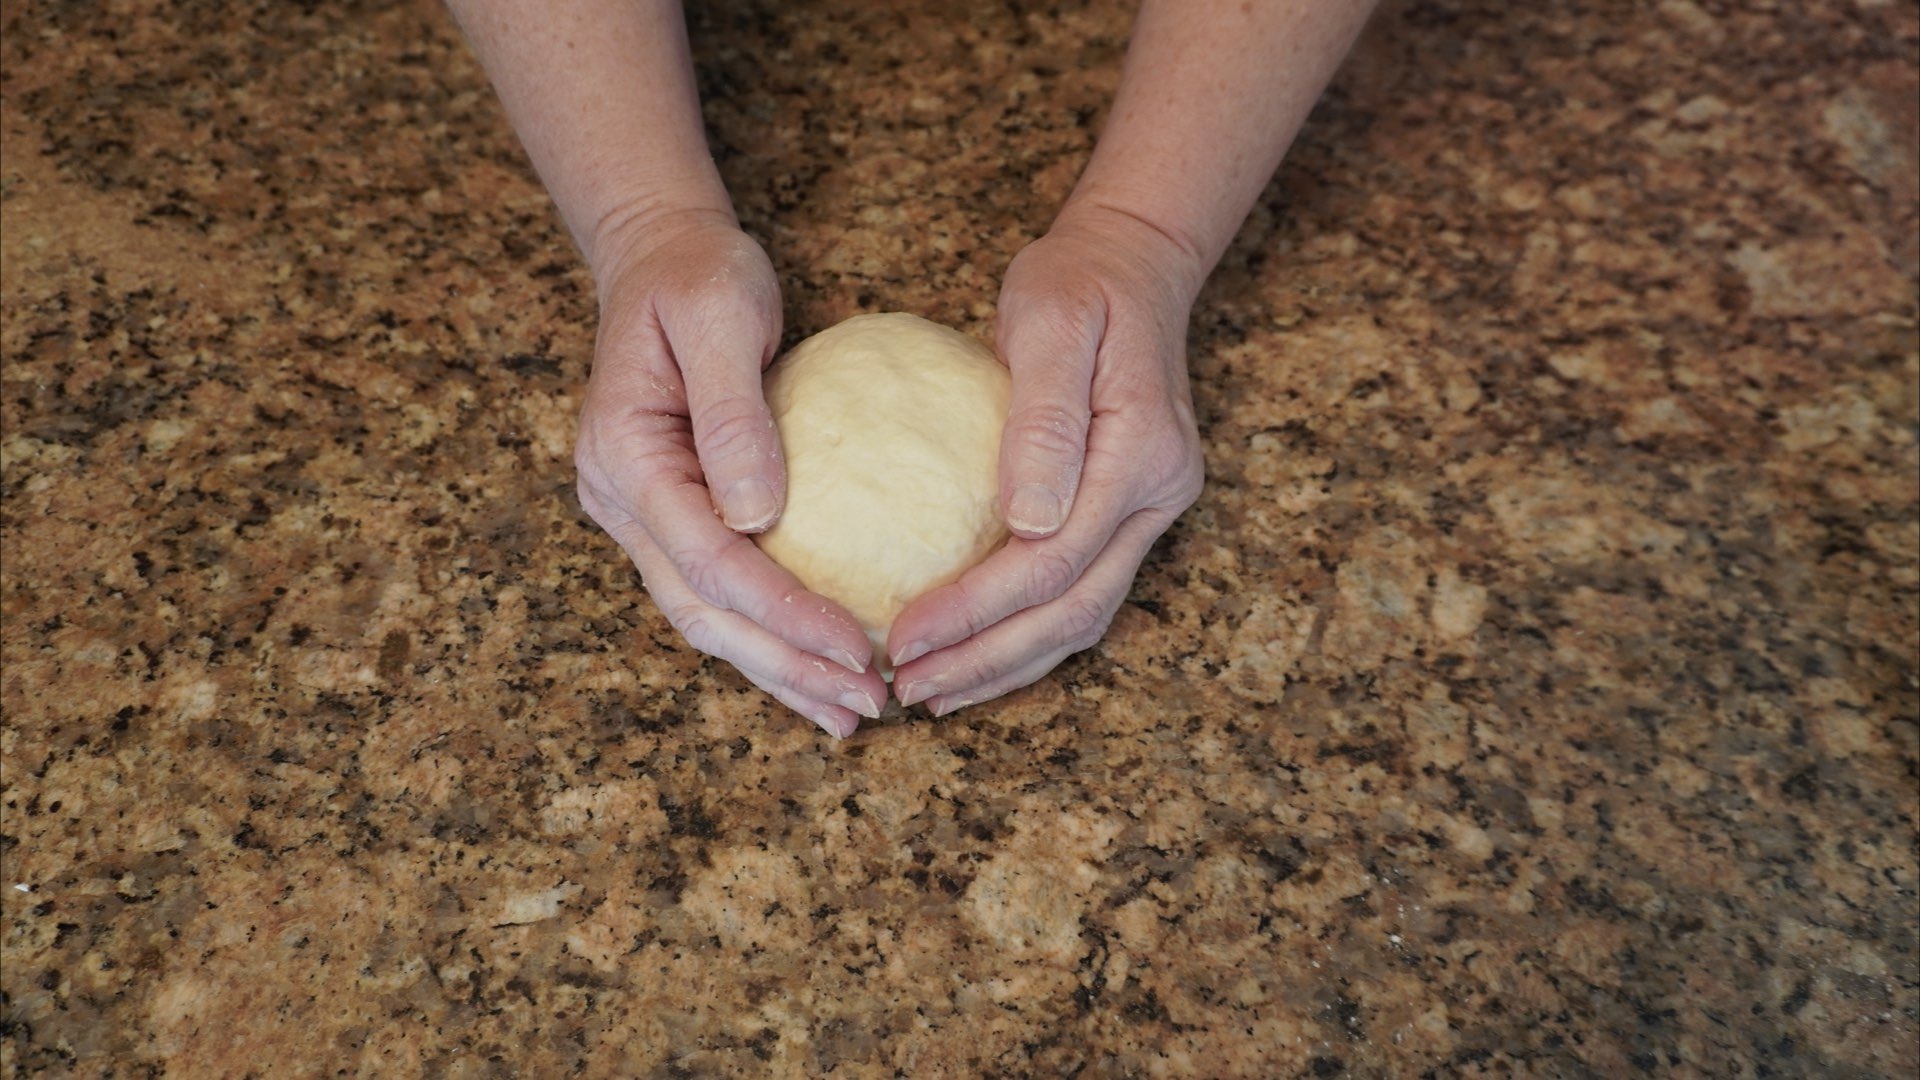
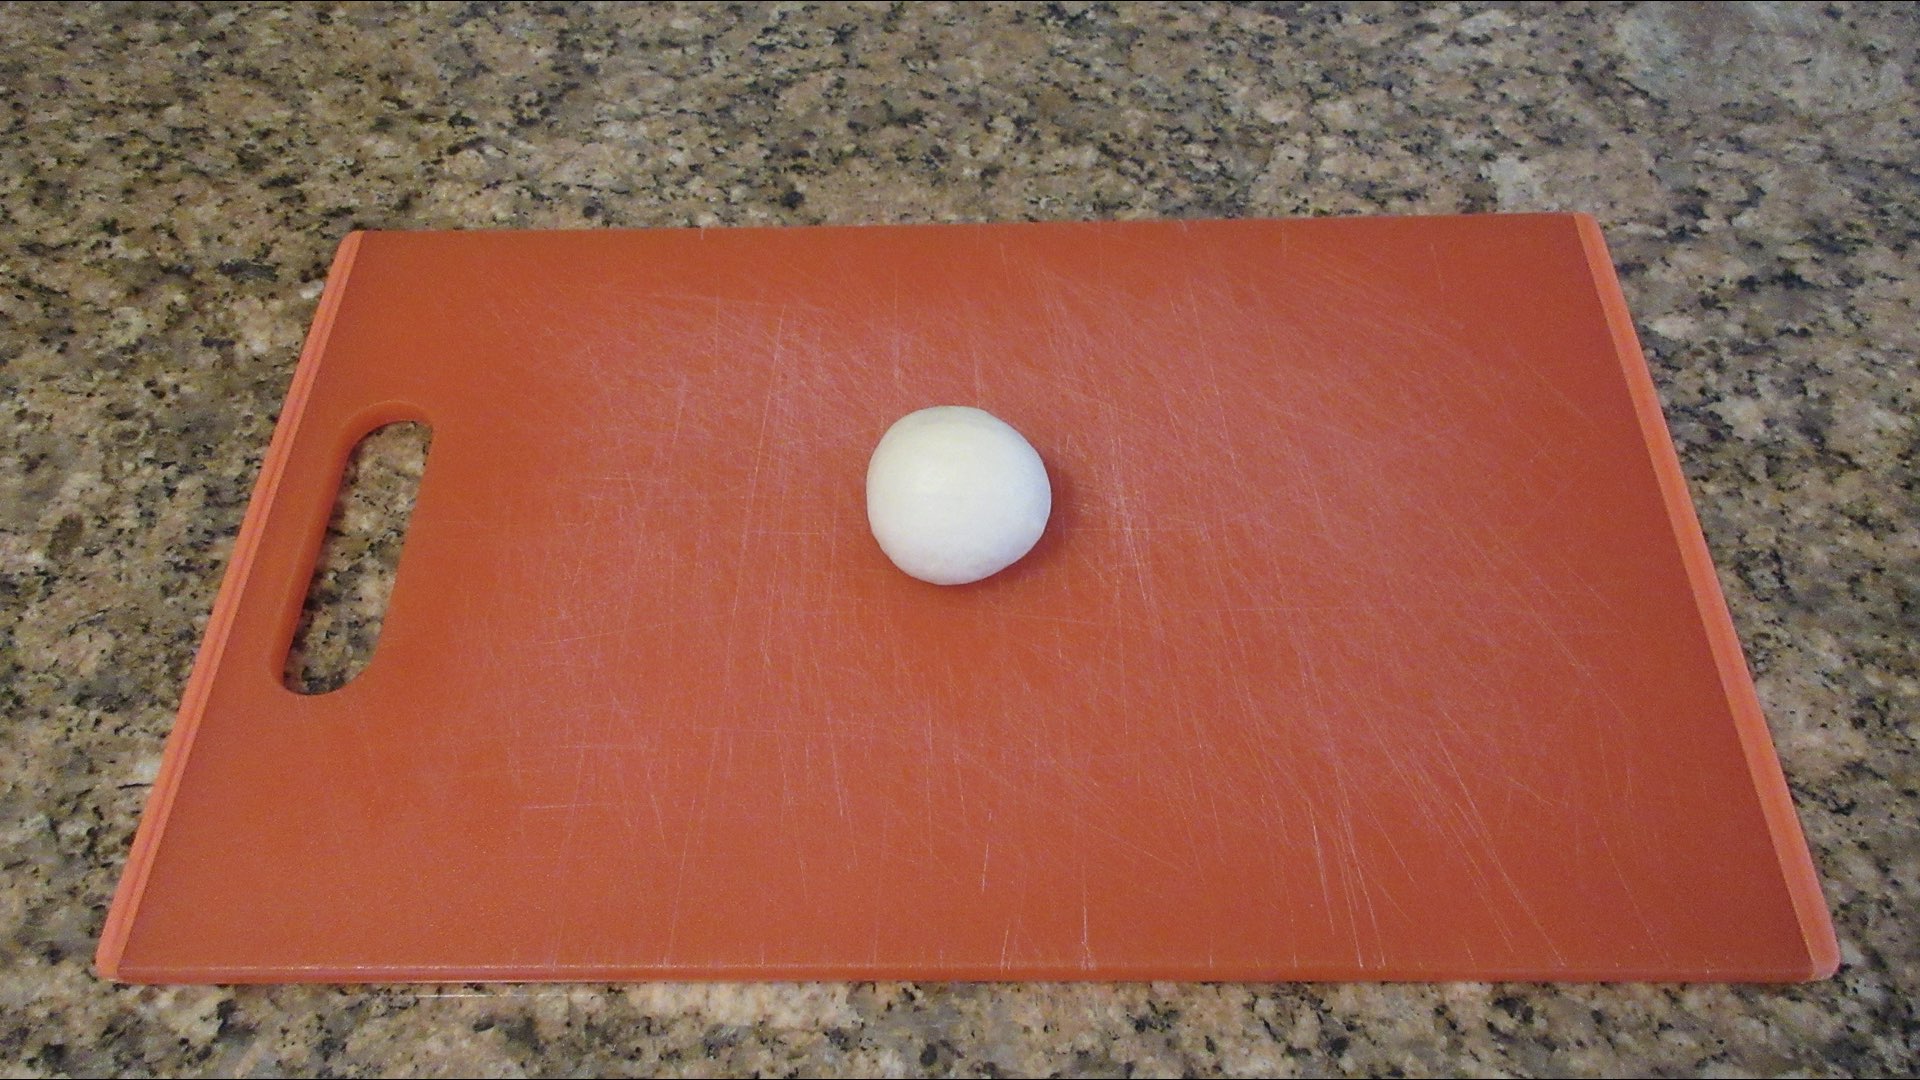
Now the dough needs to rest. Roll the ball up into a loose ball. This ball will help you determine when the dough has doubled in size more easily.
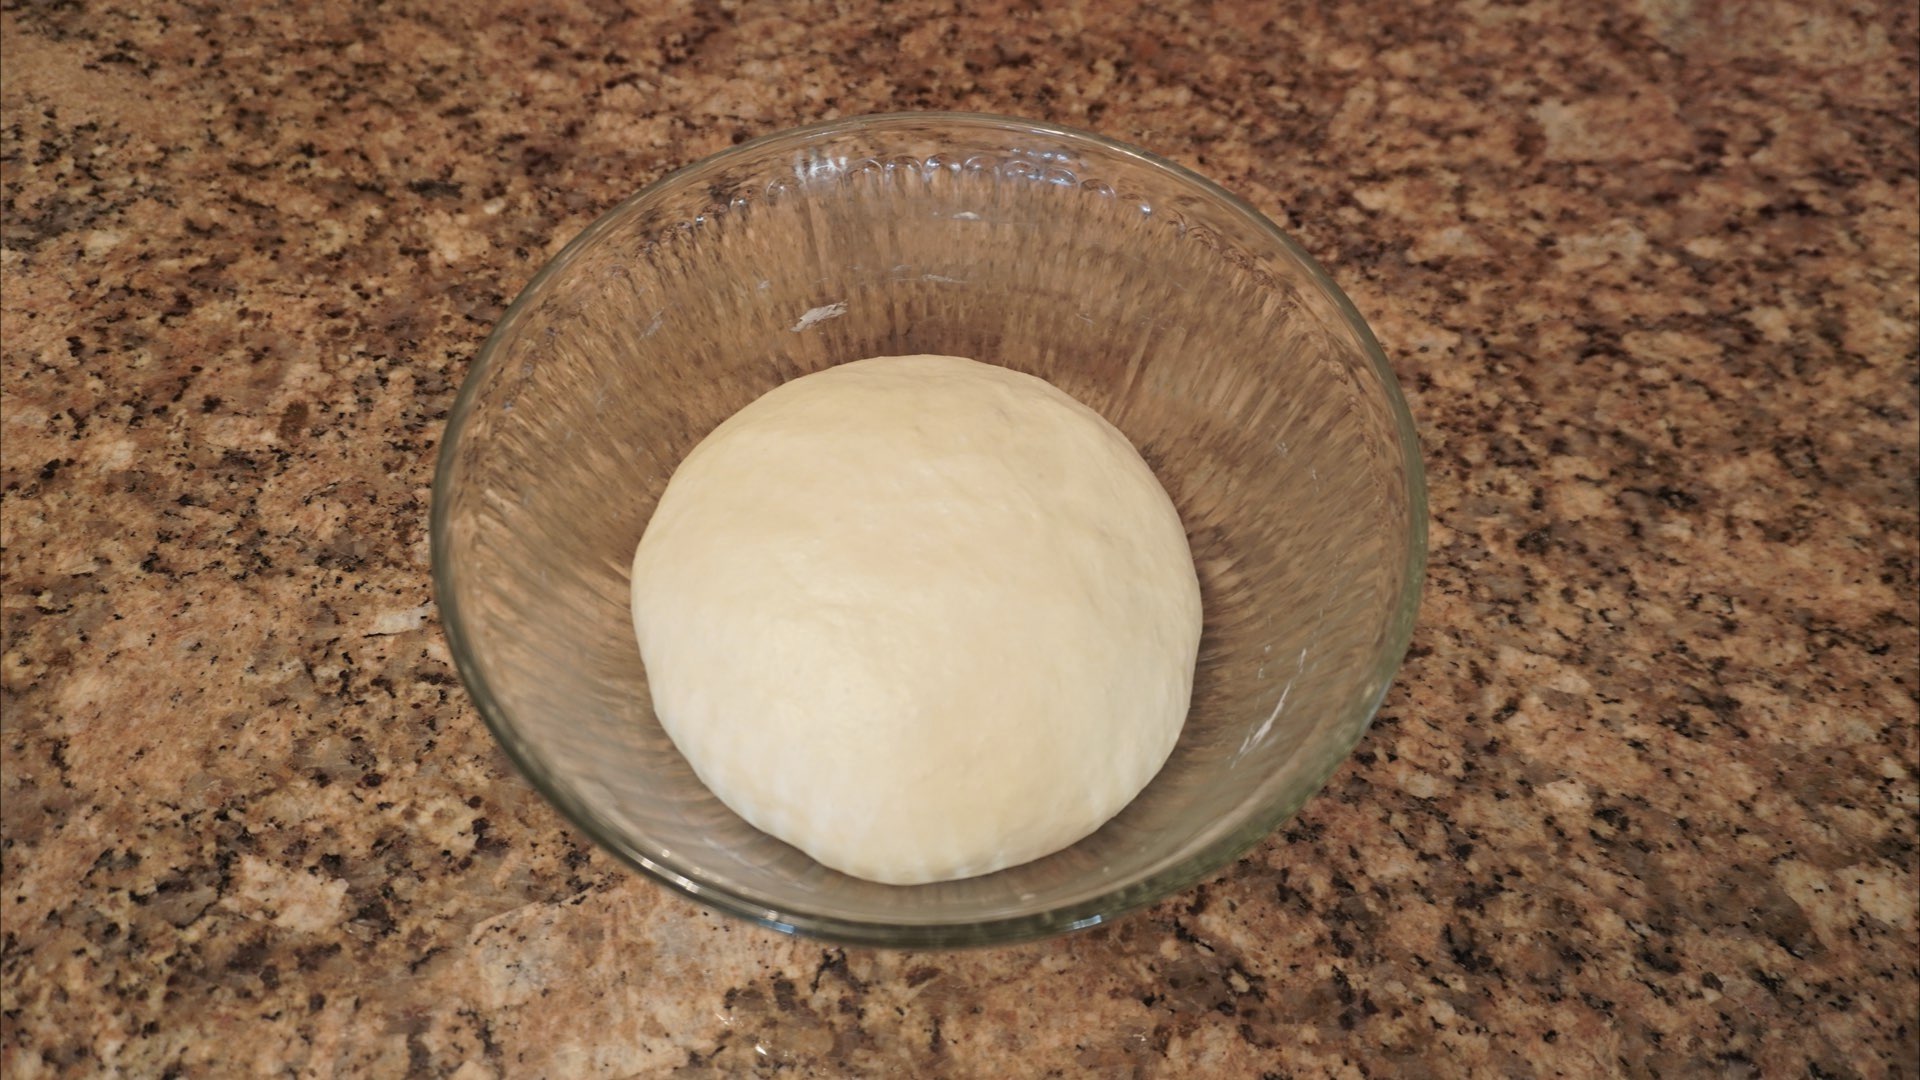
Set it back inside the bowl you mixed it in and cover it with plastic wrap or a damp towel. Place it away from drafts, small children and pets. Allow it to rest until it doubles in size.

This can take 1 – 3 hours depending on the temperature in your home. Typically, it takes around 90 minutes at temperatures between 70°F – 72°F (21°C – 22°C) for guidance. Once the dough has doubled, you can begin using it however you like! Told you this was an Easy Dairy-Free Dough Recipe. But we will show you how to make some simple dinner rolls.
Step 6: Shape the Dough
Now that you made this super easy dough, what can you bake? Well, anything you can think of that calls for an enriched dough! We will be showing a lot of recipes in the coming weeks on how to utilize this dough, but in the meantime, let’s make some rolls!
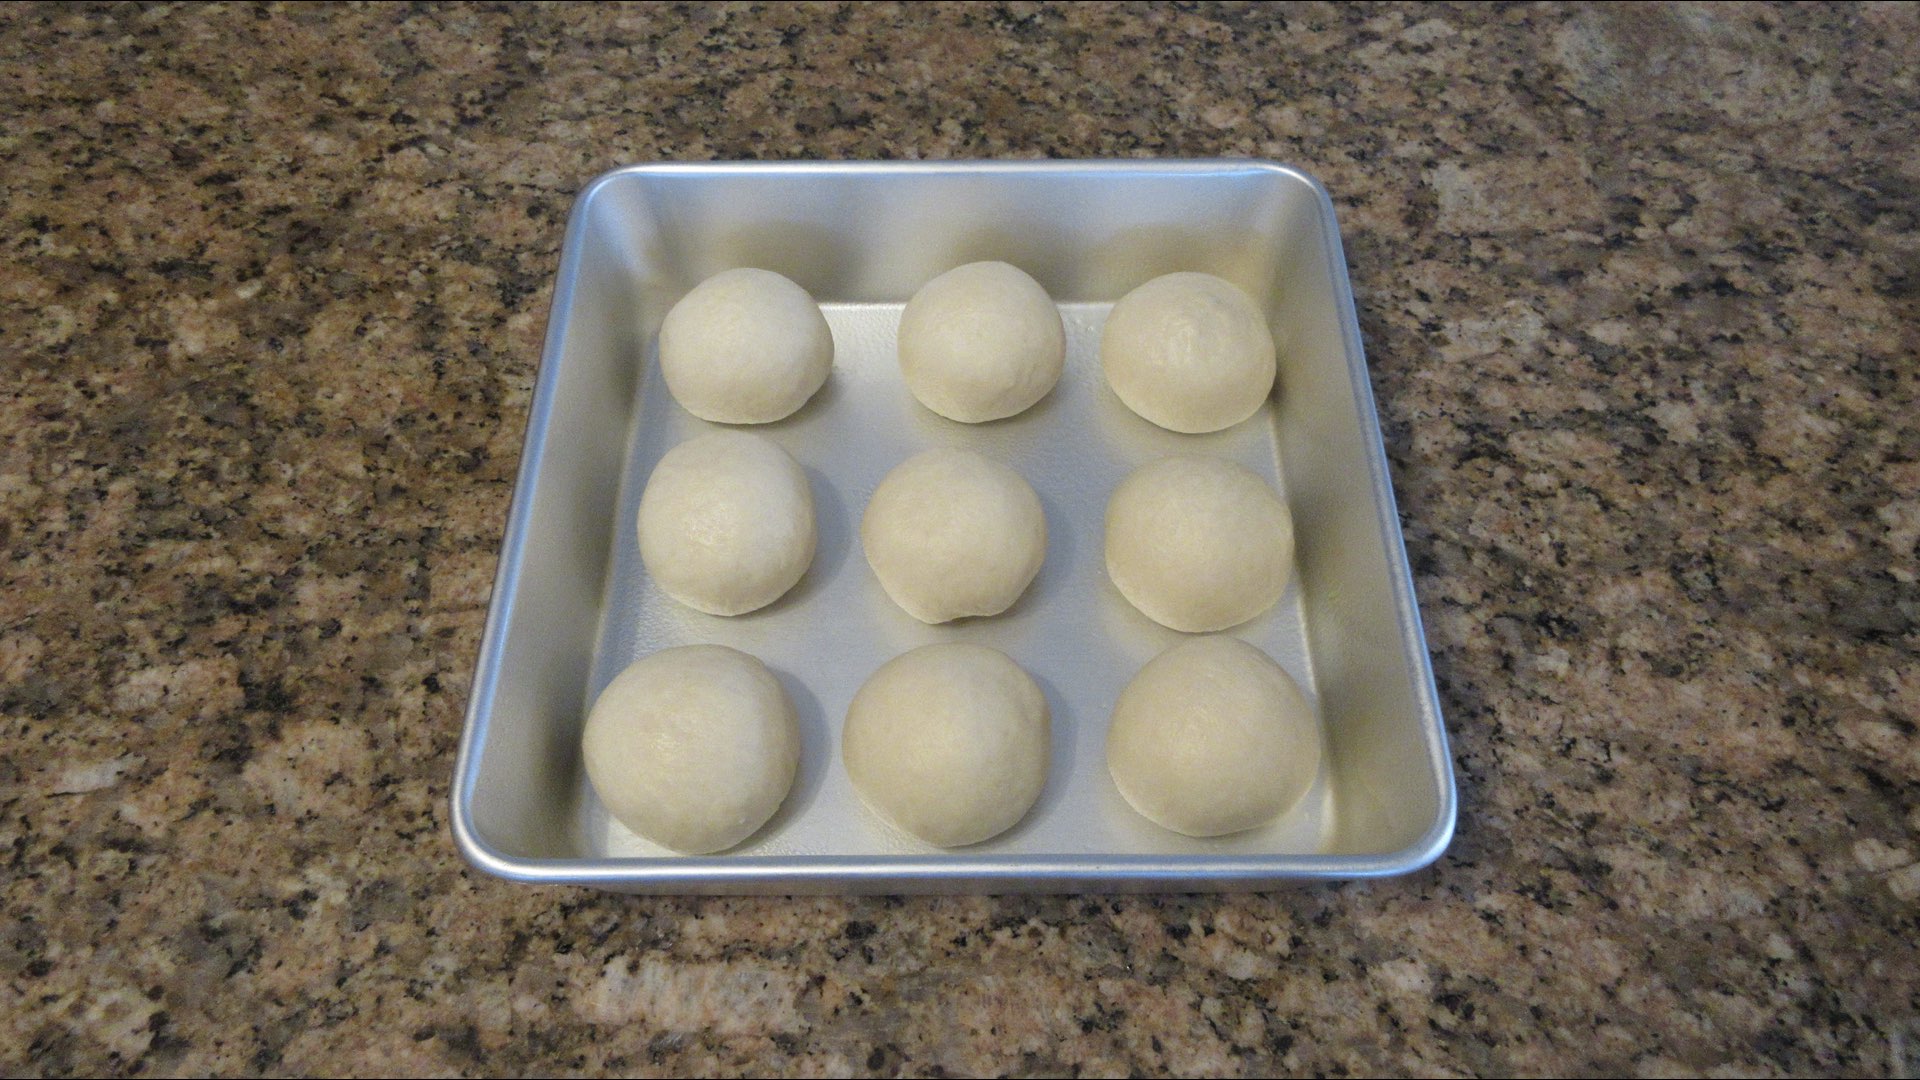
First, divide the dough into 9 equal portions. A scale is a wonderful thing to own when baking bread for accuracy. But you can eyeball it if you don’t have one.
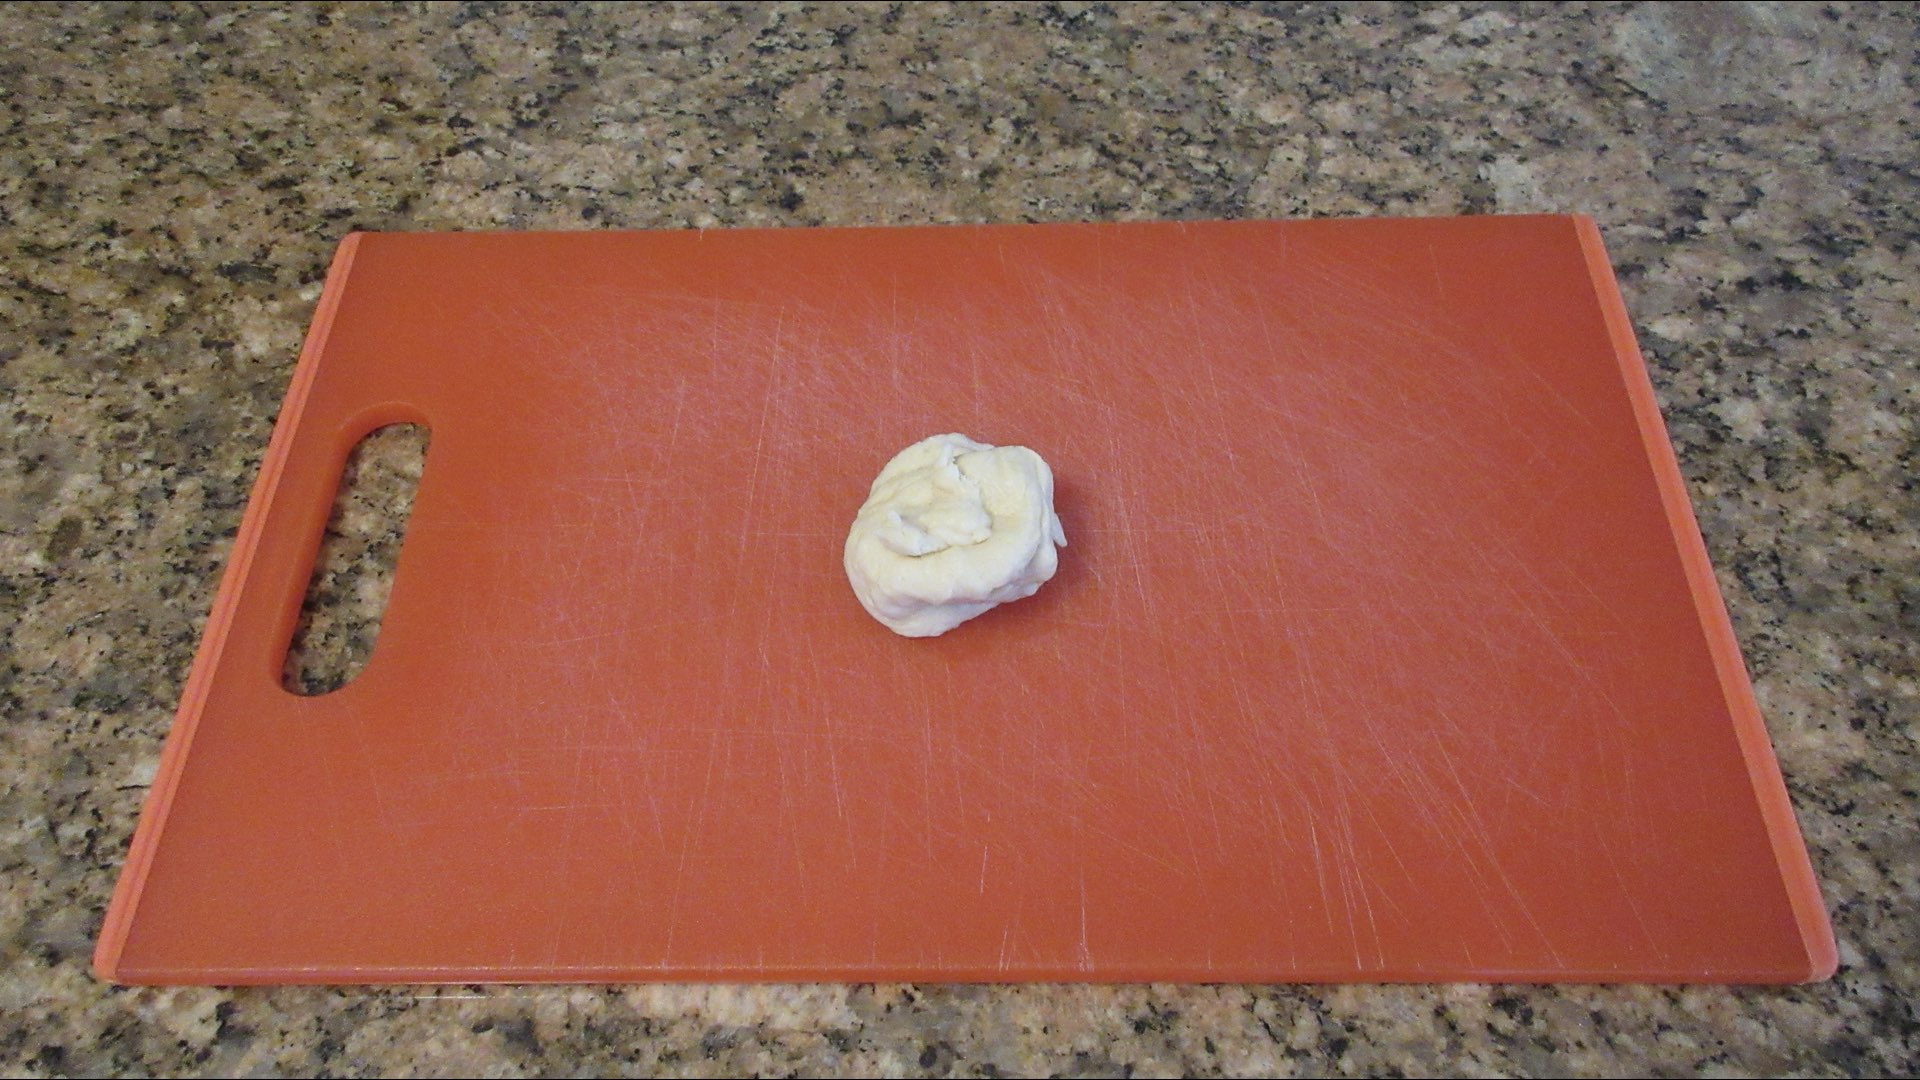
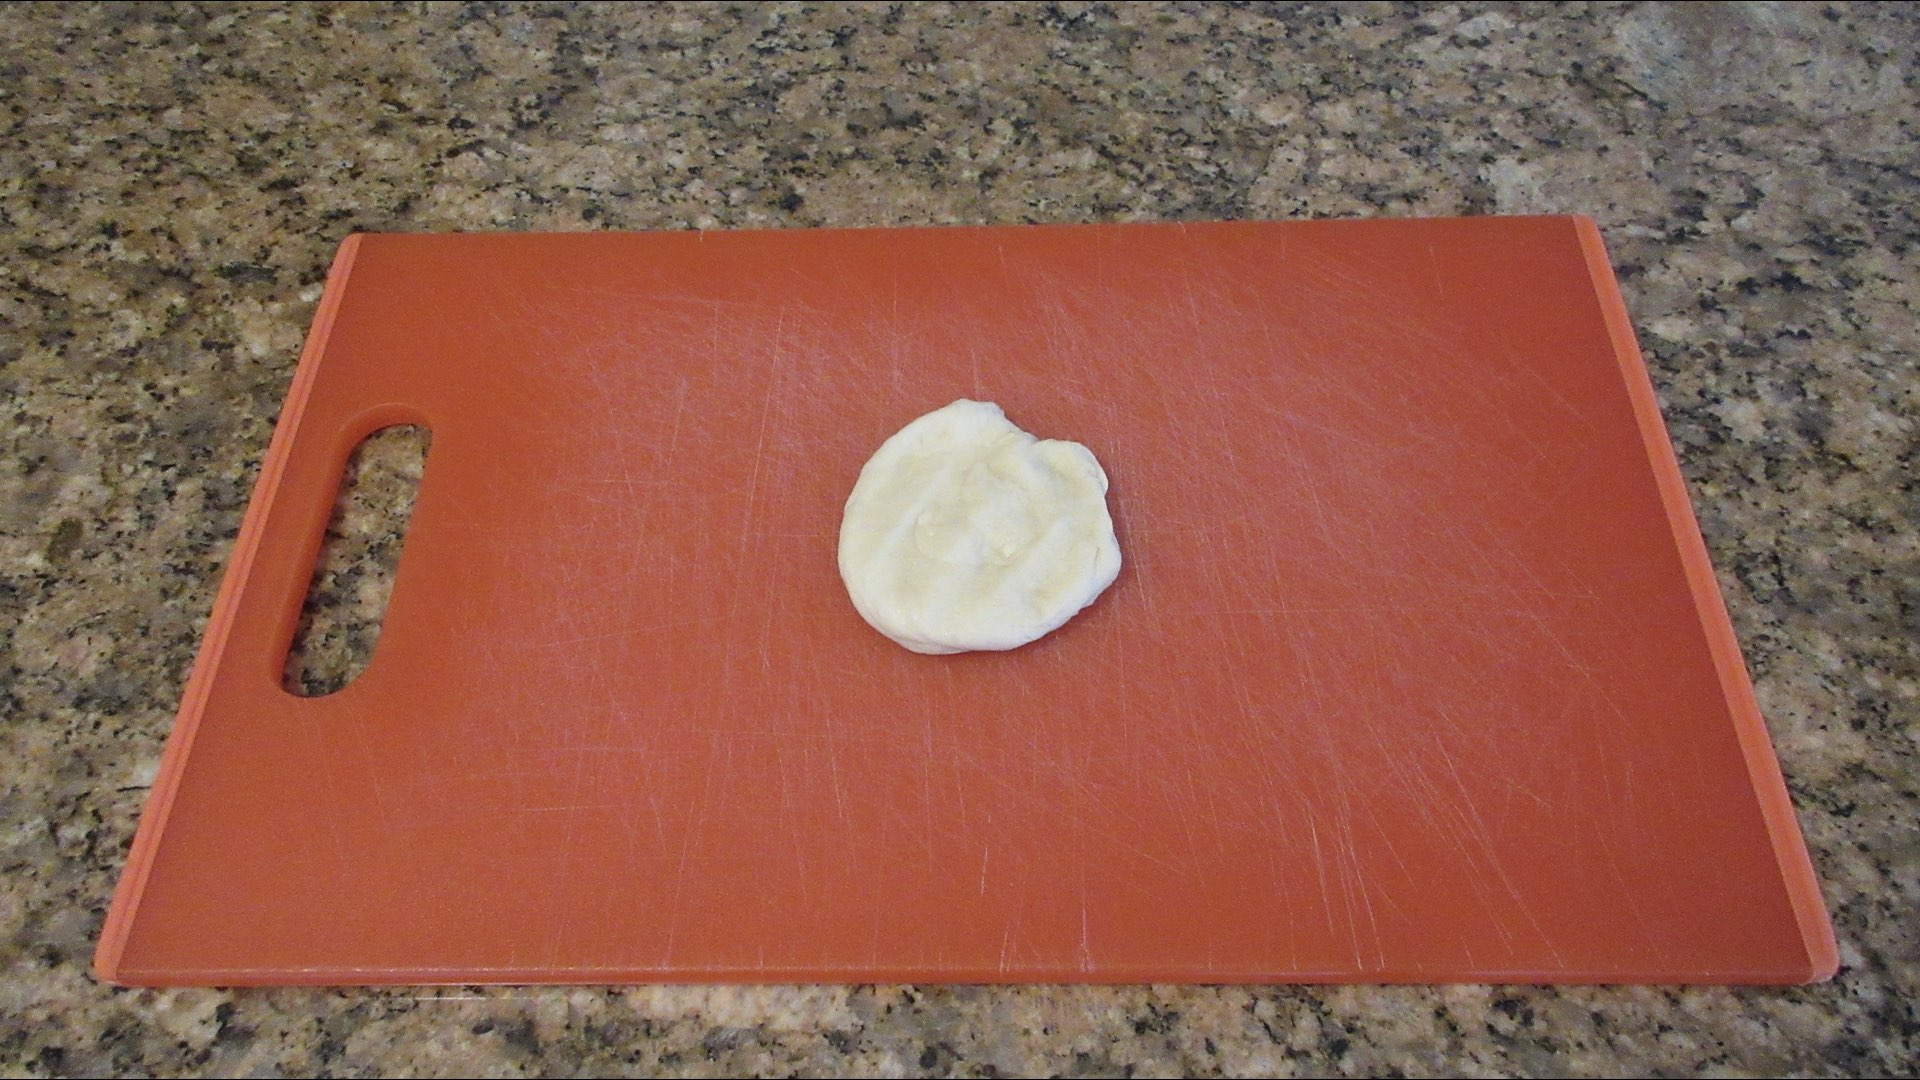
Now flatten the dough into a rough circle.
Grab an end and bring it into the center like you see below. It doesn’t matter where you start.

Grab the adjacent end and bring it into the center overlapping the first section.

Work your way around the dough, grabbing the next adjacent piece and bringing it to the inside.

You’ll start to see a ball forming. We will show each section so you really get a feel for what we have done.
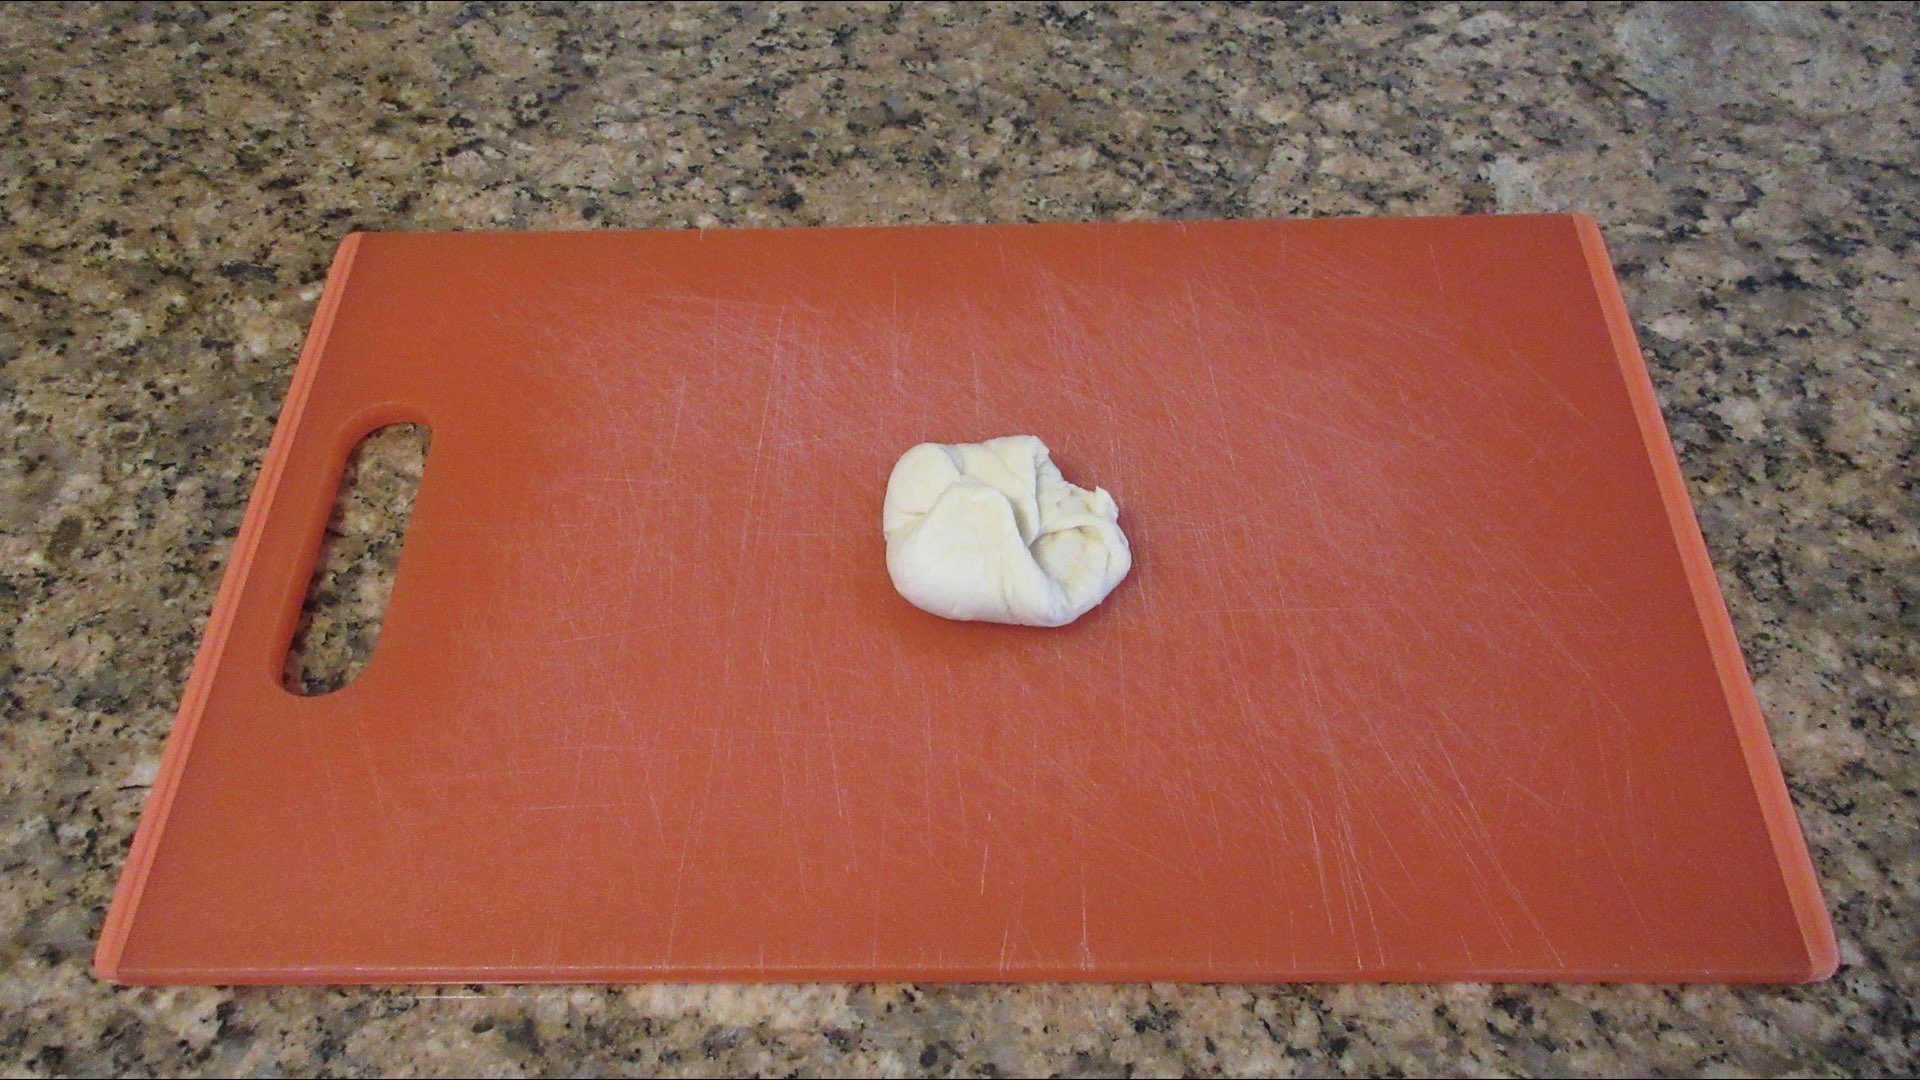
Eventually, you have a rough ball shape with all these “seams” showing on top. Not to worry!
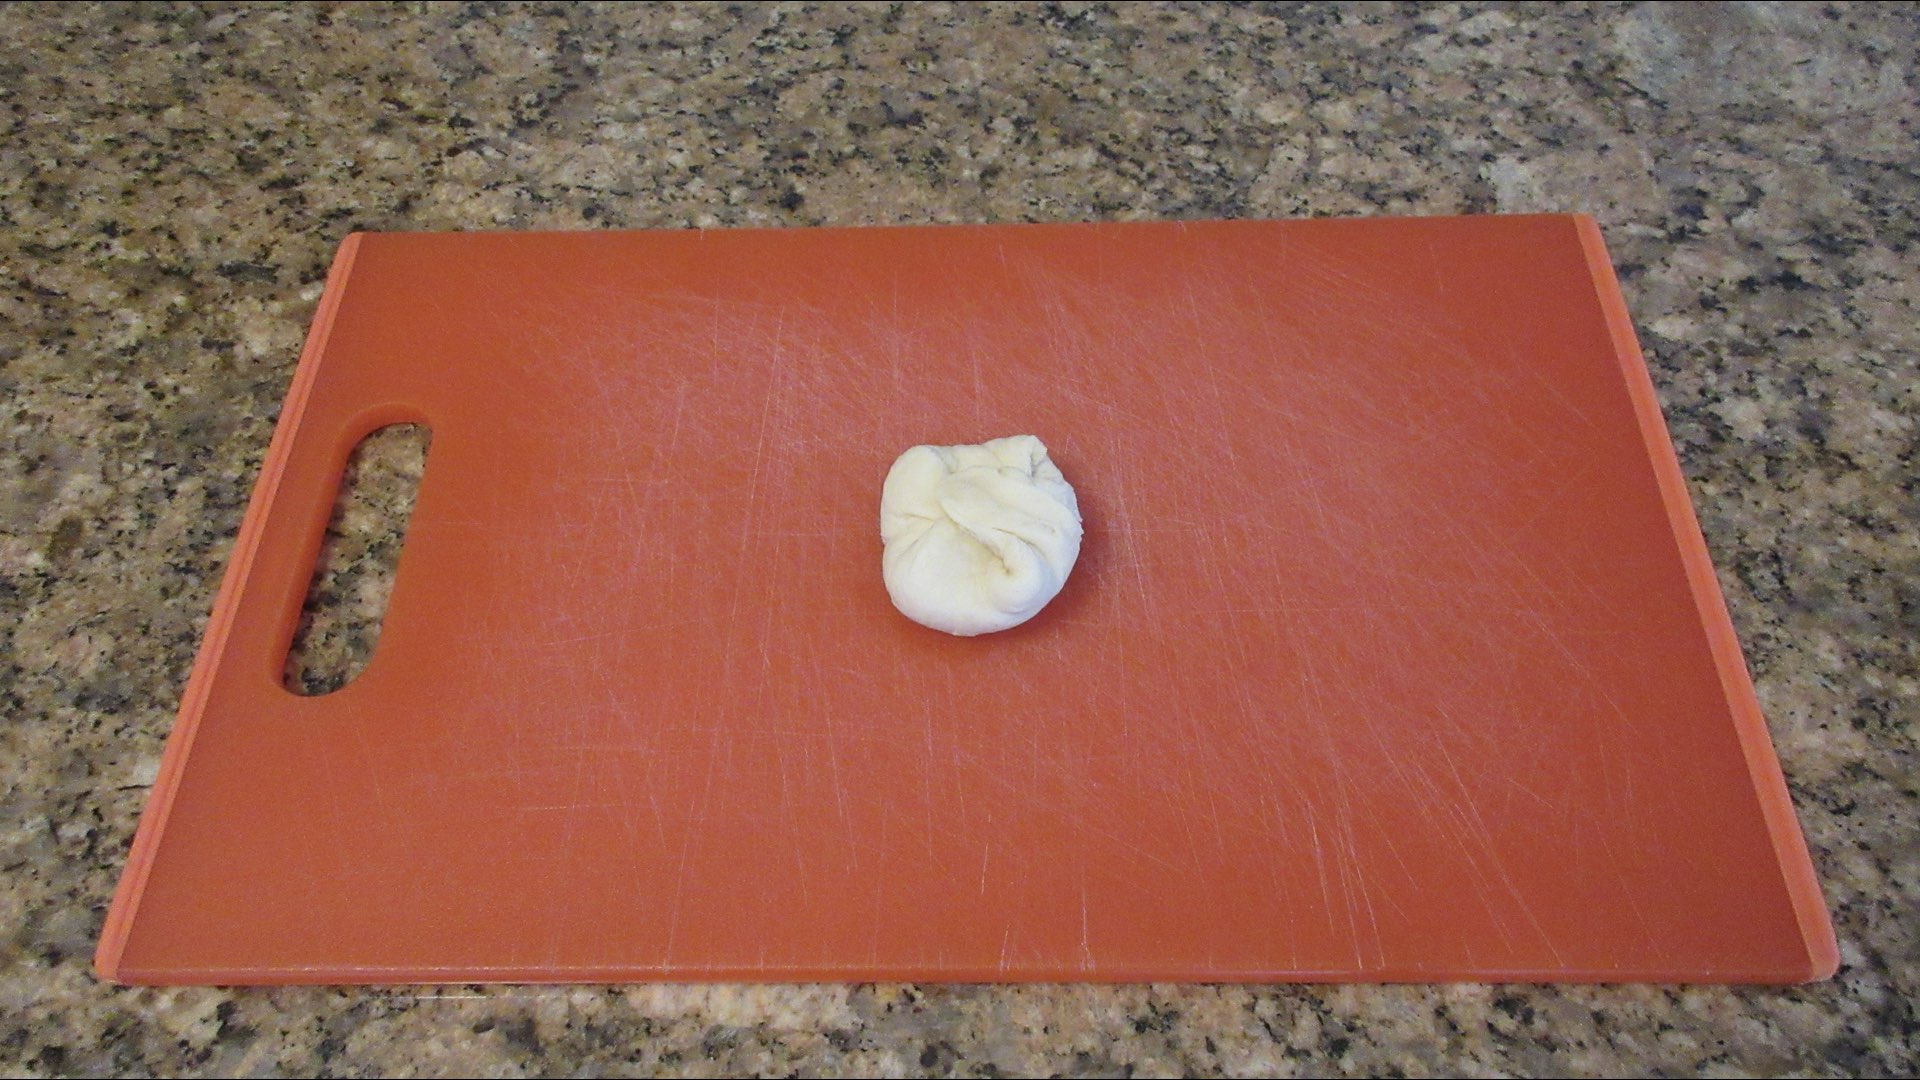
Flip it upside down. Bakers often call this “seam side down.” Now we will roll it into a ball.
Take your hand and cup the dough as shown. You don’t want to squeeze the dough, but rather guide it with your hand. Gently roll your dough in your hand in a counter-clockwise motion. If you are left-handed, go clockwise. This direction given is easier on your arm depending on your dominant hand.

Continue to roll until you have a nicely shaped ball of dough. The seams are now tucked neatly underneath!
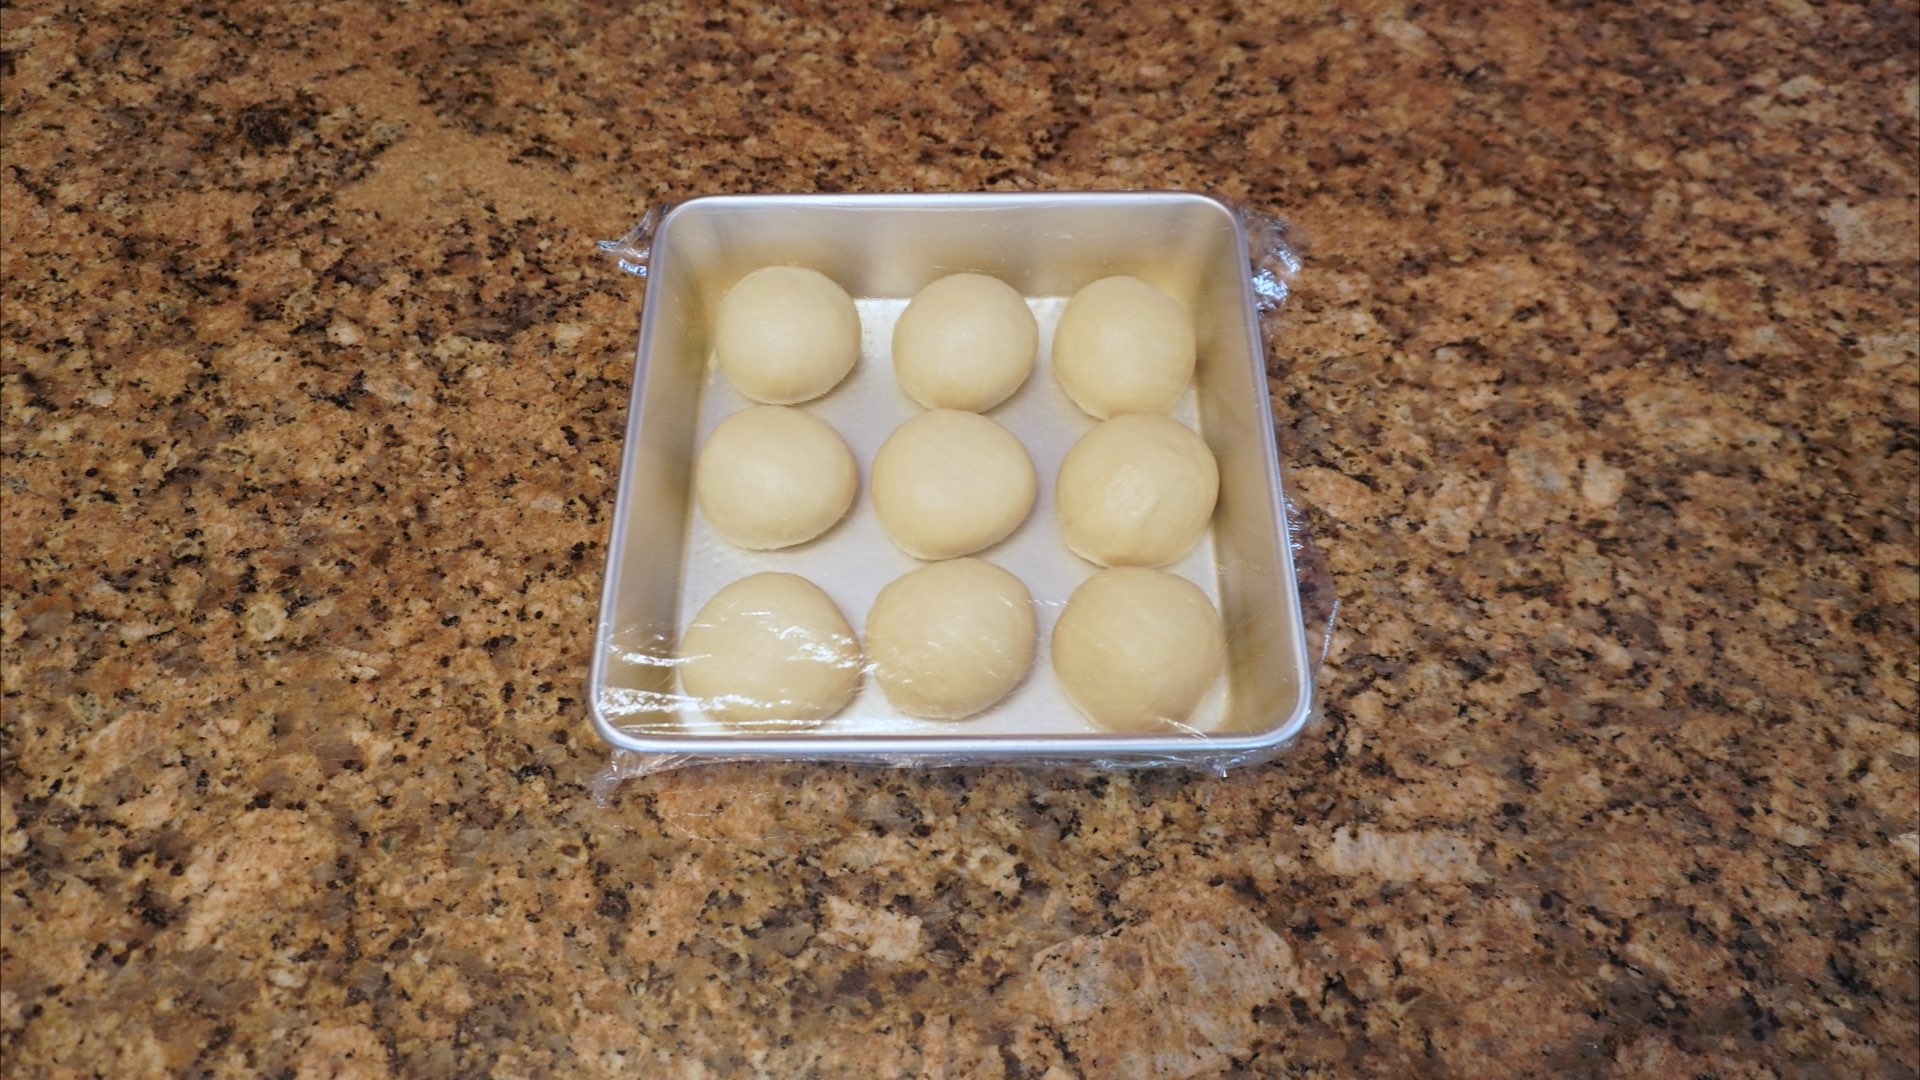
Place the dough in a greased baking dish spaced as evenly apart as you can make them. It’s okay if they aren’t perfectly symmetrical.
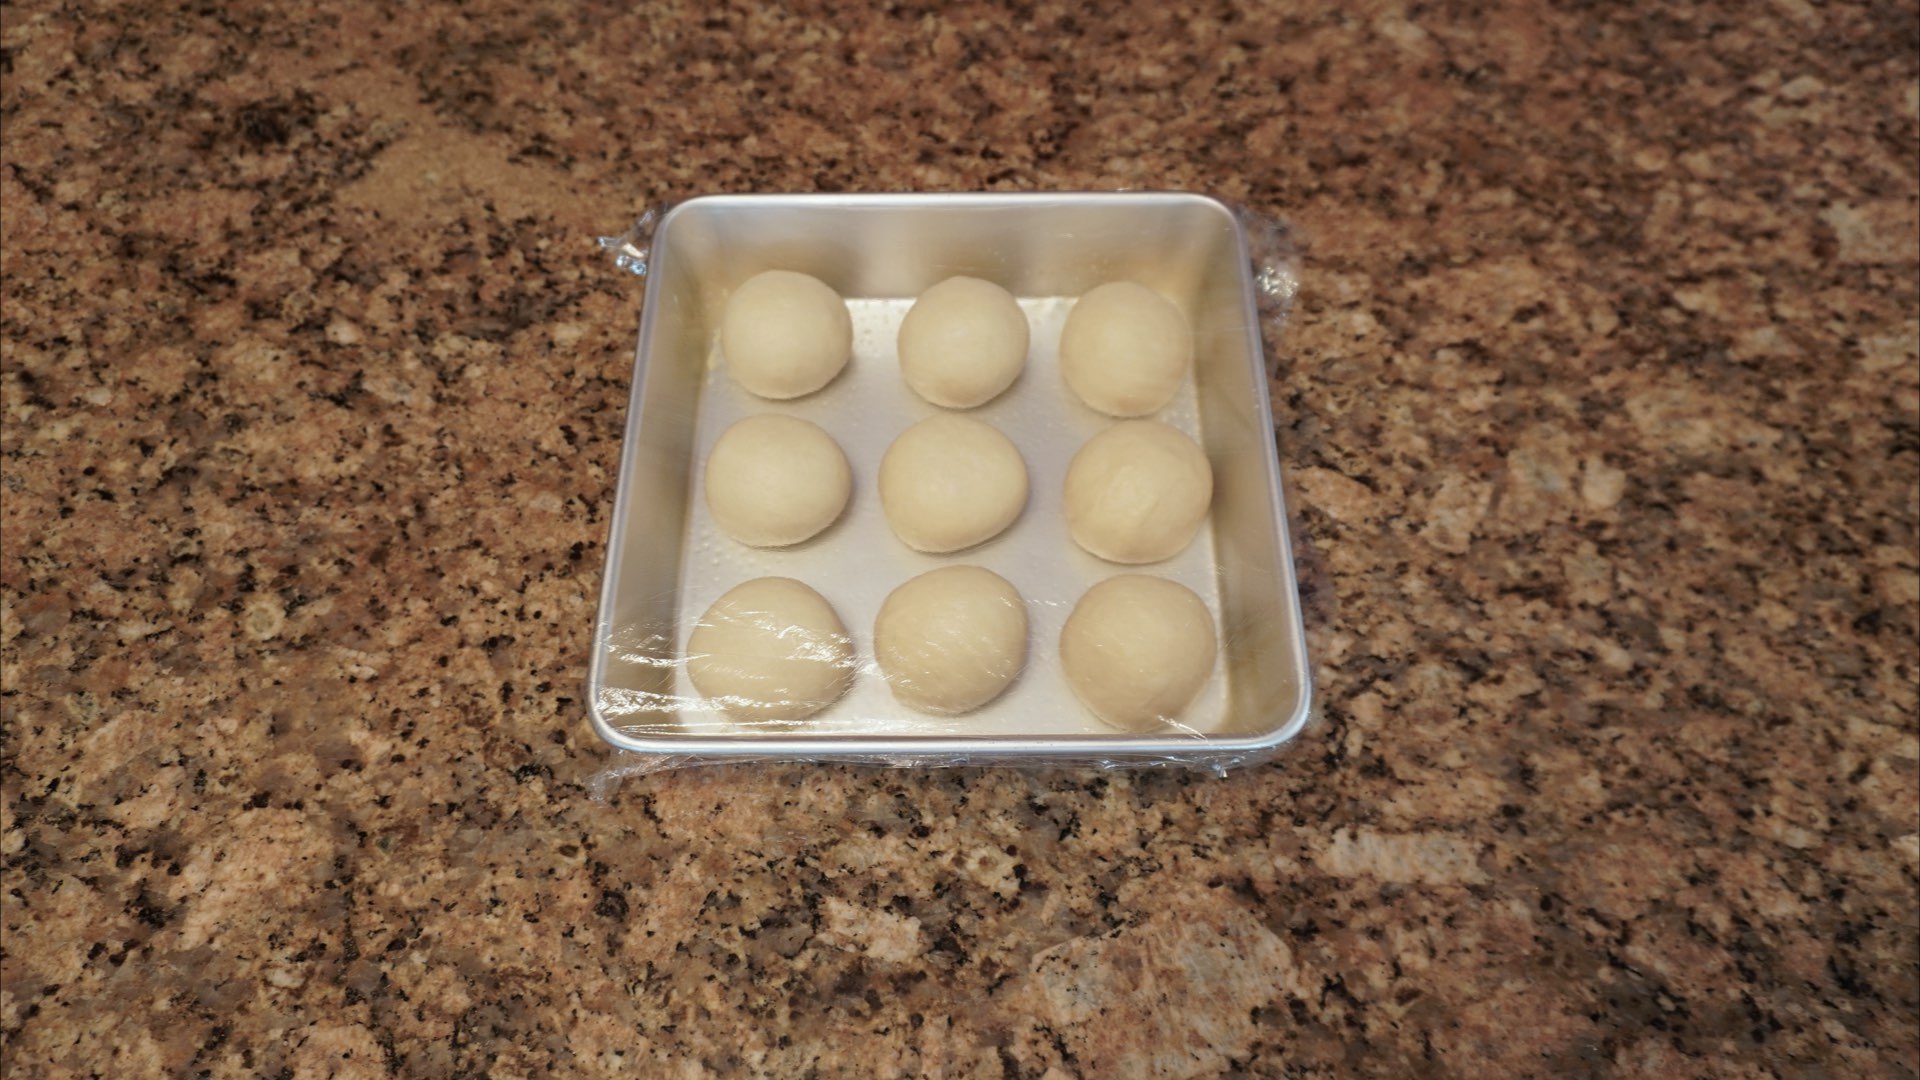
Step 7: Rest and Let Rise
Now, you cover them and let them rise until doubled in size. To make sure the plastic wrap doesn’t stick to the rolls, you can spray it with cooking spray or grease it with a little oil or butter.
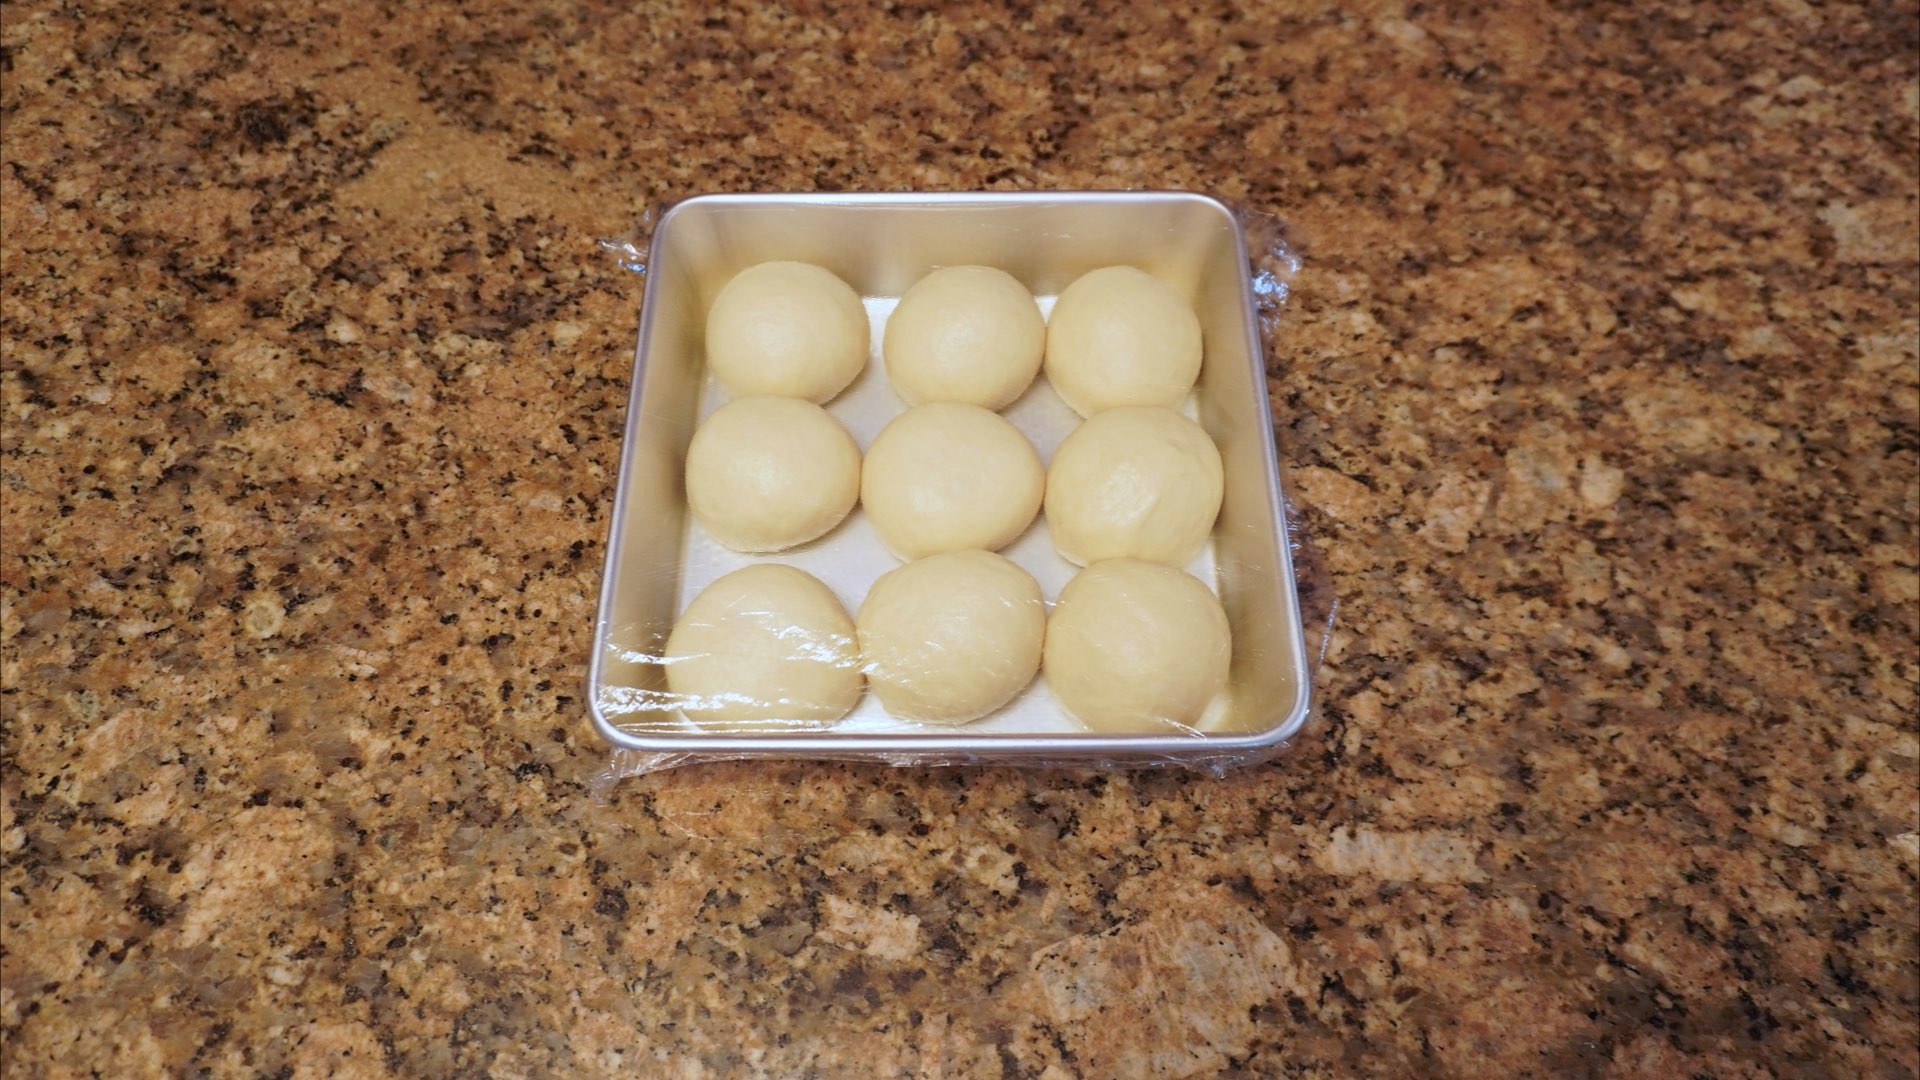
When the dough is close to double like you see here, turn on your oven to preheat it. You want to bake enriched doughs at a lower temperature so we are going to bake at 350°F (180°C.)
They are now double in size! It took us about 45 minutes in a 70°F (21°C) room. It could take as little as 20 minutes in a hot room or up to 120 in a cold room. So it’s best to look at the size of the rolls and not the time. They should slowly bounce back when you press into them but not immediately bounce back or collapse either. This should be obvious, but some of us are new to baking. Always remove the plastic wrap or towel prior to baking. Even if the recipe doesn’t tell you, always remove the covering before placing your bread in the oven.
Step 8: Bake
Now, we bake the dough until it is a beautiful golden brown. This will take approximately 18 – 22 minutes and depends on the type of bakeware you are using. For instance, expect ceramic and glass to take much longer than aluminum or stainless steel. If you are using a dark colored pan, you may need to drop the temperature 25°F (10°C) to prevent over browning of the crust. The center temperature should reach 190°F (88°C) when they are fully done.
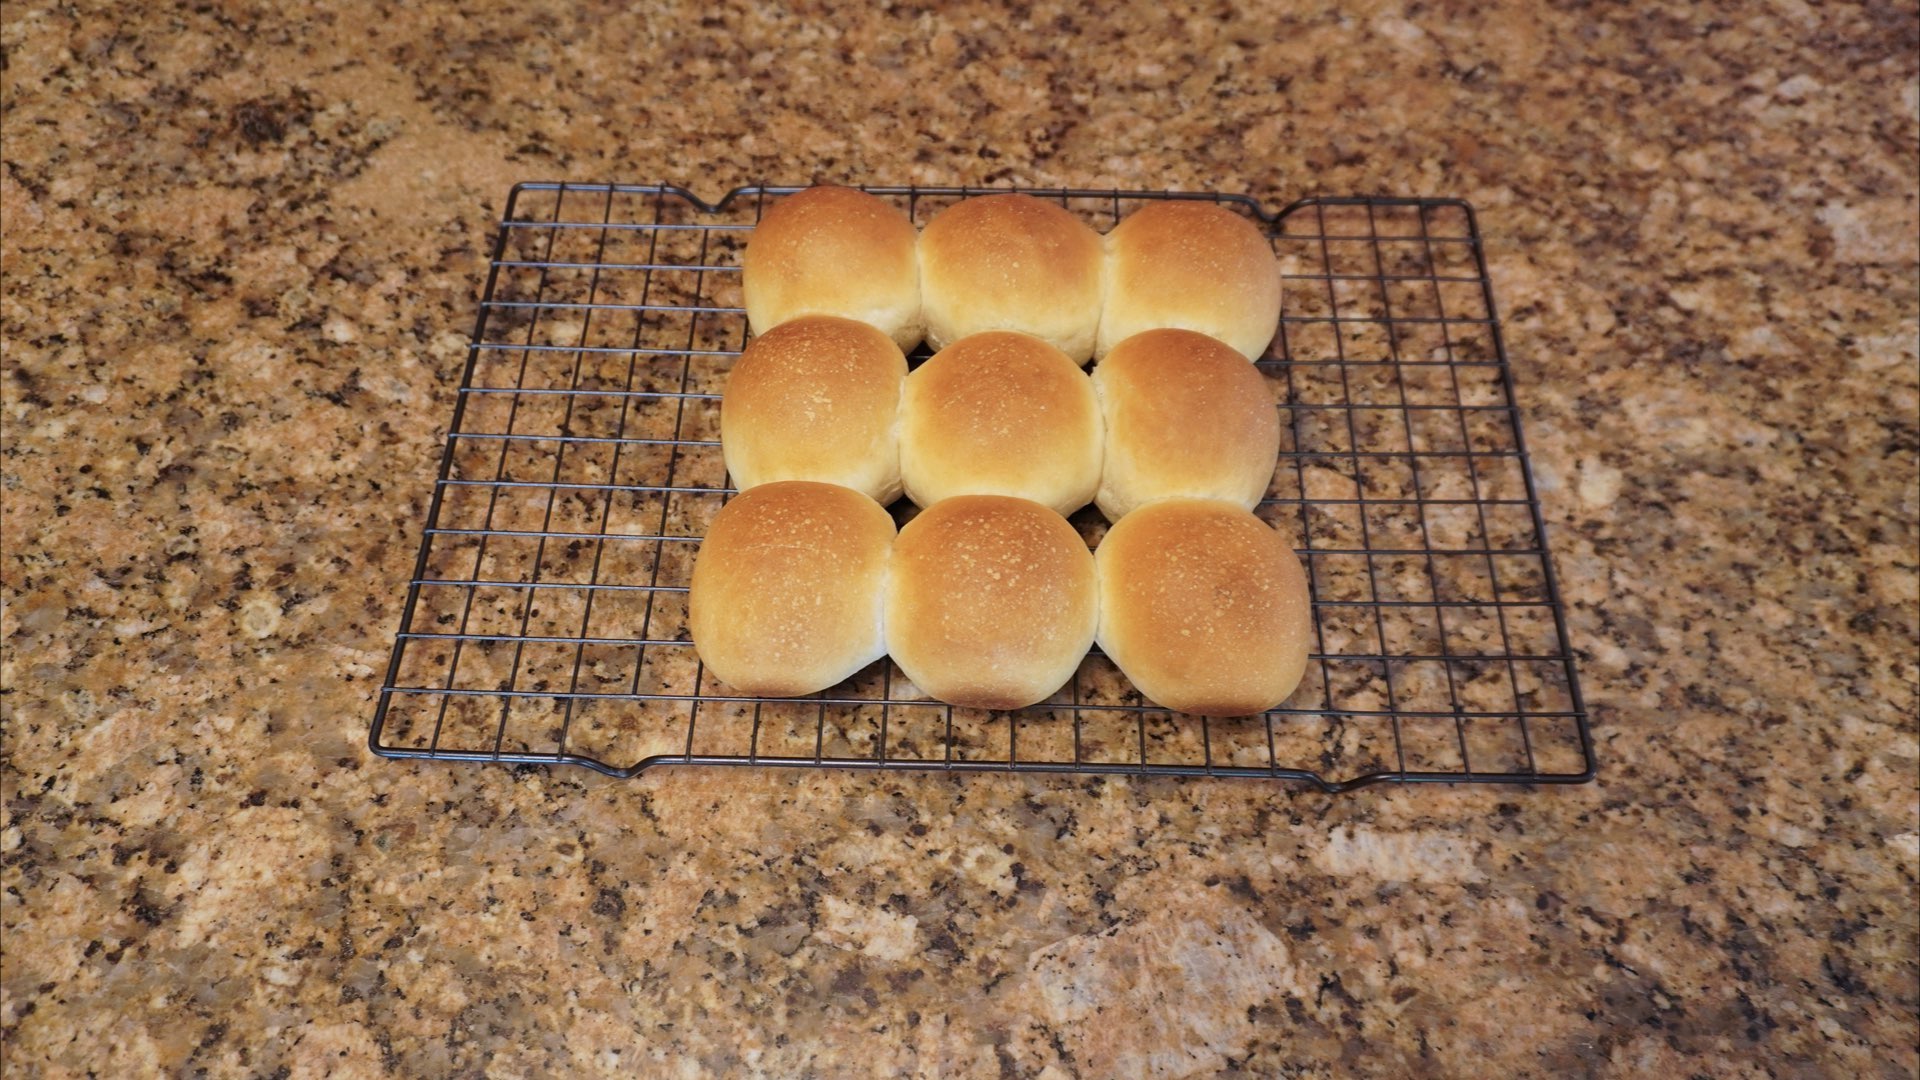
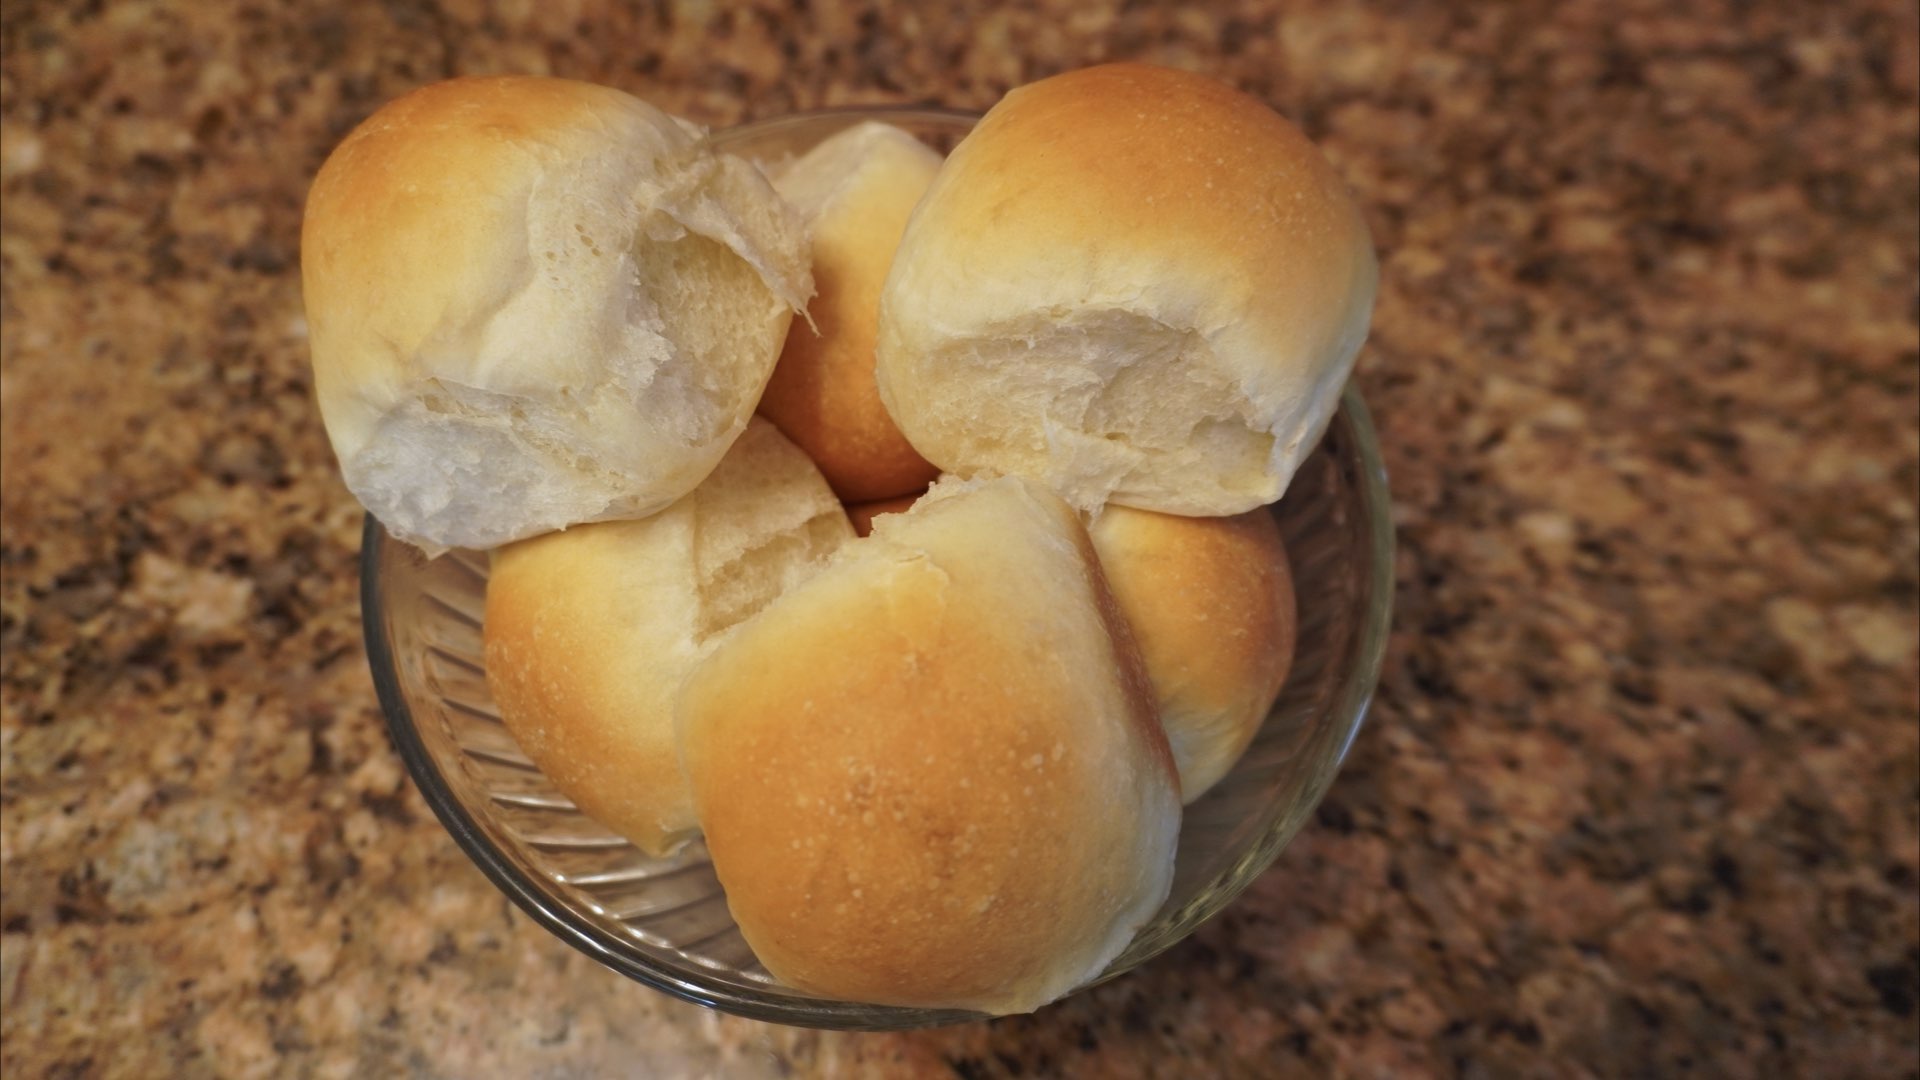
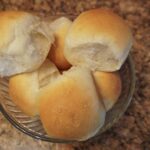
Carefully remove the rolls from the baking dish and let them cool on a wire rack before storing. If you don’t let bread come to room temperature, it will “sweat” inside the container and leave behind condensation that will make your bread soggy. Don’t skip the cooling process. Look at the ones in the photo below. Notice the bread is sweating in the glass and creating water droplets. This isn’t ideal, but they were eaten quickly so they didn’t get ruined. Whew!

Substitutions and Tips
Here are some common substitutions and tips for this Easy Dairy-Free Dough Recipe.
- You can replace up to one-half of the white flour with whole wheat flour. You may need to add 1 – 2 tablespoons (15 – 30mL) of milk to get a smooth dough as whole wheat absorbs liquid more readily.
- Any type of cooking oil can be used for this recipe. Canola and vegetable oils will give a neutral taste.
- Melted coconut oil or butter can be substituted for the oil in this recipe.
Storage
Freshly baked bread is always best eaten the day you make it. However, these will store up to three days before they go stale. Let the rolls cool completely and store in an airtight container or plastic bag to stay soft. The crust will soften slightly stored this way. If you want the crust to be more like the day you baked them, store in a paper sack or bread bin.
These rolls freeze up to 1 month, but it is best to freeze the dough raw after shaping. To freeze dough, shape into nine rolls and freeze on a baking sheet for one hour. Transfer to a freezer safe storage bag or container. Dough can be kept frozen up to 3 months. Thaw the dough overnight in the refrigerator. The next day, place rolls in a greased baking dish or pan, cover and allow to rise until double before baking. Frozen baked bread can be reheated in the oven at 350F (180C) for 10 – 15 minutes.
Easy Dairy-Free Dough Recipe
Ingredients
- 2 cups (300g) flour
- ⅔ cup (160mL) water
- 3 tbs (45mL) oil
- 2 tbs (25g) sugar
- 1 tsp (3g) yeast
- ½ tsp (2.5g) salt
Instructions
- In a large bowl, mix all the ingredients together with the handle of a spoon until a shaggy dough forms. Knead on a clean work surface until dough is elastic and stretches easily without tearing. This can take 8 – 12 minutes.
- Cover with plastic wrap or a damp cloth and let rest until double in size. This step typically takes 60 – 120 minutes.
- Roll dough into nine balls and place evenly in a greased baking dish that is 8" (20cm) for pull apart rolls. Cover and let rest 30 – 60 minutes or until double in size.
- Preheat oven to 350°F (180°C) when there is 20 minutes left on the second rise. Remove the cover after they have risen and place the rolls in the oven.
- Bake 18 – 22 minutes or until golden brown. Center temperature should reach 190°F (88°C) when done. Remove rolls to a wire rack in order to cool. Cool completely before storing in an airtight container.
0 Comments