
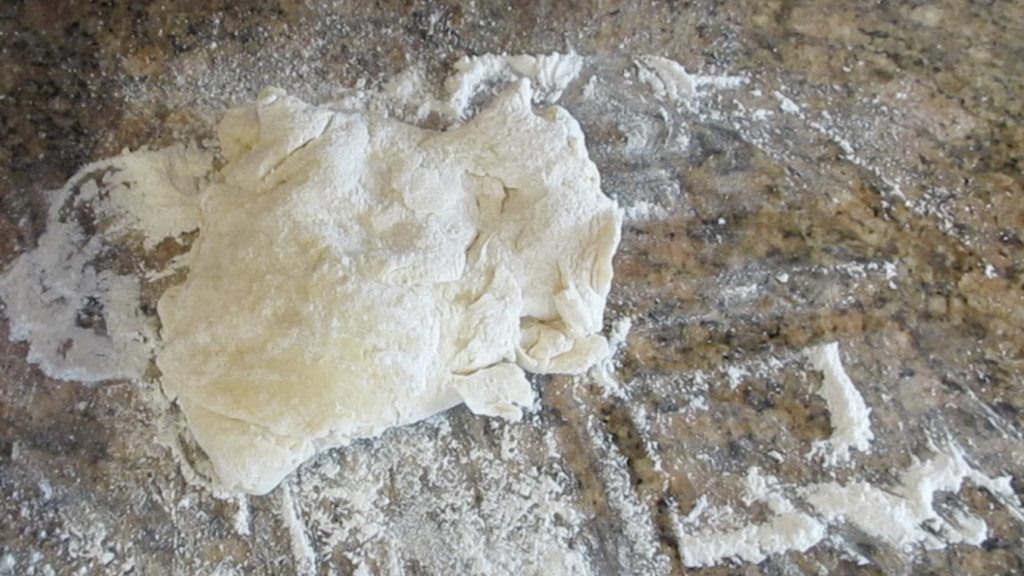
What do you do when your dough is too dry? You may have found our wet dough tutorial helpful but are now are struggling with dry dough. The problem with most American bread recipes is they give you vague instructions on how much flour to add and often times you end up with dry dough that is tough to work with. So what do you do?
First thing you want to try is kneading it. Sometimes, the dough is wet in the center but dry on the outside. A few minutes of kneading straightens everything out. Why? Because flour is a sponge. It doesn’t seem like it will hold much liquid, but once it becomes hydrated, it really sucks up that moisture. As you work with the dough, the wetter parts of the dough will start absorbing the dry bits. This is often enough to fix your problems.
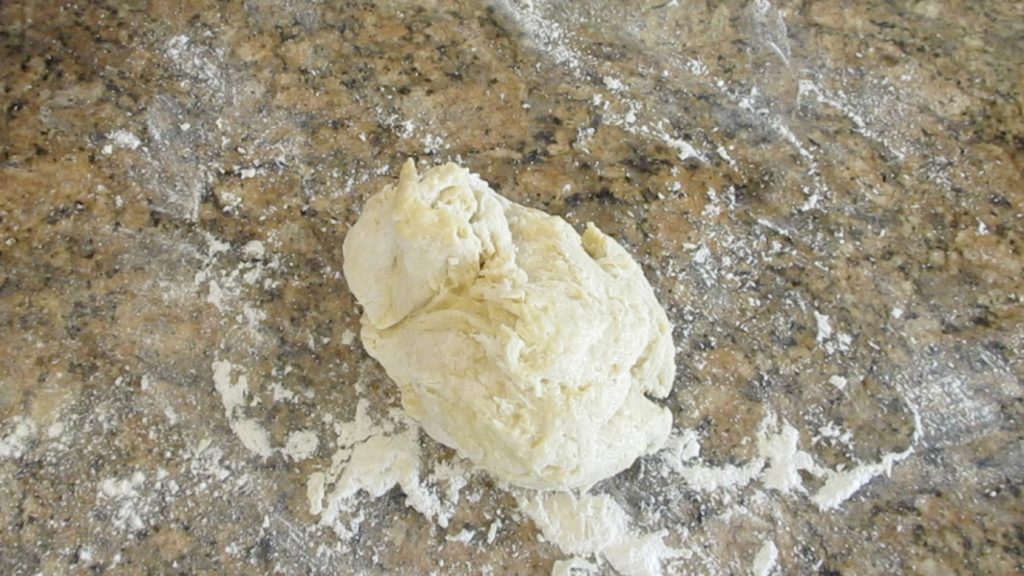
But what if you tried kneading and it’s still tough and dry? You will need to begin to add liquid, but you want to avoid adding too much. If you add too much liquid, you can end up with a very sticky or tacky dough. A lot of times, when you are working with dry doughs, you are wanting pizza or bagels, not fluffy dinner rolls. The key is to add a little bit of milk or water at a time.
But how much liquid do you want to add? Not a lot. For every cup of flour (150g) in your recipe, you will add one teaspoon (5mL) at a time. For instance, if you have a recipe that asked for 2 cups of flour (300g), you will need to add 2 teaspoons (10mL) of liquid. Once you add a little liquid, try to knead it. (You can also use a stand mixer.) You want to wait at least one minute before you add in more liquid. If you add in too quickly, again, you aren’t letting that new flour have time to absorb the excess moisture. You want a nice soft dough in the end, so take your time here.
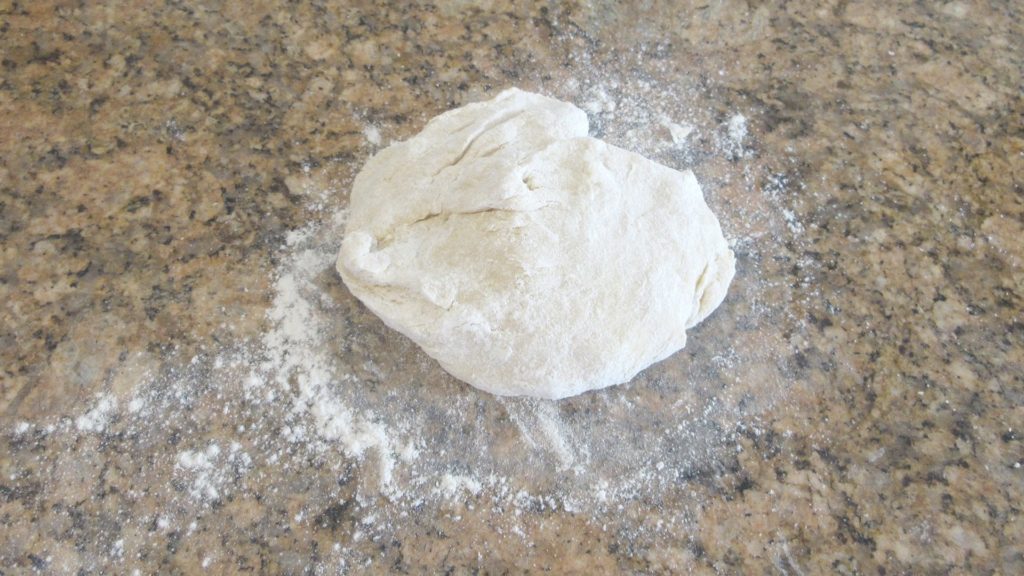
By the way, when we refer to liquid, you will want to add whatever the ingredients asked for. For example, if you used milk in the recipe, add more milk. If you used water, add more water. After all, you don’t want to add water to a buttermilk bread as you will lose flavor and texture.
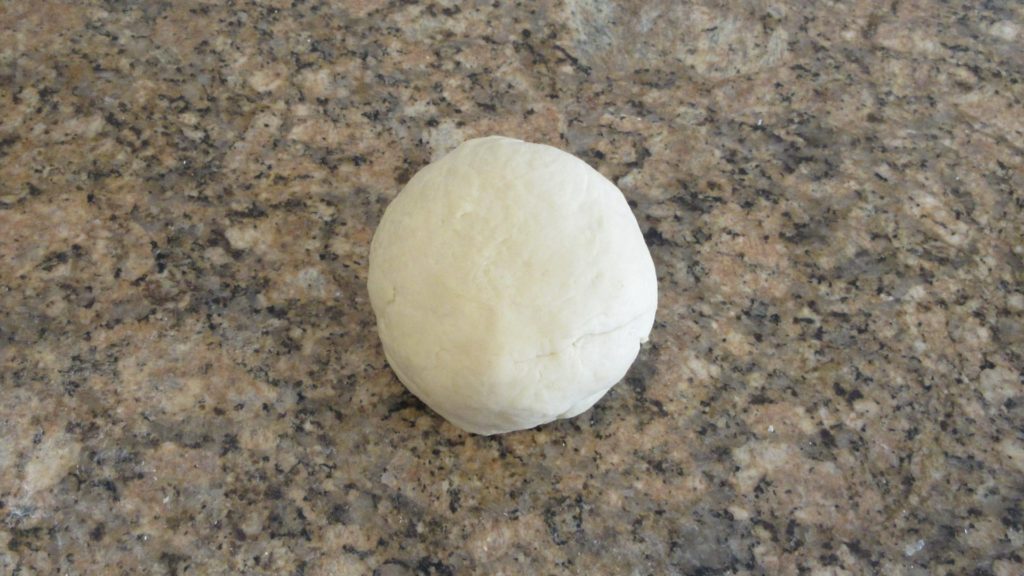
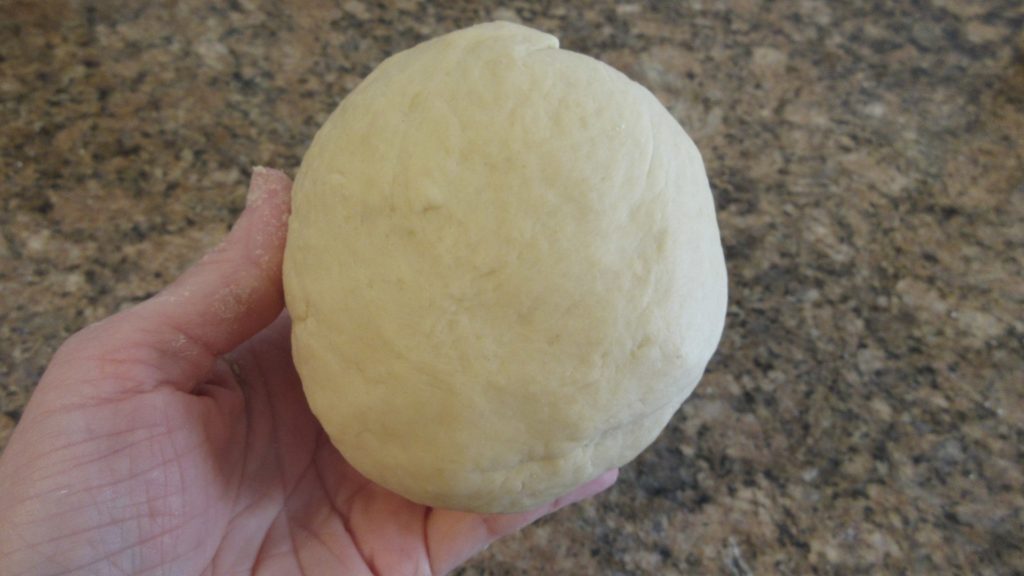
Below, it took 3 teaspoons of milk to get the texture I was looking for this bread recipe. You may find you need less or more liquid depending on your recipe. Just keep working and you’ll get a consistency you are happy with. And then make notes on that recipe to add that much more liquid in the beginning so you can have success from the start. Happy baking, everyone!


Very helpful. I’ve tried no-knead recipes that had either too low hydration (flour/water relationship) or too high. The frustration to have to bake with too dry a dough, if I had seen this before. Just a question please. You mention that you knead for 5 minutes to incorporate the liquid. A no-knead bread you resist to knead, it rests, autolyse sort of. So, as for the too wet dough tutorial, would you say that one can only let it rest too, instead of kneading? I don’t have dry dough to practice, I just have tons of too wet dough at the moment. Thank you for sharing this.
Hello, Miranda! I am sorry for the delay in responding, I’ve been under the weather. If you are trying to do this with minimal kneading, I would add the flour, stir with the handle of a spoon or a butterknife to incorporate the flour, cover, wait 10 minutes for the flour to hydrate and see if the dough is more workable for your needs. If not, continue to add a bit of flour, cover, wait and check until you get the to consistency you are after. I hope this helps!