A Little History on Cinnamon Rolls without Dairy
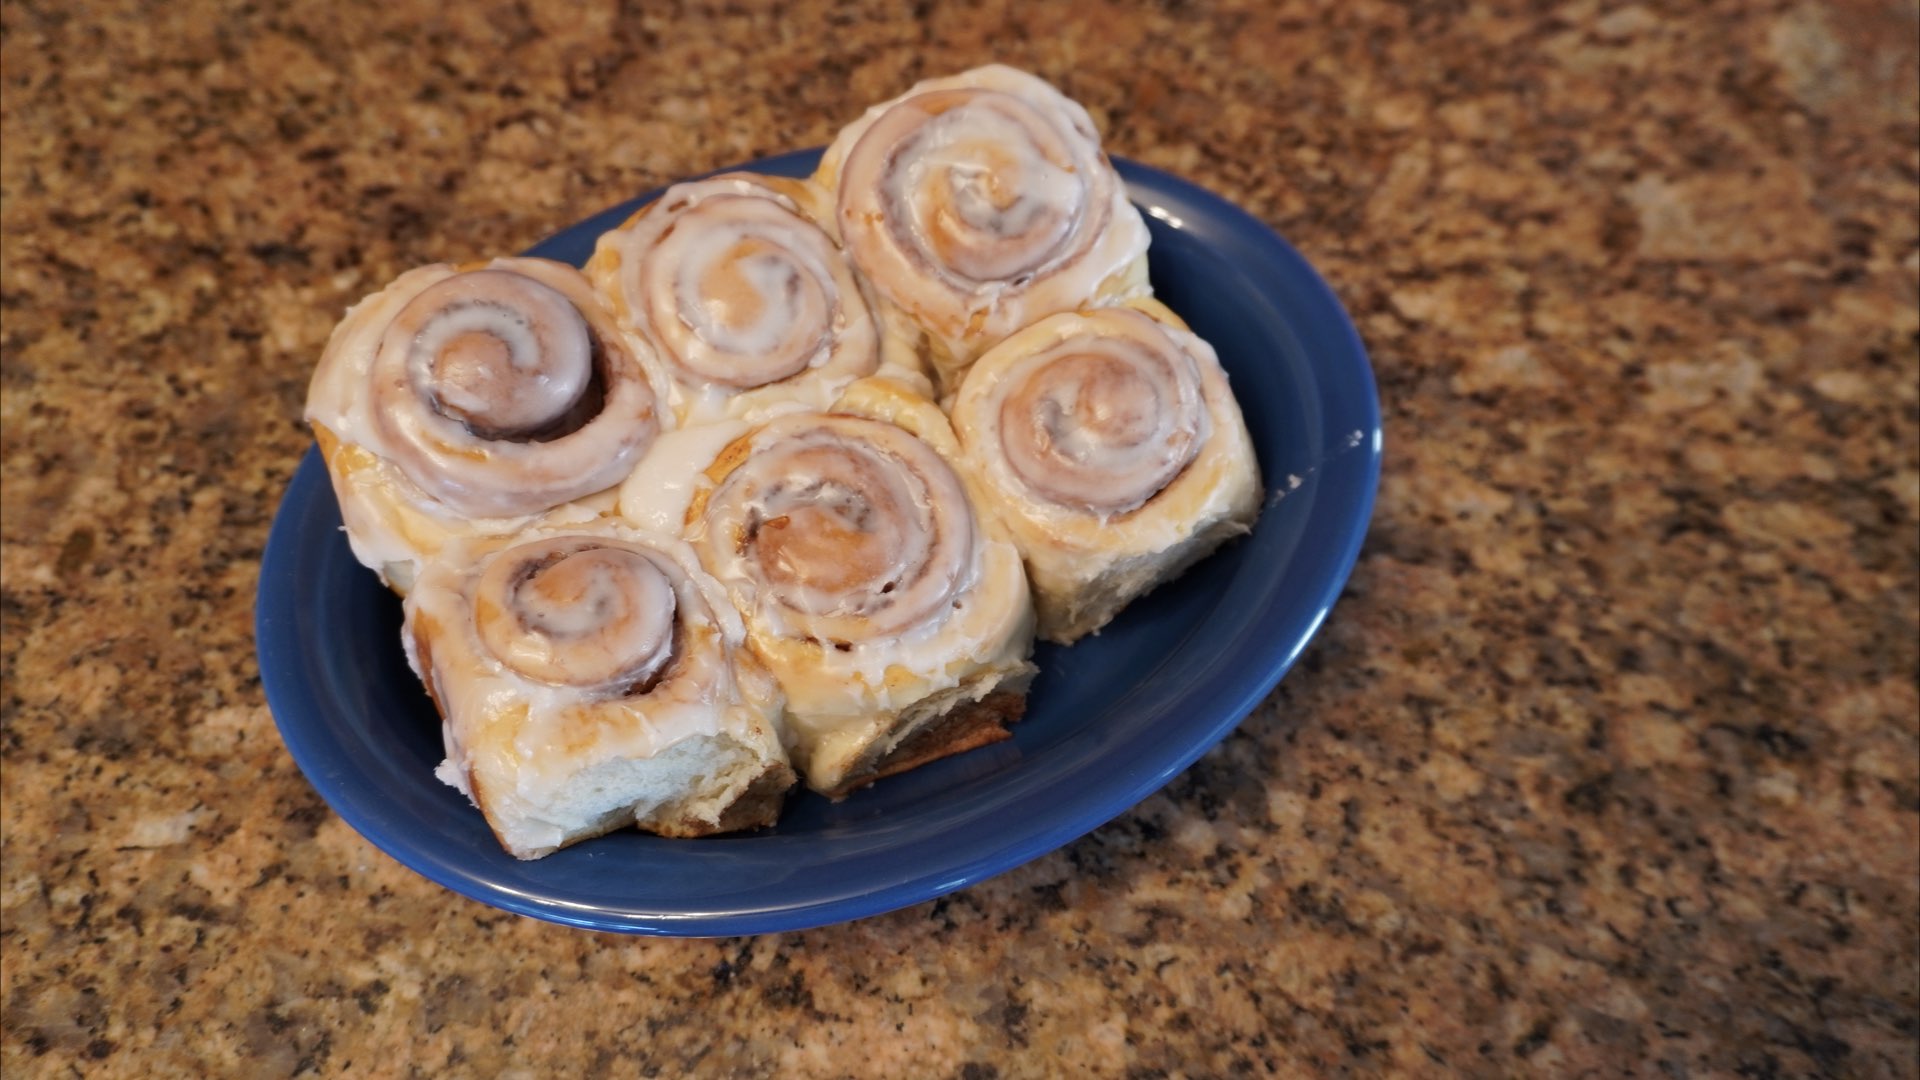
Recently, we taught you how to make an easy dairy-free dough recipe with the promise of showing you how to utilize this soft dough in the future. Today, we are going to show you how to make dairy-free cinnamon rolls without butter, milk or any type of milk products! You won’t believe how soft and pillowy these cinnamon rolls until you try them.
Step-By-Step Instructions
It is very easy this dairy-free cinnamon rolls recipe by hand. If you want to use a stand mixer, feel free as that can be even easier. When using a stand mixer, you simply add all the ingredients at once and let the mixer knead the dough for you 8 – 12 minutes or until dough is elastic. However, we love to make dough by hand as it is a very relaxing and rewarding endeavor.
If you are making the dough by hand, follow along below. It is not a difficult process, we promise!
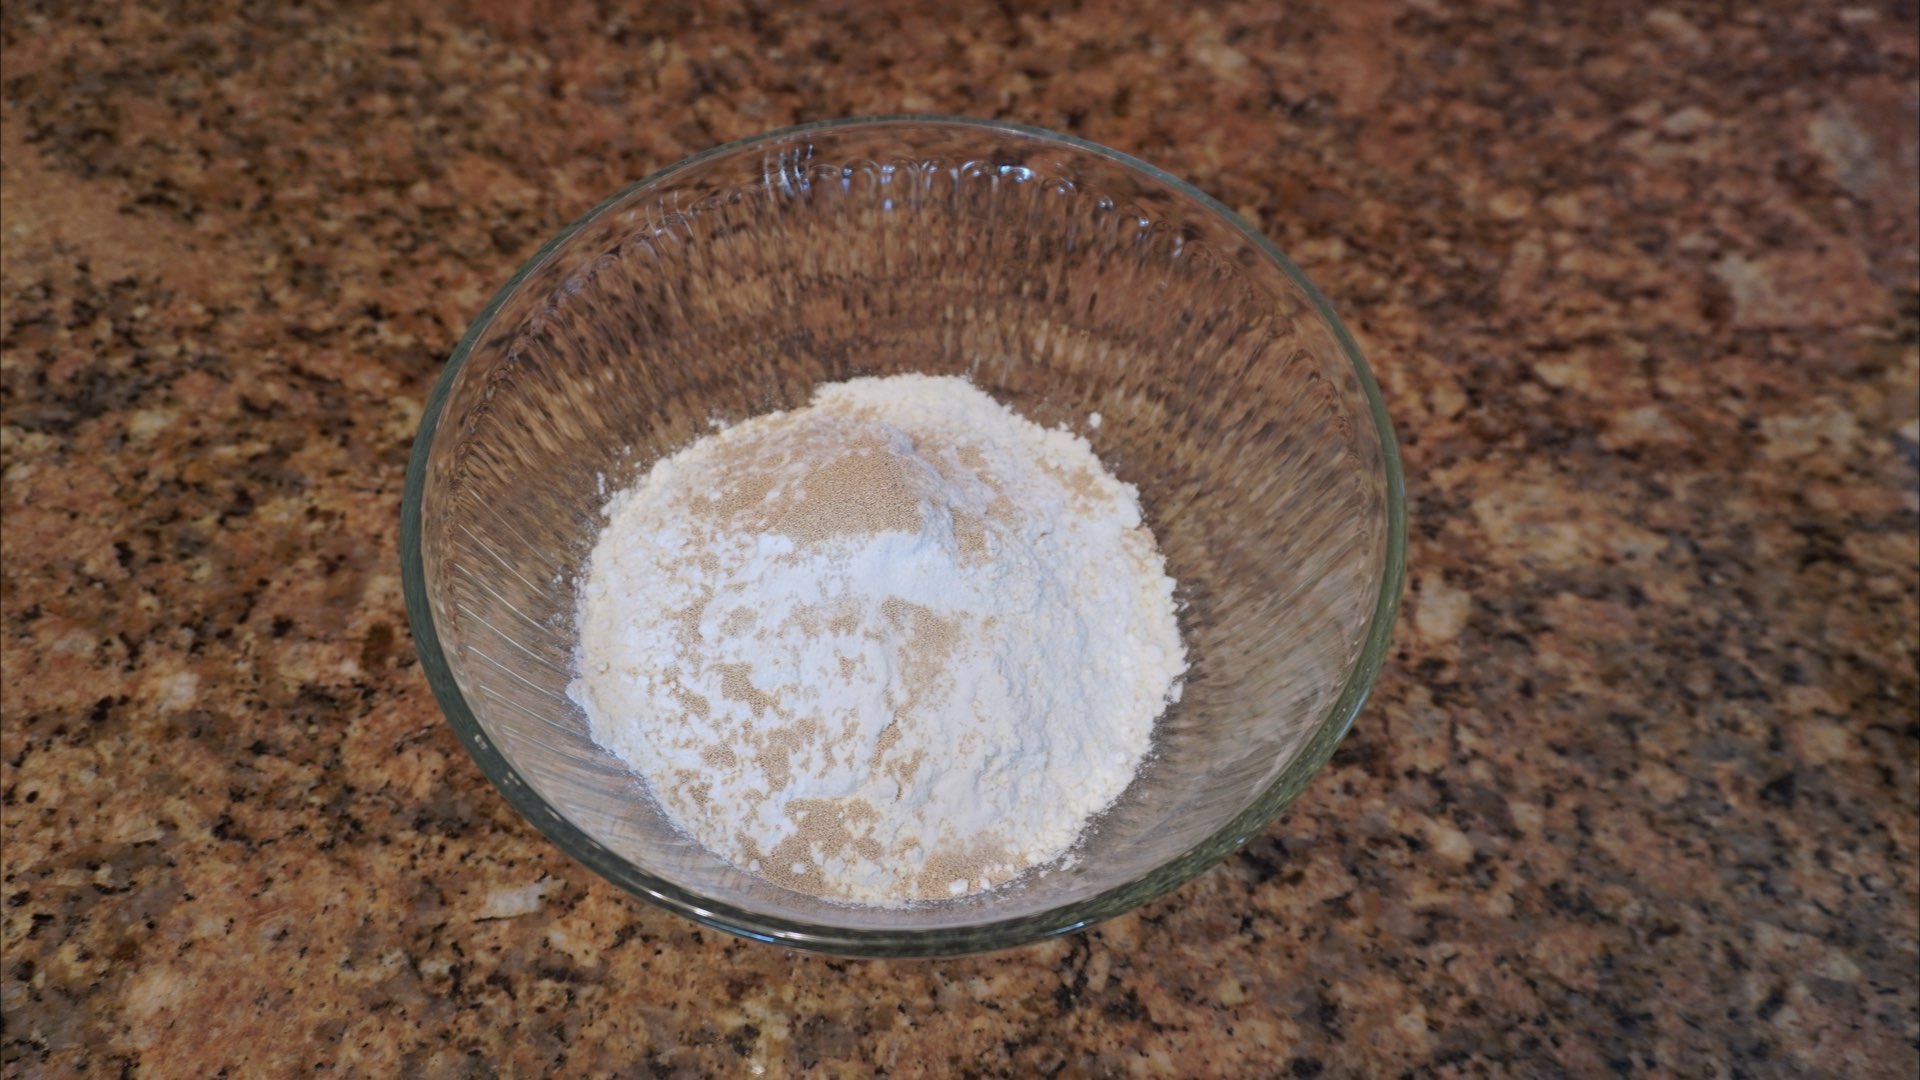
Step 1: Add the Dry Ingredients
In a medium bowl, add the flour, yeast, sugar and salt. Mix until combined.
Step 2: Add the Remaining Ingredients
Add in the water and oil.
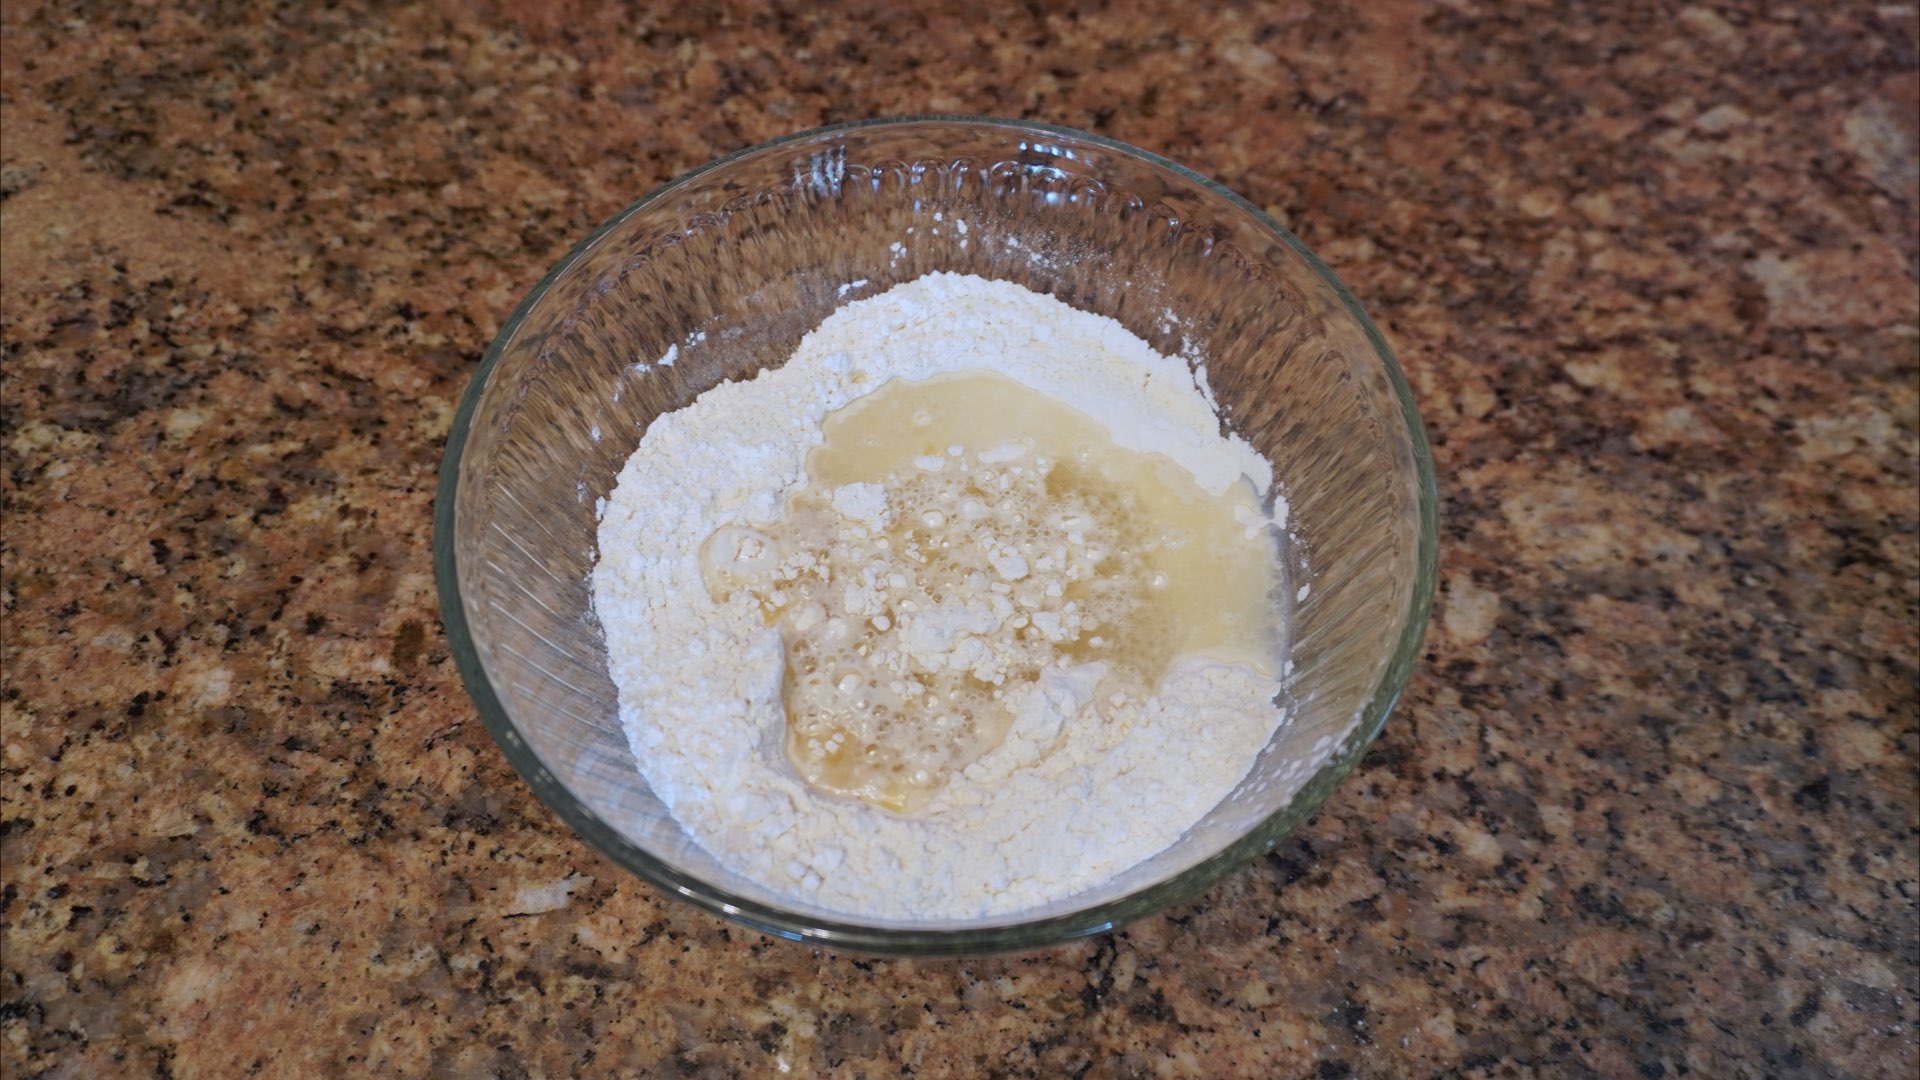
Using your hands, or the handle of a spoon, stir the mixture together.
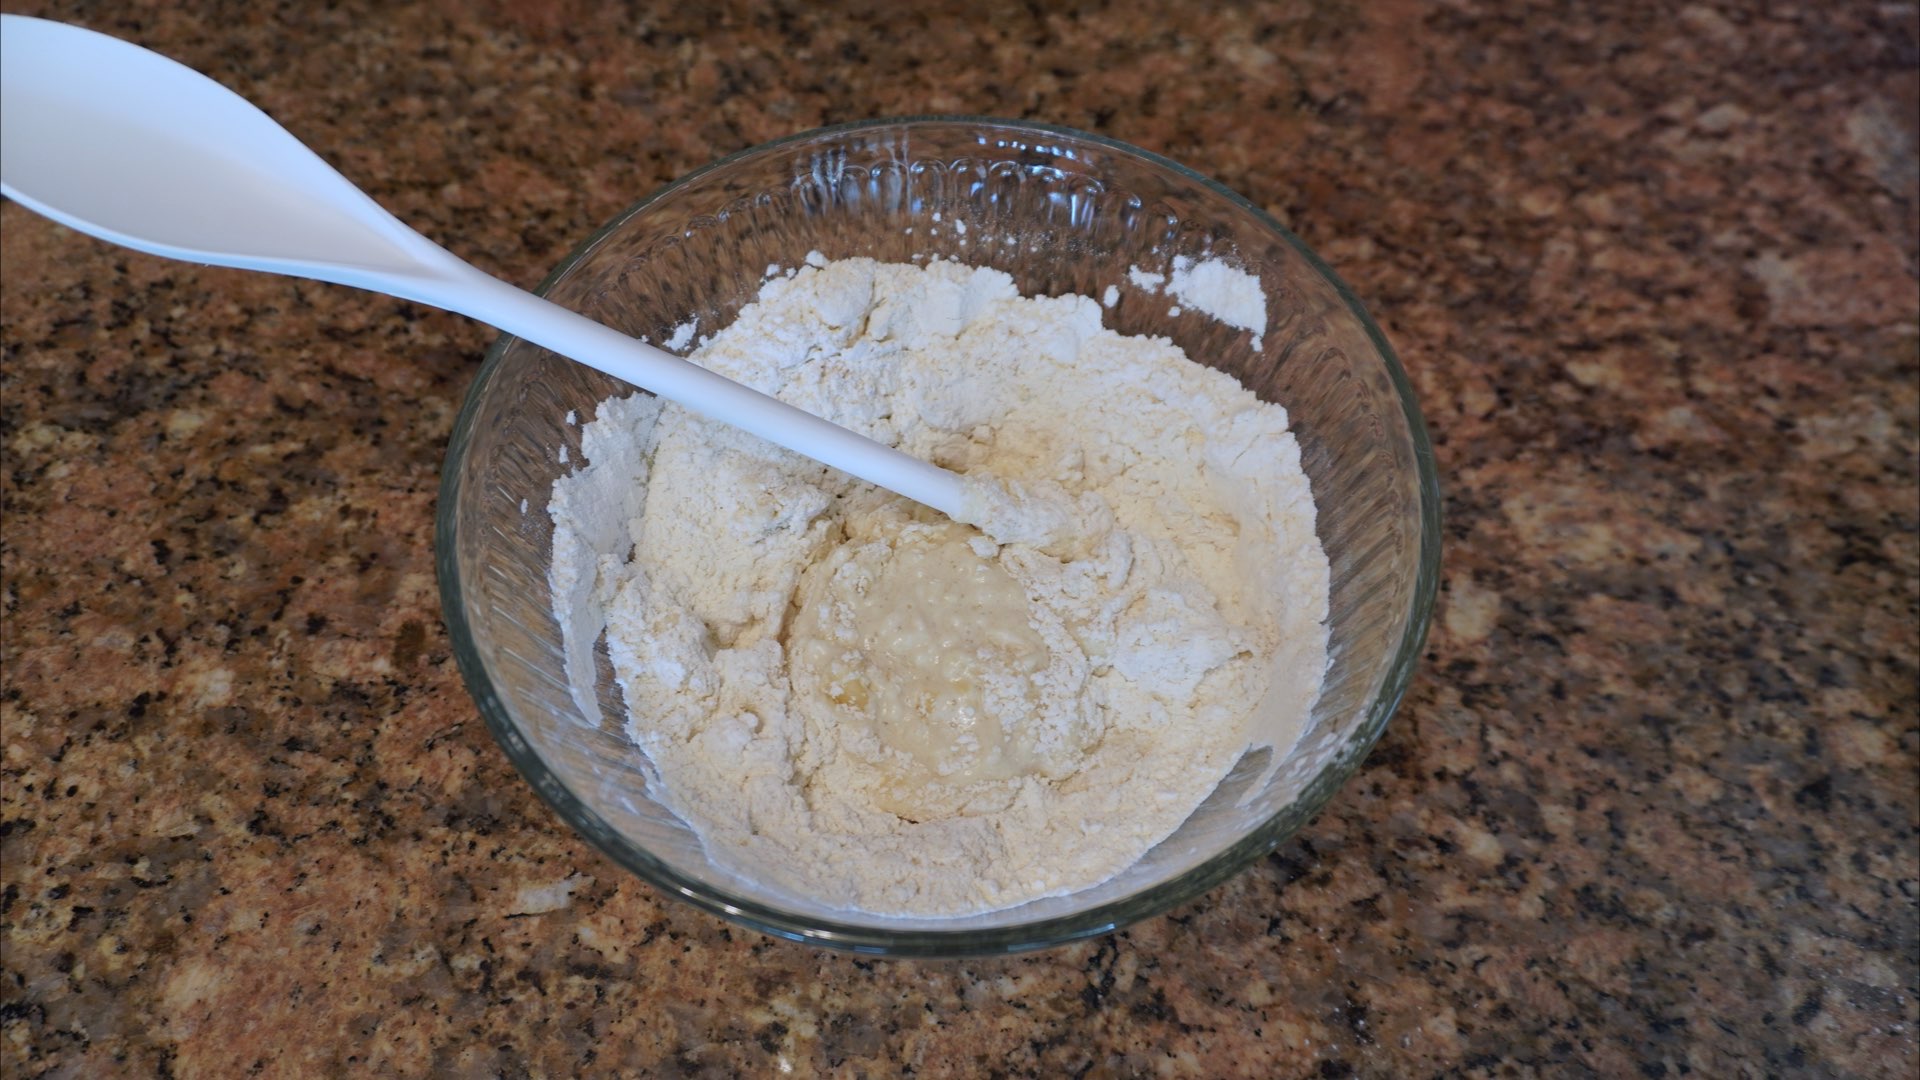
Step 3: Mix the Ingredients until Shaggy
Continue to stir until a shaggy dough forms and it comes away from the sides of the bowl. Otherwise, we are going to turn this onto a clean work surface and begin to knead our dough.
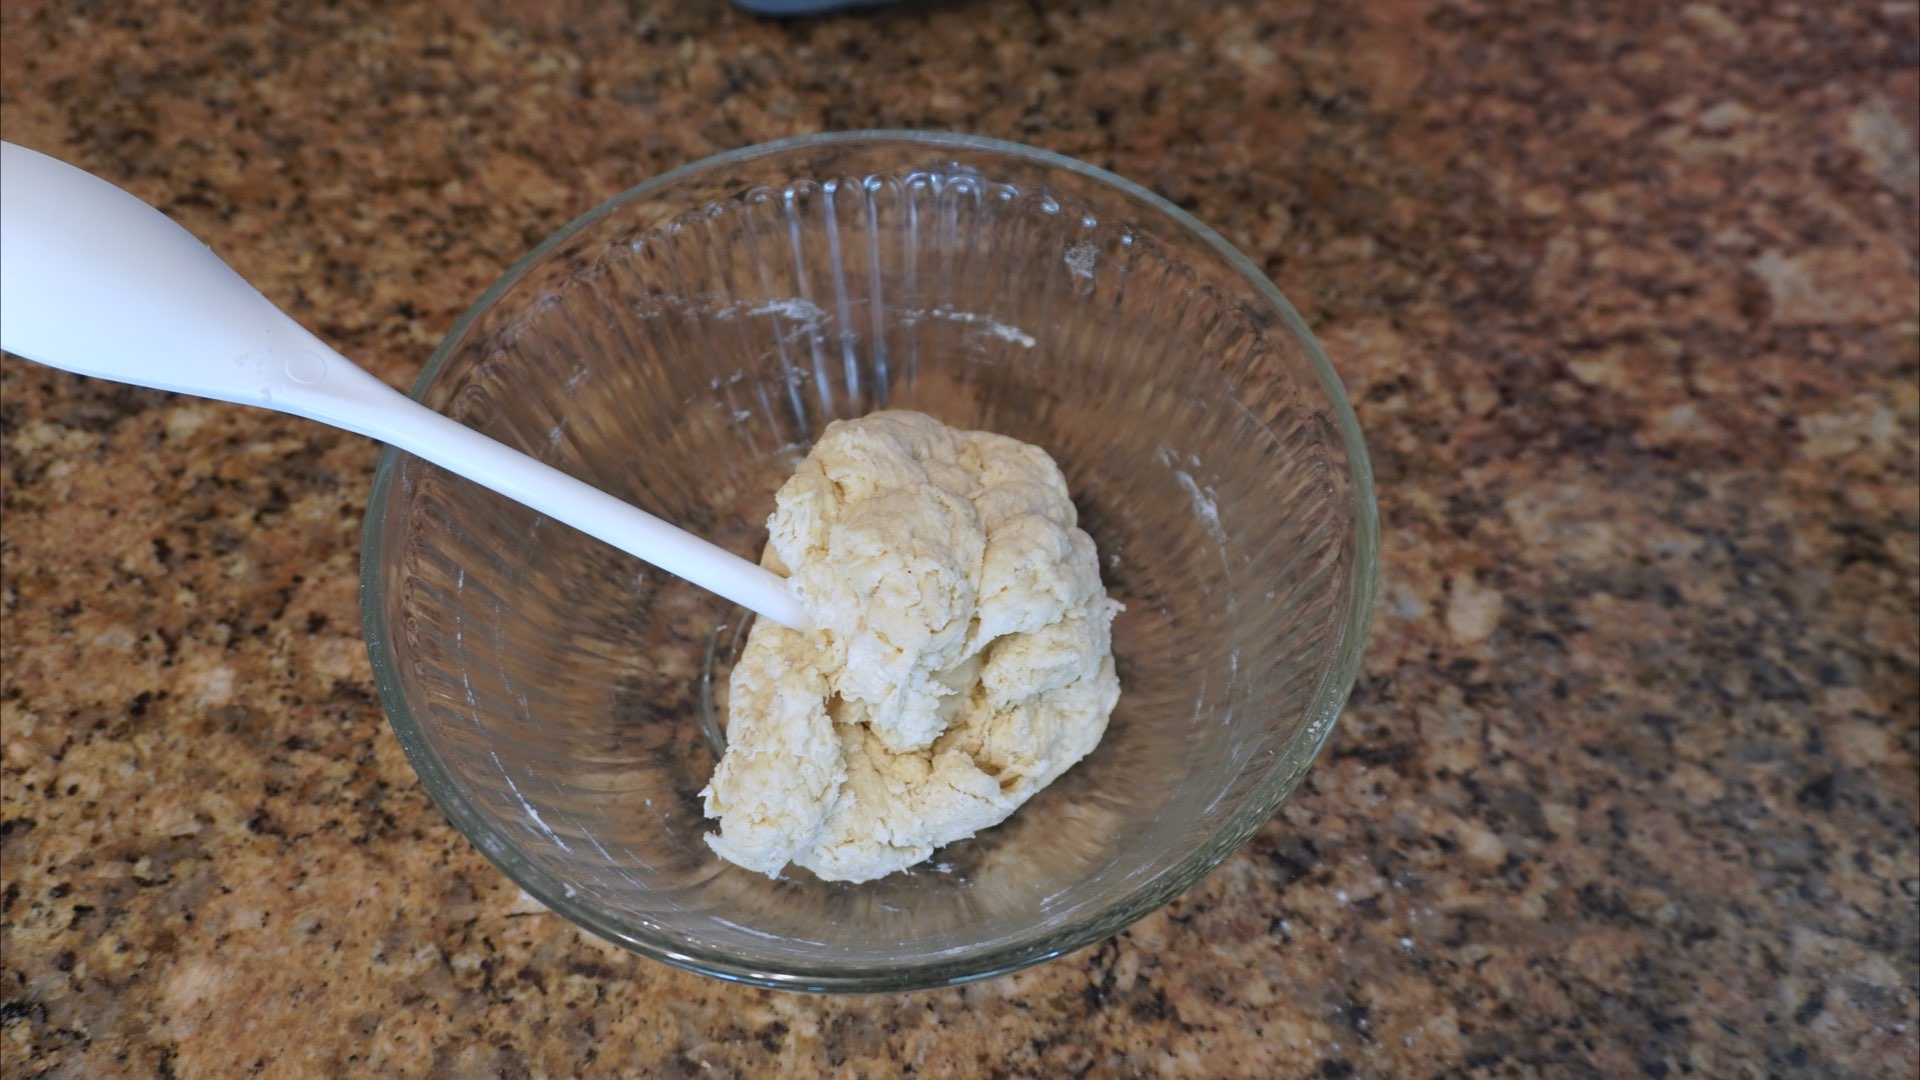
Step 4: Knead the Dough
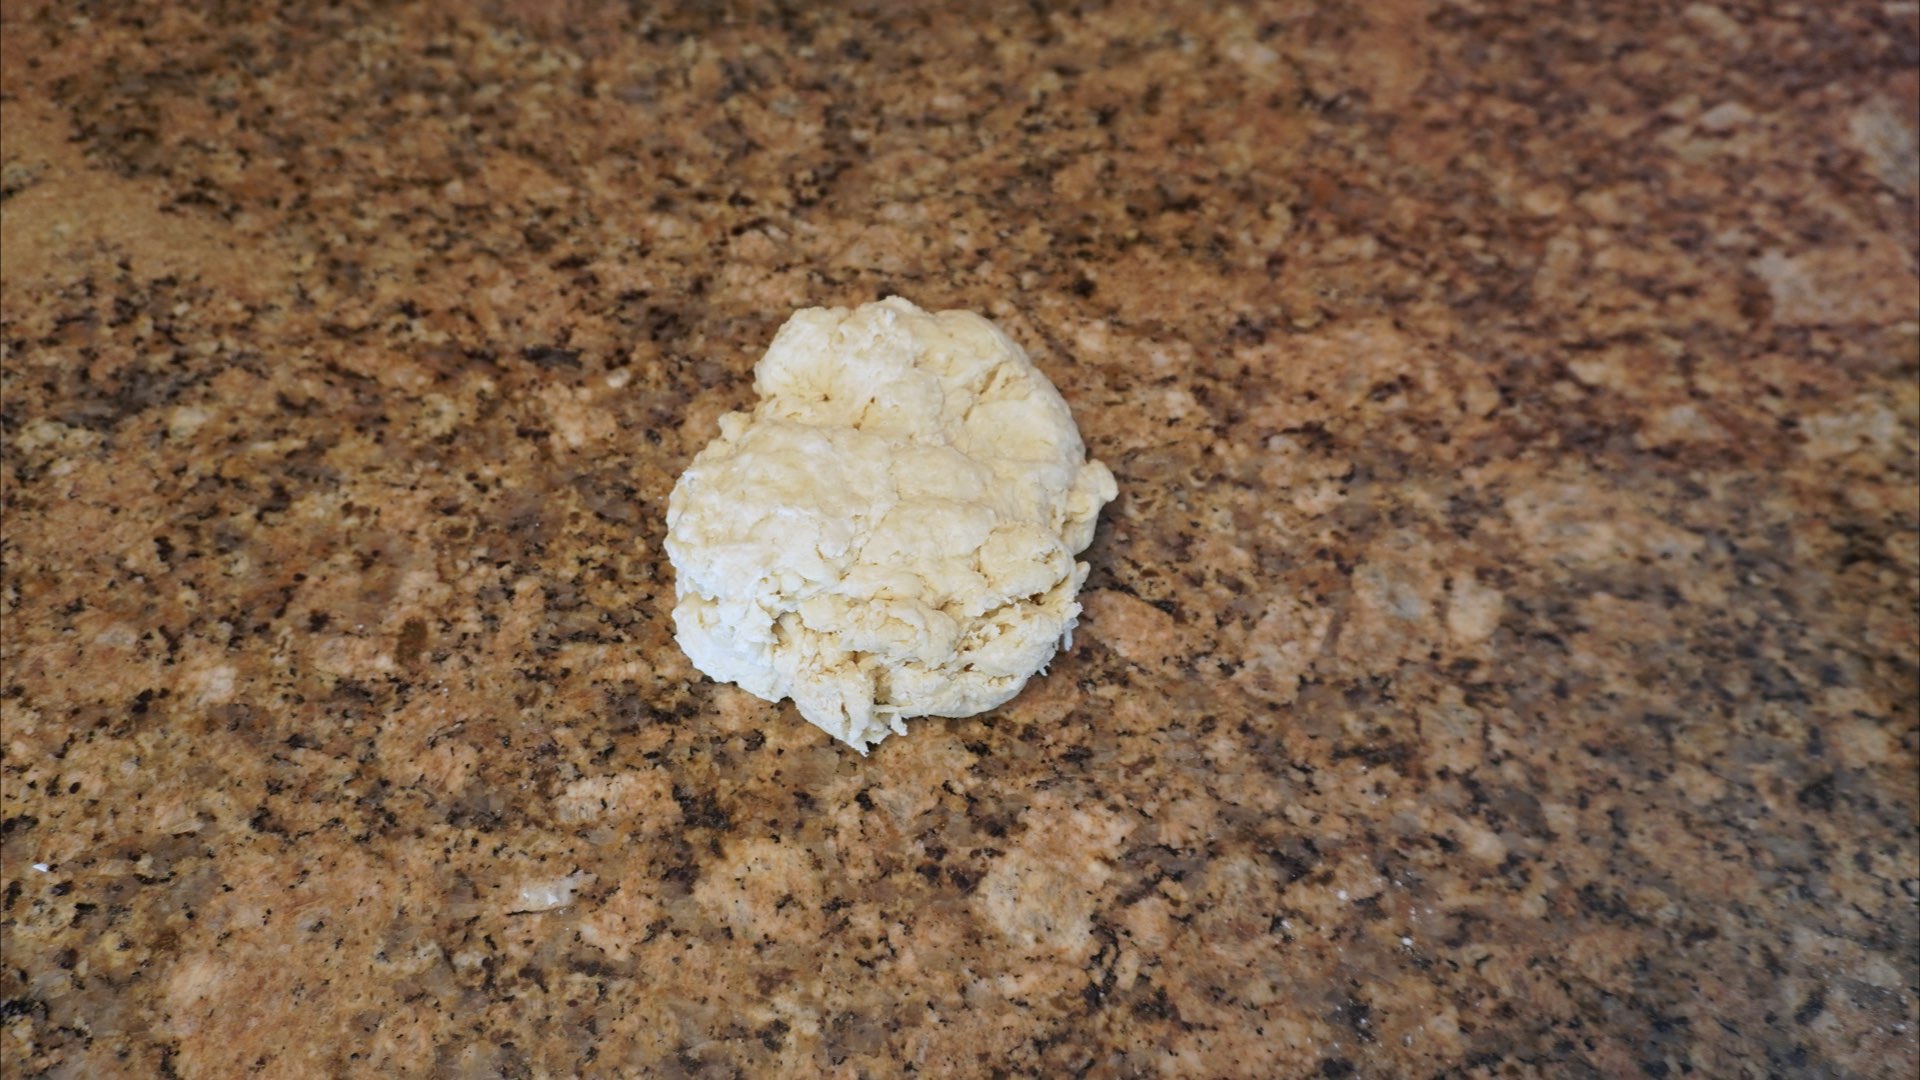
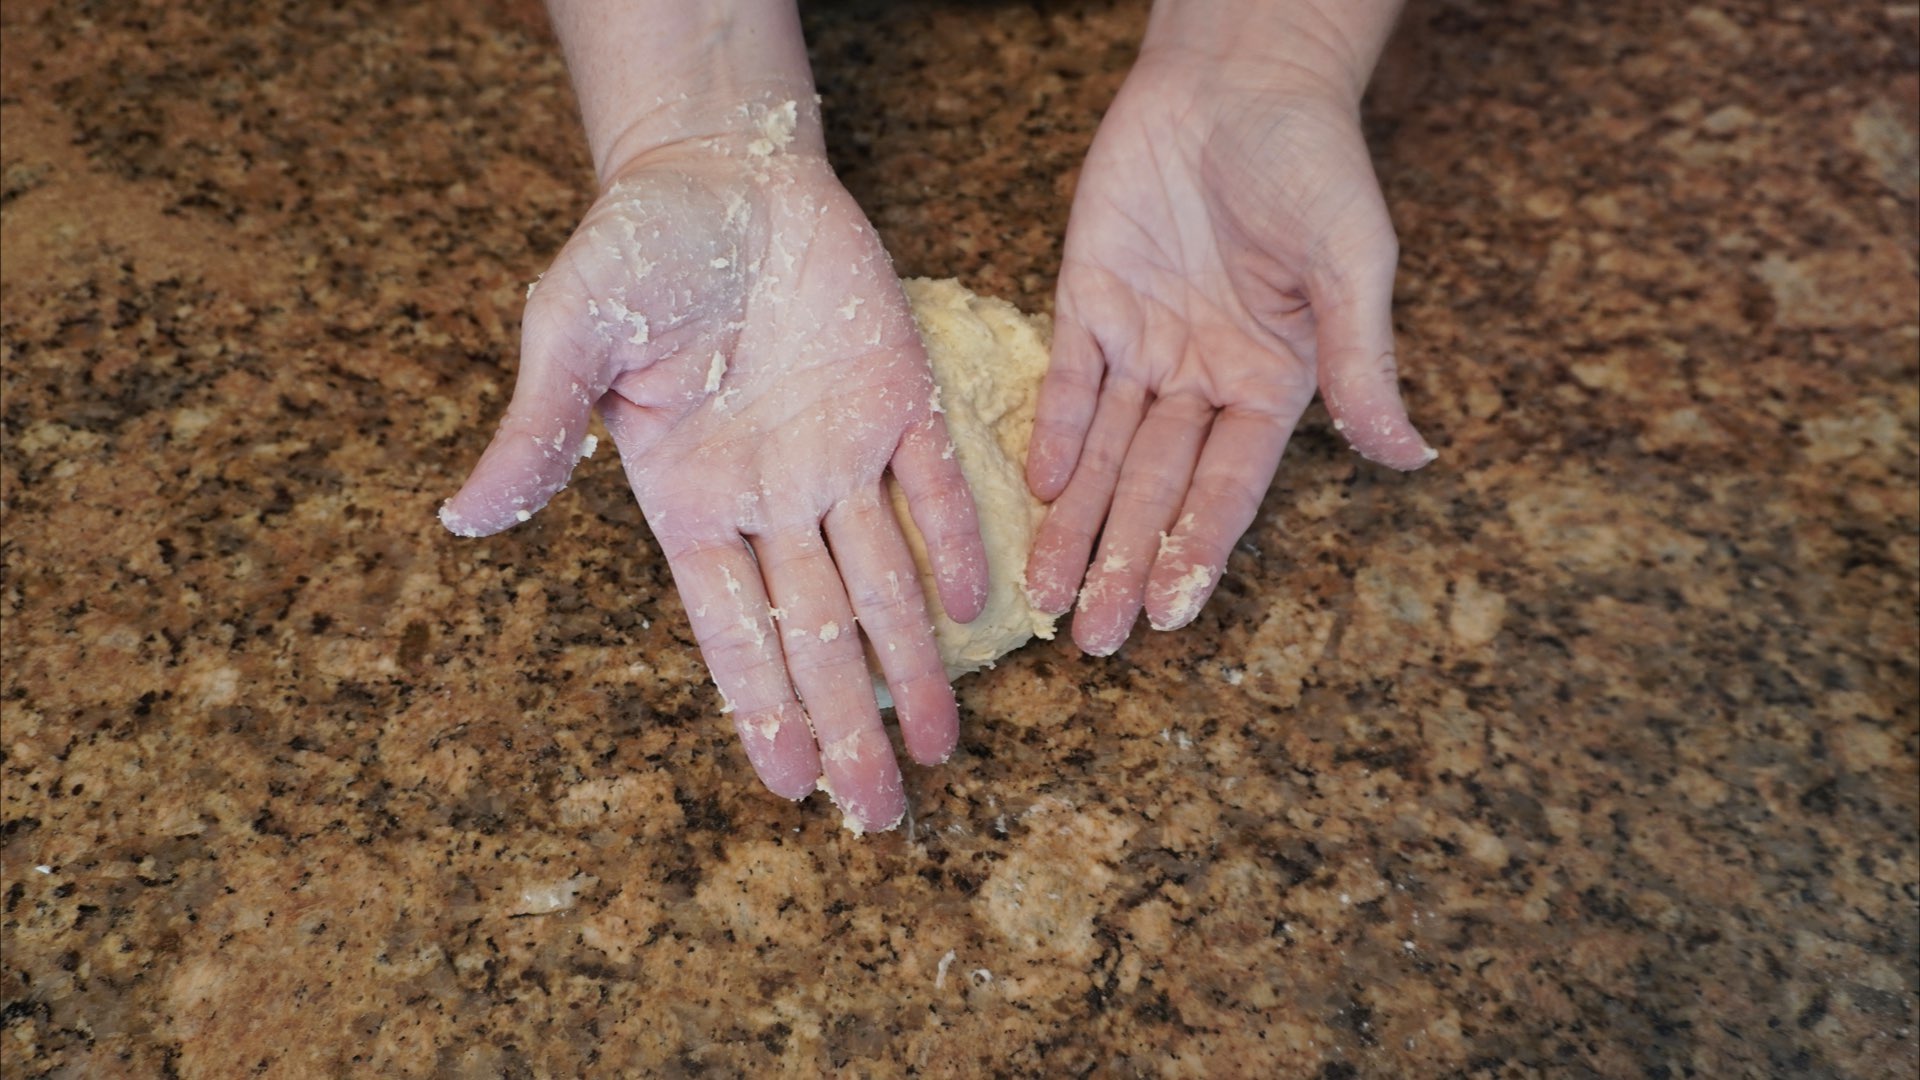
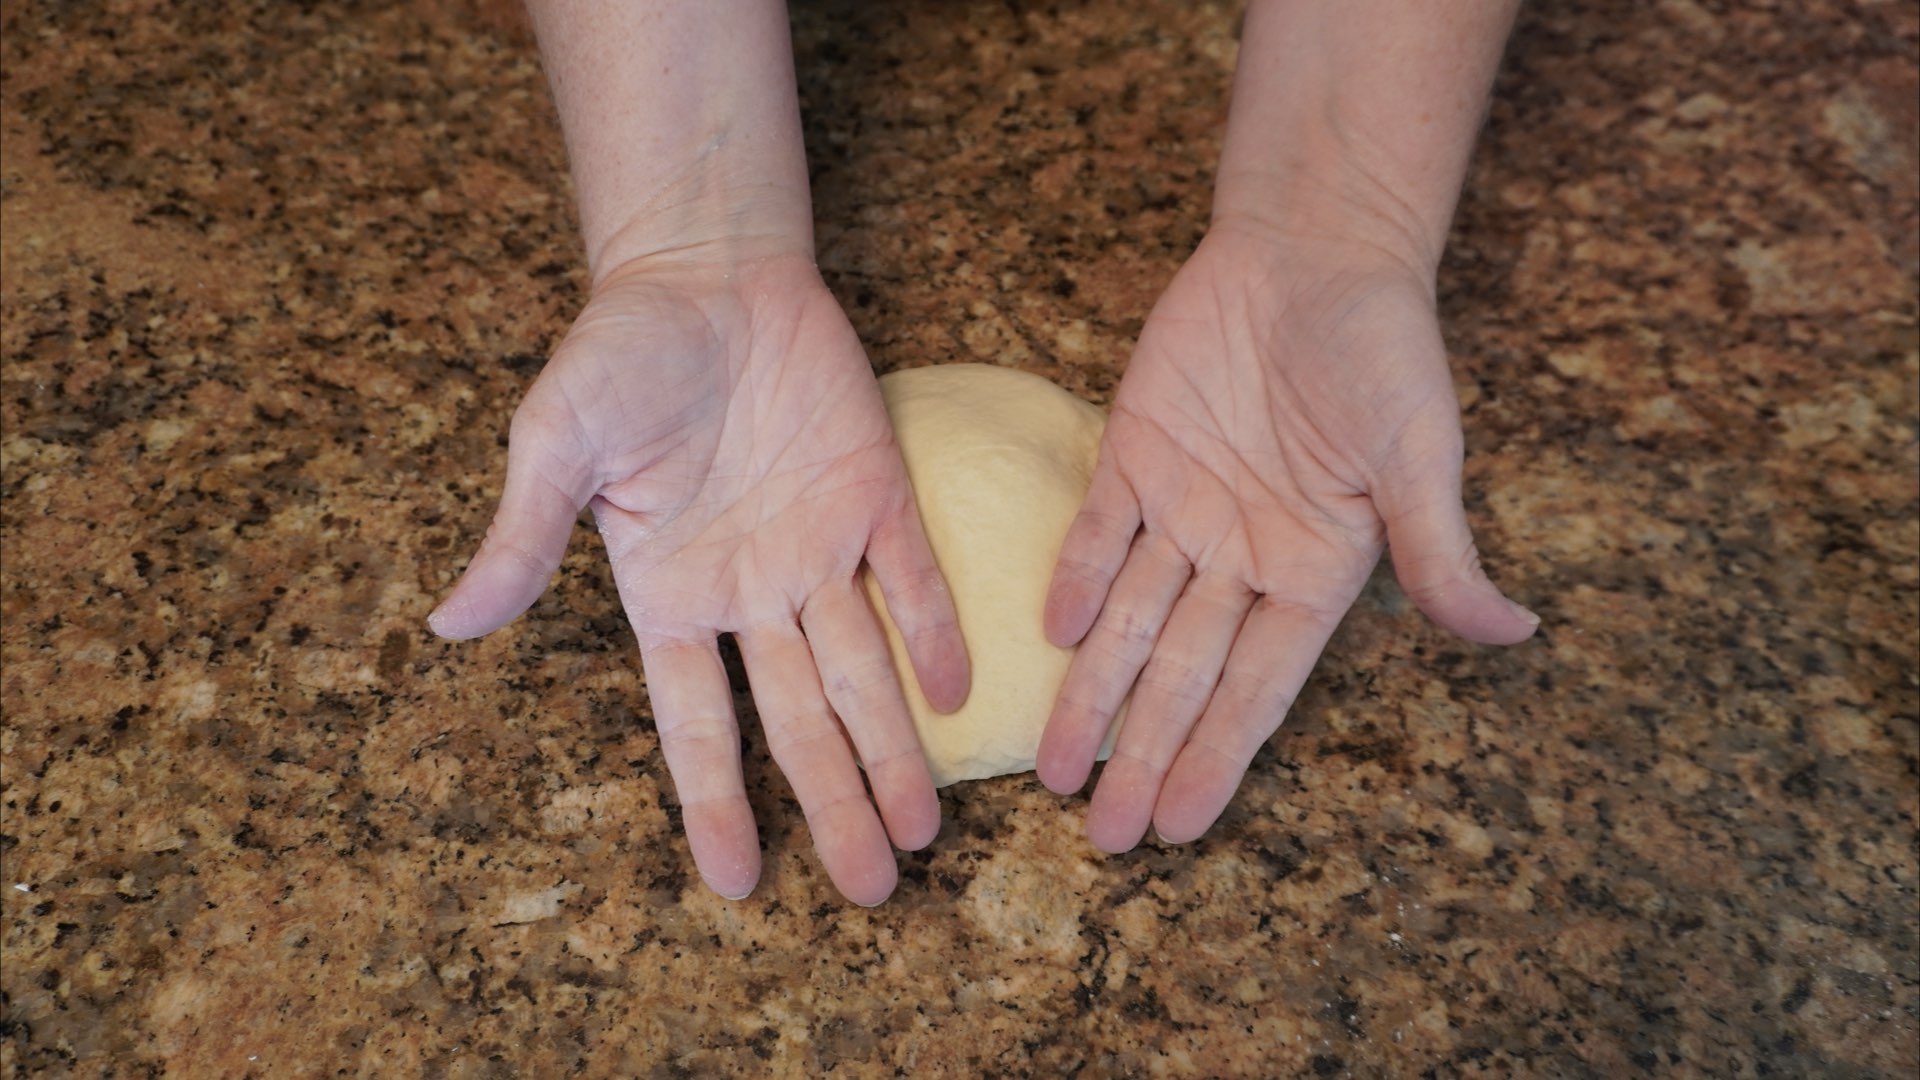
After you form a shaggy dough, turn it out onto a clean work surface. Knead 8 – 10 minutes or until the dough stretches easily without tearing. First, you start out with your formed dough.
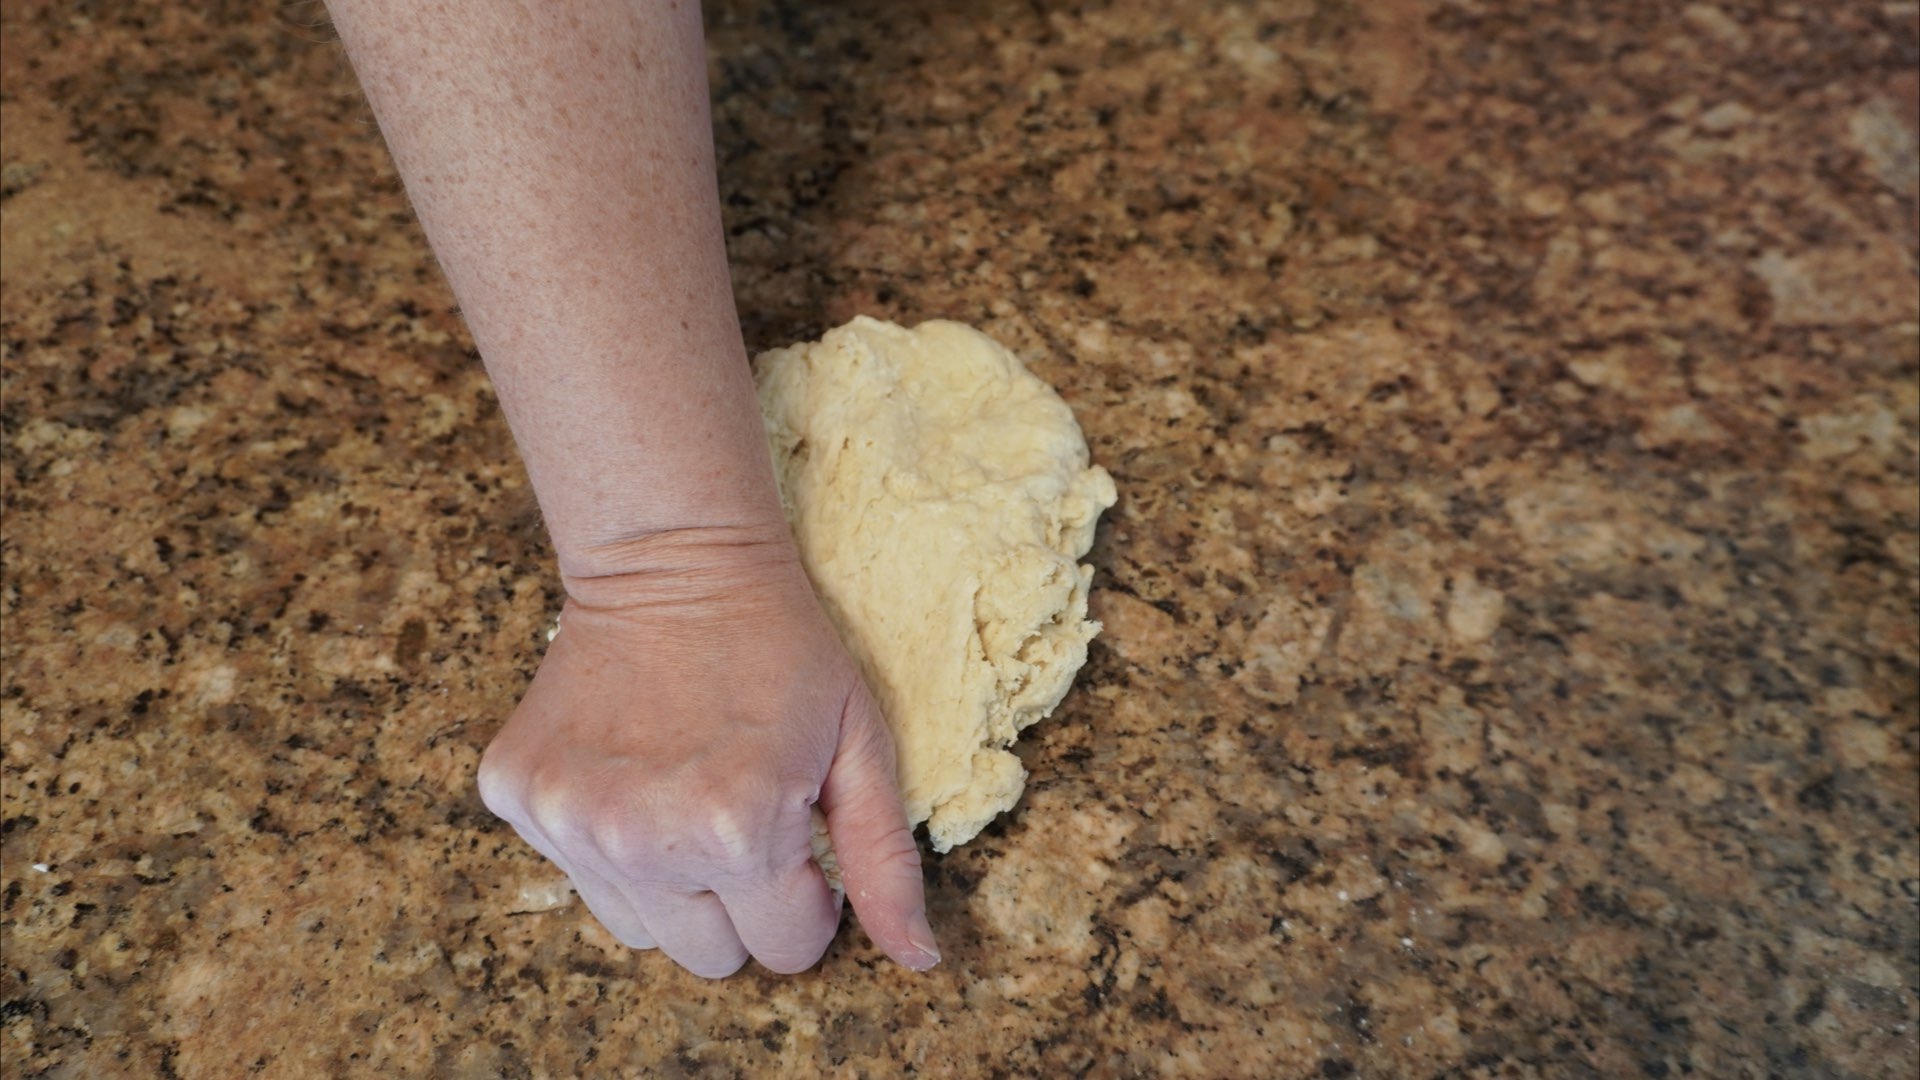
Next, using one or both hands, grab the dough on the edge furthest from you and press the edge outward.
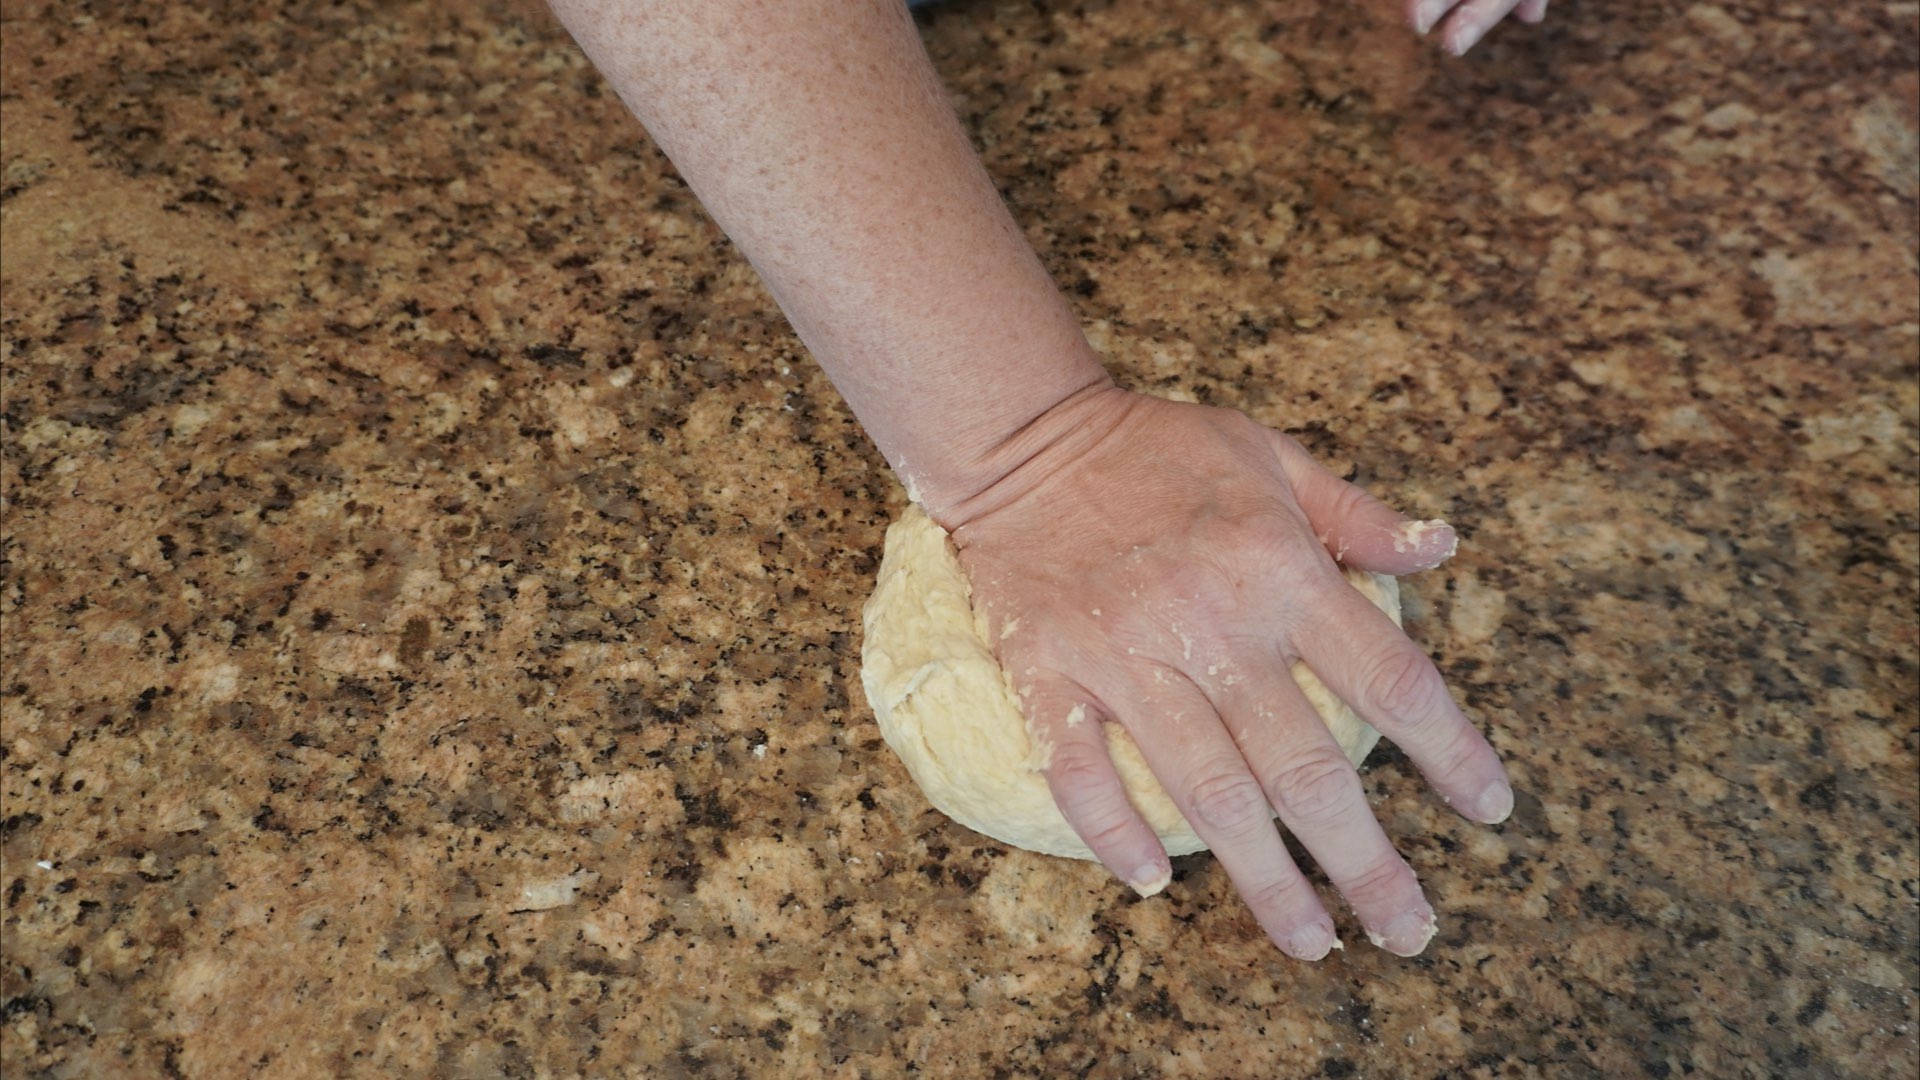
Now, take that edge you pushed and fold it back onto the dough.
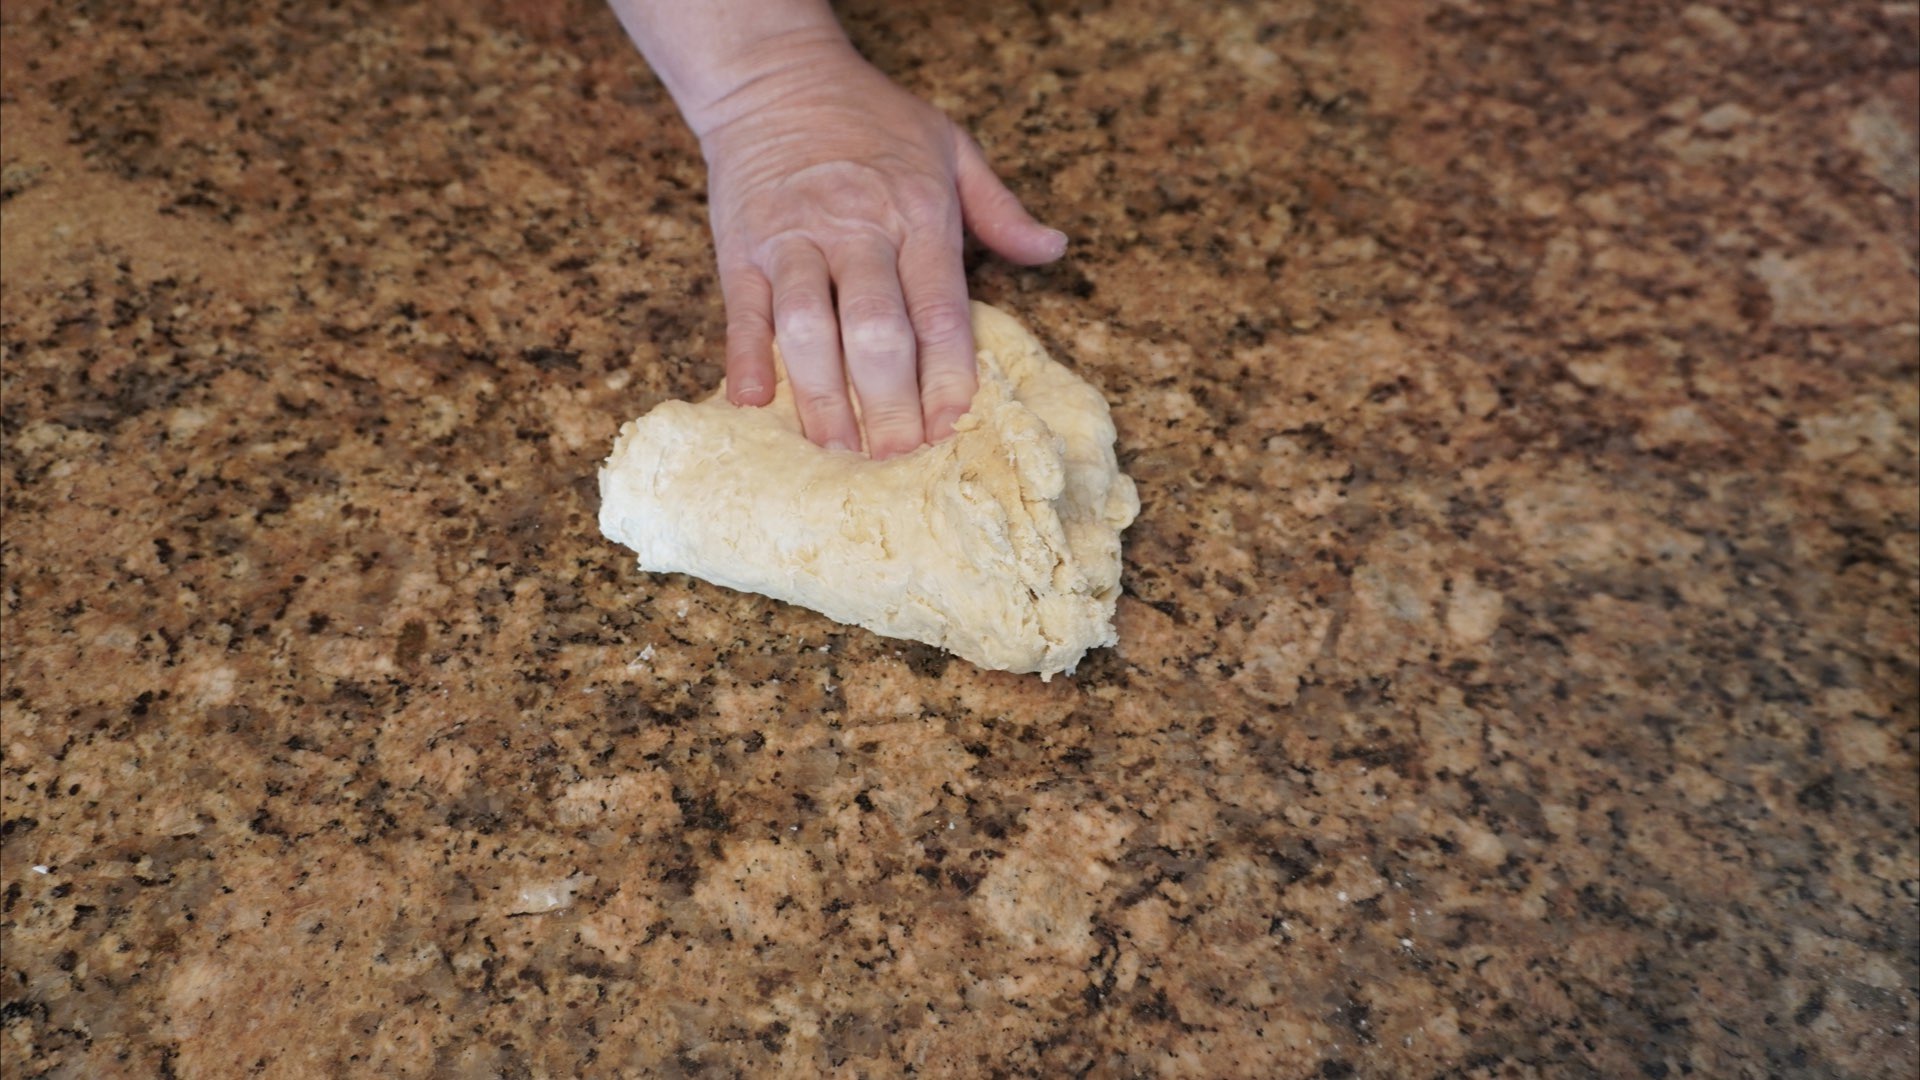
Grab the folded edge and push it away from you like before.
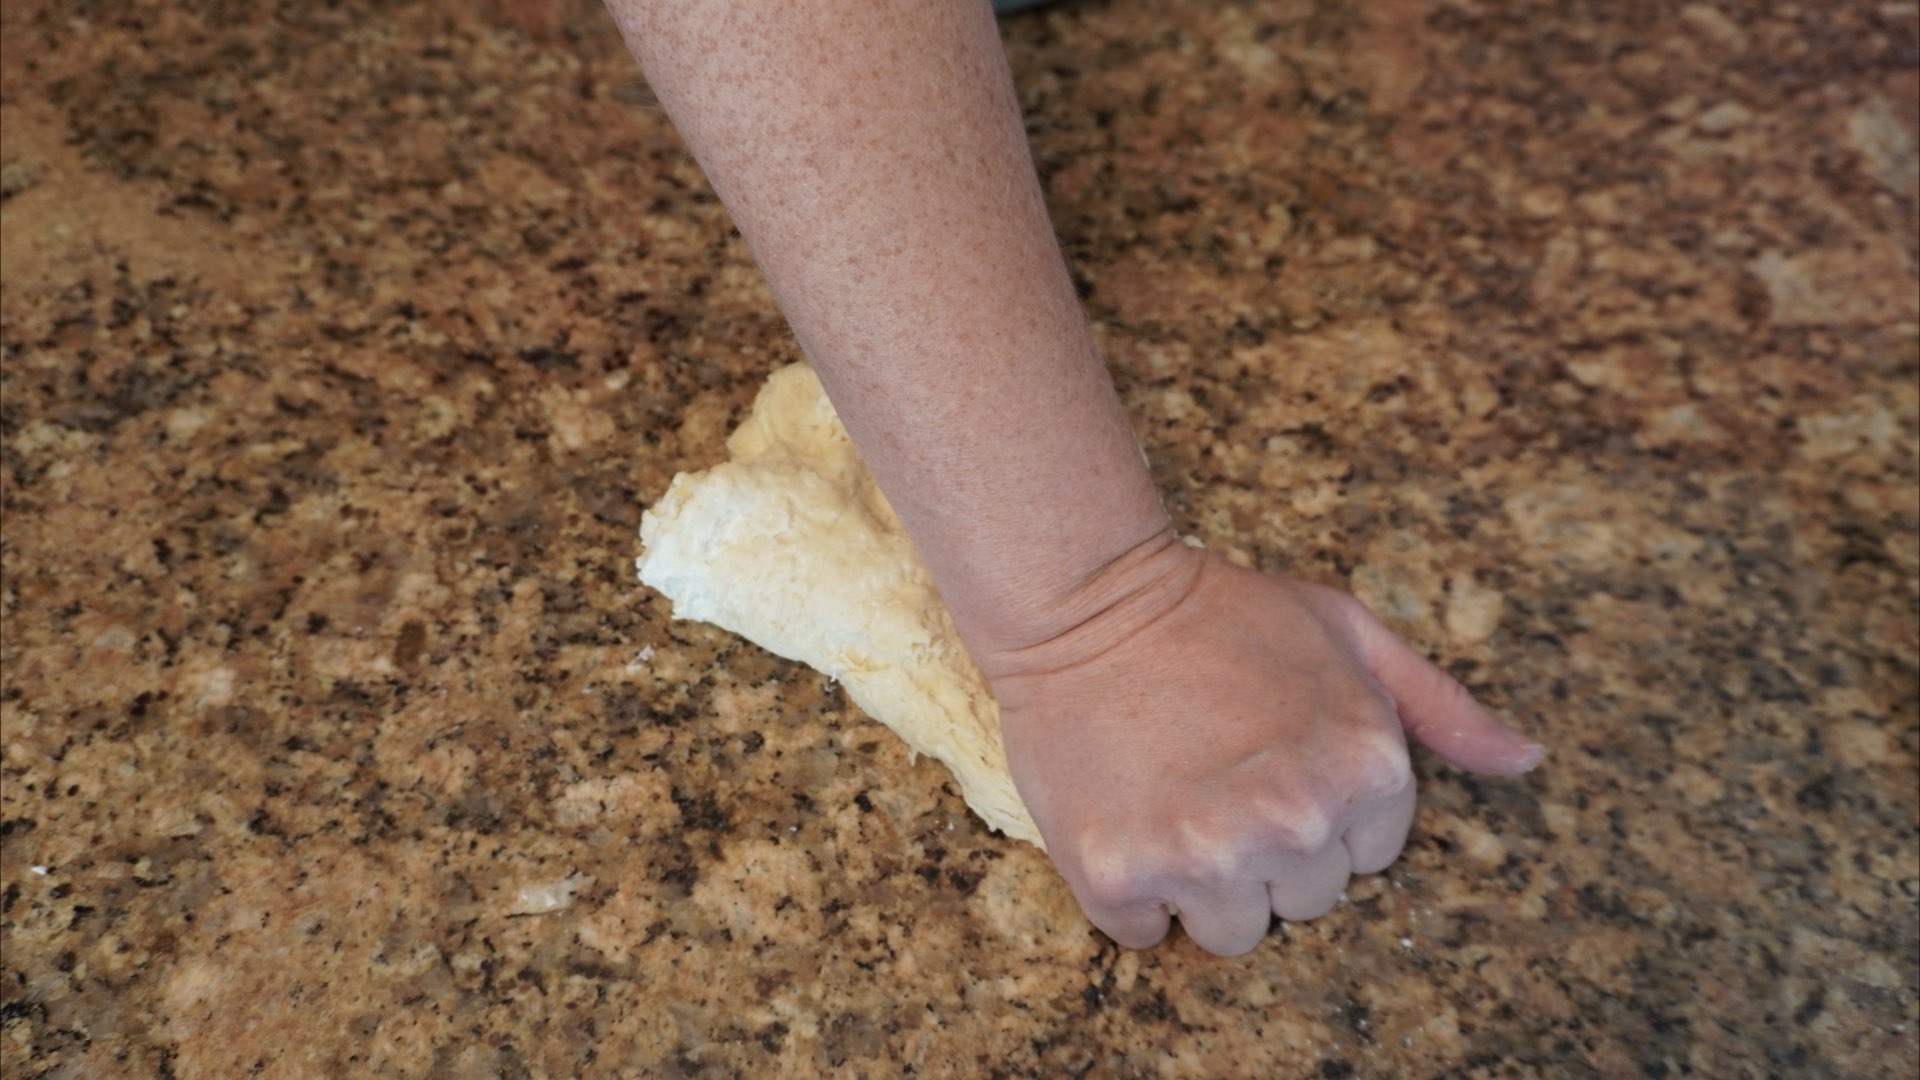
Repeat this step until the dough is less sticky. At first it will stick to your hands a lot.
Keep working the dough for a good 5 minutes. Resist the urge to add flour.
As you work the dough, it will become less sticky as the gluten develops.
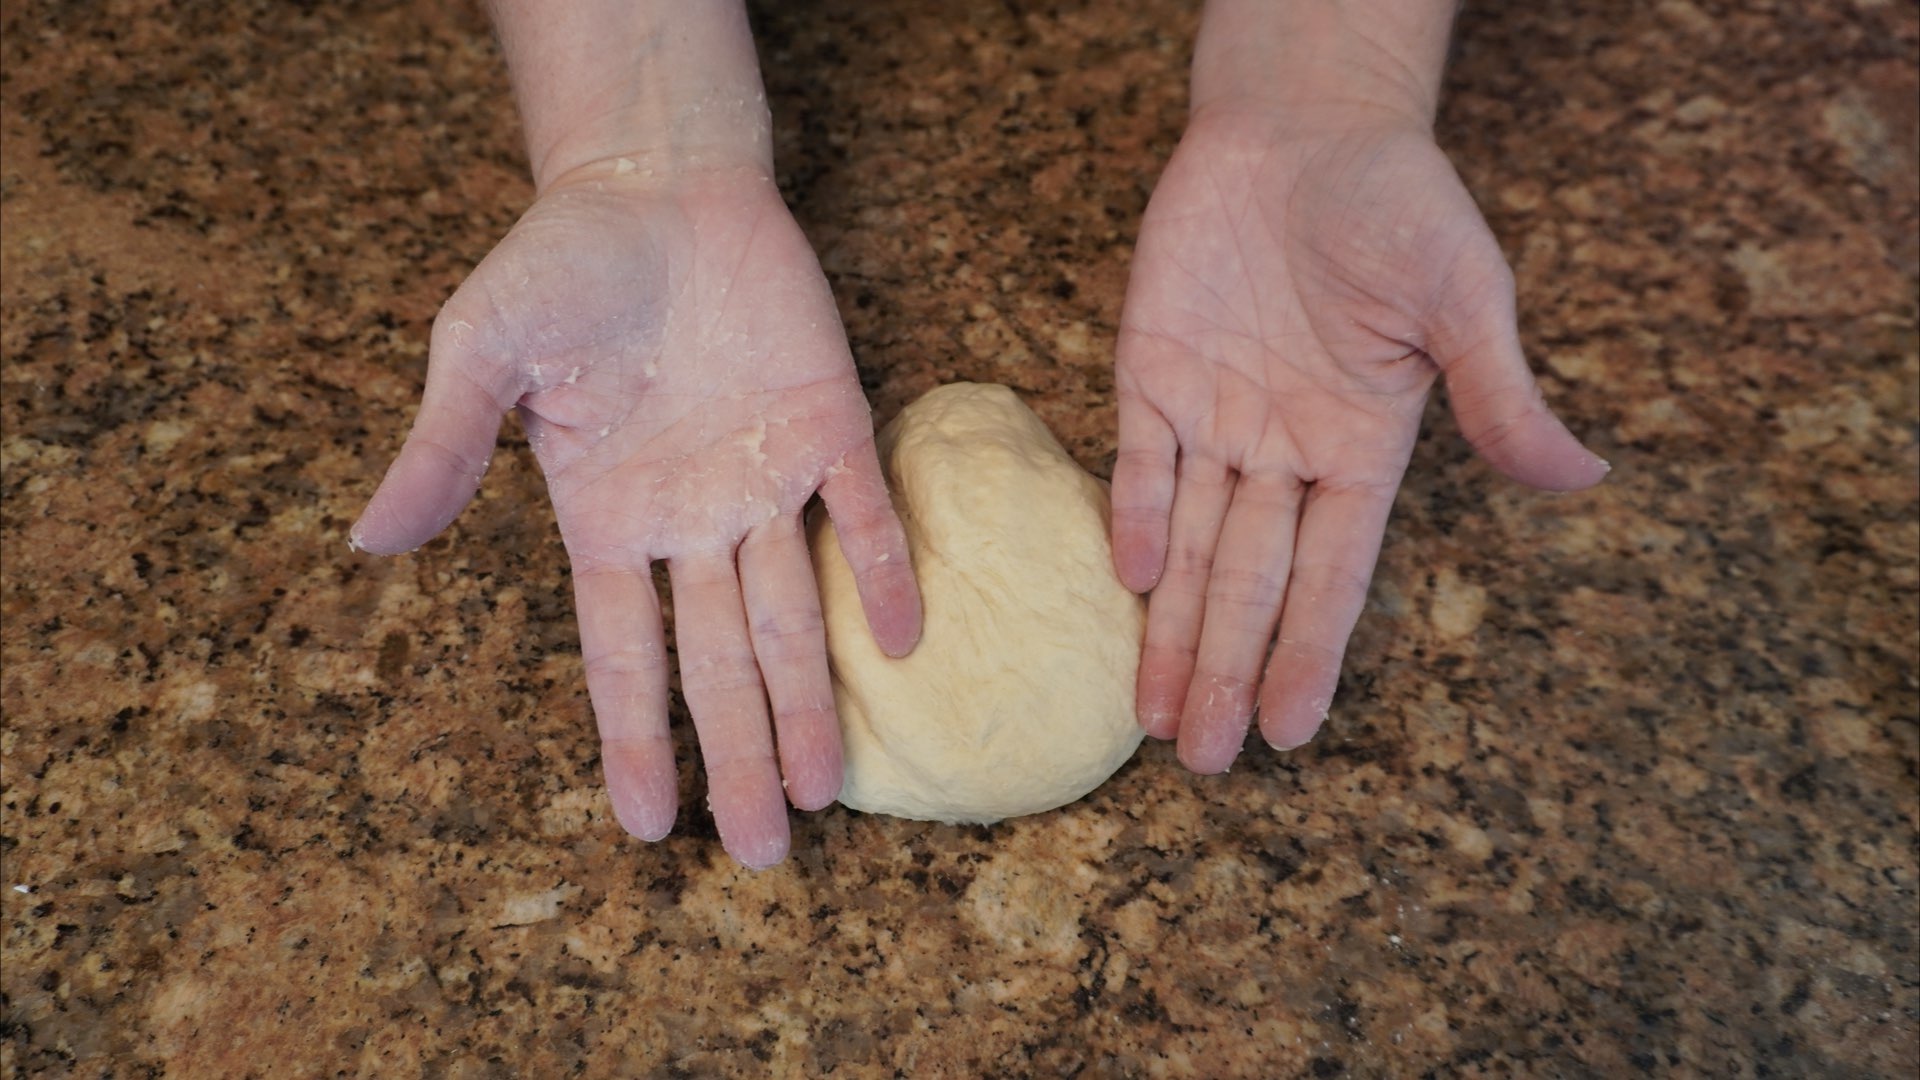
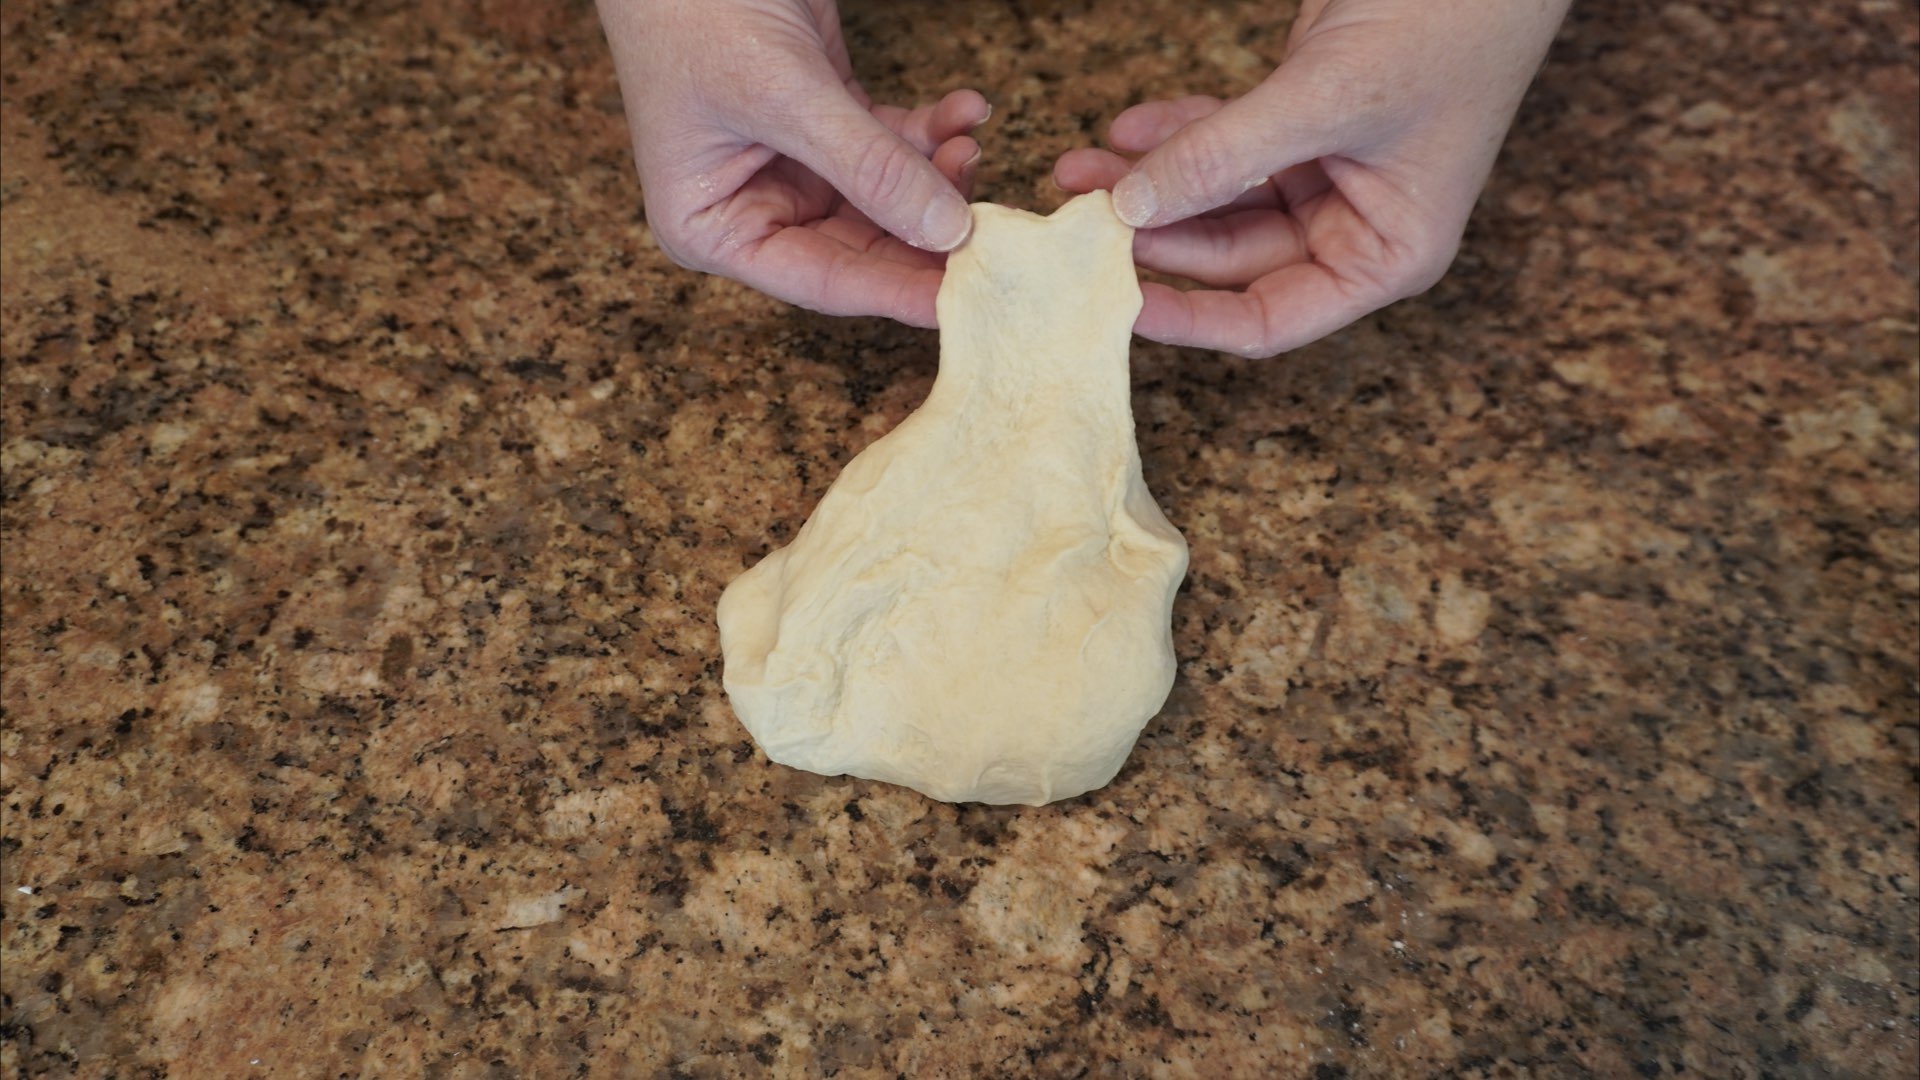
At this point, check the dough to see if it stretches easily without tearing. Not quite ready, so you continue to knead.
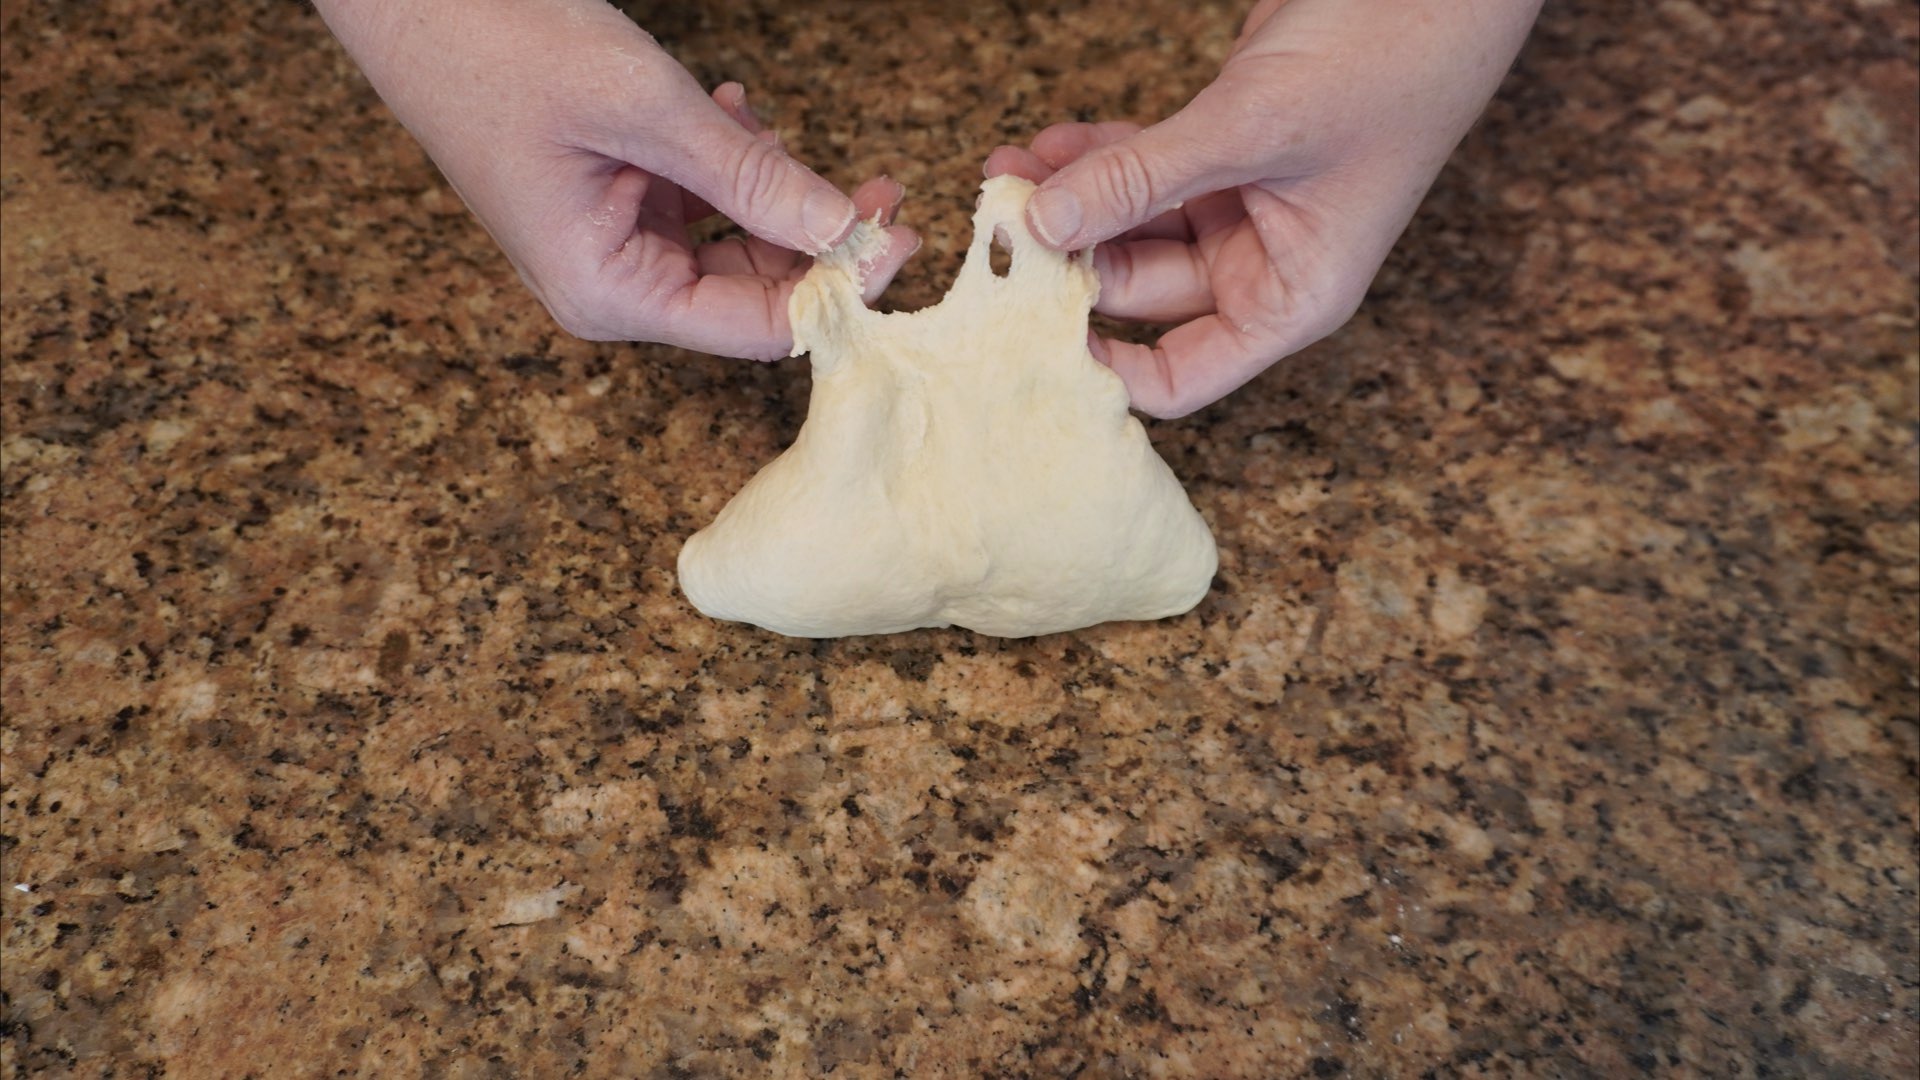
The dough is no longer sticking to my hands, so I check again for stretching.
It is ready!
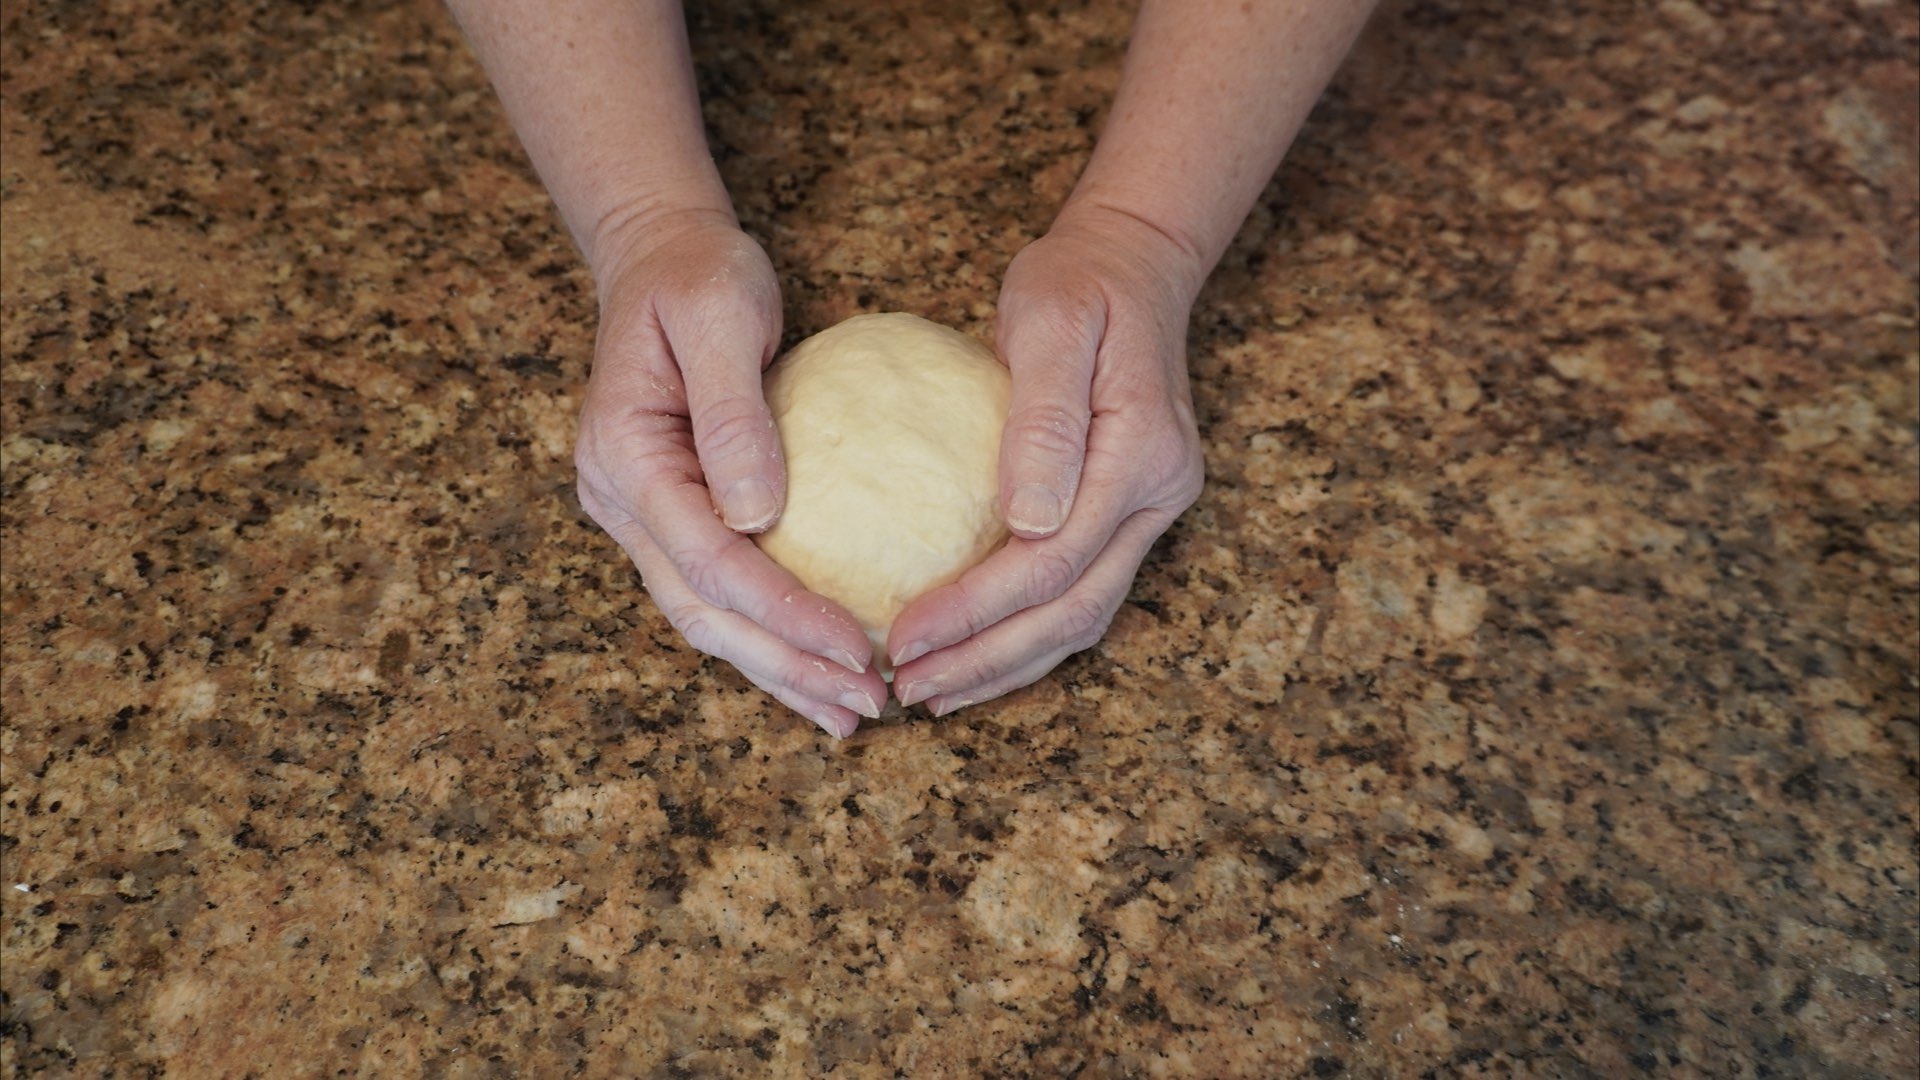
Step 5: Let the Dough Relax and Rise
Now the dough needs to rest. Roll the ball up into a loose ball. This ball will help you determine when the dough has doubled in size more easily.
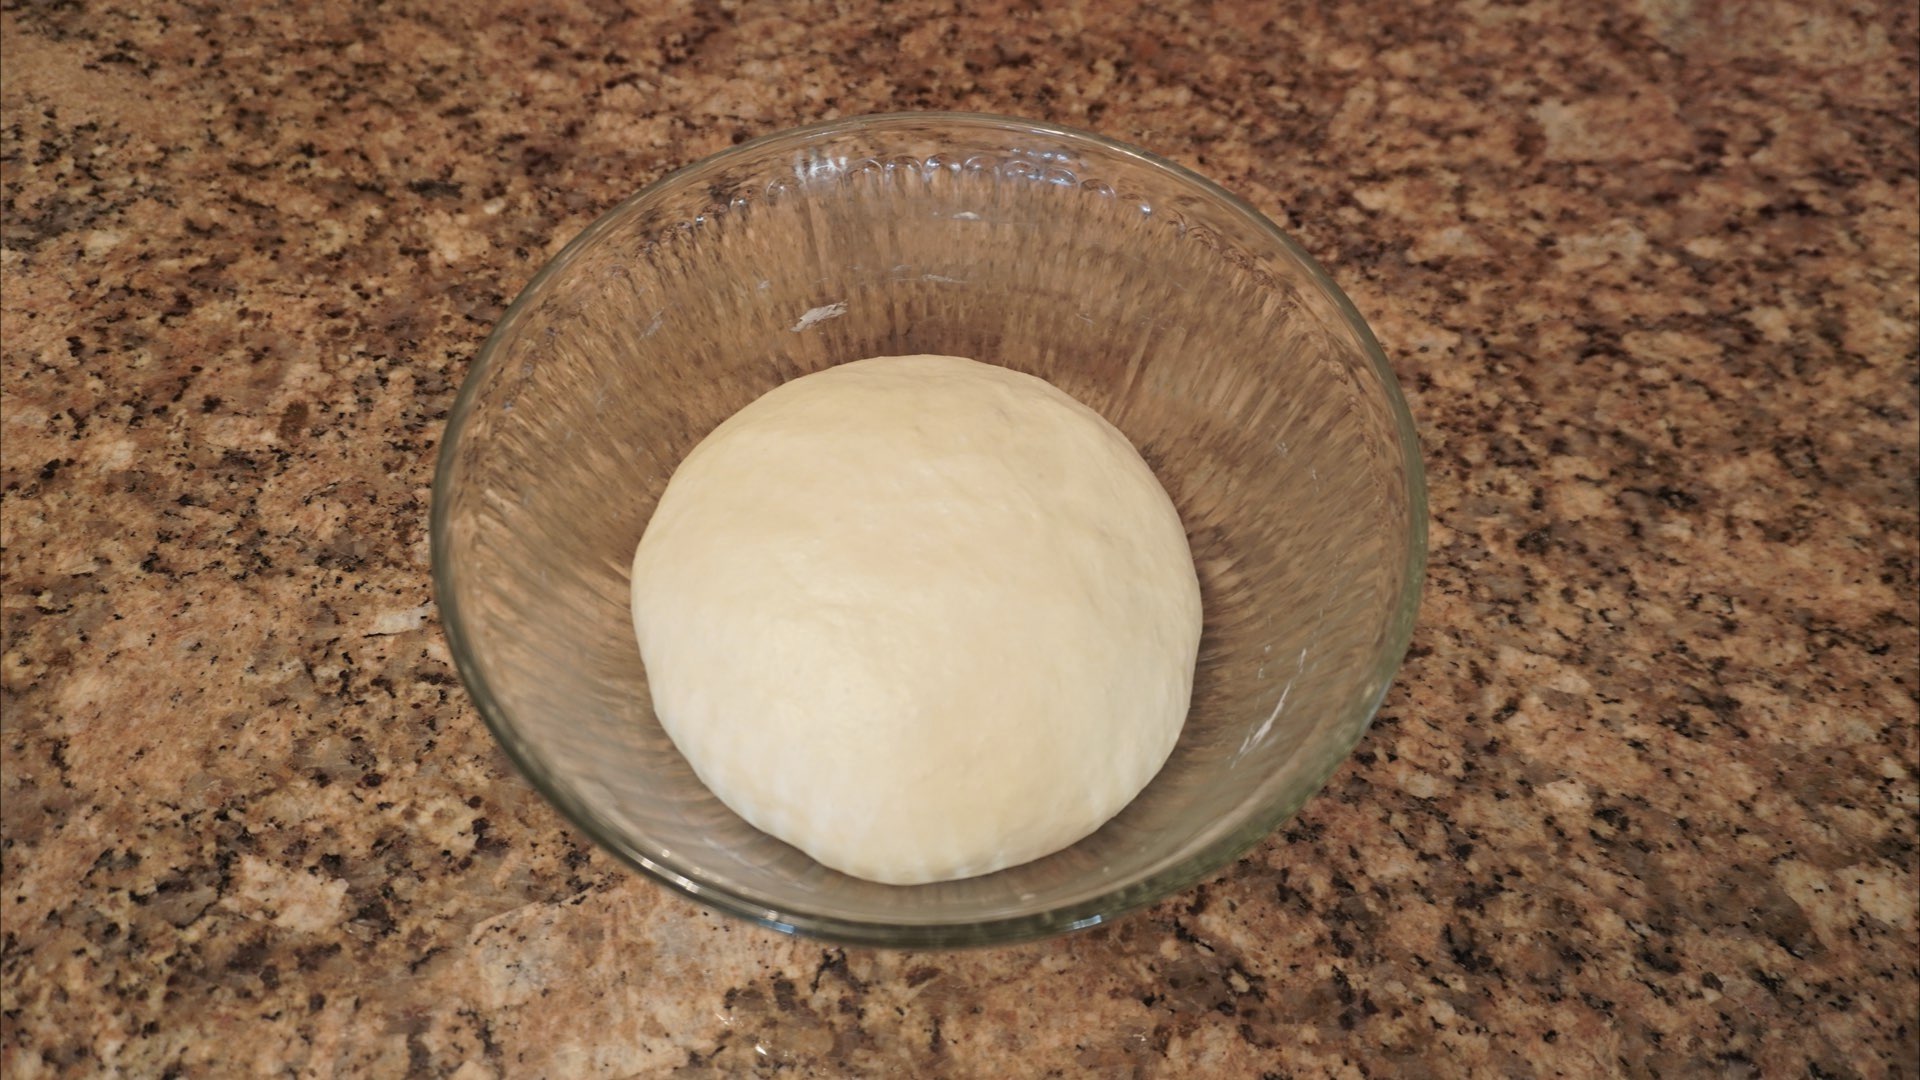
Set it back inside the bowl you mixed it in and cover it with plastic wrap or a damp towel. Place it away from drafts, small children and pets. Allow it to rest until it doubles in size.

This can take 1 – 3 hours depending on the temperature in your home. Typically, it takes around 90 minutes at temperatures between 70°F – 72°F (21°C – 22°C) for guidance. Once the dough has doubled, you can begin using it however you like! Told you this was an Easy Dairy-Free Dough Recipe. But we will show you how to make some simple dinner rolls.
Step 6: Shape and Fill the Dough
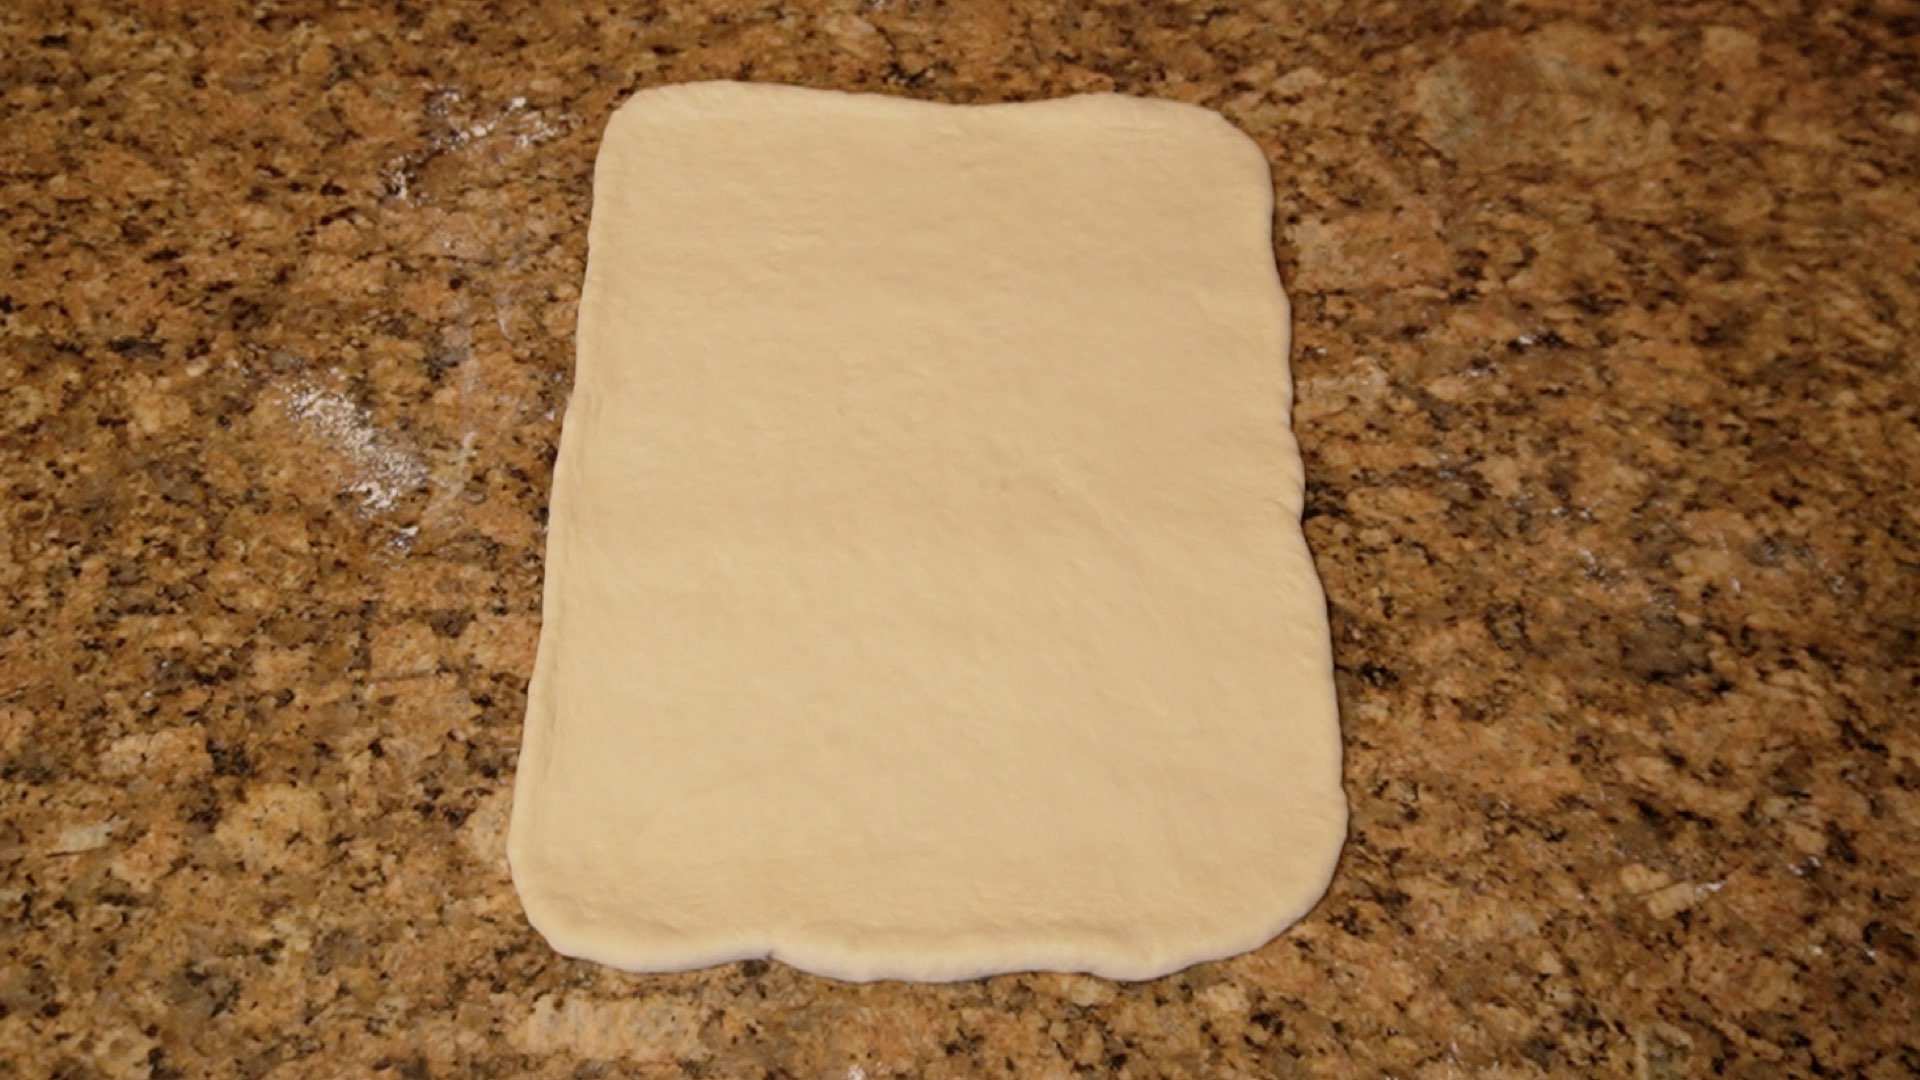
Now that the dough has risen, we will learn how to shape the dough for cinnamon rolls. On a clean work surface, roll dough into a 9×12″ (23×30 cm) rectangle. If the dough wants to stick to the surface, sprinkle a small amount of flour under the dough. Likewise, if the dough is sticking to your hands or rolling pin, sprinkle on a little flour. Use as little as possible.
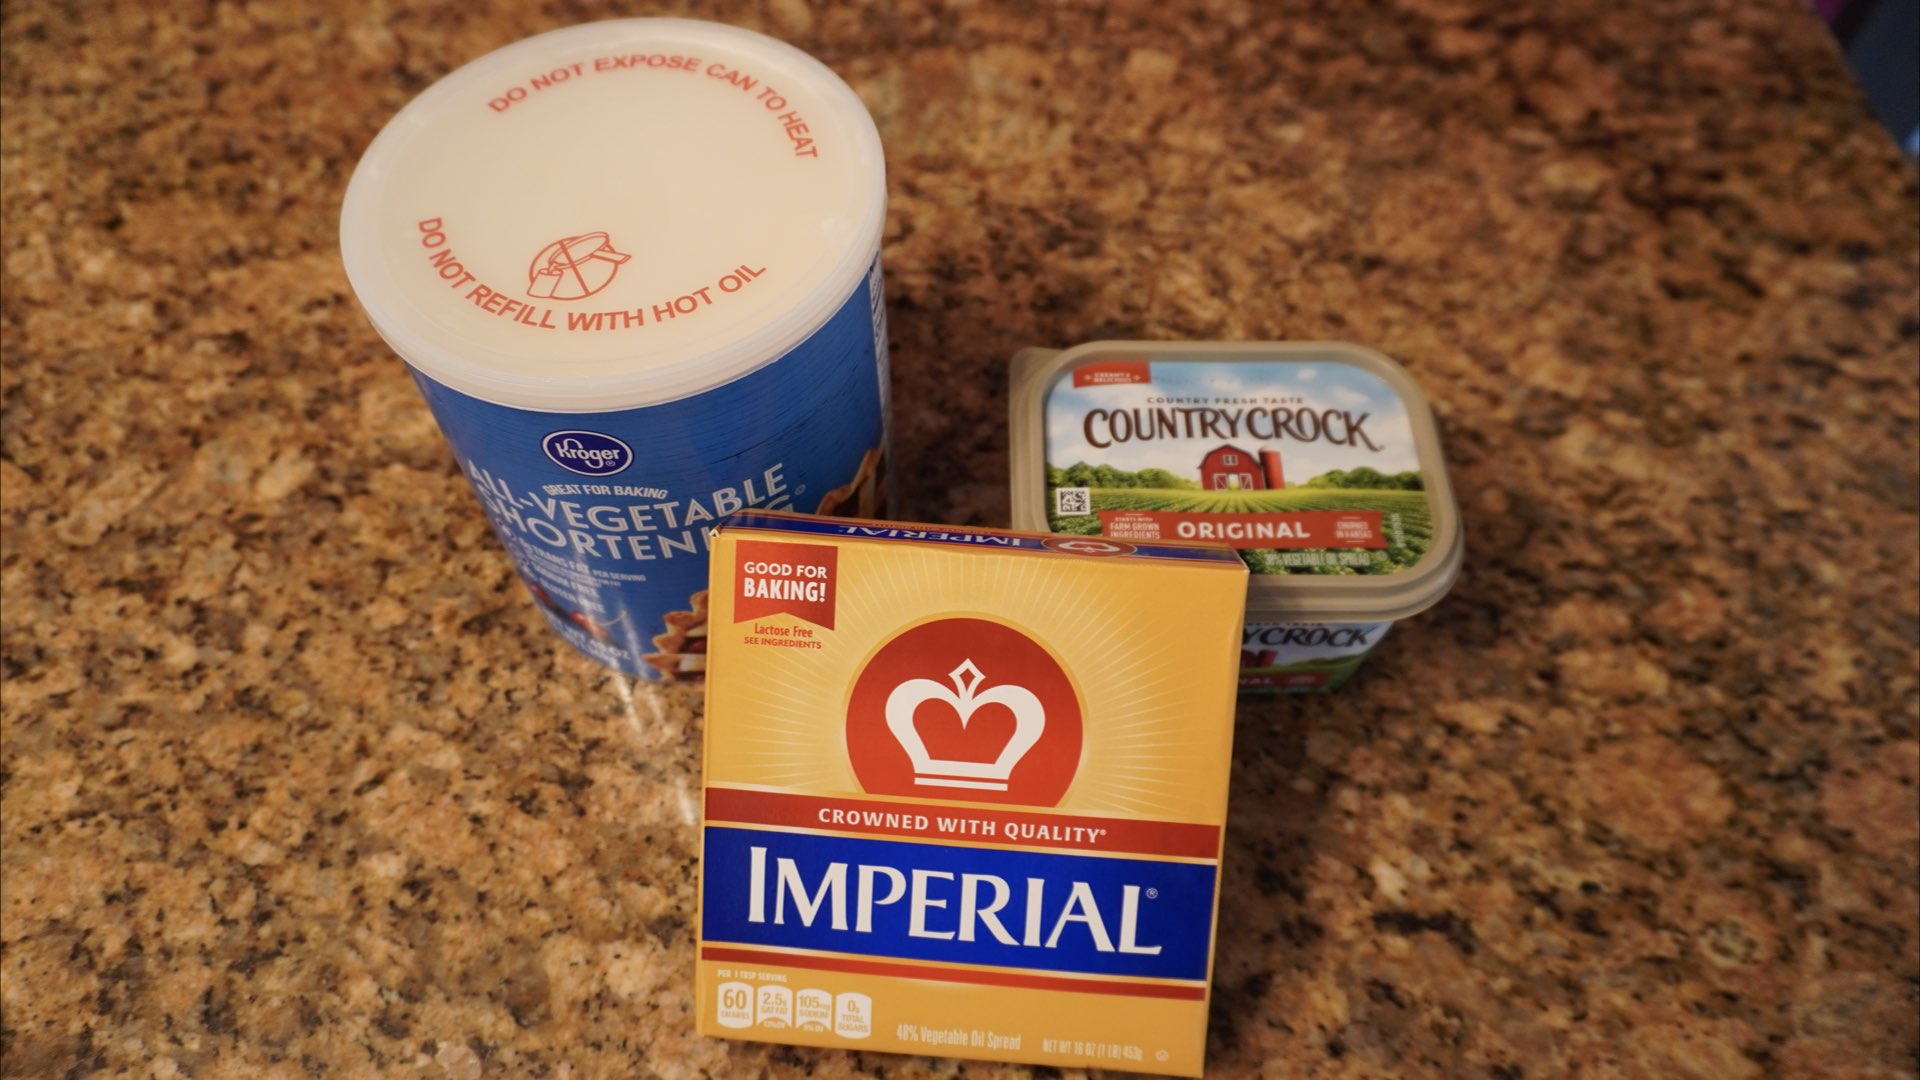
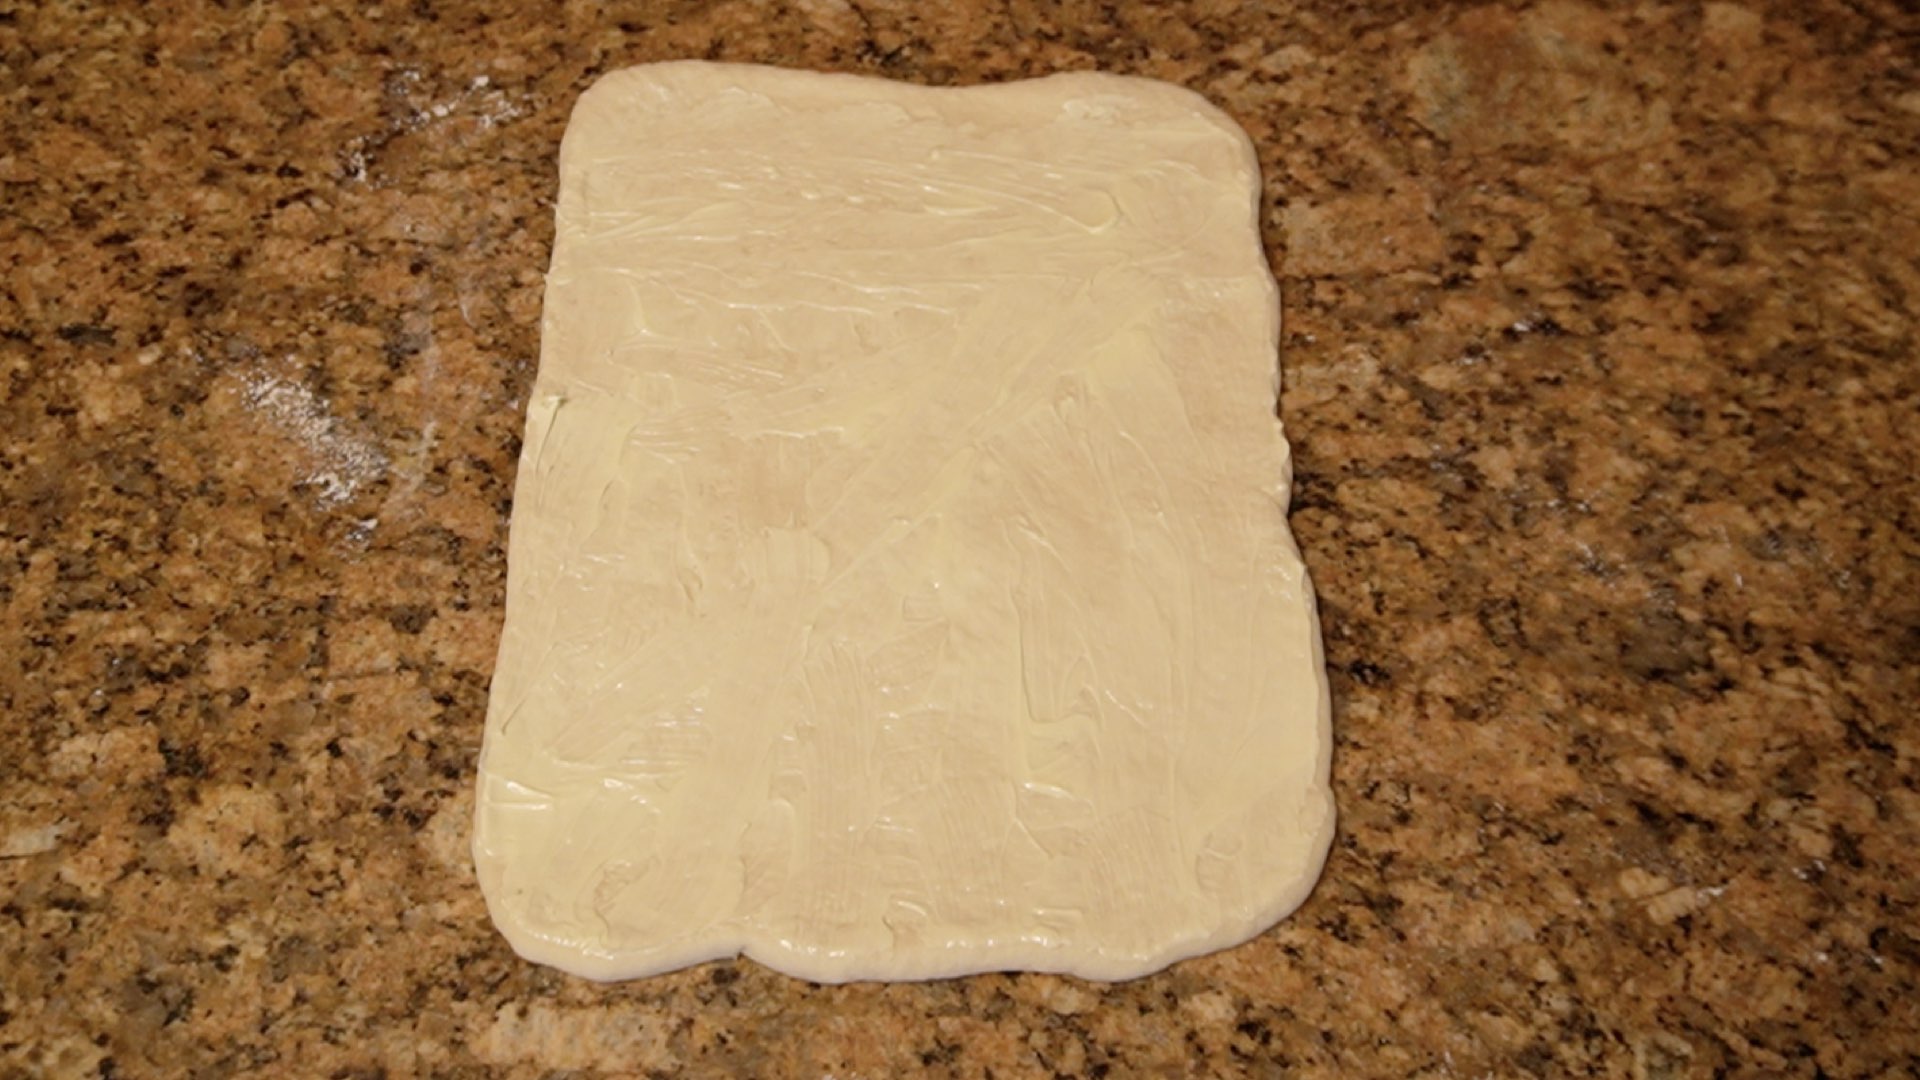
Evenly coat the dough with vegetable oil spread or shortening, leaving a 1/2″ (1.25cm) space on one of the 9″ (23cm) edges free of spread if desired for the dough to stick to itself. You can use any of these types of spread or shortening.
Your dough should look like this. A nice thin layer.
For the Filling
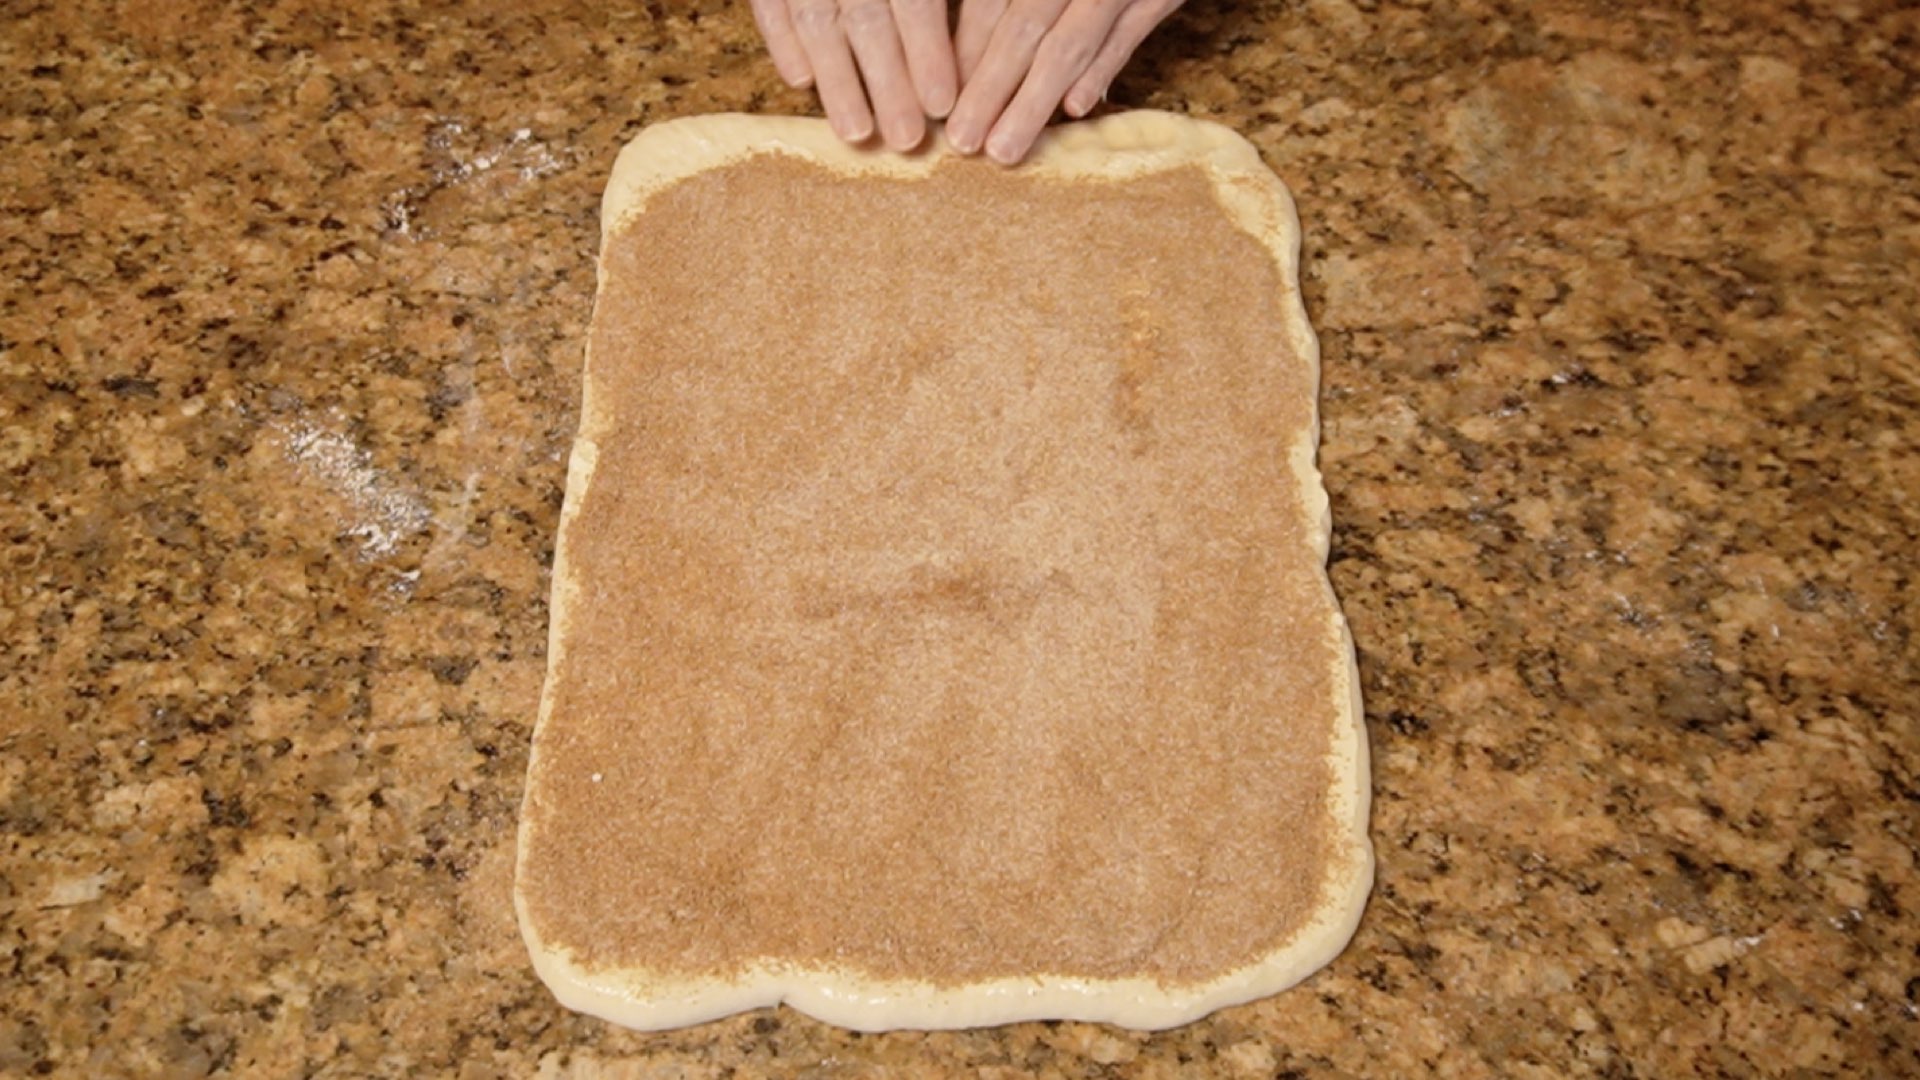
Stir together sugar, flour and cinnamon in a small bowl.

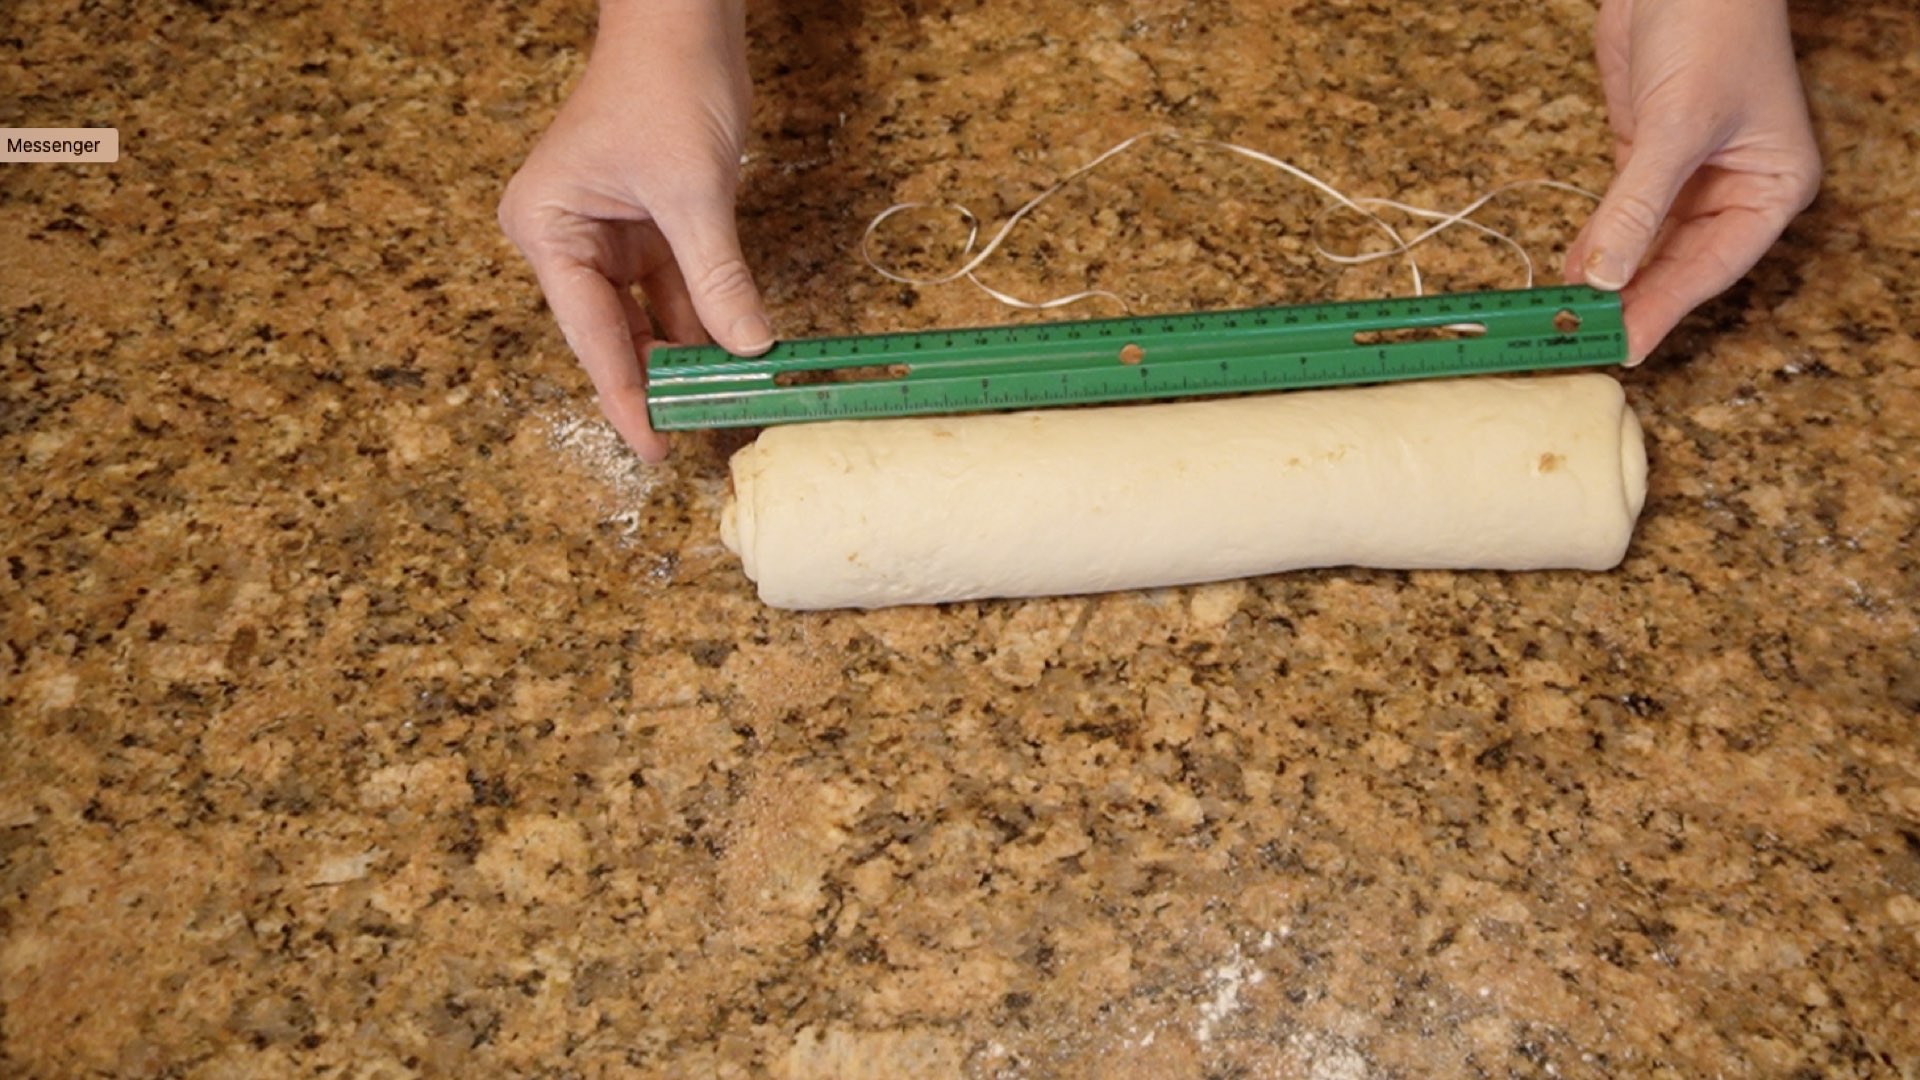
Sprinkle the filling on top of the dough. Starting from the 9″ (23cm) side with butter and filling, gently roll the dough into a log.
Cut into 9 slices using either dental floss or a serrated knife for best results. Using a ruler can help in this step as often the length of the dough can increase as you roll it up.
Step 7: Rest and Let Rise
Generously grease a 8″ (20cm) baking dish with cooking oil, non-stick spray, vegetable oil spread or vegetable shortening. Place slices into pan, about 1″ apart (2.5 cm.) Cover and allow to rest 30 – 60 minutes or until double in size. Resist to place the dough in a warm area, the oven or in a proofing drawer to speed up this process. Heating the dough can cause the filling to seep into the bottom of the pan and make your cinnamon rolls dry.
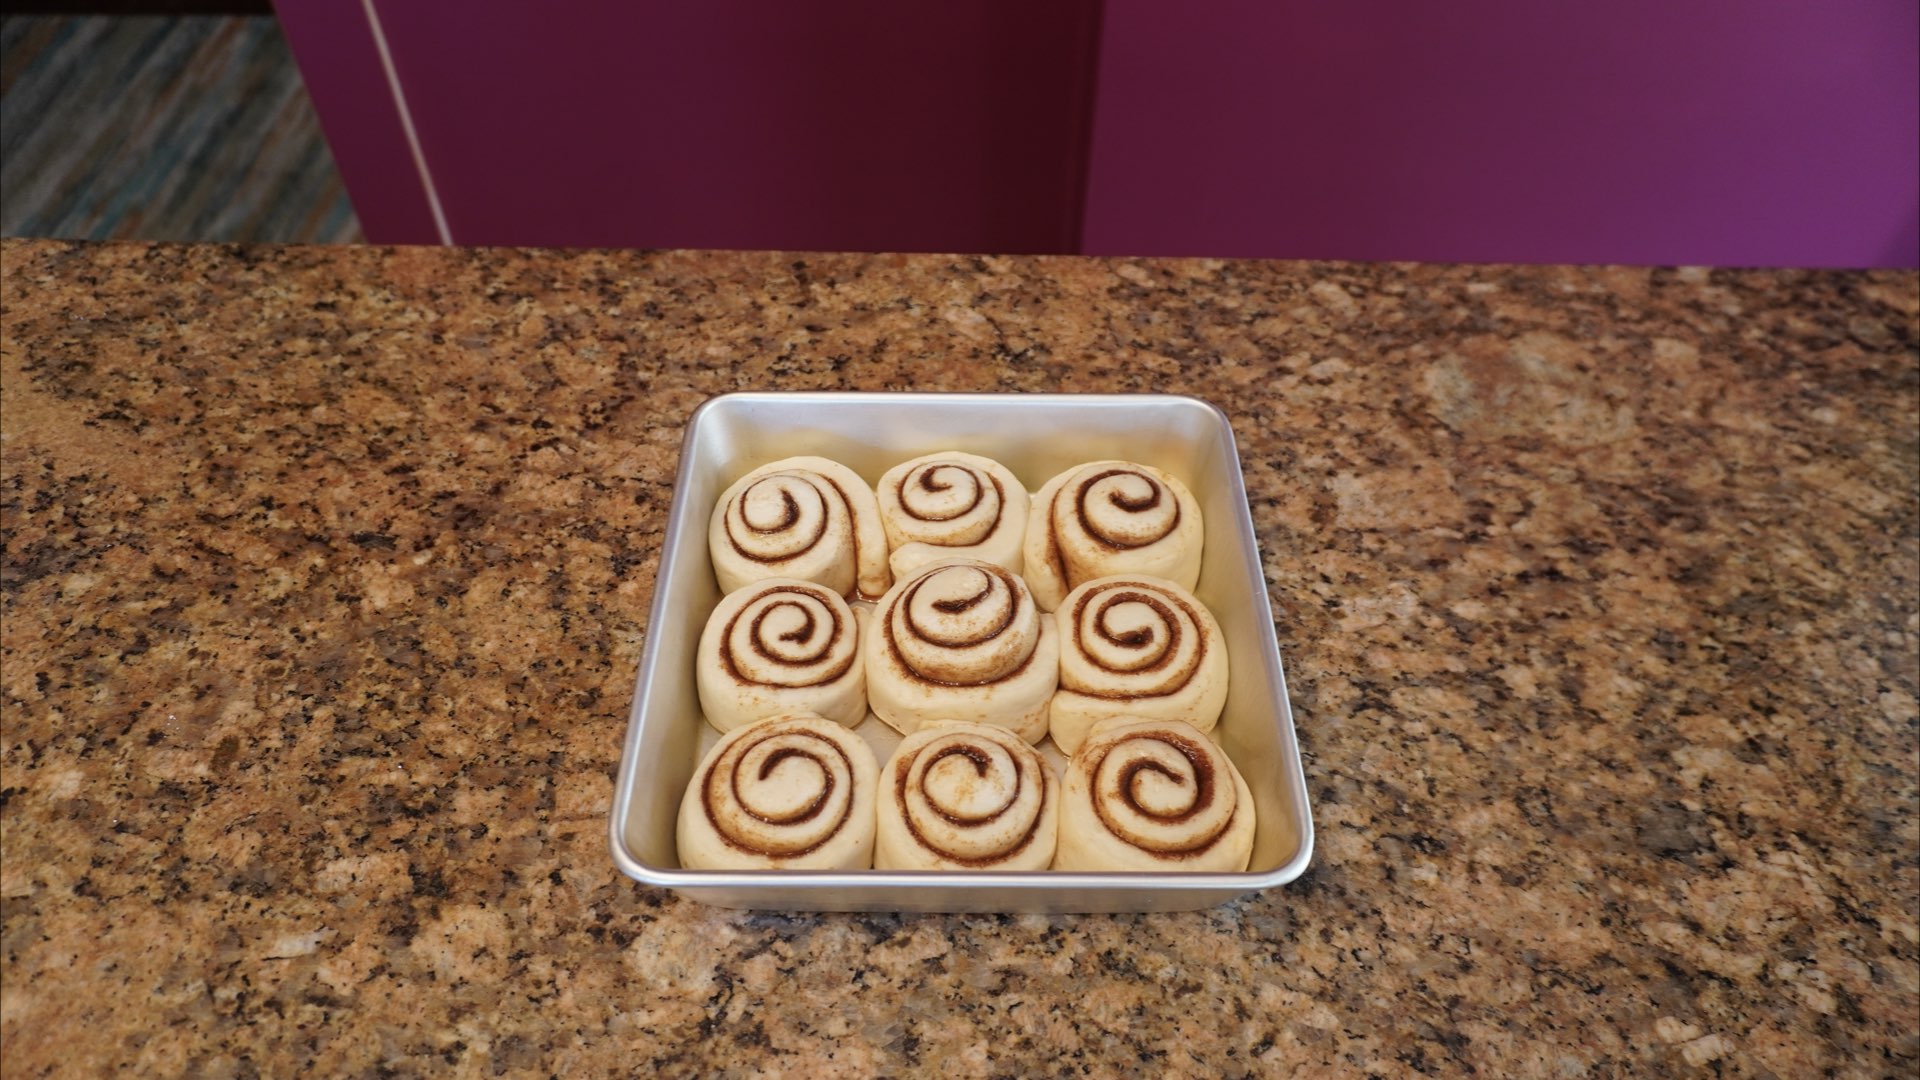
It is best to just wait until they double in size to move on to the next step.
Step 8: Bake
Now, we bake the dough until it is a beautiful golden brown. This will take approximately 18 – 22 minutes and depends on the type of bakeware you are using. For instance, expect ceramic and glass to take much longer than aluminum or stainless steel. If you are using a dark colored pan, you may need to drop the temperature 25°F (10°C) to prevent over browning of the crust. The center temperature should reach 190°F (88°C) when they are fully done.
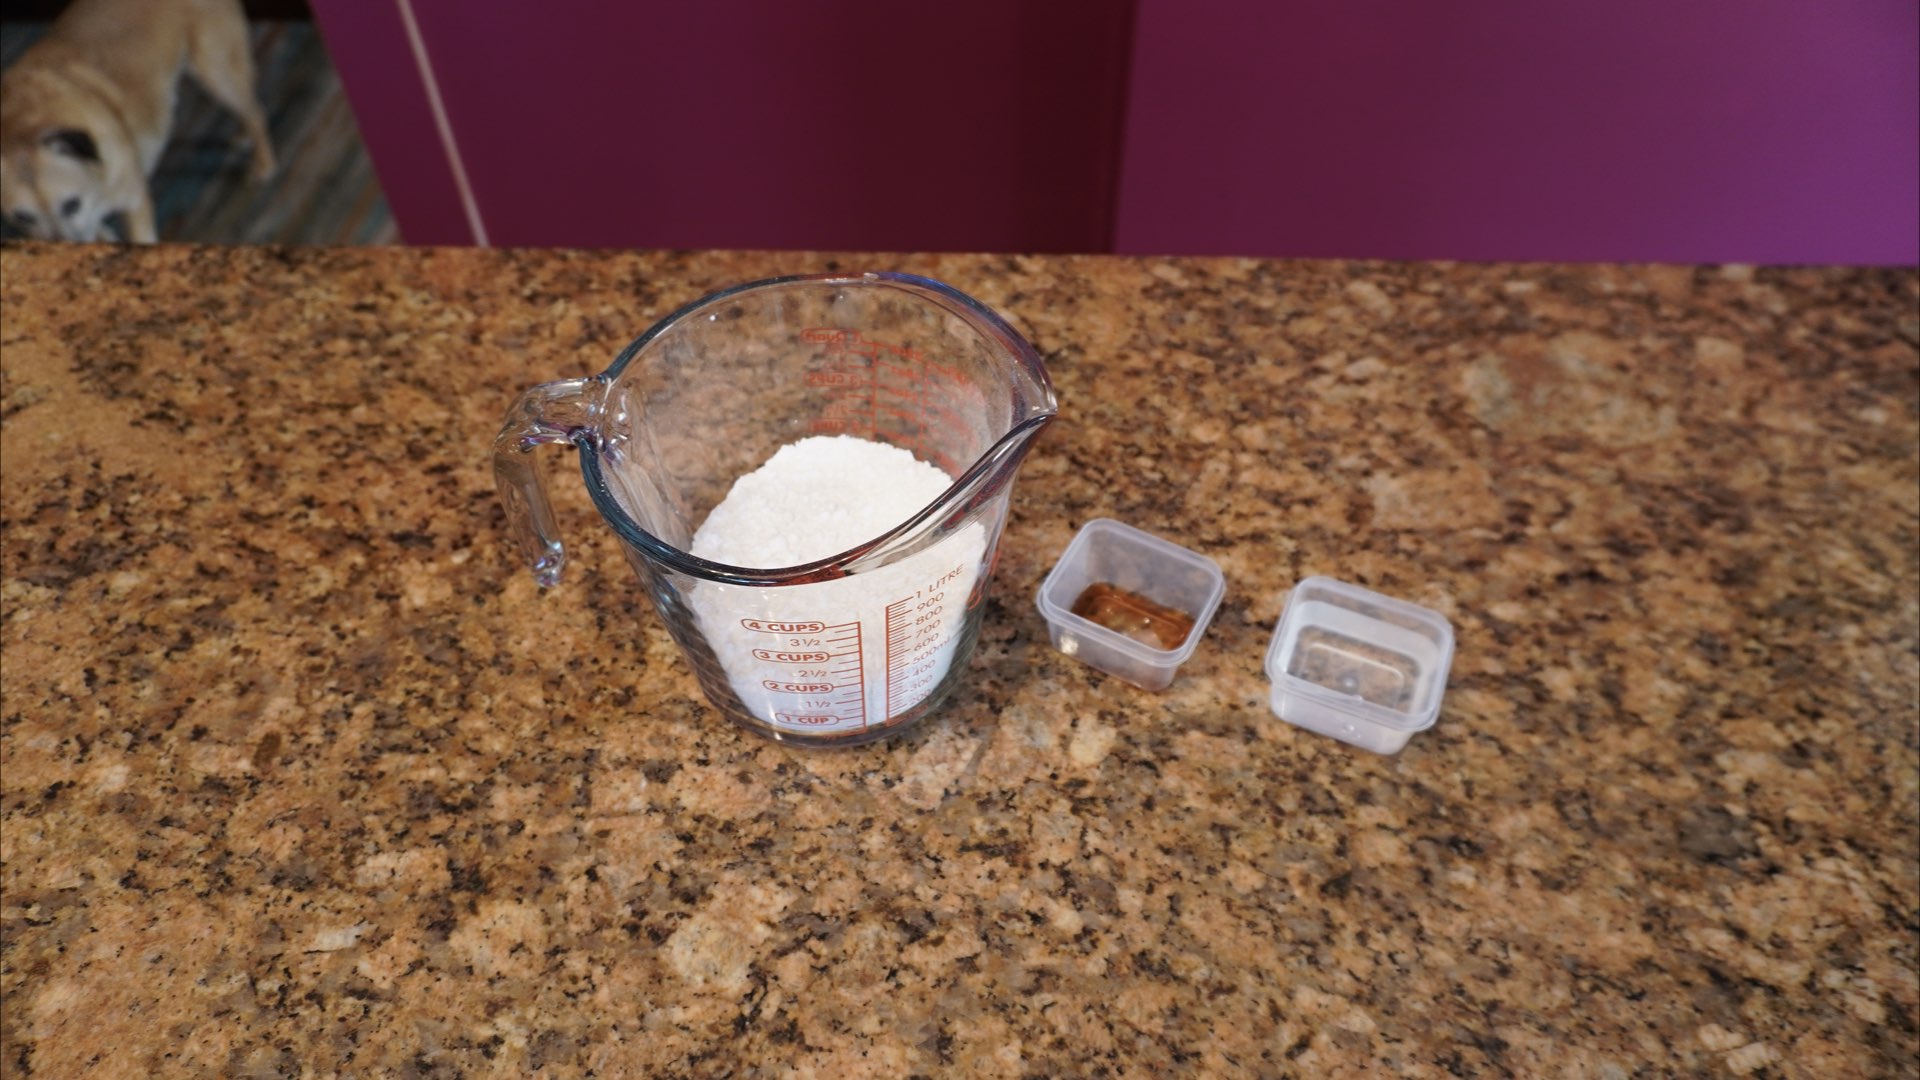
Step 9: Make the Glaze
In a small bowl or measuring cup, add the powdered sugar and vanilla. Mix in the water, 1 teaspoon at time until desired consistency. Do not add the water all at once.
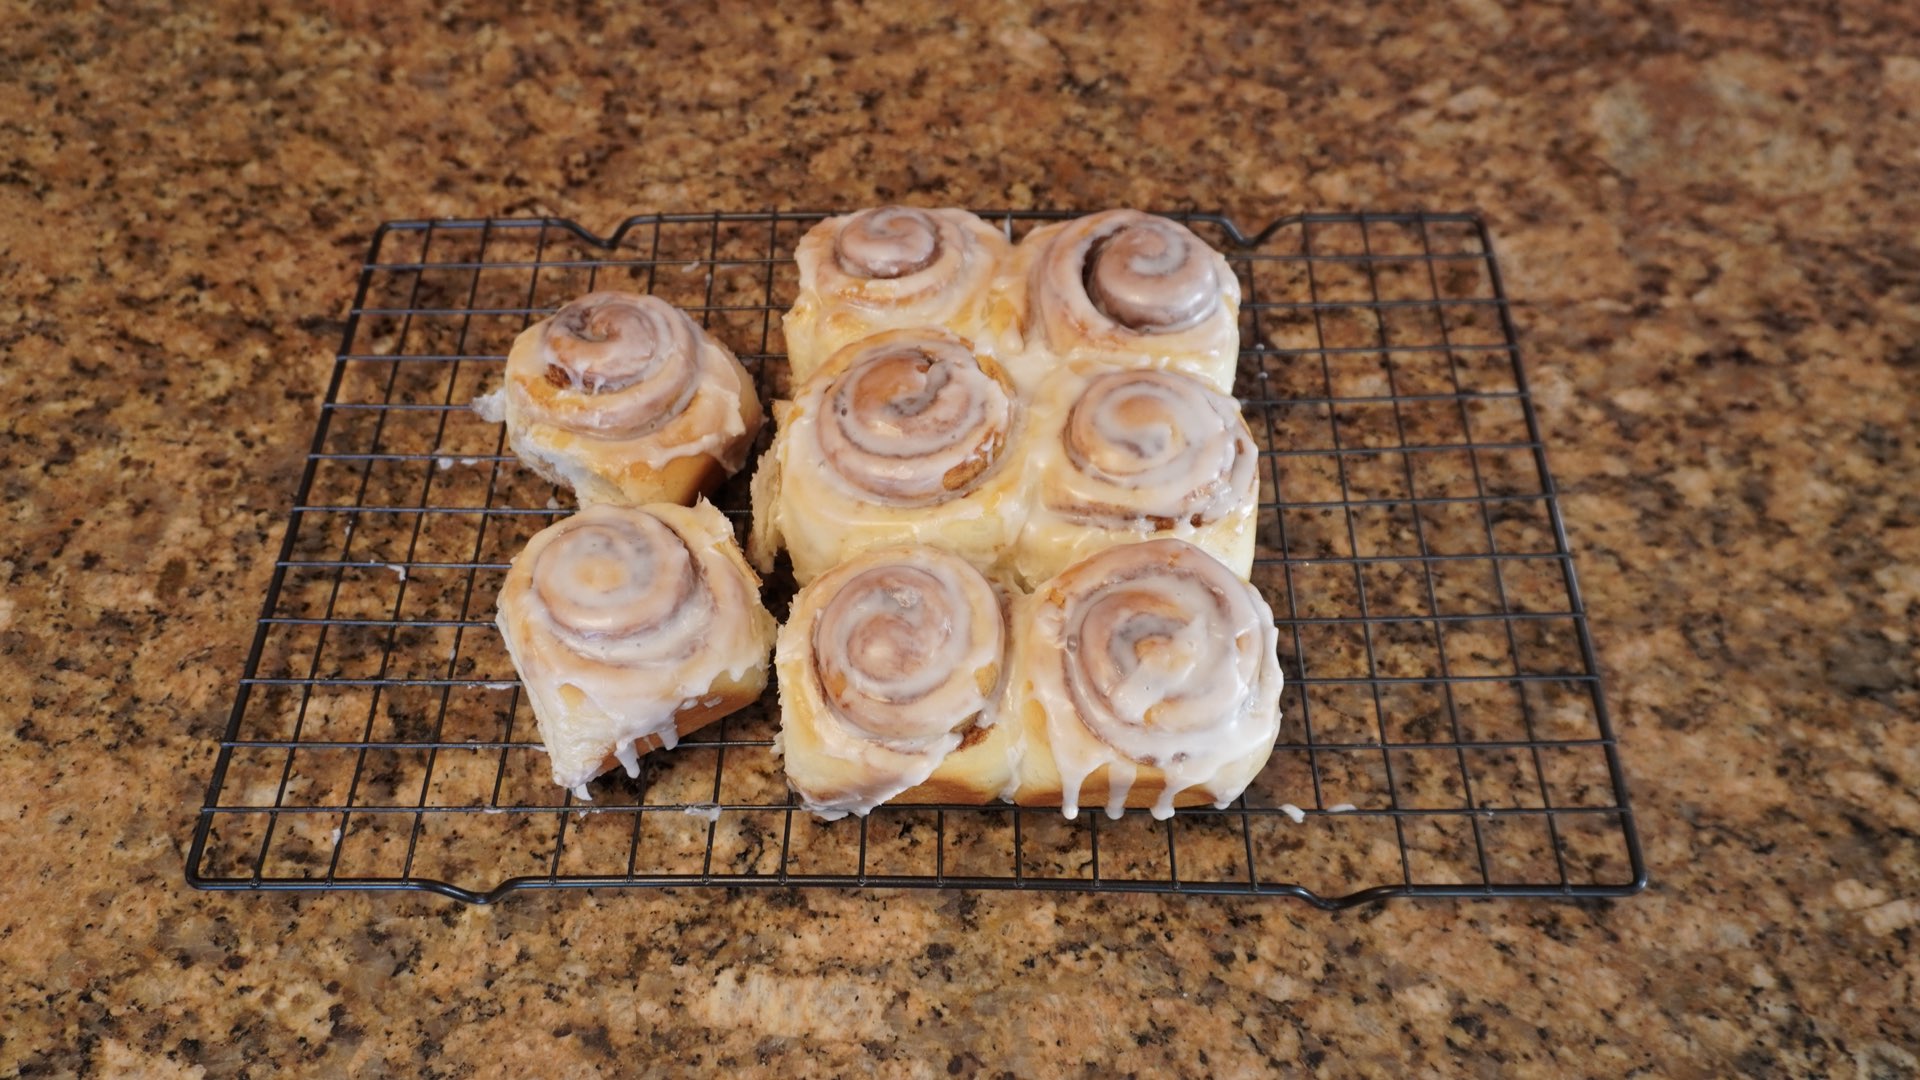
Remove rolls to a wire rack in order to cool. Drizzle glaze over the top of the cinnamon rolls after they have cooled 10 minutes. Adding the glaze too early will cause it to melt off and run down the sides, pooling onto the counter.
Substitutions and Tips
Here are some substitutions and tips for cinnamon rolls without dairy.
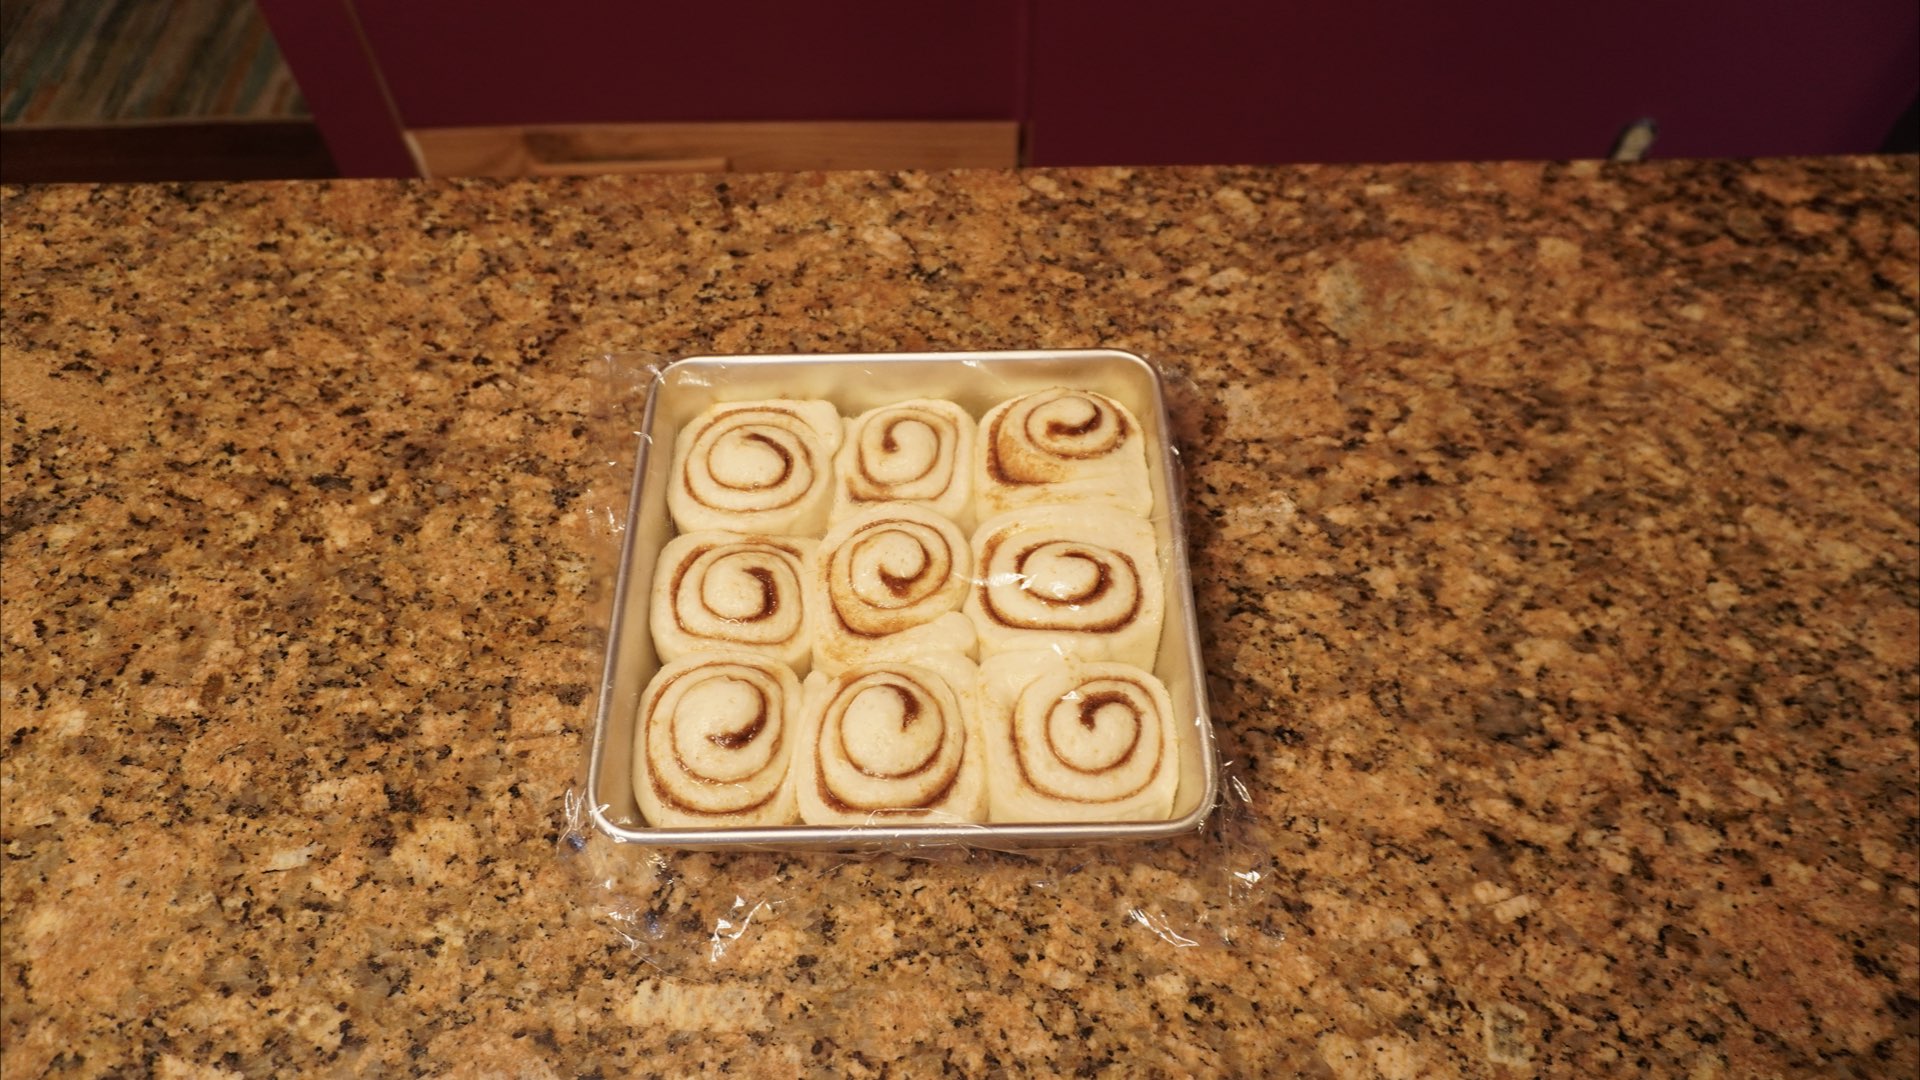
- You can make the rolls the night before. Instead of rising the second time, cover and place in the refrigerator overnight up to 24 hours. The next day, let them sit on the counter 30 minutes or until they are double in size and then bake as usual. If the rolls are already doubled in size, let them rest at room temperature for 20 minutes prior to baking.
- You can replace up to one-half of the white flour with whole wheat flour. You may need to add 1 – 2 tablespoons (15 – 30mL) of water to get a smooth dough as whole wheat absorbs liquid more readily.
- If you don’t have vegetable spread or shortening, you can use oil instead for the filling. Canola and vegetable oils will give a neutral taste.
- Coconut oil can be substituted for the vegetable oil spread in this recipe but it will give a slight coconut flavor to the filling.
- Trying to cut the calories? Use only 2 tablespoons or 30 mL of oil in the dough recipe!
Storage
Freshly baked cinnamon rolls are always best eaten the day you make them. However, they will store up to three days before they go stale. Let the rolls cool completely and store in an airtight container or plastic bag to stay soft.
These cinnamon rolls freeze well up to 2 months. For best results, wrap each one in plastic wrap after they have cooled and place in an airtight container or freezer bag. Frozen cinnamon rolls can be reheated in the oven at 350F (180C) for 10 – 15 minutes. You can also thaw them on the counter until they reach room temperature, about 2 hours.
Dairy-Free Cinnamon Rolls Recipe
Ingredients
For the Dough
- 2 cups (300g) flour
- ⅔ cup (160mL) water
- 3 tbs (45mL) oil
- 2 tbs (25g) sugar
- 1 tsp (3g) yeast
- ½ tsp (2.5g) salt
For the Filling
- ⅓ cup (75g) brown sugar
- 2 tbs (28g) vegetable oil spread or vegetable shortening
- 1 tbs (9g) flour
- 1 tsp (2g) cinnamon
For the Glaze
- 1 cup (125g) powdered sugar
- 1-3 tbs (15 – 45 mL) water
- ¼ tsp (1.25mL) vanilla
Instructions
For the Dough
- In a large bowl, mix all the ingredients together with the handle of a spoon until a shaggy dough forms. Knead on a clean work surface until dough is elastic and stretches easily without tearing. This can take 8 – 12 minutes.
- Cover with plastic wrap or a damp cloth and let rest until double in size. This typically takes 60 – 120 minutes.
- Roll dough into a 9×12" (23×30 cm) rectangle. Evenly coat the dough with vegetable oil spread or shortening, leaving a 1/2" (1.25cm) space on one of the 9" (23cm) edges free of spread.
For the Filling
- Stir together sugar, flour and cinnamon in a small bowl. Sprinkle the filling on top of the dough. Starting from the 9" (23cm) side with butter and filling, gently roll the dough into a log.
- Cut into 9 slices.Generously grease a 8" (20cm) baking dish with cooking oil, non-stick spray, vegetable oil spread or vegetable shortening. Place slices into pan, about 1" apart (2.5 cm.)Cover and allow to rest 60 minutes.
- Preheat oven to 350°F (180°C) when there is 20 minutes left on the second rise. Remove the plastic wrap after they have risen and place the rolls in the oven.
- Bake 18 – 22 minutes or until rolls are golden brown and center reaches 190F (88C.)
For the Glaze
- In a small bowl, add the powdered sugar and vanilla. Mix in the water, 1 teaspoon at time until desired consistency. Do not add the water all at once.
- Remove rolls to a wire rack in order to cool. Drizzle glaze over the top of the cinnamon rolls after they have cooled 10 minutes. Cool rolls completely before storing in an airtight container.
0 Comments