Welcome to my very first post about caramel! I had to pick something new to me. Not something simple like chocolate chip cookies. Let me be the first to tell you learning to make caramel sauce is the devil. I burned my caramel the first time. It looked and smelled amazing. I poured it into a nice mason jar after standing at the stove for over 30 minutes petrified of receiving molten lava type burns and waited impatiently to try this steaming hot amazing smelling goodness. And…
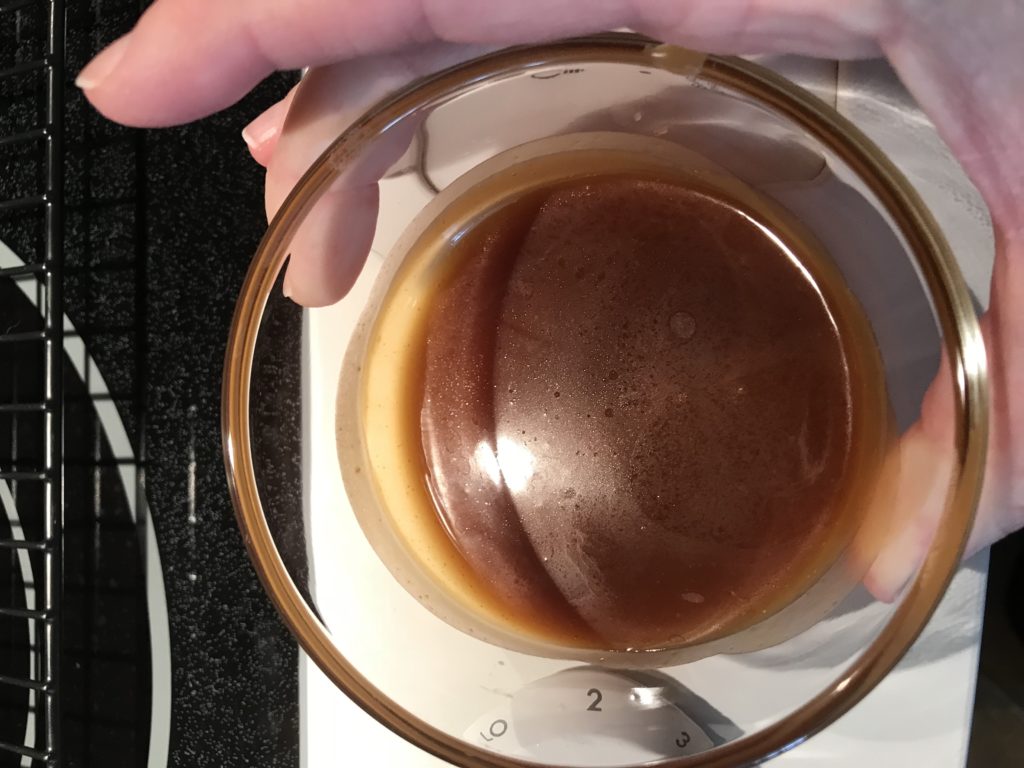
It. Was. Awful. I was expecting this amazing, rich sweet gooeyness and at first it was amazing. Then came this horrible bitter after taste, much like burnt coffee grounds. What happened?!
I was disappointed and nearly gave up. I double checked the recipe, thought “maybe it was the lemon juice they said to add that caused to prevent crystallization that caused this to happen?” So I persevered and tried again.
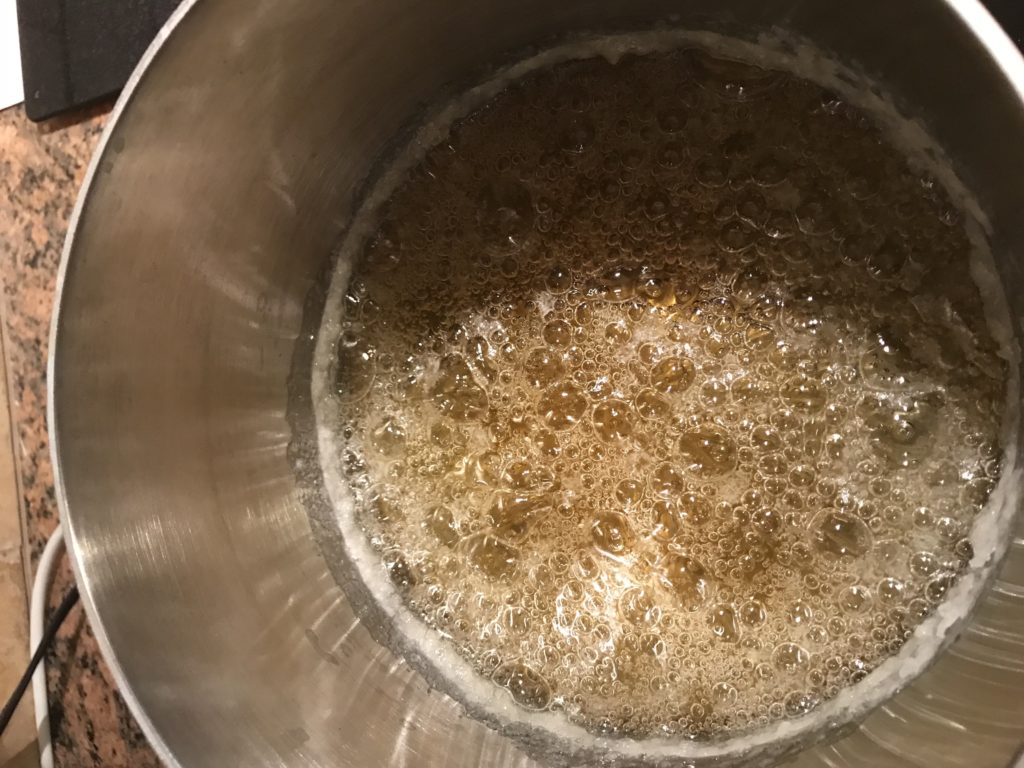
This time, I went simple. I tried just sugar, water and heat. Surely I’ll get it right this time! Things were going grand and then….the dreaded crystallization occurred.
First it was one spot, then two, then three, next thing I know my syrup was back to sugar. I nearly threw in the towel. I stood there for 25 minutes to watch a pot of ruined sugar at the moment it was supposed to start to caramelize. Seriously, caramel sauce is the devil.
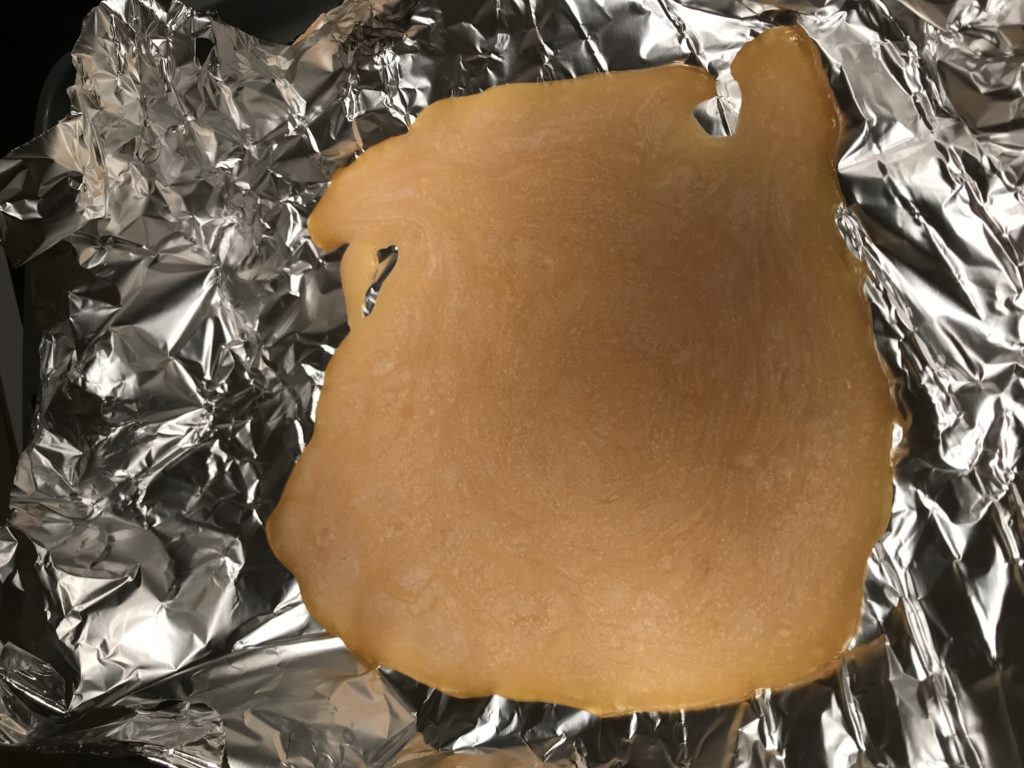
Maybe it’s not so bad I thought….I poured it into a sheet of aluminum foil to see what would happen. Perhaps, once it cooled, I could bash it up and use it as decorations? Perhaps not. It was a grainy, hardened mess.
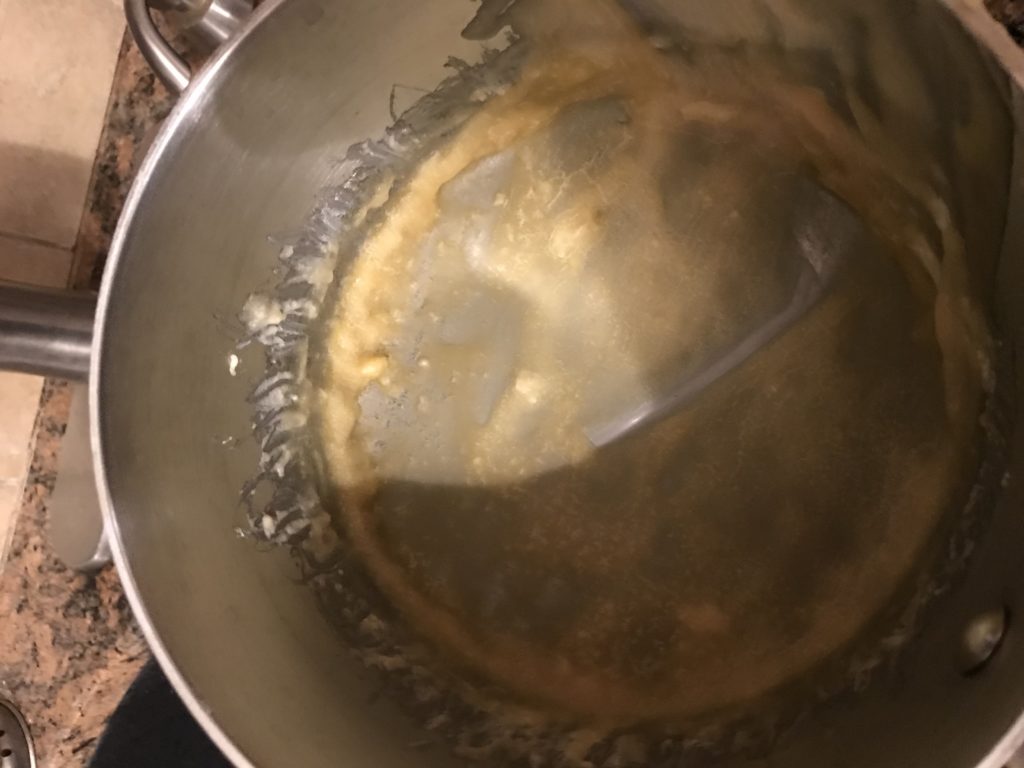
And so was the pan. Side note: Instead of scrubbing for over 15 minutes trying to clean this mess, get smarter than me.
Add in some water, bring the pan back up to a gentle simmer or low boil and watch this hardened nightmare just slide off the bottom and sides. Turn off the heat and pour it down the drain thanking it for the experience of failure. After all, you are one step closer to success!
Back to the drawing board! I watched hours of caramel videos on youtube yet again, read countless blogs, gathered up my courage and tried again. Let’s make this, I have a greater chance for caramel this time around. Some said to add lemon juice to prevent crystallization, others said to try honey, agave or corn syrup. Having already wasted a lot of time and a bit of money, I decided to up my chances for success.
What I eventually decided to do: use sugar and water. Then I proceeded to search for the cheapest recipe out there for caramel. Sugar is cheap, butter and cream certain is not. I found myself quite upset over the first recipe as it used an entire stick of butter and 2 cups of cream! It’s like I took a $5 bill, tore it up and rinsed it down the drain. I’m not going through that again!
So after watching more and reading more, I decided to go simple. Most people started with a cup of sugar. Some added anywhere from a tablespoon to 2 cups of water. Some added 1 dollop to 1 1/2 cups of corn syrup. I ended up with just 1 cup of sugar, and 1/4 cup of water.
But I had a theory: Let me dissolve that sugar on a slower steady heat, before boiling to maximize my chances of success. I was thinking about how I would always add a bit of hot water to Kool-aid and sugar for years and mix it to get rid of the granular taste and then fill it up with cold water after it was fully dissolved. I am going to stand there for hours if it took it. I’m going to make caramel. I want my turtle sundae I’ve been dreaming about!
This time, I’m taking nothing for granted. I scrubbed the pot clean and wiped it with vinegar to remove any residue. Then let the pan sit until the smell of vinegar dissipated. Attaching a cheap thermometer I got at Walmart for $4, (less expensive than continuously throwing those imagined five dollar bills down the drain,) got out an old pastry brush that had better days to brush down any crystals, and had the lid handy to throw on just in case.
Then, I sucked in my breath and added the ingredients, turning the heat to a medium low. I decided to go low and slow until the water boiled off and resisted the urge to poke, prod or stir that pot.
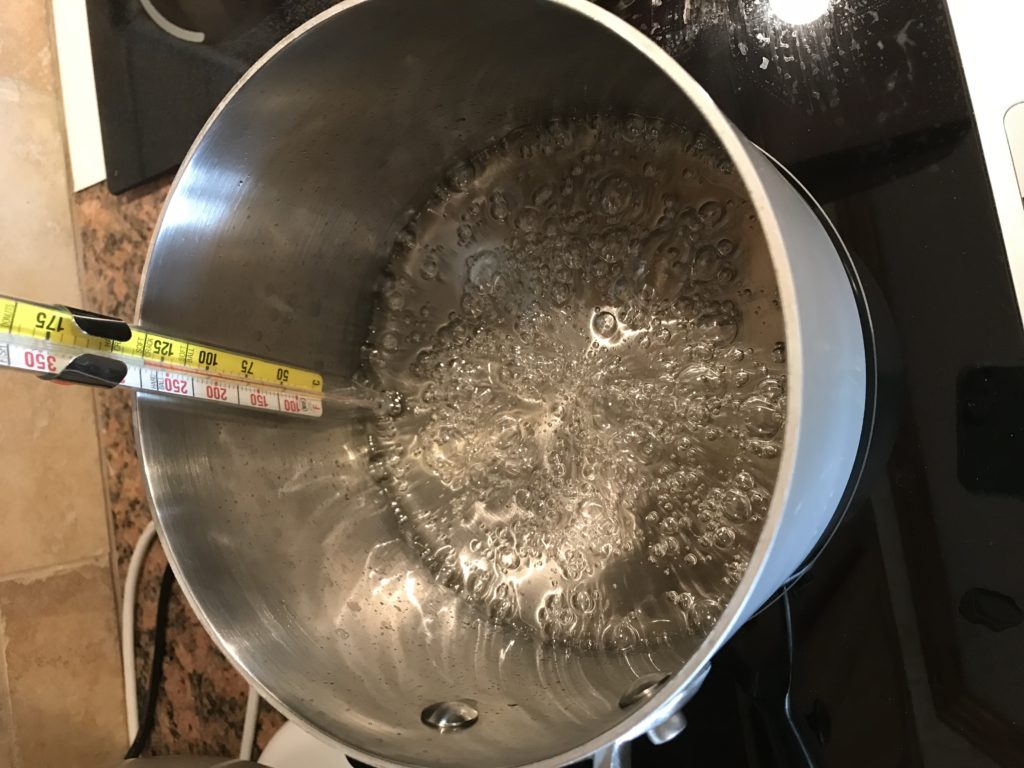
And…something magical started to happen. The boiling slowed, the crystals didn’t form and it started to turn slightly!
I’m sad to report I didn’t get lots of pictures and the ones I did weren’t very good as this was the point you have to be super careful not to burn yourself or the caramel. I was more focused on safety than prosperity. After all, I wasn’t even thinking about a blog when I took pictures. I was thinking sharing on facebook and my friends are used to my shoddy photography skills.
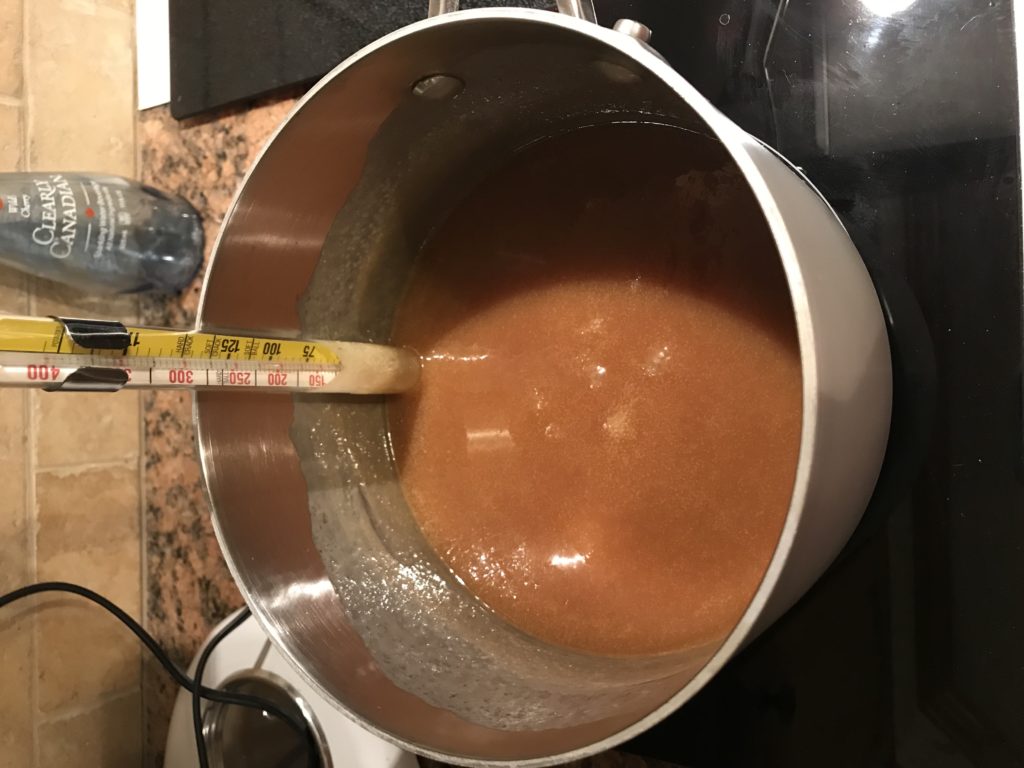
It’s perhaps a bit sweeter (should probably add more salt) and not as rich as others out there (due to the use of much less butter,) I’m sure. But its great as I made it and it uses less expensive ingredients. Overall, a perfect recipe for those beginning to make caramel. Caramel Sauce is the Devil, but it doesn’t have to be with the proper setup.
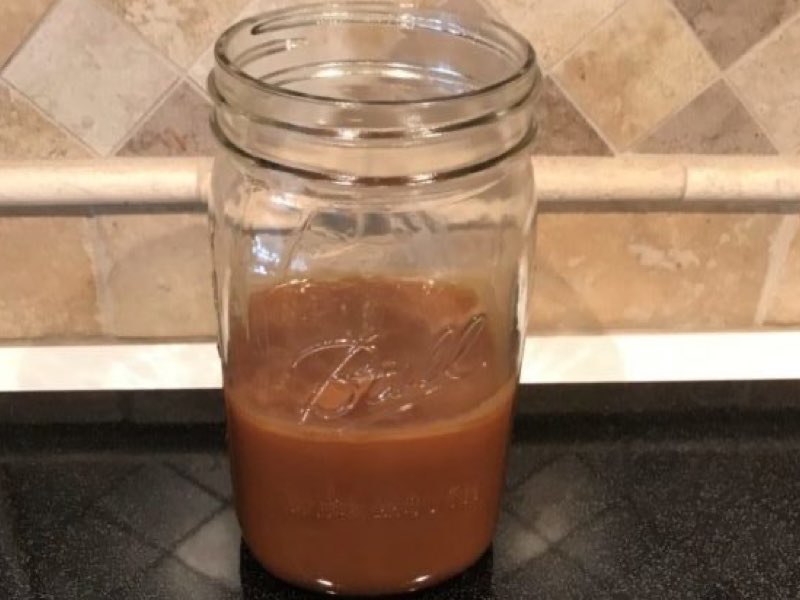
Caramel Sauce
Ingredients
- 1 cup (200g) granulated sugar
- ¾ cup (180mL) heavy whipping cream
- ¼ cup (60mL) water
- 2 tbs (28g) butter
- ½ tsp (2.5g) salt
Instructions
- Pour sugar and water into a heavy bottomed 3 quart saucepan.
- Do not stir! Let the mixture simmer at medium low heat until all the sugar is absorbed (it will look clear and not grainy.) Turn up heat to medium high.
- The water will boil rapidly and then slow. This means the water is nearly all boiled off and this is where you watch carefully. If using a thermometer, bring the mixture to 325 – 340F (165 – 171C) from golden to dark amber.
- Turn off heat, add butter quickly and stir with a heat resistant spoon. It will bubble up and create lots of steam, so be careful. After butter melts, add in the cream and return heat to medium. Continue cooking until mixture reaches 230F (110C.) Remove from heat.
- Let it cool about 10 minutes and carefully pour into a heat resistant container. Do not scrap down sides of pan.
- Once cool, store in the refrigerator up to 3 weeks. You can reheat it for a thinner consistency, it will be very thick straight out of the fridge.
Notes
- Shortcut method Skip cooking the sugar. Simply cook the sugar, cream, butter and salt together until mixture thickens, is golden brown and temperature reaches 230F (110C.)
- Some find adding 1/4 cup (60mL) light corn syrup to the water and sugar beneficial in preventing crystallization.
- Non-stick pans are notorious for causing sugar to crystalize when making candy. A good stainless steel pan with a heavy bottom is ideal.
- If you don’t have a thermometer, you can test it by dropping a small amount in cold water. Wait several moments to allow syrup to cool before handling.
- Caramel is very hot. Never leave the pan unattended and take extreme care when working with heating sugar.
- Adjust the heat as necessary. Do not allow the mixture to boil over, especially on glass stovetops. Hot sugar syrup and milk products can damage glass surfaces. Electric glass stovetops are not recommended for making candies.
- Do not touch or taste hot caramel. Use oven mitts and let the caramel cool completely before handling or consuming. You will be burned if you fail to heed this advice.
References
Adapted from several recipes from the following youtube channels: joy of baking, bake like a pro, kitchen conundrums, and cupcake jemma on youtube. I highly recommend them all and many more.
If you make this recipe, tag @jacksonsjob on Instagram. I’d love to see both triumphs and pitfalls. It’s how we learn!
0 Comments