A Quick Introduction to the Two Ingredient Dog Treats Recipe
This two-ingredient dog treats recipe is really simple to make. They were created for our dogs that have food allergies and cannot eat common dog treats. We use rice flour for our dogs, but you can use any type of flour your veterinarian approves for your furry companion. Other flour options could be wheat, corn meal, oat flour as long as they can be easily digested by your pal.
Step-By-Step Instructions
Below, we will teach you how to make this two ingredient dog treat recipe by breaking the process into simple steps. Be sure to read each step before beginning the recipe to avoid common mistakes.
Step 1: Gather your Ingredients
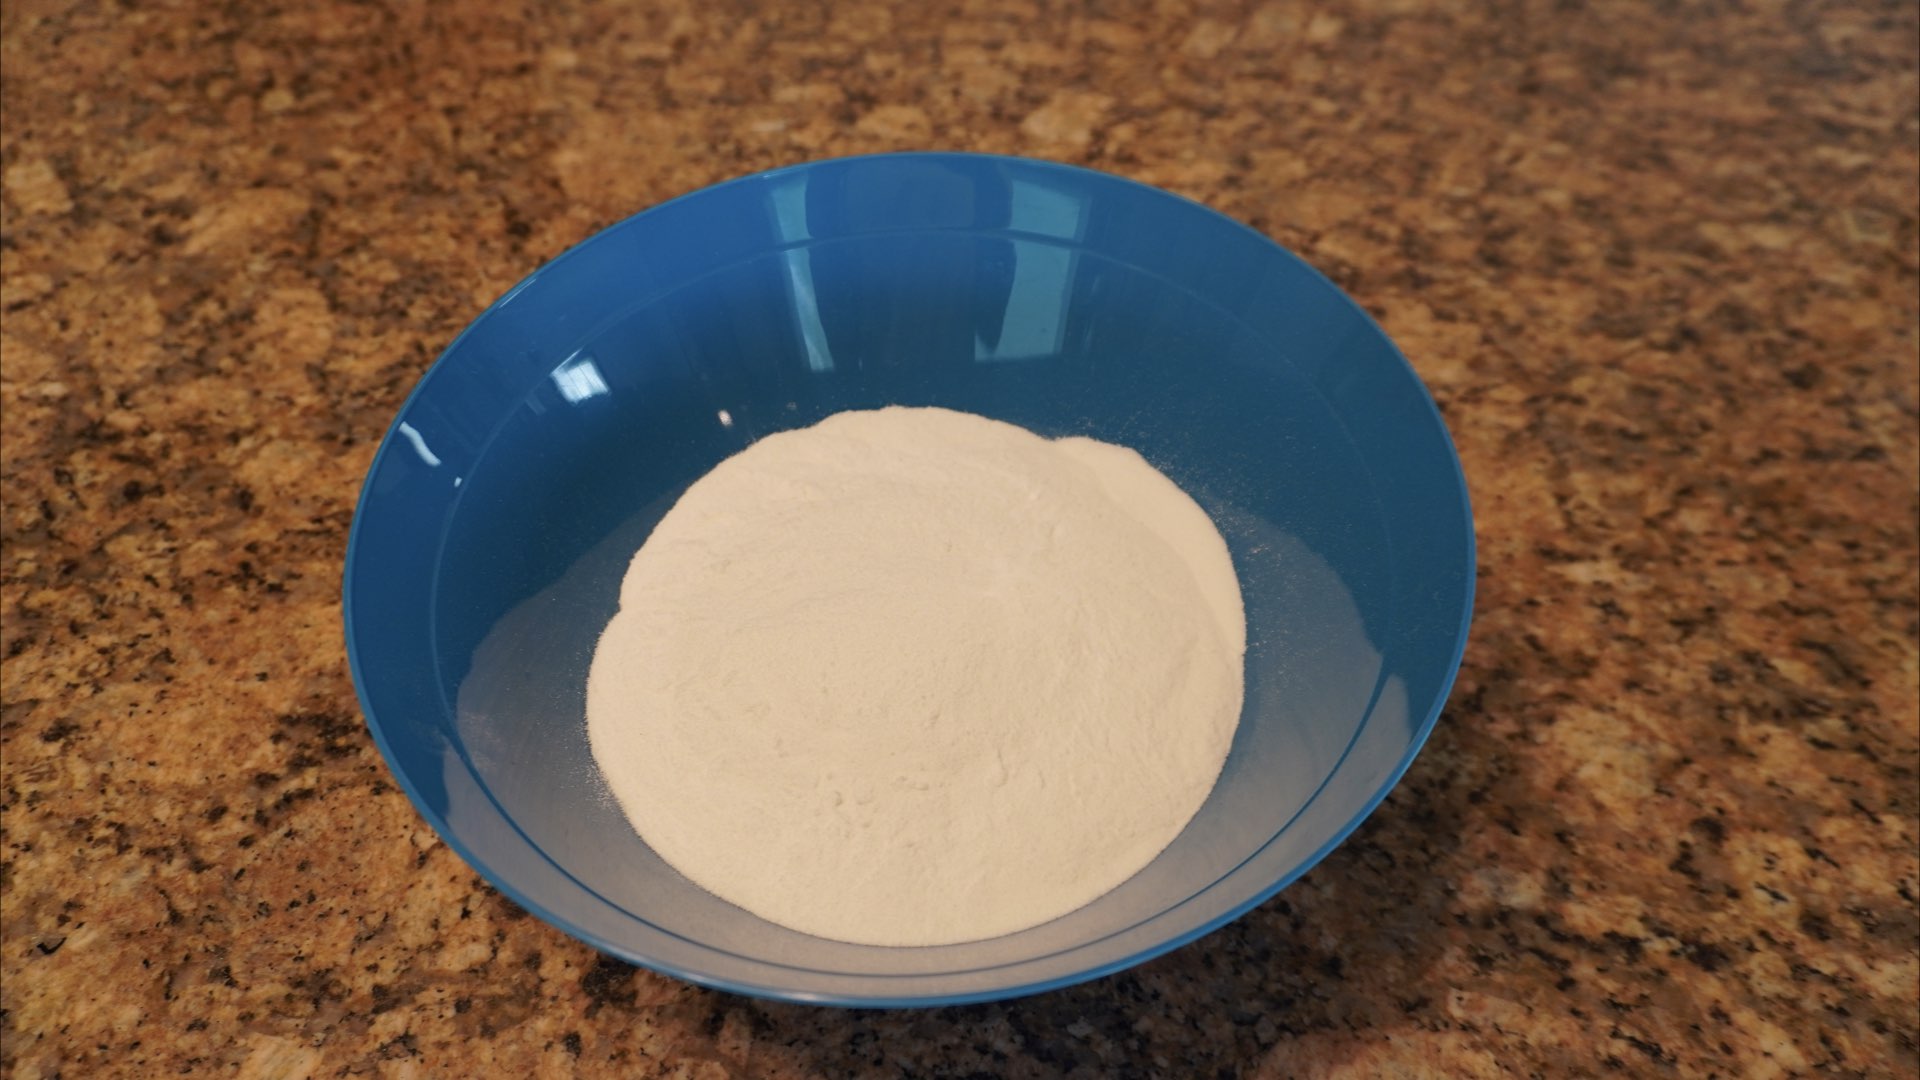
For every successful recipe, it is recommended you measure out your ingredients ahead of time. The French culinary term for this is mise en place. This simply means to get everything ready or in place. If you get into the habit of gathering, weighing or measuring and preparing the ingredients ahead of time, you will not only be better prepared, but the recipe is already set up for success. Prepping also allows you an opportunity to ensure you have all the ingredients on hand. It would be a bad start to begin making this recipe only to find out you are out of an essential ingredient. This preparation will be easy. You only need rice flour and water.
Step 2: Prepare your Pan and Oven
Preheat your oven 350°F (180°C) while you make the dog treats. You will need to line a cookie sheet with parchment paper or use a silicone mat. These treats will often stick to even non-stick surfaces.
Step 3: Combine your Ingredients
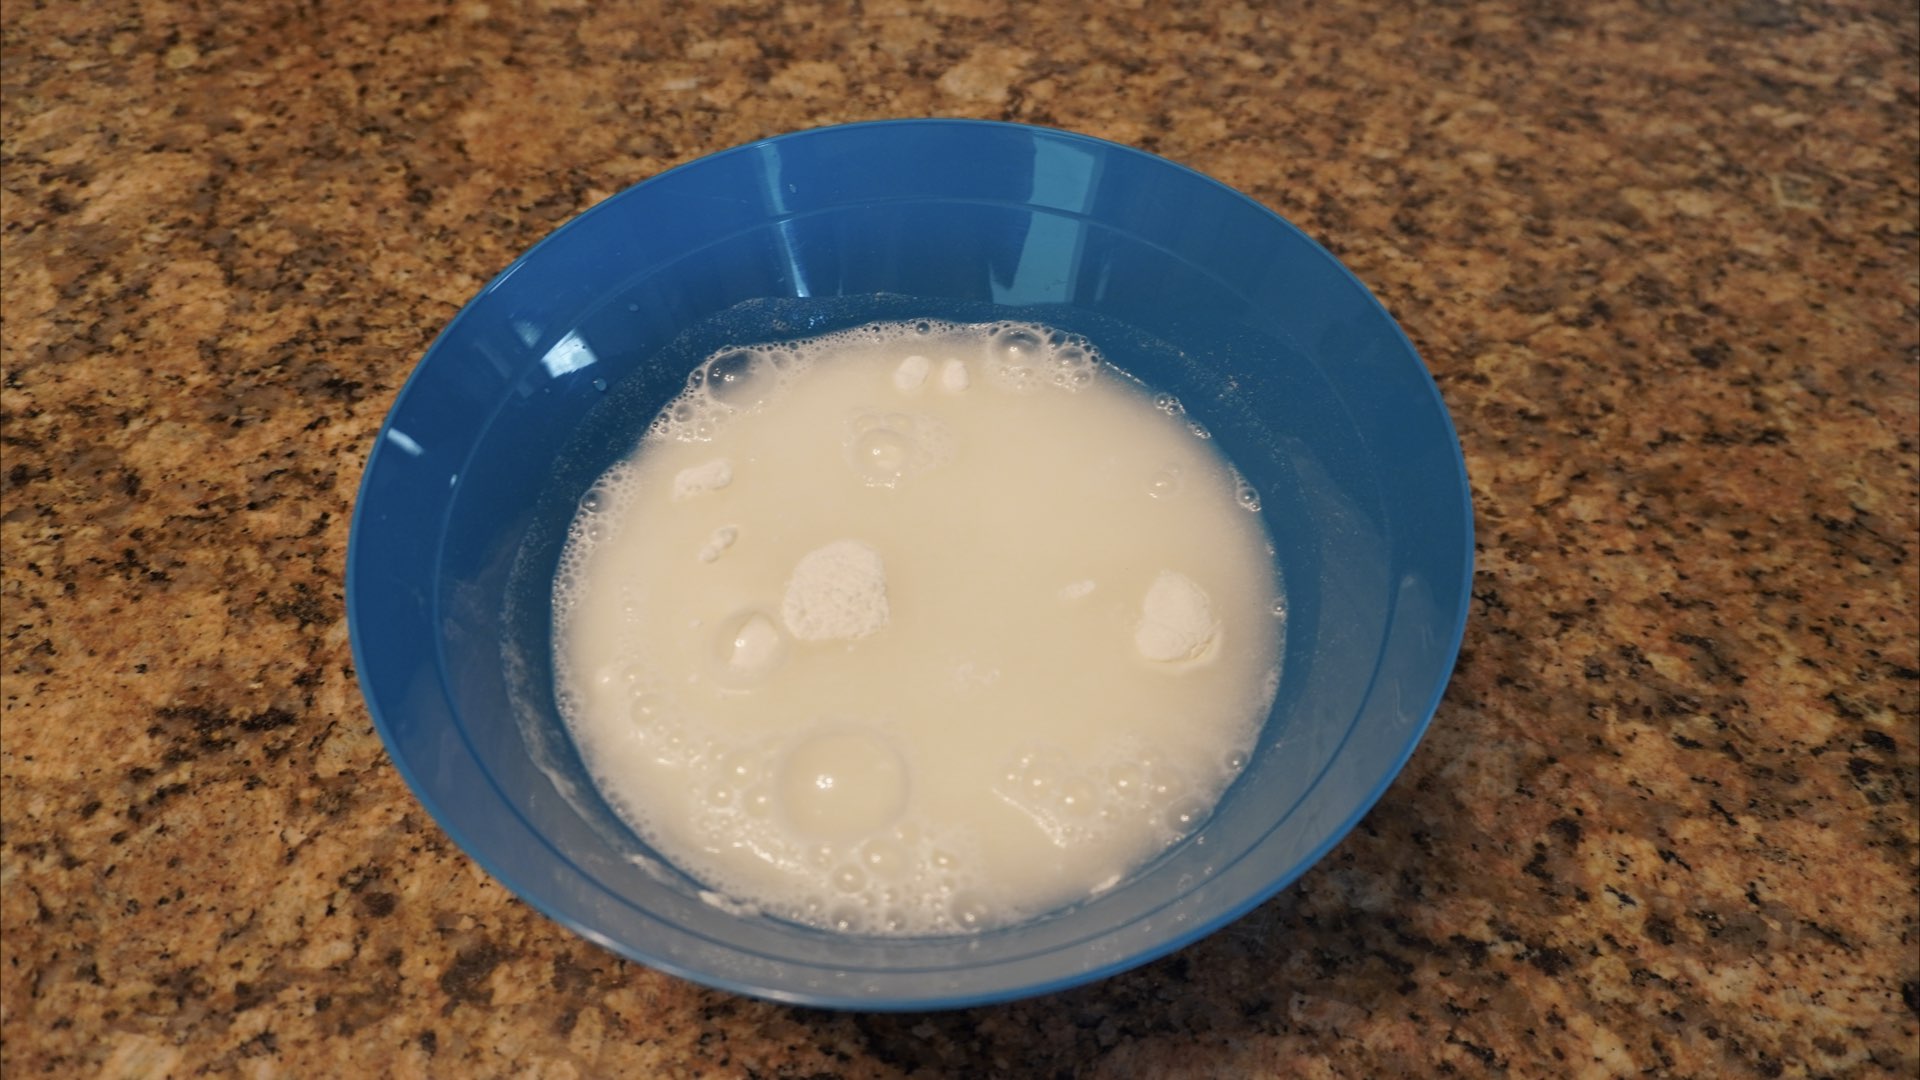
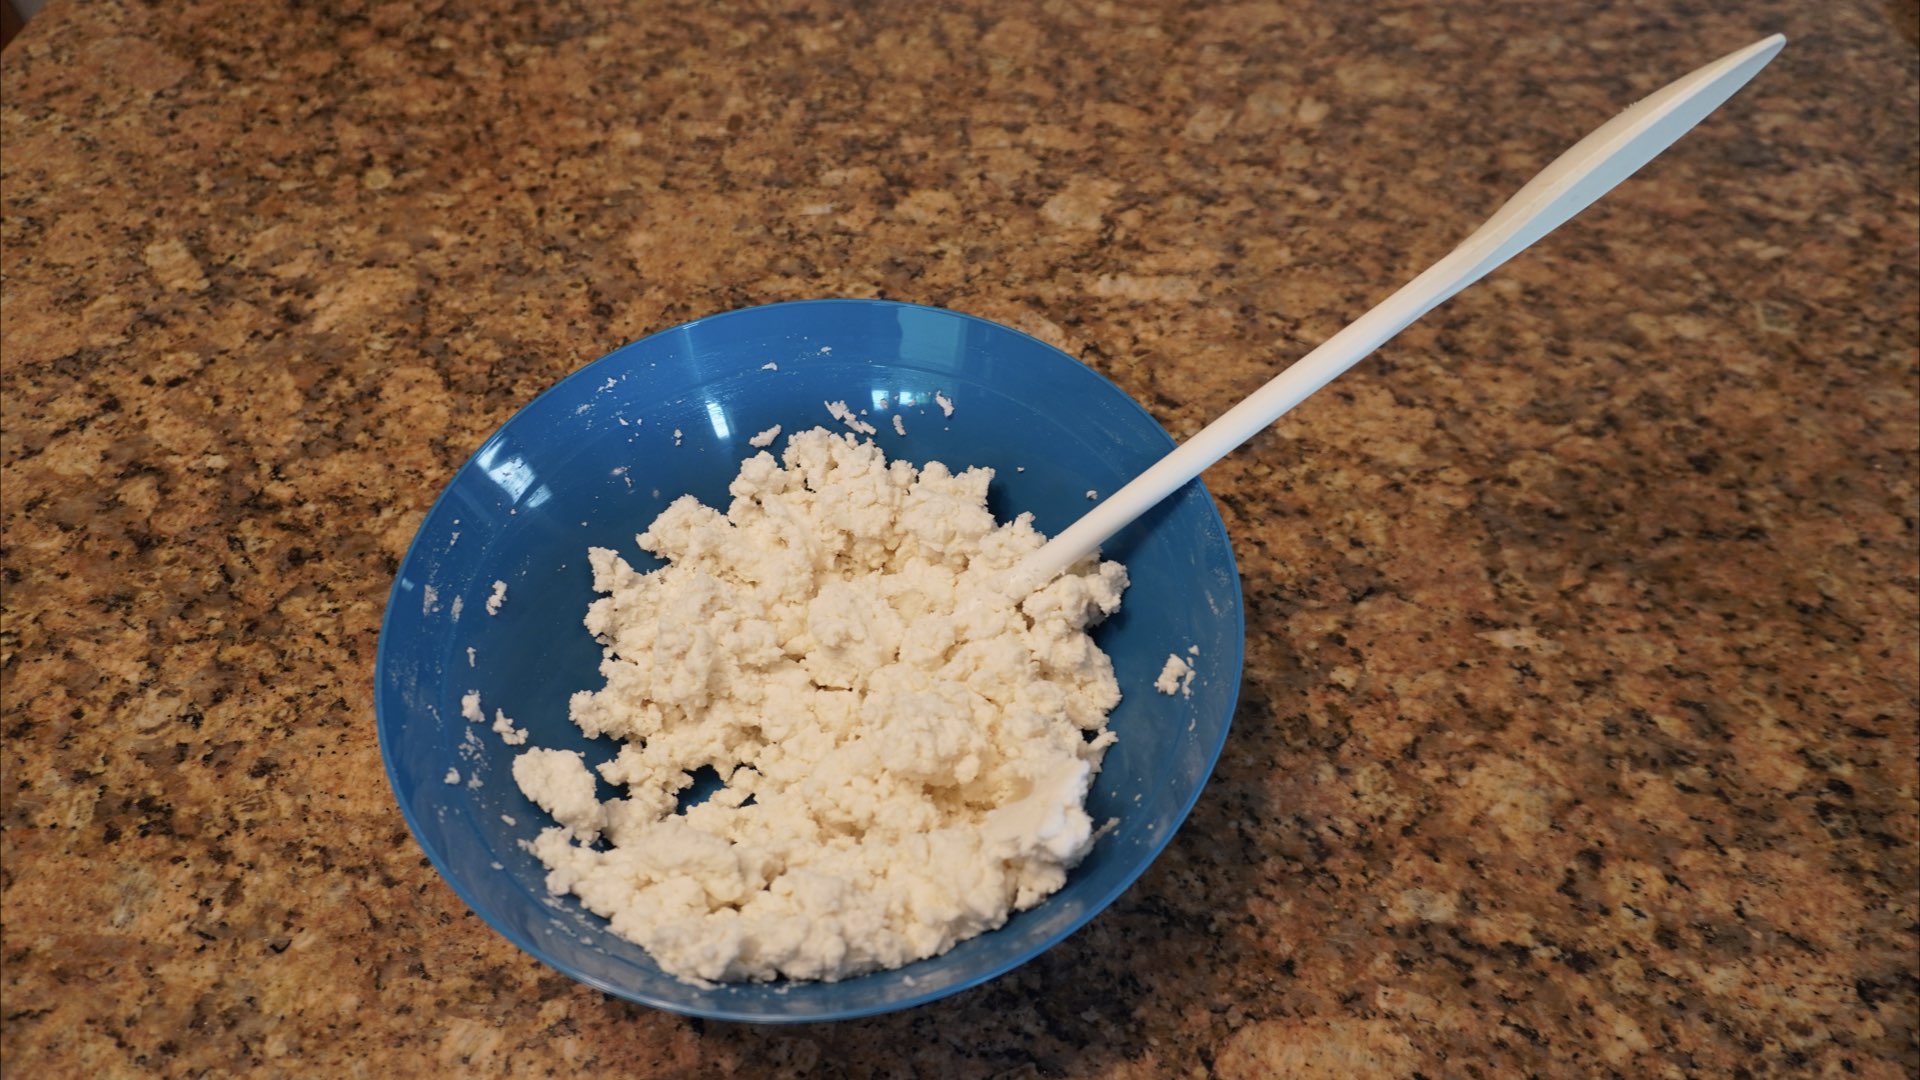
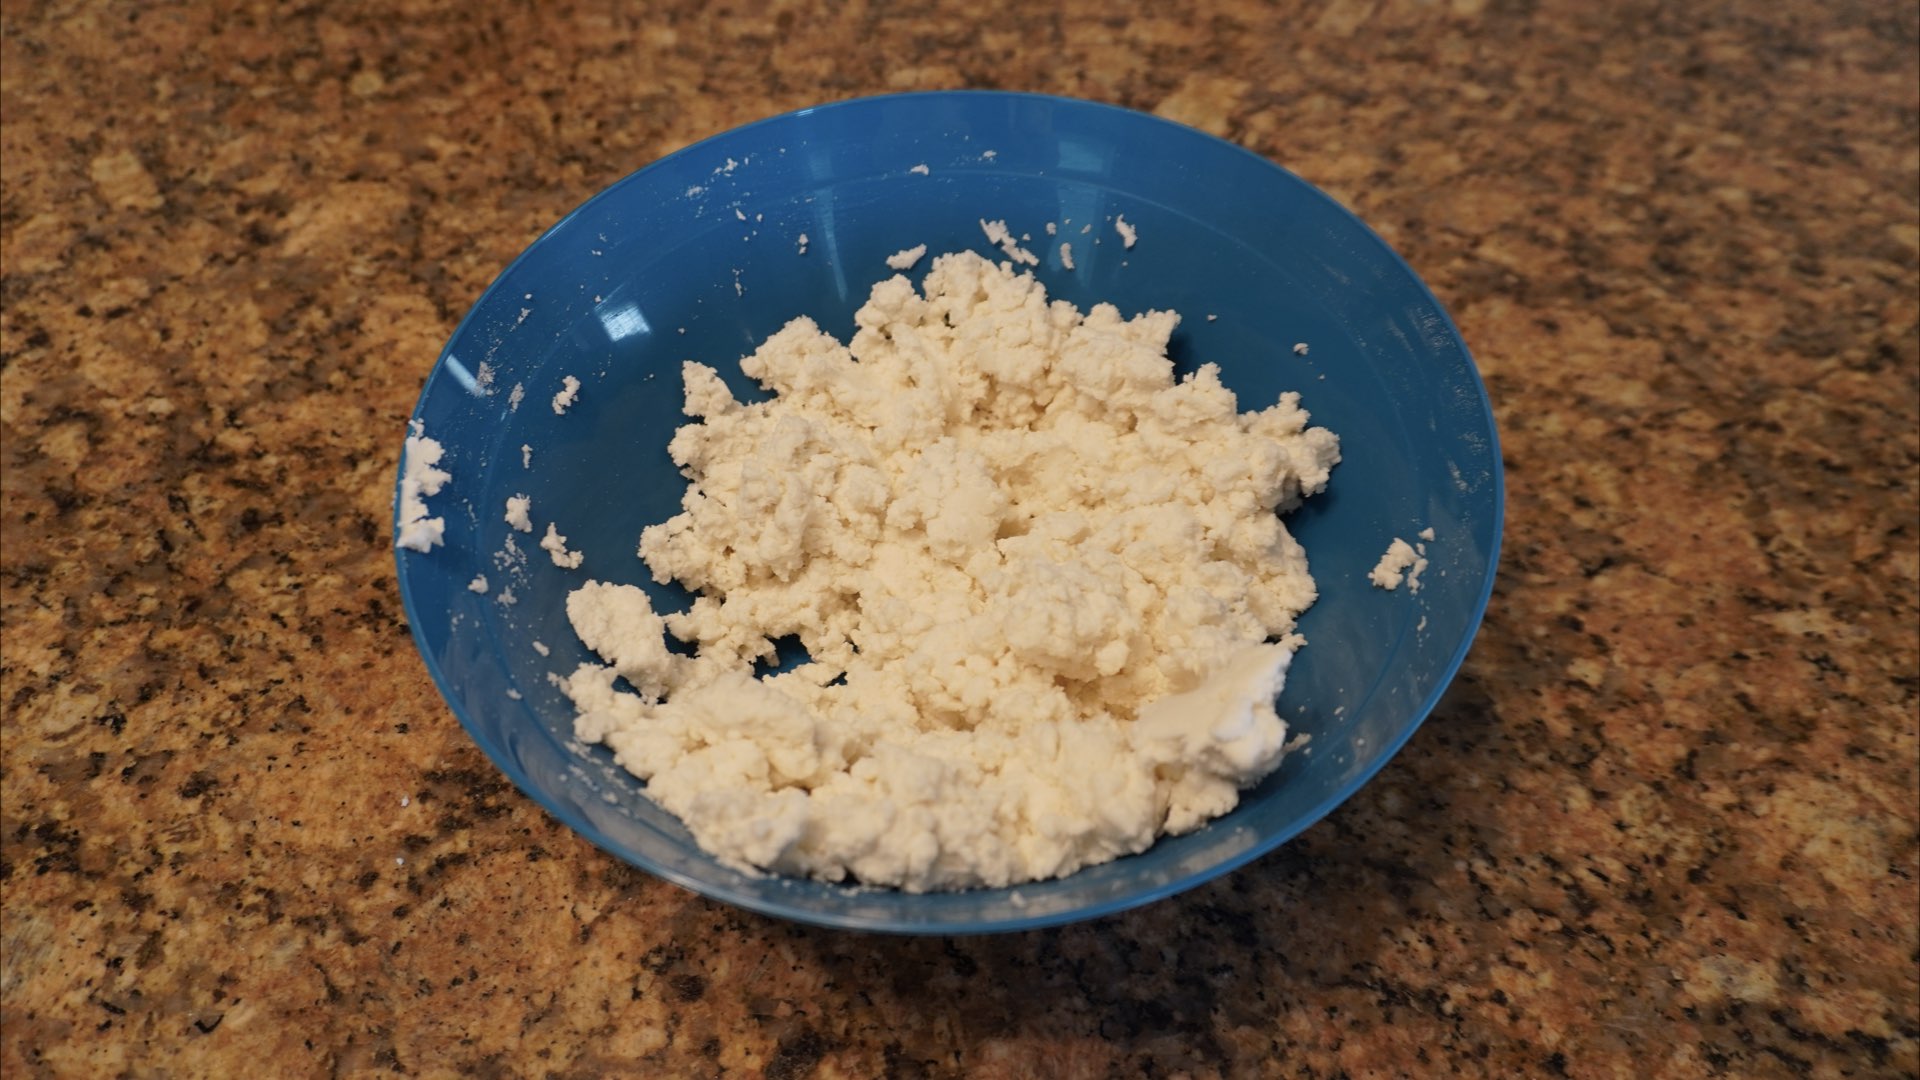
Add the water to the rice flour and stir using the handle of a sturdy spoon until it forms clumps and you can squeeze the dough together.
It should look like this when well combined.
Step 4: Roll out and Cut the Dough
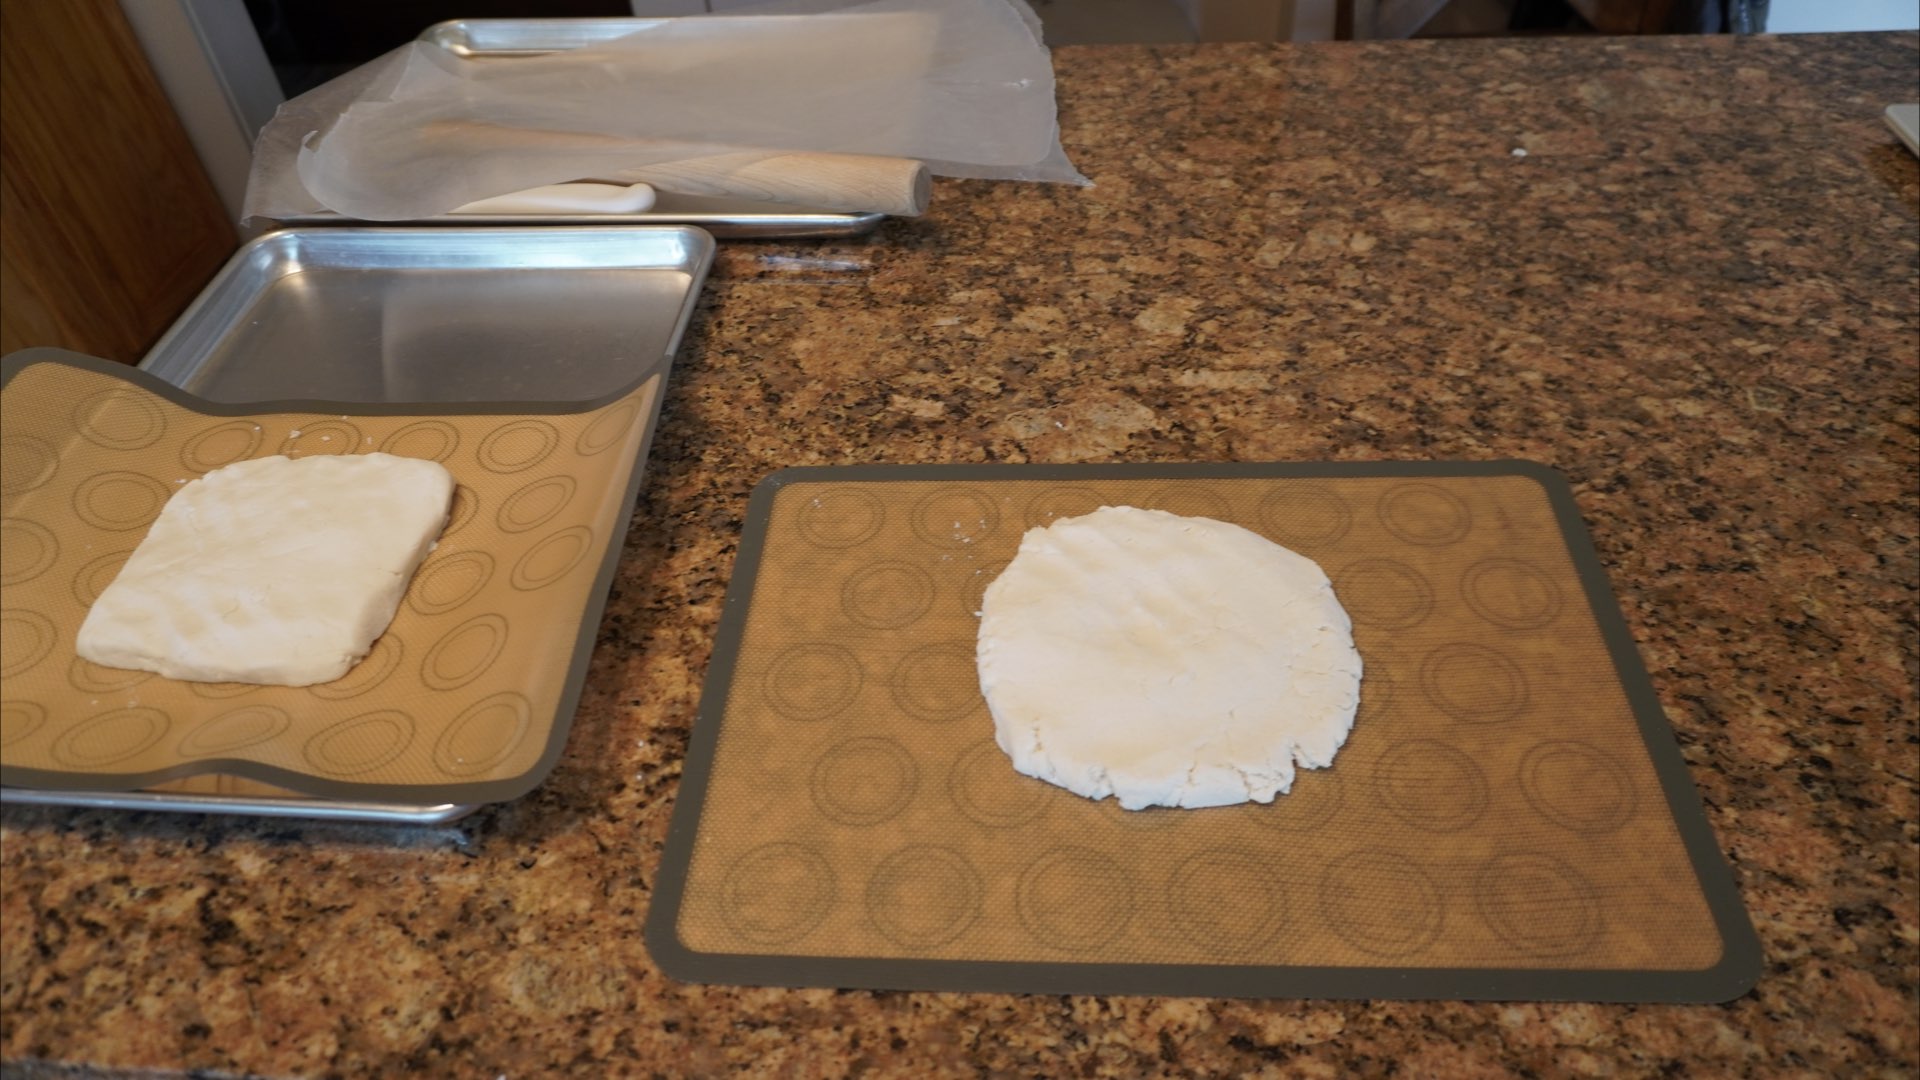
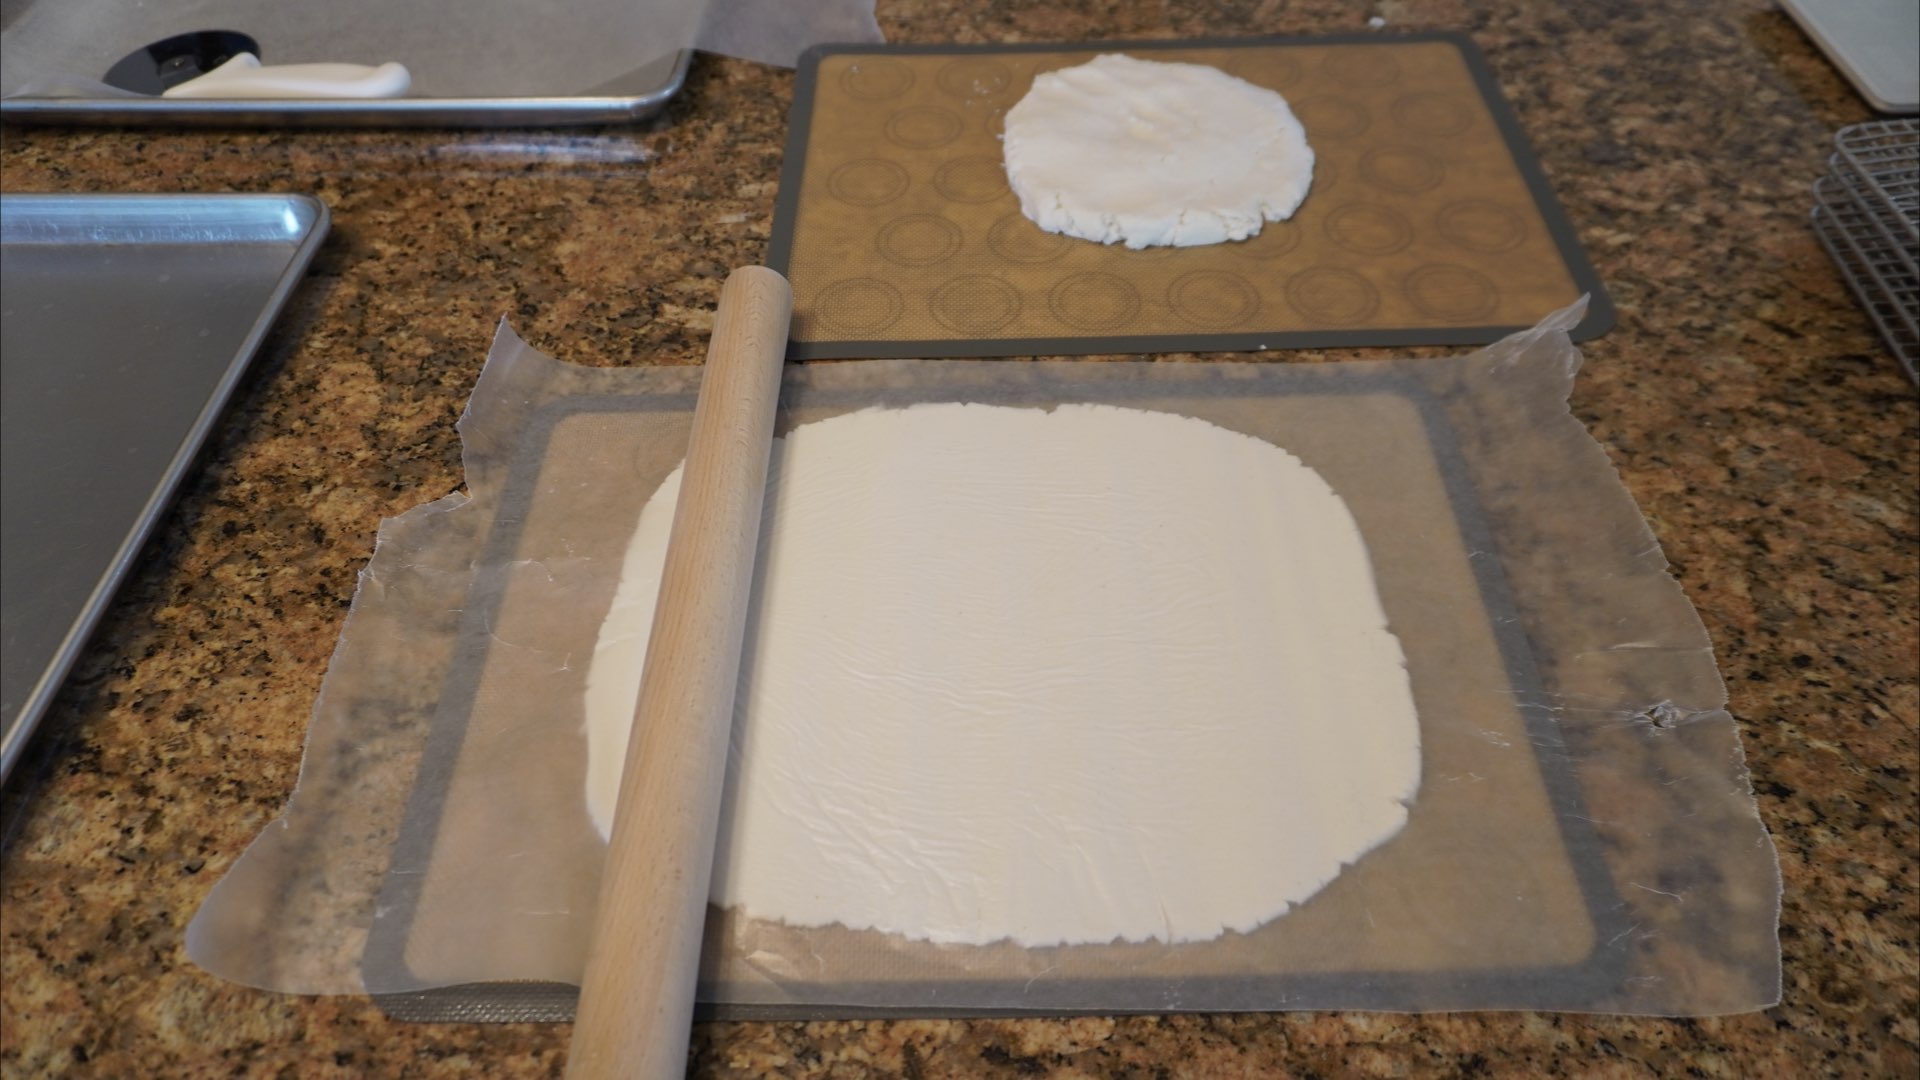
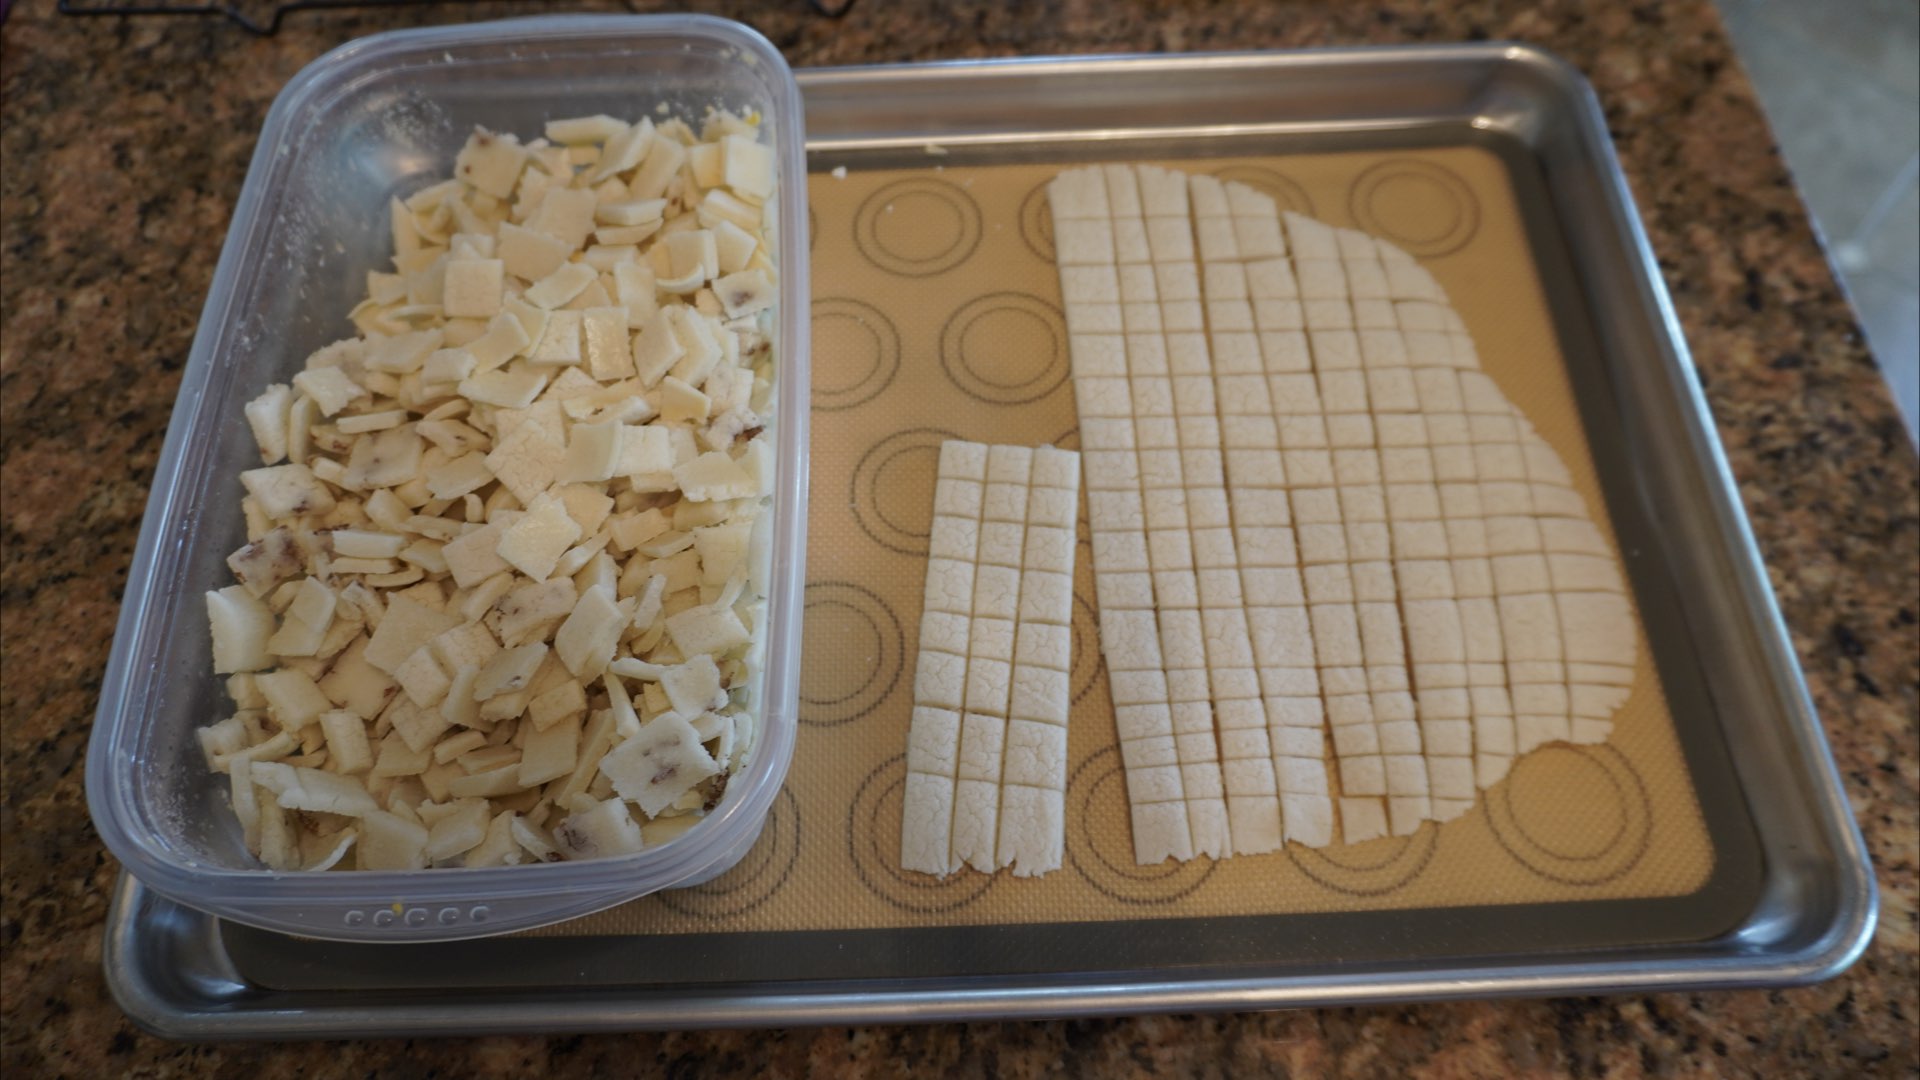
Divide the dough in half, place on a sheet of parchment or a silicone mat and roll out thinly. You can also use your hands to pat the dough out. I found that a piece of wax or parchment paper works really well for this step as the dough likes to stick to the rolling pin a lot.
About 1/8 inch thick or a little over 3mm is a good sized piece.
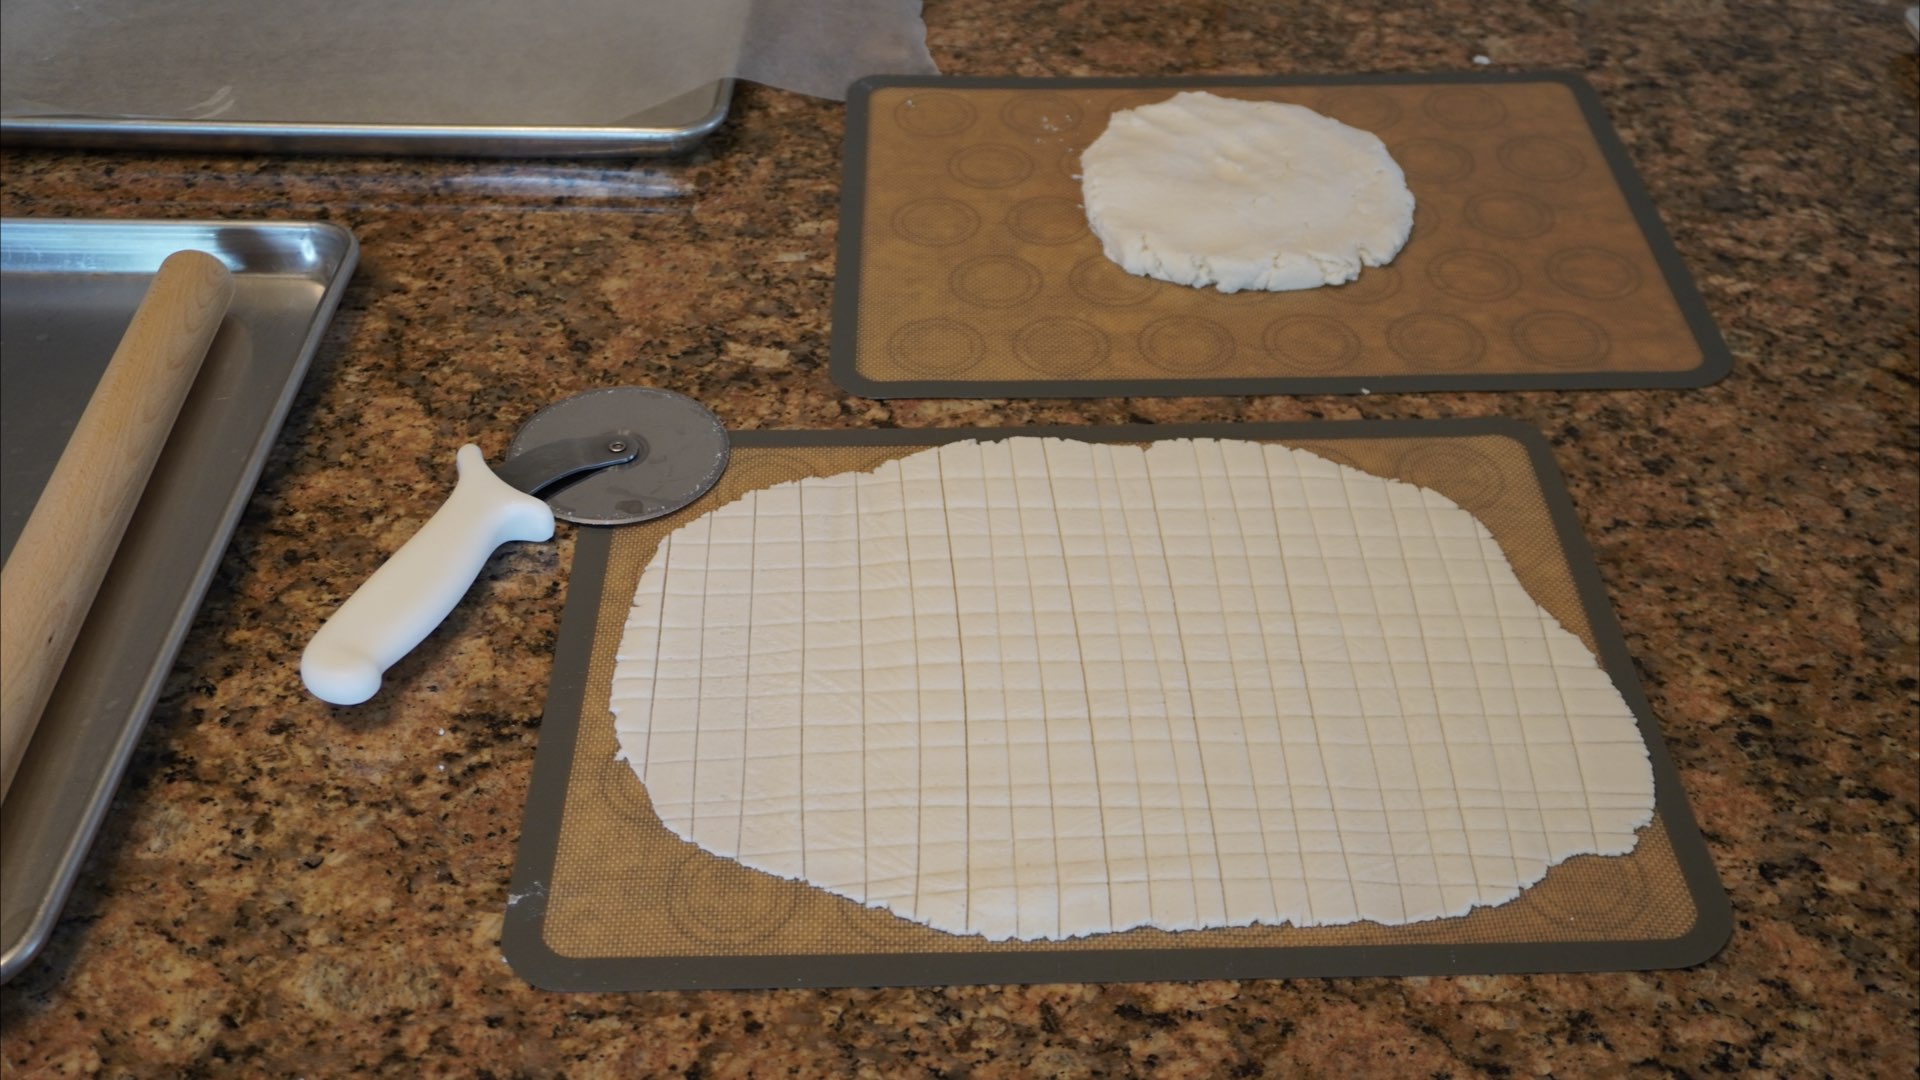
Once you roll out the dough, cut it into small squares using a pizza cutter or a sharp knife. I like to make them very small about a quarter of an inch to half an inch or 6 – 13 mm. This way you can give your pet a lot more treats for fewer calories. Your dogs like quantity and don’t really care about the size. I have found over all the years when making training treats, our dogs feel like they are something special when getting several small treats as opposed to one larger one. Don’t worry if your squares aren’t perfect and they look a bit of a mess like mine do. The dogs will just appreciate that you are making them a snack.
Step 5: Bakc
Remove the pan from the oven carefully with dry oven mitts to a wire rack to cool for at least 10 minutes. Break apart along the cut lines.
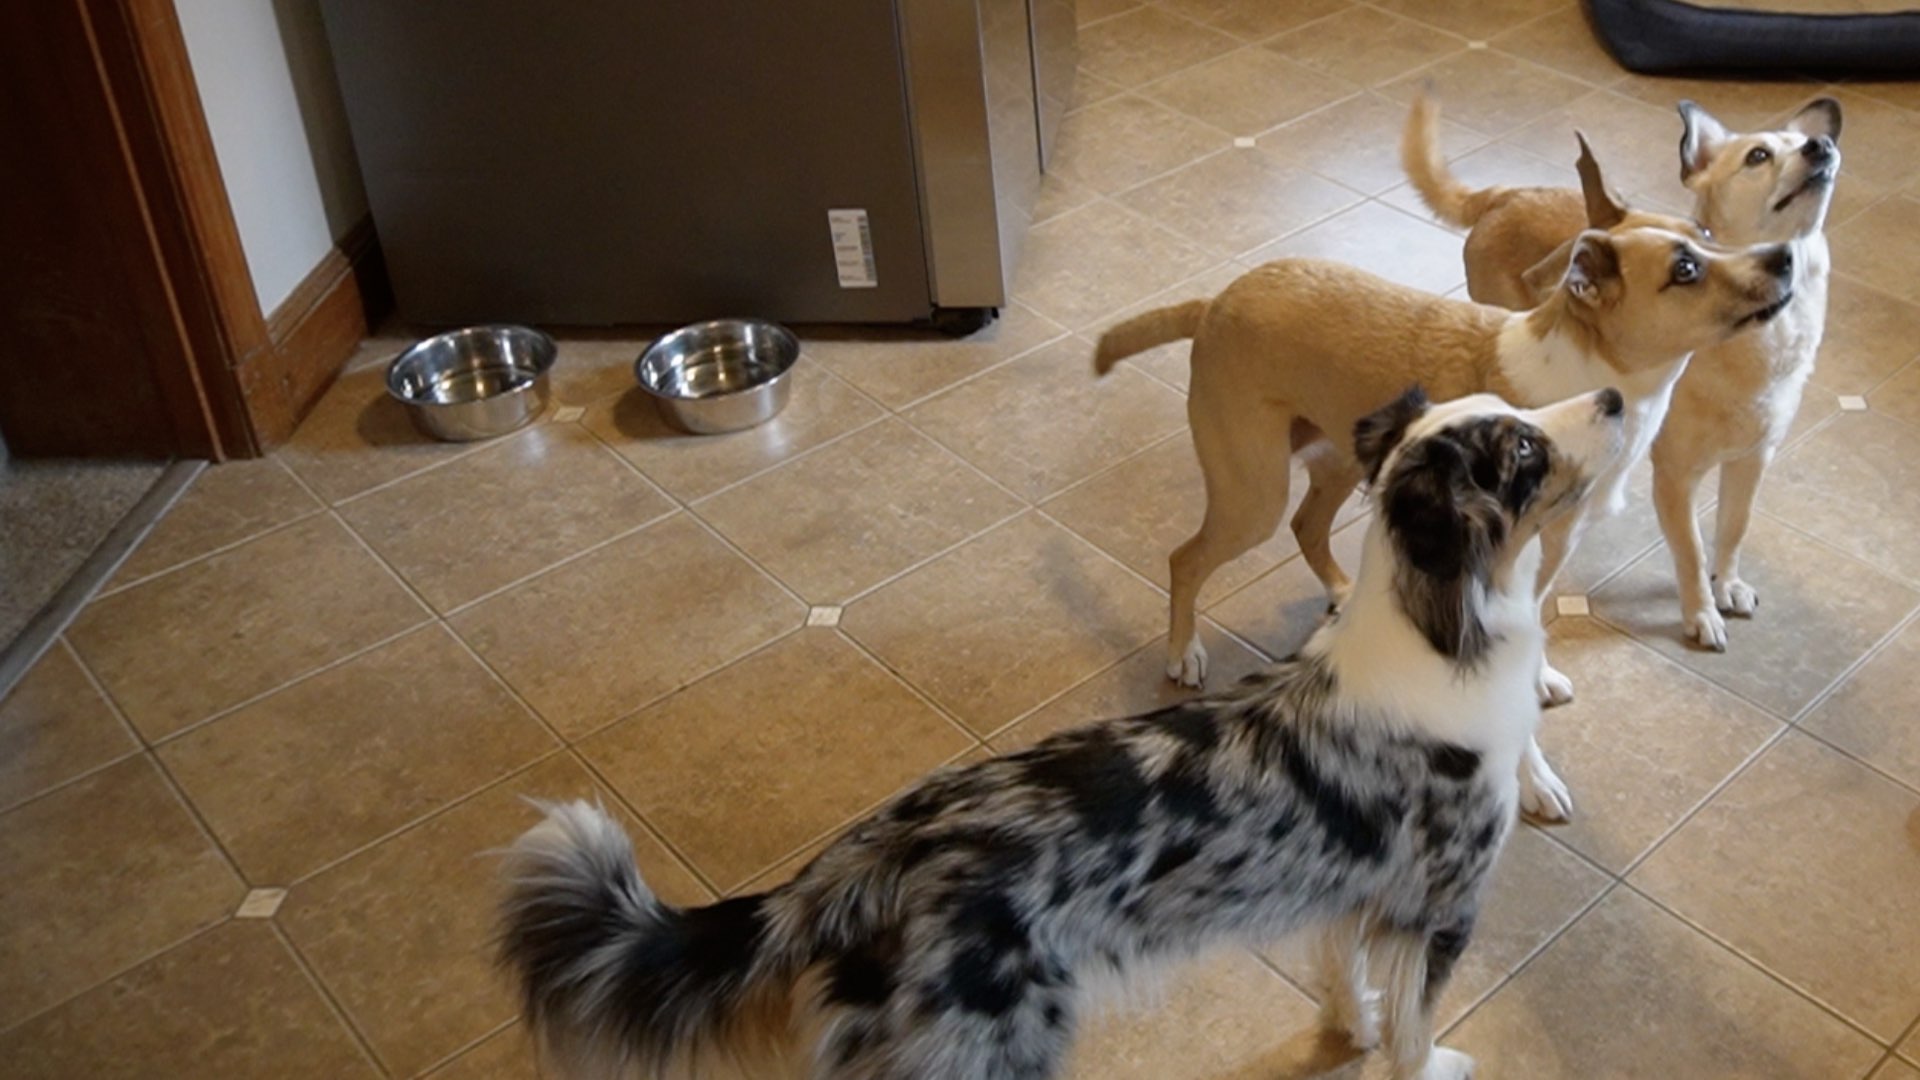
Pretty soon, you’ll have your pal’s full attention! Raymond, Maggie and Roxanne are all lined up to try out their new favorite treats.
Substitutions and Tips
Here are some common substitutions and tips for making these two ingredient dog treats.
- Roll the dough out onto a floured surface and cut out shapes with cookie cutters. Bake 15 – 25 minutes or until the edges are lightly golden.
- Instead of white rice flour, you can use brown rice flour, wheat flour, oat flour or even corn flour as long as your veterinarian approves of course. Corn flour will be the most difficult to work with and will be crumbly.
- Always ask your dog’s vet before making any recipe to ensure it is safe for your dog since every dog is different just like humans. It is impossible to know if any recipe is appropriate for all dogs.
- In general never feed more than 10% of your dogs daily allowance in treats.
Storage
These two ingredient dog treats last for about a week in the refrigerator and months in the freezer. We store these in an air tight container and check for any signs of mold before use because these have no preservatives. They will be more susceptible to temperature changes and humidity changes in the environment. I prefer to keep them in the freezer or fridge that way they are guaranteed to be ready for the next training session.
The Recipe
Below you will find the cinnamon bread recipe with a video tutorial on how it is made. If you didn’t read the above step-by-step directions, now is the time. Here at Jackson’s Job, we strive to stick to the details about the recipe with very little fluff. You may actually learn some valuable skills along the way. So scroll back and at least skim over our efforts to make this a rewarding and successful bake!
2 Ingredient Dog Treats
Ingredients
- 3 cups (480g) rice flour
- 1 ¼ cups (300mL) water
Instructions
- Preheat oven to 350°F (180°C.)
- In a large bowl, add flour and water, stirring together until it clumps together.
- Line a large baking sheet with parchment paper or silicone mat. Press 1/2 of the dough down onto the parchment paper until the entire paper is covered in a thin layer of dough about a 1/8 inch (3mm) thick. If desired, chill the dough while making the next batch.
- Cut the pieces into small squares using a pizza cutter or a sharp knife. For training treats, make them very small about 1/4 – 1/2 inch or 6 – 13 mm. This way you can give them a lot more treats for fewer calories during training sessions and classes.
- Bake 20 – 25 minutes or until the internal temperature reaches 200°F (93°C.) Remove from oven with oven mitts and allow to cool in the pan for several minutes. Once cool, break into small pieces along the score lines. Transfer to an airtight container. Store in fridge up to a week or in the freezer up to 4 months.
0 Comments