
Why grease without butter?
If you are allergic to dairy, lactose intolerant or fresh out of butter, can you still grease and flour your pan? Absolutely. Let us discuss options and then I’ll show you how easy it is to do. Hello and welcome to Jackson’s Job!
First, there are several options and some are better than others. And a few, I suggest you avoid altogether to avoid problems.
What are your options?
What types of fat or grease can we use to prep your baking dish? You could use cooking or baking sprays but not on non-stick surfaces as it will ruin the cookware over time. Also, they are rather expensive.
Then there is oil but it often leaves weird greasy texture to the crust of your baked goods. Plus it is really hard to get it to adhere to some surfaces like many non-stick speciality pans and stainless steel. Oftentimes oil leaves a residue on your pan and if you don’t clean it well, it will harden overtime and discolor your bakeware.
Margarine is very comparable to butter in terms of how it behaves when greasing and flouring. This is because to be called margarine in the US, you are supposed to have at least 80% fat which is the minimal standards for butter here. Margarine clings well to the pan and releases well when you need it to. You do have to look at the ingredients carefully with margarines for hidden milk these days. I used to be able to find many different margarines that were dairy free, but now it’s difficult to even find margarine in stores.
In fact, we had to go to three different grocers before we found this brand and it has buttermilk in it. If you are lactose intolerant, many folk, not all, can handle buttermilk. Unfortunately, there is only one way to find out if you can tolerate it. Obviously, if you are allergic to milk, margarine may not be an option for you. Check those ingredients carefully, especially for “whey.”
Vegetable oil spreads are hit or miss. They are different from margarines because they will have less than 80% fat. This “plant butter” is 79% fat and will work great. I use this type often. However, these two vegetable oil spreads, one being 48% and the other even lower at 38% fat is great for controlling your calorie intake, but is not great for greasing. They will often create steam and as they heat up, this causes the baked goods to sometimes get stuck more firmly to the pan and can cause some issues with the crust, making it a bit soggy or to sweat as it bakes. I avoid anything lower than 75% fat when it comes to vegetable oil spreads.
My two personal favorites are lard or what we call “grease” and vegetable shortening which used to be called vegetable lard. You only need a little bit and they release very cleanly. I will let you chose which one of the two you prefer. They both react the same way.
Finally, you could just use parchment paper. And this is my personal preference for most cakes. I like to put a piece of paper on the bottom and allow the sides to be ungreased for the cake to climb up and hold on as it bakes. I have found you often need to attach it on the sides with some sort of grease. When you use the parchment paper, you can use the lower fat vegetable spreads without much problem as you have created a barrier.
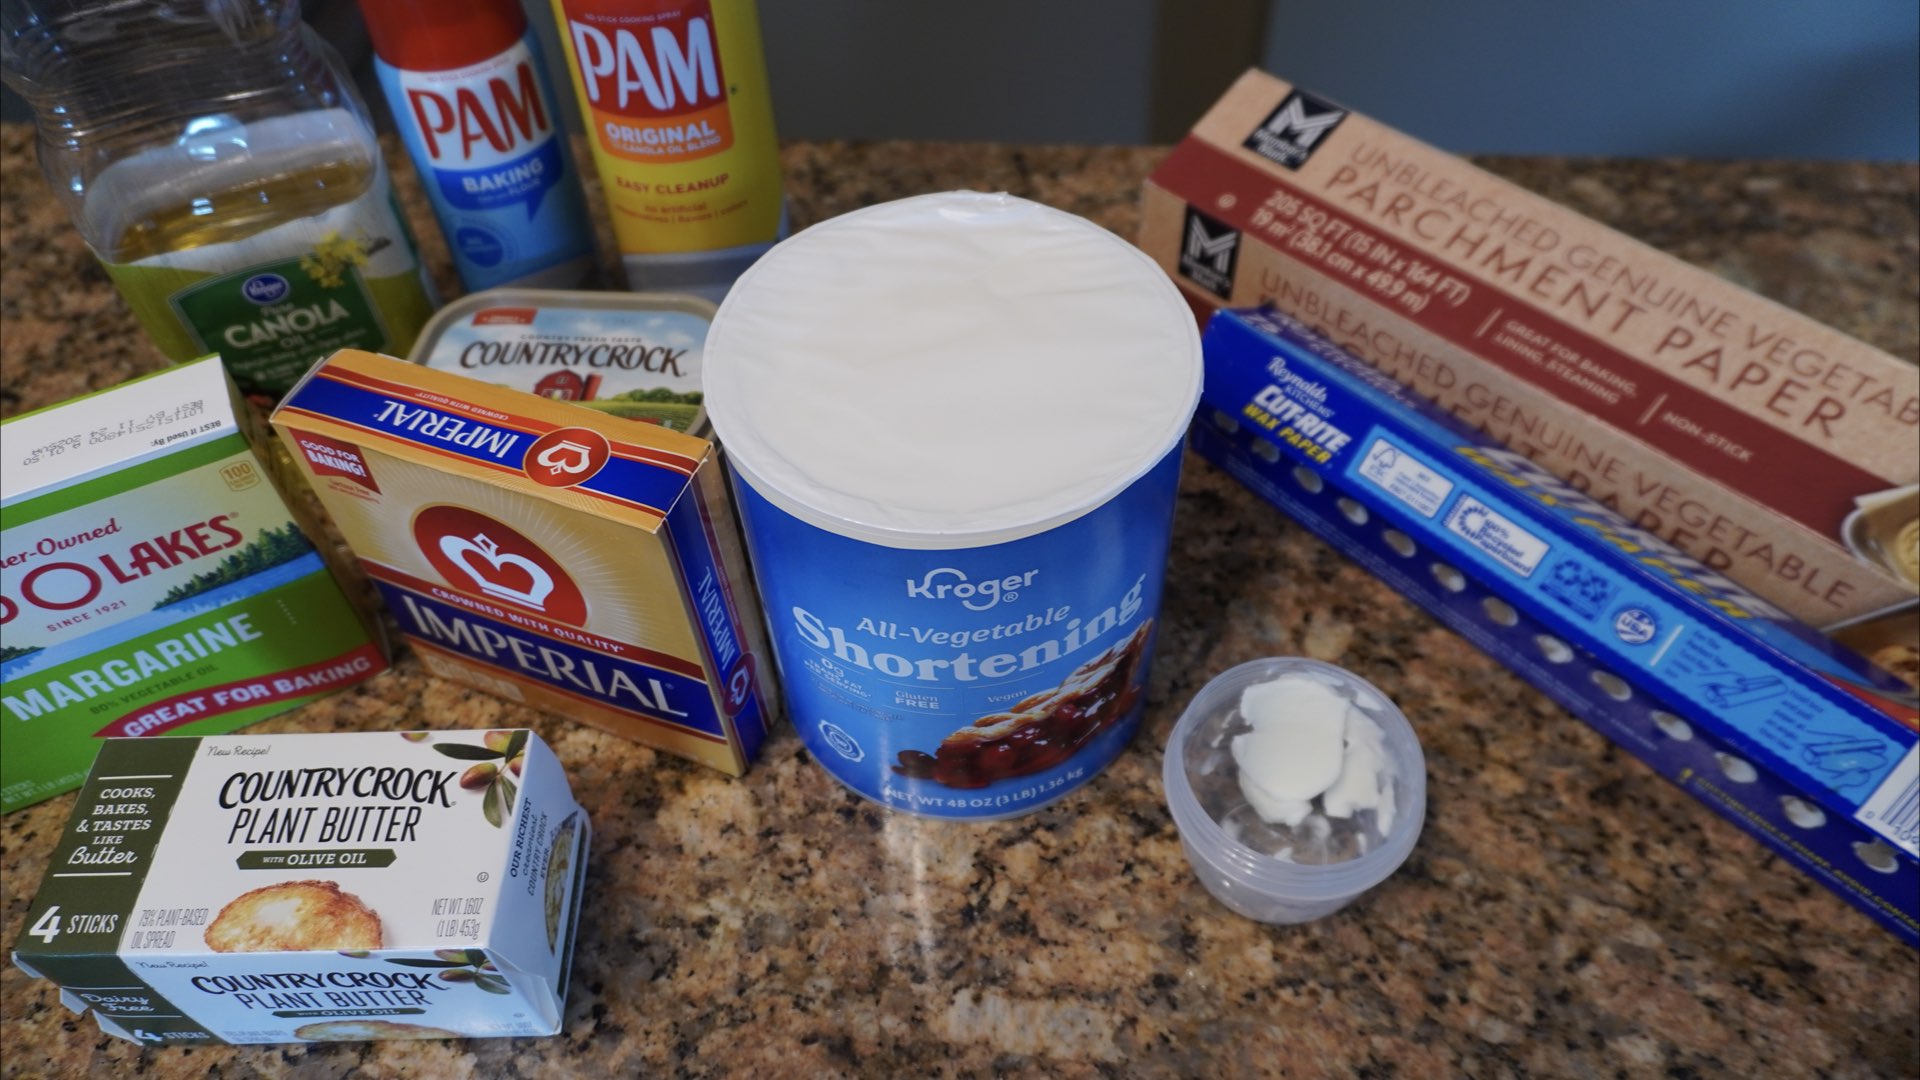
Pick the fat that suits you best!
Okay, so we have discussed our options, lets pick one. Let me show you how to grease and flour this cake pan. If you have a sifter, it can make quick work of the flouring stage, but it’s not necessary. I’ll show you both ways. If you are going to be greasing and flouring multiple pans, I like to use a flexible cutting board, parchment, wax paper to catch the excess flour so I can use it for the subsequent pan.
You will need a pastry brush, paper towel, clean lint free towel, wadded up parchment, wax paper or even your fingers to coat the pan. I personally like to use a paper towel over anything else as you don’t have to use a lot this way to get a nice even layer of grease.
One tip is to hold onto your margarine, plant butter wrappers and you can store them in the freezer in an airtight container. When you want to grease your pan, you can use the inside of these wrappers and make quick work of this process.
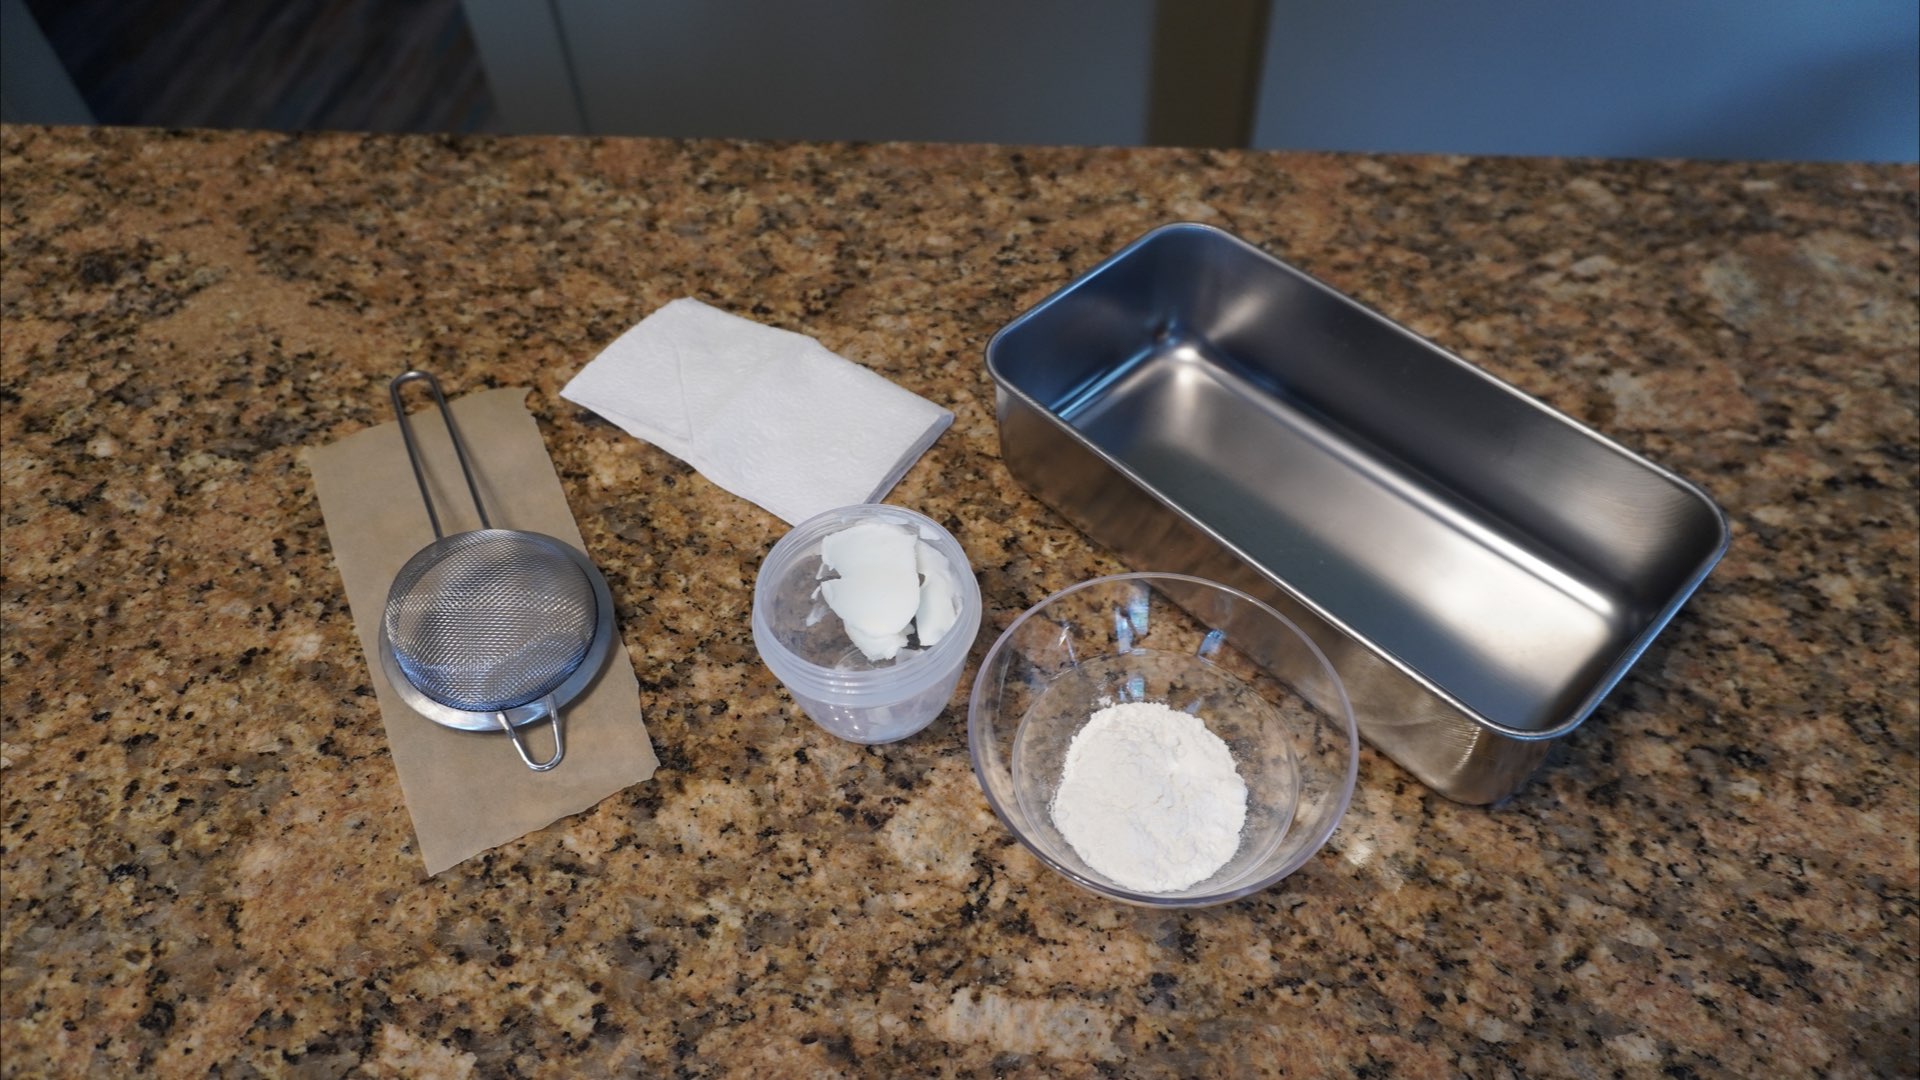
Grease a pan without butter
Pay close attention to the corners and walls of the pan when you are coating them. When you are done, there isn’t really a lot there, look. It’s not thick at all. Maybe about ½ teaspoon or so worth of grease. Next you want to put in about around a tablespoon of flour. If you have a fine sifter, you could sprinkle it around like this. Other wise, just toss it into the bottom of the pan and we are going to start shaking and tapping it into place by turning it all directions and tapping to take off the excess. Now turn the pan upside down and give it a few taps to get that extra flour out. If you are only doing the one pan, I often take this to the sink for easy clean up.
For added insurance, a sheet of parchment paper on the bottom of your pan is always wise if you can afford it or have some on hand. Don’t use wax paper unless you know your recipe can handle it as it can adhere to certain types of baked goods, especially things that use sugar to hold things together like granola bars. I learned this the hard way.
And there you have it. This is how you grease and flour a pan without butter. What are your plans for your freshly prepared pan? Let me know in the comments below! I hope this tutorial was helpful. Thank you for watching and as always, happy baking!

Watch a video for more detail!
Watch this brief video on how to grease and flour a pan without butter! I promise, it is very easy to do. Now that you have learned how to grease and flour a pan without butter, what are you going to make? I’m baking one of my favorites, pumpkin bread! See what I did there?

0 Comments