A Little Guide to Making Bagels with All-Purpose Flour
Can you make bagels without bread flour using all-purpose or plain flour? Many will tell you no. When it comes to homemade bread, there are a lot of opinions. Some believe you have to have the best quality ingredients and equipment. They will look down on simple recipes geared toward the average home baker and go into a million reasons why you can’t do this or that and why their methods are superior. We are not those folk! We are here to set the record straight by doing the experiment for you.
So, is a bagel recipe without bread flour possible? Absolutely! We will show you how to make bagels with all-purpose or plain flour. We will also show you how to make bagels without malt or barley syrups or powders. There will be some differences between a bagel made with bread flour versus one made with all-purpose flour, but they are not deal breakers.
First, when you use bread flour for bagels, you will naturally have an airy and more chewier texture. This is due to bread flour having a higher protein count than most all-purpose or plain flours. The higher the protein, the more gluten will be available. Working high protein flours gives a strength and chew you don’t get with all-purpose flours. This will be subtle or not noticeable to most people.
Most will simply enjoy an amazing homemade bagel. Others will tell right away. Those that adore bagels and eat them with gusto will not only taste the difference but will all feel the difference in texture between their teeth. All-purpose or plain flours will be more dense by nature and this can show up more readily in simple recipes like bagels, pizza dough and pretzels. So as long as you are prepared for a slight difference in texture and taste, I say let’s make some bagels!
Second, not everyone has access to malt powder or syrup. Because of this, we are going to use plain sugar in the dough. If you have some brown sugar, it will give a better depth of flavor, closer to the barley malt syrup, but we want to keep this recipe simple for everyone to enjoy. For the water, we are going to give plenty of options there as well. Again, this will change the taste ever so slightly, but most will not be able to tell.
Finally, when it comes to bread making, fresh bread simply doesn’t last as long as store bought. For that reason, we are going to make a small batch of bagels. This will allow you to decide whether or not you like bagels without bread flour and also they will be less likely to go stale on you. Seriously, a day or two tops is the limits for most freshly baked breads without adding a lot of preservatives.
Step-By-Step Instructions
Below, we will teach you how to make this bagel recipe without bread flour by hand. We recommend making bread by hand whenever possible, but when it is not, a stand mixer meant for kneading dough will work nicely. Just place the ingredients in the mixer and follow the directions from the manufacturer and run it for 8 – 12 minutes or until it stretches easily without tearing. To learn how to make the dough by hand, read on.
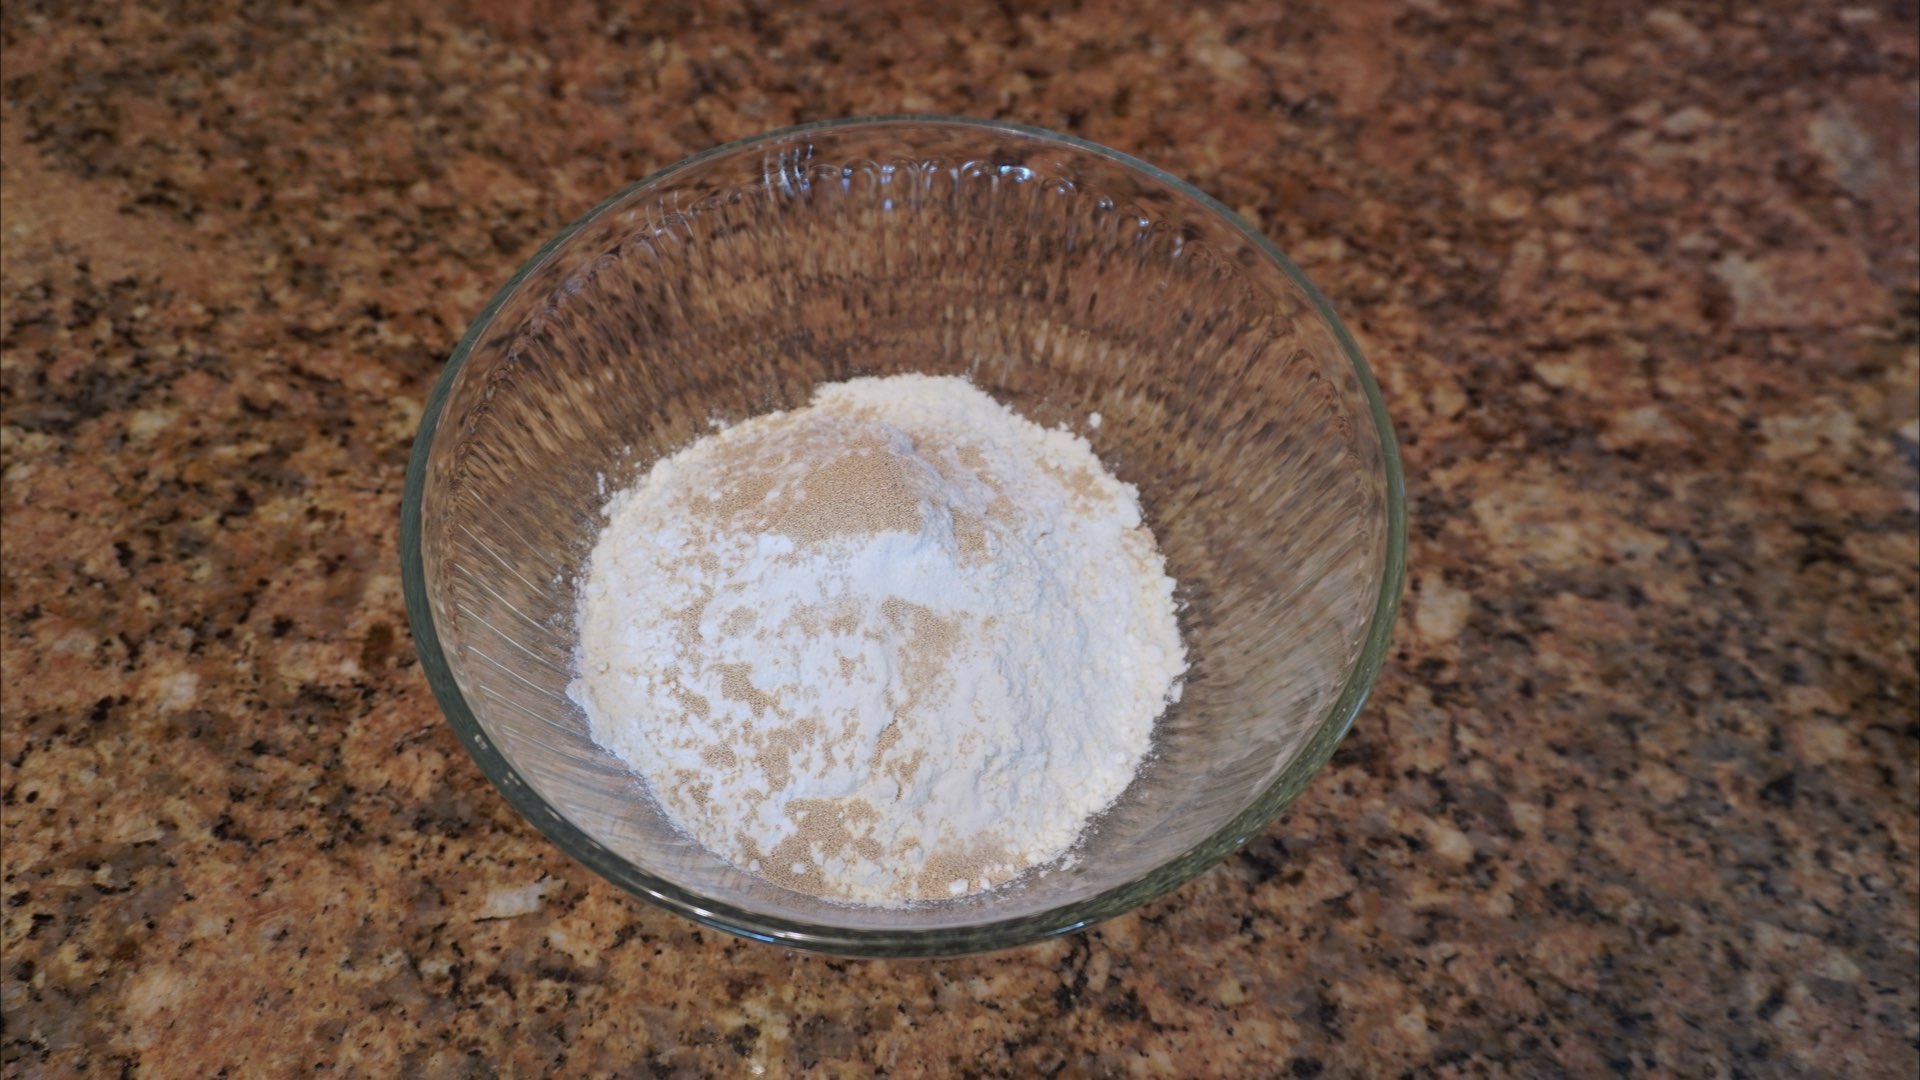
Step 1: Add the Dry Ingredients
First, before you begin, make sure you have a couple days to make this recipe. The dough needs to rest overnight in the refrigerator up to 24 hours. If you don’t have the time for the long rest period, you will not develop that classic bagel taste.
In a large bowl, mix together the flour, sugar, instant dry yeast and salt. It doesn’t matter if you are using fast acting or instant dry yeast for this recipe. If you are using active dry yeast, you will need to follow the manufacturer’s instructions in order to activate the yeast.
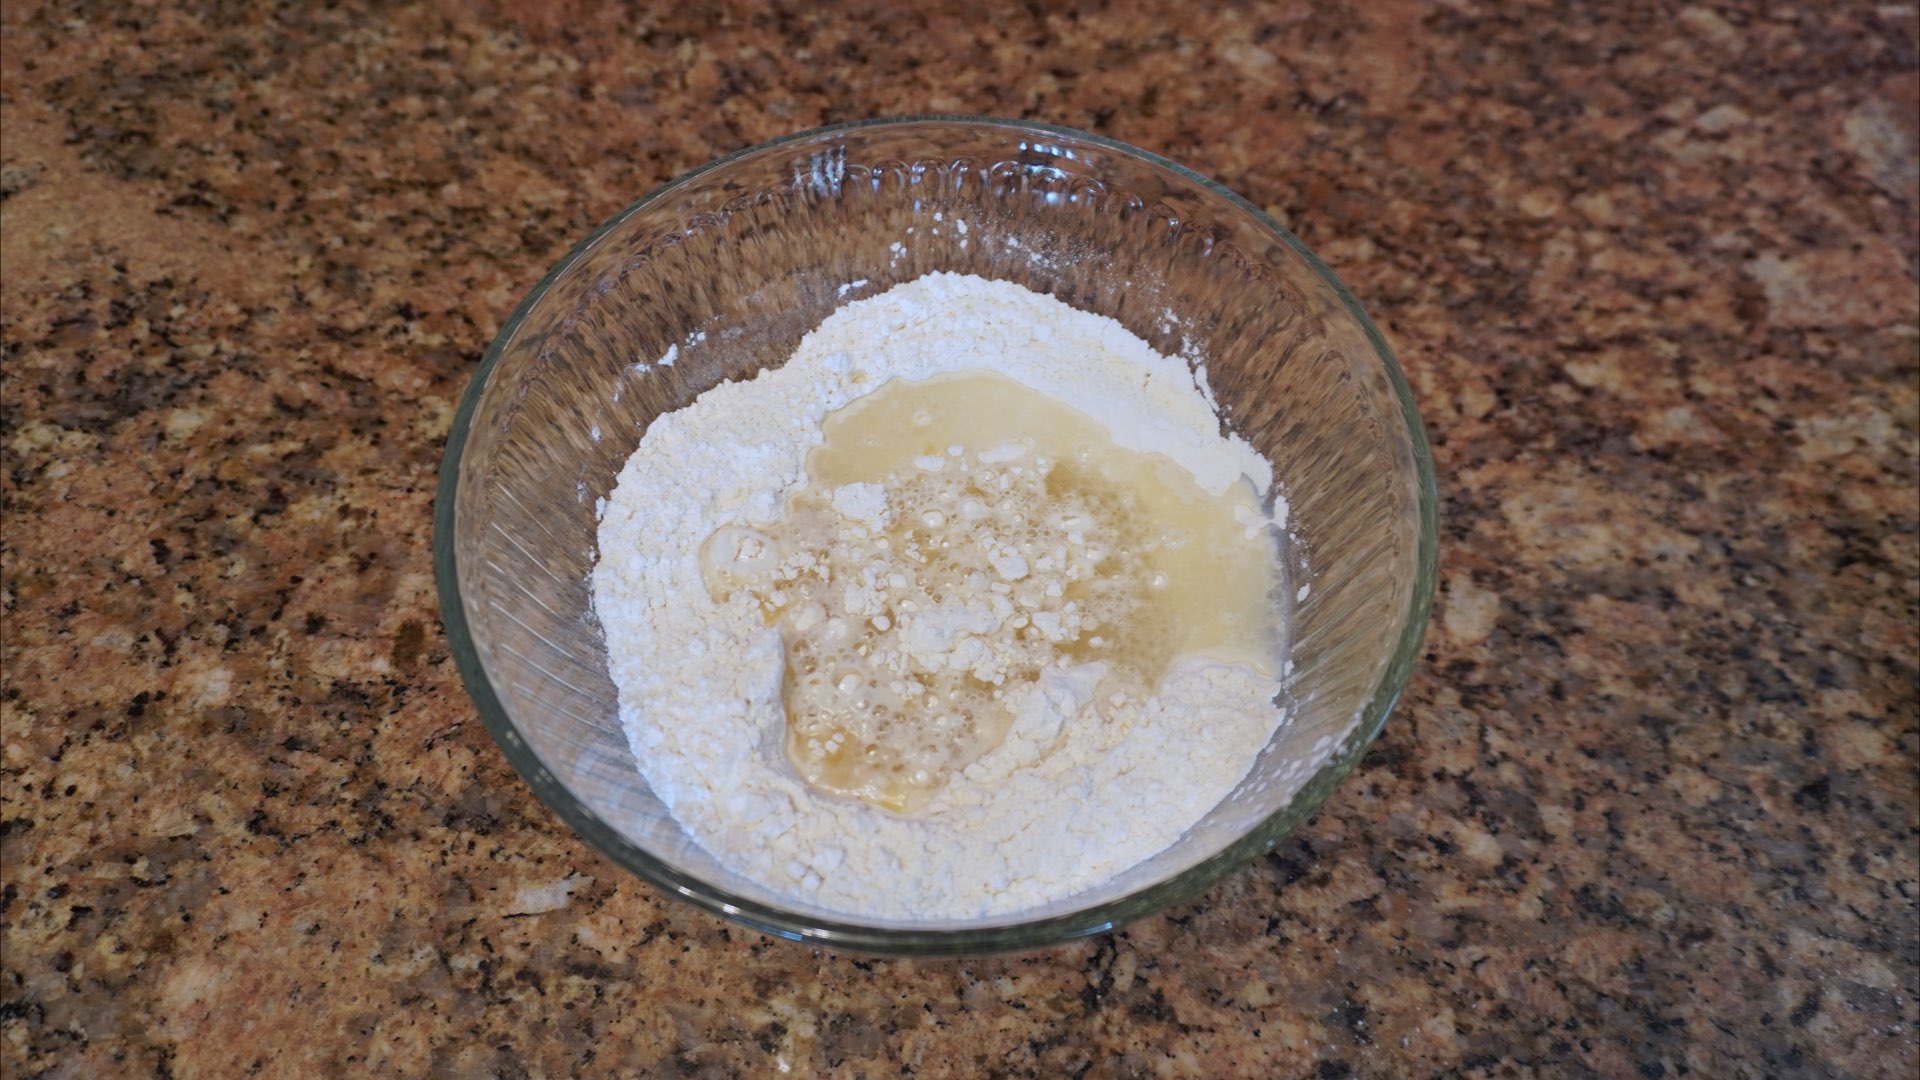
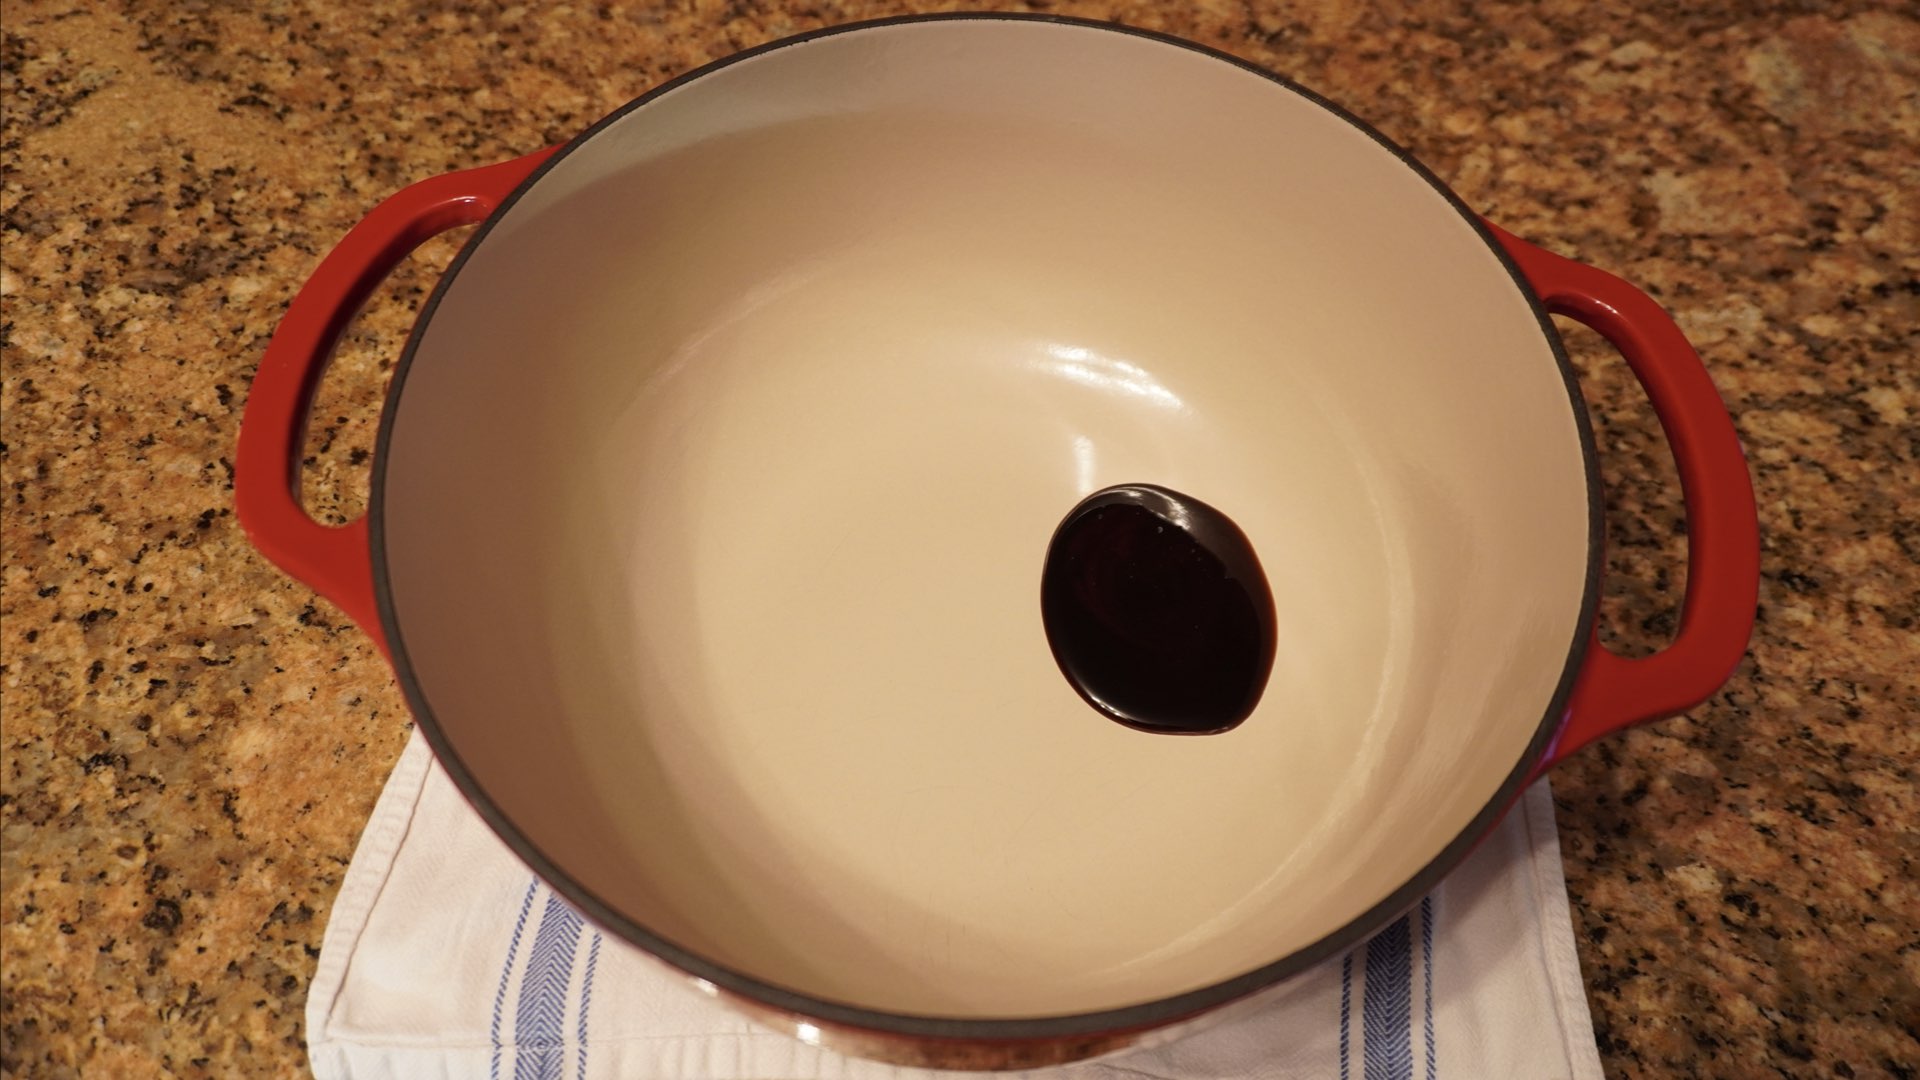
Step 2: Add the Wet Ingredients
Now, add the water and oil. The oil in the bread helps with the chewy texture on the outside and helps the bread be less dense on the inside due to using all-purpose flour. If you want to use less oil, replace it with equal amounts of water.
Step 3: Mix
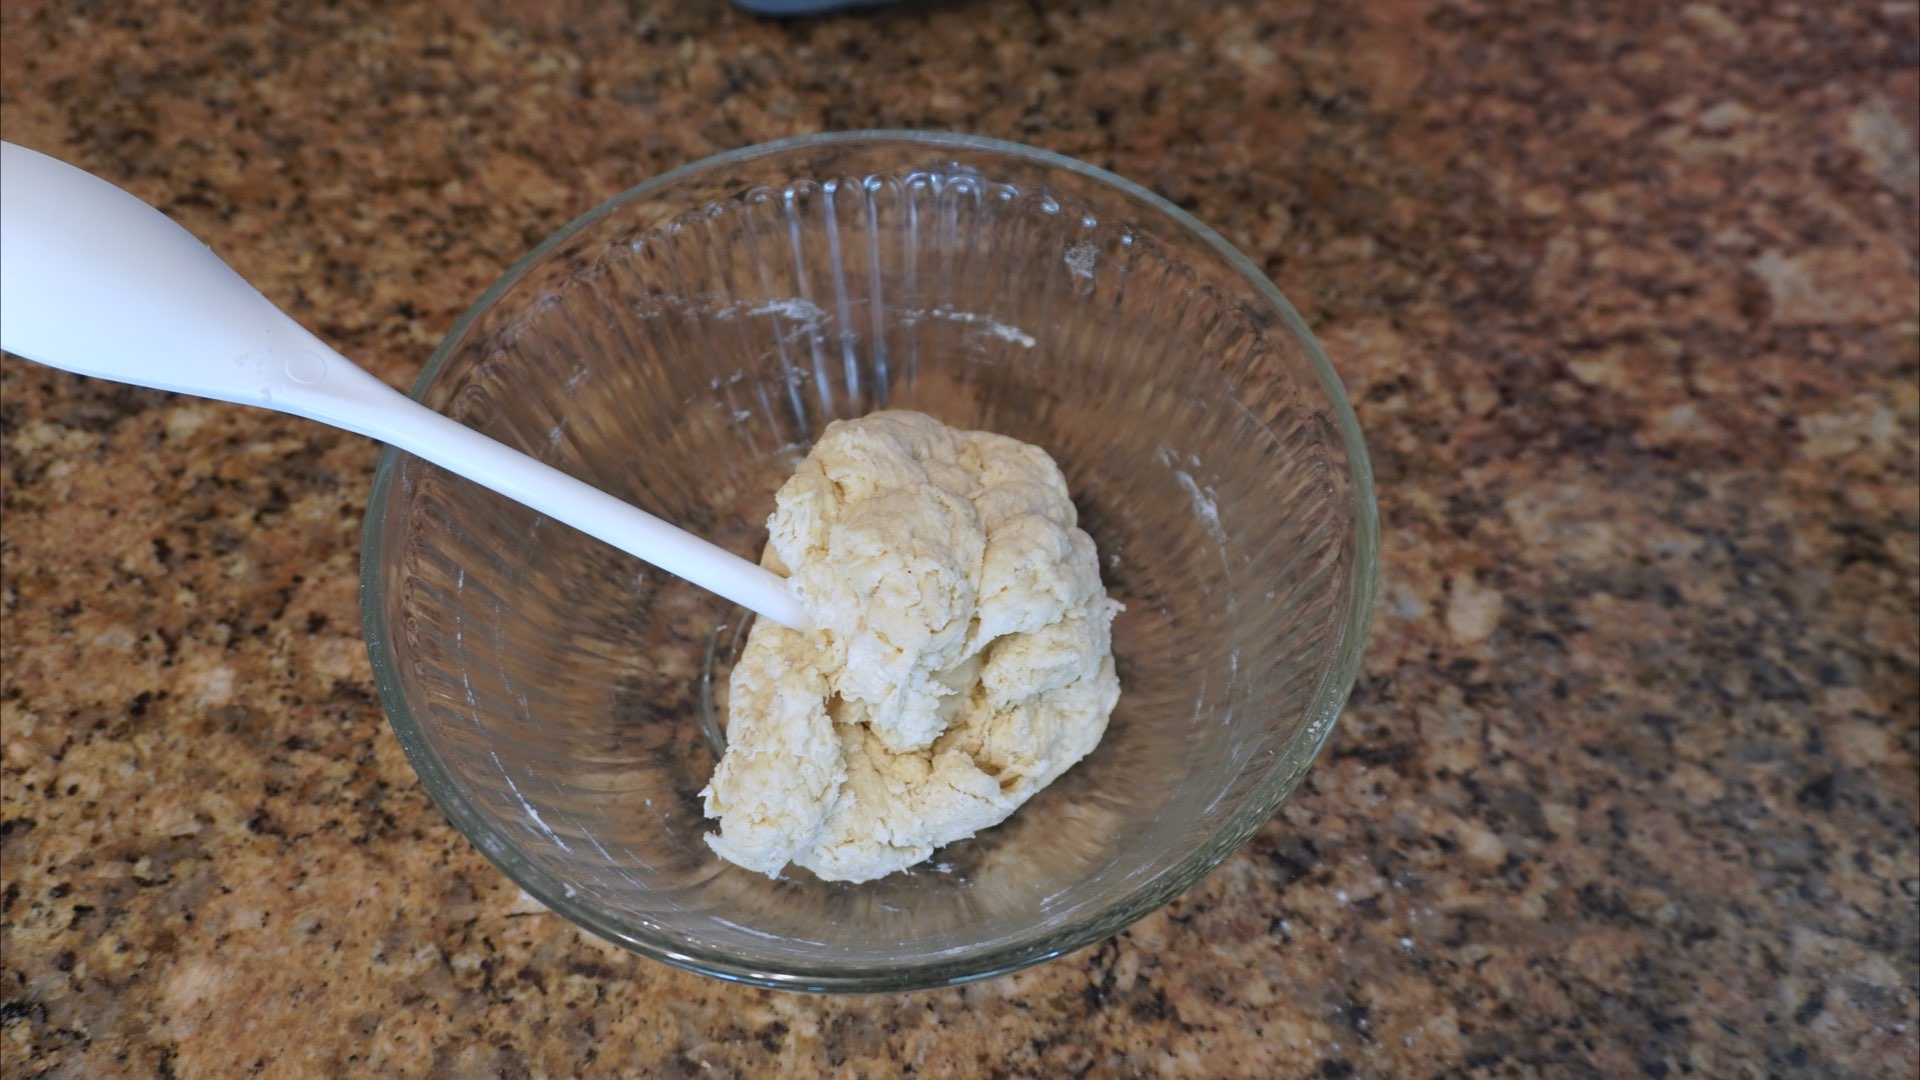
Using the handle of a plastic or wooden spoon, or your hands, mix together the ingredients until a shaggy dough forms.
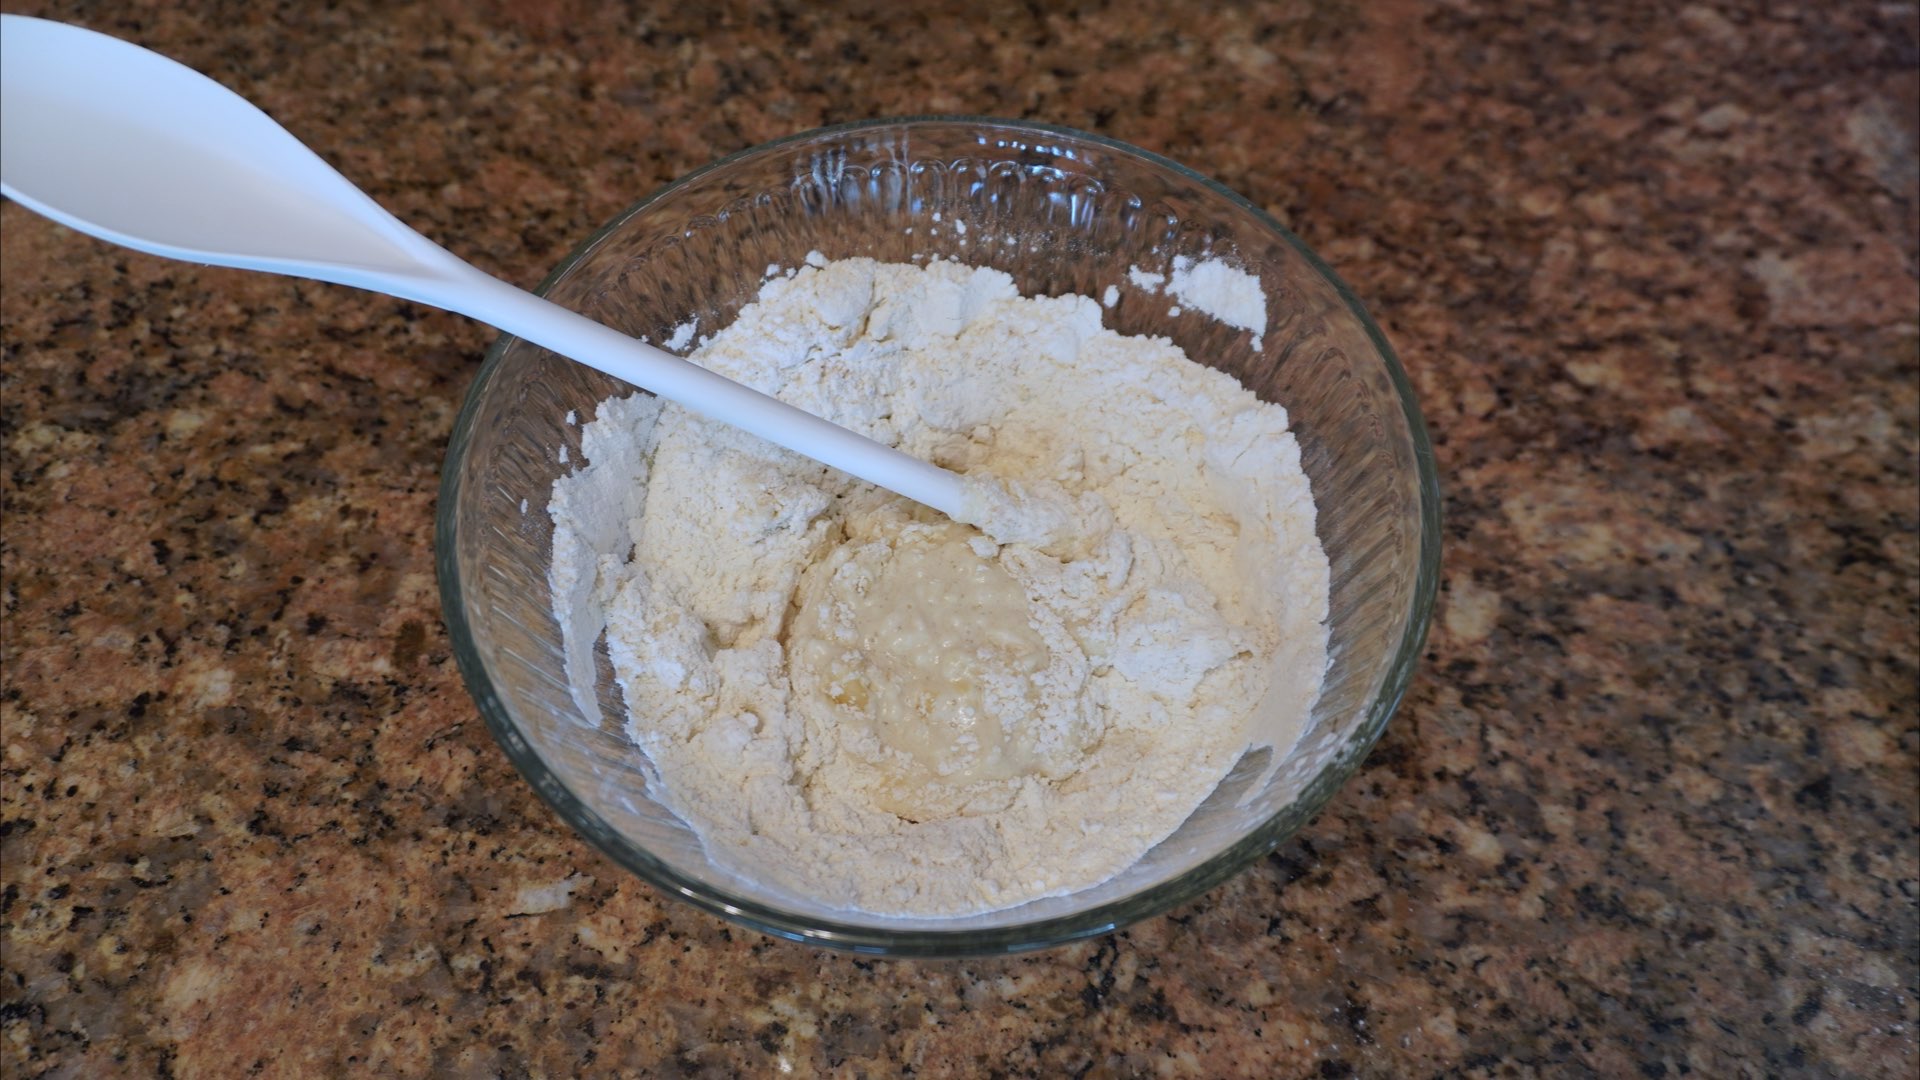
It should look like this.
Step 4: Knead the Dough
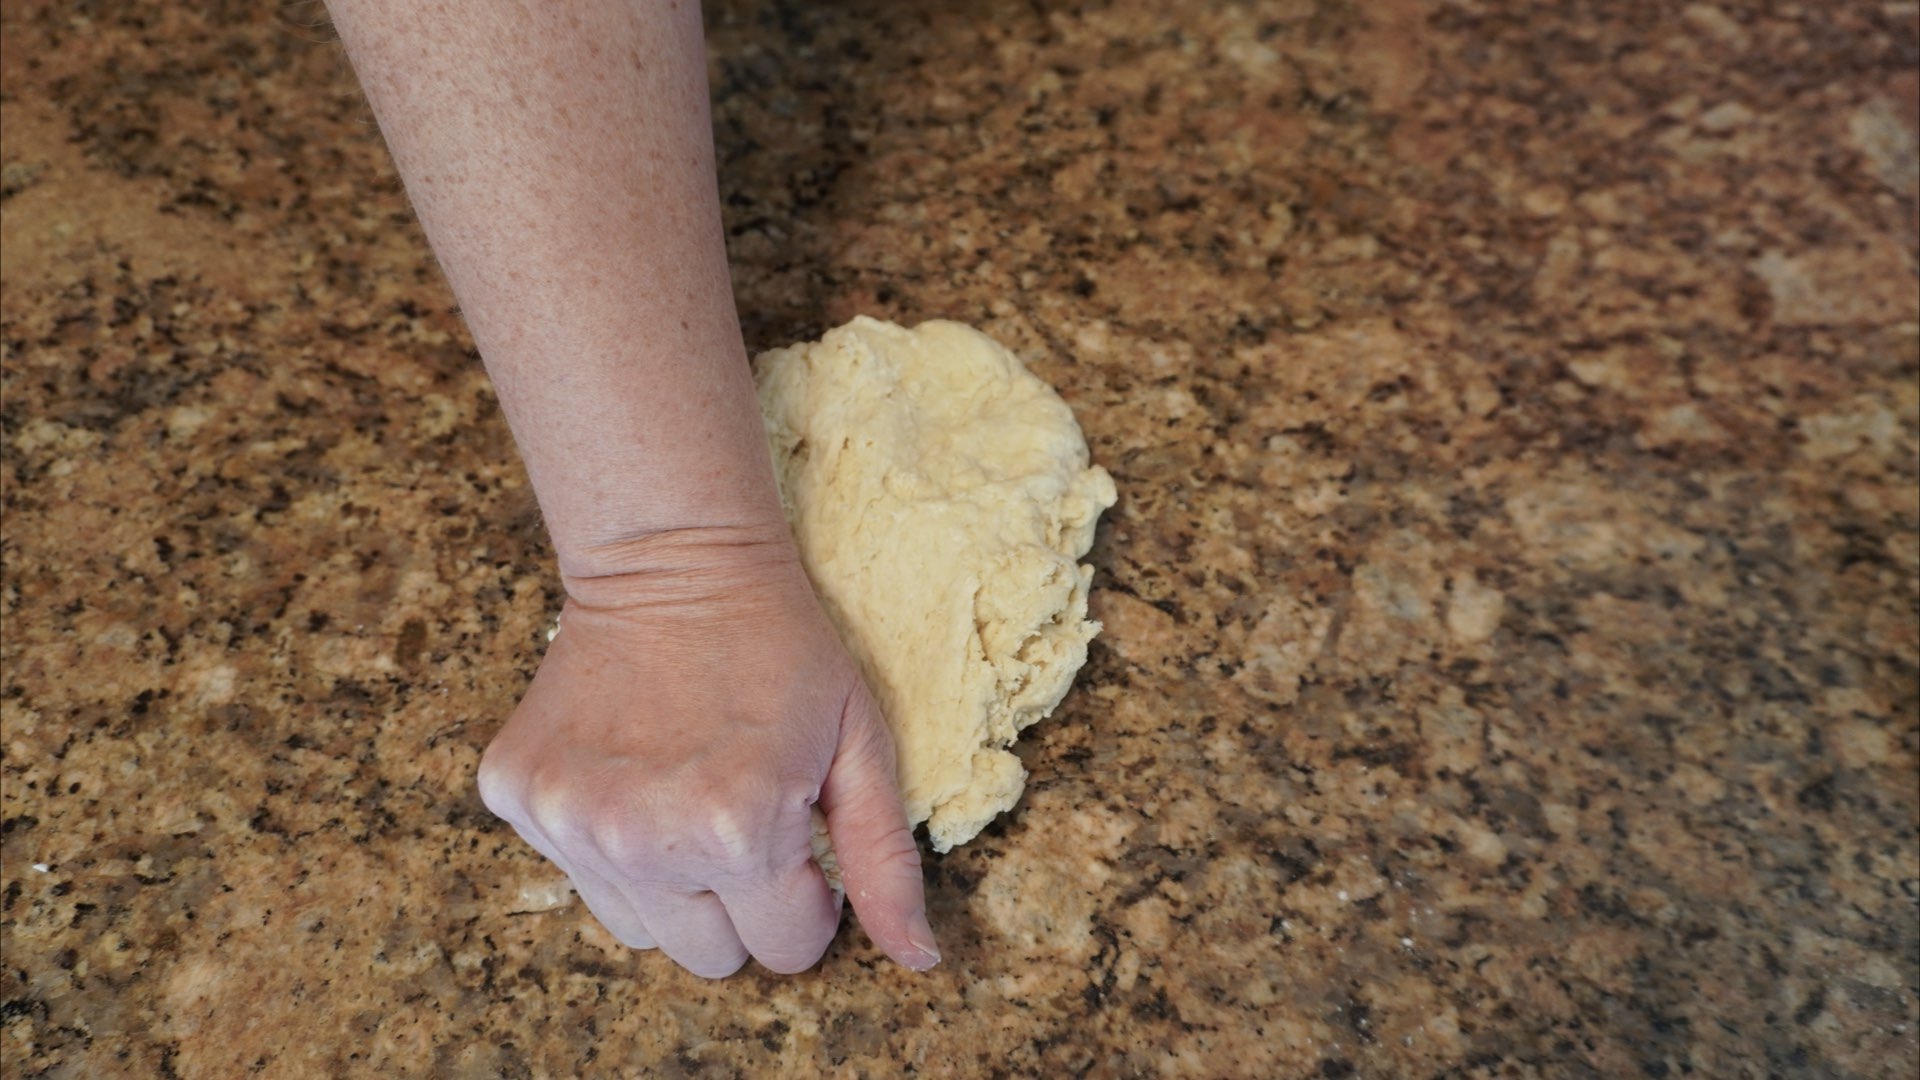
Place the dough on a clean work surface. Using the palm of your hand, push the edge of the dough away from you.
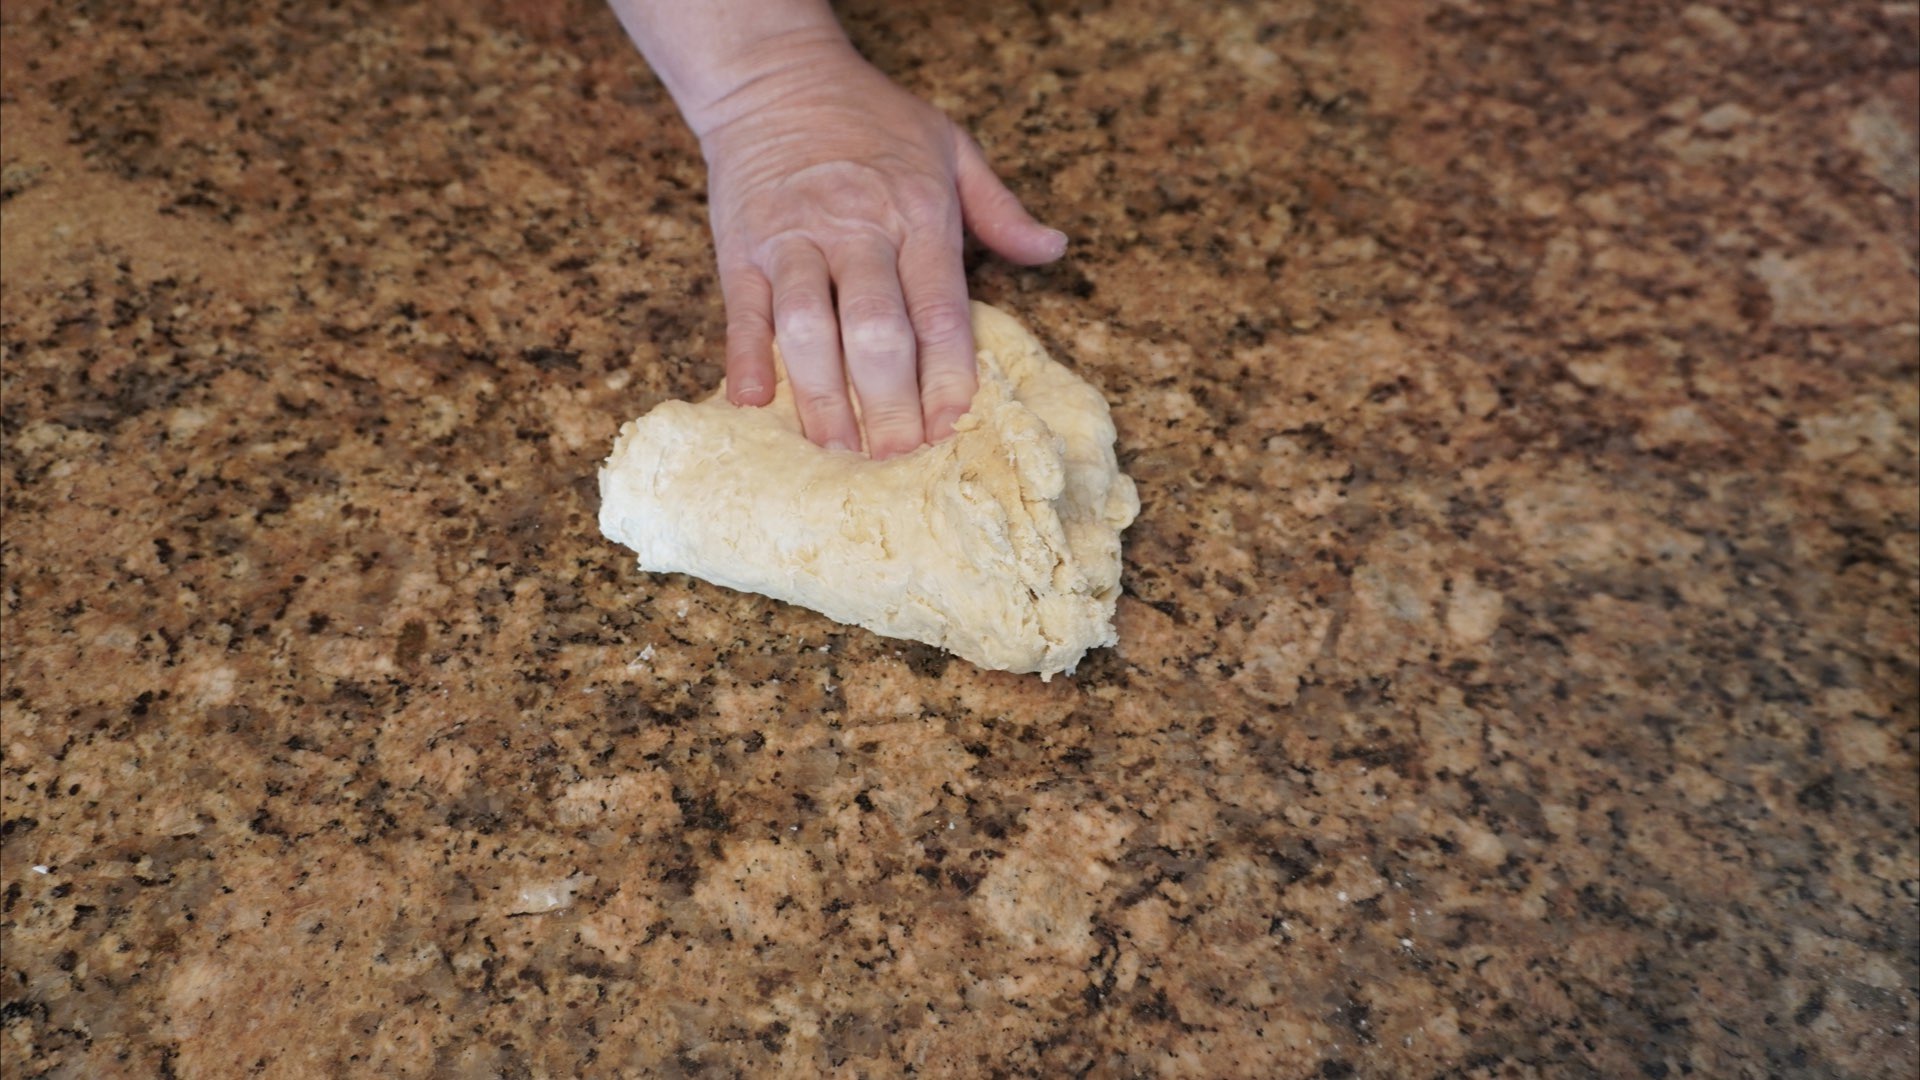
Next, fold the dough in half.
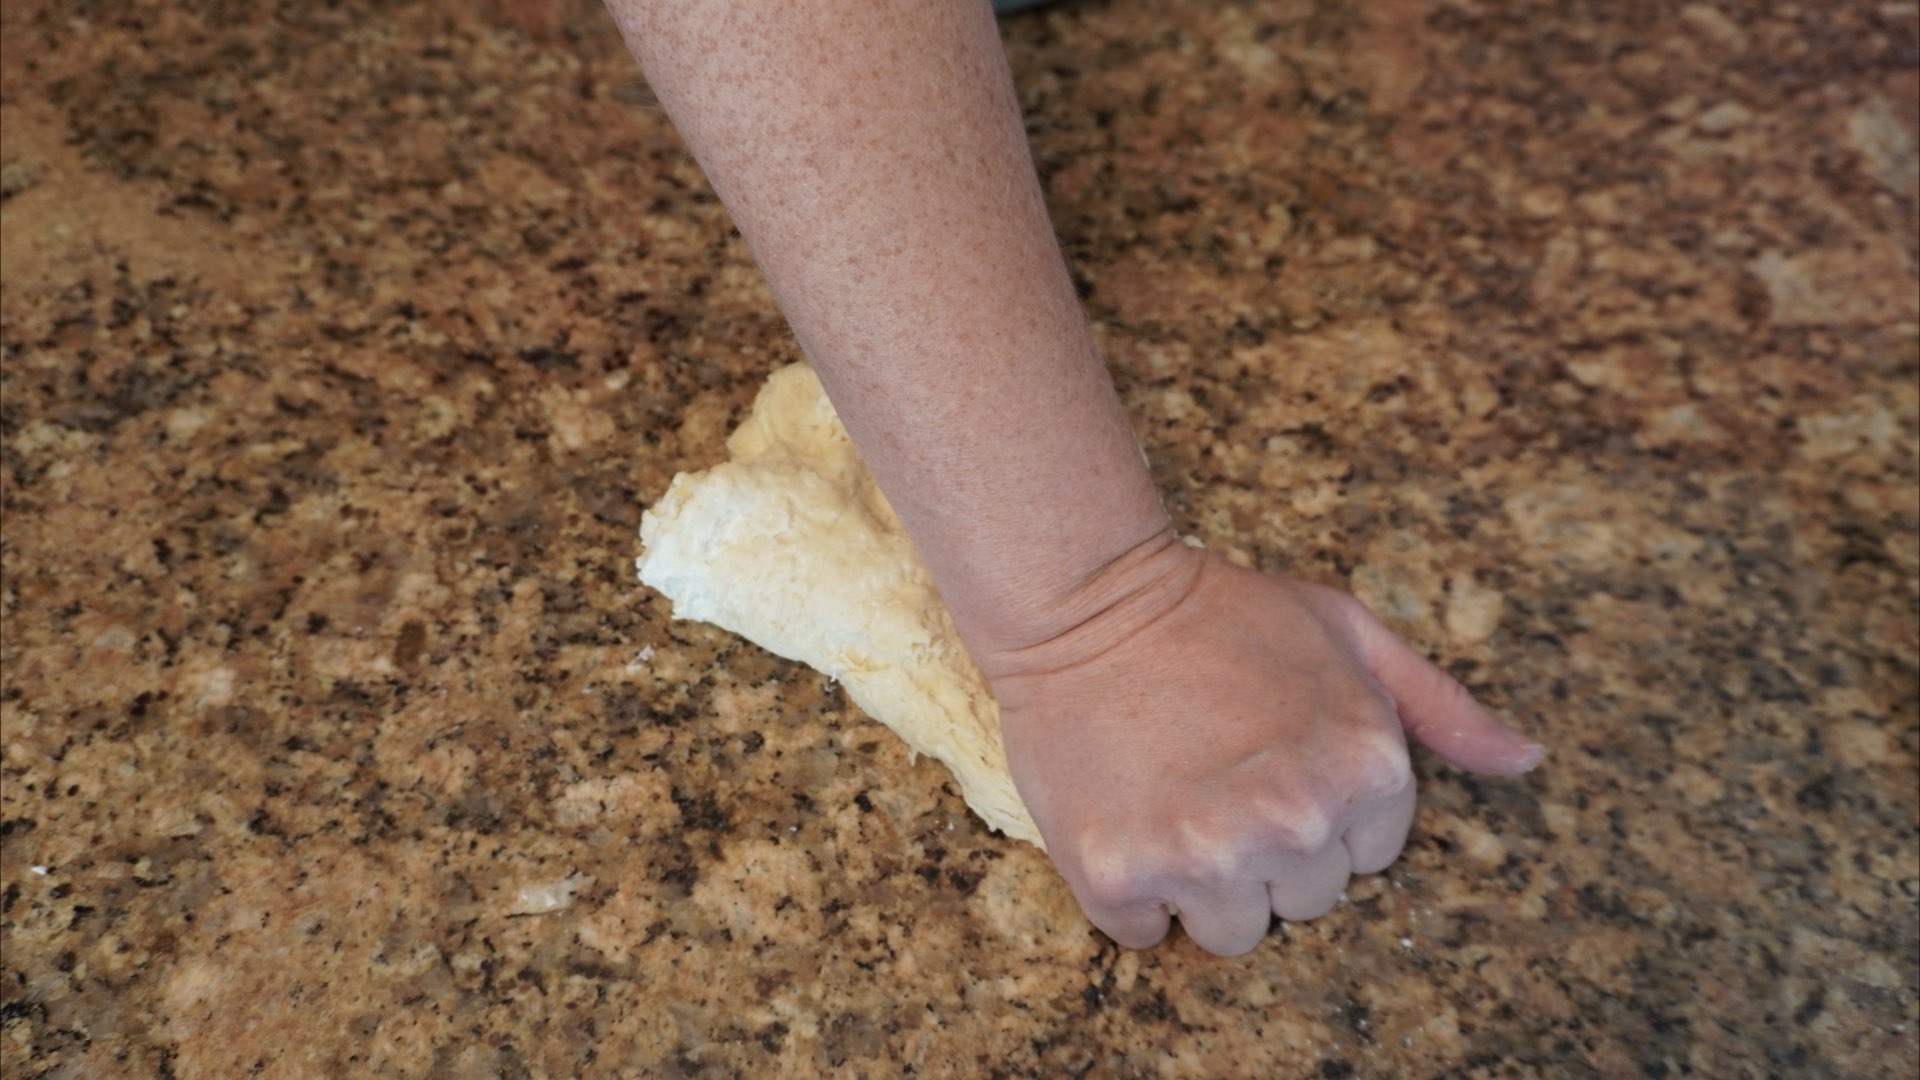
Repeat this step over and over. You will knead for 8 – 10 minutes. You can alternate your hands so you don’t get too tired.
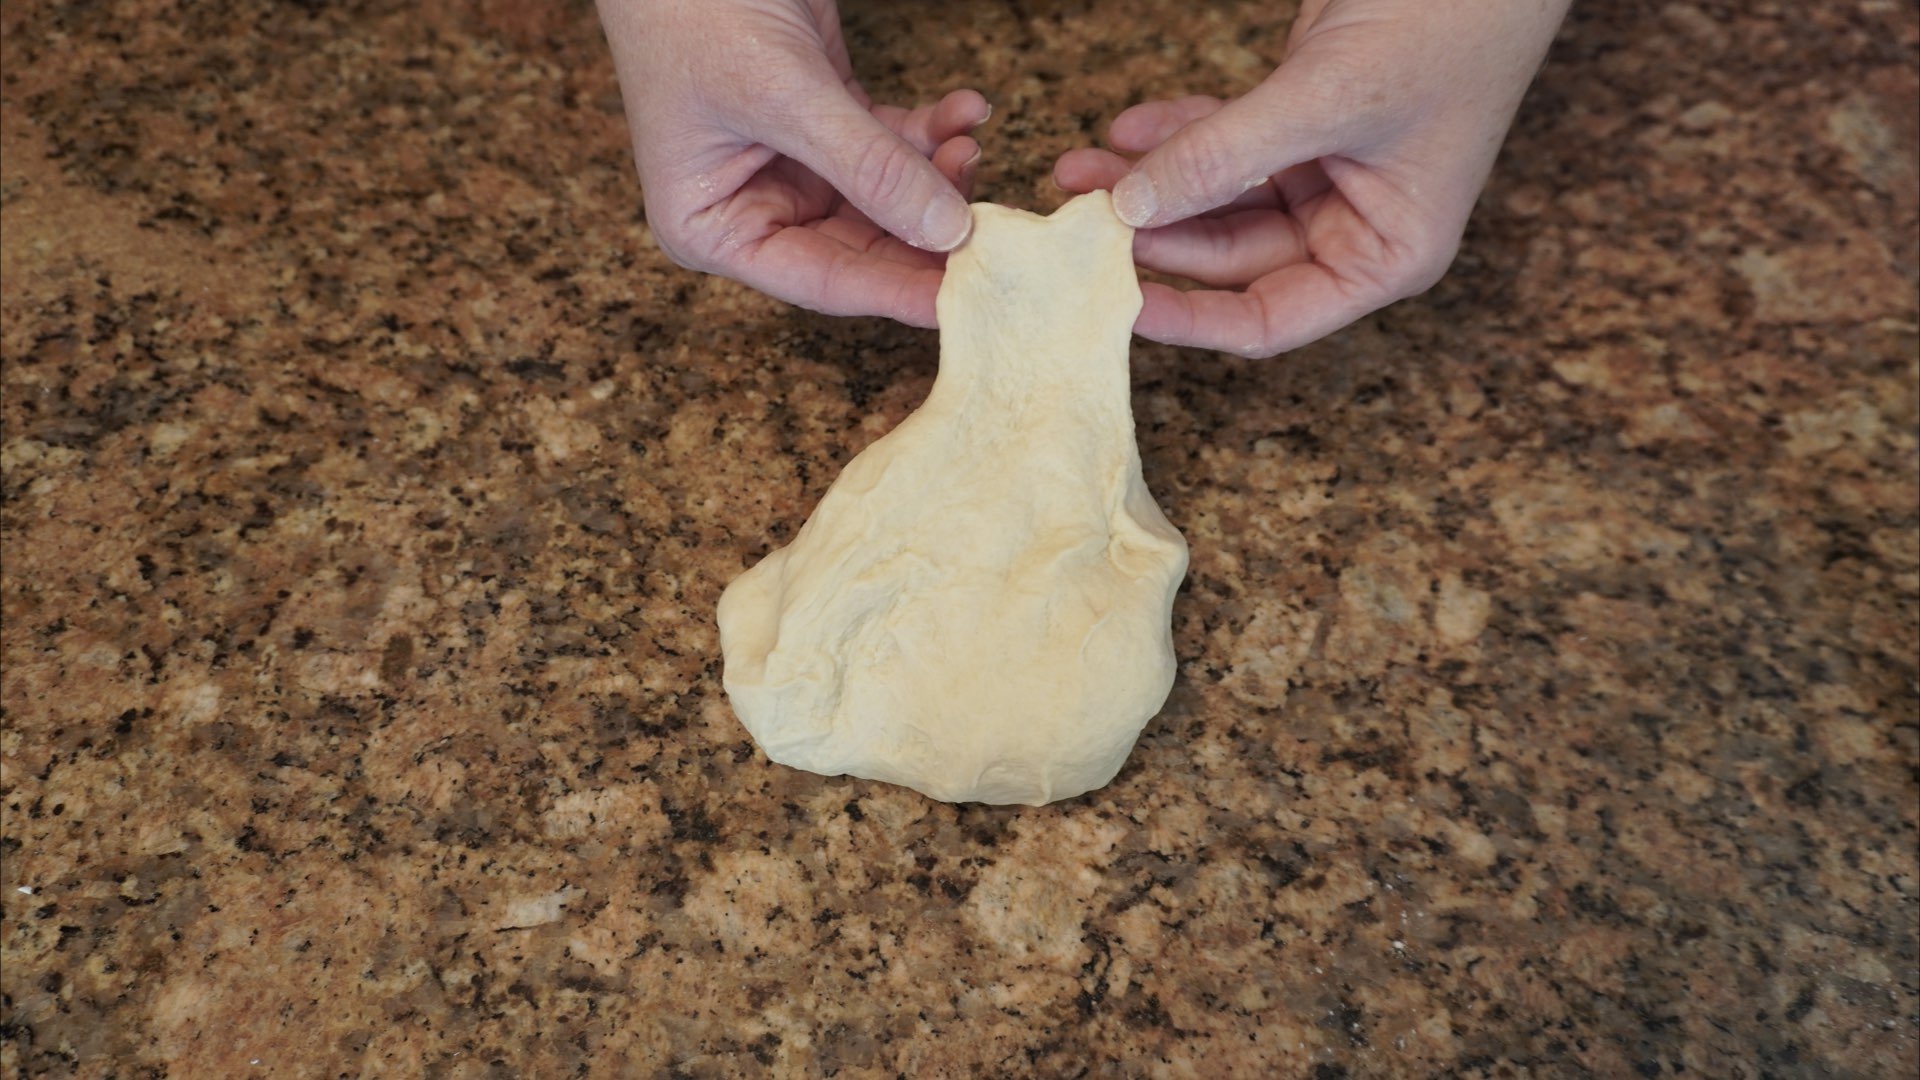
After about 8 minutes, check to see if you can stretch the dough without it tearing. This dough is soft, but it’s tearing easily. It’s not quite ready.
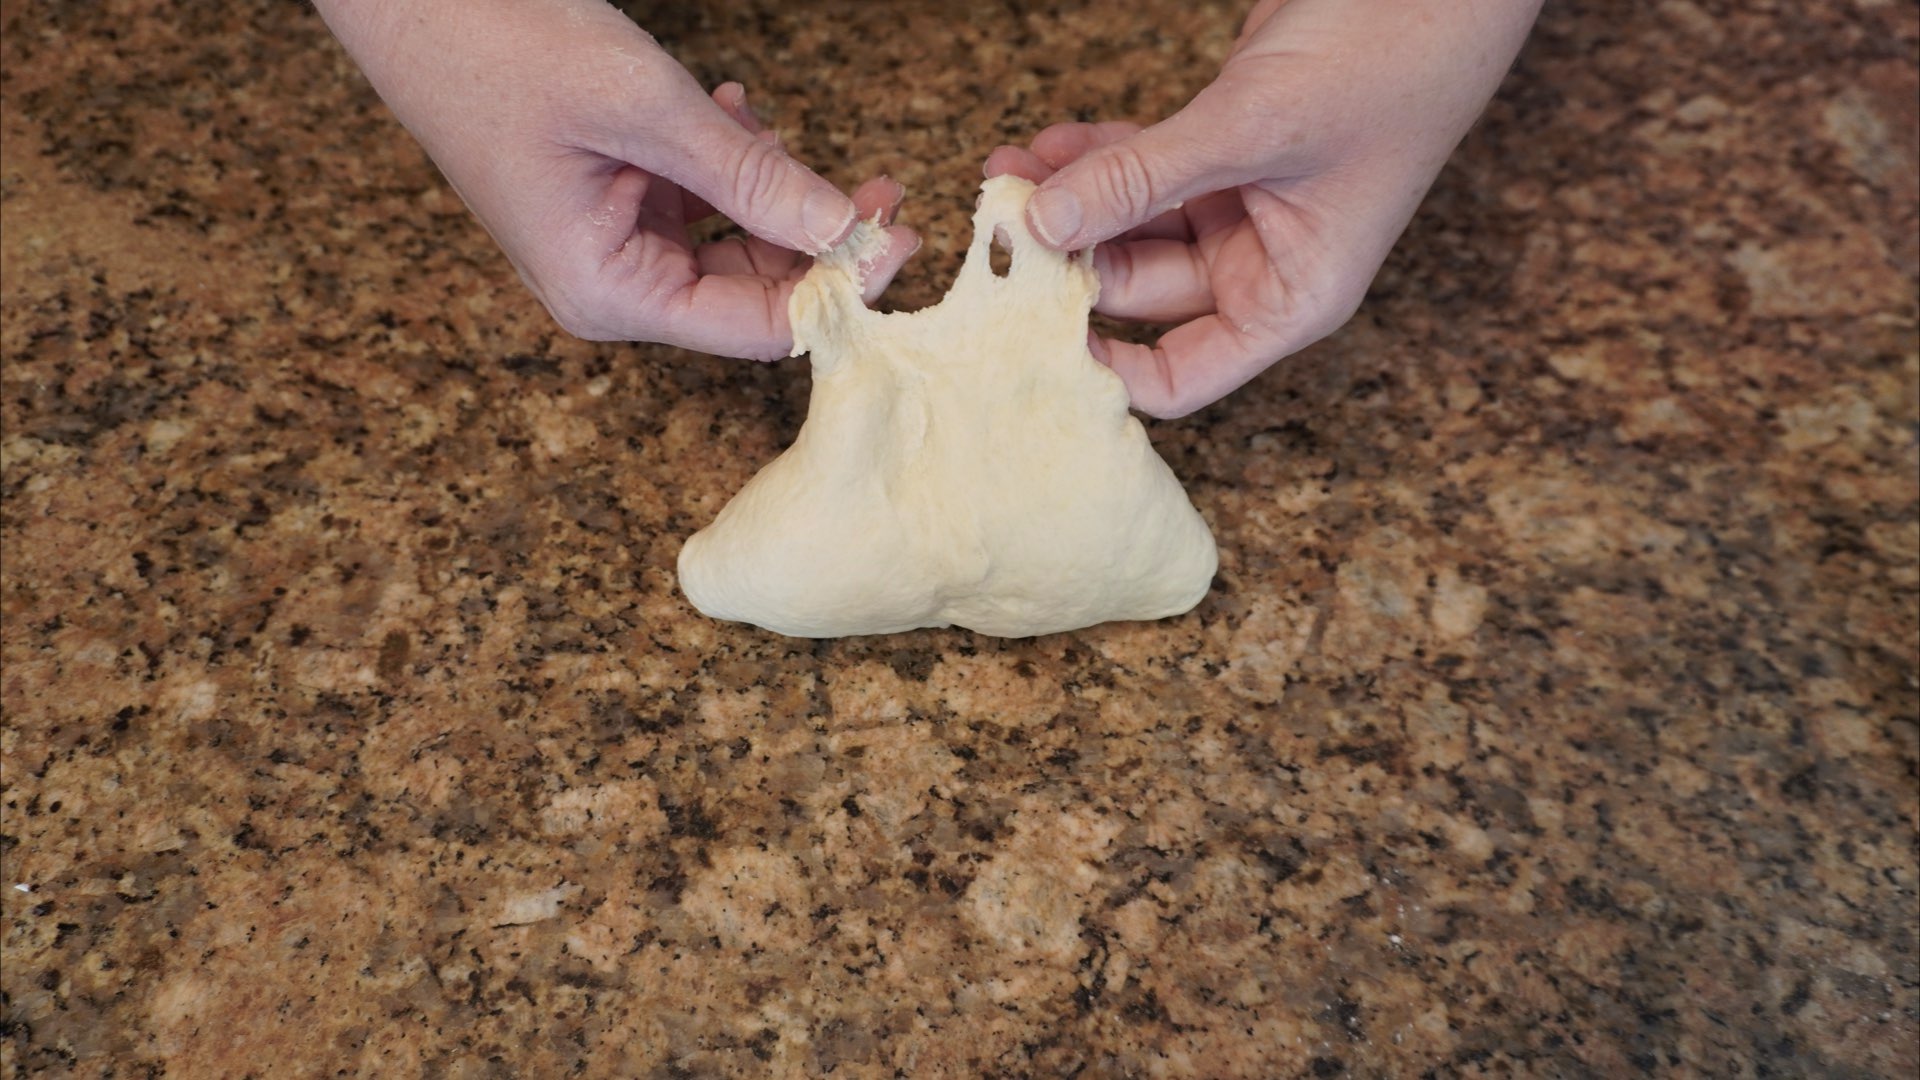
Depending on the dough, it may stick a little to your hands as you knead. The dough should be less sticky as you work the dough.
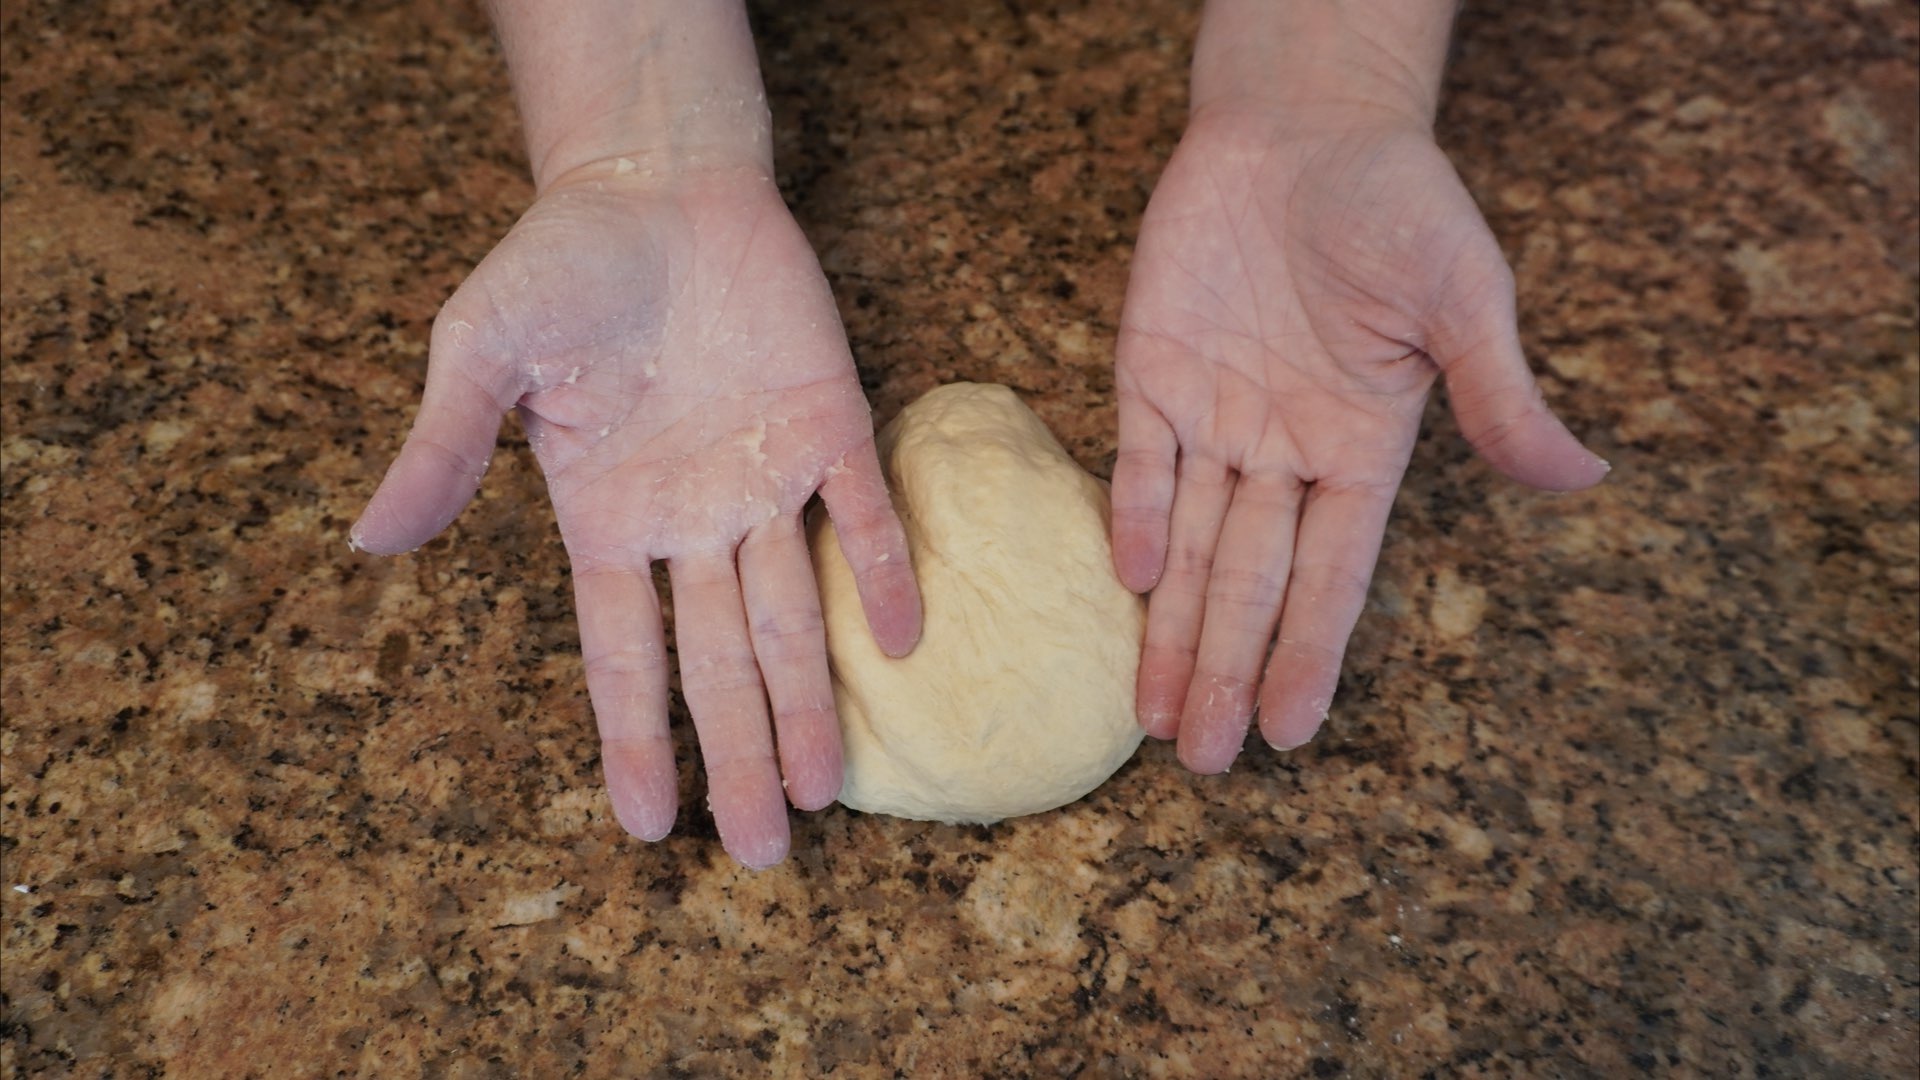
This dough is ready. It is stretching easily without tearing.
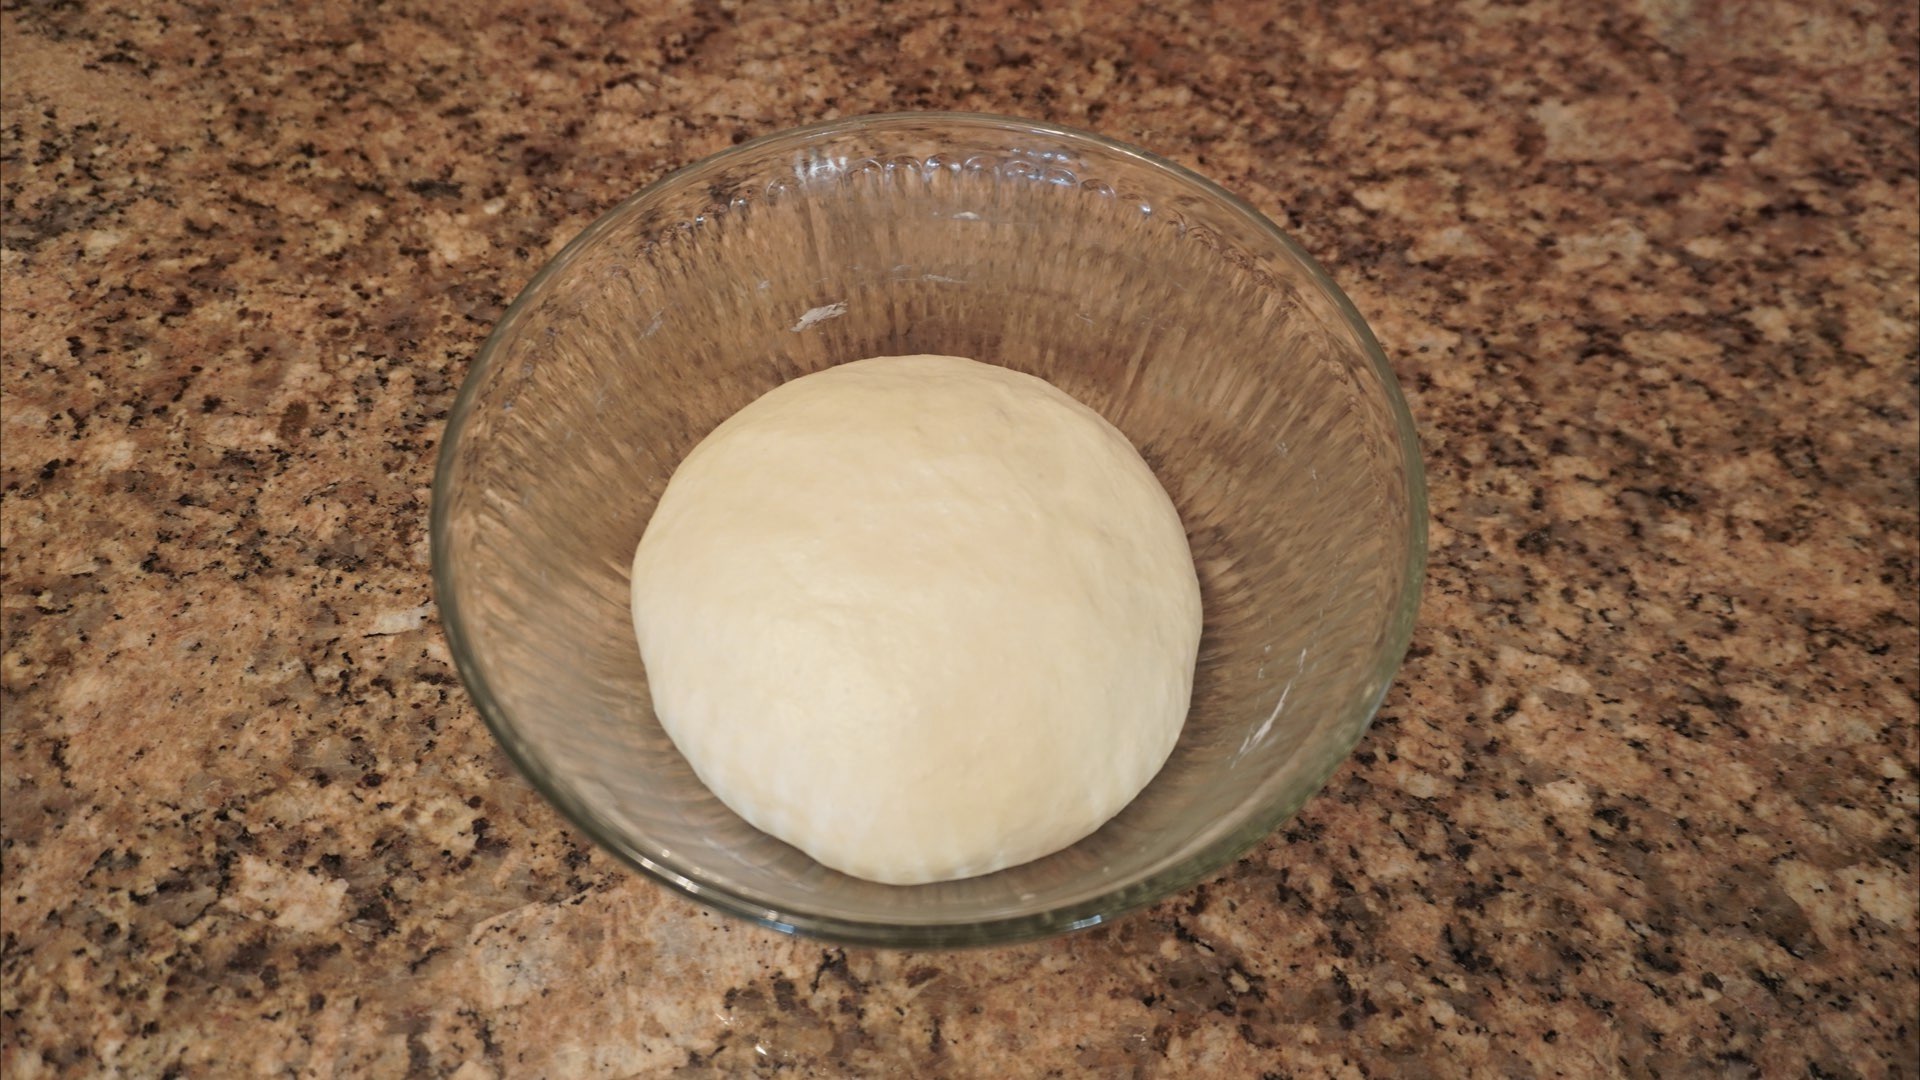
Roll it up into a loose ball.
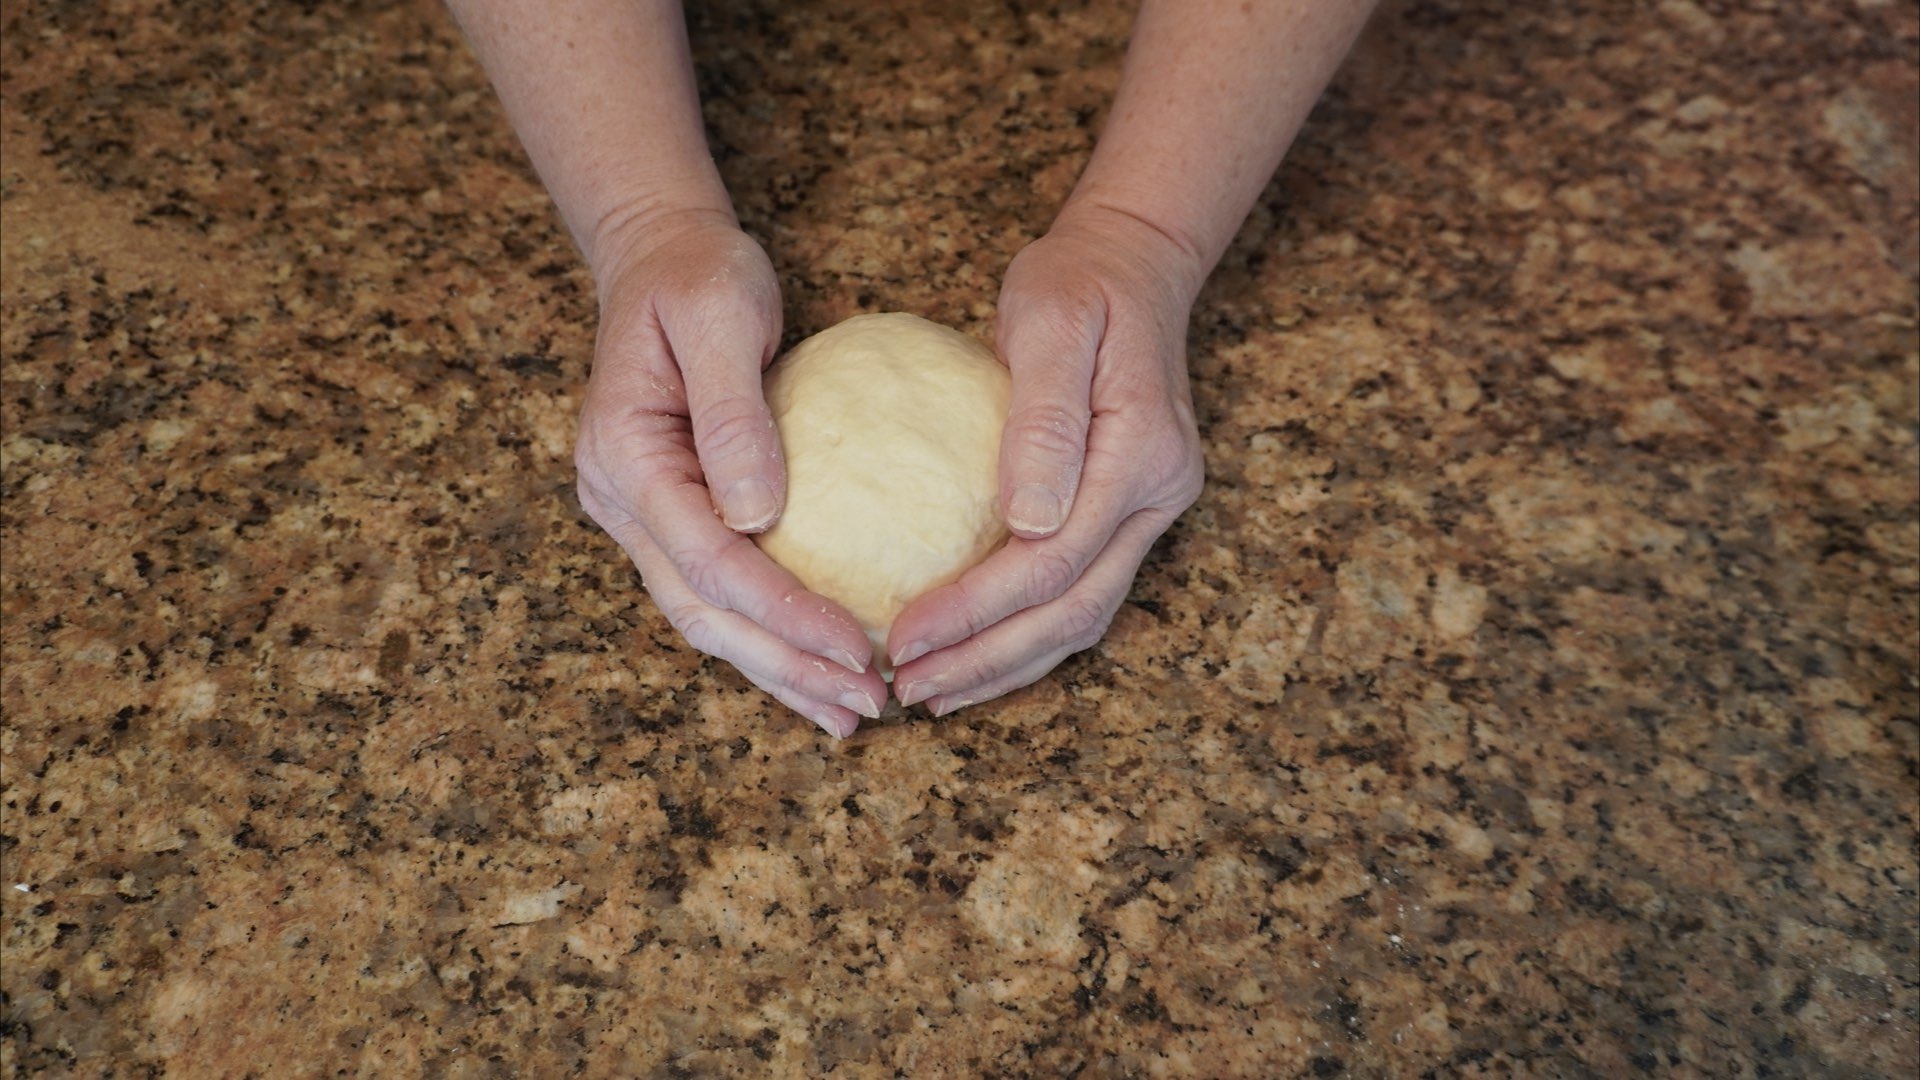
Place it in the bowl we mixed the dough in earlier. It is now time to rest.

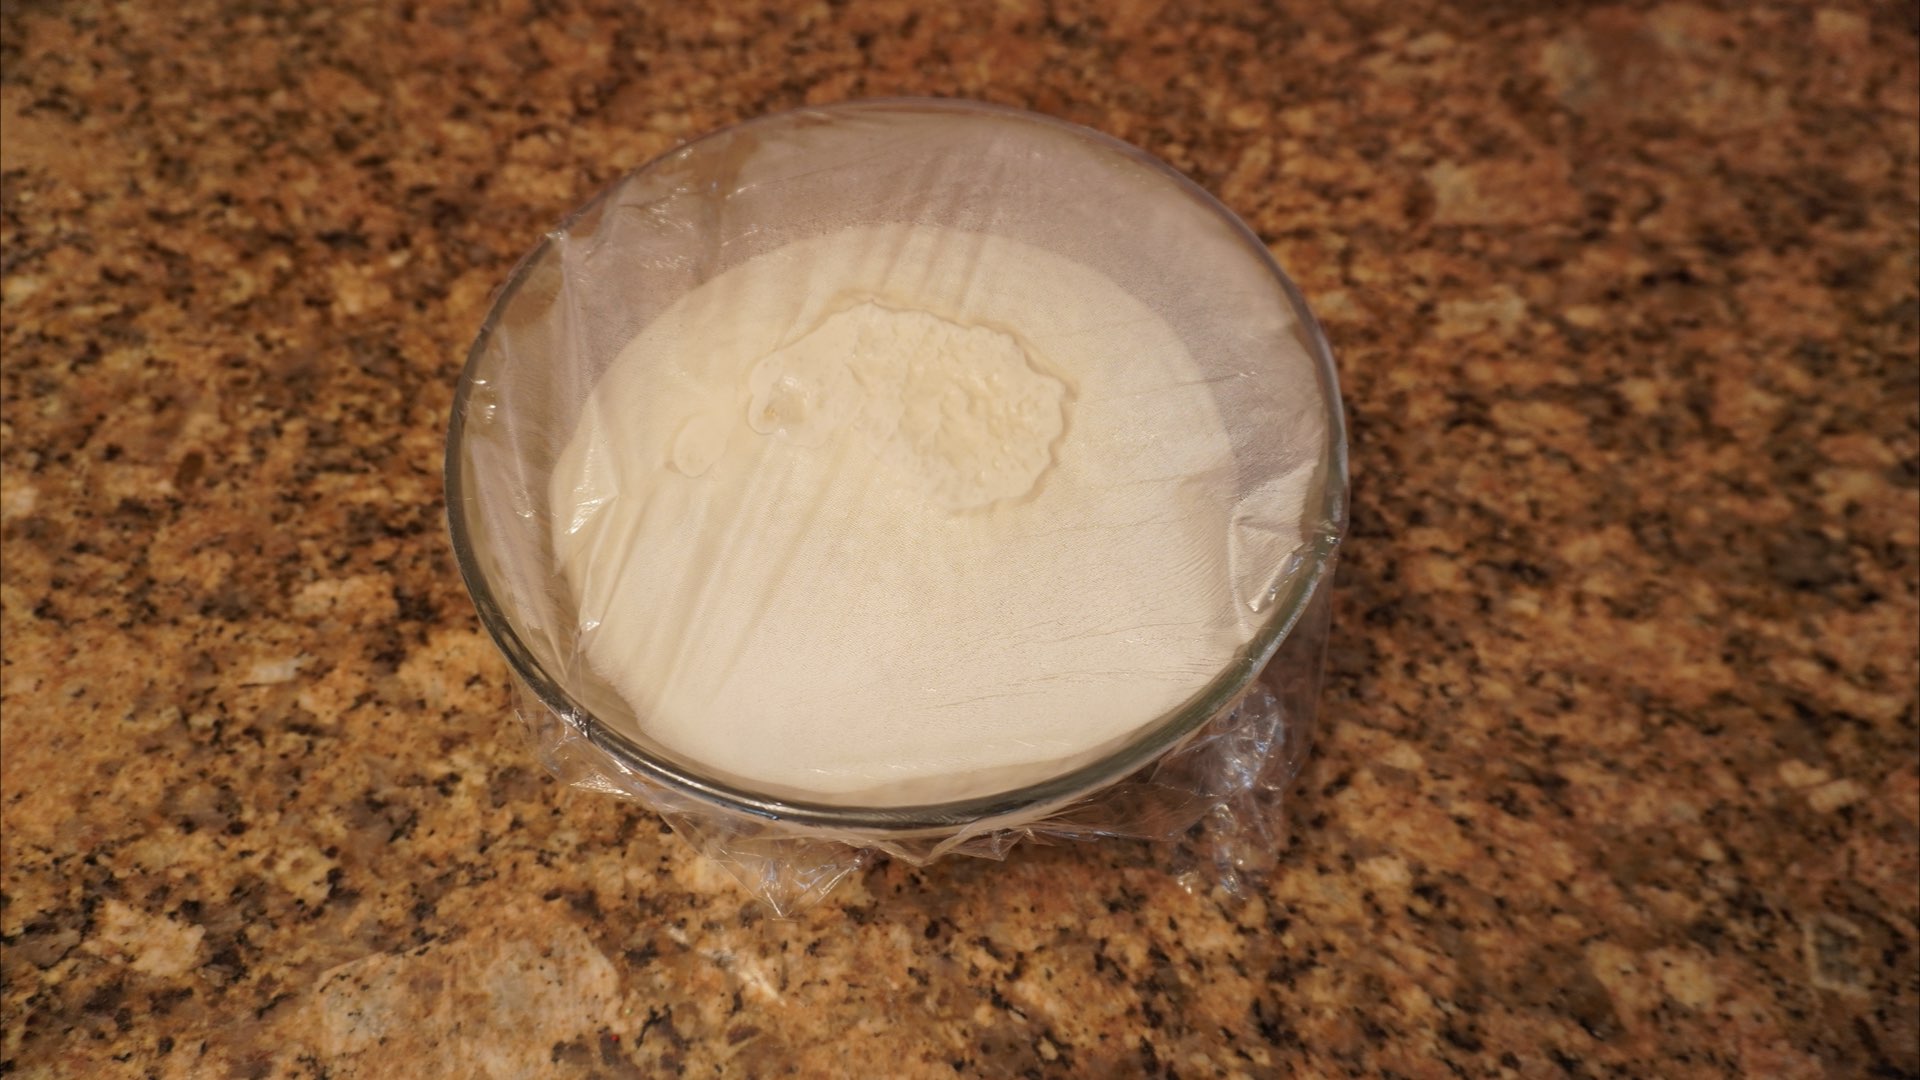
Cover the dough and let it rest 45 minutes, then place it in the fridge overnight up to 24 hours.
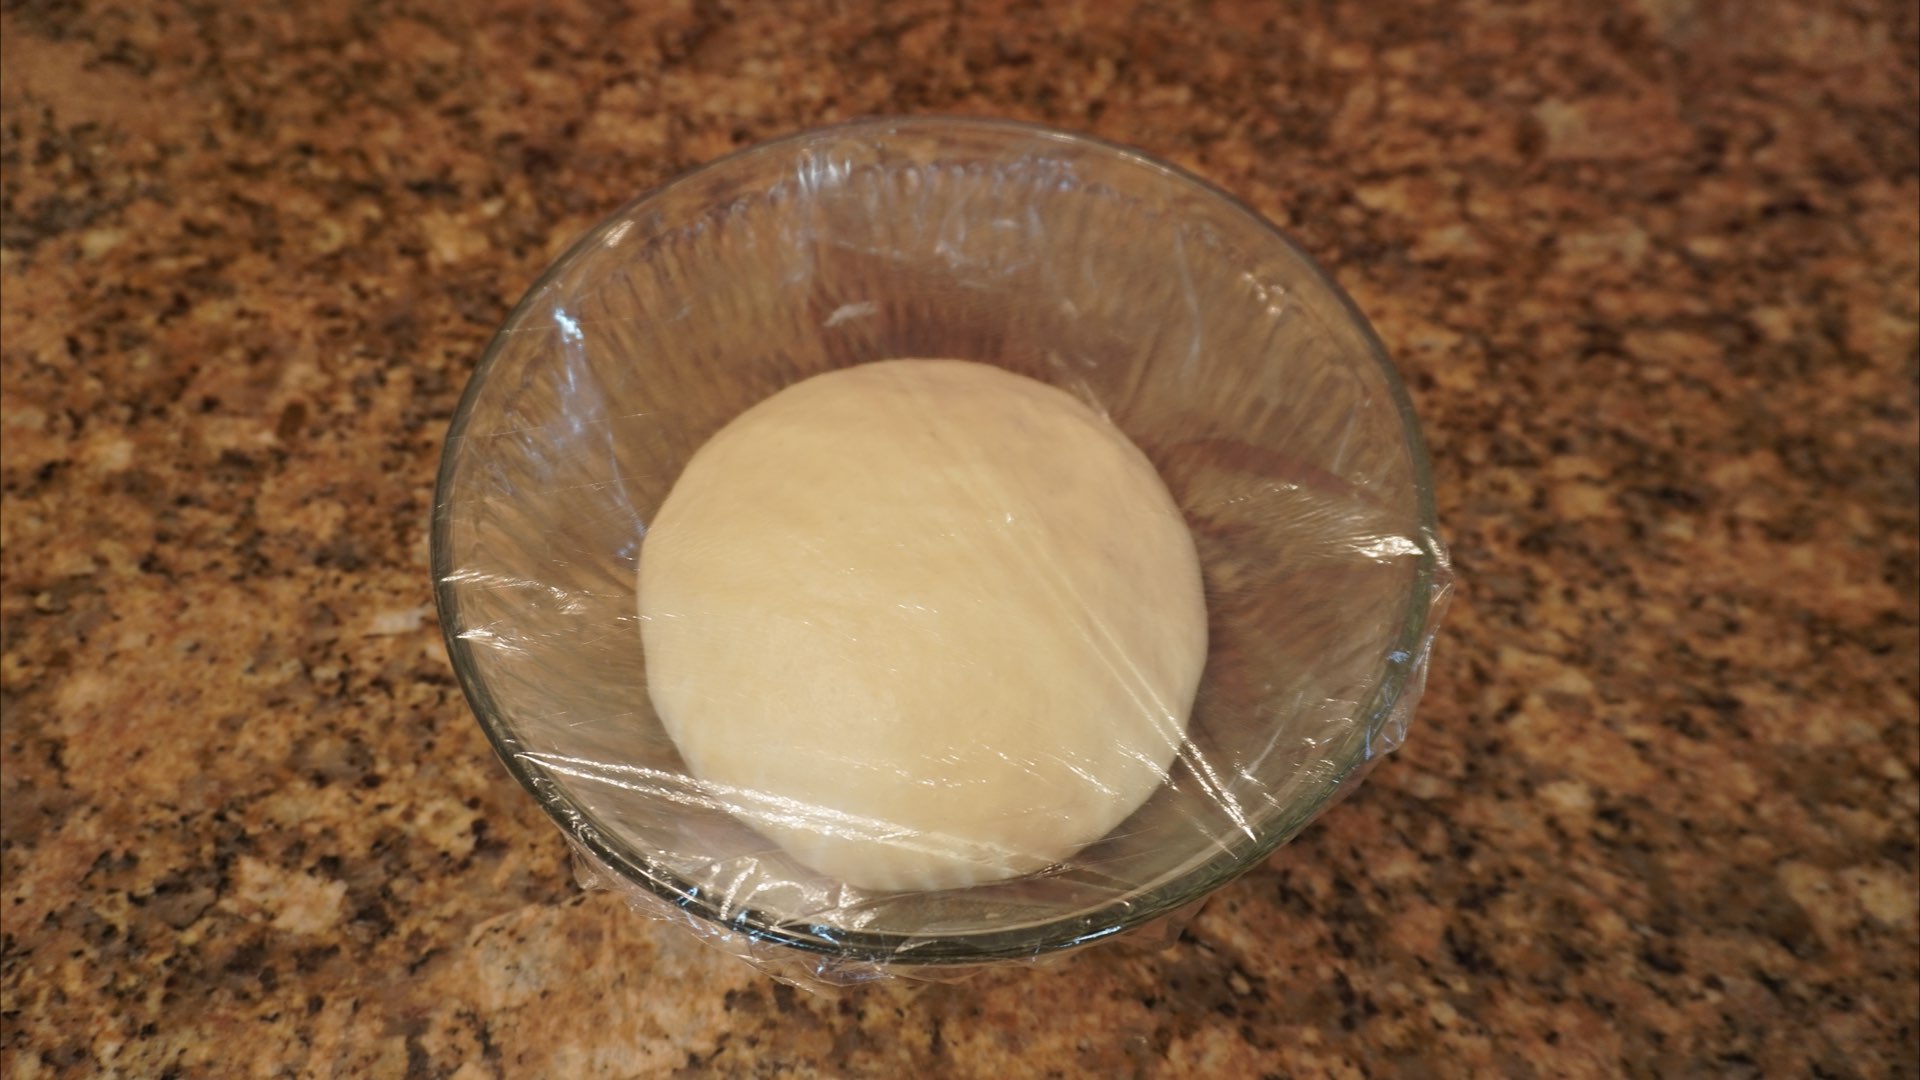
Depending on how long you let it sit in the fridge, it might not quite double in size because the cold air slows down the yeast. The point of slowing down the yeast is to allow the dough to develop a nice slightly tangy flavor common to bagels. This is called fermenting the dough.
Resting for 24 hours, you will see the grow much more as it will be full of air bubbles from the fermentation of the yeast.
Step 5: Shape the Bagel Dough
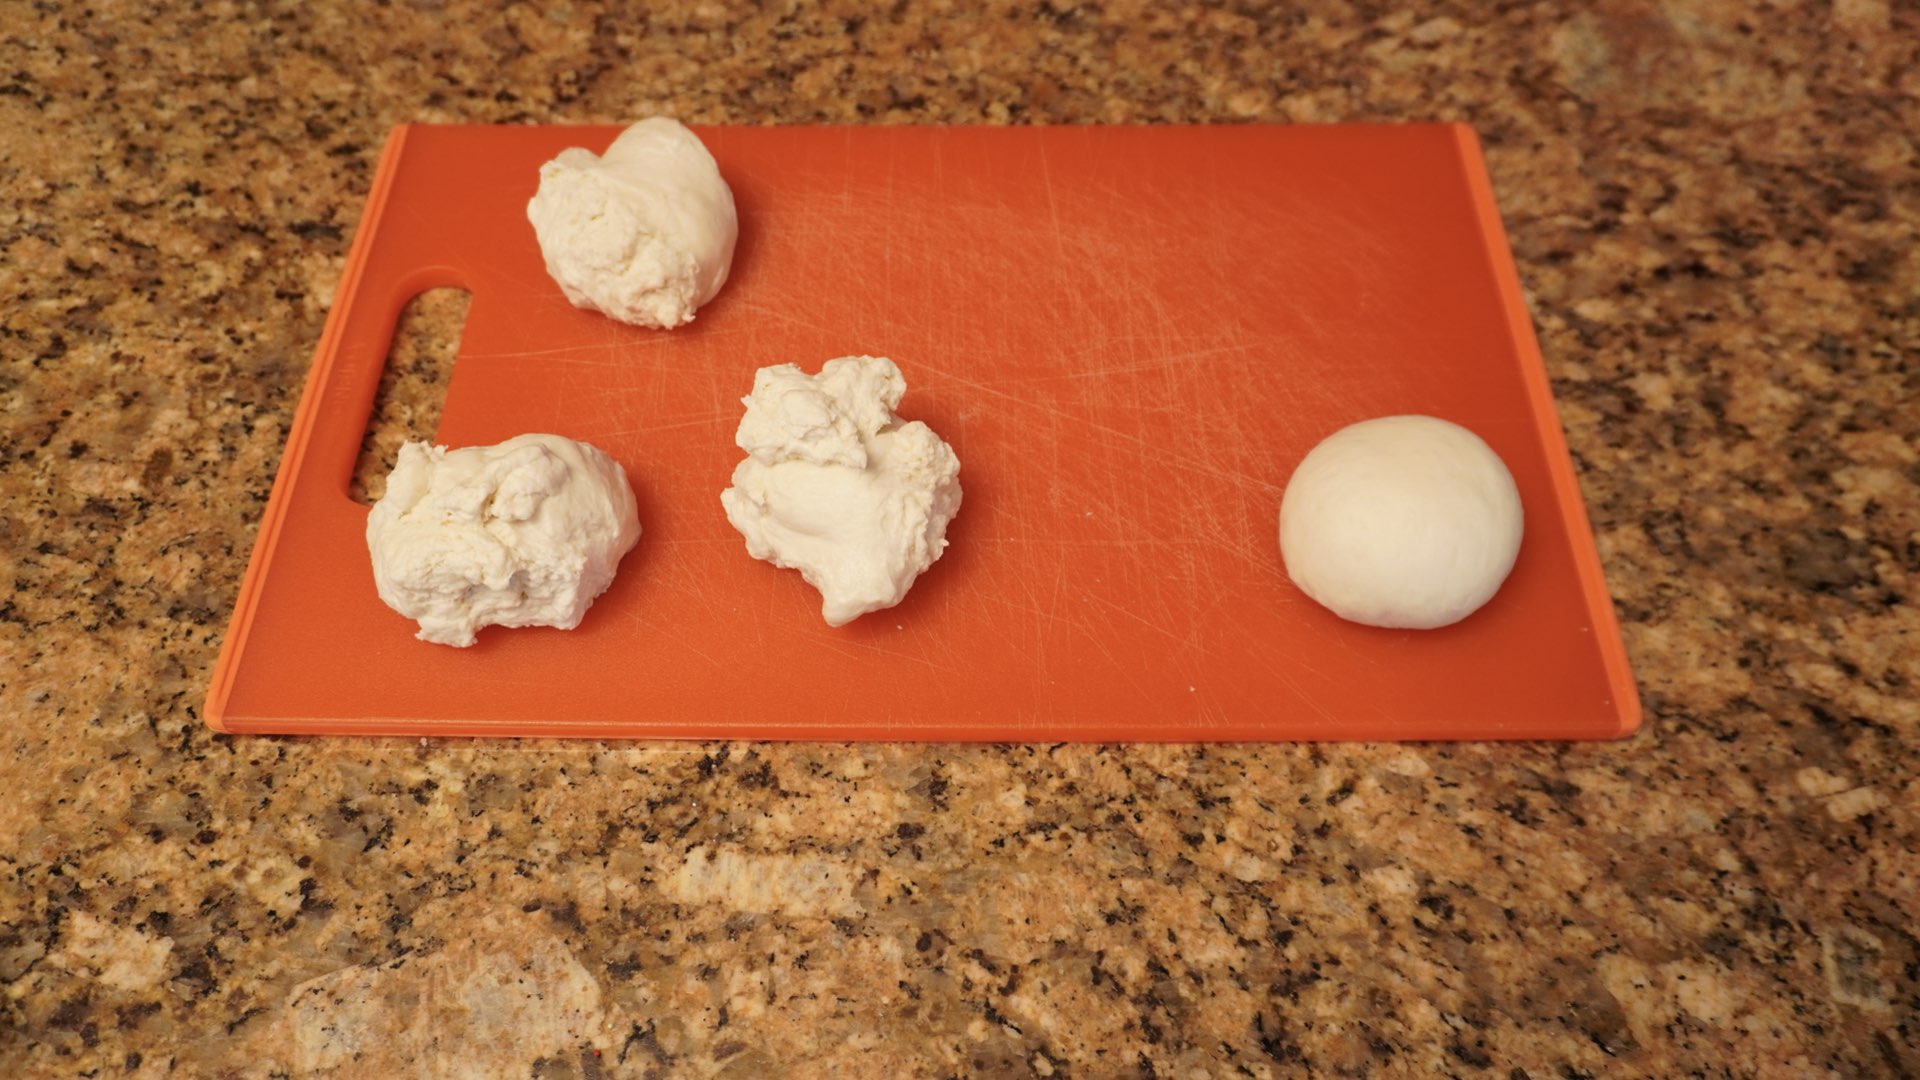
Place the dough on a clean work surface. A cutting board can work great for this task. Divide the dough into four equal pieces. If you don’t have a scale by now, seriously consider getting one if you plan to start baking a lot. Roll each piece into a loose ball.
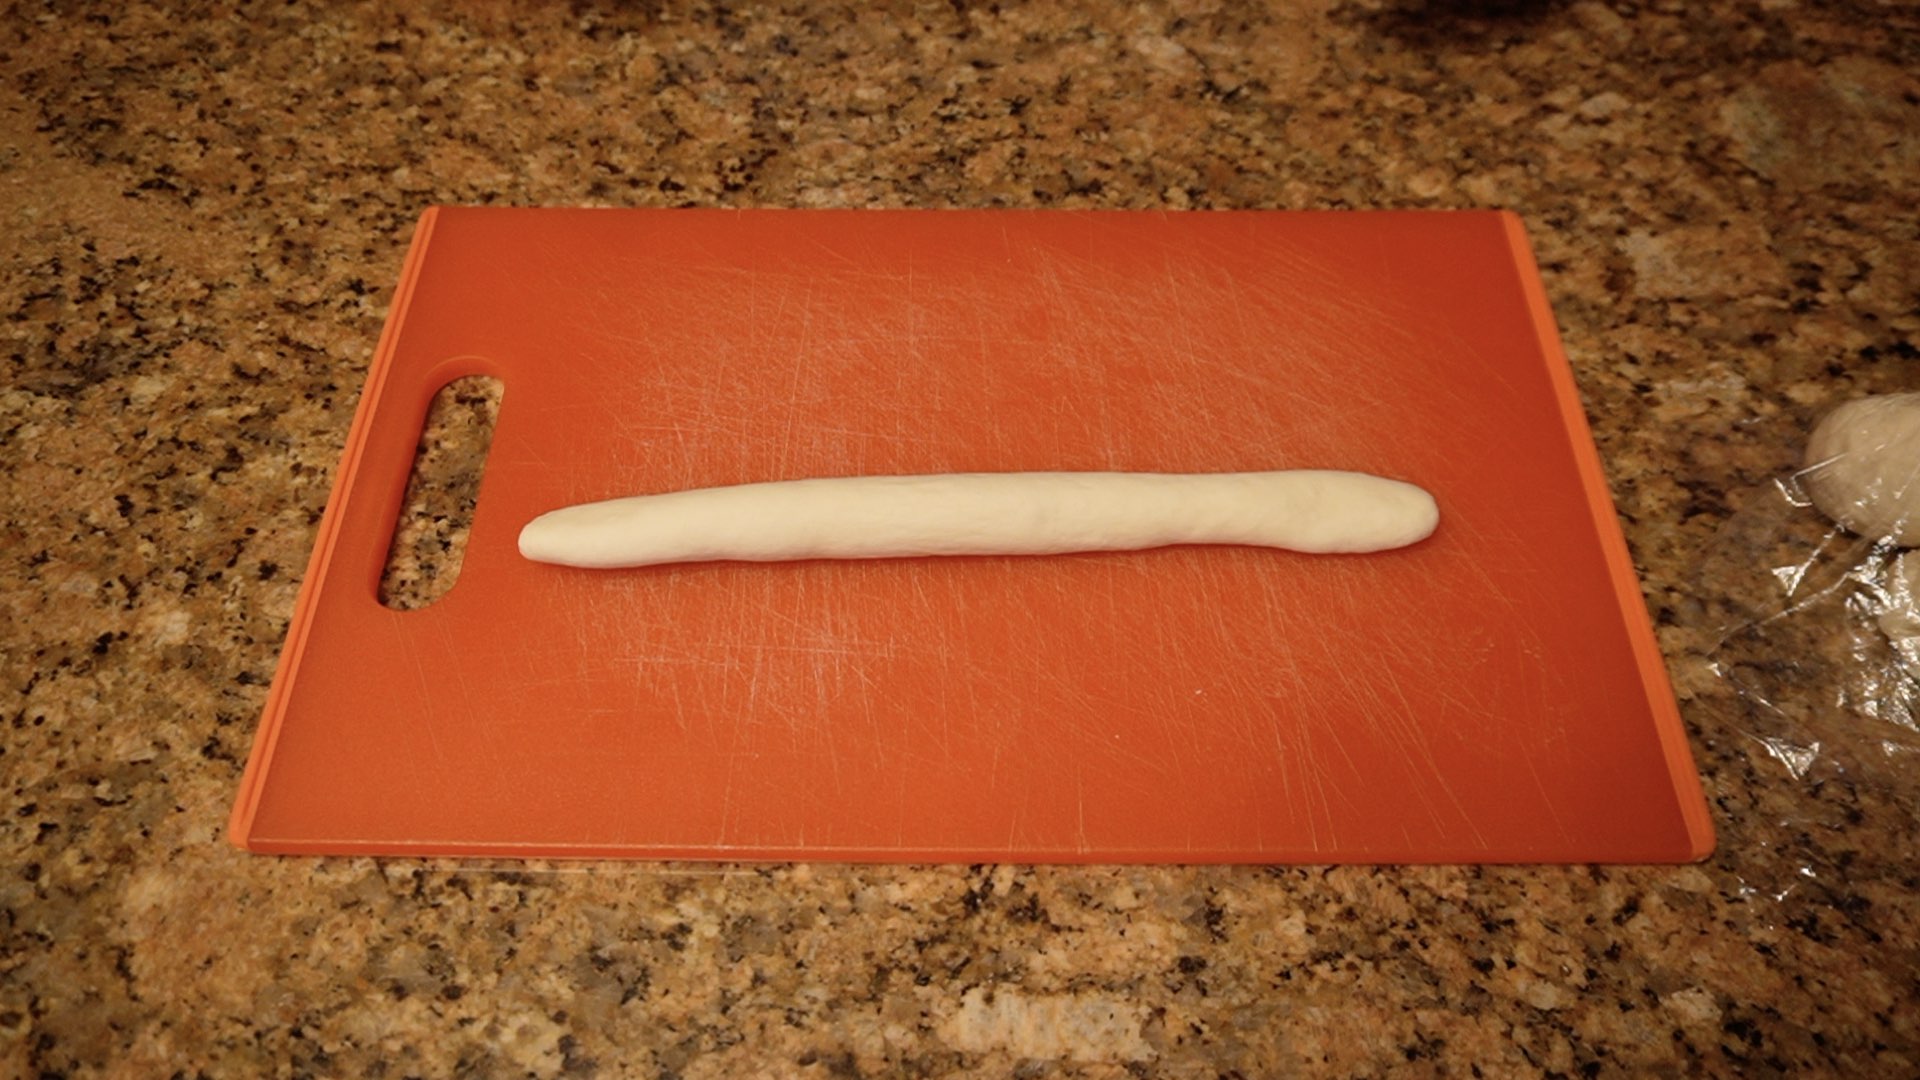
You have two options for shaping bagels. The traditional way and the modern method. For the traditional method, you will want to roll the dough into a rope long enough to wrap around the palm of your hand with the ability to overlap the ends about 2″ (5cm) to secure the ends. This will vary person to person as hand sizes vary, but a general guideline for the dough rope would about 12″ (30cm) long.
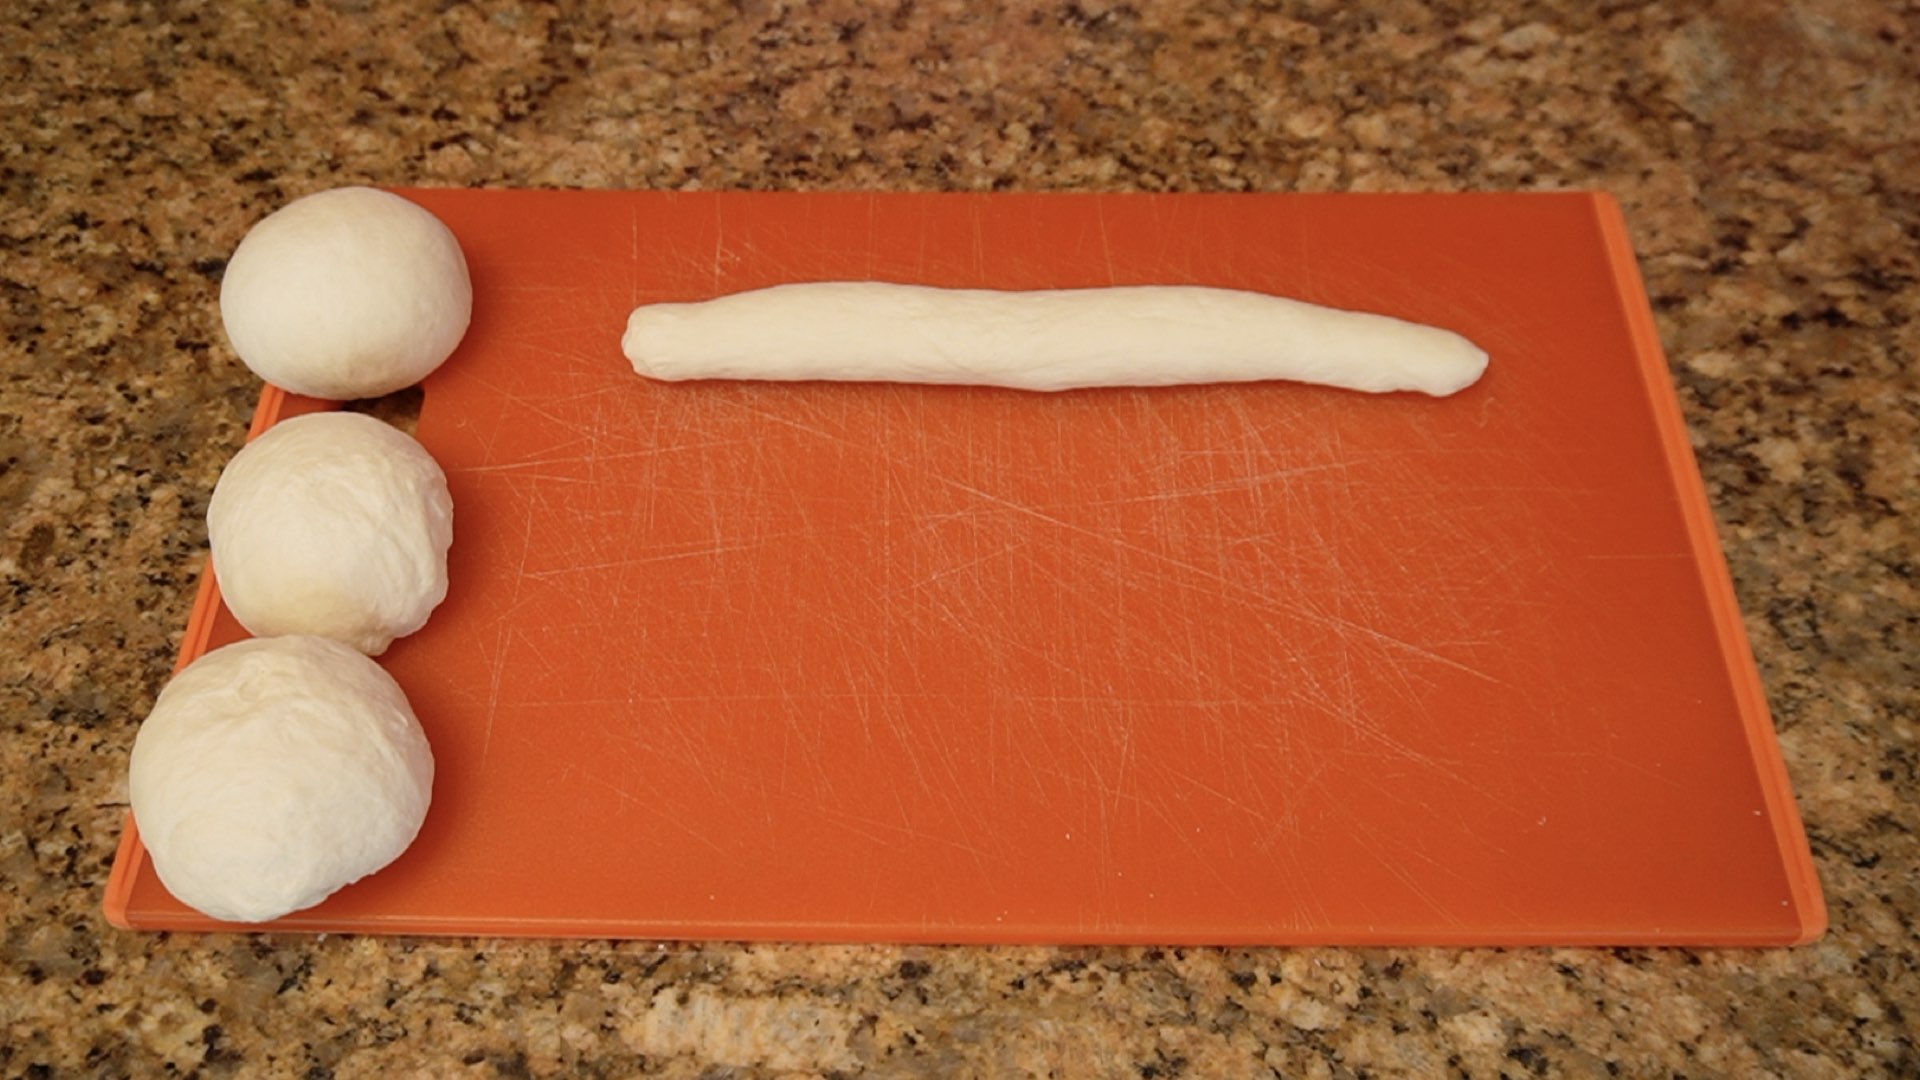
The dough should be as even as possible in thickness, but you want to taper it slightly on the ends like you see pictured below.
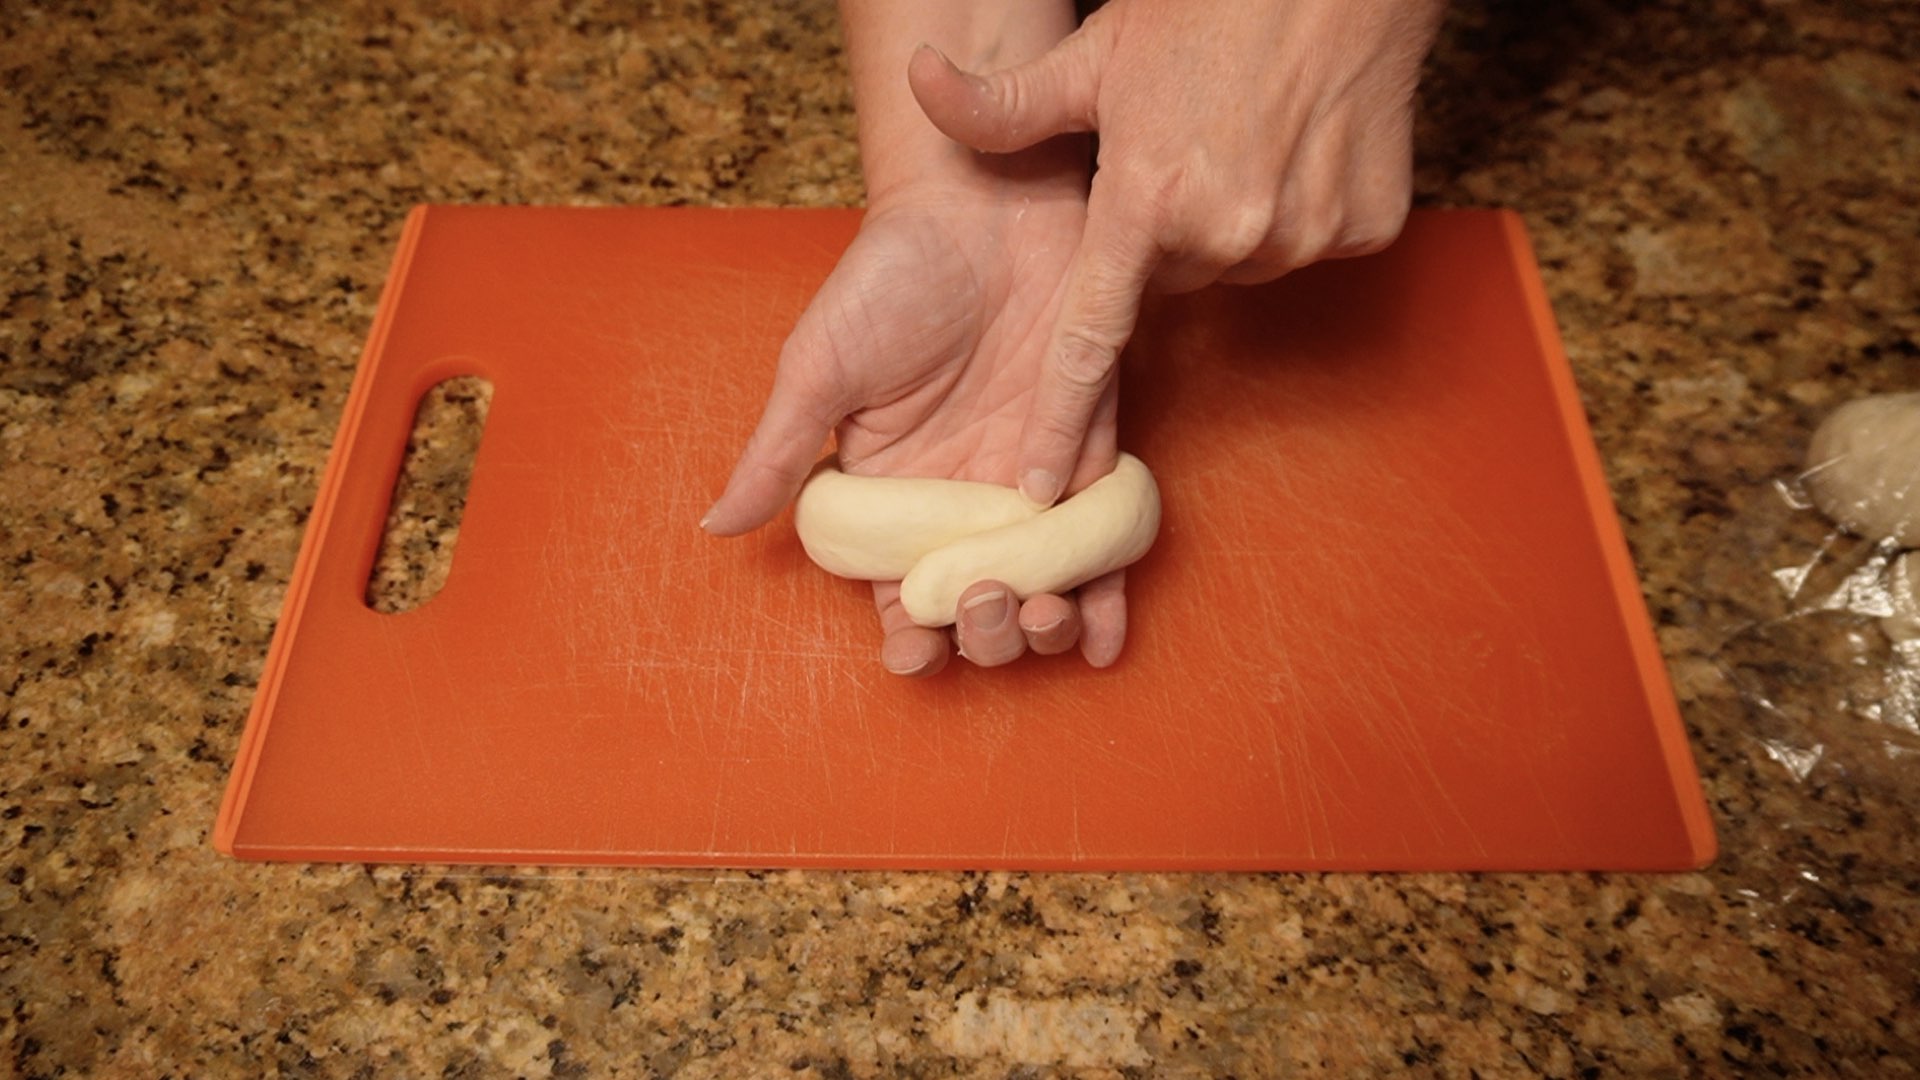
Now test fit to see if it will wrap around your hand just under the base of your fingers. If not, roll it a little longer.
Wrap the rolled dough around the back of your hand so the two ends overlap in the center of your palm just below your fingers. It should look like the photo below.
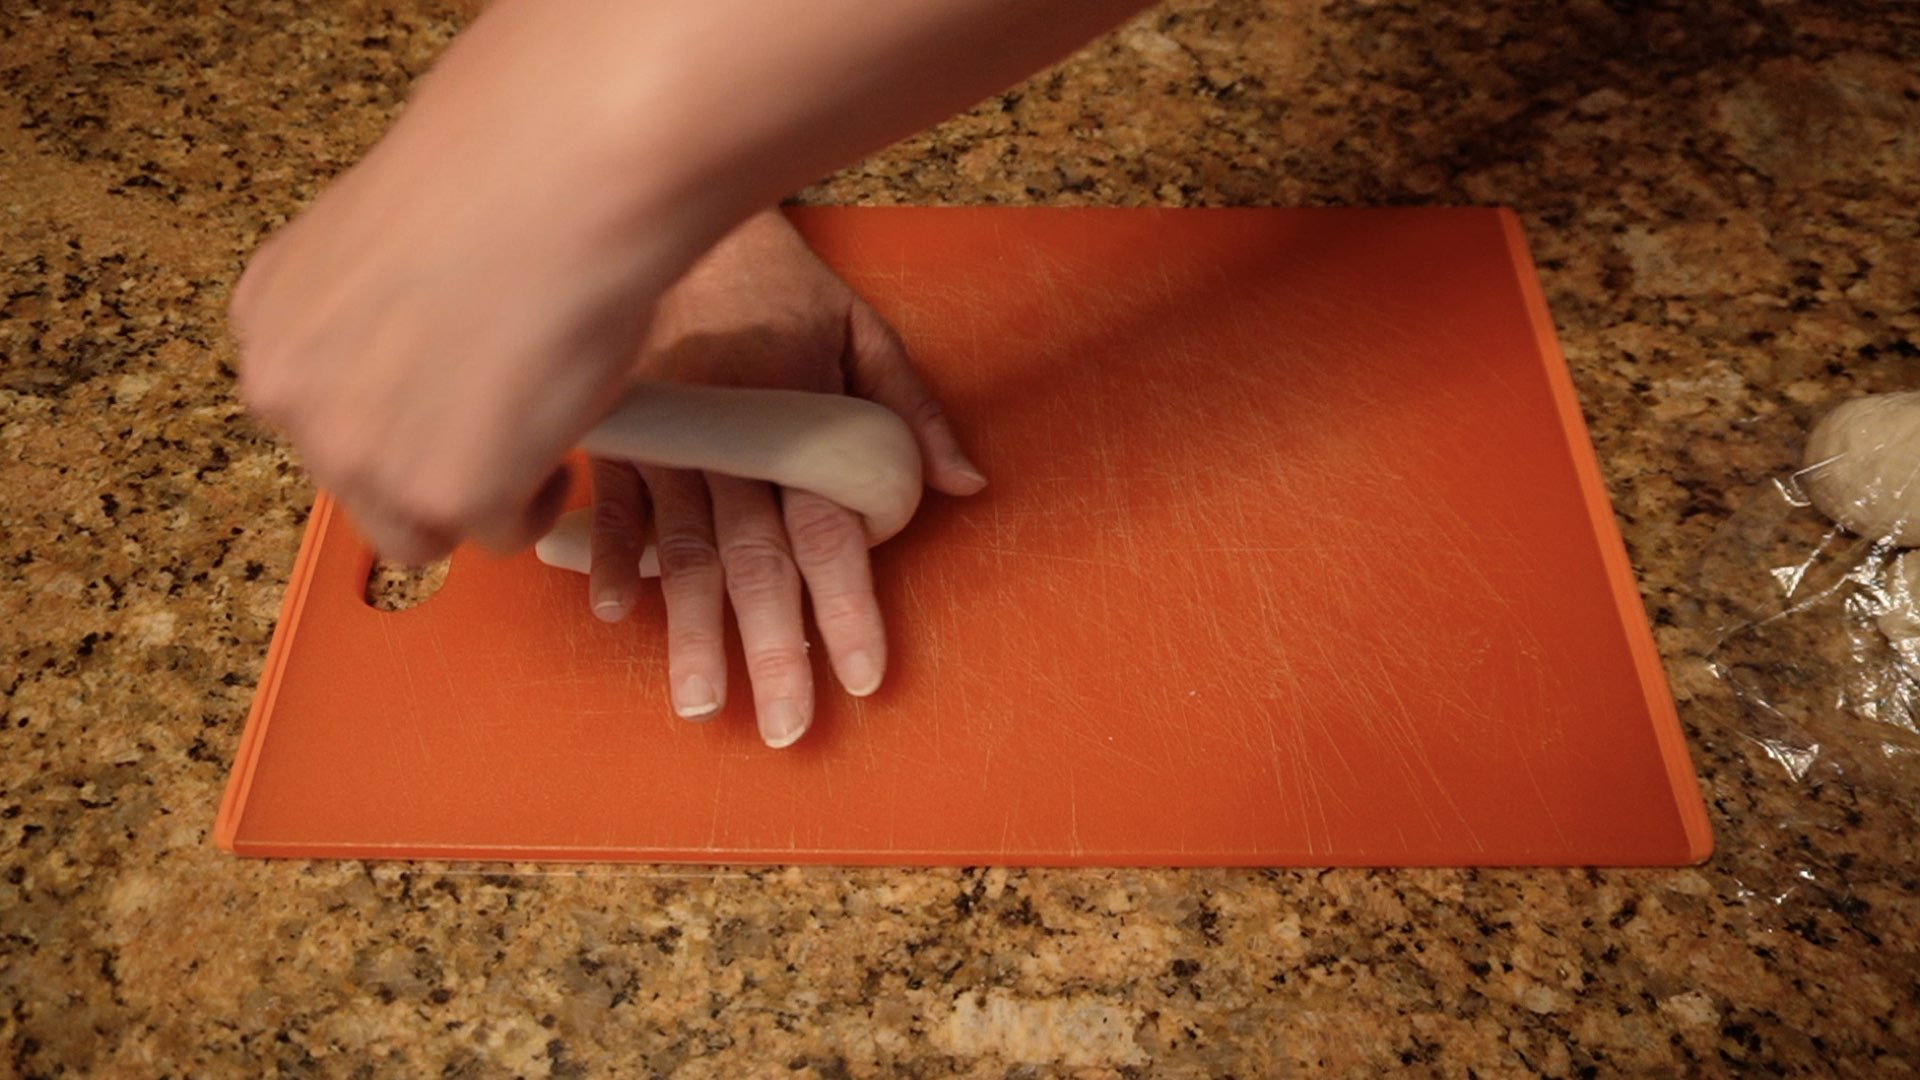
Here comes the tricky bit. Press the dough onto your work surface palm side down and roll back and forth until the two ends adhere together. You can stop and check periodically. Try to put just enough pressure to get the ends to stick together but not so much you make the dough thinner than the rest of the rope. Don’t worry if it’s not perfect. These are homemade and this takes time to learn.

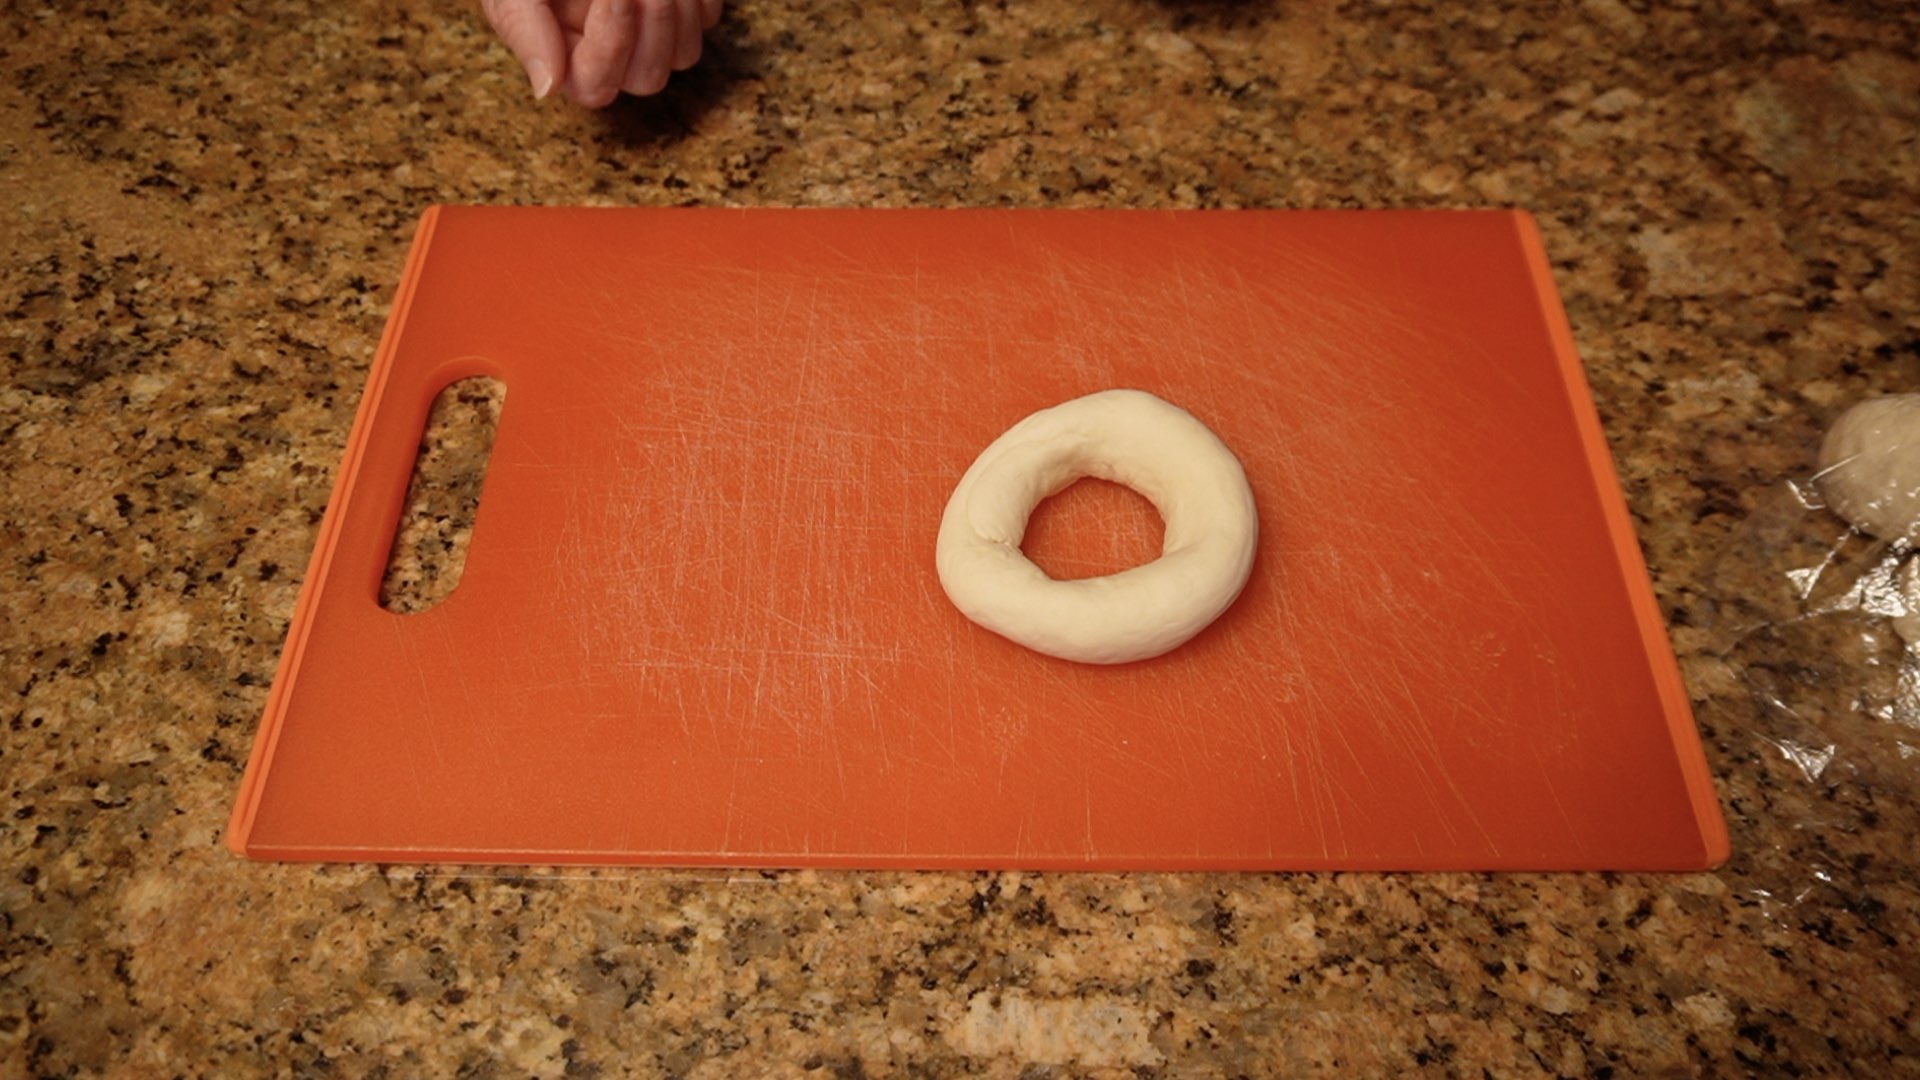
You should now have a nice circular shaped dough. It’s already taking shape as a bagel!
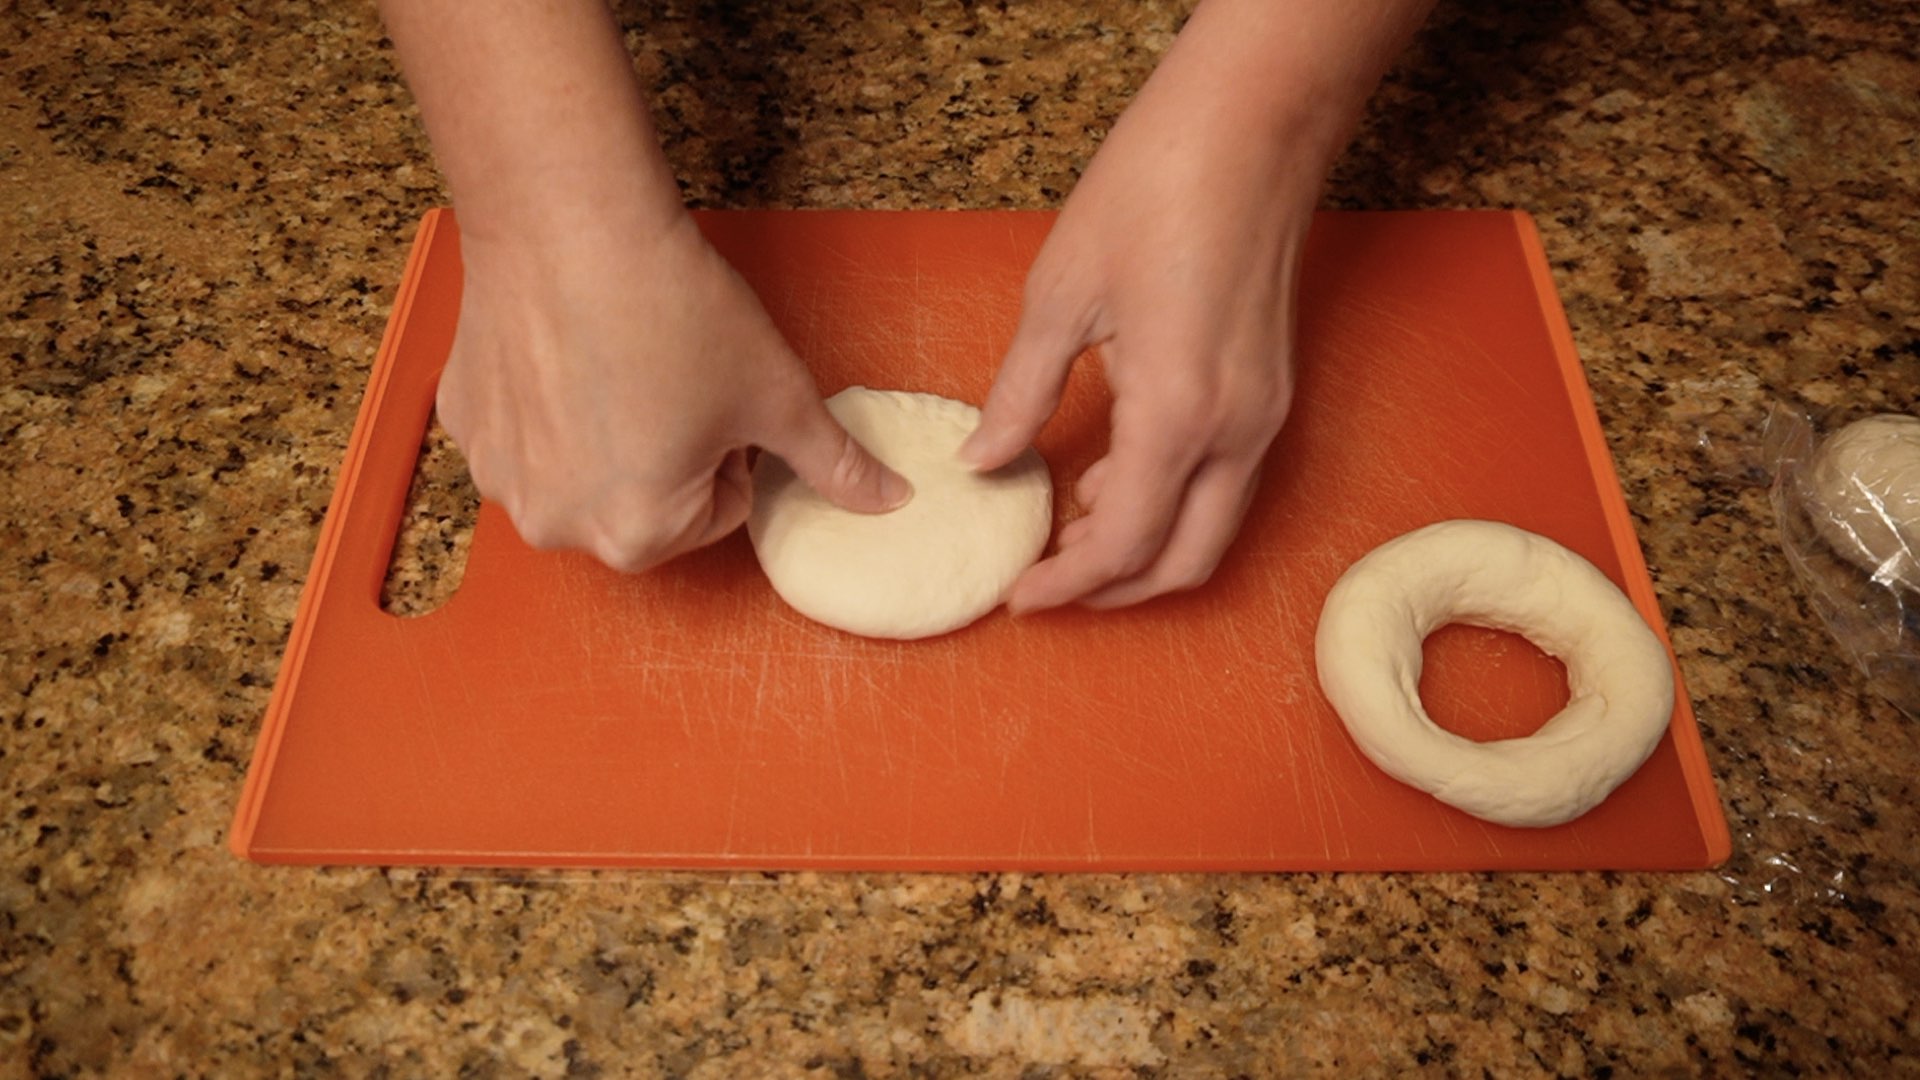
The more modern method is to flatten the dough out into a round disk about 1/2″ (1.27cm) tall. Then, using your thumb, poke a hole into the center of the disk of dough.
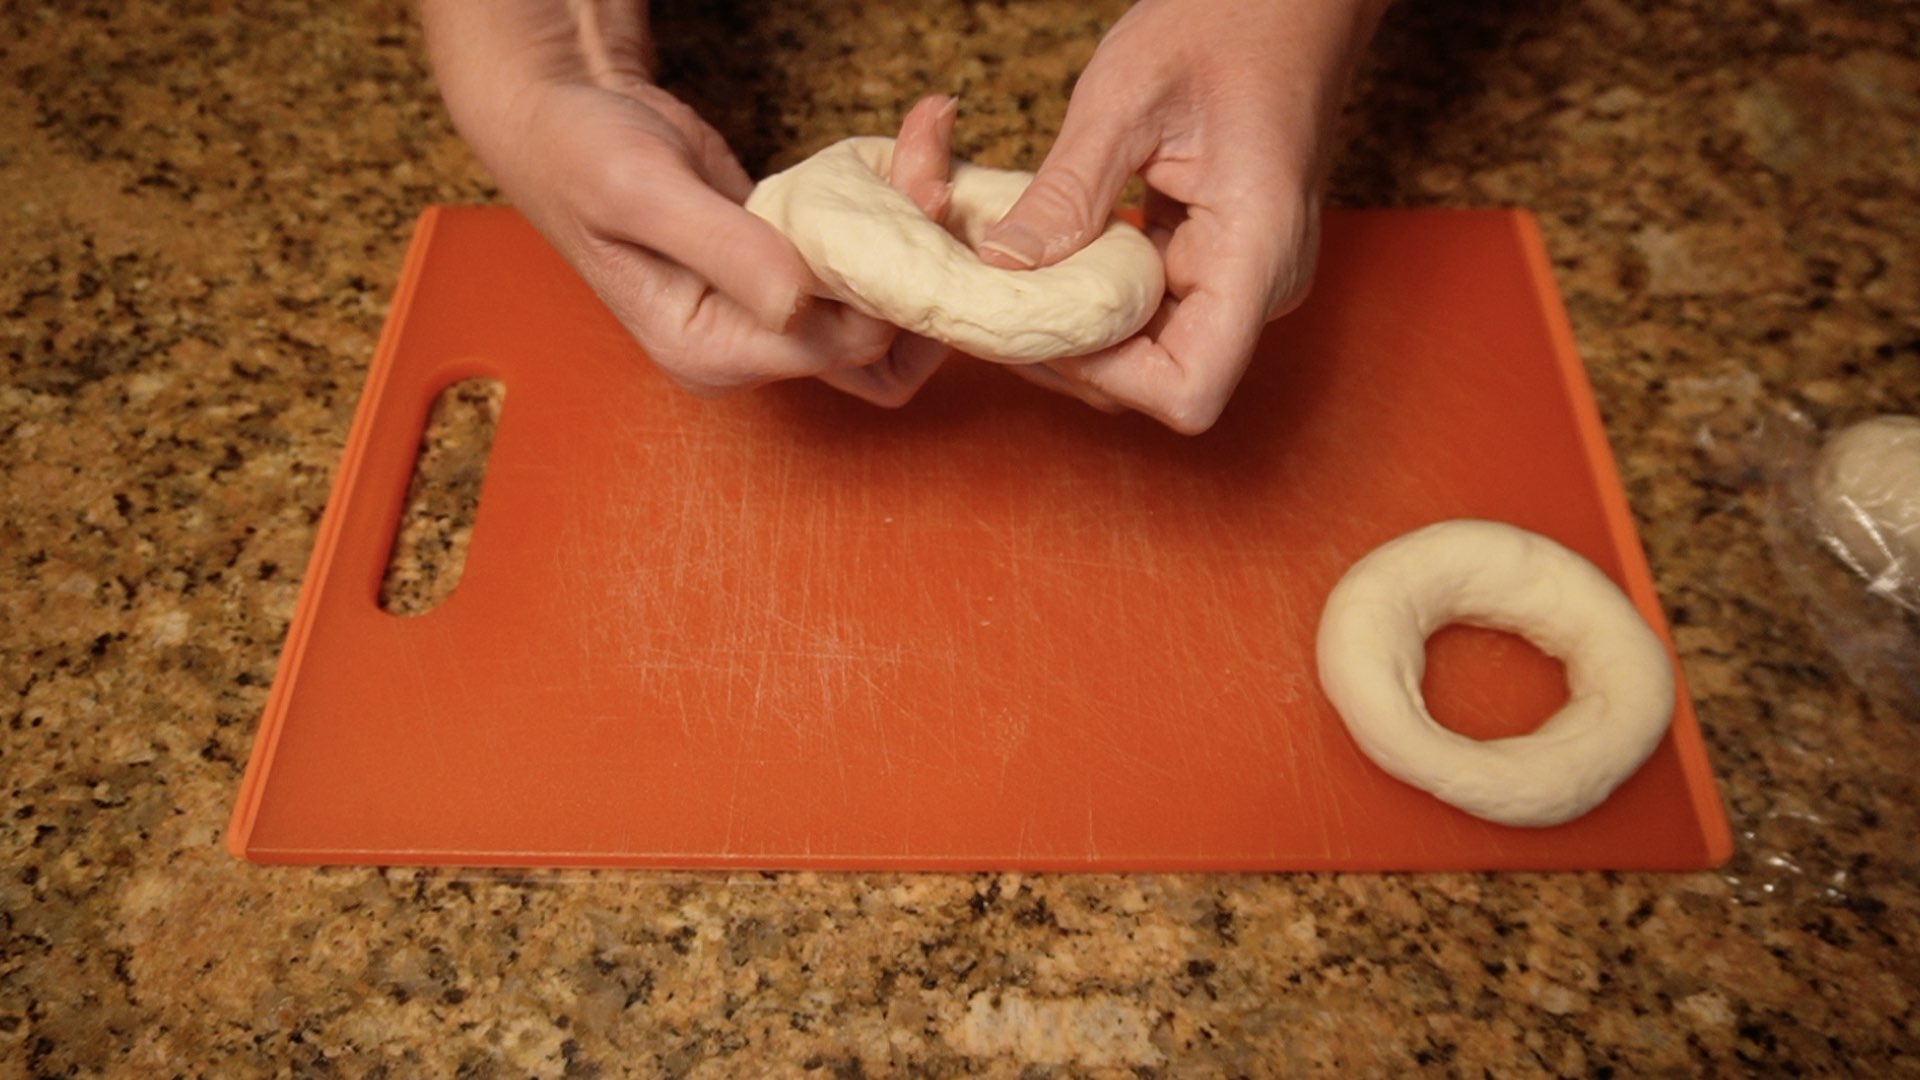
Using your thumb and fingers, stretch the center hole by rotating the dough and pulling gently outward.
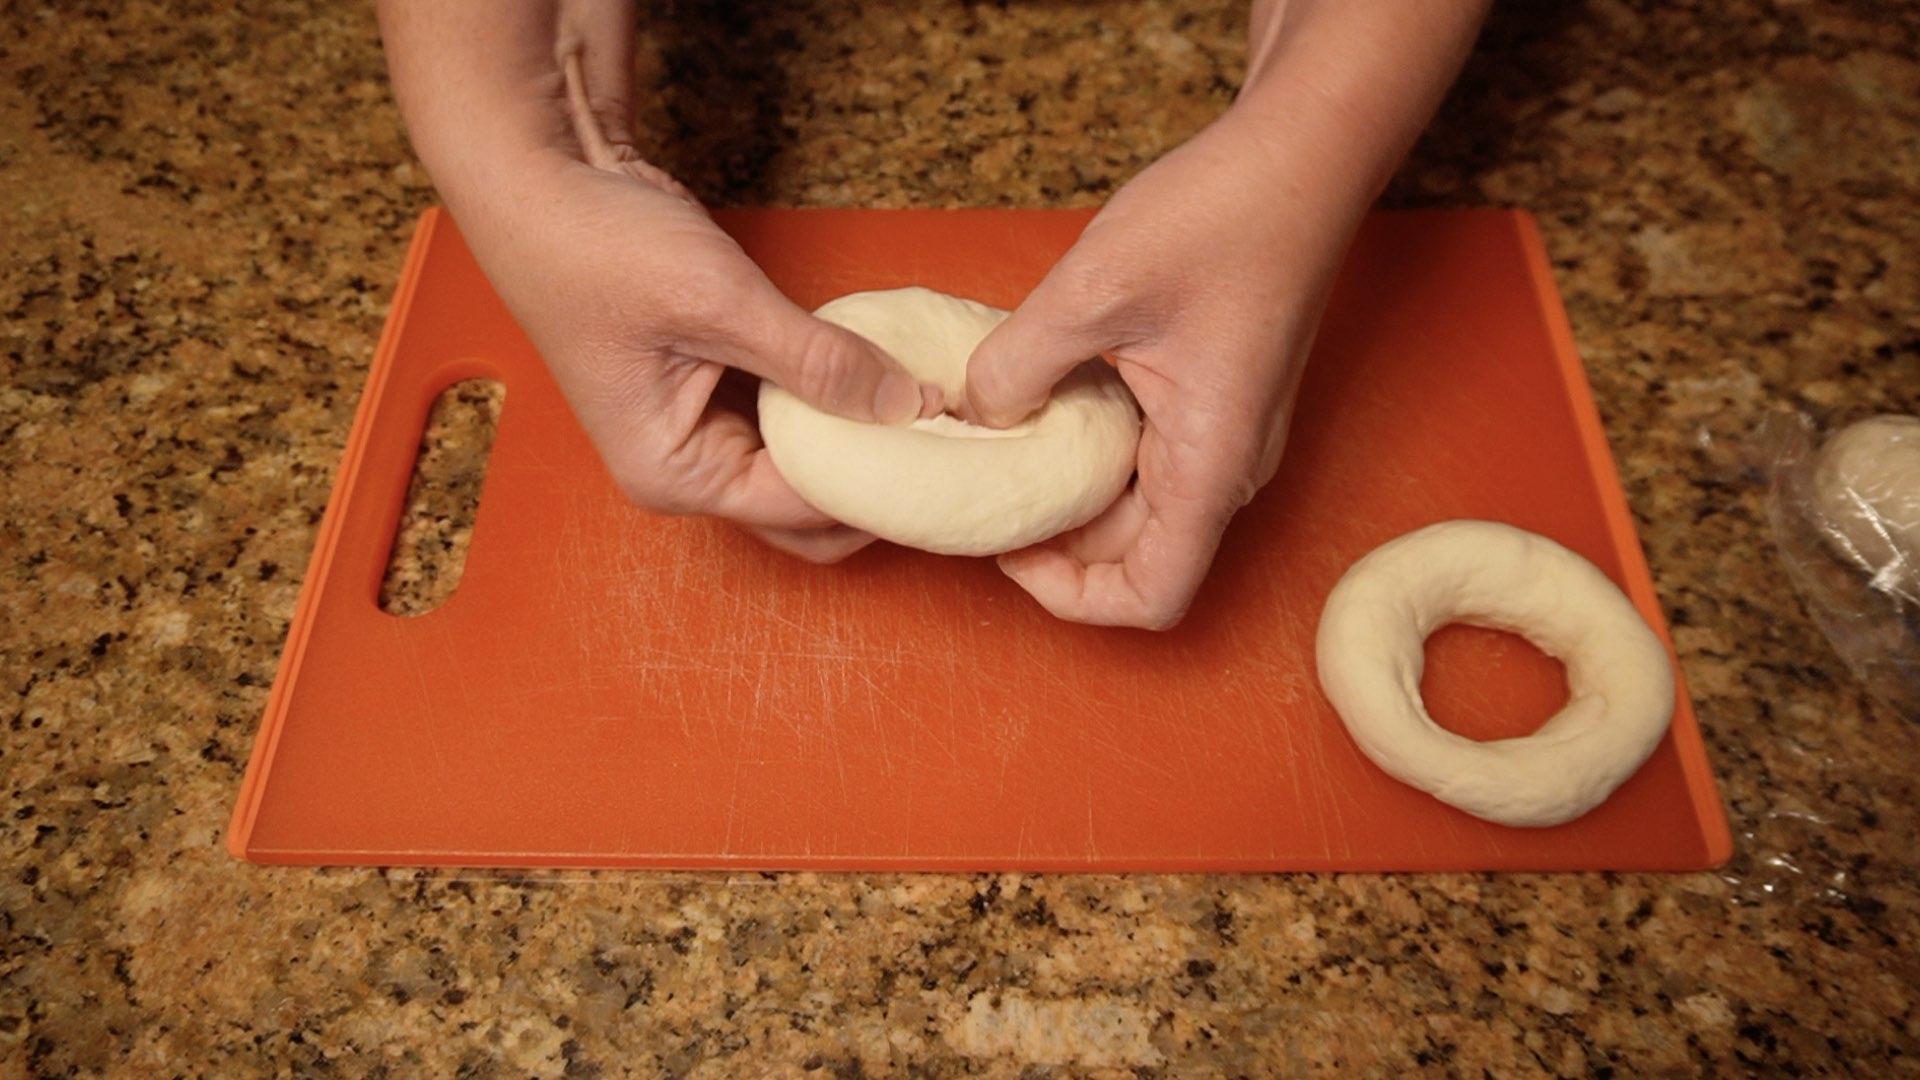
Here is another angle so you can get a feel for how to do this step. Make the center hole at least 2″ (5cm) wide if you want the hole to not close up during baking. We will make some a variety of sizes so you can see the difference.
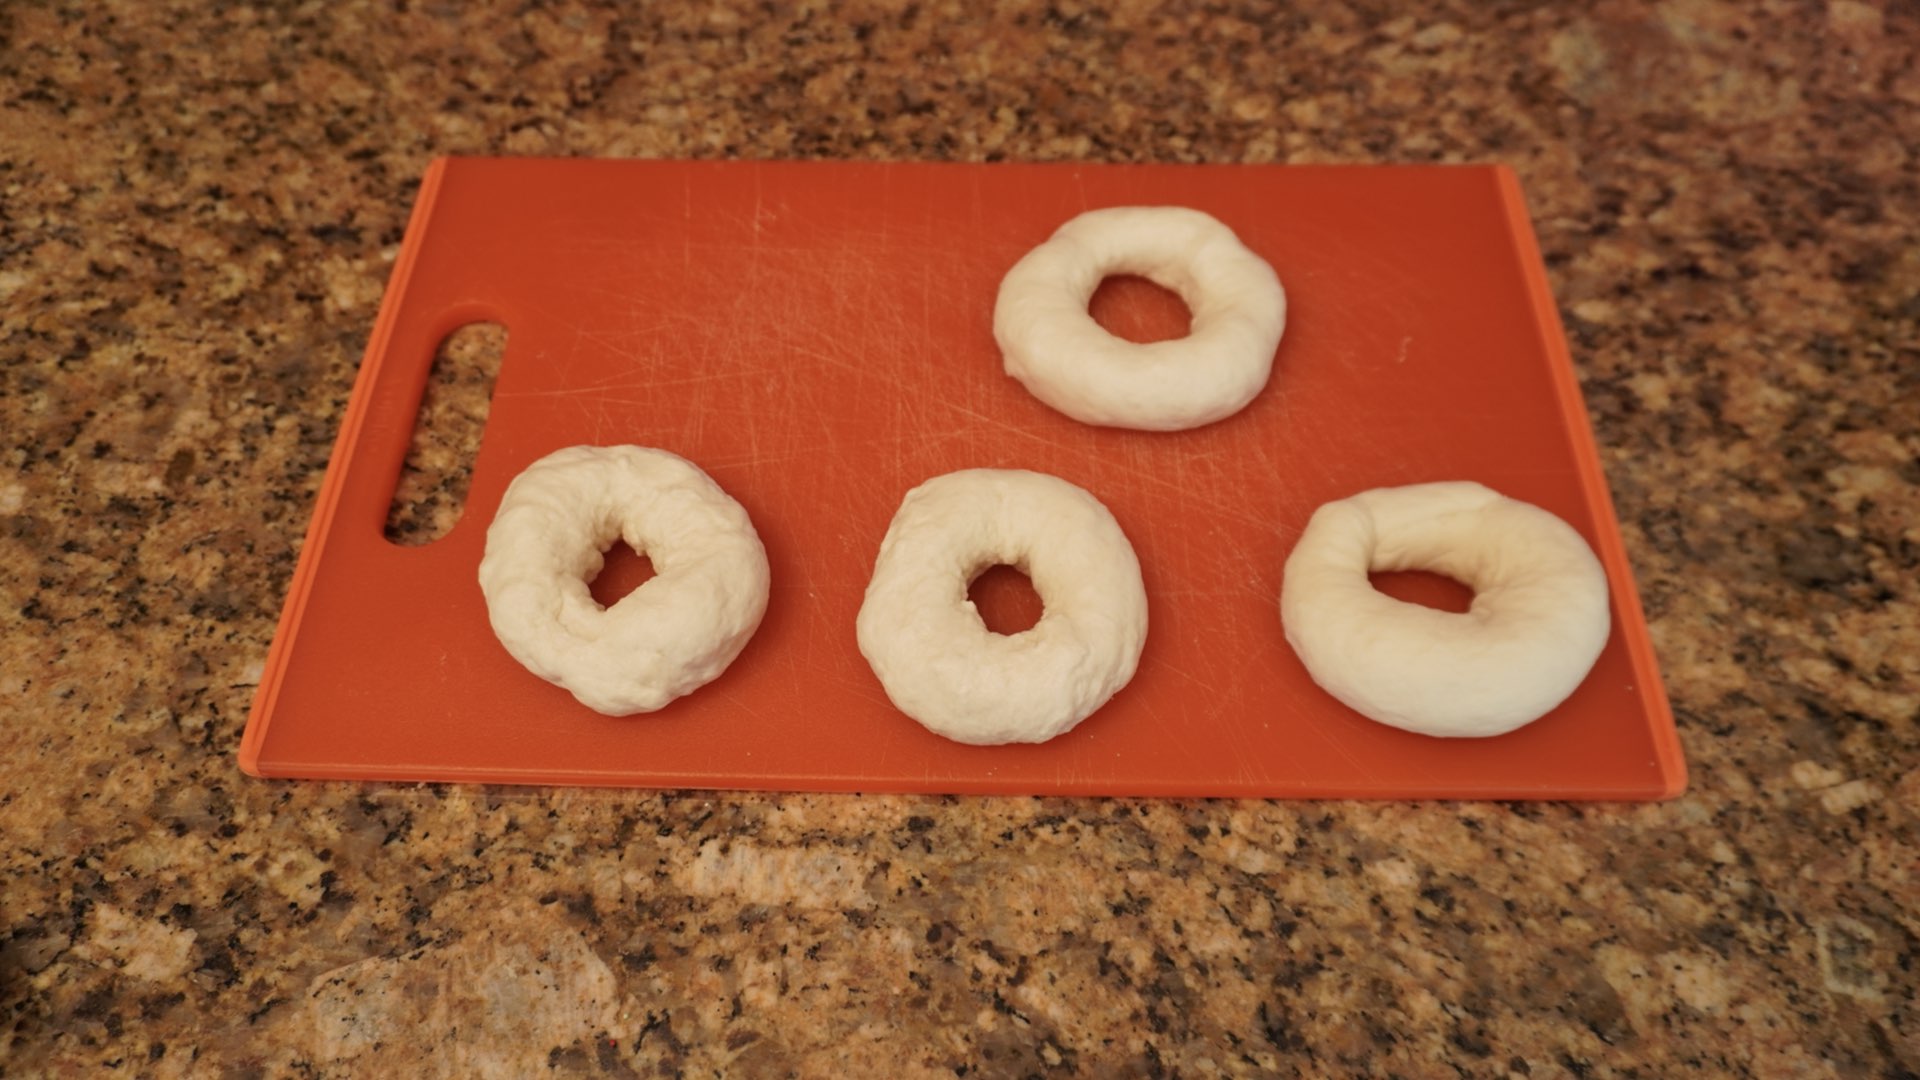
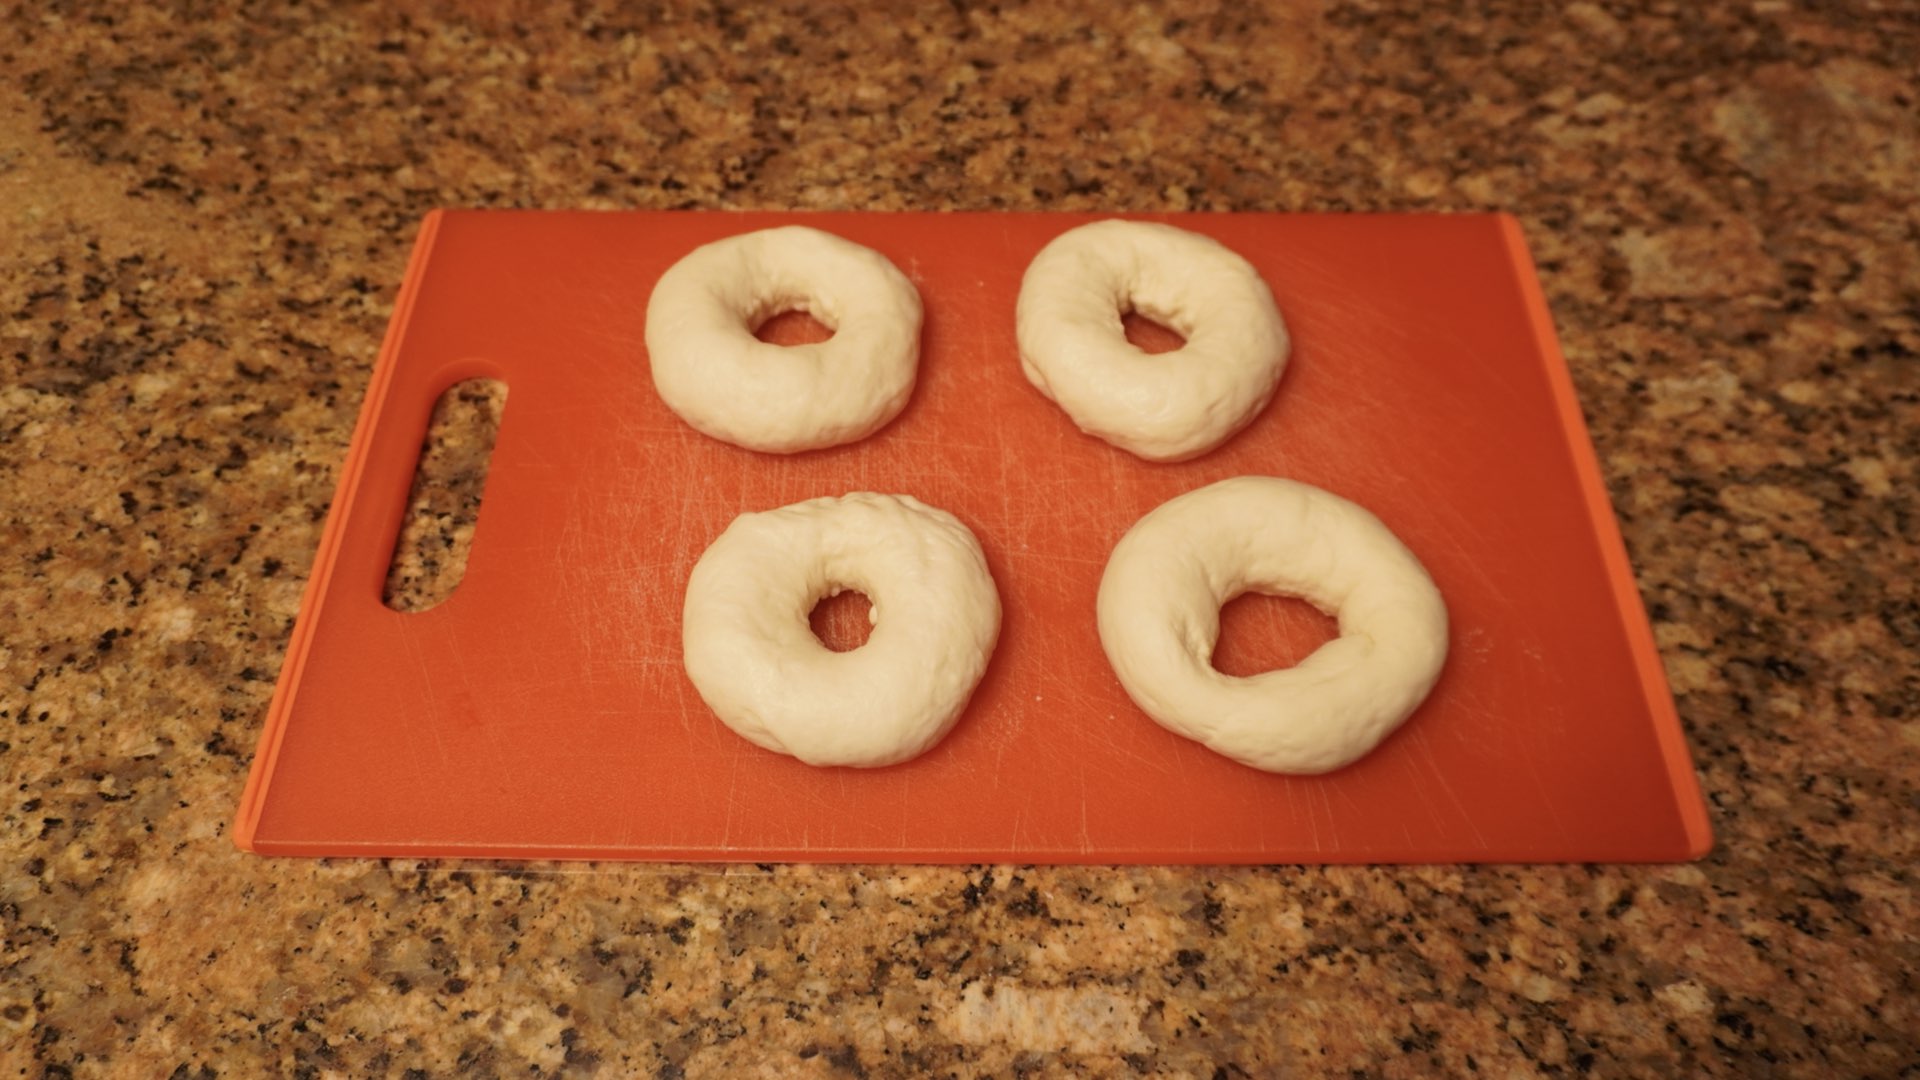
You should now have four bagel shaped dough ready for the next step!
Step 6: Rest the Dough and Preheat that Oven
This is the time to turn on your oven. Preheat it to 425°F (220°C) and let it get nice and hot. Arrange the dough onto a non-stick or floured surface so they can be easily lifted later and won’t deflate.
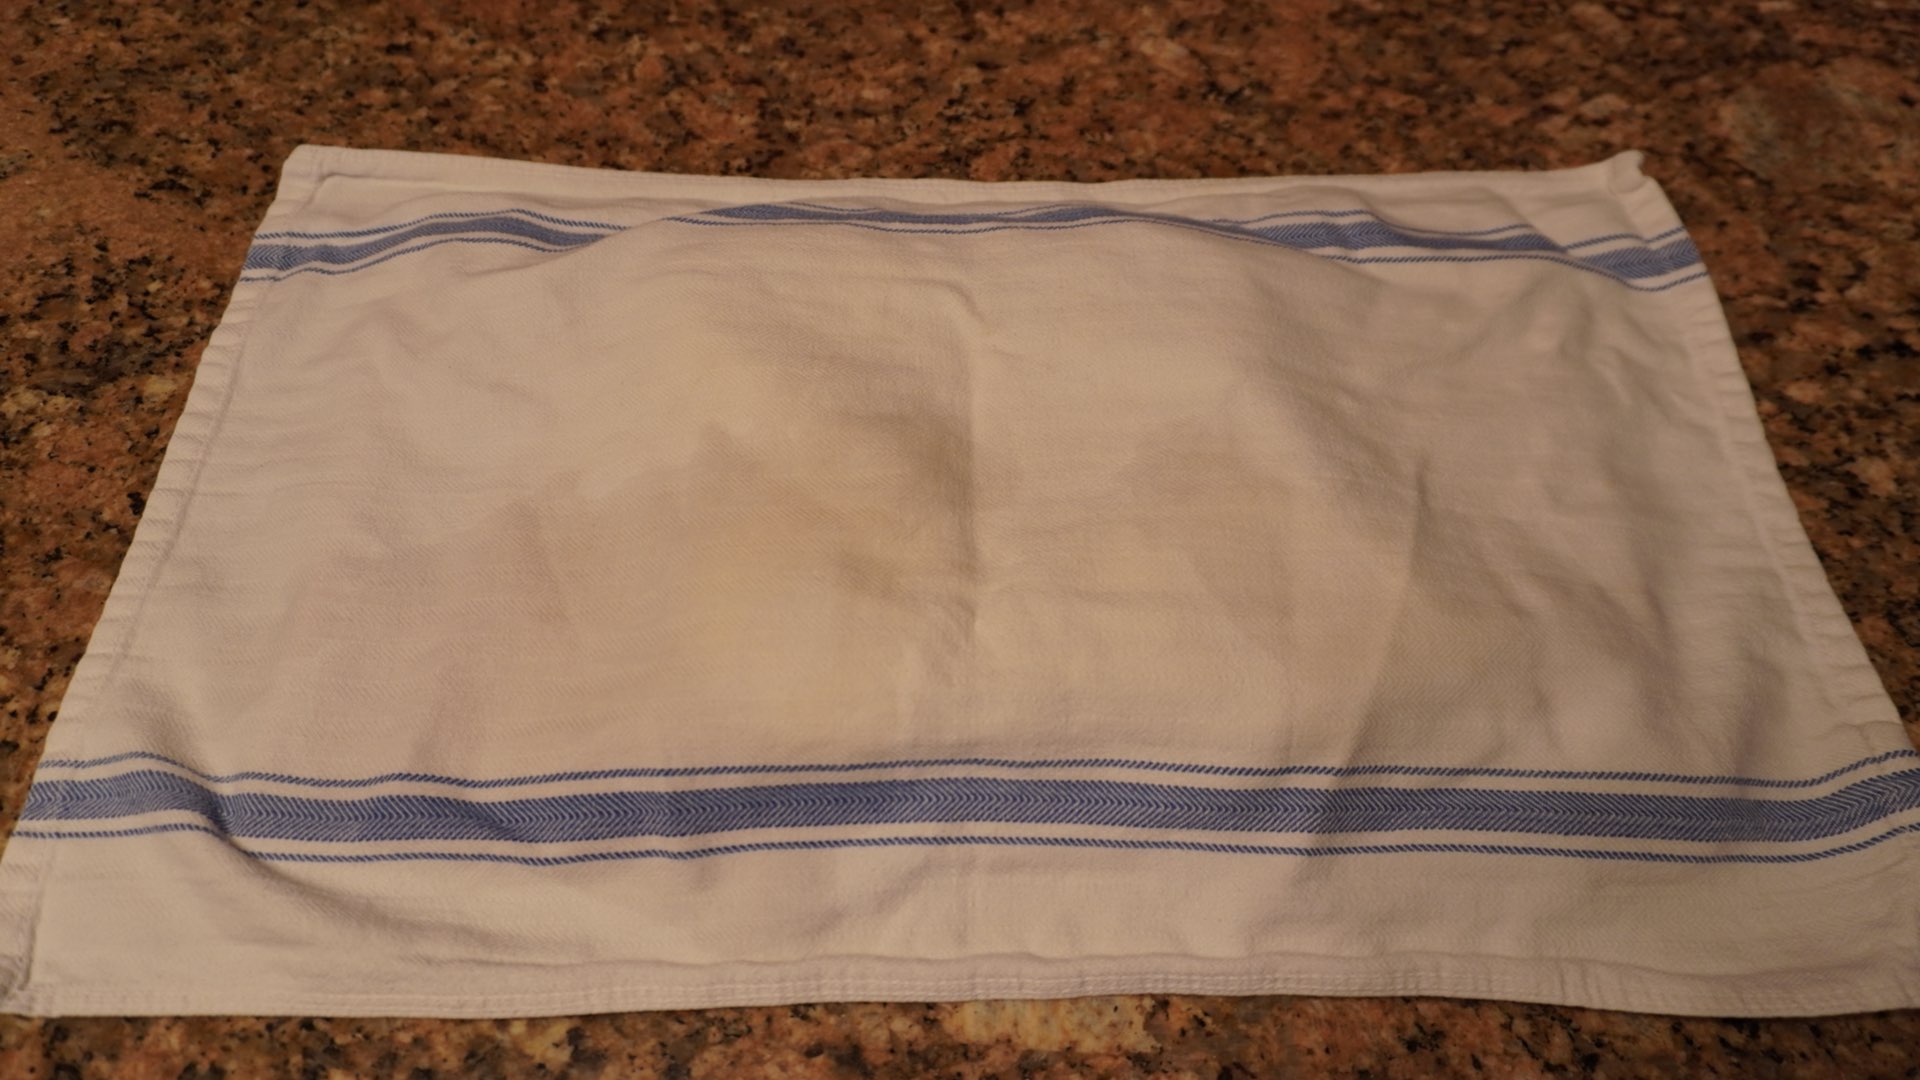
Cover loosely with plastic wrap or a lint-free clean tea towel. Let the dough sit for 20 minutes.
Step 7: Prepare the Water Bath and Baking Tray
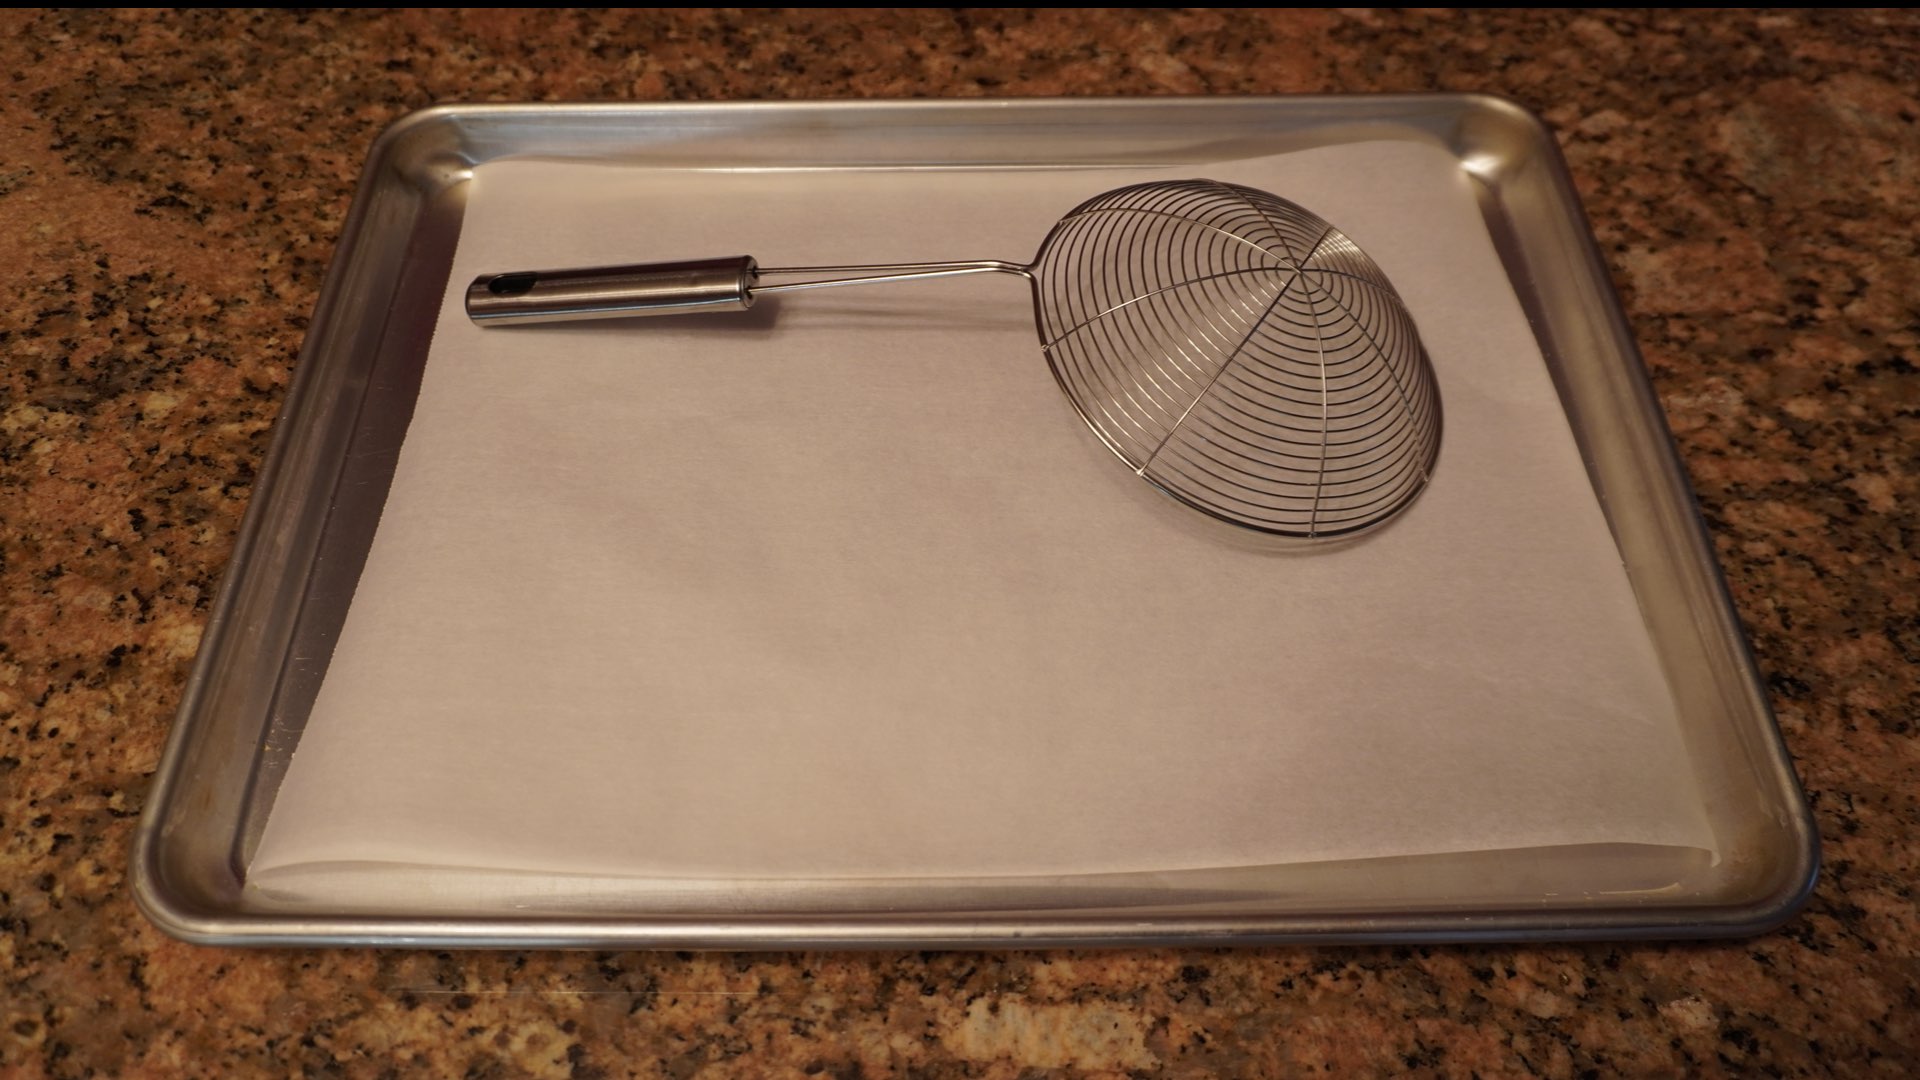
You will need a non-stick surface, a silicone mat, or parchment paper on a baking tray. Parchment is our favorite as it absorbs excess water from the boiling bagels. You will also need a strainer or slotted spoon to remove the bagels safely from the water.
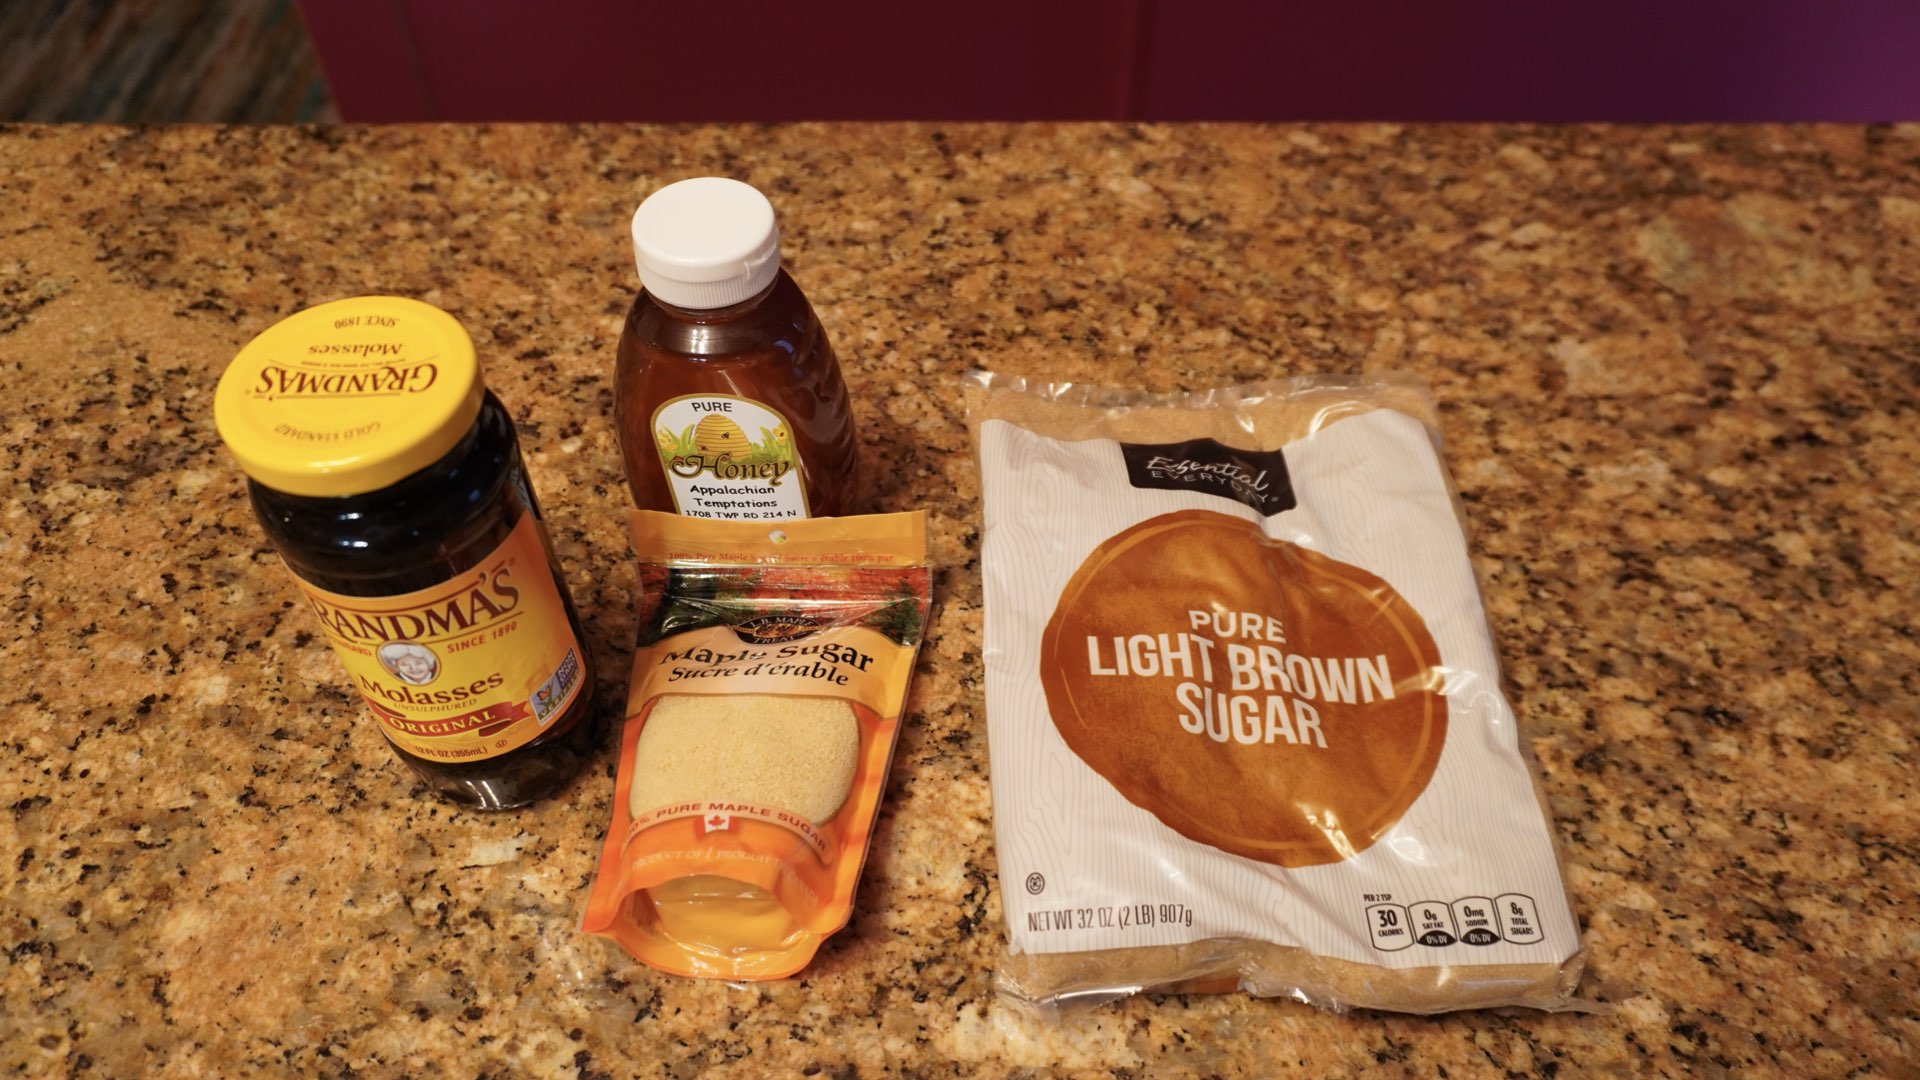
If you do not have malt barley syrup, you have options. Molasses, honey, maple sugar, brown sugar and sorghum are all great options. Each will give a unique hint of a flavor to the bagel. Make sure you like the taste of whatever you choose. If you don’t like molasses, you won’t be happy using it.
In a large pot, this one is 5 quarts, add in two generous tablespoons (30mL) of your sweetener. If you want to help the bagels brown better, add in 1/2 tsp (3g) of baking soda to the pot. Otherwise, add 2.5 – 3 quarts of water and bring to a boil on the stovetop.
Step 8: Boil the Bagel Dough
After the water has come to a boil, the oven has heated and the bagels have rested 20 minutes, we will boil them. Remove the plastic wrap and discard it.

Lower the temperature just slightly while you place the bagels carefully into the pot.

If the pot is big enough, you can place all the bagels in at once. Otherwise, you will boil however many will fit into your pan.

Boil up to 90 seconds on each side, but no longer than 3 minutes total. Going longer than this risks collapsing the dough or making the exterior gelatinous and rubbery.

Carefully lift each bagel out of the water and allow it to drain over the pot before transferring to the baking sheet. If you want to add toppings do so now. If you want to dip the bagel into toppings for each side, do so carefully not to deflate the dough or to burn yourself from the hot water.

Step 9: Bake
Now you want to bake the bagels 15 – 18 minutes or until a golden brown. If you used baking soda, they will have a lovely golden hue. If you skipped it, they will be more amber brown when fully baked. The ones below have baking soda in the water. Cool on a wire rack for 1 hour prior to serving.


Substitutions and Tips
Here are some common substitutions and tips for this recipe.
- You can use malt syrup in place of the sugar in the dough. Swap it out in equal amounts and reduce the water by 1 tbs (15mL) so your dough is still a firm consistency.
- Bread flour can be used in place of all-purpose or plain flour in equal amounts.
- Up to 1/2 the all-purpose flour can be replaced with whole wheat flour.
- You can reduce the amount of oil to 1 tbs (15mL) just replace the oil with equal amounts of water.
- You can eliminate the sugar altogether from the recipe. The dough will dry out faster.
Storage
Freshly baked bread is always best eaten the day you make it. However, these can store up to two days before they go stale. Let the rolls cool completely and store in an airtight container or plastic bag to stay soft. The crust will soften slightly stored this way. If you want the crust to be more like the day you baked them, store in a paper sack or bread bin.
Bagels freeze up to 1 month. Frozen bagels can then be reheated in the oven at 350F (180C) for 10 – 15 minutes.


Bagel Recipe with all-purpose flour
Ingredients
Dough
- 2 cups (300g) flour
- ⅔ cup (160mL) water
- 2 tbs (30mL) oil
- 1 tbs (14g) sugar
- 1 tsp (3.5g) yeast
- ½ tsp (2.5g) salt
Water Bath
- 3 quarts (2.8L) water
- 2 tbs (30mL) barley malt syrup, molasses, sorghum, brown sugar, or honey
- ½ tsp (3g) baking soda, optional
Instructions
- In a bowl, combine flour, water, sugar, oil, salt and yeast. Stir until it forms a shaggy dough.
- Turn out onto a clean work surface and knead 8-10 minutes or until dough is smooth and elastic. Cover and let rest for 45 minutes. Place dough in refrigerator overnight or up to 24 hours. The time it spends in the fridge will develop a nice flavor to the dough.
- Divide dough into four and cover the remaining pieces as you work. Roll each piece until it is approximately 12" (30cm) long. Wrap the strand around the back of your hand, overlapping at least 2" (5cm) inside your palm. Place your palm down on a clean surface and roll the dough back and forth until the ends seal together making a doughnut shape. Place the dough onto parchment covered baking sheets, cover and repeat for the remaining dough. Let rest 20 minutes.
- While the dough is resting, preheat oven to 425F (220C.)
- In a large pot, add barley syrup, molasses, sorghum, brown sugar, or honey. Next add the baking soda and water. Bring to a boil. Lower the heat, carefully add the dough and boil on each side 30 – 90 seconds. Do not exceed 3 minutes. Remove the bagel dough from the water using a strainer, allow to drain over the pot of water.
- Carefully place on the parchment paper lined baking sheet, several inches apart. If toppings are desired, sprinkle on the bagel immediately after placing on the parchment or dip the bagel carefully into the mixture prior to placing on the baking sheet.
- Bake 15 – 18 minutes or until golden brown. Cool completely before slicing for best results.
0 Comments